 42
42
Corsair Obsidian 650D Review
Assembly & Finished Looks »A Closer Look - Inside


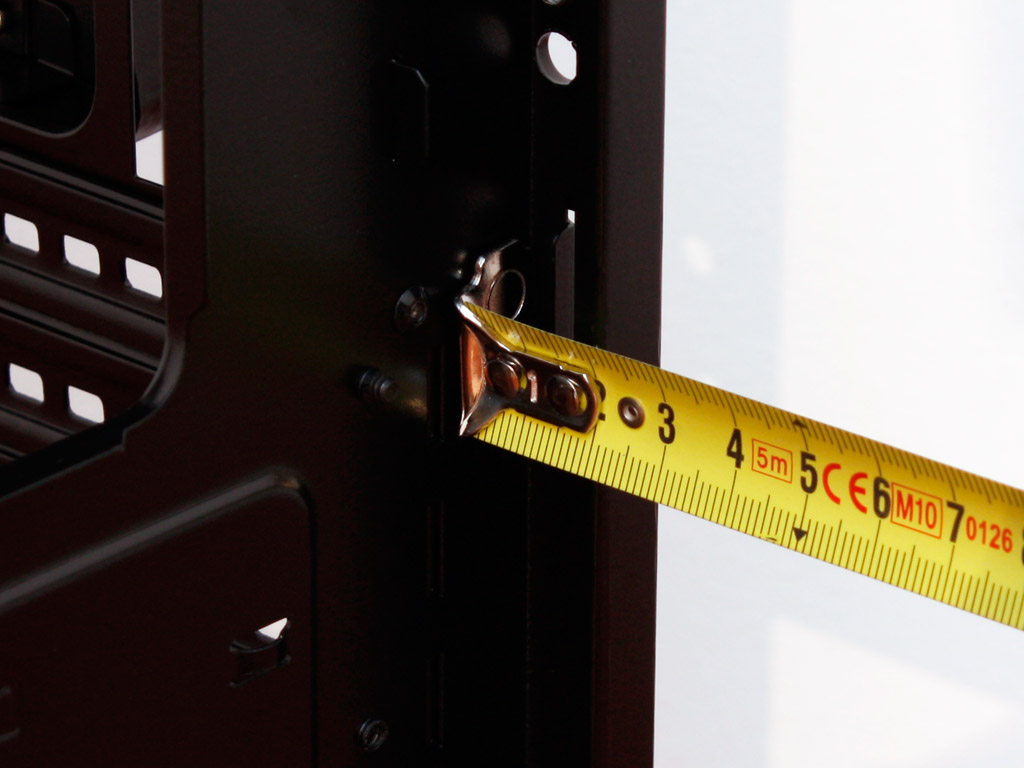
Since both new mid tower cases from Corsair share the same chassis frame you can expect to see the same benefits within the Obsidian 650D. A large opening in the mainboard tray should give you unrestricted access to the underside of the socket area, while plenty of cable routing possibilities should make it very easy to keep everything clean inside. By our measurement you will have around 20 mm of space for cables behind the mainboard tray. As we will be filling the 650D to the rim, we will soon find out if this is enough.
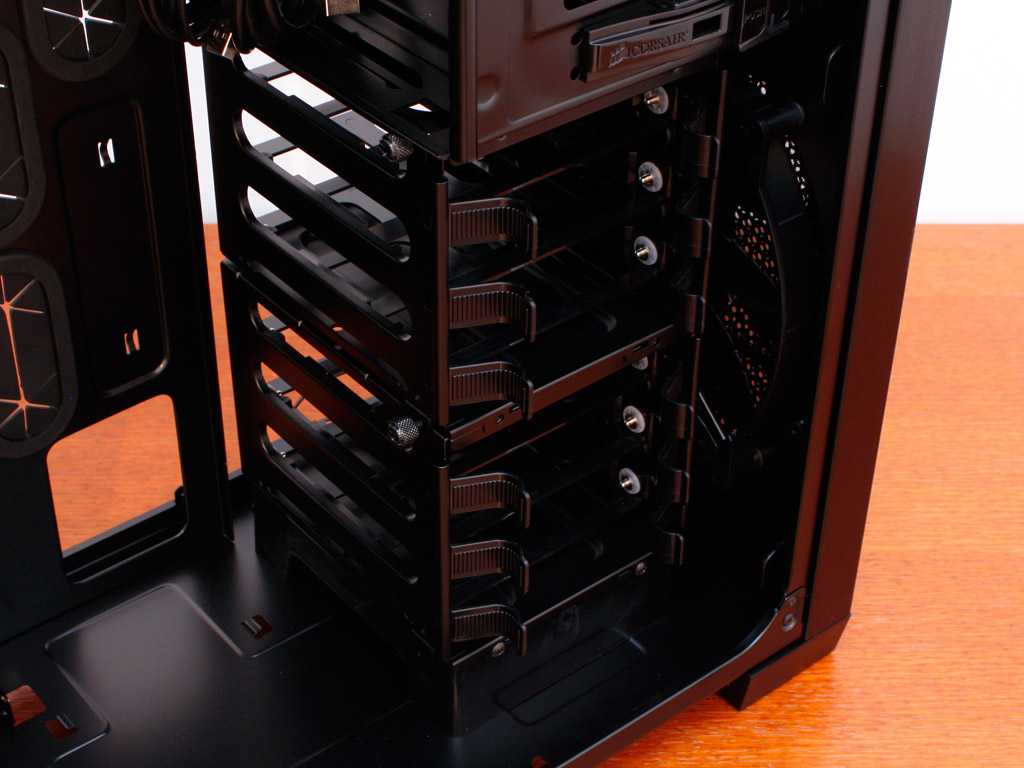
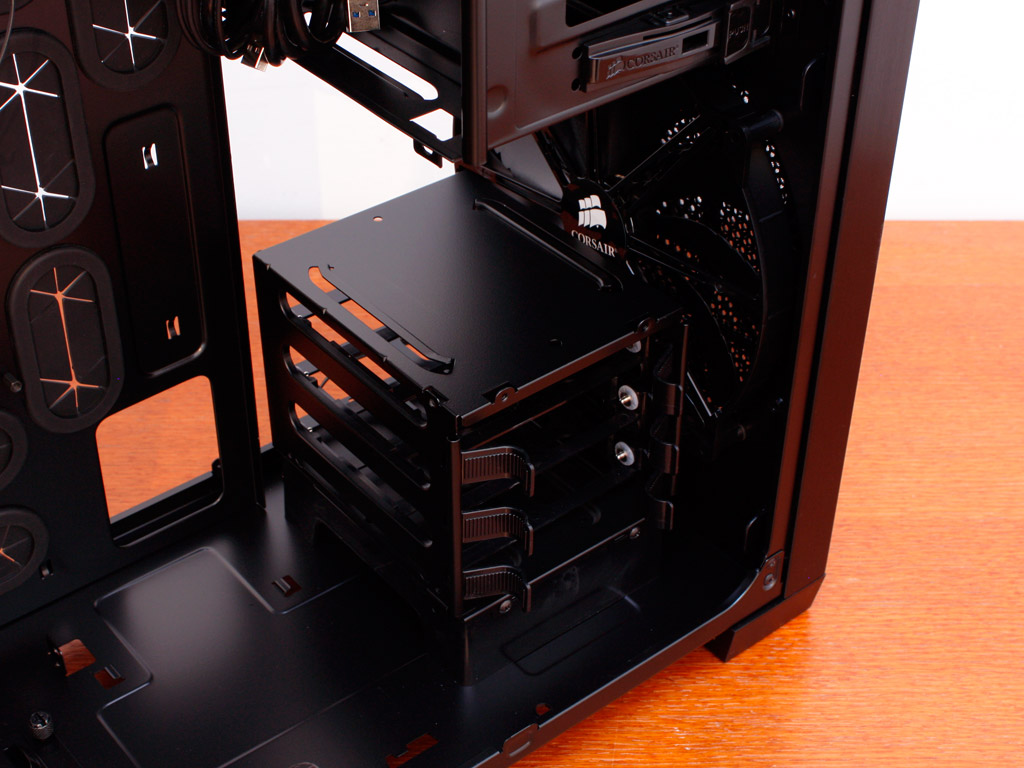

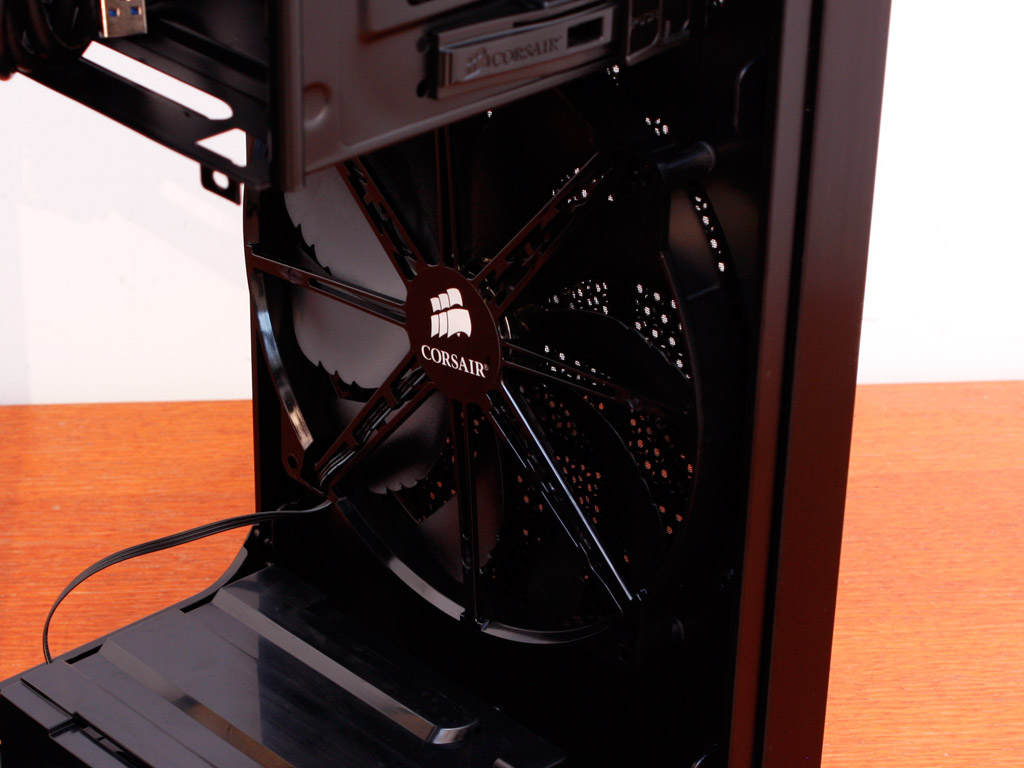
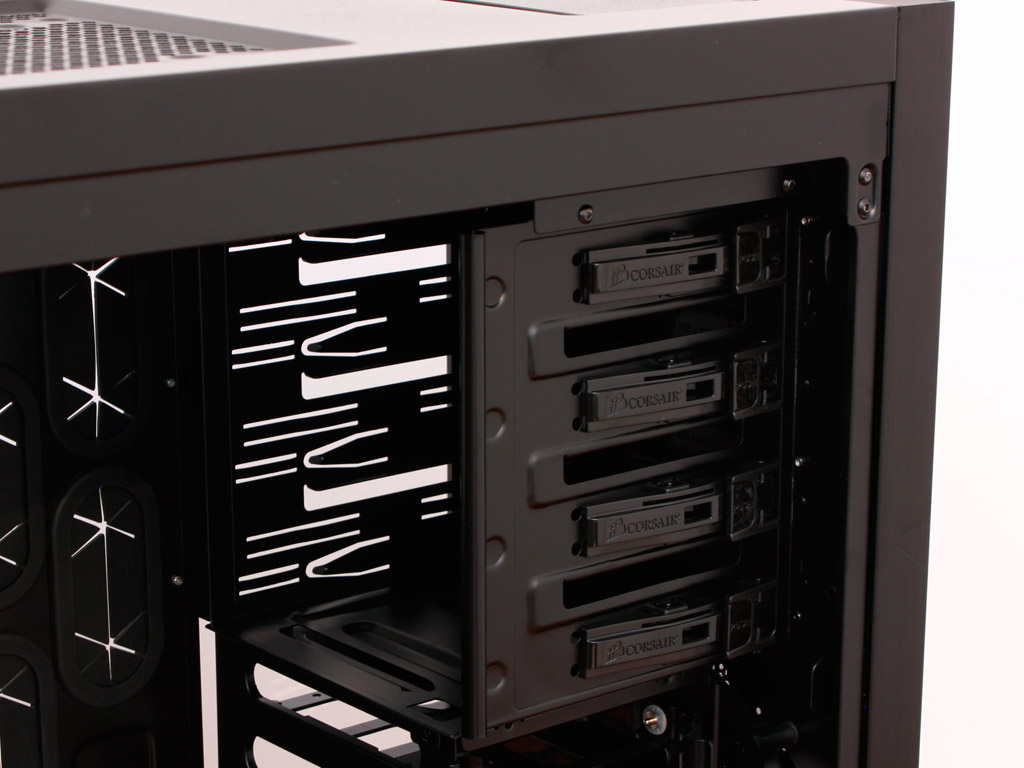
You may install up to six hard drives within the 650D. Each is to be placed in a tray and then pushed in until it snaps into place. The pins that hold the hard drives are rubber mounted to eliminate any vibrations. Corsair also allows you to take the two cages - holding three drives each - out completely or gives you the possibility to place it on the floor of the chassis. This creates enough free space for even the longest graphic cards out there, without sacrificing any expandability. A 200 mm fan cools these drives. Unlike the cooling units in the Graphite series, none of these have any LED in them.
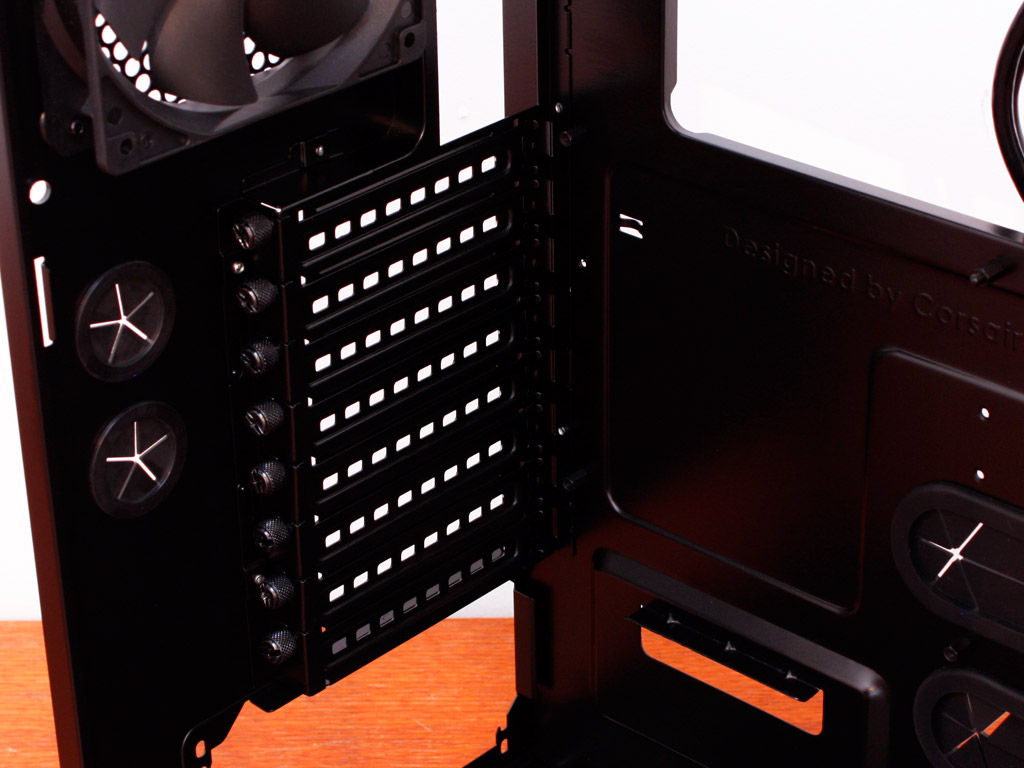
Moving one up, the four 5.25 inch bays are equipped with plastic locks. I was sitting there at first, wondering how these would work, but upon closer inspection it became apparent, that the locks act as a lever, which works surprisingly well as we will see later on.


In the rear, starting at the bottom, we have the PSU bay. There is no foam lining or rubber mounts anywhere, but Corsair has included a support bar, similar to that found in some Thermaltake cases, but this one is actually functional, as it does not force you to remove screws from the underside of the case. Instead, you just take off the thumb screws, move the bar into place and pin it down with the screws. Above that are the eight mainboard expansion slots along with two openings for water cooling. While Corsair has implemented the same basic USB connectivity as most other manufacturers, forcing you to route the cable out the back of the chassis, one can use the hole instead of a precious expansion slot in this Obsidian case. Moving on up, we have a 120 mm cooling fan which comes pre-installed within the 650D.
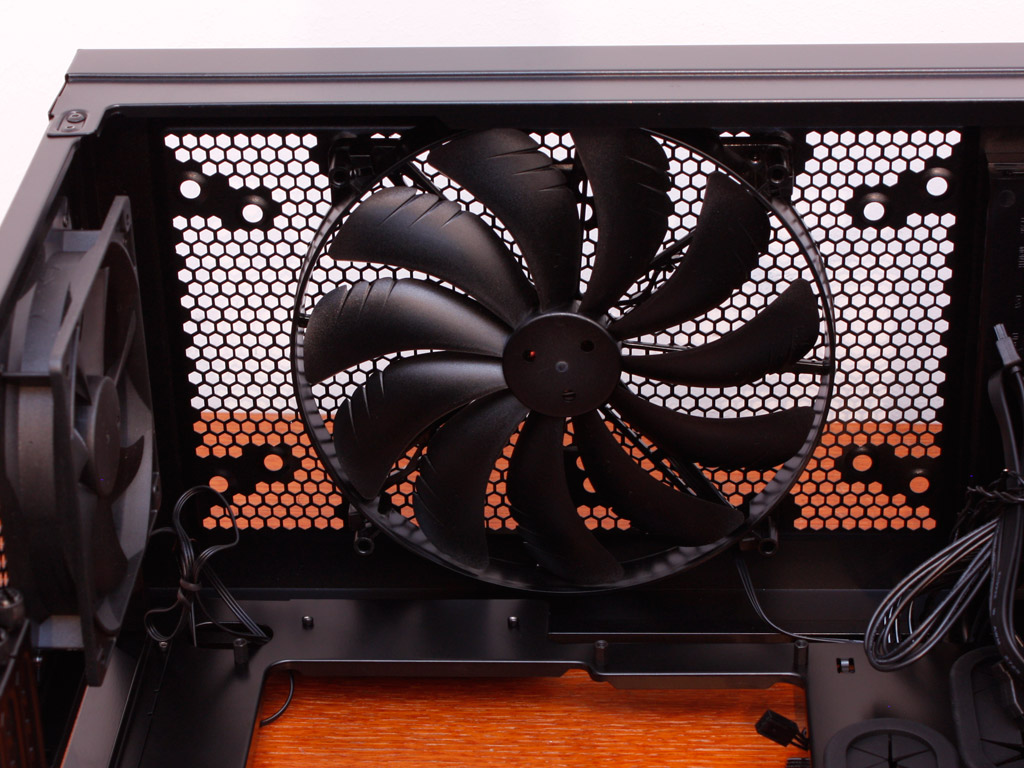
The third and last fan can be found on the ceiling of the chassis. It pushes air out the top of the case and may be replaced by 2x 120 mm units or a dual 120 mm radiator.
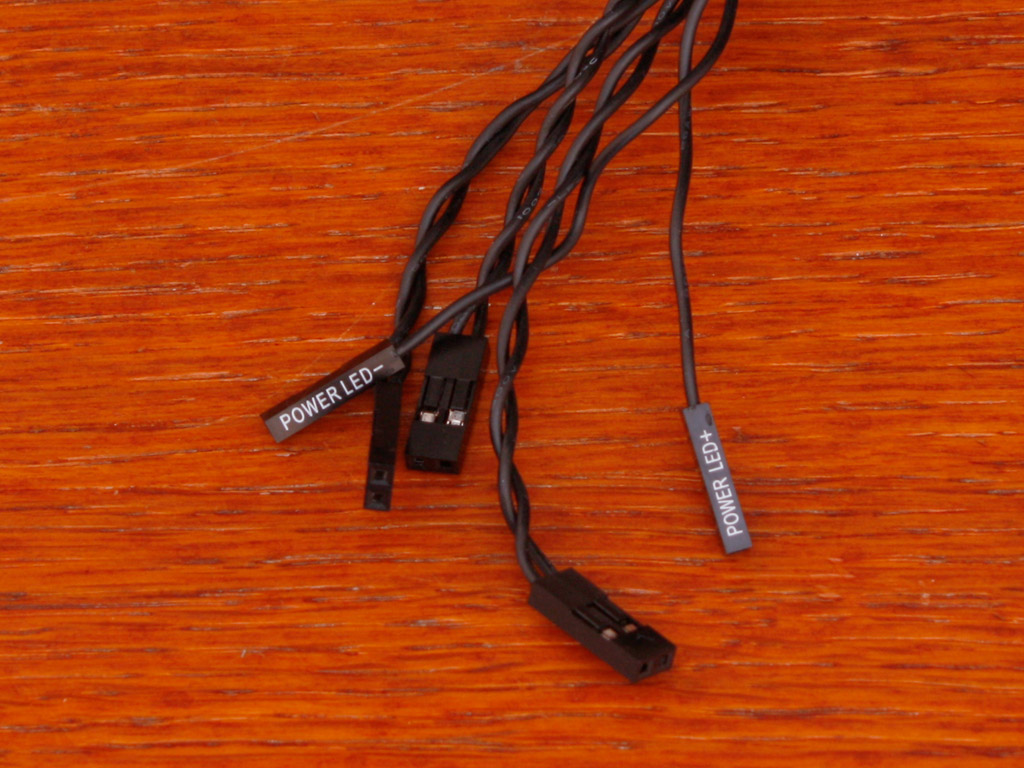
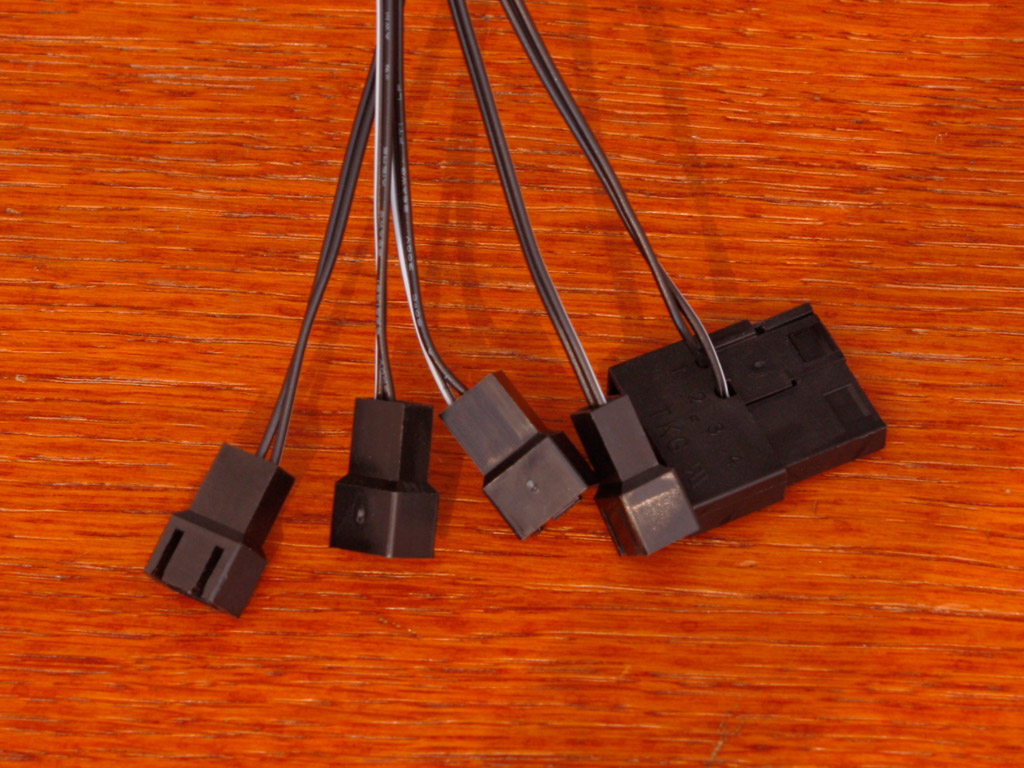
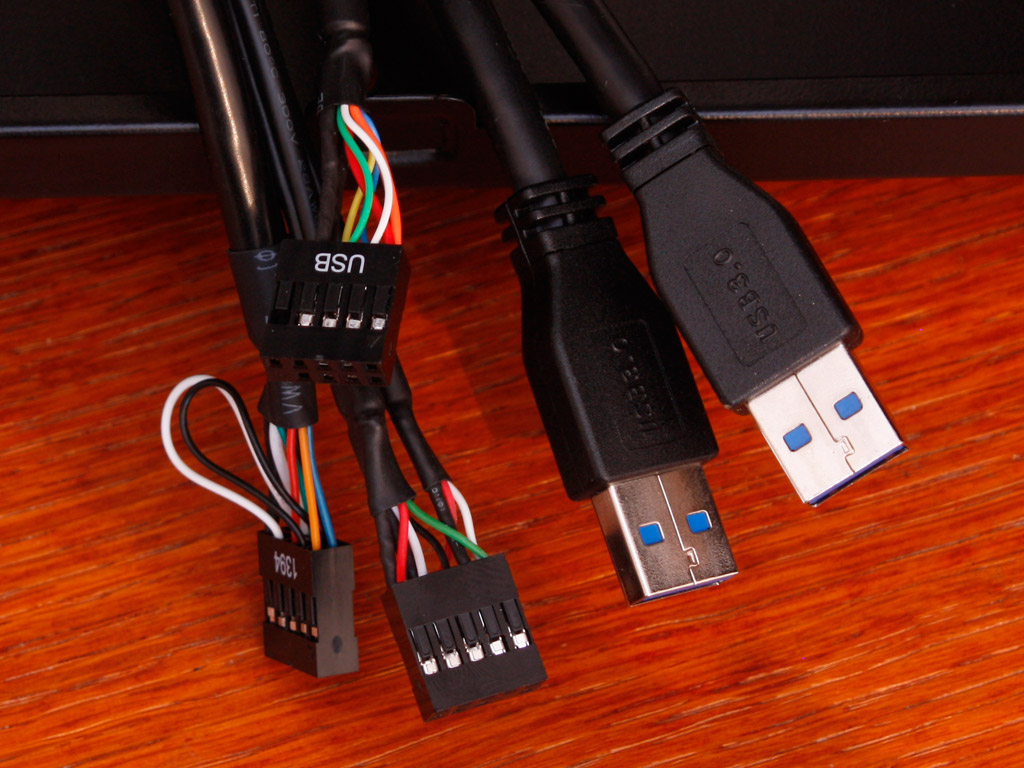
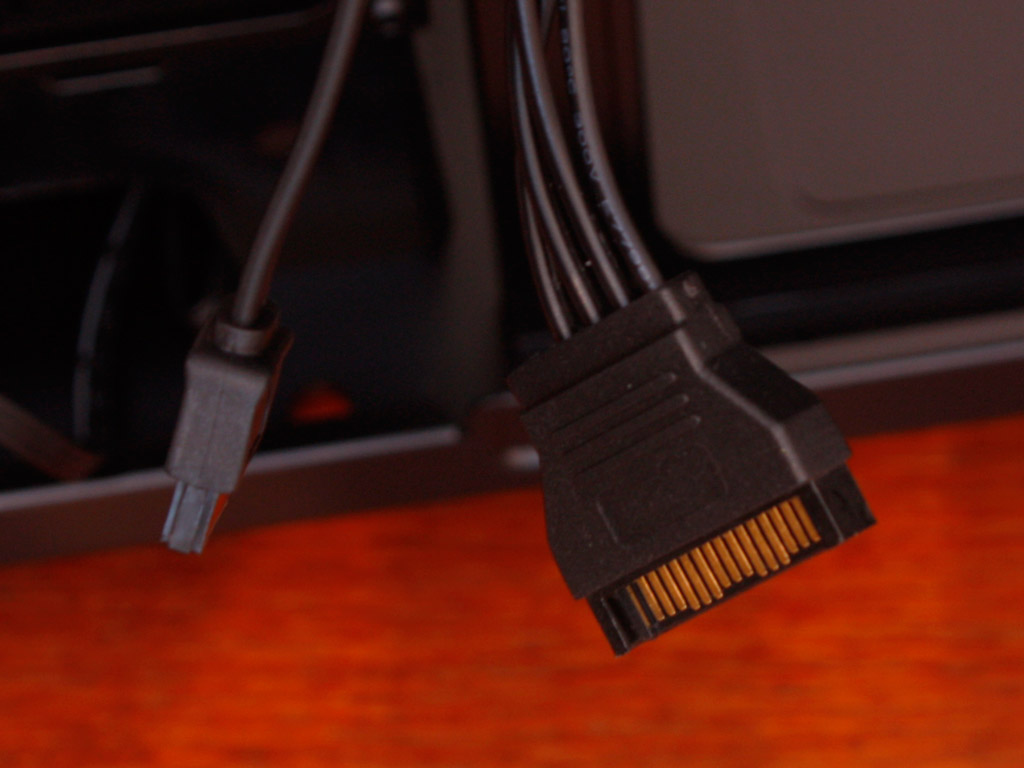
Before we dive into the assembly process, let us take a quick look at the cables within the chassis. All of them are black to go well with the rest of the chassis. There are four fan headers to connect to the big dial on top of the chassis. This controller is powered by a simple Molex connector. Besides that there are all the standard headers present to connect everything to the mainboard, along with the two USB 3.0 connectors. Last but not least there are the two connectors for the hot-swap bay. One attaches to the mainboard while the other is a SATA power connector.
Feb 12th, 2025 03:05 EST
change timezone
Latest GPU Drivers
New Forum Posts
- Were Ryzen 8000 CPUs a big mistake from AMD? (11)
- Proposed new Power Connector (22)
- It's happening again, melting 12v high pwr connectors (278)
- win10 or win11 (8)
- Why Doesn't AMD Offer Long-Term GPU Availability Like Nvidia? (1)
- AM4 and Combining Different RAM? (72)
- Someone run games on AMD BC-250 under Linux * Cut down PS5 die to 6 CPU cores 24 GPU cores for use in crypto mining (65)
- Do I need to spend extra money on my MOBO? (50)
- Do you guys have backup GPUs? (24)
- Asteroid 2024 YR4 reaches level 3 on the Torino Scale (96)
Popular Reviews
- Civilization VII Performance Benchmark Review - 35 GPUs Tested
- Kingdom Come Deliverance II Performance Benchmark Review - 35 GPUs Tested
- Team Group T-Force XTREEM DDR5-7200 48GB CL34 Review
- ASRock Phantom Gaming B850I Lightning Wi-Fi Review
- DAREU A980 Pro Max Review
- AMD Ryzen 7 9800X3D Review - The Best Gaming Processor
- NVIDIA GeForce RTX 5080 Founders Edition Review
- Corsair Frame 4000D Review
- Spider-Man 2 Performance Benchmark Review - 35 GPUs Tested
- MSI GeForce RTX 5080 Vanguard SOC Review
Controversial News Posts
- AMD Radeon 9070 XT Rumored to Outpace RTX 5070 Ti by Almost 15% (287)
- AMD is Taking Time with Radeon RX 9000 to Optimize Software and FSR 4 (256)
- AMD Denies Radeon RX 9070 XT $899 USD Starting Price Point Rumors (239)
- Edward Snowden Lashes Out at NVIDIA Over GeForce RTX 50 Pricing And Value (239)
- AMD Radeon RX 9070 XT & RX 9070 Custom Models In Stock at European Stores (226)
- New Leak Reveals NVIDIA RTX 5080 Is Slower Than RTX 4090 (215)
- AMD's Radeon RX 9070 Launch Faces Pricing Hurdles (175)
- AMD Radeon RX 9070 XT Tested in Cyberpunk 2077 and Black Myth: Wukong (169)