 3
3
Corsair Virtuoso MAX Wireless Review
Sound Quality »Software
The Corsair Virtuoso MAX Wireless is controlled through the iCUE software driver. The sheer number of options still makes iCUE one of the more challenging peripheral software drivers to use, but it at least appears to eat up fewer system resources than before; it was staying below 200 MB on the memory front during my testing.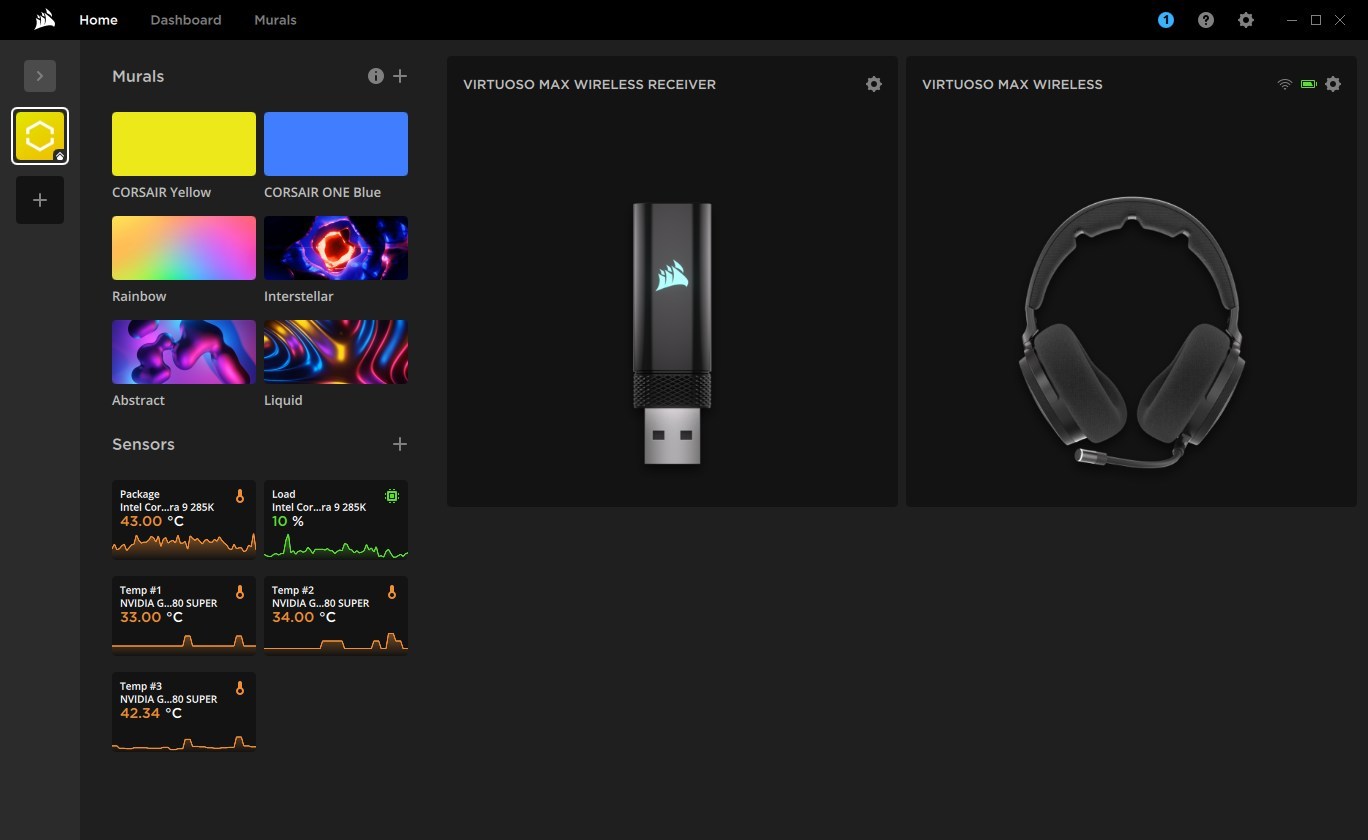
On the Home screen, you'll see two items related to the Virtuoso MAX Wireless: the headset itself, and the wireless receiver. To quickly access their settings, simply hover the mouse over their icons and wait for a moment until the configuration menus appear.
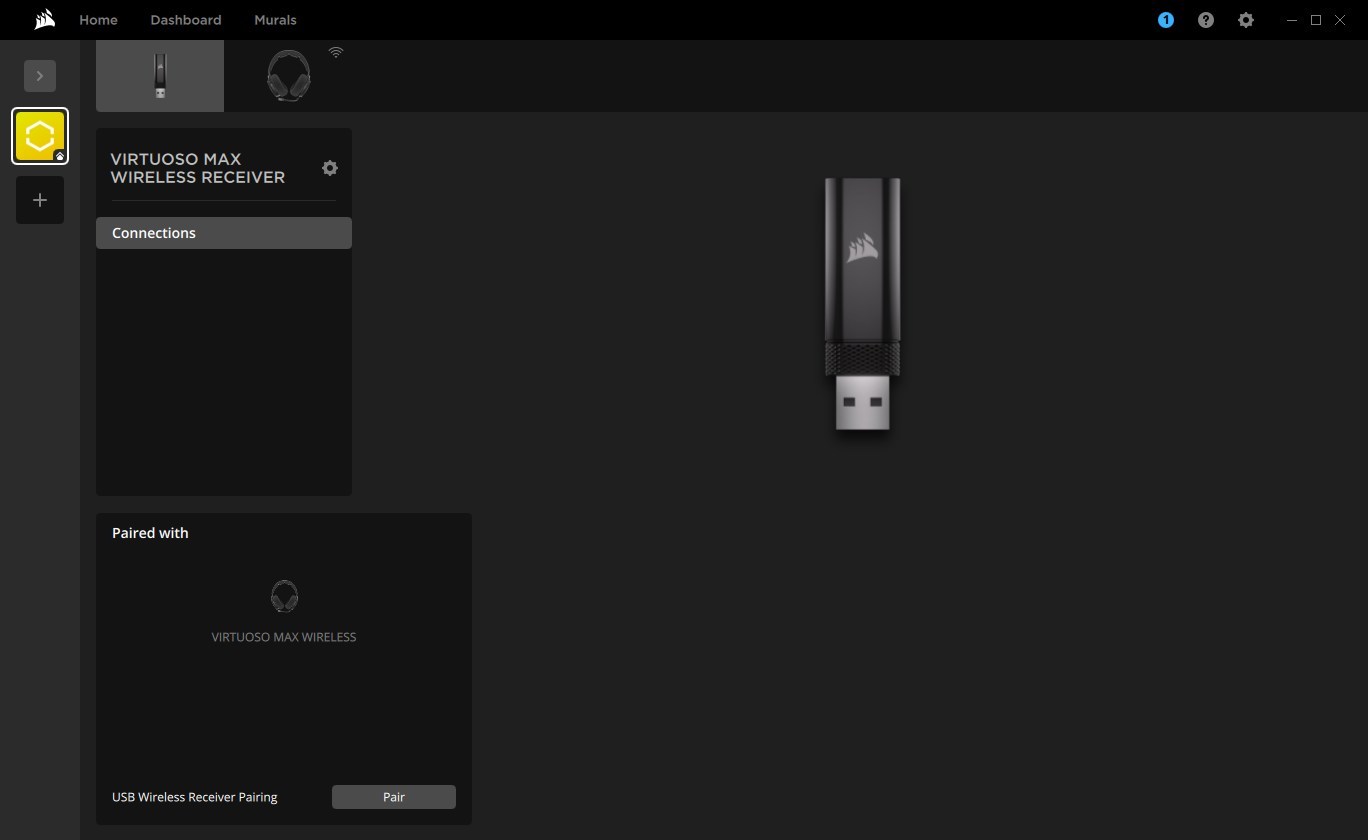
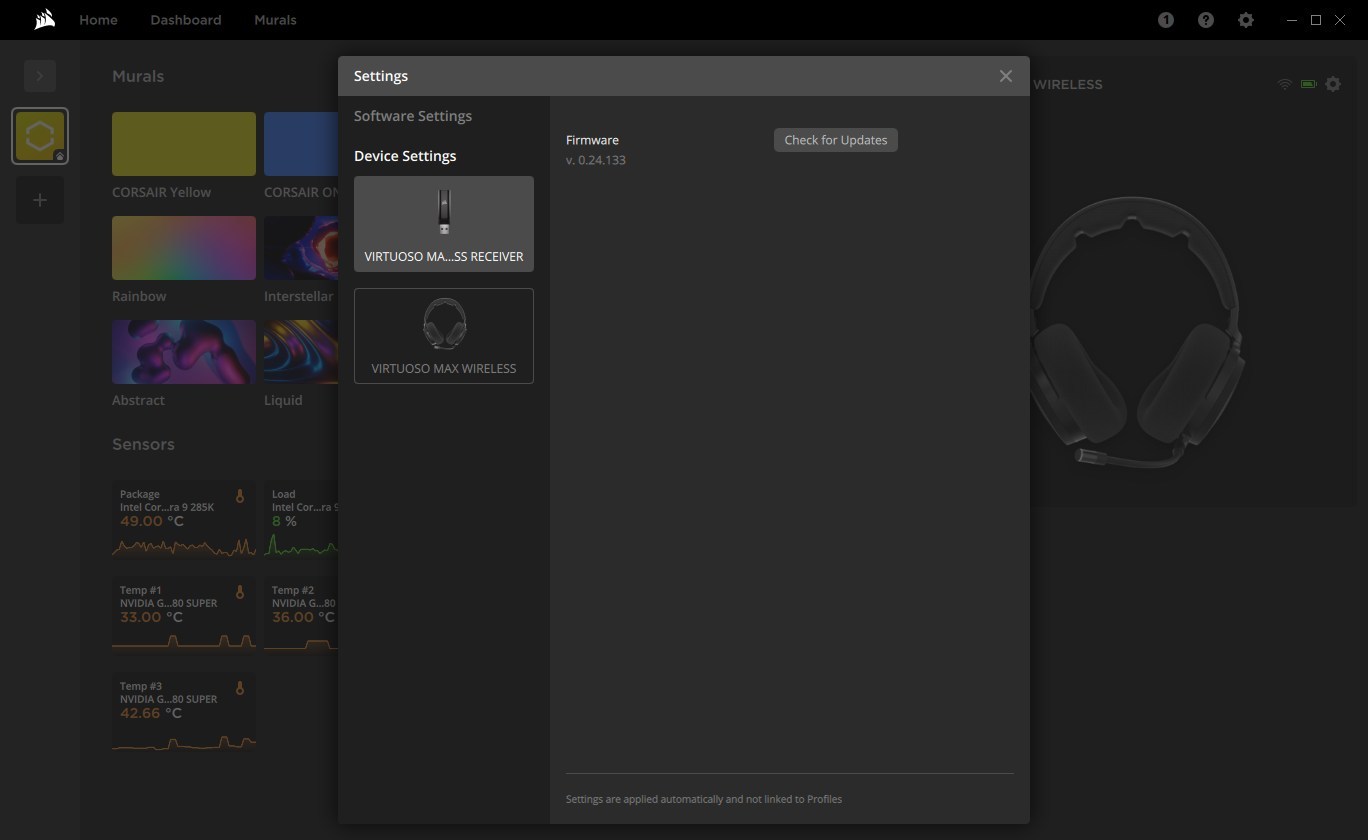
Clicking on the receiver takes you to a page where you can reinitiate pairing with the provided Wi-Fi dongle. If you click the cogwheel icon above it, you'll access the firmware update menu. However, manual checks aren't necessary, as you'll receive automatic firmware update notifications.
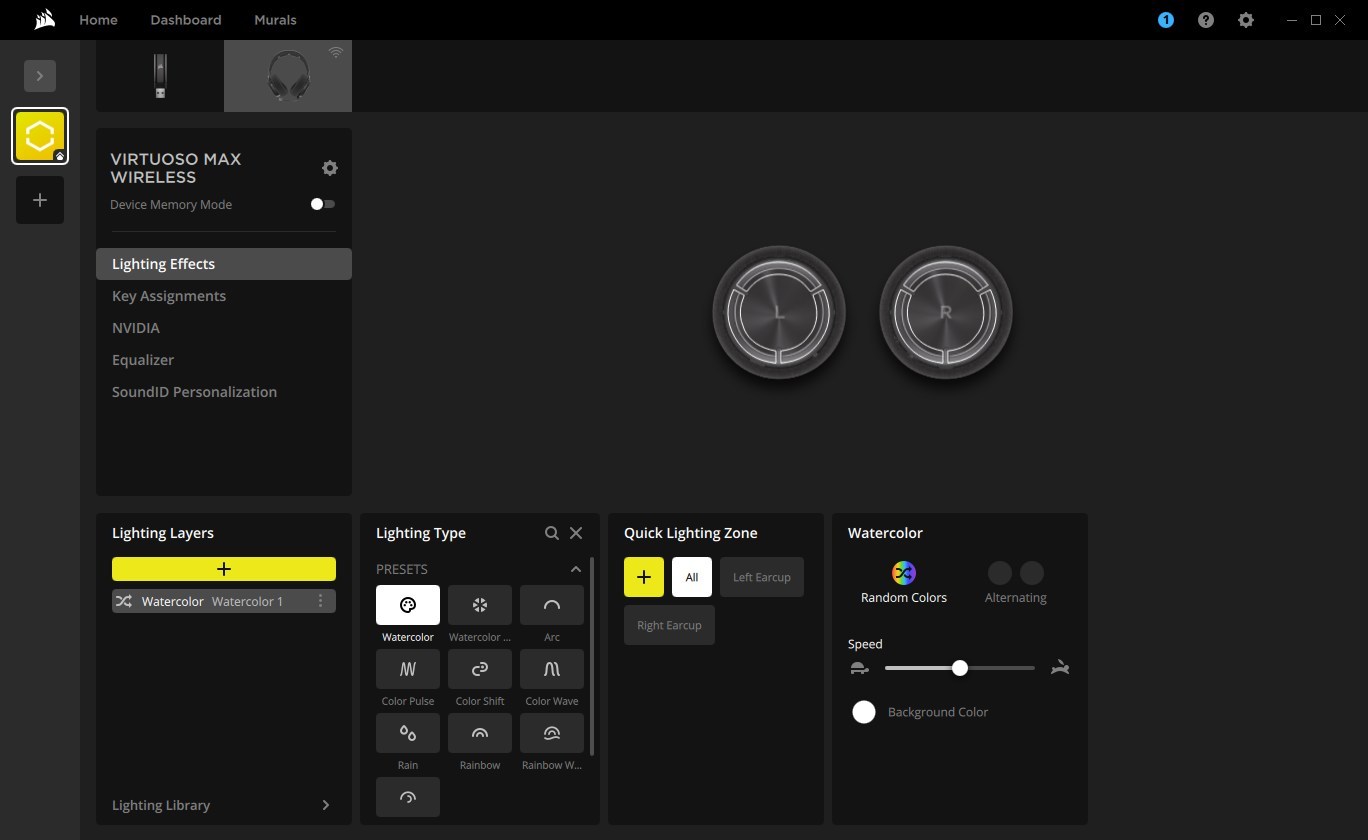
After selecting the headset, you'll first land in the Lighting Effects menu, where you can customize its RGB colors and effects. The glowing rings on both ear cups are divided into three individually controllable zones. There are several preset lighting profiles to choose from, including Watercolor, Watercolor Spectrum, Color Pulse, Color Shift, Color Wave, Rain, Rainbow, Rainbow Wave, and Spiral Rainbow. Additionally, a few custom profiles such as Static Color, Solid, and Gradient are available, along with various Lighting Link profiles that synchronize RGB effects across Corsair gaming peripherals. To turn off the RGB effects, you'll need to navigate to the Device Settings menu and lower the LED brightness to zero.

The Key Assignments menu allows you to map various device-related or system functions to the customizable button on the right ear cup. Custom macros are also supported, offering virtually limitless functionality to suit your needs. Personally, I assigned it to toggle between EQ profiles - specifically switching between the Pure Direct and FPS Competition profiles, depending on the game I was playing. Interestingly, Corsair also offers a paid Voicemod integration, an AI-powered voice changer, for those interested in experimenting with their voice - provided they're willing to pay for it.
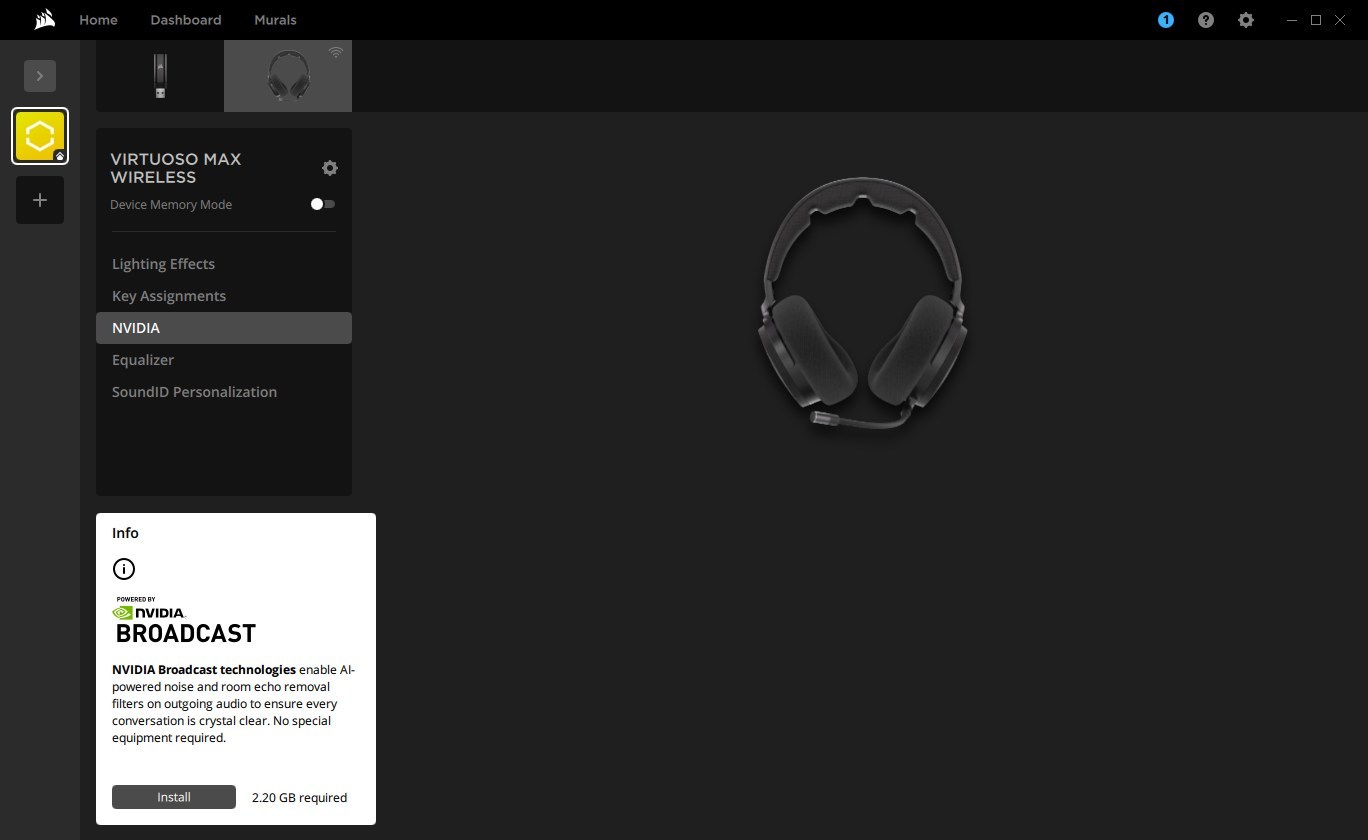
The NVIDIA menu offers NVIDIA Broadcast integration. It's an AI-powered noise and room echo filtering technology, which is applied to outgoing audio. It can only be used if your system is equipped with an NVIDIA RTX-series graphics card.
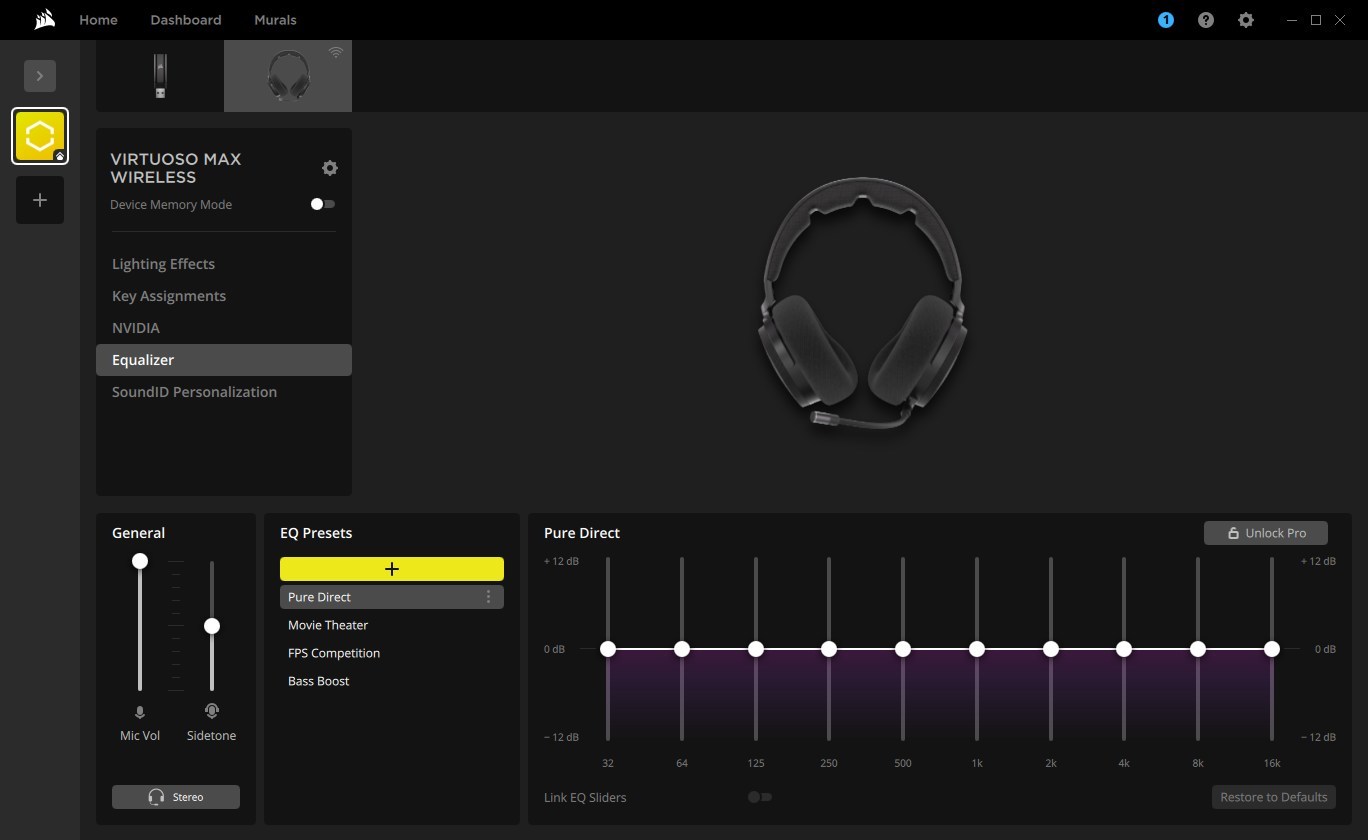
The Equalizer menu provides access to microphone controls, including gain and sidetone, as well as various system-wide EQ presets and the option to create custom ones. The equalizer features a 10-band adjustment range with a ±12 dB scale, and it includes an option to link neighboring sliders for smoother frequency response adjustments.
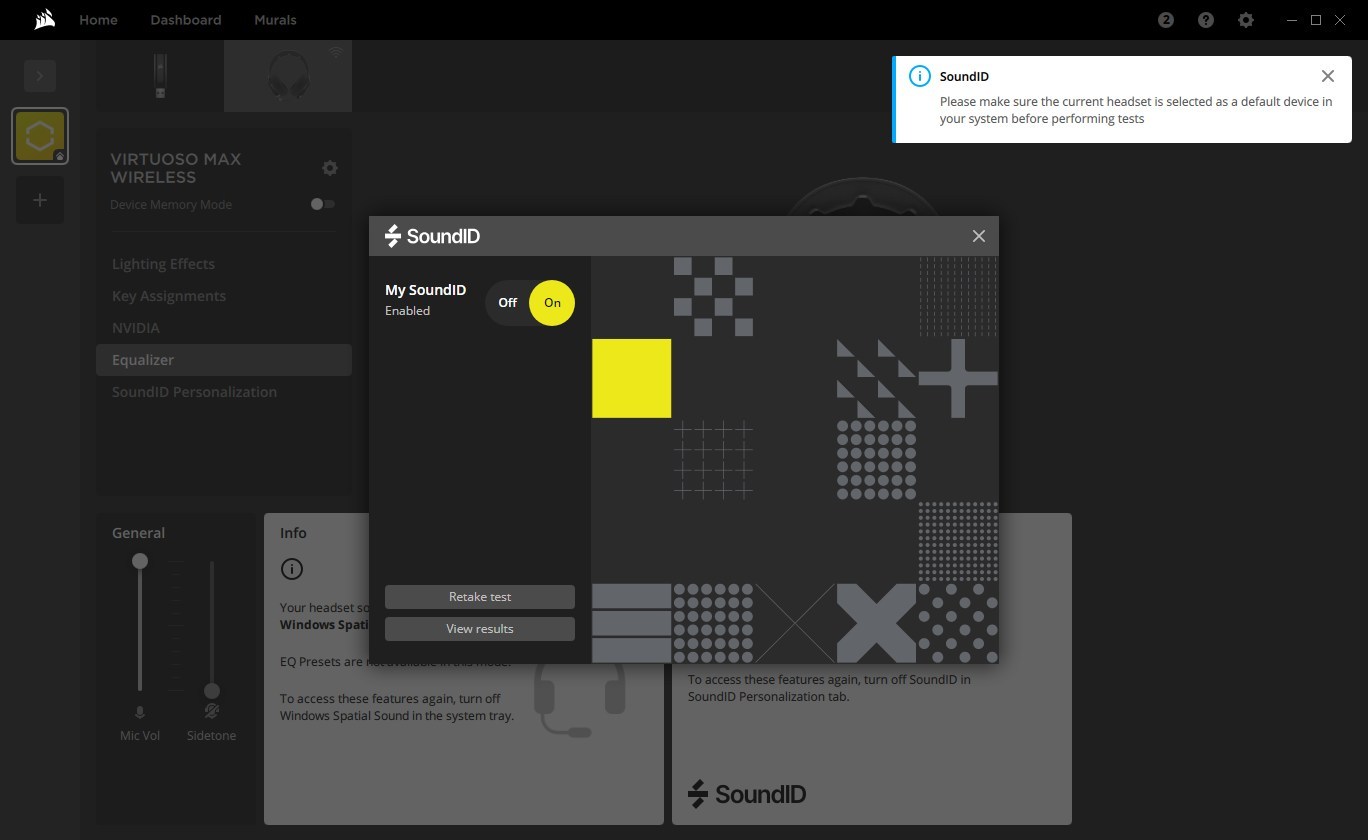
The SoundID Personalization menu is where you can create and toggle a personalized sound profile. More on that in the sound quality section of the review.

The Device Settings menu provides access to various headset options. Here, you can check for firmware updates, adjust the auto-shutoff timer, disable the microphone LED when active, toggle voice prompts on or off, boost the microphone, switch between active noise cancellation and Transparency mode - disable both - and control the brightness of the RGB lighting system. Why this last option isn't included in the Lighting Effects menu remains a mystery.
Feb 25th, 2025 08:06 EST
change timezone
Latest GPU Drivers
New Forum Posts
- Authenticode fails for GPU-Z 2.63.0 (4)
- What's your latest tech purchase? (23207)
- 572.42 Drivers, Screen Blacking Out? (21)
- Nvidia's GPU market share hits 90% in Q4 2024 (gets closer to full monopoly) (598)
- Solidigm NVMe Custom Modded Driver for All NVMe Brands SSDs & Any NVMe SSDs (211)
- Cs2 Freezing in Rx 580 (7)
- Zotac RTX 3060Ti Twin Edge OC LHR PCB image (4)
- Freesync + Borderless Windowed Mode Stuttering (0)
- [PCGamer] Former Sony exec finally says the quiet part out loud: putting PlayStation games on PC is 'almost like printing money' (43)
- AIO - 120mm cpu cooler? (33)
Popular Reviews
- ASUS GeForce RTX 5070 Ti TUF OC Review
- MSI GeForce RTX 5070 Ti Vanguard SOC Review
- MSI GeForce RTX 5070 Ti Ventus 3X OC Review
- Corsair Xeneon 34WQHD240-C Review - Pretty In White
- MSI GeForce RTX 5070 Ti Gaming Trio OC+ Review
- Corsair Virtuoso MAX Wireless Review
- darkFlash DY470 Review
- Palit GeForce RTX 5070 Ti GameRock OC Review
- AMD Ryzen 7 9800X3D Review - The Best Gaming Processor
- Gigabyte GeForce RTX 5090 Gaming OC Review
Controversial News Posts
- NVIDIA GeForce RTX 50 Cards Spotted with Missing ROPs, NVIDIA Confirms the Issue, Multiple Vendors Affected (480)
- AMD Radeon 9070 XT Rumored to Outpace RTX 5070 Ti by Almost 15% (304)
- AMD Plans Aggressive Price Competition with Radeon RX 9000 Series (272)
- AMD Radeon RX 9070 and 9070 XT Listed On Amazon - One Buyer Snags a Unit (247)
- Edward Snowden Lashes Out at NVIDIA Over GeForce RTX 50 Pricing And Value (241)
- NVIDIA Investigates GeForce RTX 50 Series "Blackwell" Black Screen and BSOD Issues (240)
- AMD Denies Radeon RX 9070 XT $899 USD Starting Price Point Rumors (239)
- AMD Radeon RX 9070 and 9070 XT Official Performance Metrics Leaked, +42% 4K Performance Over Radeon RX 7900 GRE (166)