 0
0
Cougar MX500 Review
Assembly & Finished Looks »A Closer Look - Inside
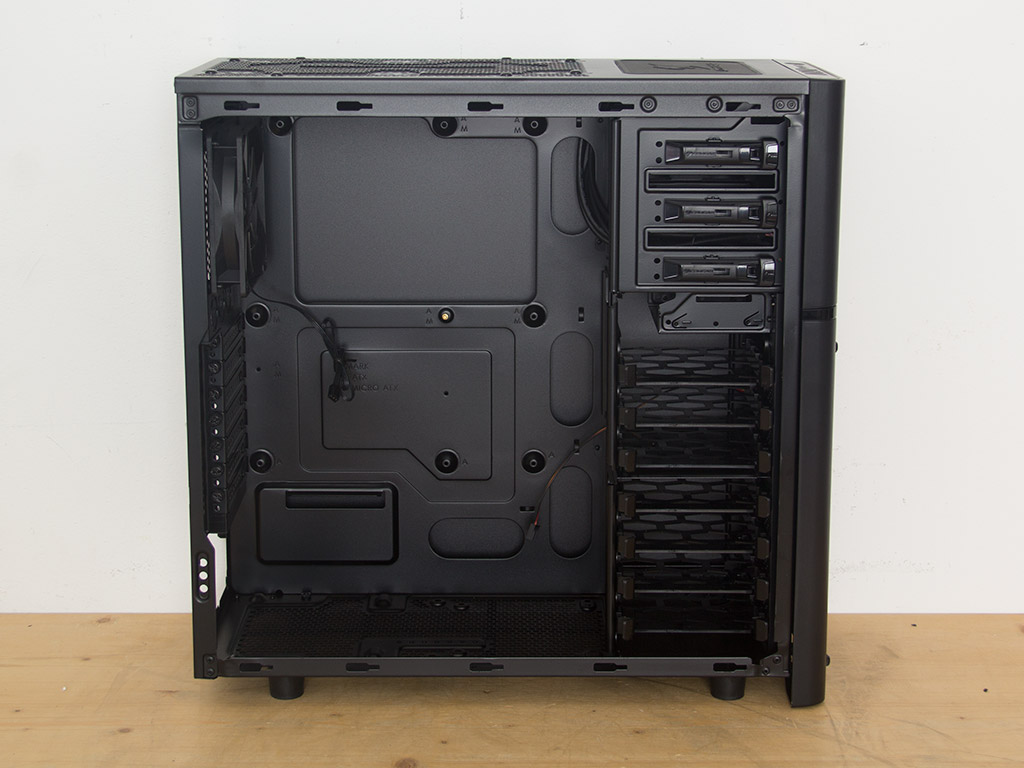
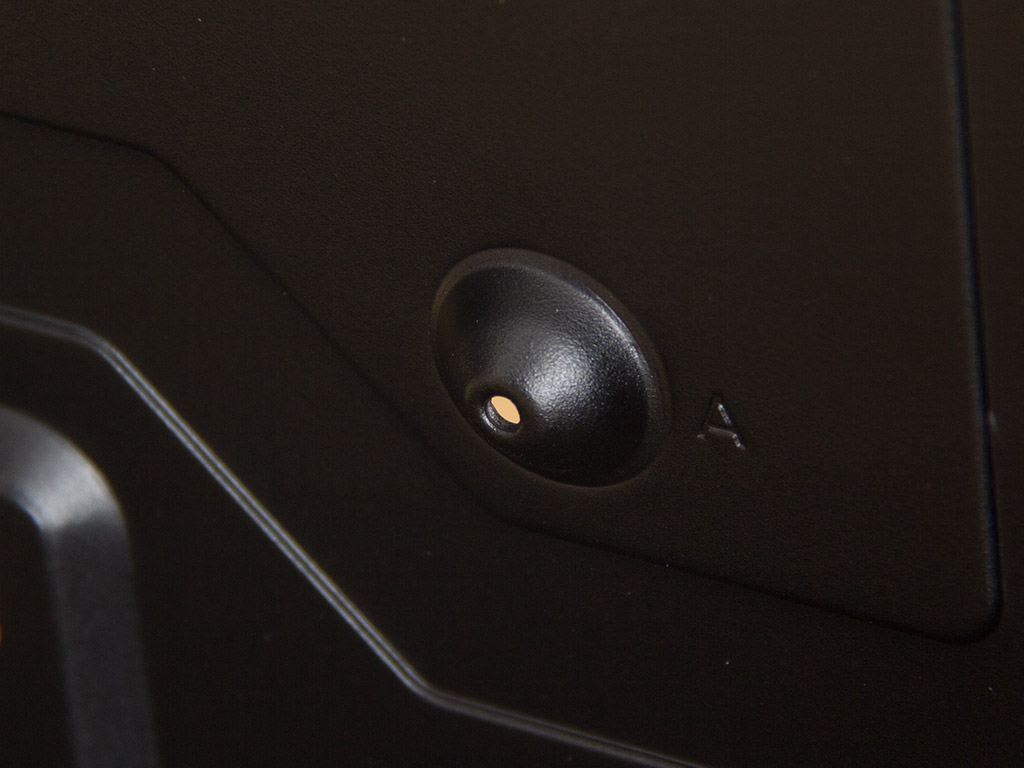
To access the MX500's interior, simply take the side panels off by removing the thumbscrews holding each in place. Some may note the 3.5" drive bay right below the 5.25" bays, but there is unfortunately no way to access it externally. Cougar also chose bumps instead of traditional motherboard spacers, and while bumps should work, you should really tape them up to insulate them before installing your motherboard. This is to avoid the small chance of having the board short out due to such wide bumps.
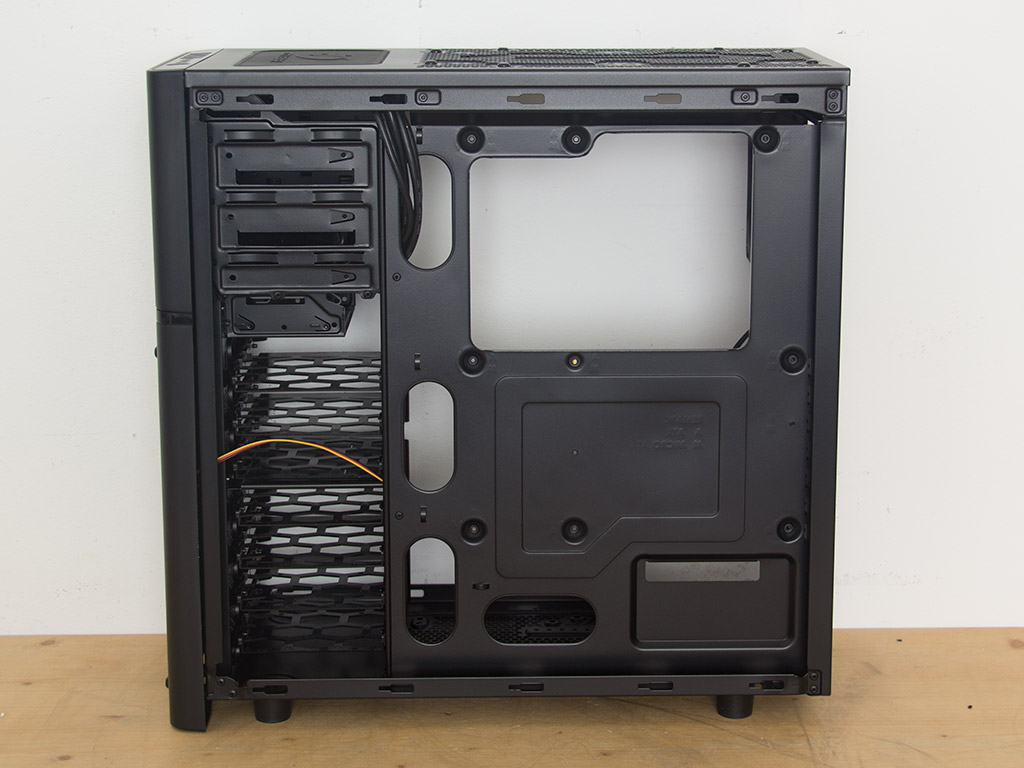
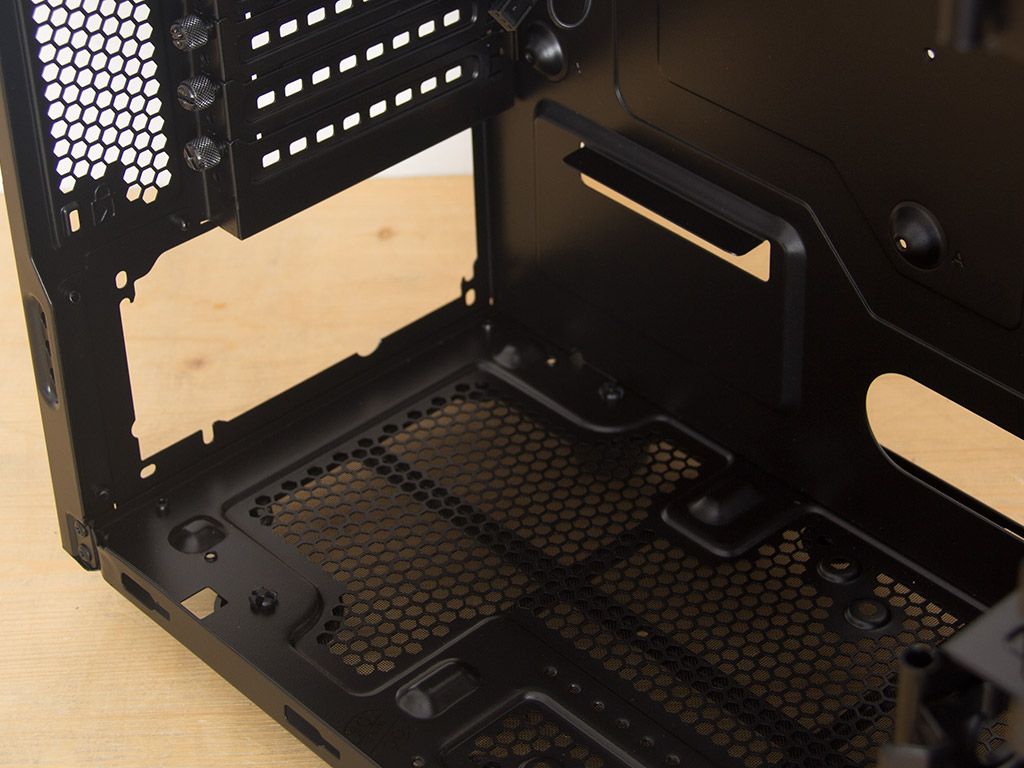
Turning the MX500 around, there is a large opening for the CPU cooler, so accessing the cooler and swapping it out for another with the motherboard installed into the case is not a problem. There are also four small openings you can route cables through, which should make managing cables easier. I do miss the grommets on these, especially in a case of this price point, as they would really help with a tidy look once everything has been installed properly. You will get around 22 mm to work with in terms of cable-routing space behind the motherboard tray, which some tough love should make enough, although you will really have to plan your routing out carefully as the tray hardly has any hooks to tie the cables to.
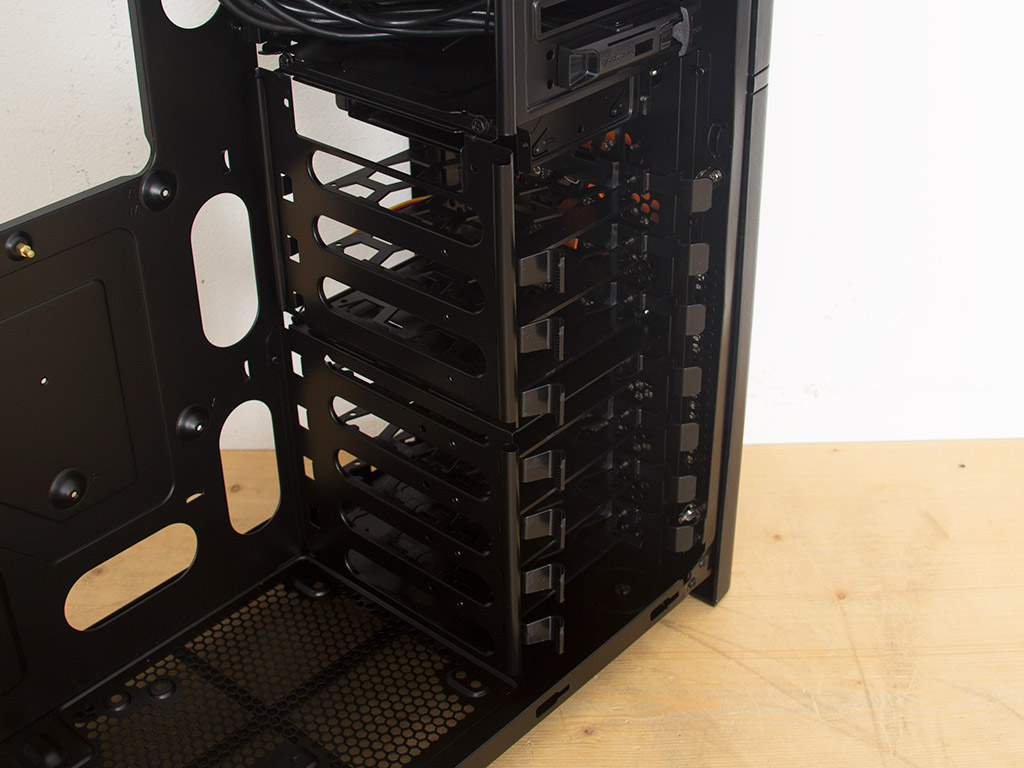
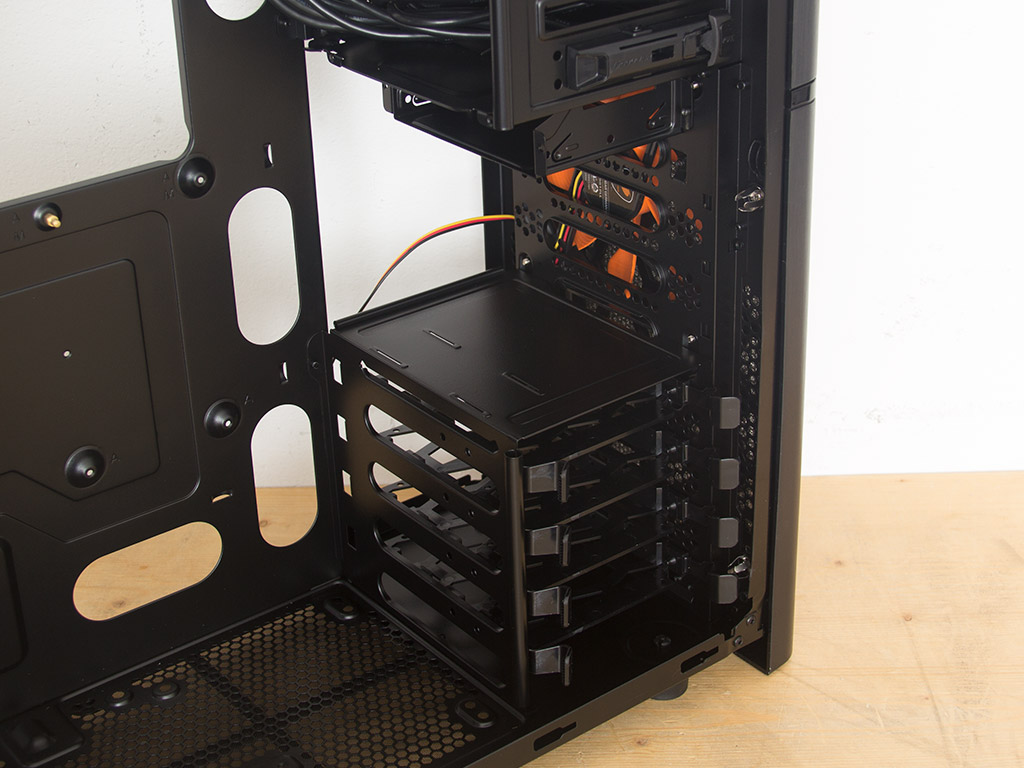
Right out of the box, you will find six 3.5" drive bays in form of trays stacked into the front of the case. The seventh bay would have been the one in the very top as it is actually an external one by design. You may remove the panel of the top cage to give you loads of room for even the longest graphics cards.
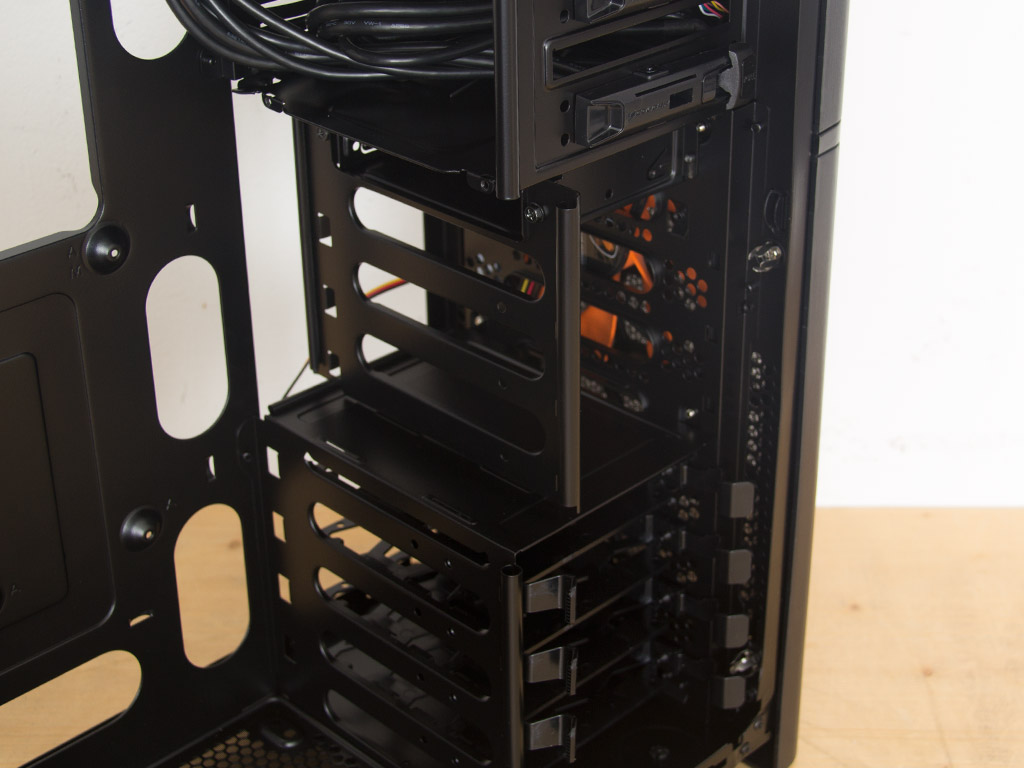
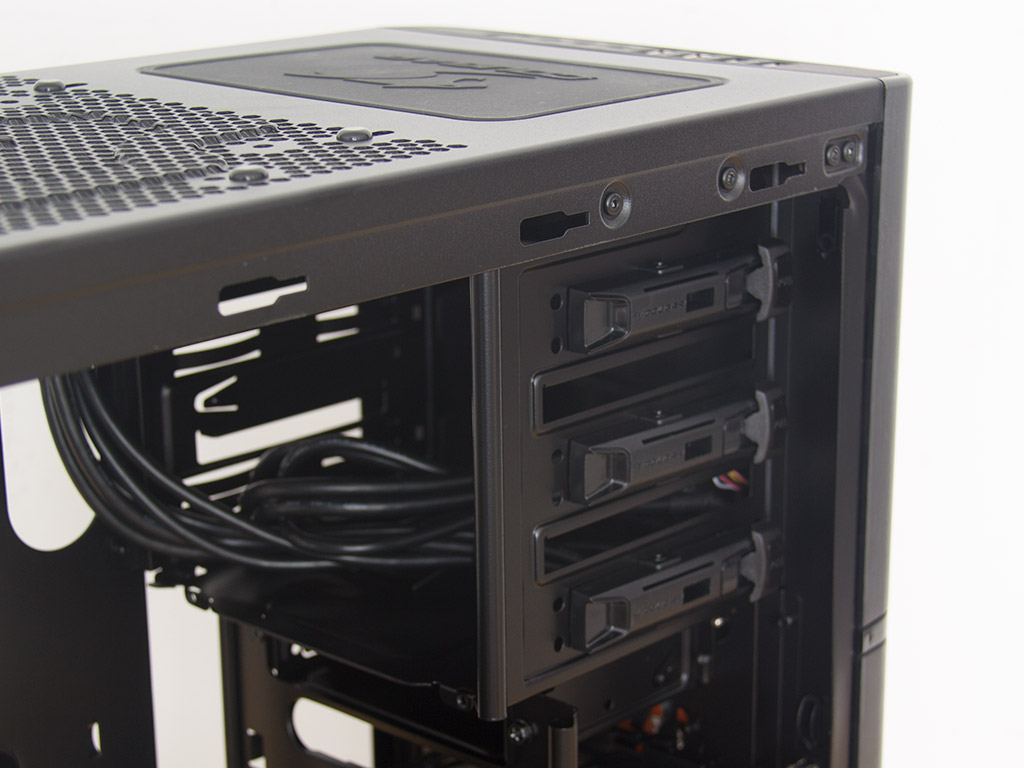
However, Cougar has not stopped there. You may move the cage's side panel a bit further toward the front to make 2.5" drive bays out of this top cage. The additional trays Cougar included make this is a nice little feature. Doing so creates a great compromise between space and expandability. Last but not least, there are the three 5.25" drive bays, each equipped with a tool-less lock for quick installation. It will be interesting to see whether these hold well.
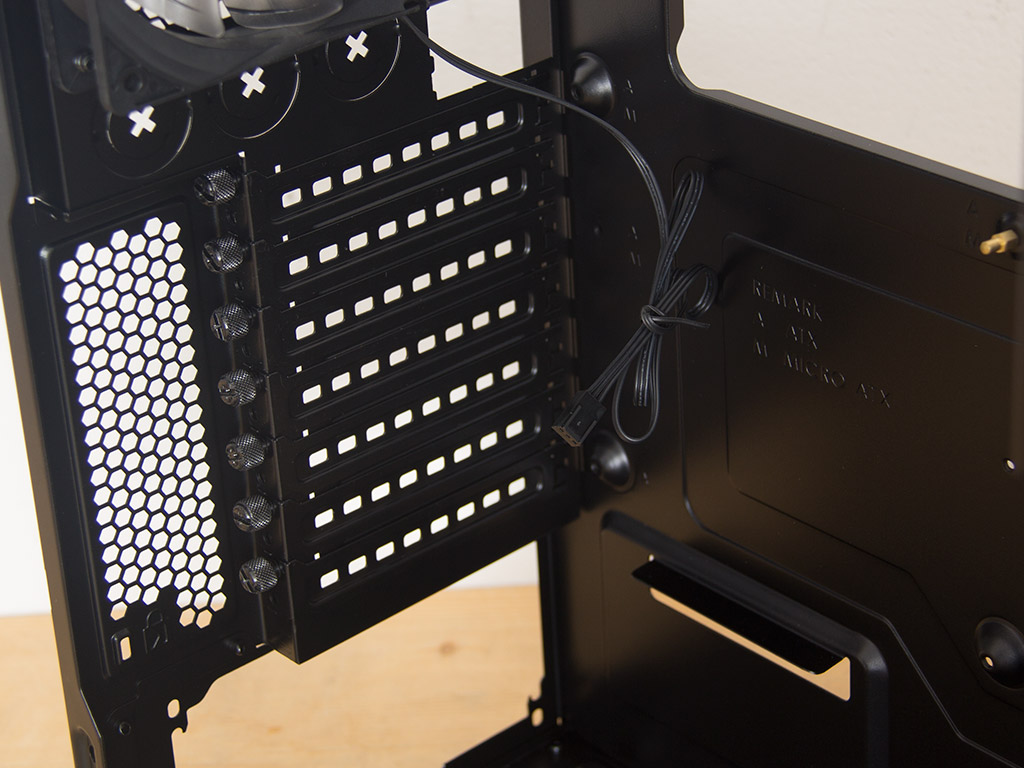

Turning our focus to the rear of the case, the PSU bay on the bottom is nothing out of the ordinary. There is a large air vent to give the fan access to fresh air. Above that are the seven expansion slots. Each is protected by an individual, reusable cover held in place by a thumbscrew. In the very top is the aforementioned 120 mm exhaust fan. This one is not of the retail variety as it comes with the Turbine frame and the semi-transparent blades of the CFD series. Even though with transparent blades, this fan comes with no built-in LEDs.

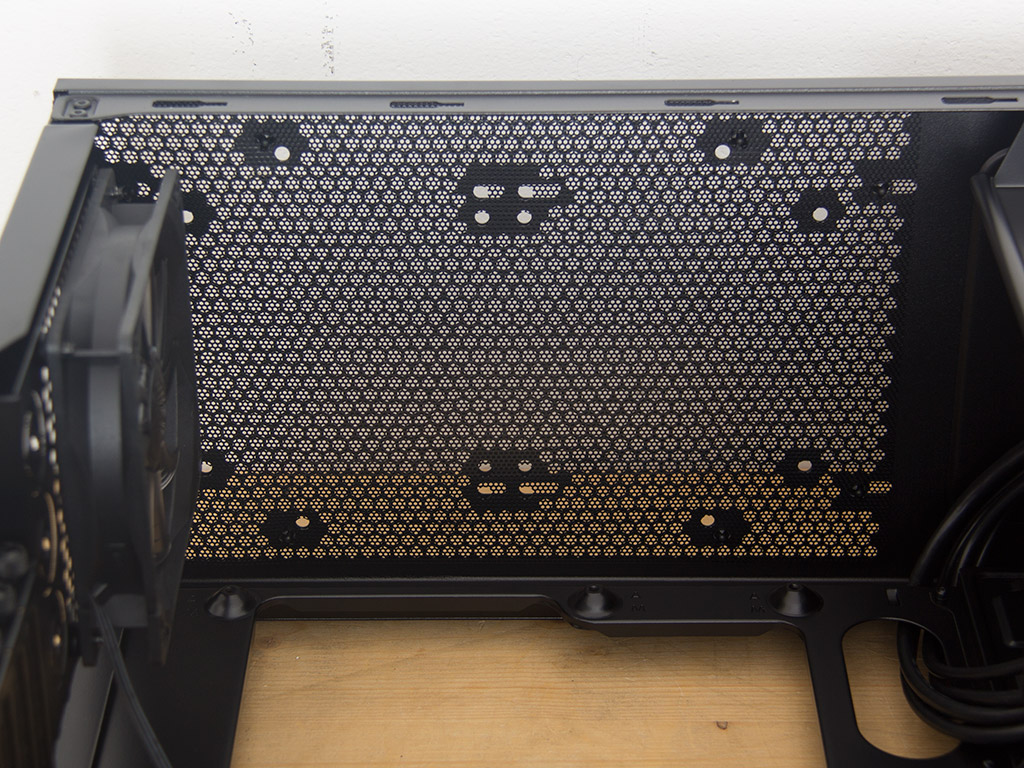
You may install a 120 mm or 140 mm fan to the floor of the chassis and there is, as previously mentioned, enough room for a wide variety of fans in the ceiling. Go with nothing but 120/140 mm fans and there are a total of seven mounting possibilities within the Cougar MX500 – two of which are taken up by pre-installed units.
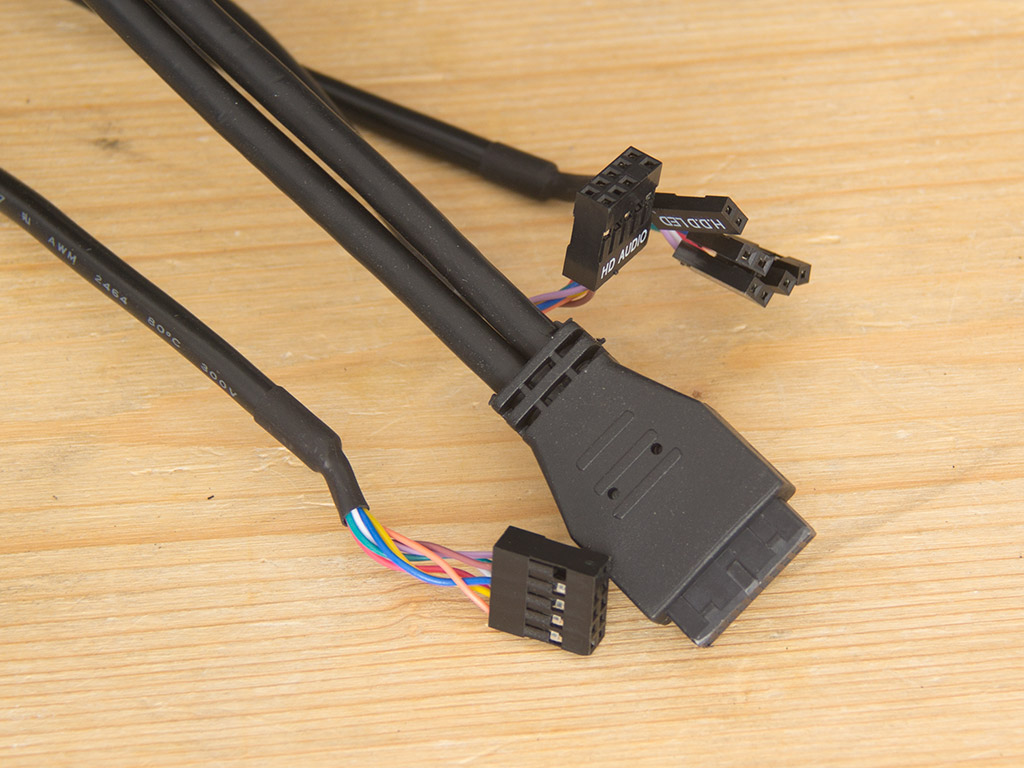
All the cables within the chassis are of the default variety, so you should have no issues connecting these to your motherboard. As you can see, these cables are black to match the interior of the MX500.
Feb 7th, 2025 10:24 EST
change timezone
Latest GPU Drivers
New Forum Posts
- AM4 and Combining Different RAM? (54)
- Opinions on AI (424)
- What's your latest tech purchase? (23100)
- Tomb Raider IV-VI Remastered Discussion (3)
- Some VR for Mom (11)
- What are you playing? (22797)
- Power Throttling with no limited power (2)
- Page loading issues from Russia (41)
- Sapphire Pulse Radeon RX 5600 XT - BIOS Flashing (P25Q80H eeprom) (0)
- Last game you purchased? (659)
Popular Reviews
- Kingdom Come Deliverance II Performance Benchmark Review - 35 GPUs Tested
- Spider-Man 2 Performance Benchmark Review - 35 GPUs Tested
- Corsair Frame 4000D Review
- Formovie Cinema Edge 4K UST Laser Projector Review
- ASUS ROG Harpe Ace Extreme Review
- NVIDIA GeForce RTX 5080 Founders Edition Review
- Kingdom Come: Deliverance 2 Handheld Performance Review
- Gigabyte GeForce RTX 5080 Gaming OC Review
- MSI GeForce RTX 5080 Vanguard SOC Review
- AMD Ryzen 7 9800X3D Review - The Best Gaming Processor
Controversial News Posts
- AMD Radeon 9070 XT Rumored to Outpace RTX 5070 Ti by Almost 15% (285)
- AMD is Taking Time with Radeon RX 9000 to Optimize Software and FSR 4 (256)
- AMD Denies Radeon RX 9070 XT $899 USD Starting Price Point Rumors (239)
- Edward Snowden Lashes Out at NVIDIA Over GeForce RTX 50 Pricing And Value (235)
- AMD Radeon RX 9070 XT & RX 9070 Custom Models In Stock at European Stores (226)
- New Leak Reveals NVIDIA RTX 5080 Is Slower Than RTX 4090 (215)
- AMD's Radeon RX 9070 Launch Faces Pricing Hurdles (175)
- AMD Radeon RX 9070 XT Tested in Cyberpunk 2077 and Black Myth: Wukong (169)