 6
6
Cubitek Tattoo Fire Review
Value & Conclusion »Assembly
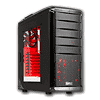
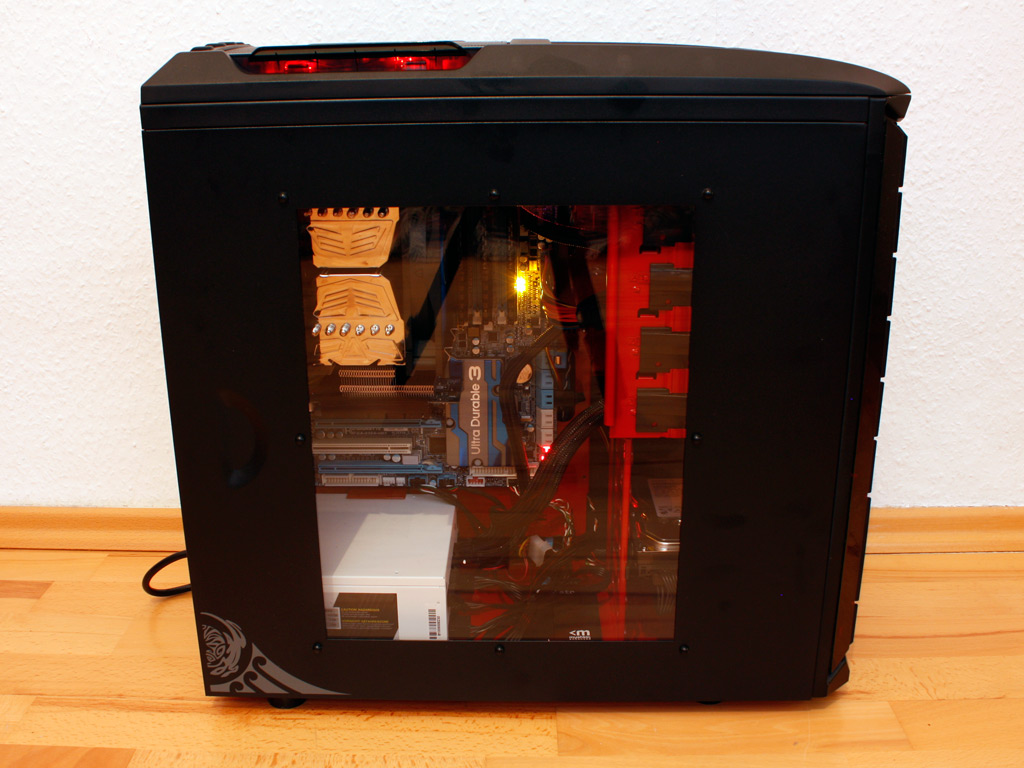
Installing the mainboard is an easy task, as you just use the included spacers along with the black screws to secure it in place. As you can see the only two openings of the main board tray are partially covered by the board itself, further restricting how you can hide and route things within the chassis. On the upside the large Prolimatech Super Mega cooler along with the 140 mm Vortex fan actually fits inside the chassis without any issue.
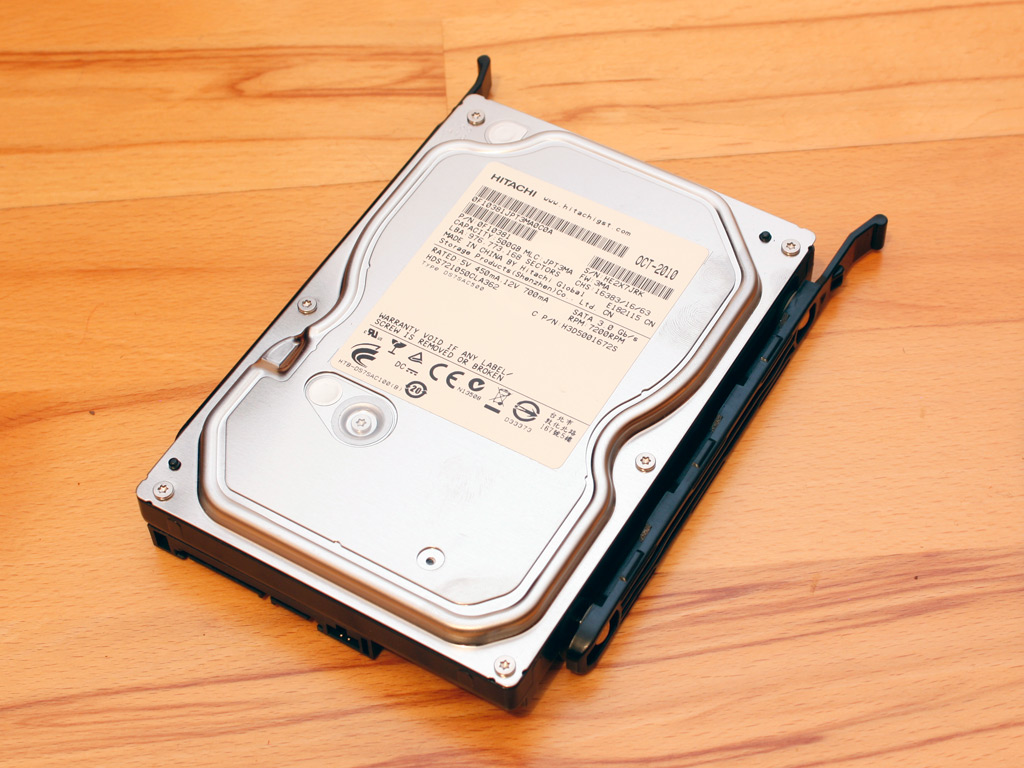
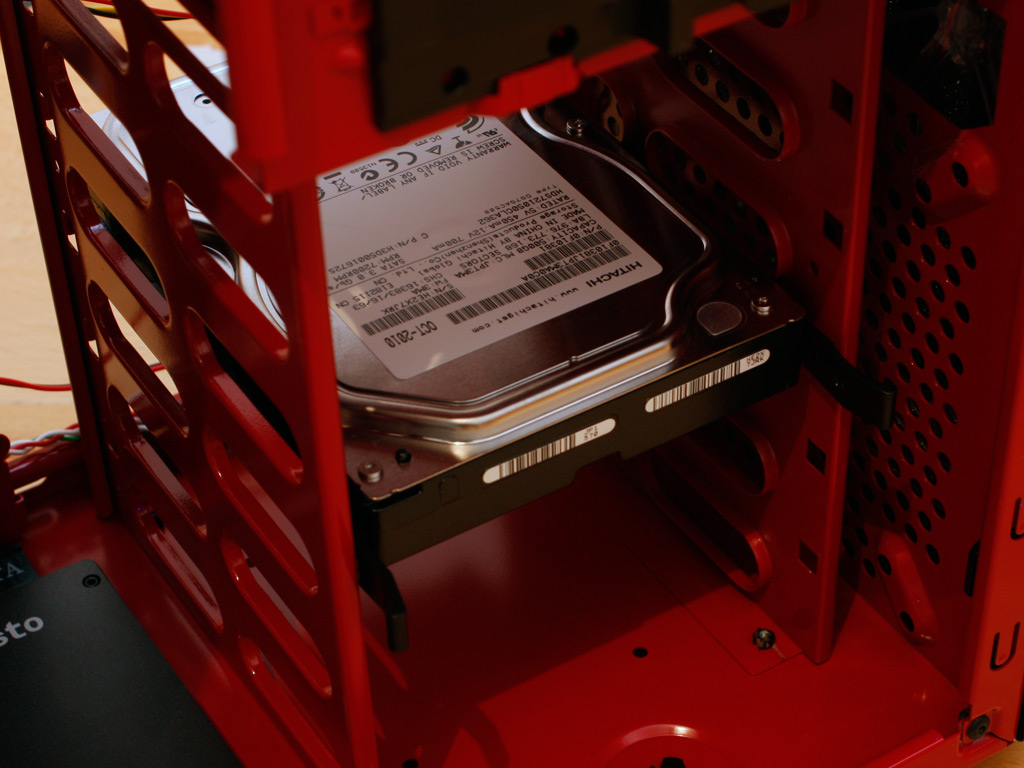
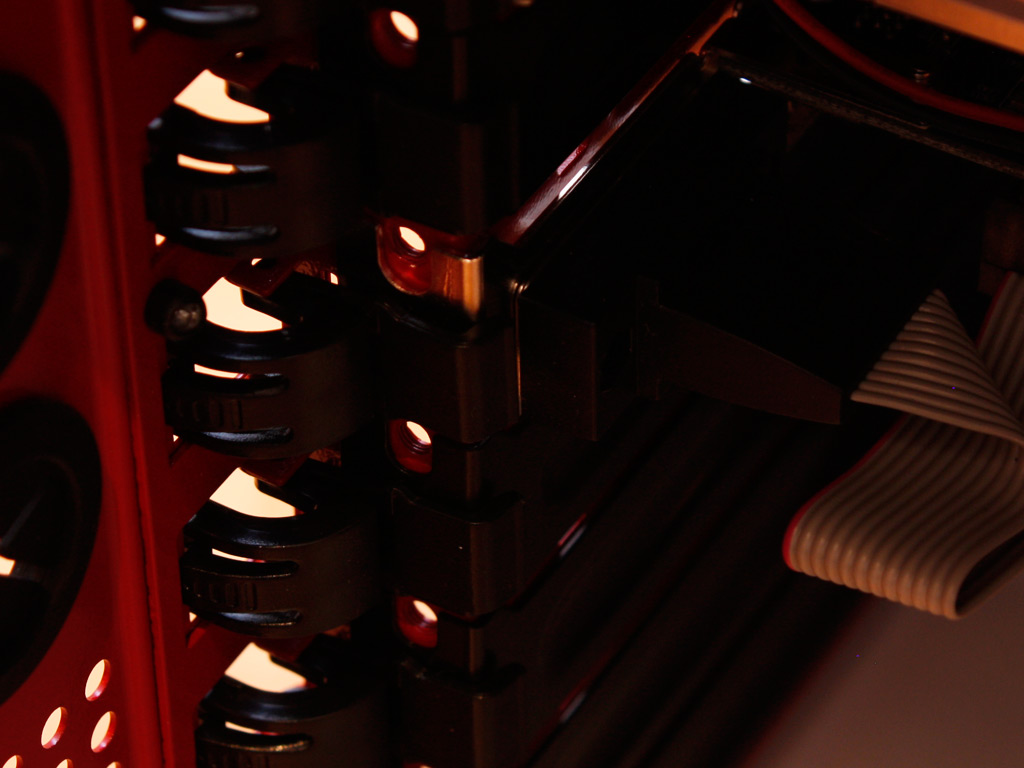
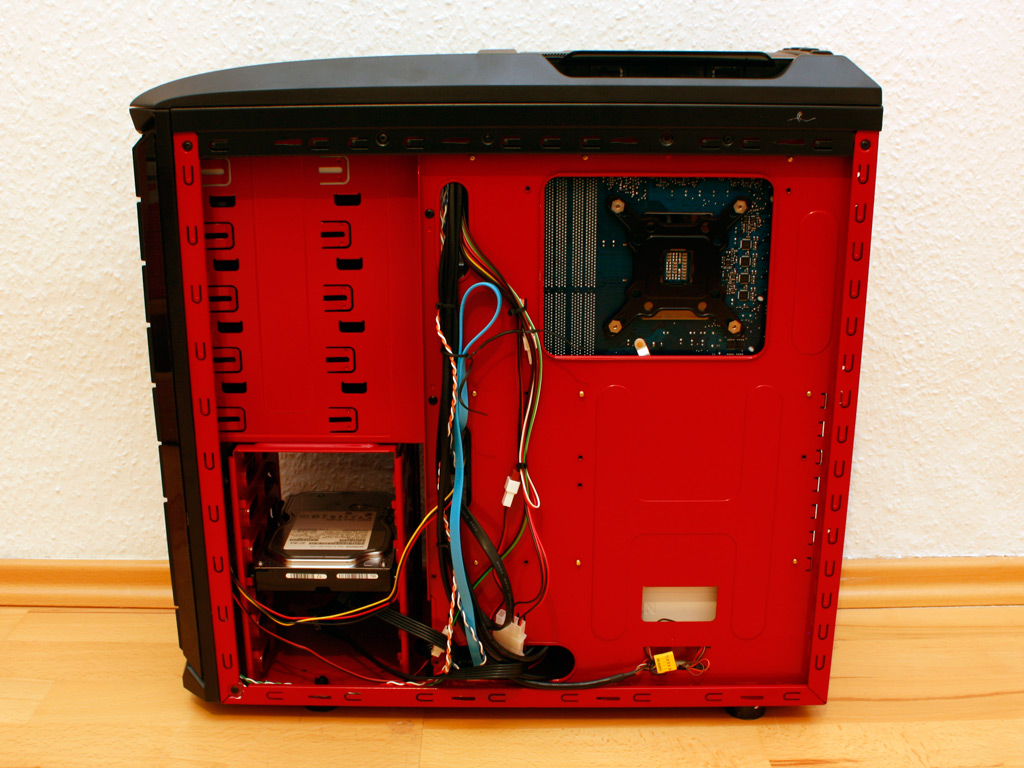
Installing the hard drives - be it 2.5 or 3.5 inch, is not so painless. While the SSD can be placed in to the chassis without issue, Cubitek has simply not accounted for the connectors to be facing towards the motherboard, making it nearly impossible to hook things up. I was lucky due to the fact that my SATA power connector is rather short, but that may not be the case with the one found on your PSU. I do not understand why Cubitek did not simply center the four holes in the flooring as this would have solved the problem and given the user plenty of space for any eventuality - especially since that has nothing to do with tooling.
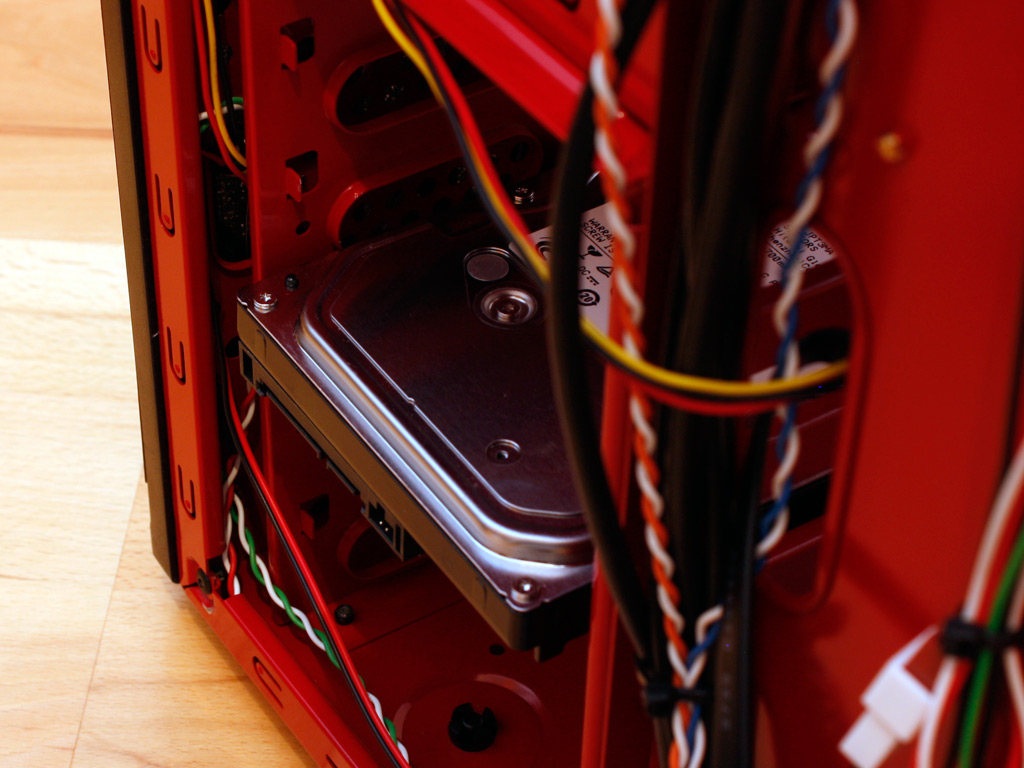
Installing the hard drives with the connector facing the mainboard seems possible at first sight, but upon closer inspection you can see that they reach too far out the other side, making it impossible to connect any cables to the drive. This forces you to make them face toward the window, making it even harder to achieve a clean look inside the PC. Overall, the interior - while very cool looking with the black and red colors - is simply outdated.
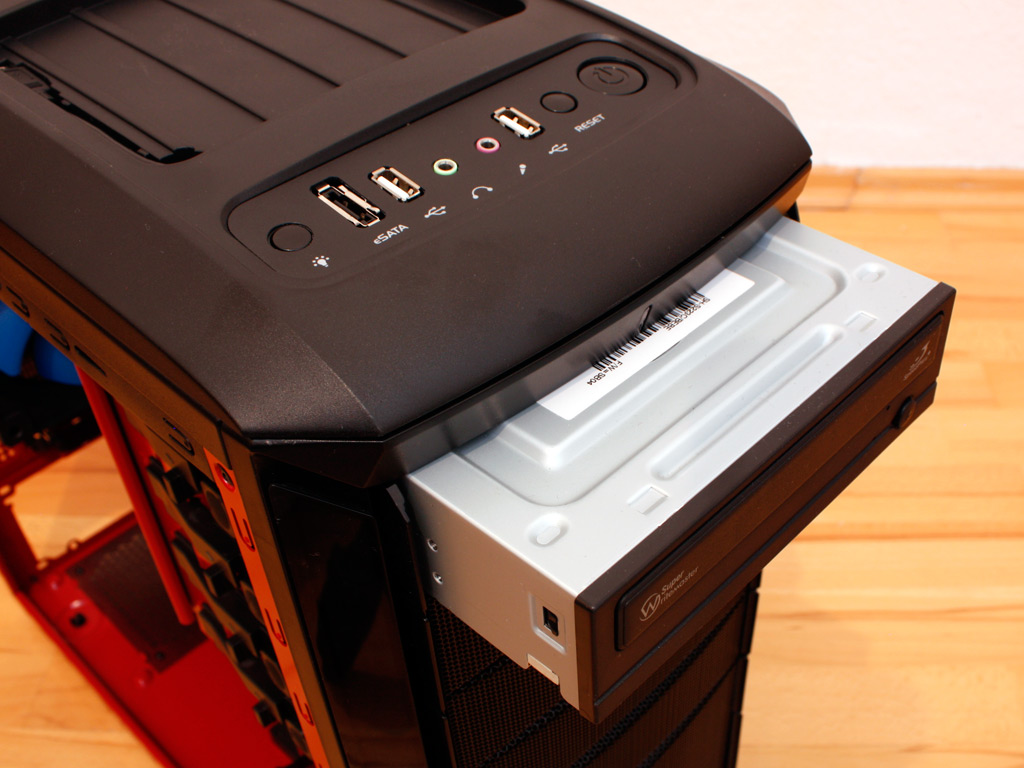
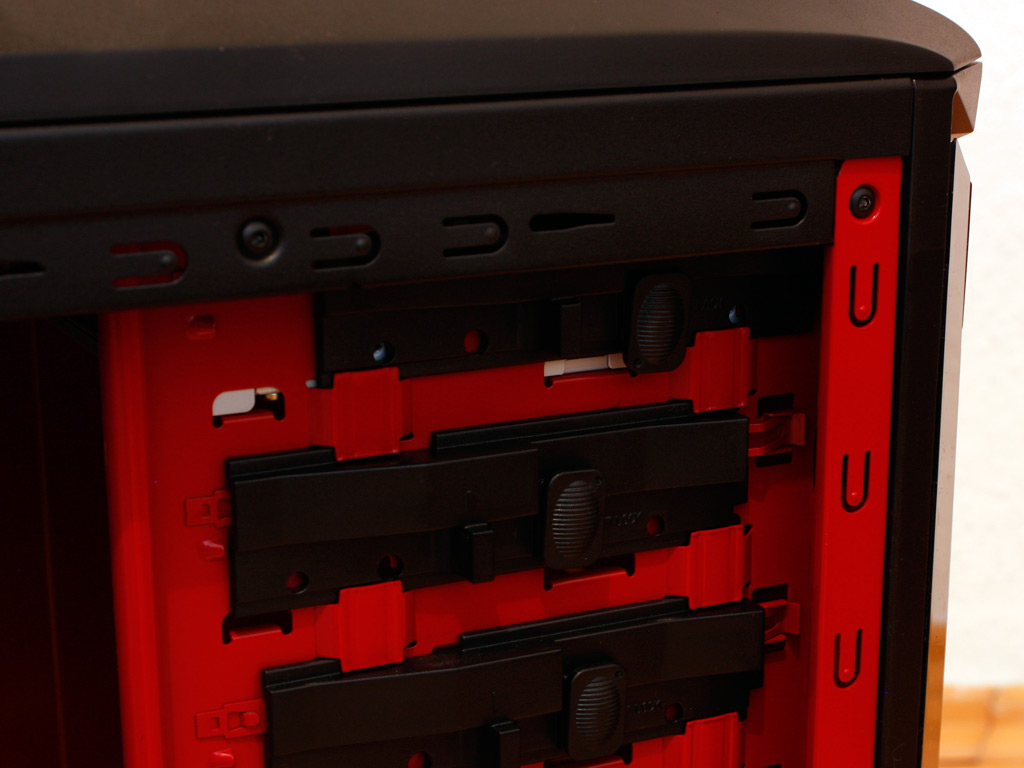
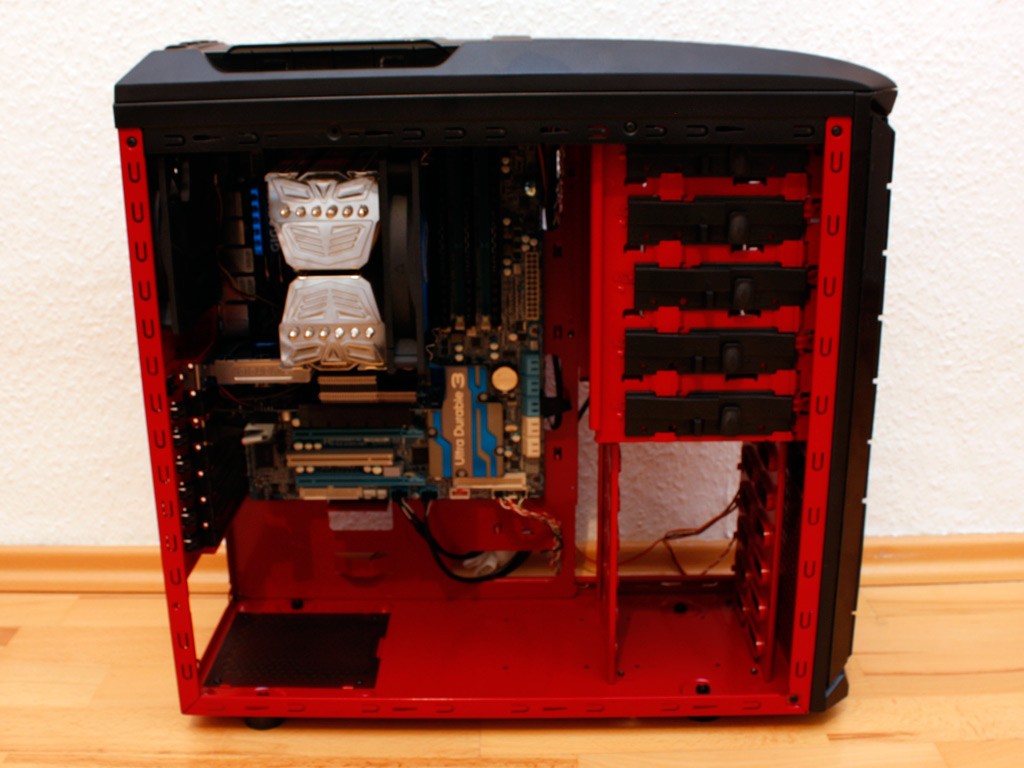
Placing the optical drive within the case is very simple and can be performed without the use of any tools. Just take out the mesh front cover, push the drive into place and lock things down with the black slider. It actually holds rather well and there is no need to use a screw if you do not plan to move the system much.
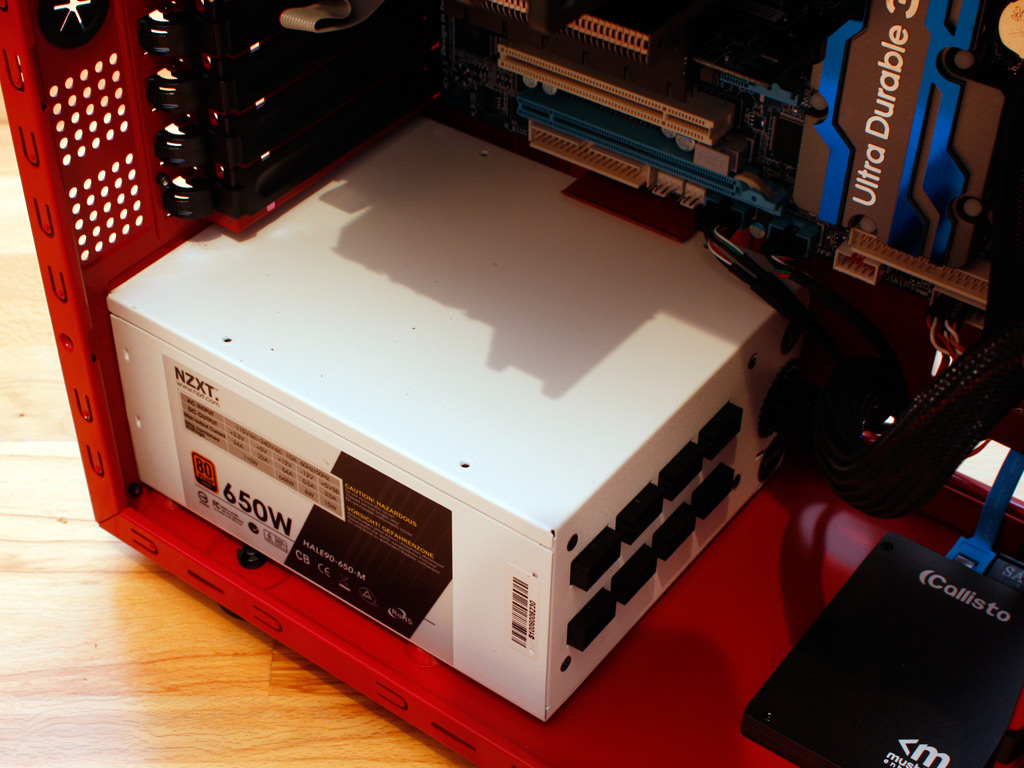
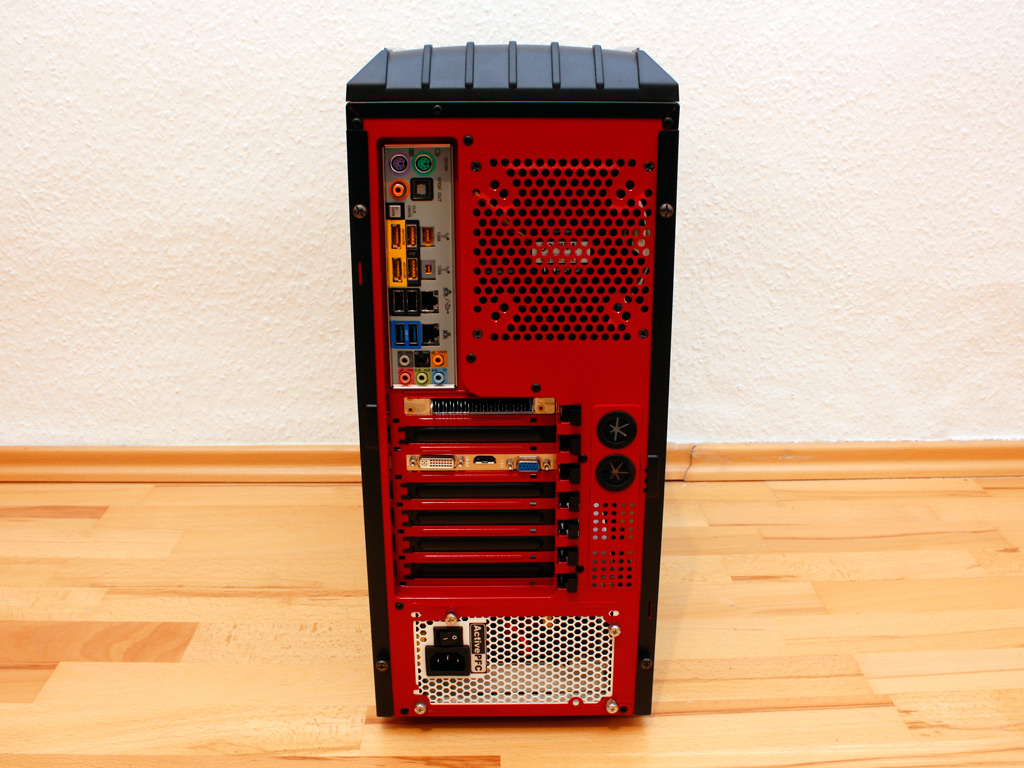
There is still plenty of space for the power supply and you should have no problems installing a large unit in this area of the chassis.
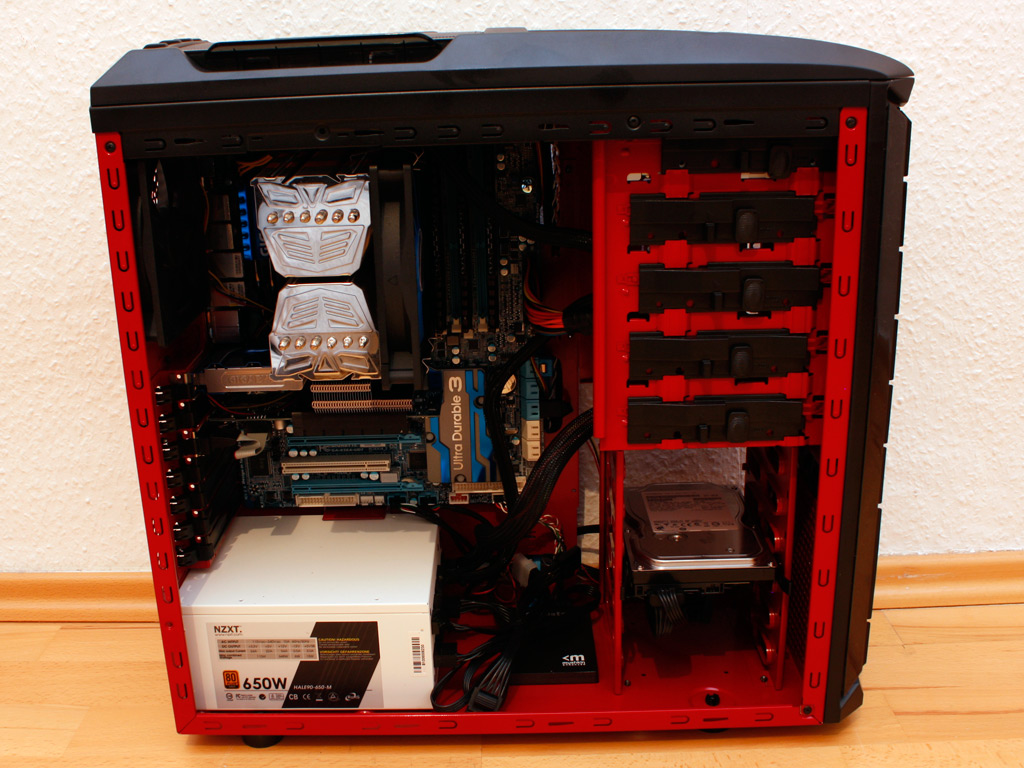
One all the parts are installed, I tried cleaning things up as good as humanly possible. Most of the cables have remained inside the case while only a fraction are routed behind the mainboard tray. There is simply no space to hide more anywhere. For what is possible, the result is not bad, but not nearly as clean as what can be done with other cases.
Finished Looks
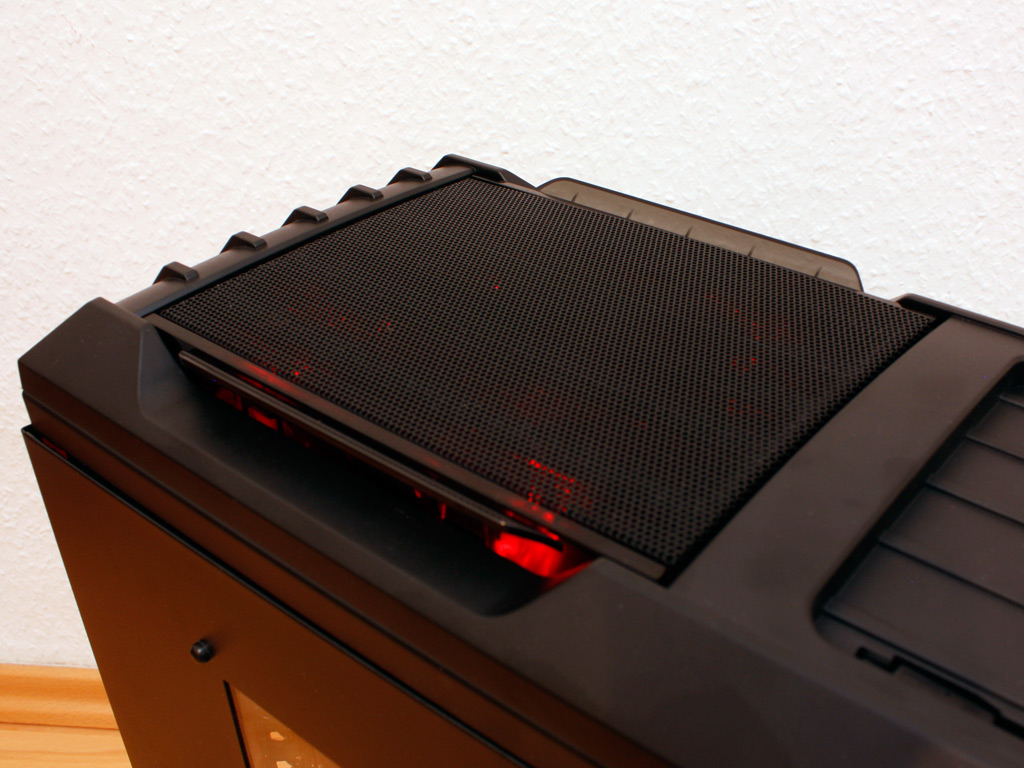
Once turned on, the case makes a cool impression with the red LEDs shining through the metal mesh in front and on top. Since both fans are placed on the outer side of the hull, not much of the lighting enters the insides of the case so that you are will require additional light sources to make everything count.
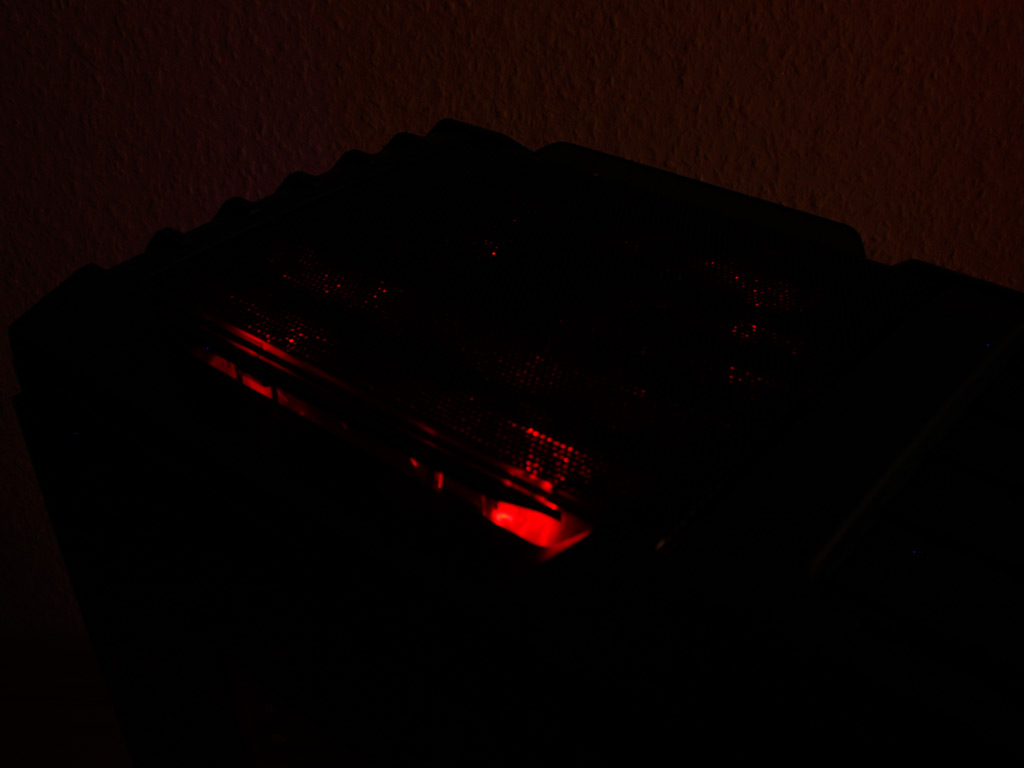
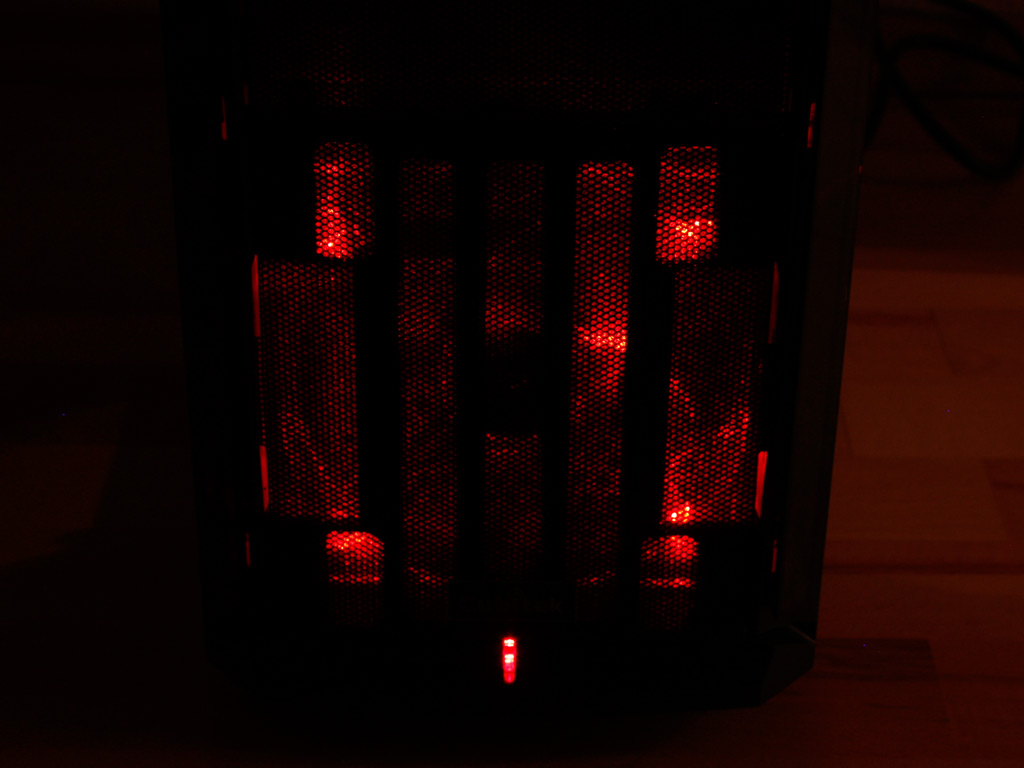
Even when turing off the lights in the room you can barely see the LEDs from the outside of the chassis. That said, the three fans are not the quietest ones we have had the pleasure to find within a chassis.
Feb 25th, 2025 16:43 EST
change timezone
Latest GPU Drivers
New Forum Posts
- It's happening again, melting 12v high pwr connectors (923)
- Gigabyte AORUS RTX5080 Missing 16 ROP's (40)
- Opinions on the drive config for new build please (21)
- Looking for video bios for ATI Rage 128 (2)
- Testing max ram overclock pn Ryzen 1700 (77)
- TPU's GPU Database Portal & Updates (385)
- RTX 5070 Ti Benelux pricing. It hurts (19)
- Nvidia's GPU market share hits 90% in Q4 2024 (gets closer to full monopoly) (612)
- Weird electrical vibration on left side of laptop. (24)
- Gothic 1 Remake: gpu performance. (7)
Popular Reviews
- ASUS GeForce RTX 5070 Ti TUF OC Review
- Corsair Xeneon 34WQHD240-C Review - Pretty In White
- MSI GeForce RTX 5070 Ti Vanguard SOC Review
- MSI GeForce RTX 5070 Ti Ventus 3X OC Review
- MSI GeForce RTX 5070 Ti Gaming Trio OC+ Review
- Corsair Virtuoso MAX Wireless Review
- darkFlash DY470 Review
- AMD Ryzen 7 9800X3D Review - The Best Gaming Processor
- Palit GeForce RTX 5070 Ti GameRock OC Review
- Gigabyte GeForce RTX 5090 Gaming OC Review
Controversial News Posts
- NVIDIA GeForce RTX 50 Cards Spotted with Missing ROPs, NVIDIA Confirms the Issue, Multiple Vendors Affected (492)
- AMD Radeon 9070 XT Rumored to Outpace RTX 5070 Ti by Almost 15% (304)
- AMD Plans Aggressive Price Competition with Radeon RX 9000 Series (272)
- AMD Radeon RX 9070 and 9070 XT Listed On Amazon - One Buyer Snags a Unit (247)
- NVIDIA Investigates GeForce RTX 50 Series "Blackwell" Black Screen and BSOD Issues (242)
- Edward Snowden Lashes Out at NVIDIA Over GeForce RTX 50 Pricing And Value (241)
- AMD Denies Radeon RX 9070 XT $899 USD Starting Price Point Rumors (239)
- AMD Radeon RX 9070 and 9070 XT Official Performance Metrics Leaked, +42% 4K Performance Over Radeon RX 7900 GRE (182)