 38
38
Computer Upgrade King Continuum Micro Gaming PC (Ryzen 7 2700 + RX 580 4GB) Review
(38 Comments) »Introduction
A big thank you to Computer Upgrade King for providing the Continuum Micro Gaming PC for review.
Computer Upgrade King was founded in 2008 in Richmond, Virginia and is a family owned business. With a drive to produce aesthetically pleasing but entirely functional and enduring computers, they have dedicated themselves to ensuring customer satisfaction above all else, which may be why the company has grown as large as it is. While a relative newcomer in regards to public awareness, the company has been at numerous trade shows, including this year's CES 2019 and Computex 2019. Considering their penchant for building quality systems, I suspect we will see a great deal more of them in the future.

In today's review, I take a look at the Computer Upgrade King Continuum Micro Gaming PC. This will be the first system I look at from the company, and it is a more value-focused offering. It comes equipped with an AMD Ryzen 2700, AMD Radeon RX 580 4 GB, 16 GB of DDR4 3000 MHz memory, and a 512 GB SSD for storage, all of which is packed into a Micro-ATX chassis with six RGB fans and a unique infinity mirror styled front panel with RGB LEDs. It certainly looks good, but looks only go so far. Let us take a closer look at what's behind the tempered glass.
| Specifications | |
|---|---|
| Manufacturer: | Computer Upgrade King |
| Model: | Continuum Micro |
| Chassis: | Micro-ATX tower 1x Power switch 2x USB 3.0 2x Audio in/out |
| Processor: | AMD Ryzen 2700 3.2 GHz base (4.1 GHz Boost) |
| CPU Cooling: | AMD Wraith Spire RGB |
| Motherboard: | AMD Promontory B450 chipset ASRock B450M-HDV Rev.4 |
| Operating System: | Windows 10 64-bit |
| Integrated Graphics: | None |
| Dedicated Graphics: | AMD Radeon RX 580 4 GB GDDR5 2x DisplayPort 2x HDMI 1x DVI |
| Memory: | 16 GB (2x 8 GB) Team Group Vulcan CL 16-18-18-38 @ 3000 MHz DDR4 2x DIMM slots (2x occupied) |
| Storage: | 512 GB Intel 660P M.2 SSD 1x M.2 slot (occupied) 4x SATA3 ports |
| Optical Drive: | Not available |
| Rear I/O: | 1x PS/2 combo port 1x HDMI 1x D-Sub 1x DVI-D 2x USB 2.0 Type-A 4x USB 3.1 Gen 1 Type-A 3x Audio ports 1x RJ45 LAN |
| Networking/Communication: | 1x Realtek RTL8111H Gigabit LAN |
| Audio: | Realtek ALC887 |
| Input Device: | RGB backlit keyboard (Non-mechanical) Variable DPI Mouse with Red/Blue/Purple LED lighting modes |
| Power: | Thermaltake Smart 600 600 W 80 Plus Bronze Not modular |
| Warranty: | Up to 3 years |
| MSRP: | $939.00 |
Packaging and Contents
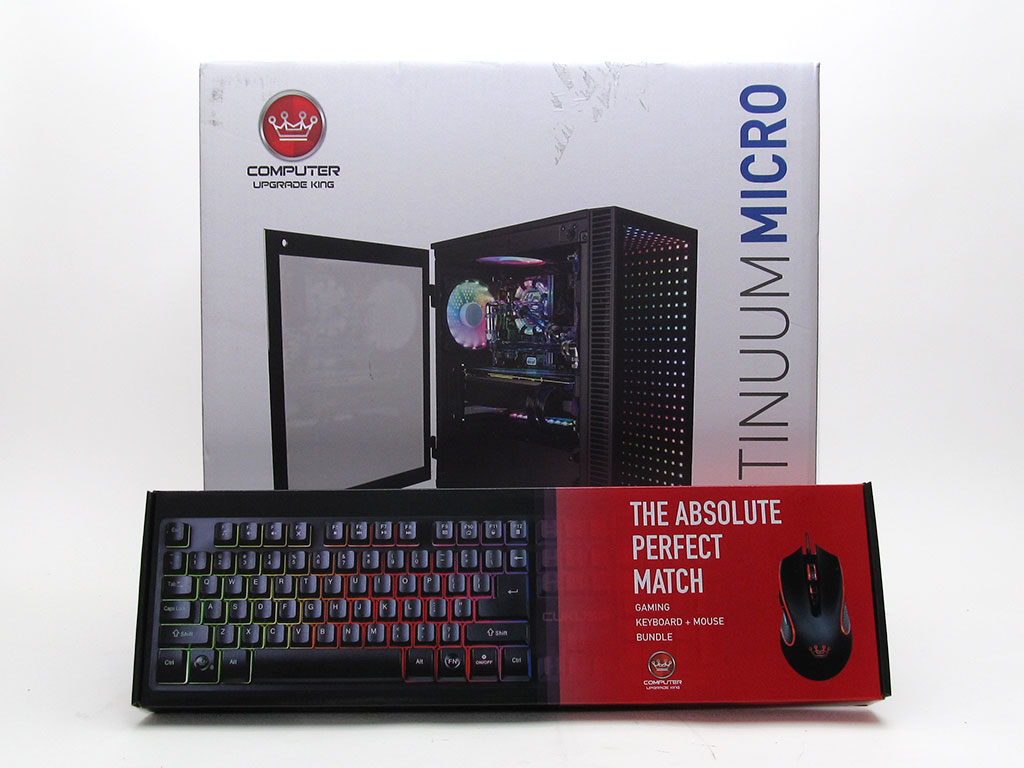
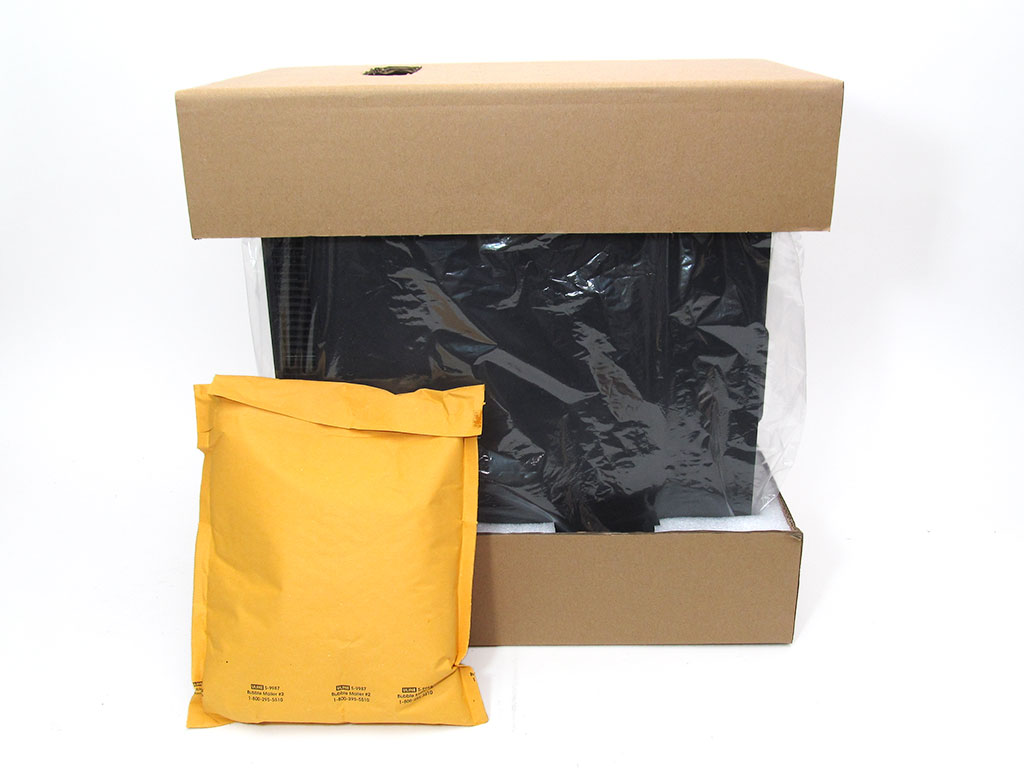

The Continuum Micro from CUK comes in what appears to be a standard case box. There was no larger outer box or extra protection, which I find a bit brave considering my run-ins with USPS, UPS, and FedEx. That said, the system arrived safe and sound, and the box is quite colorful, which you could say matches the system perfectly. The system has foam on each end to protect it from minor bumps, while the miscellaneous accessories are in a padded envelope. I did find the warning quite funny, but it doesn't make up for the lack of extra foam or layers of protection. As for the accessories in a padded envelope, it's not fancy and certainly isn't all that nice, but it does work, and I can't really find much fault with that since the accessories just consist of some extra cables, brackets, and miscellaneous literature.
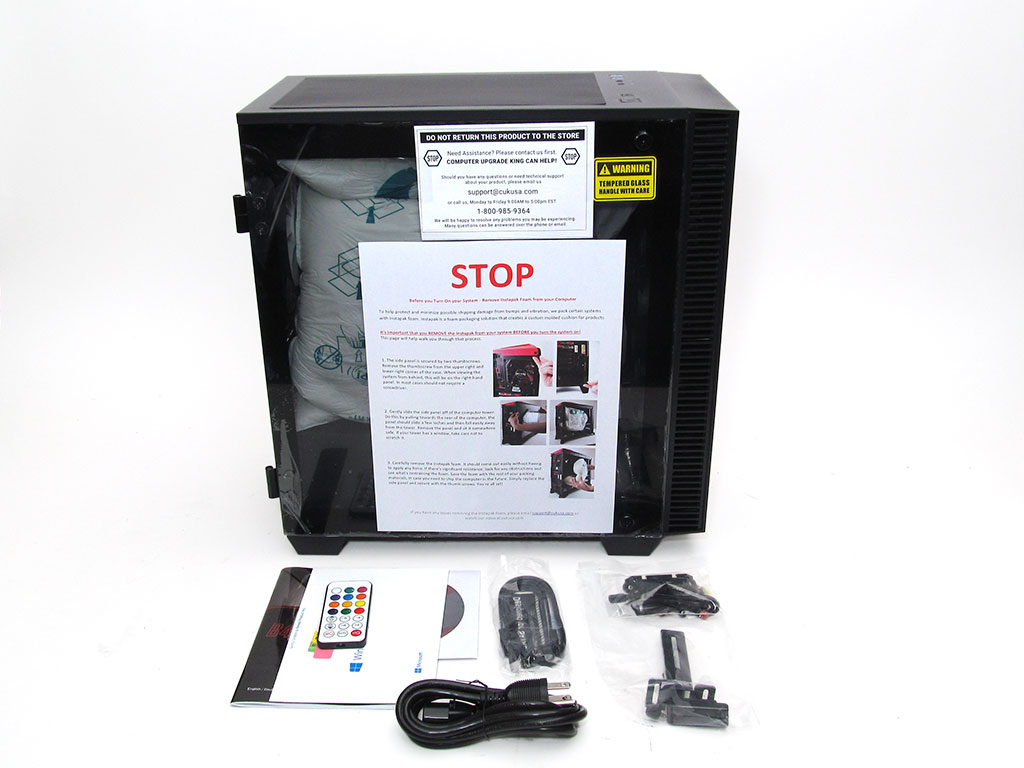
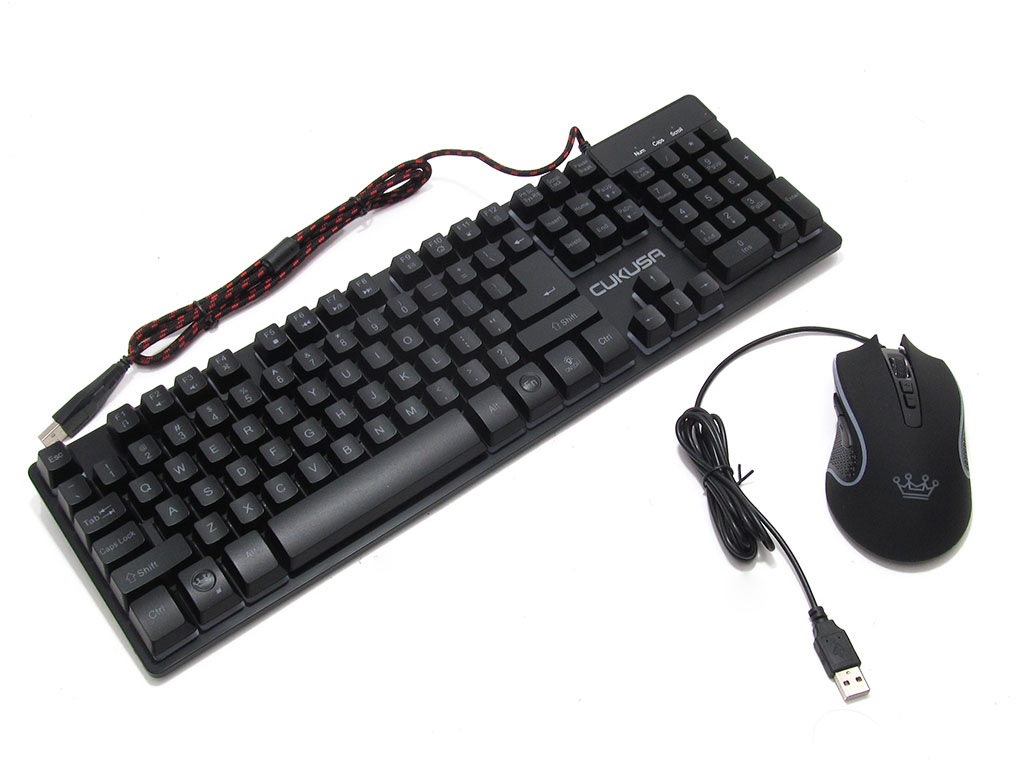
When it comes to accessories, you will find the usual assortment of extras, including SATA cables, brackets, miscellaneous literature, the RGB remote, and a gaming keyboard and mouse.
- Continuum Micro Gaming PC
- Keyboard + mouse
- Power cable
- Extra screws
- Extra SATA cables
- Miscellaneous literature
- RGB remote
A Closer Look
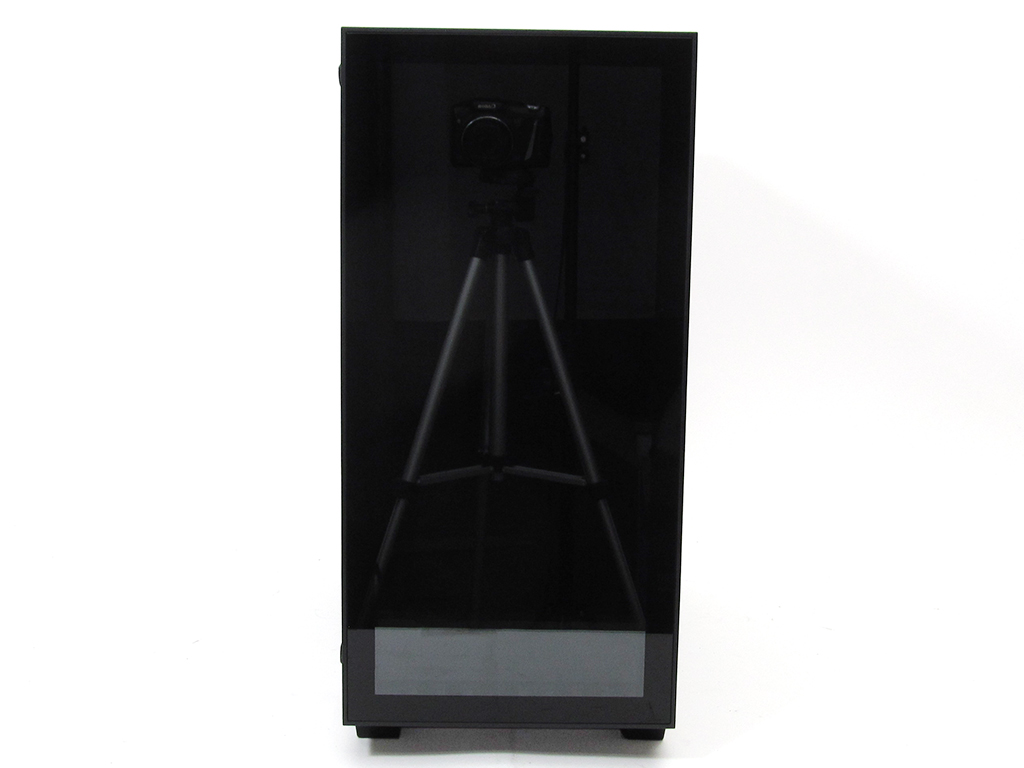

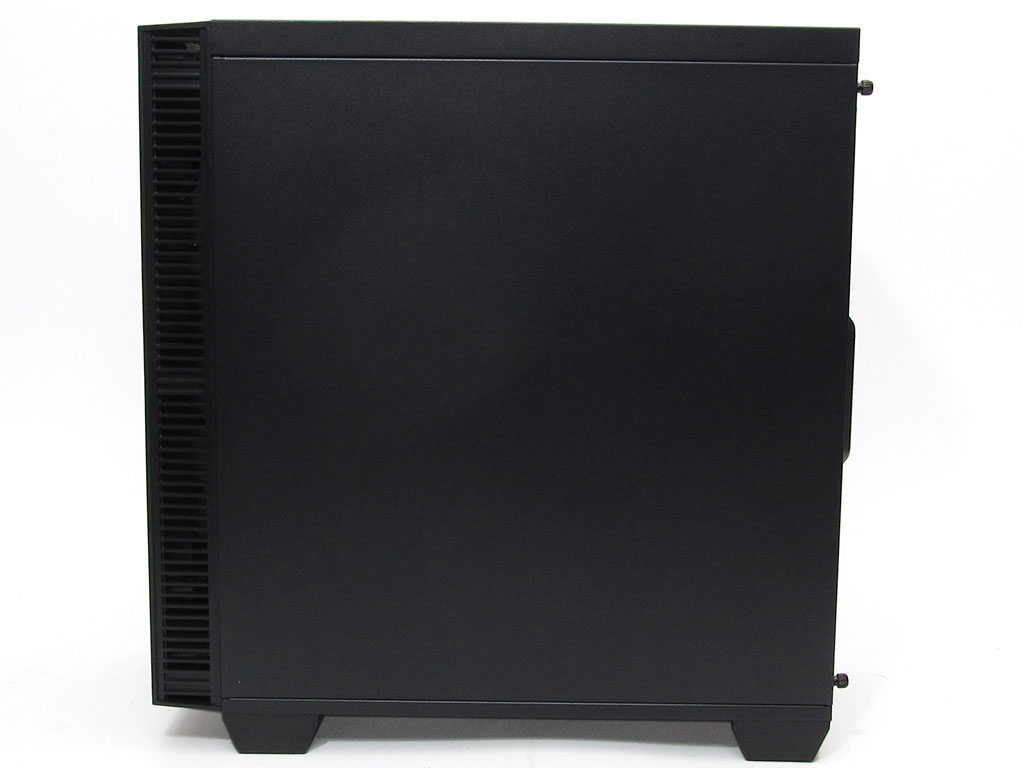
Taking a look at the front, we see the infinity mirror front panel do a great job of showing off my camera's tripod. While it's plain and boring now, once the system is booted, the infinity mirror design and many RGB LEDs make for quite the visual impact. Taking a look at the left side, we get a better look at the hinged tempered glass side panel which is secured via two thumb screws.

The back of the system shows a traditional layout with no fancy elements to speak of. The only aspect of the case here that caught my attention are the expansion slot covers. Rather than being secured inside the chassis, they are secured via screws and a bracket, which adds a layer of security. In regards to I/O, the graphics card has 2x HDMI, 2x DisplayPort, and 1x DVI, while motherboard connectivity consists of 1x PS/2, 2x USB 2.0, 1x DVI, 1x D-sub, 1x HDMI, 4x USB 3.1, 1x RJ45 Ethernet, and 3x audio ports.
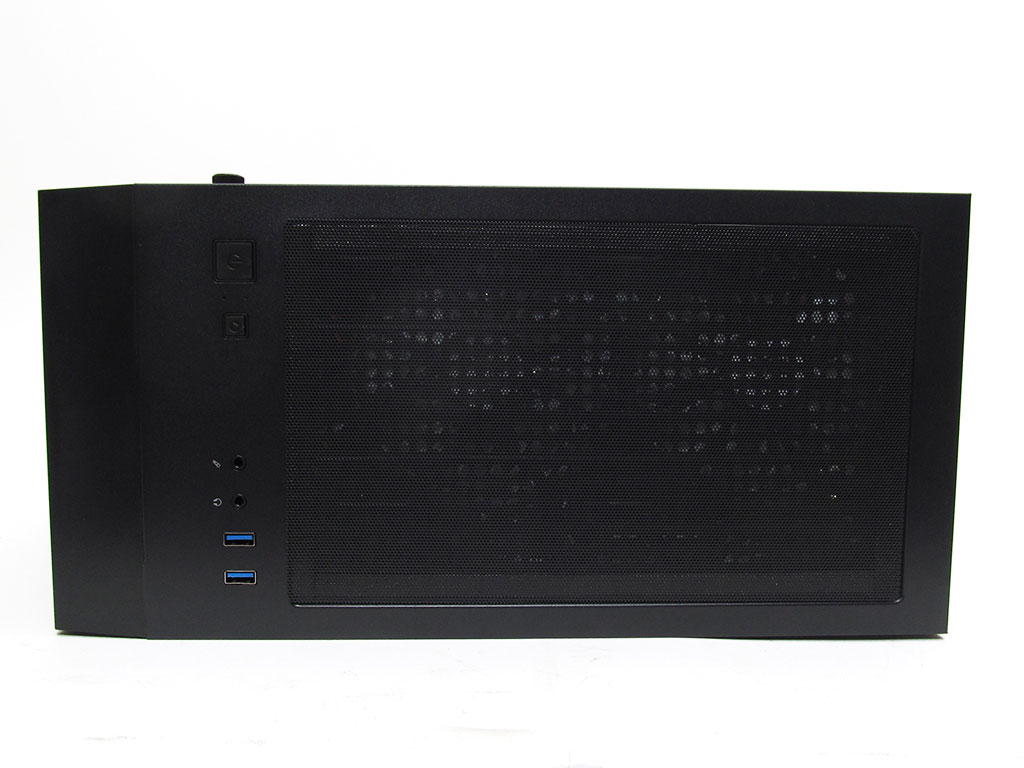

The top of the case is where users will find the power and reset buttons along with 2x USB 3.1 ports and audio and microphone jacks. When it comes to dust filters, the chassis has one on top and one on the bottom, with the top filter being magnetically attached.
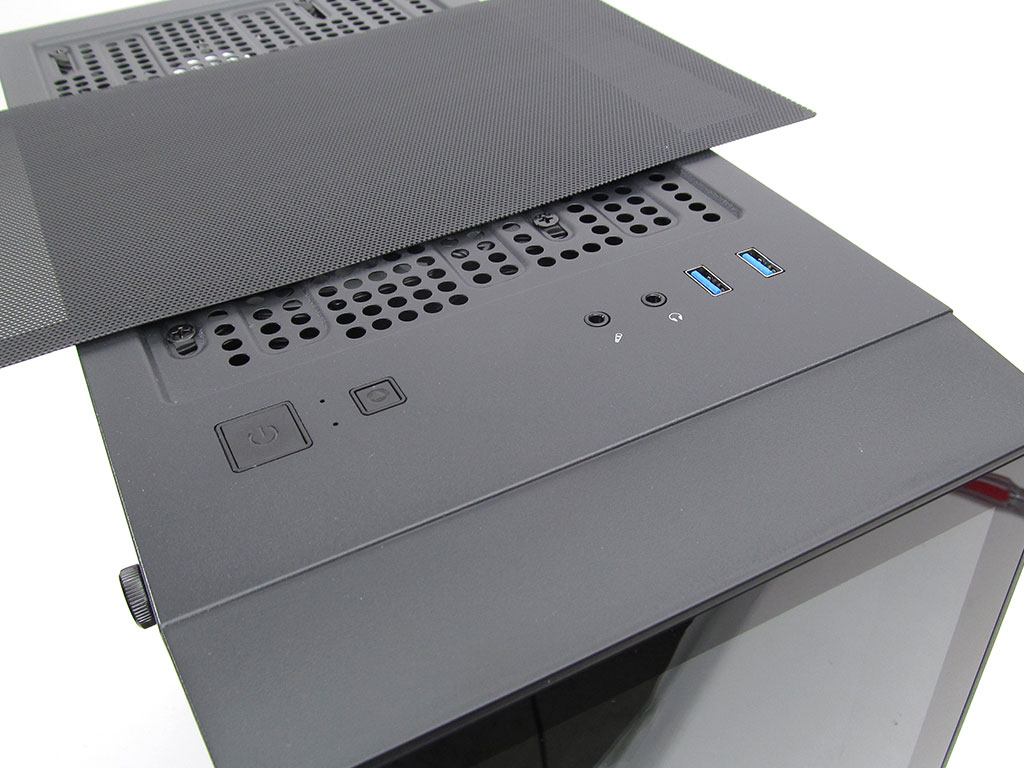
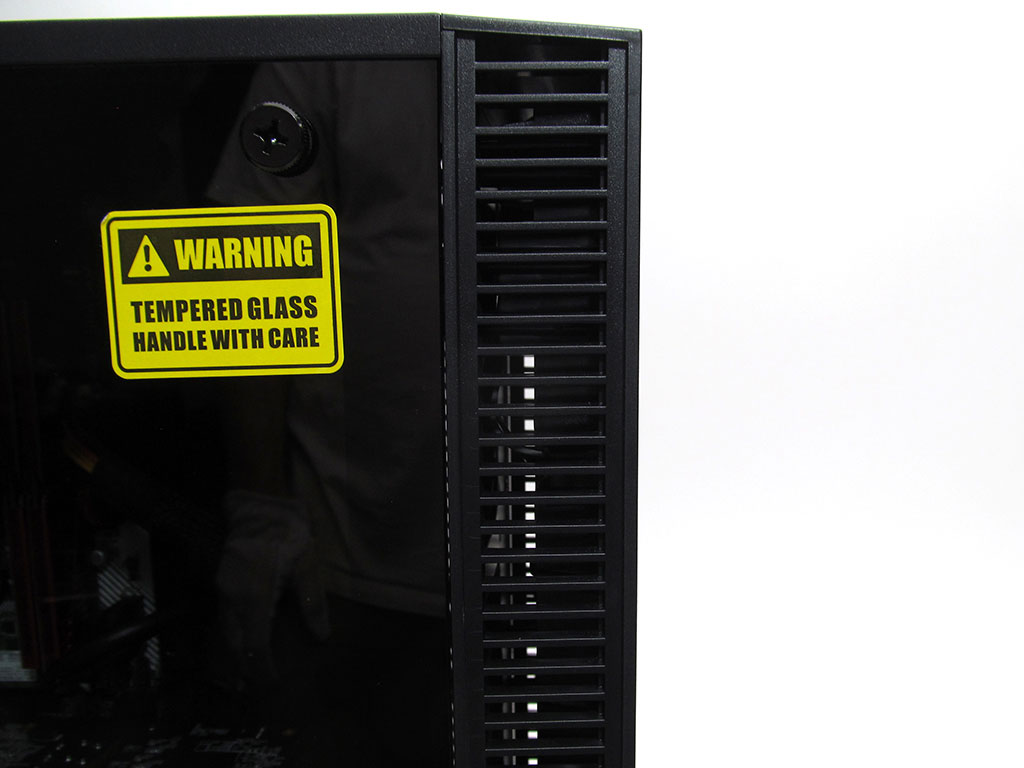
Here, we have a close-up of the magnetic filter and the top mounted I/O, which worked just fine. However, I did notice a pet peeve, and that is stickers. Like other cases, systems, etc., I have looked at, the tempered glass panel has a handle with a care sticker. Now, why these aren't placed on cling film is beyond me. Having to gently scrape these off leaves goo behind and is generally a nuisance.
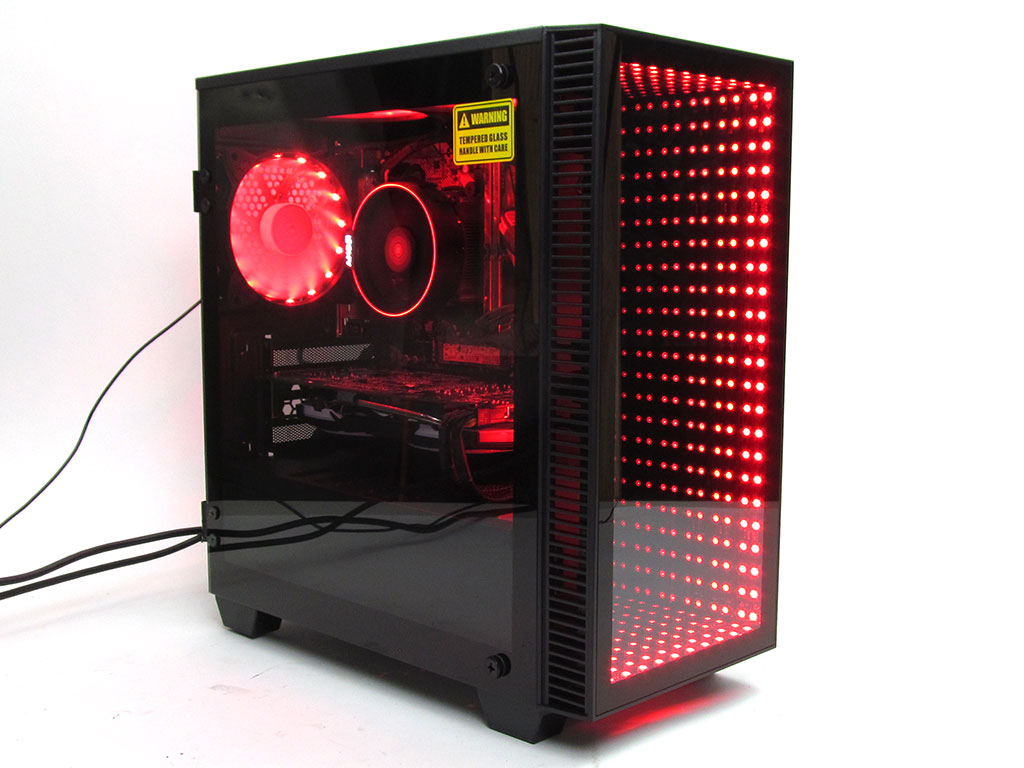
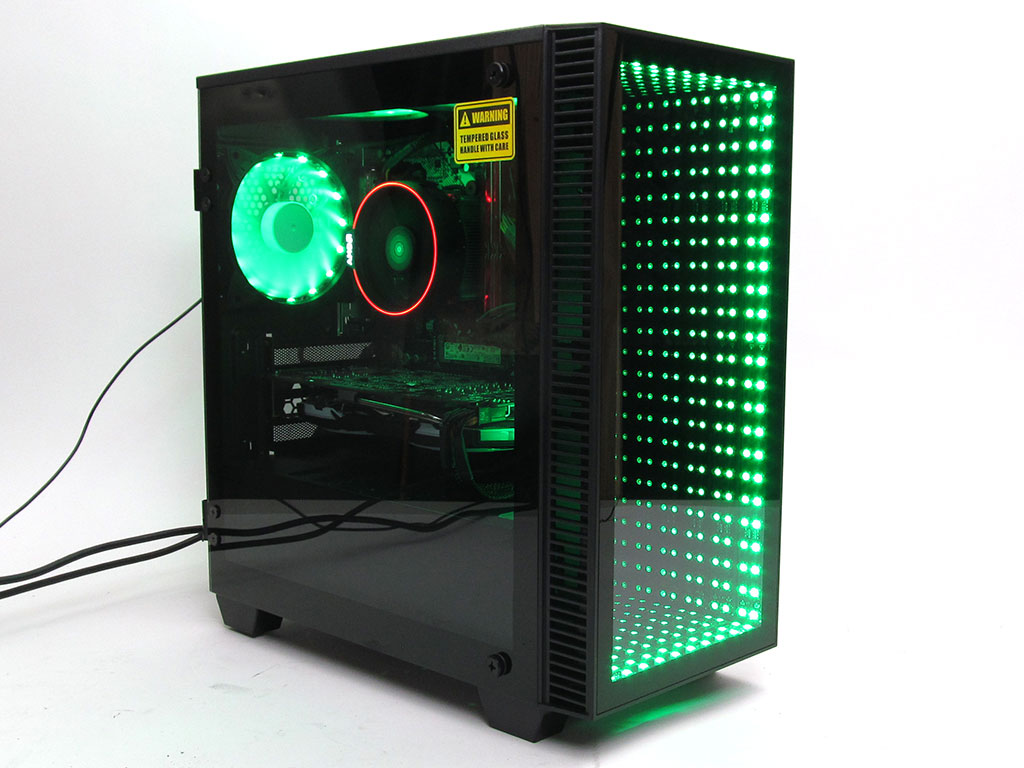
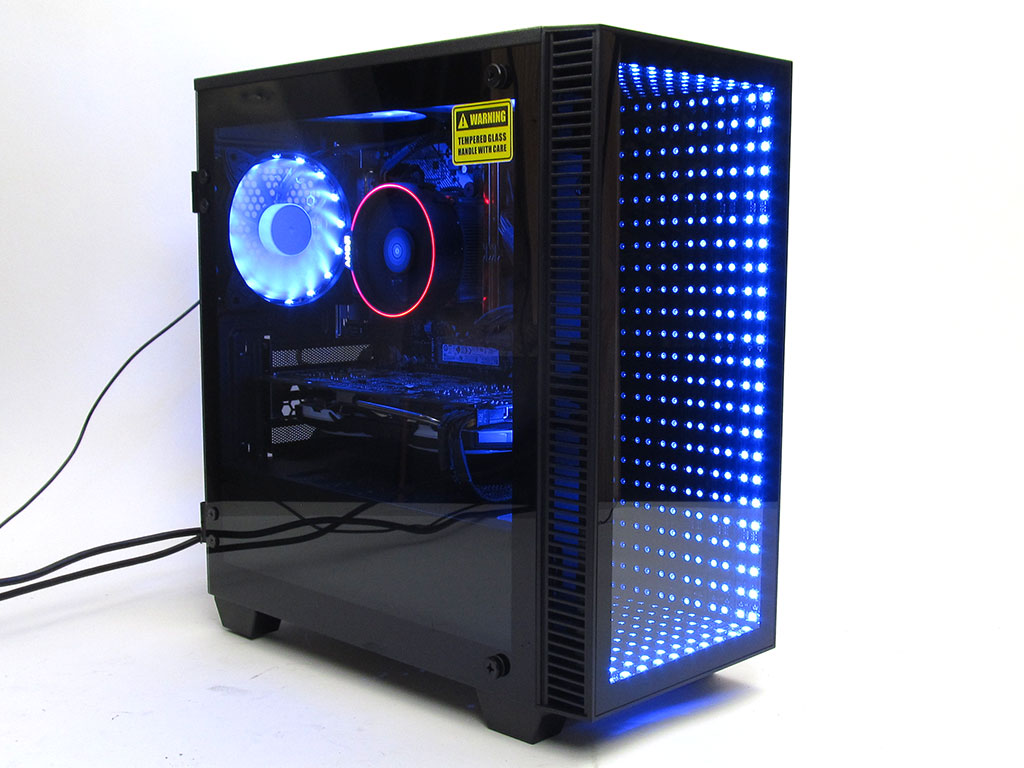
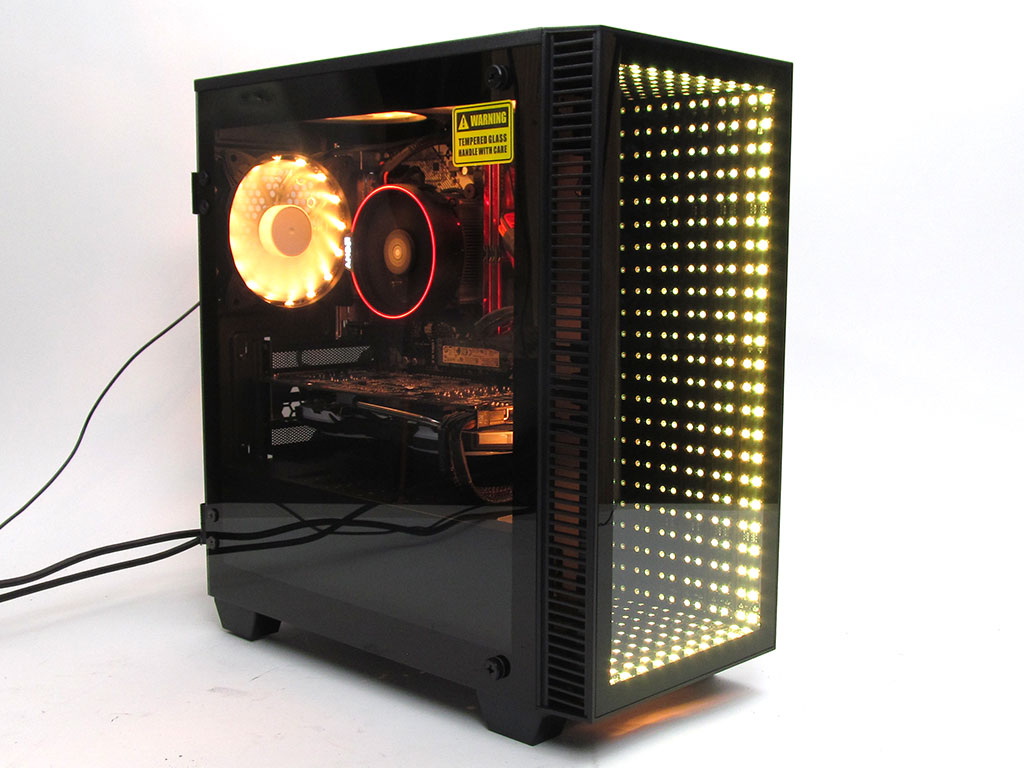
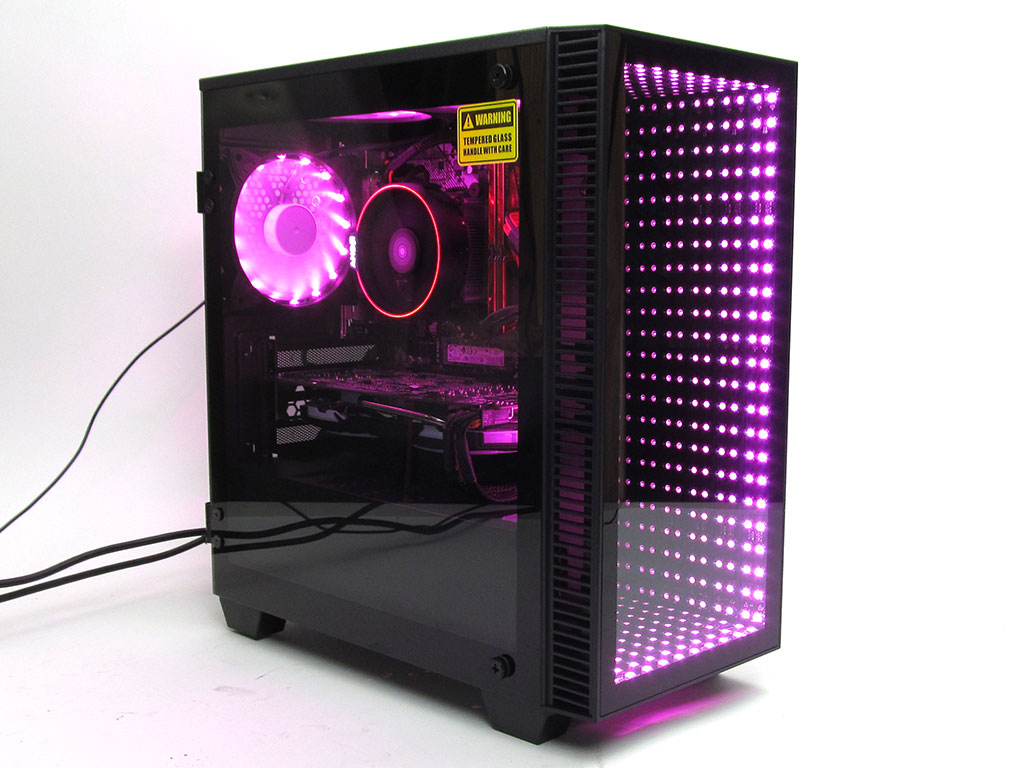

When it comes to RGB illumination, the Continuum Micro packs a punch with its six PWM RGB LED-equipped 120 mm fans, CPU cooler, and illuminated front panel. It has more LEDs than any other system I have tested. Depending on how you feel about that, it could either be a good or bad thing. Regardless, it is still a great-looking system with the unique front panel making it stand out. Sadly, the company uses a proprietary connector for RGB and fan power. Add to that the motherboard which doesn't have an RGB header and makes the AMD cooler and it's RGB LEDs uncontrollable out of the box. This is why proprietary connectors can be a bit of a pain, especially when no adapter is included. That said, Computer Upgrade King did select system memory that matches the cooler, so if you don't mind red, it all works together quite well.
A look Inside


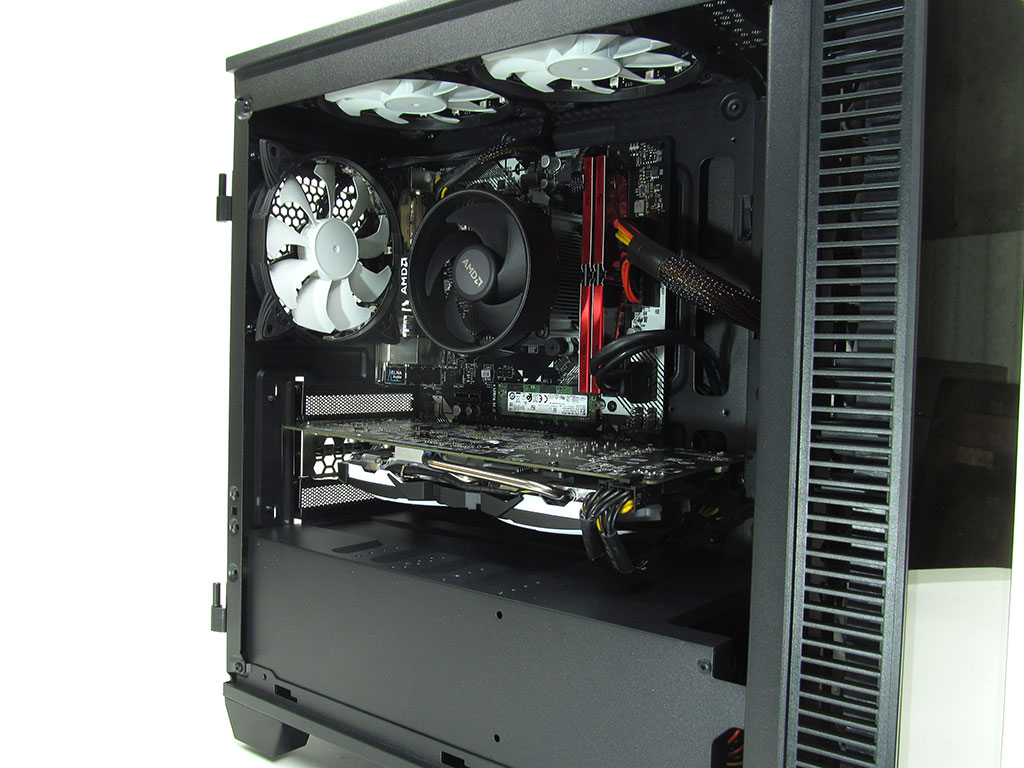
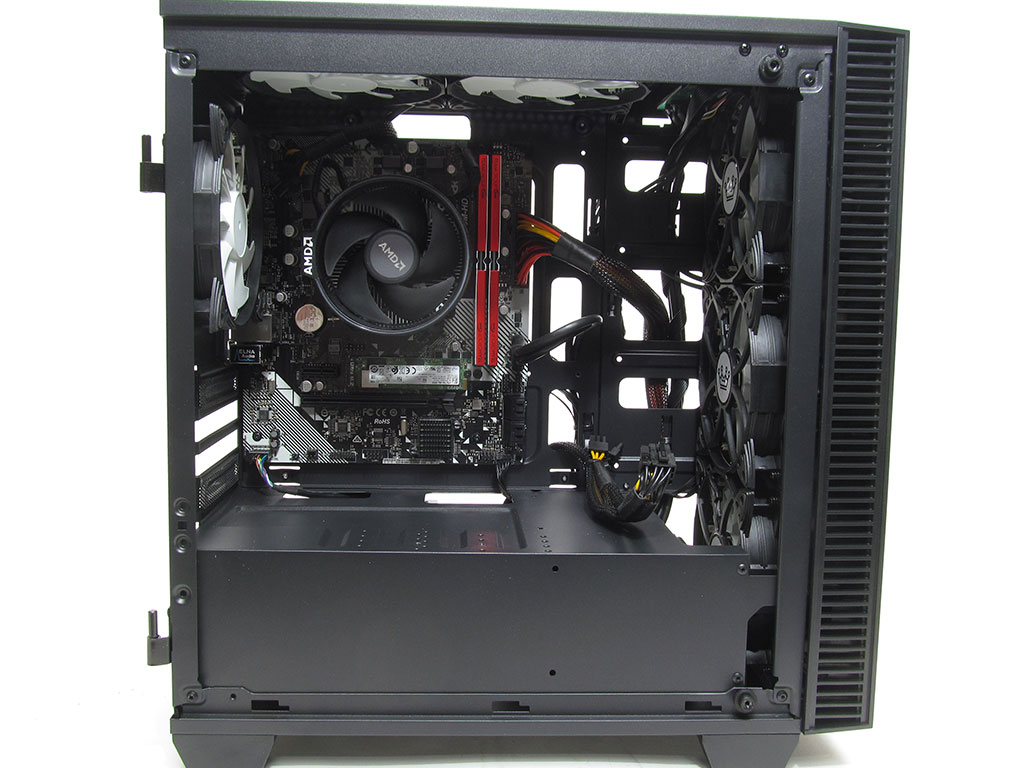
Removing the side panel and taking a look inside, we see a nice, clean build. The cable management from this side looks great with no obstruction of airflow or other issues. Some will find fault with the 24-pin where the wiring is ugly, but honestly, it is a minor issue, especially when considering the value focus of the build.


The MSI RX 580 4 GB graphics card has some serious sag, but CUK includes a bracket you can install that will support the GPU and eliminate the sag, or like I did after putting the system back together, you can position the PCIe power cables to support the GPU, which avoids the need for the bracket.
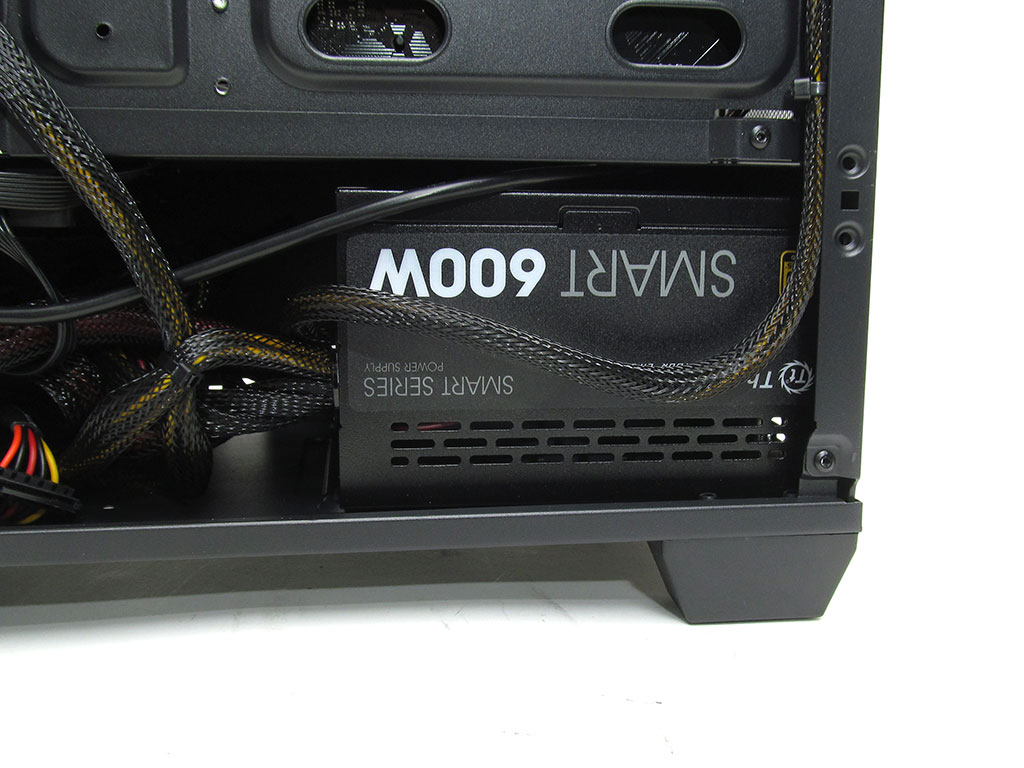
Cable management behind the motherboard tray is quite good as well. All cables have been secured fairly well with nothing flopping about. While it could be a bit neater, I see no real problems. When it comes to the power supply, we can see they went with a Thermaltake unit that is not modular.


Removal of the front fascia shows a good bit of space for air intake. While not the best I have seen, it is adequate, just not ideal, but that was to be expected considering the system's visual appeal. As for the PWM fans, they have a maximum RPM of 1500 and are equipped with RGB LEDs. A wireless remote controls the LEDs via a proprietary hub inside the system. As for fan speeds, the curve is controlled via the BIOS and can be changed depending on user preferences. Future revisions will include RGB fans capable of spinning up to 2200 RPM.
As for the graphics card and expansion card slots, you need to remove a cover before you can access the screws and remove or add components. With the graphics card pulled out, we get a better look at the motherboard, which is an ASRock B450M-HDV Revision 4. Previous versions of this board featured a VRM heatsink; however, this latest revision does not.
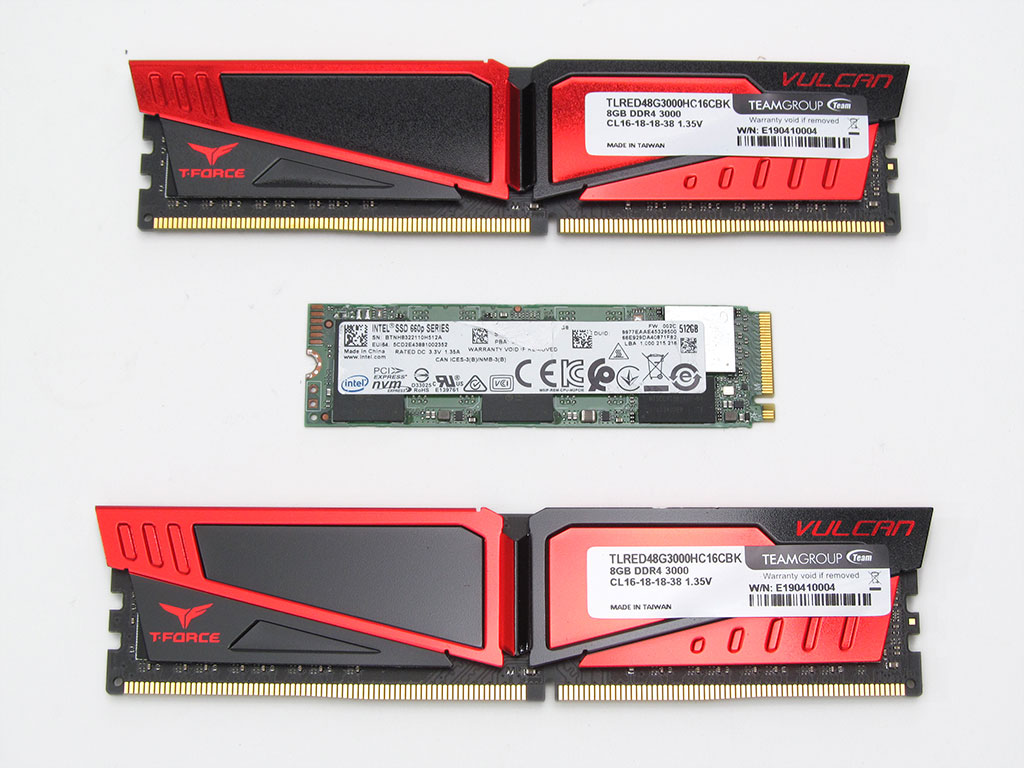
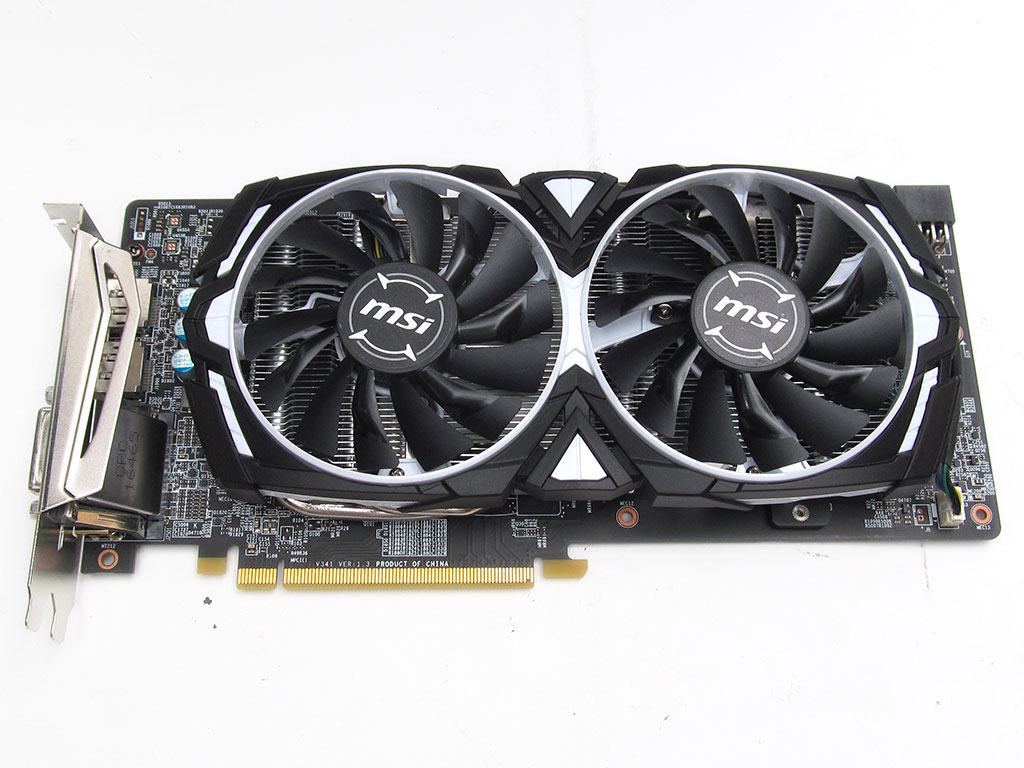
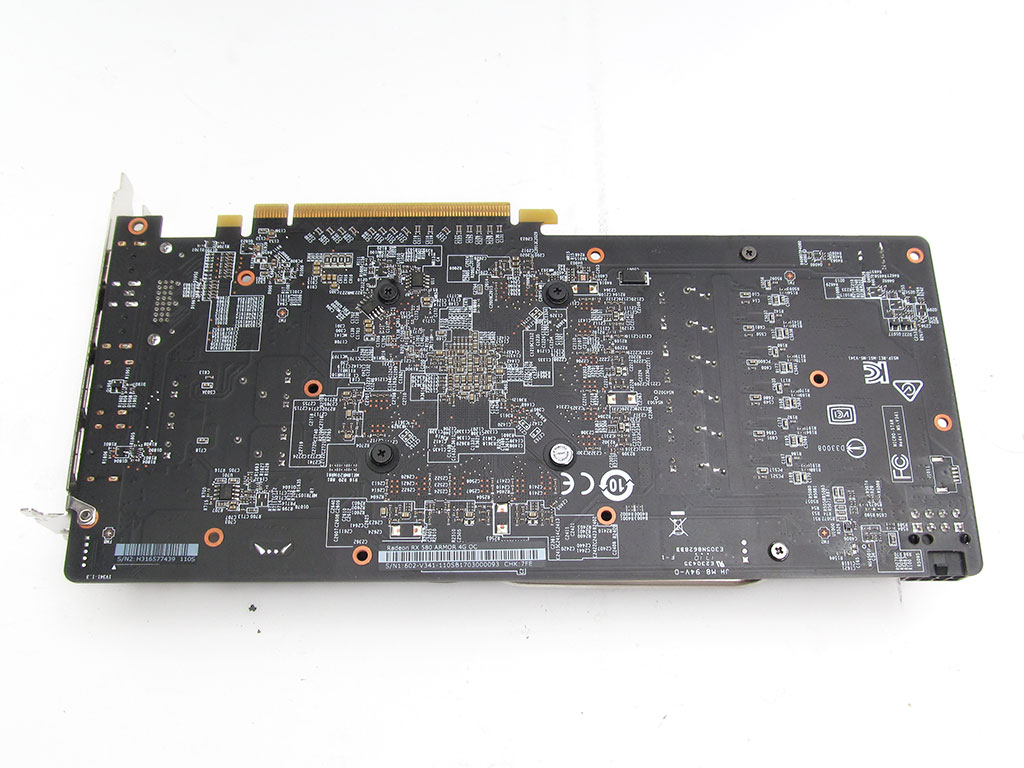
As for the smaller components, Computer Upgrade King used 16 GB (2x 8 GB) Team Group Vulcan DDR4 3000 MHz memory with CL 16-18-18-38 timings, while storage is handled by an Intel 660p Series 512 GB M.2 SSD. Finally, the graphics card is an MSI AMD Radeon RX 580 4 GB with MSI's Armor cooler. While the card operated just fine, the cooler is a bit anemic. The 4 GB frame buffer feels lacking, but in our tests, it performed just fine as it is best suited for 1080p gaming anyway.
Our Patreon Silver Supporters can read articles in single-page format.
May 5th, 2025 16:53 EDT
change timezone
Latest GPU Drivers
New Forum Posts
- Are the 8 GB cards worth it? (894)
- Graphics card..Need help. New to pc. 3070 (29)
- Kindly help in Identifying GPU and Suitable bios (23)
- 3DMARK "LEGENDARY" (315)
- It's happening again, melting 12v high pwr connectors (1065)
- What phone you use as your daily driver? And, a discussion of them. (1681)
- What are you playing? (23552)
- I got a new motherboard about to start a DTS journey (4)
- TPU's Nostalgic Hardware Club (20303)
- What's your latest tech purchase? (23708)
Popular Reviews
- ASUS ROG Maximus Z890 Hero Review
- ASUS Radeon RX 9070 XT TUF OC Review
- Clair Obscur: Expedition 33 Performance Benchmark Review - 33 GPUs Tested
- Arctic Liquid Freezer III Pro 360 A-RGB Review
- Montech HS02 PRO Review
- Seasonic Vertex GX 850 W Review
- NVIDIA GeForce RTX 5060 Ti 8 GB Review - So Many Compromises
- Upcoming Hardware Launches 2025 (Updated Apr 2025)
- ASUS GeForce RTX 5090 Astral Liquid OC Review - The Most Expensive GPU I've Ever Tested
- Sapphire Radeon RX 9070 XT Nitro+ Review - Beating NVIDIA
Controversial News Posts
- AMD Radeon RX 9060 XT to Roll Out 8 GB GDDR6 Edition, Despite Rumors (131)
- NVIDIA Sends MSRP Numbers to Partners: GeForce RTX 5060 Ti 8 GB at $379, RTX 5060 Ti 16 GB at $429 (128)
- NVIDIA Launches GeForce RTX 5060 Series, Beginning with RTX 5060 Ti This Week (115)
- Nintendo Confirms That Switch 2 Joy-Cons Will Not Utilize Hall Effect Stick Technology (105)
- NVIDIA PhysX and Flow Made Fully Open-Source (95)
- Sony Increases the PS5 Pricing in EMEA and ANZ by Around 25 Percent (84)
- Parts of NVIDIA GeForce RTX 50 Series GPU PCB Reach Over 100°C: Report (78)
- Intel "Bartlett Lake-S" Gaming CPU is Possible, More Hints Appear for a 12 P-Core SKU (77)