 8
8
Deepcool Genome Review
Value & Conclusion »Test System
| System Parts for Case Reviews | |
|---|---|
| Processor: | Intel Core i5-6600K |
| Motherboards: | ATX: Fatal1ty Z170 Gaming K6+ mATX: ASRock Z170M Pro4S mini-ITX: ASRock Z170M-ITX/ac Provided by: ASRock |
| Graphic Card: | Long: NVIDIA GeForce GTX 280 OEM Short: HIS Radeon 5350 HD |
| Memory: | KLEVV Cras 8GB (2x4GB) DDR4 @ 3200MHz 16-18-18 @ 1.35V Provided by: Essencore |
| HDD: | Western Digital 320 GB 7200 RPM |
| SSD: | Patriot Blaze 60GB SATA 6Gbps Provided by: Patriot |
| Power Supply: | Seasonic Platinum Series 660W ATX 2.3 Provided by: Seasonic |
| Cooling: | Air Cooling Mini-ITX: Thermalright AXP-100R Air Cooling mATX: Thermalright Macho 90 Air Cooling ATX: Thermalright Macho 120 Provided by: PC-COOLING.de |
Assembly

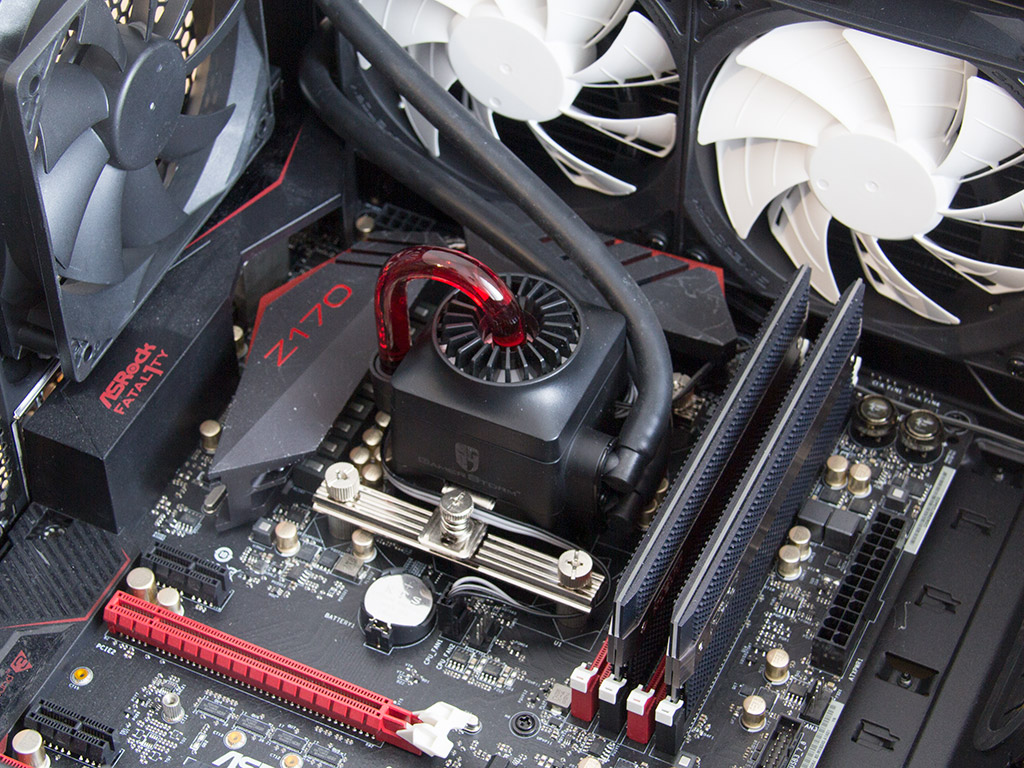
Installing the motherboard itself is done by traditional means, but you have to install the block and pump assembly with the help of the supplied parts first. I chose to install the device with its tubing on the right because that is the way Deepcool markets its installation. Also, having the tubing on the left would not work due to space limitations. You may install the unit in any direction you like as long as it fits. Once the motherboard is installed, it becomes apparent that there is plenty of space for potent GPUs - even without breaking out the divider.
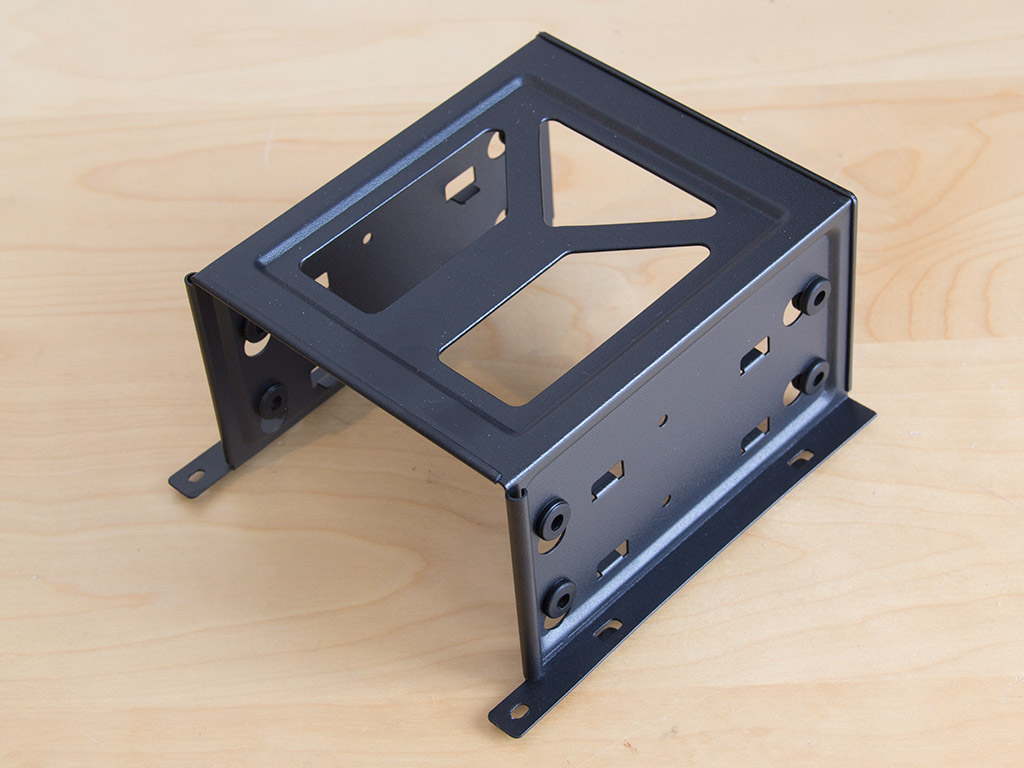
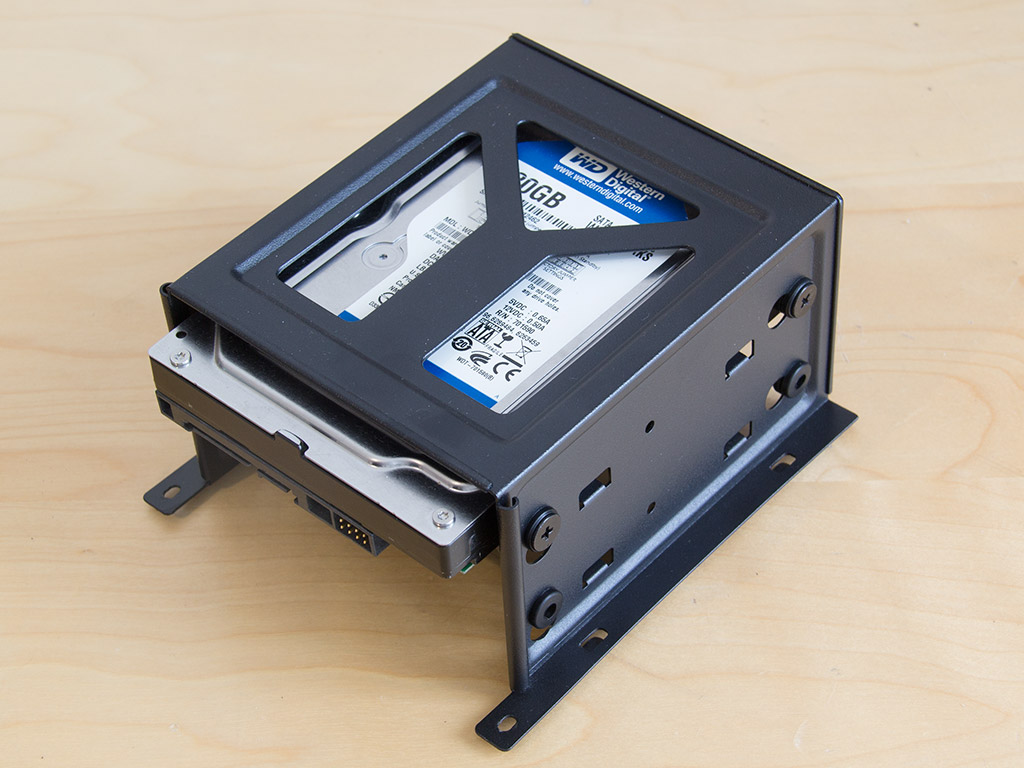
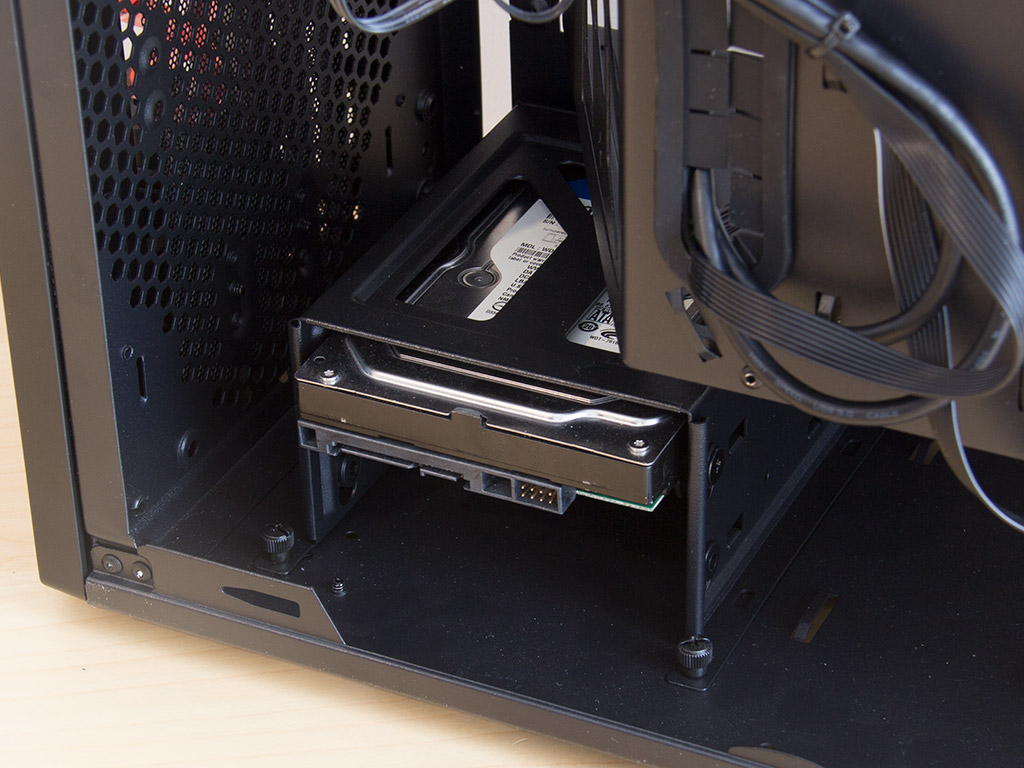
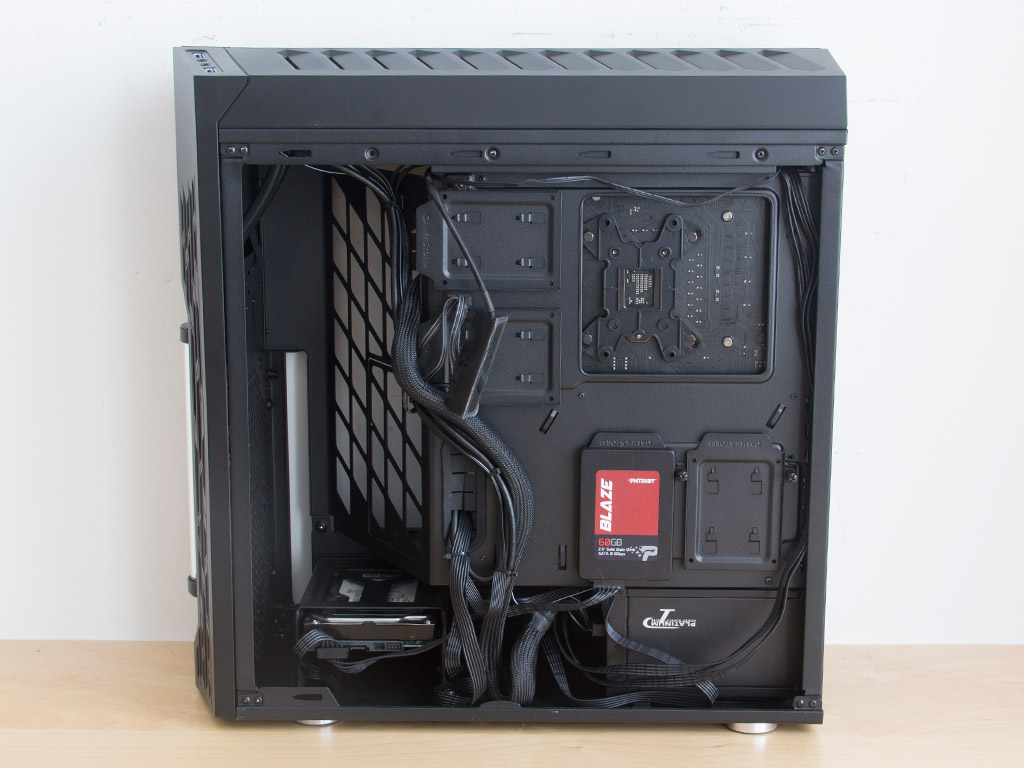
To install 3.5" drives, you first have to take out the cage to add them to the cage outside the confines of the chassis. The connectors should be facing outward, with the drives held in place by screws which pass through rubber rings as an anti-vibration measure. Once filled, simply place the cage back into the chassis and secure it with its thumbscrew.
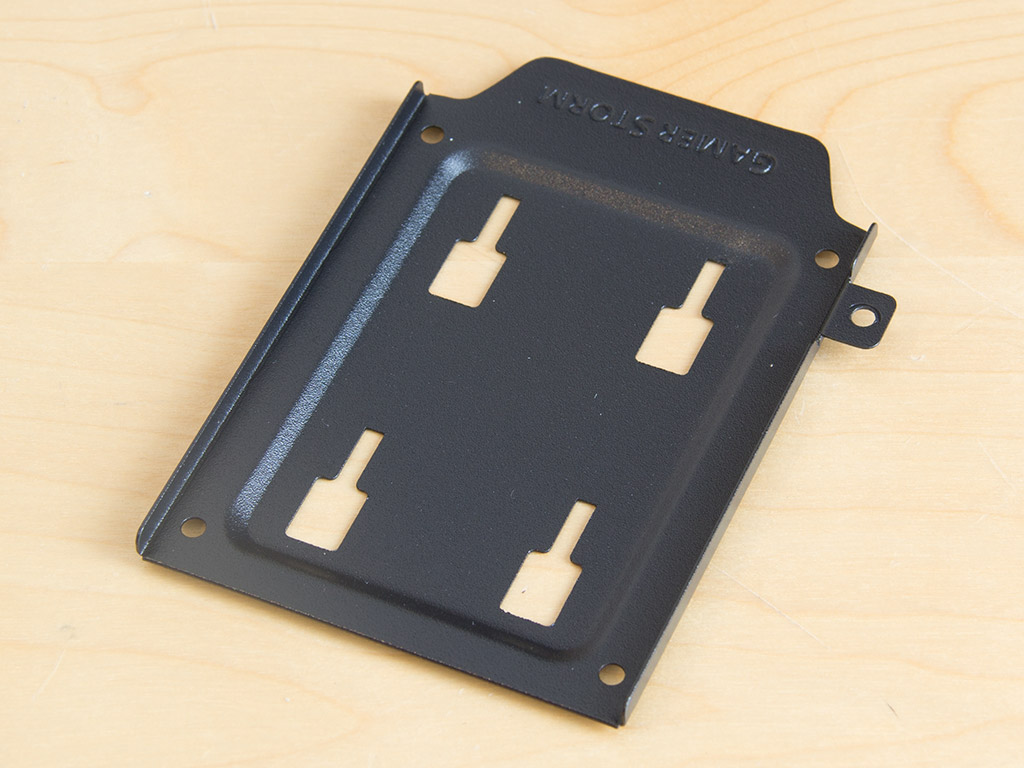

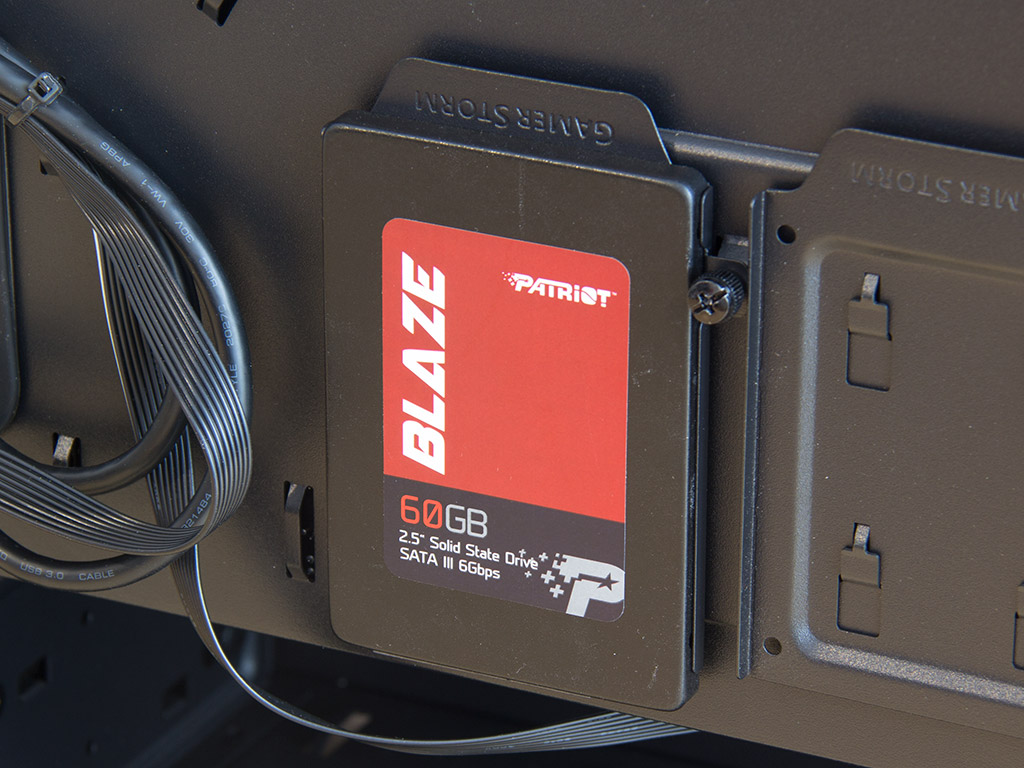
Adding 2.5" units is done in a similar fashion as you pick a tray of your choice, take it off the back of the motherboard tray, and fill it. Once the drive is secured, simply put it back. The connectors should be facing away from the lip of the tray for as much compatibility as possible with the PSU's cable strand.
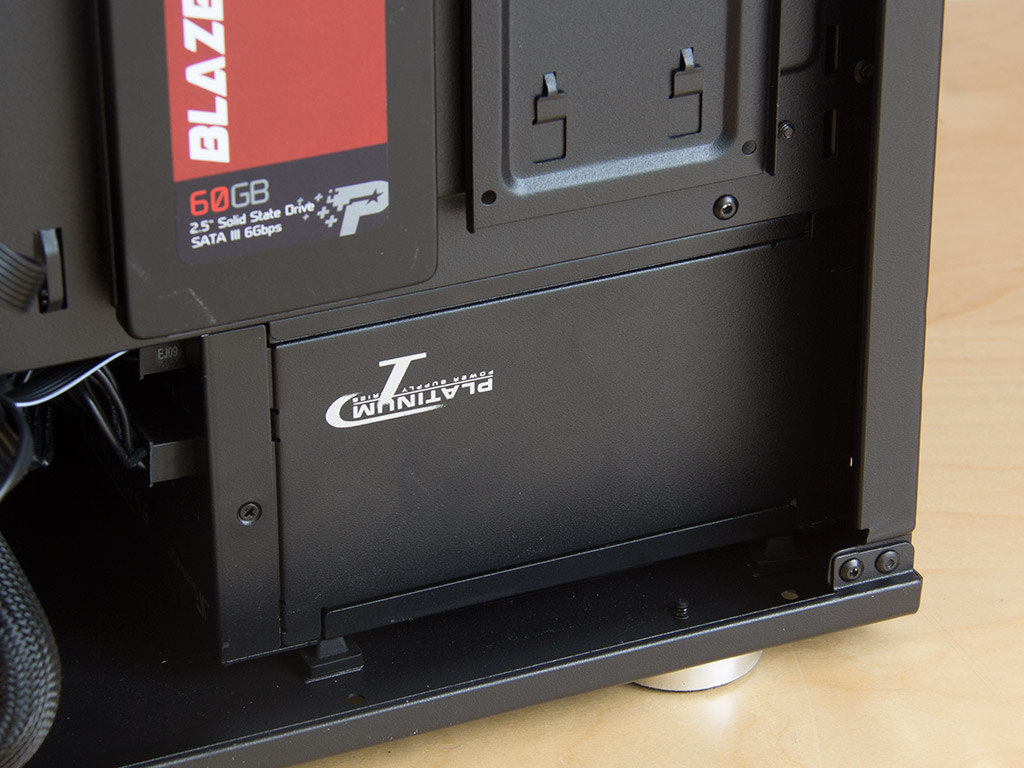
Speaking of the power supply: it is added via an opening underneath the shroud and is secured by using screws and a screwdriver. As previously mentioned, there is plenty of space here, so you should not run into any major issues even with bigger units.
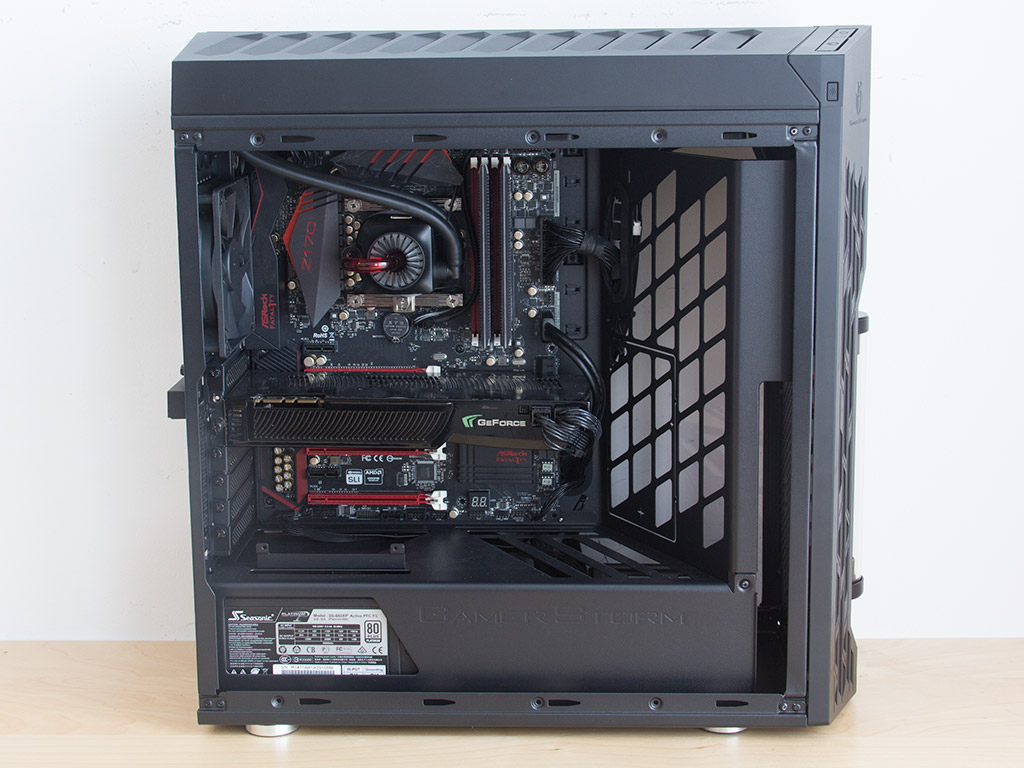
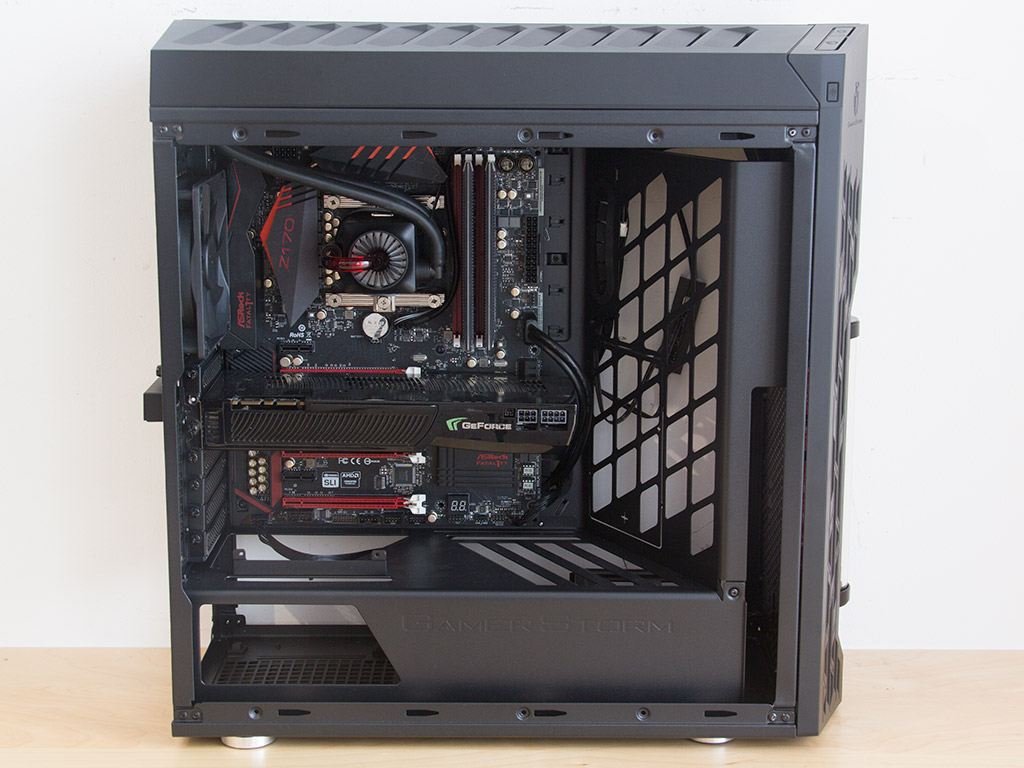
With everything installed, the front of the Deepcool Gamer Storm Genome makes a great and clean impression. All the cable mess is effectively hidden behind the motherboard tray and underneath the shroud.
Finished Looks
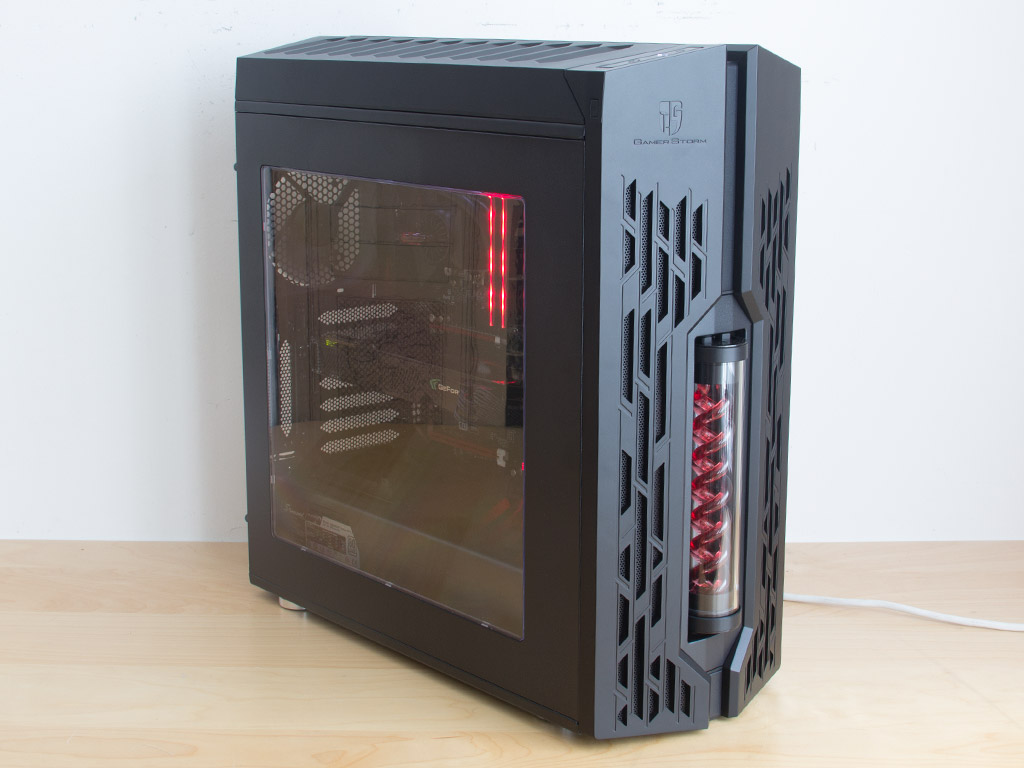
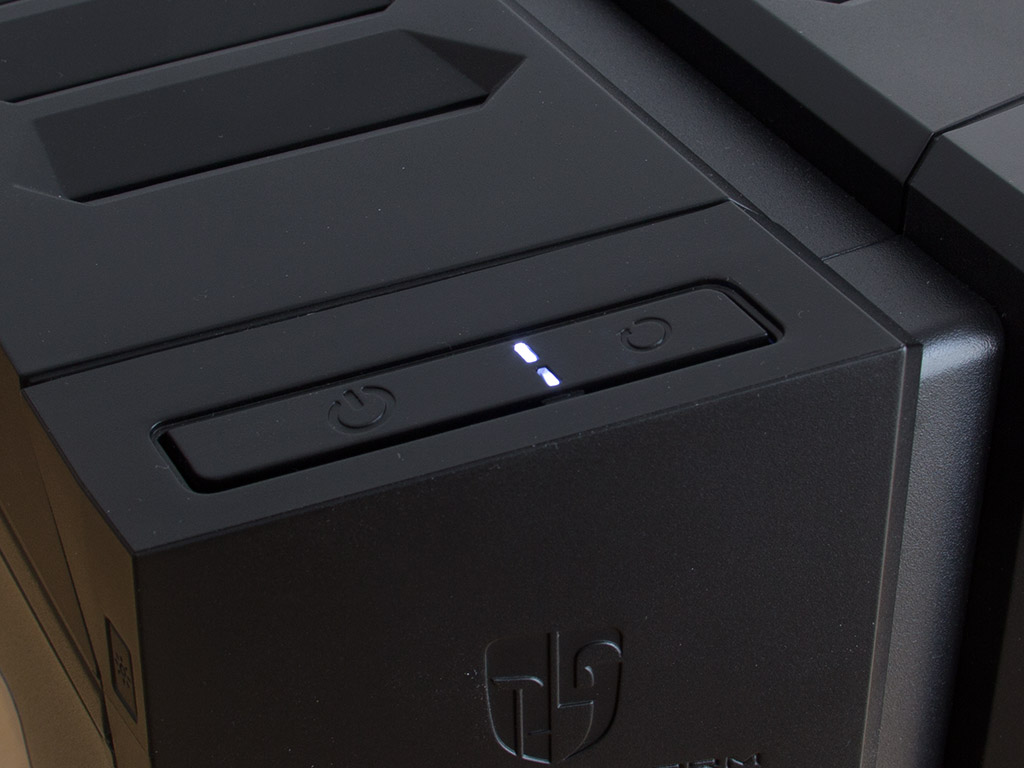
Once all the panels are back in place and the system has been turned on, a gentle glow will spreads across the double helix reservoir and the front, with a pulsating light eminating from the pump and block assembly. You will also find a white LED in the top of the chassis to let you know that the system is up and running.
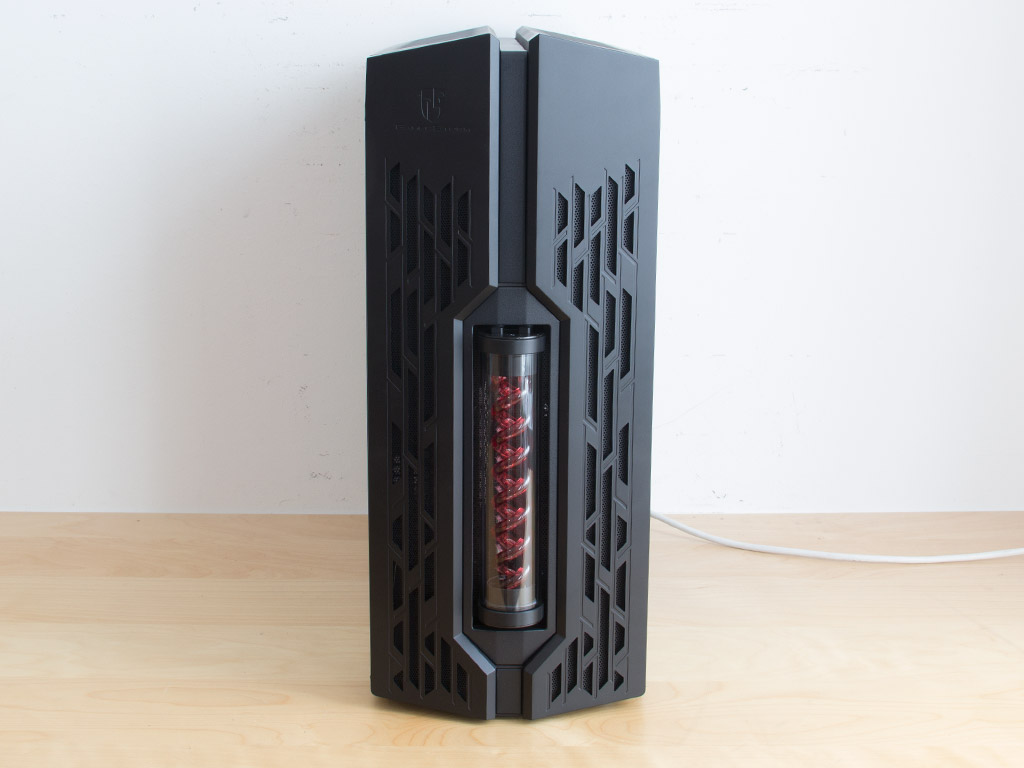
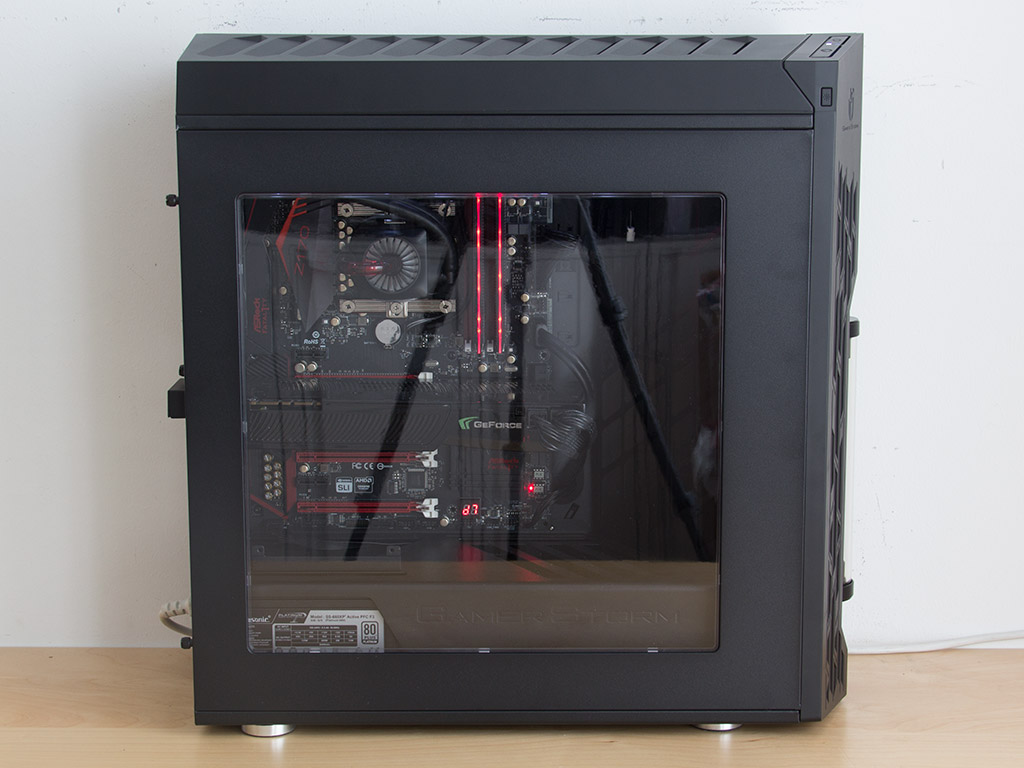
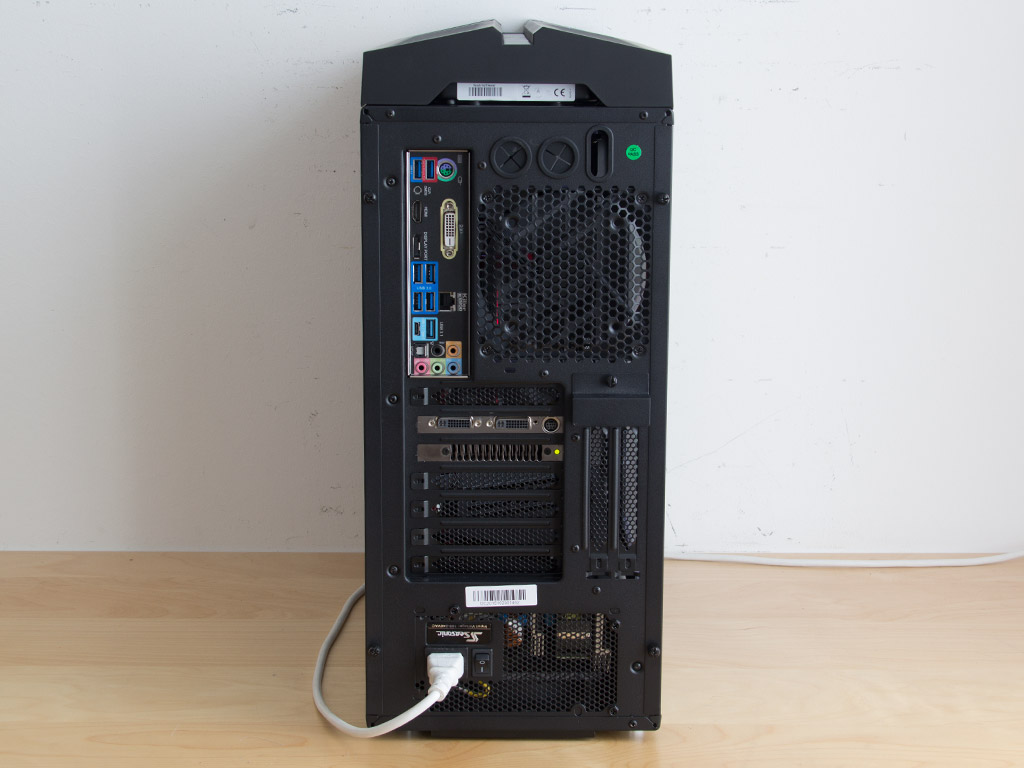
In the front, the liquid moves through the reservoir with small LEDs putting a visual focus on this element. It is only really apparent in the dark, but Deepcool has improved this element by adding stronger LEDs to the Genome's production units. You can clearly see the hardware and some of the PSU through the large window, while the rear holds no real surprises, with everything being as accessible as it should be.
Feb 12th, 2025 13:56 EST
change timezone
Latest GPU Drivers
New Forum Posts
- What is the point of 9800X3D in 4k? Isn't 9950X better at the same price? (43)
- Asteroid 2024 YR4 reaches level 3 on the Torino Scale (121)
- It's happening again, melting 12v high pwr connectors (349)
- What are you playing? (22871)
- Someone run games on AMD BC-250 under Linux * Cut down PS5 die to 6 CPU cores 24 GPU cores for use in crypto mining (69)
- Were Ryzen 8000 CPUs a big mistake from AMD? (19)
- Do you guys have backup GPUs? (44)
- Should we have a "benchmarks" type thread for LLMS? (7)
- Monster Hunter WIlds - CPU scores (1)
- What local LLM-s you use? (8)
Popular Reviews
- Civilization VII Performance Benchmark Review - 35 GPUs Tested
- Kingdom Come Deliverance II Performance Benchmark Review - 35 GPUs Tested
- Team Group T-Force XTREEM DDR5-7200 48GB CL34 Review
- ASRock Phantom Gaming B850I Lightning Wi-Fi Review
- DAREU A980 Pro Max Review
- AMD Ryzen 7 9800X3D Review - The Best Gaming Processor
- NVIDIA GeForce RTX 5080 Founders Edition Review
- Corsair Frame 4000D Review
- Spider-Man 2 Performance Benchmark Review - 35 GPUs Tested
- MSI GeForce RTX 5080 Vanguard SOC Review
Controversial News Posts
- AMD Radeon 9070 XT Rumored to Outpace RTX 5070 Ti by Almost 15% (290)
- AMD is Taking Time with Radeon RX 9000 to Optimize Software and FSR 4 (256)
- Edward Snowden Lashes Out at NVIDIA Over GeForce RTX 50 Pricing And Value (240)
- AMD Denies Radeon RX 9070 XT $899 USD Starting Price Point Rumors (239)
- AMD Radeon RX 9070 XT & RX 9070 Custom Models In Stock at European Stores (226)
- New Leak Reveals NVIDIA RTX 5080 Is Slower Than RTX 4090 (215)
- AMD's Radeon RX 9070 Launch Faces Pricing Hurdles (175)
- AMD Radeon RX 9070 XT Launch Allegedly Set for March 6 (152)