Mar 19th, 2025 02:58 EDT
change timezone
Latest GPU Drivers
New Forum Posts
- Intel Core i9-14900KS vs. Intel Core Ultra 9 285K (10)
- geekbench6 scores (54)
- One of the cpu's thread utilization (c0%) was very low while playing valorant (3)
- Recently got a motherboard with a pci-e connector on it and it makes me question GPU upgrades (12)
- Windows 11 General Discussion (5870)
- MSI MEG Z890 GODLIKE. (3)
- TechPowerUp Merch Store (73)
- HalfLife2 RTX Demo Is out! (111)
- Poor performance with new Radeon GPUs while CPU under load, any suggestions? (15)
- Free Games Thread (4577)
Popular Reviews
- Corsair SF750 750 W Review
- Sapphire Radeon RX 9070 XT Nitro+ Review - Beating NVIDIA
- AMD Ryzen 9 9950X3D Review - Great for Gaming and Productivity
- ASRock Radeon RX 9070 XT Taichi OC Review - Excellent Cooling
- MSI GeForce RTX 5070 Gaming Trio OC Review
- Kioxia Exceria Plus G4 2 TB Review - Energy-Efficient PCIe Gen 5
- XFX Radeon RX 9070 XT Mercury OC Magnetic Air Review
- ASUS Radeon RX 9070 TUF OC Review
- ASUS GeForce RTX 5090 TUF Review
- AVerMedia Core Go & Elite Go Review
Controversial News Posts
- NVIDIA GeForce RTX 50 Cards Spotted with Missing ROPs, NVIDIA Confirms the Issue, Multiple Vendors Affected (519)
- AMD RDNA 4 and Radeon RX 9070 Series Unveiled: $549 & $599 (260)
- AMD Mentions Sub-$700 Pricing for Radeon RX 9070 GPU Series, Looks Like NV Minus $50 Again (250)
- NVIDIA Investigates GeForce RTX 50 Series "Blackwell" Black Screen and BSOD Issues (244)
- AMD Radeon RX 9070 and 9070 XT Official Performance Metrics Leaked, +42% 4K Performance Over Radeon RX 7900 GRE (195)
- AMD Radeon RX 9070-series Pricing Leaks Courtesy of MicroCenter (158)
- MSI Doesn't Plan Radeon RX 9000 Series GPUs, Skips AMD RDNA 4 Generation Entirely (137)
- Microsoft Introduces Copilot for Gaming (123)
 4
4
EK-AIO 240 D-RGB All-in-One Watercooler Review
Finished Looks »Installation
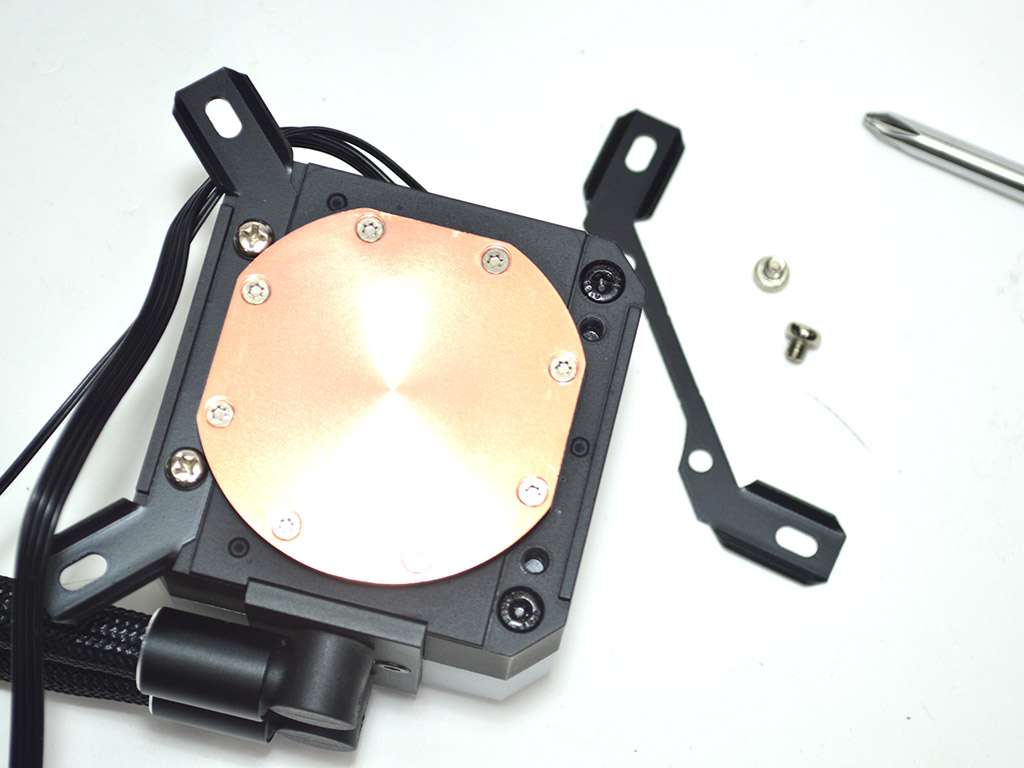

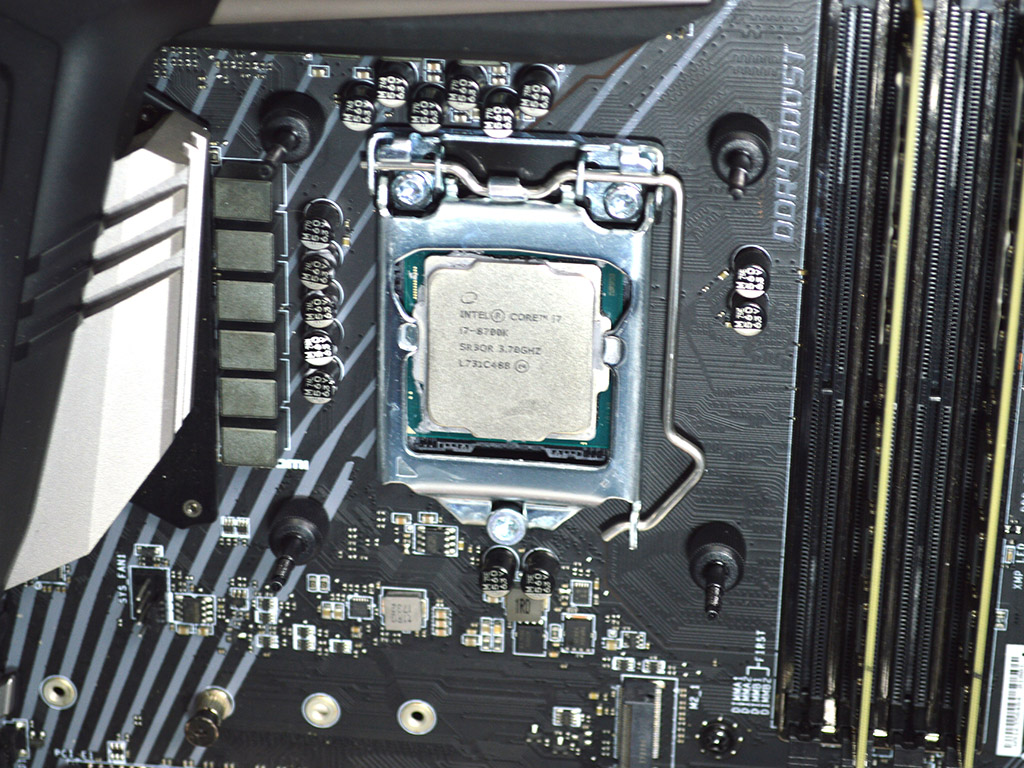
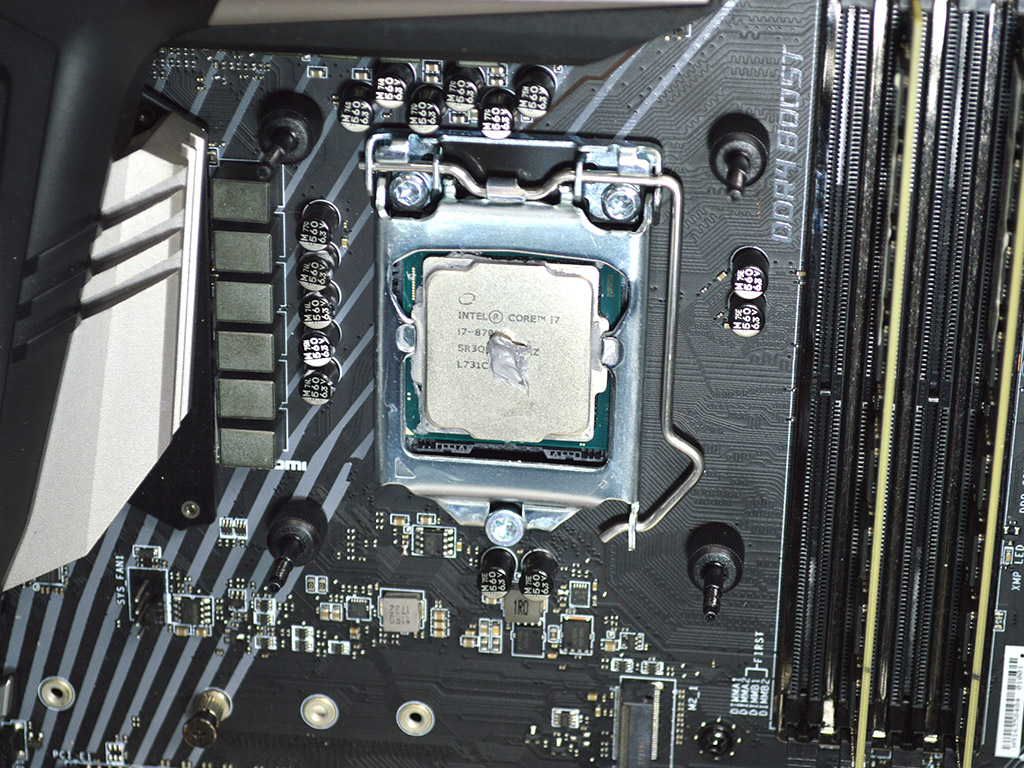
To install the EK-AIO 240 D-RGB, you need to first prepare the pump block by installing the proper mounting arms for your socket onto the bottom of the pump with the included silver M4 screws. Next, you need to prepare the socket by positioning the backplate on the motherboard and securing it with the proper mounting thumbscrews.
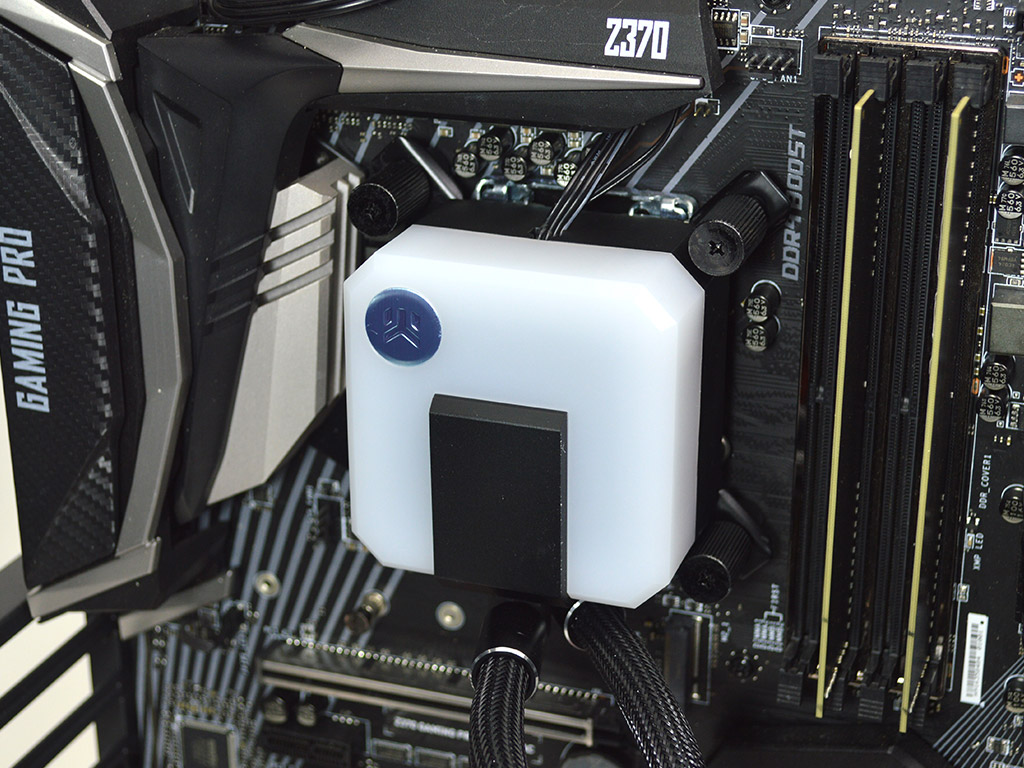
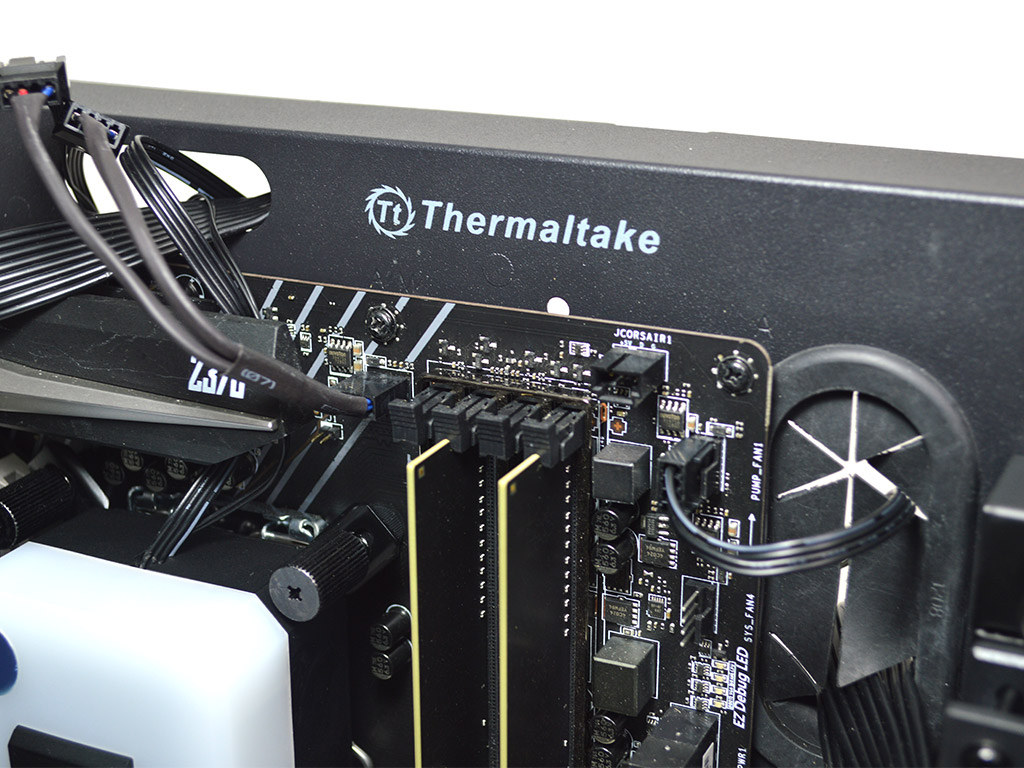
While the cooler does come with thermal paste applied, I removed it for the photos and will need to apply some new paste. If you don't have a preferred paste, it is okay to use the provided stuff. With the pump ready, slide the bracket over the standoffs and secure the pump to the CPU with the included thumbscrews, making sure to add the springs as noted in the manual. Keep in mind that it can be rotated to better fit the socket area. On the EK-AIO 360 D-RGB, I had the swivel fittings facing towards the memory. However, since they block one of the DIMM slots, I decided to rotate the pump to showcase the other option.
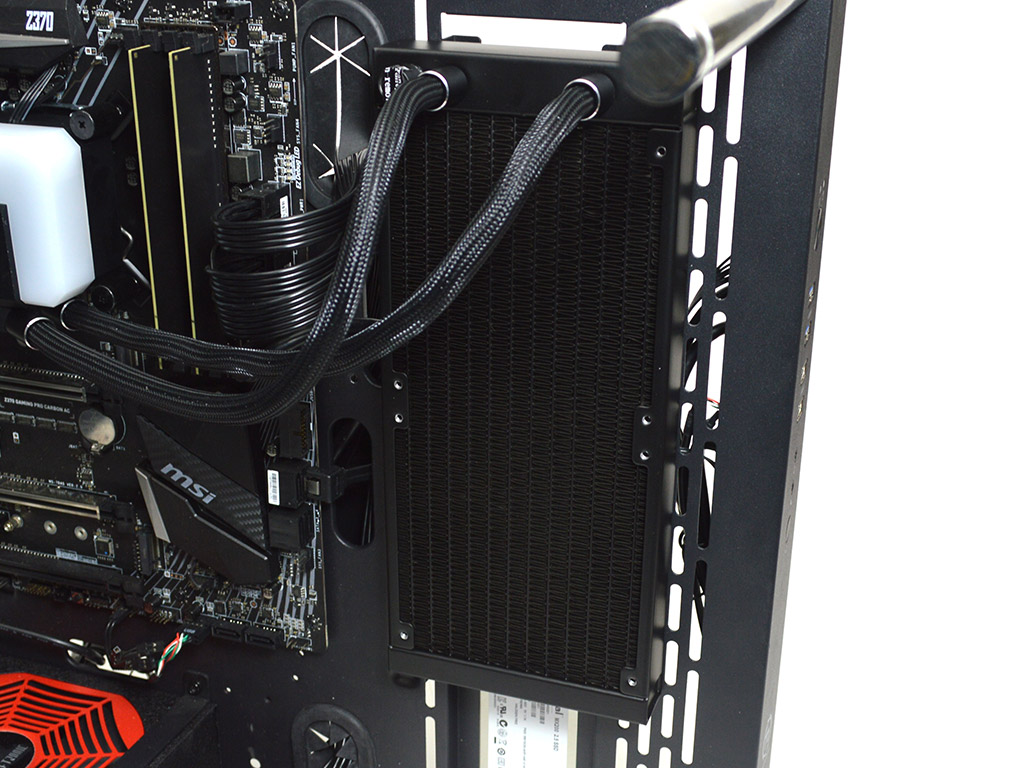

Now, it's time to install the radiator and then the fans. Don't forget to run all the wires and plug everything into the proper headers. With that out of the way, the cooler is good to go.
Overall, I would give the EK-AIO 240 D-RGB a 9 on a scale of 1 (hardest) to 10 (easiest). The mounting process is a breeze, and the included documentation is topnotch.
Mar 19th, 2025 02:58 EDT
change timezone
Latest GPU Drivers
New Forum Posts
- Intel Core i9-14900KS vs. Intel Core Ultra 9 285K (10)
- geekbench6 scores (54)
- One of the cpu's thread utilization (c0%) was very low while playing valorant (3)
- Recently got a motherboard with a pci-e connector on it and it makes me question GPU upgrades (12)
- Windows 11 General Discussion (5870)
- MSI MEG Z890 GODLIKE. (3)
- TechPowerUp Merch Store (73)
- HalfLife2 RTX Demo Is out! (111)
- Poor performance with new Radeon GPUs while CPU under load, any suggestions? (15)
- Free Games Thread (4577)
Popular Reviews
- Corsair SF750 750 W Review
- Sapphire Radeon RX 9070 XT Nitro+ Review - Beating NVIDIA
- AMD Ryzen 9 9950X3D Review - Great for Gaming and Productivity
- ASRock Radeon RX 9070 XT Taichi OC Review - Excellent Cooling
- MSI GeForce RTX 5070 Gaming Trio OC Review
- Kioxia Exceria Plus G4 2 TB Review - Energy-Efficient PCIe Gen 5
- XFX Radeon RX 9070 XT Mercury OC Magnetic Air Review
- ASUS Radeon RX 9070 TUF OC Review
- ASUS GeForce RTX 5090 TUF Review
- AVerMedia Core Go & Elite Go Review
Controversial News Posts
- NVIDIA GeForce RTX 50 Cards Spotted with Missing ROPs, NVIDIA Confirms the Issue, Multiple Vendors Affected (519)
- AMD RDNA 4 and Radeon RX 9070 Series Unveiled: $549 & $599 (260)
- AMD Mentions Sub-$700 Pricing for Radeon RX 9070 GPU Series, Looks Like NV Minus $50 Again (250)
- NVIDIA Investigates GeForce RTX 50 Series "Blackwell" Black Screen and BSOD Issues (244)
- AMD Radeon RX 9070 and 9070 XT Official Performance Metrics Leaked, +42% 4K Performance Over Radeon RX 7900 GRE (195)
- AMD Radeon RX 9070-series Pricing Leaks Courtesy of MicroCenter (158)
- MSI Doesn't Plan Radeon RX 9000 Series GPUs, Skips AMD RDNA 4 Generation Entirely (137)
- Microsoft Introduces Copilot for Gaming (123)