 8
8
EK Nucleus AIO CR360 Lux D-RGB Review
Finished Looks »Installation

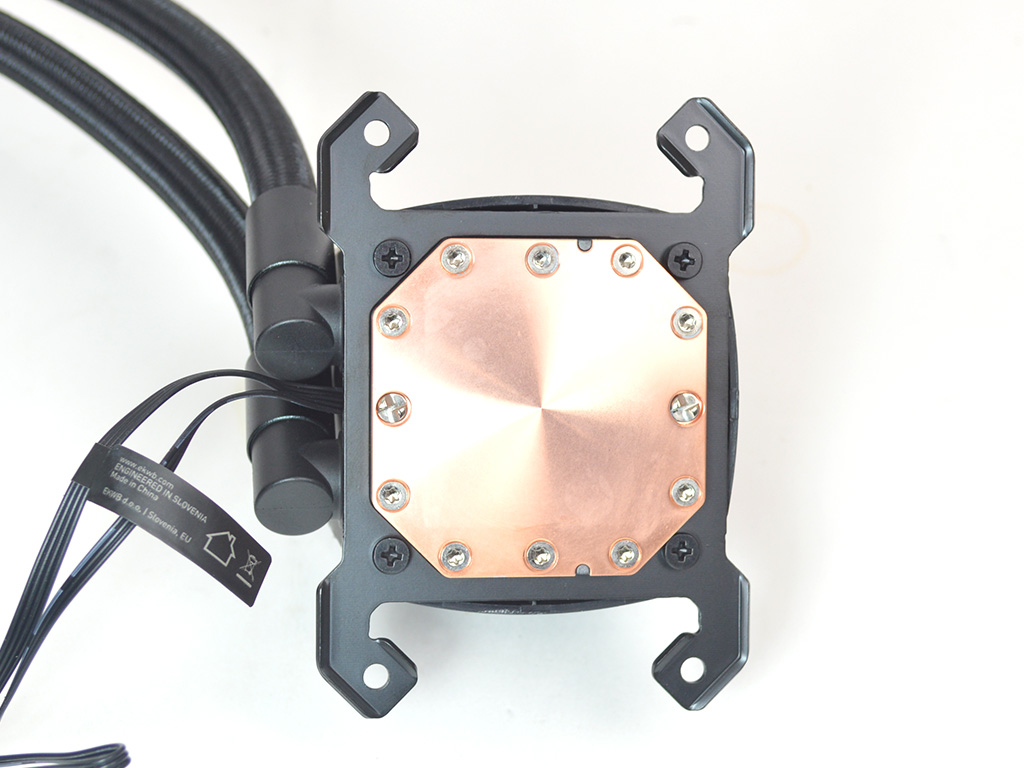
To install the cooler the first step at least in my humble opinion is to get the fans installed and daisy chained together followed by attaching the extension cable. Again, note the fans use a non standard connector, terminating into regular ARGB / 4-pin PWM connectors via the extension cable. Next you will need to attach the appropriate mounting plate to the pump via the four included screws.


Now that the Nucleus AIO CR360 Lux D-RGB is properly ready to go you can move on to the next step, which for AMD users will be to remove the stock plastic brackets on the motherboard. Once removed using the included tool screw the standoffs or thumb screws as EK has labeled them into the backplate.


Now attach the radiator to the chassis and apply thermal paste before mounting the pump. And if you're wondering, yes I started mounting the pump only to realize I forgot to take the photo. Or in other words, haste makes waste so take your time during the install.

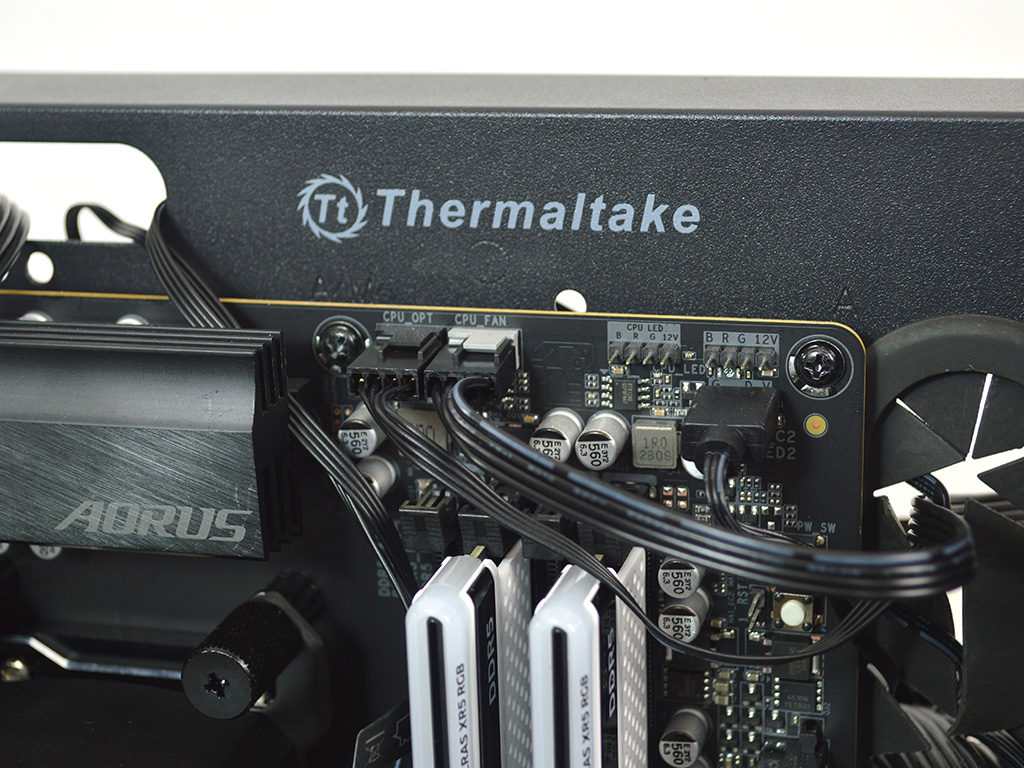
Slide the pump into place and then secure it with the four nuts and springs, alternating in a criss-cross pattern for more even pressure. Once everything is mounted, plug everything into the proper motherboard header, and you're good to go.
Overall, the installation is pretty straightforward on AMD and Intel, with no major hurdles or headache-inducing design choices.
Mar 10th, 2025 12:42 EDT
change timezone
Latest GPU Drivers
New Forum Posts
- Gaming PC instabiliity (13)
- newegg ATX 3.1 PSU on Clearance and Free Fan (1)
- I'm looking for a good tool to make the 3D scanning of my mini-pc using the photogrammetry and my Kinect 2. (45)
- 2022-X58/1366 PIN Motherboards NVME M.2 SSD BIOS MOD Collection (903)
- RX 9070 availability (158)
- Surface laptop 5 TPL Speed Shift ignored? (1)
- What's your latest tech purchase? (23268)
- Looking for silent 9070 (XT) (9)
- Zen6 is almost here ? (43)
- AMD RX 9070 XT & RX 9070 non-XT thread (OC, undervolt, benchmarks, ...) (1)
Popular Reviews
- Sapphire Radeon RX 9070 XT Nitro+ Review - Beating NVIDIA
- XFX Radeon RX 9070 XT Mercury OC Magnetic Air Review
- ASUS Radeon RX 9070 TUF OC Review
- MSI MAG B850 Tomahawk Max Wi-Fi Review
- NVIDIA GeForce RTX 5080 Founders Edition Review
- NVIDIA GeForce RTX 5070 Founders Edition Review
- Corsair Vengeance RGB CUDIMM DDR5-8800 48 GB CL42 Review
- AMD Ryzen 7 9800X3D Review - The Best Gaming Processor
- ASUS GeForce RTX 5070 Ti TUF OC Review
- MSI GeForce RTX 5070 Ti Gaming Trio OC+ Review
Controversial News Posts
- NVIDIA GeForce RTX 50 Cards Spotted with Missing ROPs, NVIDIA Confirms the Issue, Multiple Vendors Affected (513)
- AMD Plans Aggressive Price Competition with Radeon RX 9000 Series (277)
- AMD Radeon RX 9070 and 9070 XT Listed On Amazon - One Buyer Snags a Unit (261)
- AMD RDNA 4 and Radeon RX 9070 Series Unveiled: $549 & $599 (260)
- AMD Mentions Sub-$700 Pricing for Radeon RX 9070 GPU Series, Looks Like NV Minus $50 Again (248)
- NVIDIA Investigates GeForce RTX 50 Series "Blackwell" Black Screen and BSOD Issues (244)
- AMD Radeon RX 9070 and 9070 XT Official Performance Metrics Leaked, +42% 4K Performance Over Radeon RX 7900 GRE (195)
- AMD Radeon RX 9070-series Pricing Leaks Courtesy of MicroCenter (158)