 15
15
EK-Quantum Magnitude CPU Water Block (LGA 1700) Review
Liquid Flow Restriction »Installation and Lighting
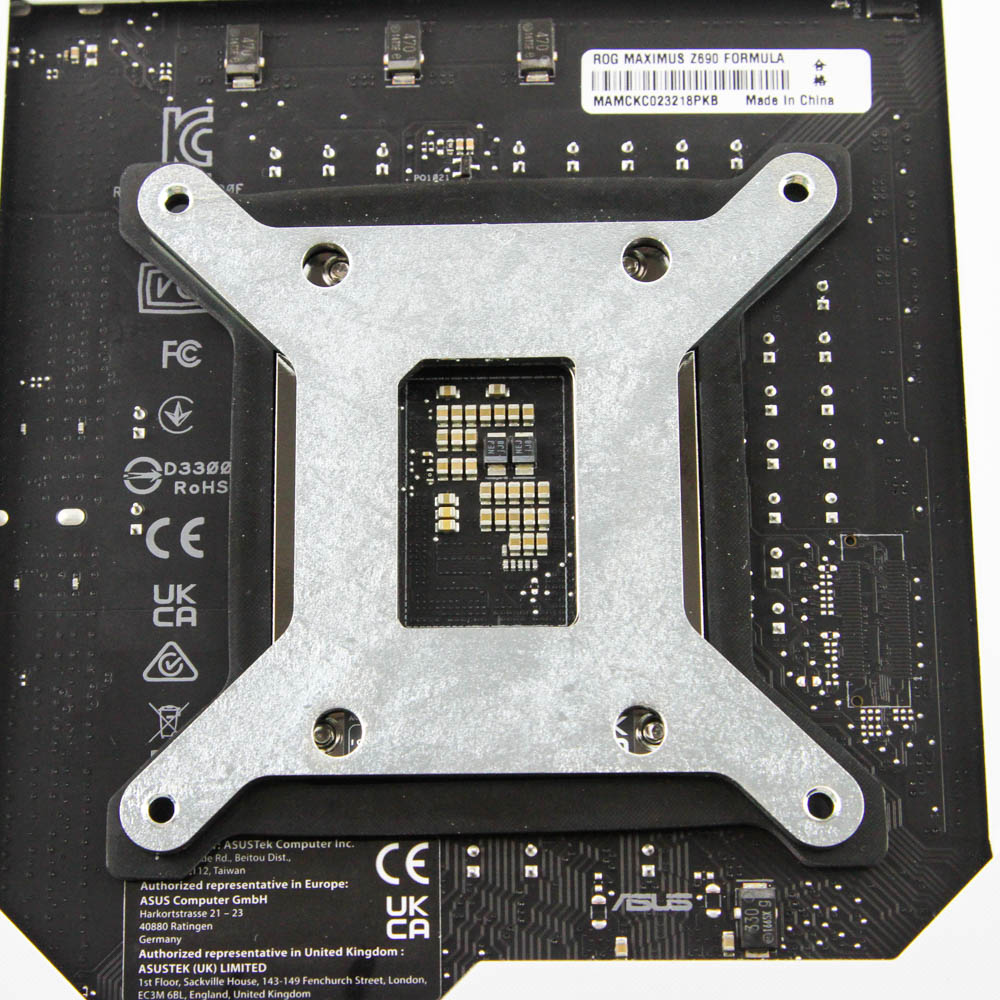
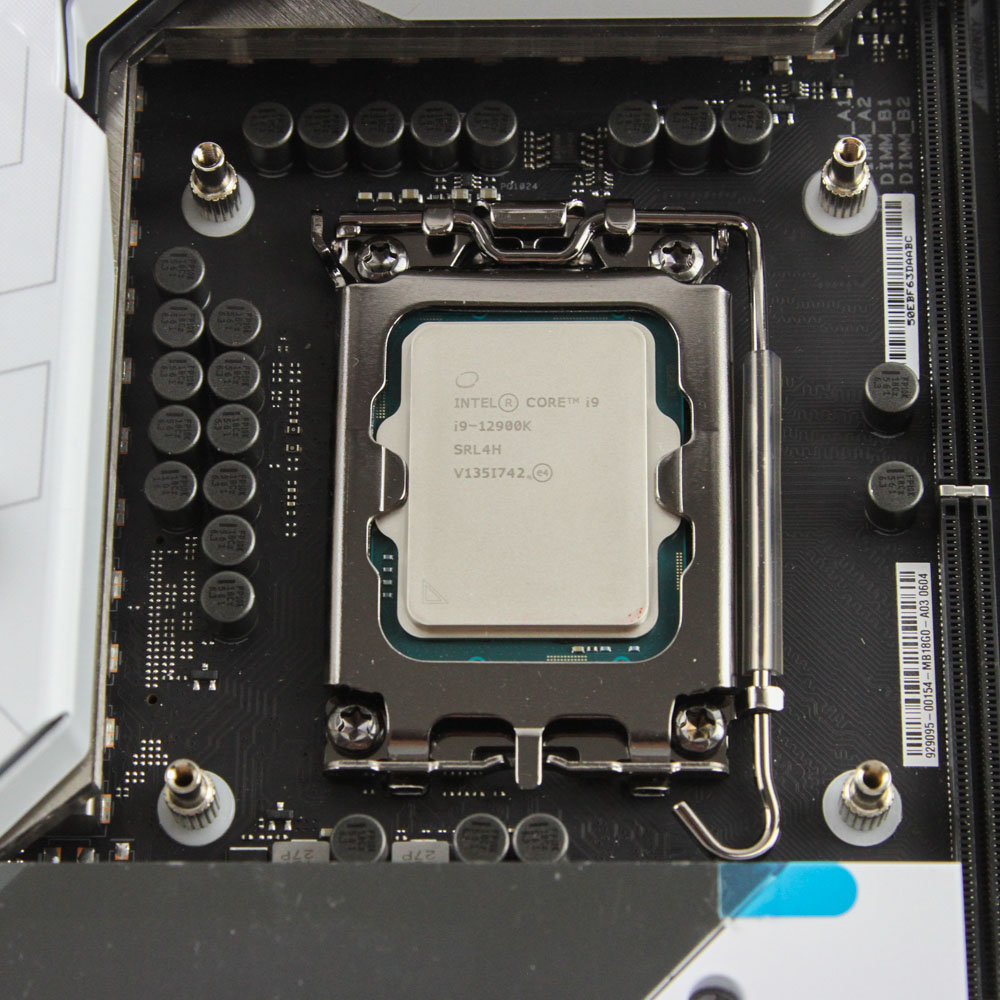
Installation is extremely straightforward given the socket-specific nature of the block, albeit I wouldn't say it's the most user-friendly. The backplate mechanism borrows a lot from previous generations of EK CPU blocks, which is not an issue as it still works fine. The rubber gasket and backplate is now different from before so you just have to align the holes in both of them with the holes in the motherboard around the CPU socket. The gasket helps prevent any shorting of electrical components and unfortunately there is no way to ensure this combo sticks to each other or to the motherboard. As such, I can't help but think this has to be done outside of the PC chassis to avoid frustrations. Even so I realized it was simpler to place the gasket/backplate together on my motherboard box and then align the motherboard on top of the holes visible to me. I can't help but think EK needs to re-think the installation with this system now—especially given how smooth the EK-Quantum Velocity² is by comparison. With that done, take the four standoffs, which happen to be M4 threaded, and pass them through a plastic washer each and the cooler mounting holes in the backplate to thread them into the backplate as seen above. The standoffs have a lower profile than your average CPU block mounting post, but are tall enough to support the EK-Quantum Magnitude, with the holes in the frame covering them entirely. I also want to warn you this can be cumbersome if you have fat fingers and are using it on a motherboard with an extensive VRM cooling solution such as this ASUS ROG Z690 Formula board where the top left corner post gets tight. Be sure to put thermal paste on the CPU IHS before this, and the provided Thermal Grizzly paste is an excellent option with a good balance of thermal conductivity and ease of spread, density, and viscosity.
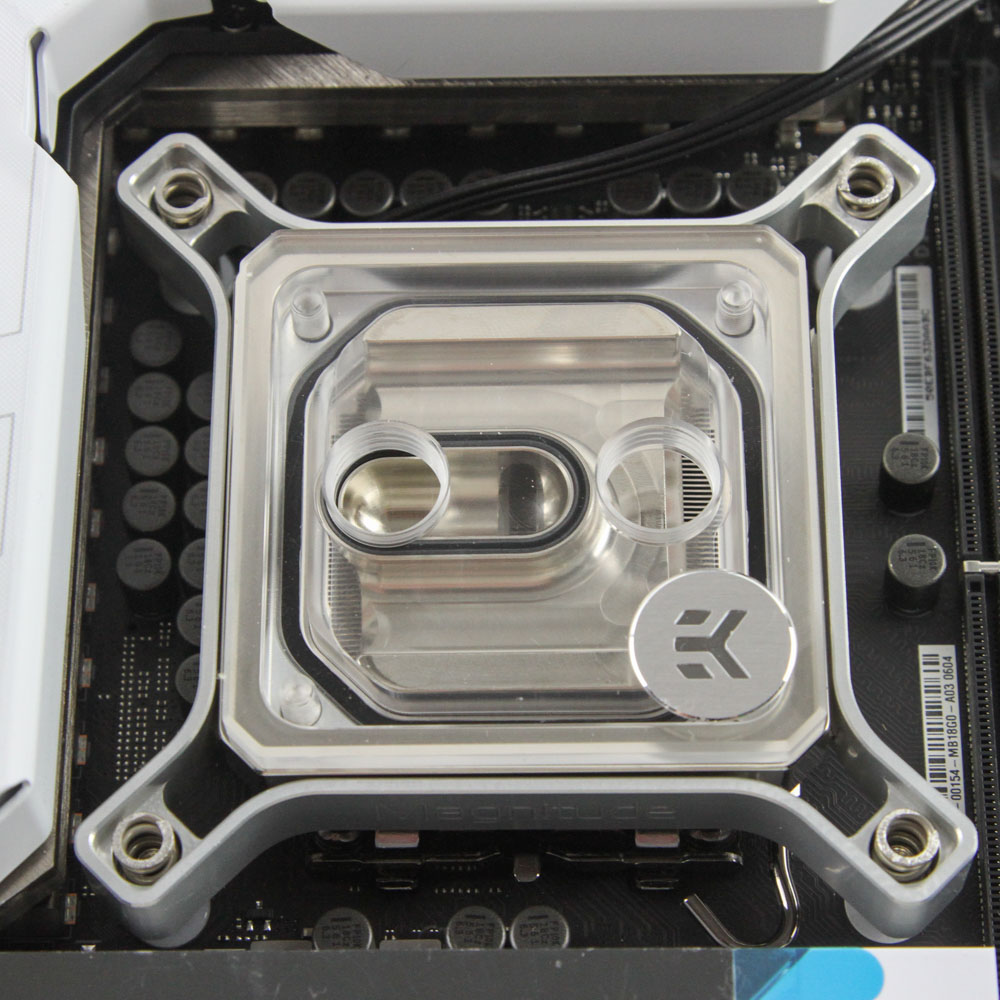
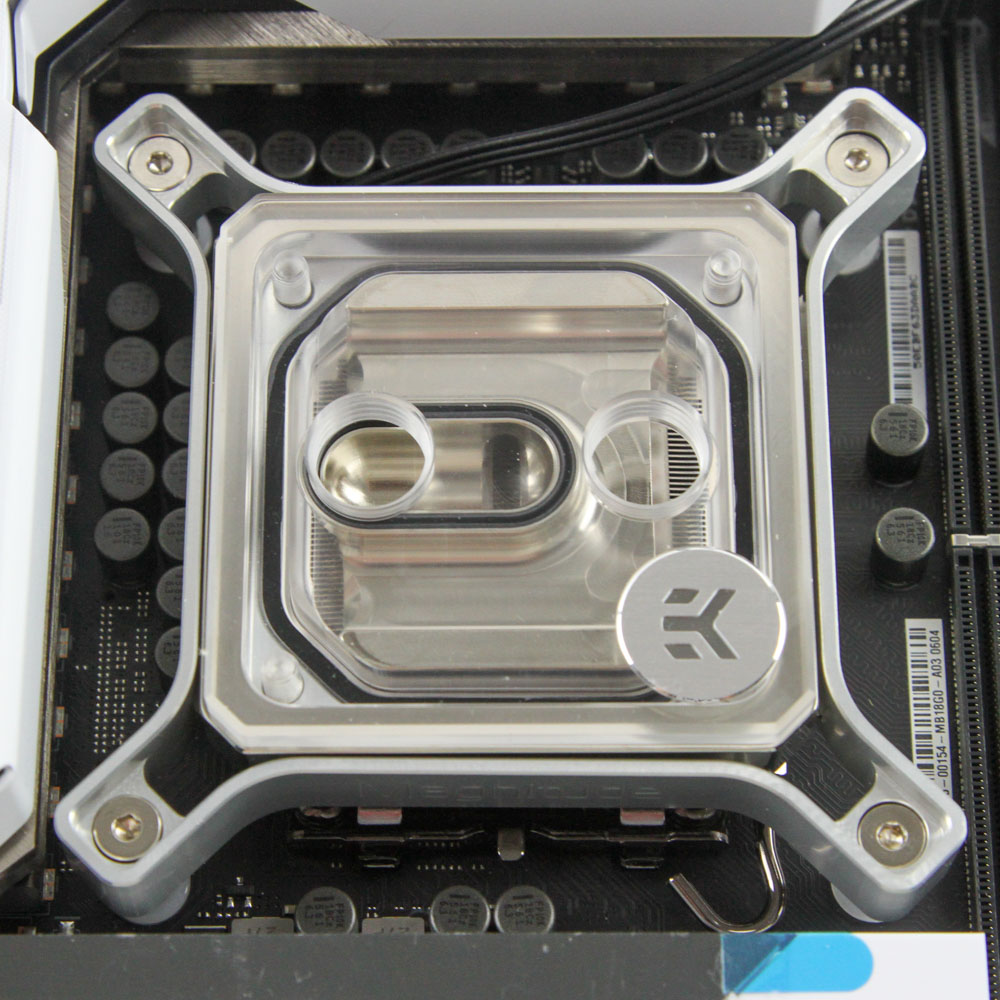
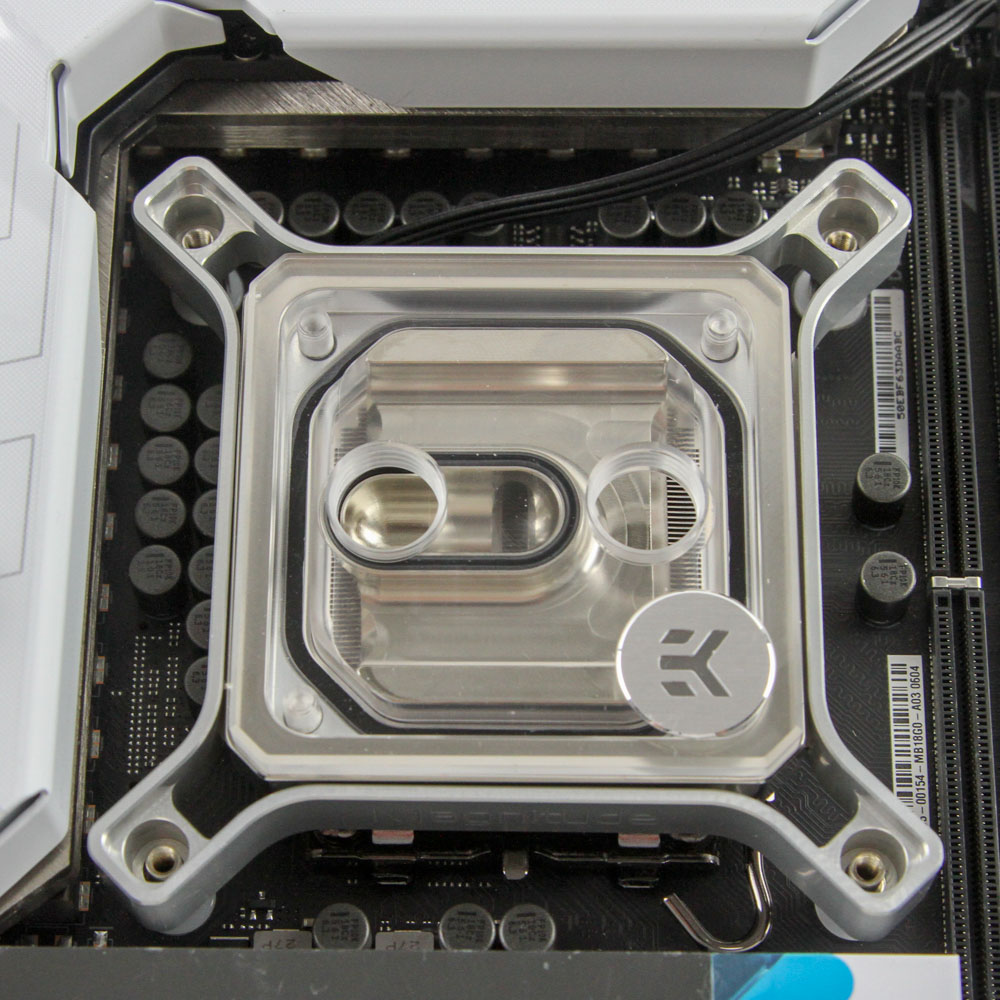
Now place the metal springs over the standoffs in each corner and use the mounting screws with the inner thread on the standoffs to finish the installation. You will need to use the provided hex key since there is no room to finger-tighten the screws in place while they are inside the frame. As such, there is an ever-present hazard of someone over-tightening them with the provided hex key, though it is fairly hard to do based on my deliberate attempts. Secondly, it is hard to simultaneously install two diagonal-locking screws when using the single hex key, so users may not be able to apply uniform pressure throughout installation. A pre-spread of thermal paste may not be a bad idea as an alternative—I was still well within error margins of thermal performance. This is not an entirely precise installation either since you don't stop when you run out of thread here, but rather when the screw heads are flush with the mounting frame itself. This too adds to the difficulty of achieving a fully uniform mount and TIM spread—nowhere near enough to be a deal breaker, but one that is becoming an overall issue for EK to resolve in 2023 compared to it being swept under the strengths and novelties of the EK-Quantum Magnitude's features when it first launched.
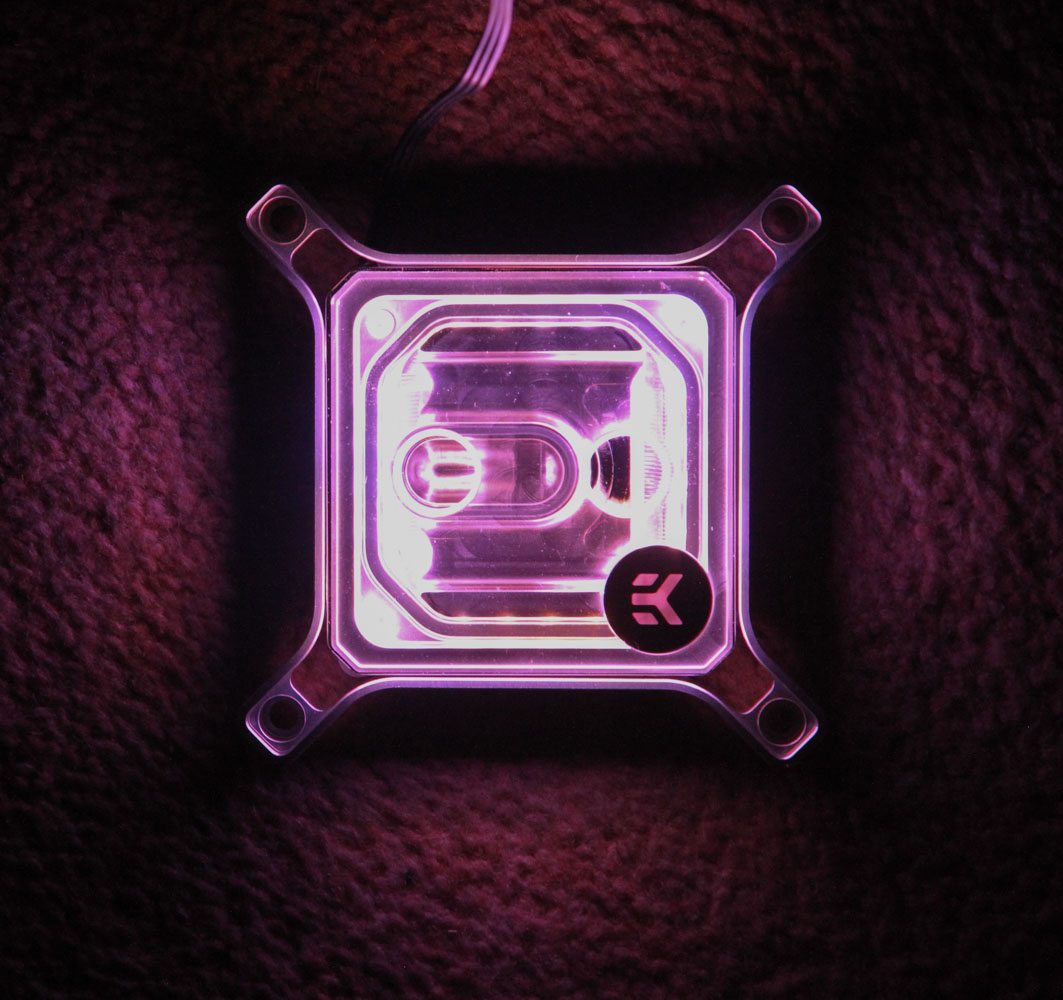
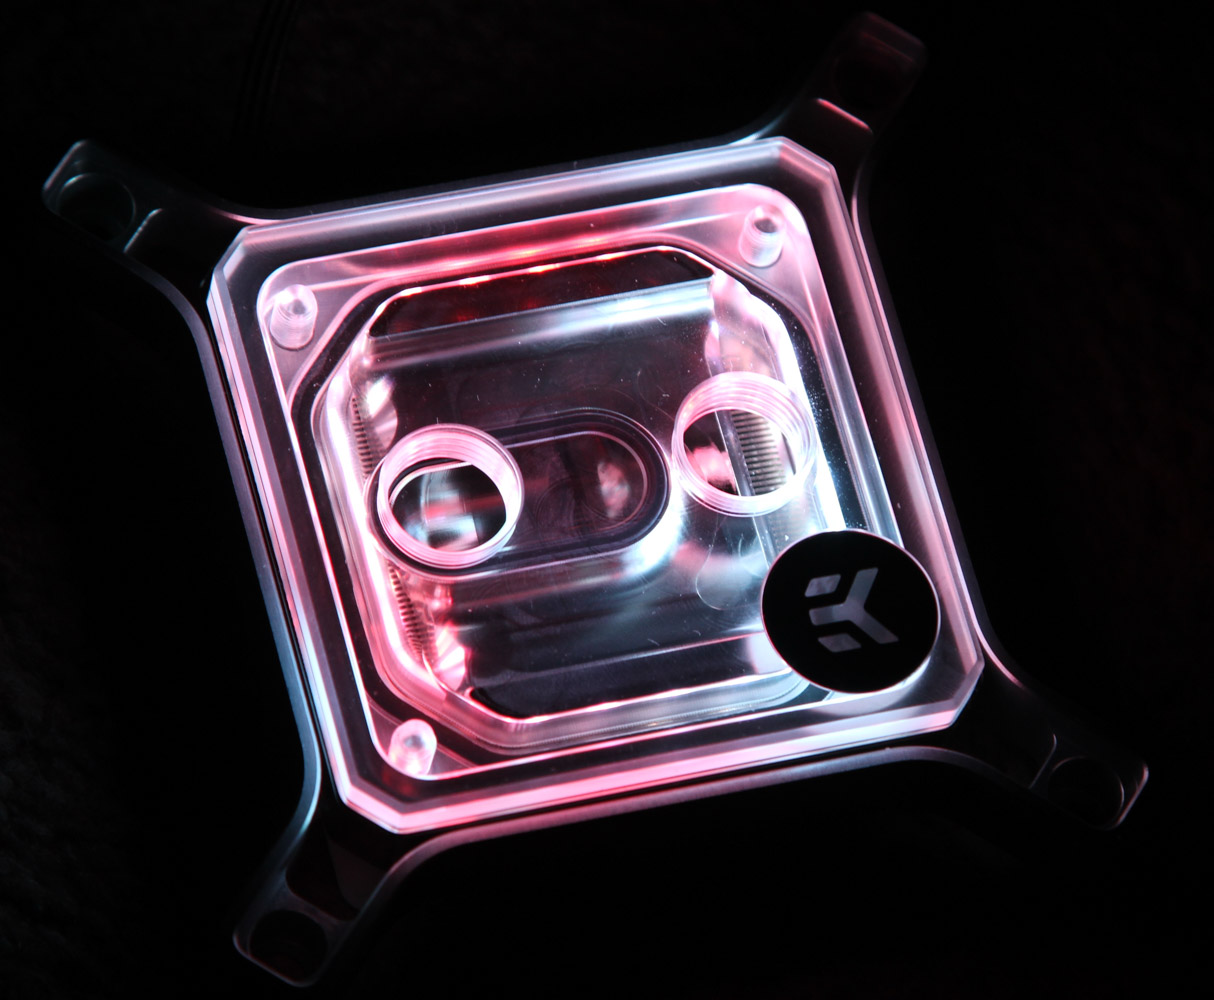
Seen above is the block lit up using a simple LED controller to demonstrate how the 4-way side-mounted LEDs work in practice. It's certainly a better light show than on some previous gen EK blocks despite the larger footprint here, and more uniform compared to what we saw with the EK-Quantum Velocity² as well.
Mar 18th, 2025 06:42 EDT
change timezone
Latest GPU Drivers
New Forum Posts
- Nvidia's GPU market share hits 90% in Q4 2024 (gets closer to full monopoly) (1191)
- What's your latest tech Freebie? (14)
- Best €400-450 GPU (16)
- Windows 11 General Discussion (5859)
- Do you prefer factory overclocked GPUs? (5)
- Intel to AMD upgrade, re-using 2x24Gb memory? (7)
- Is RX 9070 VRAM temperature regular value or hotspot? (12)
- Dead pixels and 1700 hours usage on a amazon warehouse LG C3, what do now? (1)
- I'm looking for a good tool to make the 3D scanning of my mini-pc using the photogrammetry and my Kinect 2. (141)
- need help fixing a fake gt730 (0)
Popular Reviews
- Gigabyte X870E Aorus Pro Review
- AMD Ryzen 9 9950X3D Review - Great for Gaming and Productivity
- Sapphire Radeon RX 9070 XT Nitro+ Review - Beating NVIDIA
- MSI GeForce RTX 5070 Gaming Trio OC Review
- Corsair SF750 750 W Review
- Kioxia Exceria Plus G4 2 TB Review - Energy-Efficient PCIe Gen 5
- XFX Radeon RX 9070 XT Mercury OC Magnetic Air Review
- ASUS GeForce RTX 5090 TUF Review
- ASUS Radeon RX 9070 TUF OC Review
- AMD Ryzen 7 9800X3D Review - The Best Gaming Processor
Controversial News Posts
- NVIDIA GeForce RTX 50 Cards Spotted with Missing ROPs, NVIDIA Confirms the Issue, Multiple Vendors Affected (519)
- AMD RDNA 4 and Radeon RX 9070 Series Unveiled: $549 & $599 (260)
- AMD Mentions Sub-$700 Pricing for Radeon RX 9070 GPU Series, Looks Like NV Minus $50 Again (250)
- NVIDIA Investigates GeForce RTX 50 Series "Blackwell" Black Screen and BSOD Issues (244)
- AMD Radeon RX 9070 and 9070 XT Official Performance Metrics Leaked, +42% 4K Performance Over Radeon RX 7900 GRE (195)
- AMD Radeon RX 9070-series Pricing Leaks Courtesy of MicroCenter (158)
- MSI Doesn't Plan Radeon RX 9000 Series GPUs, Skips AMD RDNA 4 Generation Entirely (126)
- Microsoft Introduces Copilot for Gaming (122)