 8
8
Fractal Design Define Nano S Review
A Closer Look - Inside »A Closer Look - Outside

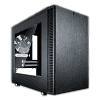
Taking a look at the chassis for the first time, it looks like a smaller version of the Define S. You will find the same clean lines and faux-brushed aluminum look for the front and the understated side panels' white elements, which were sprinkled about an otherwise black color scheme.

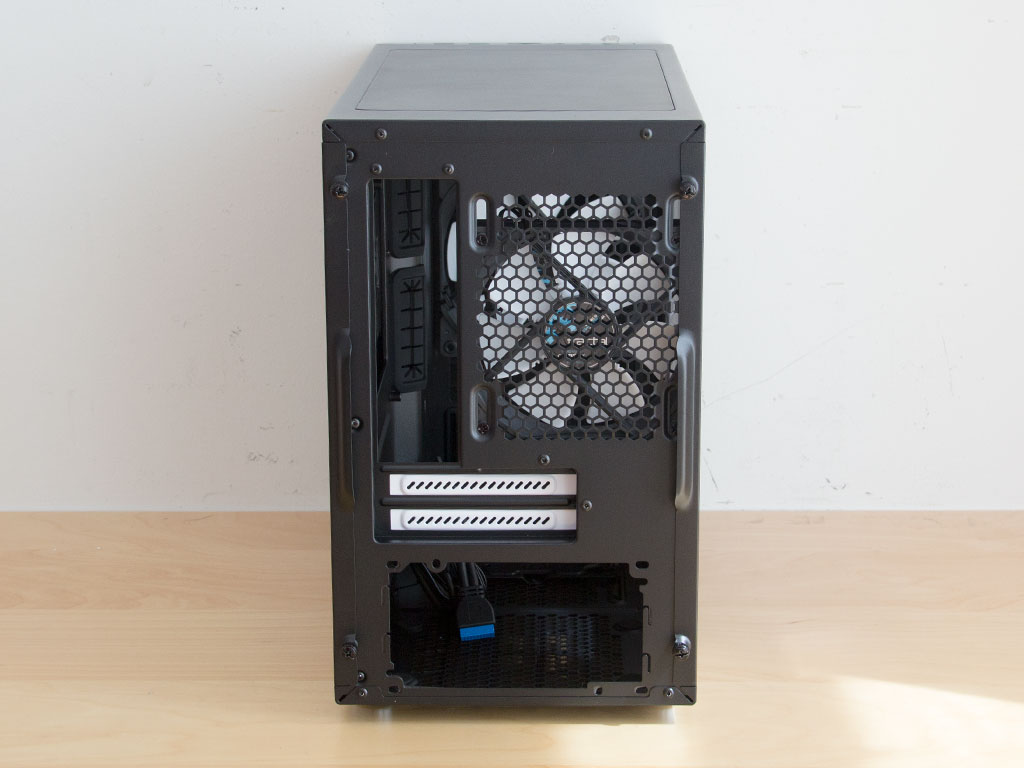
As with all Define cases, the front is completely solid and lacks external drive bays. You will not find any large company logos either as this enables system integrators to build full PCs with these without distracting from their own brand. In the rear, everything is where one would expect it to be in a traditional mini-ITX chassis.
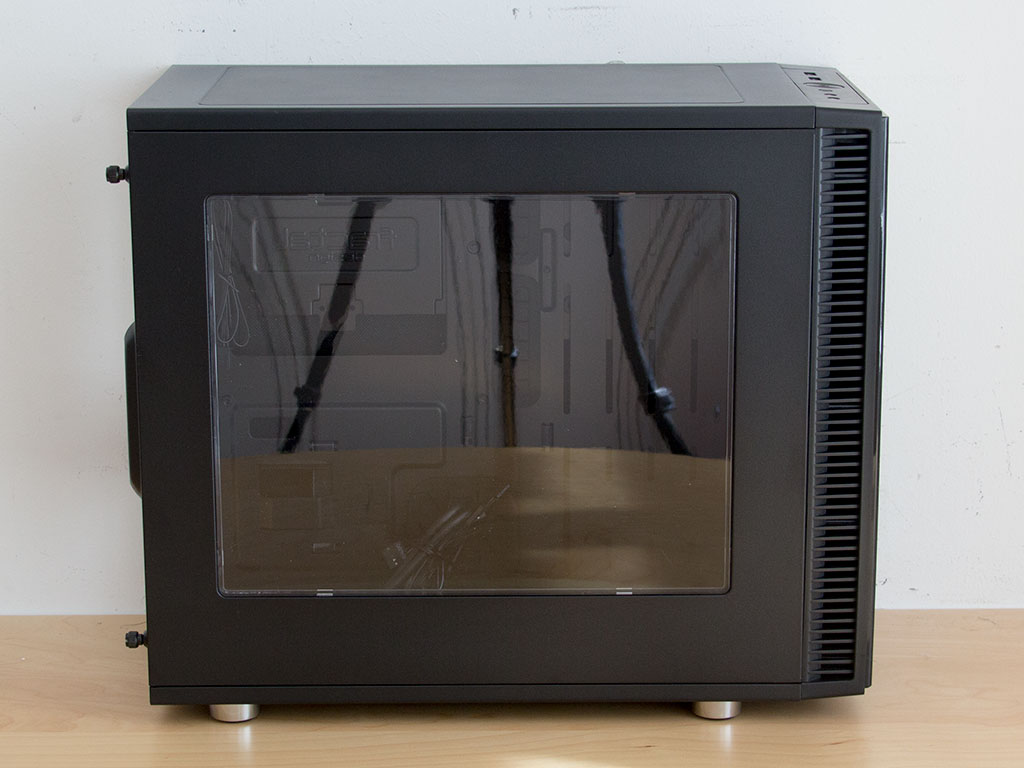
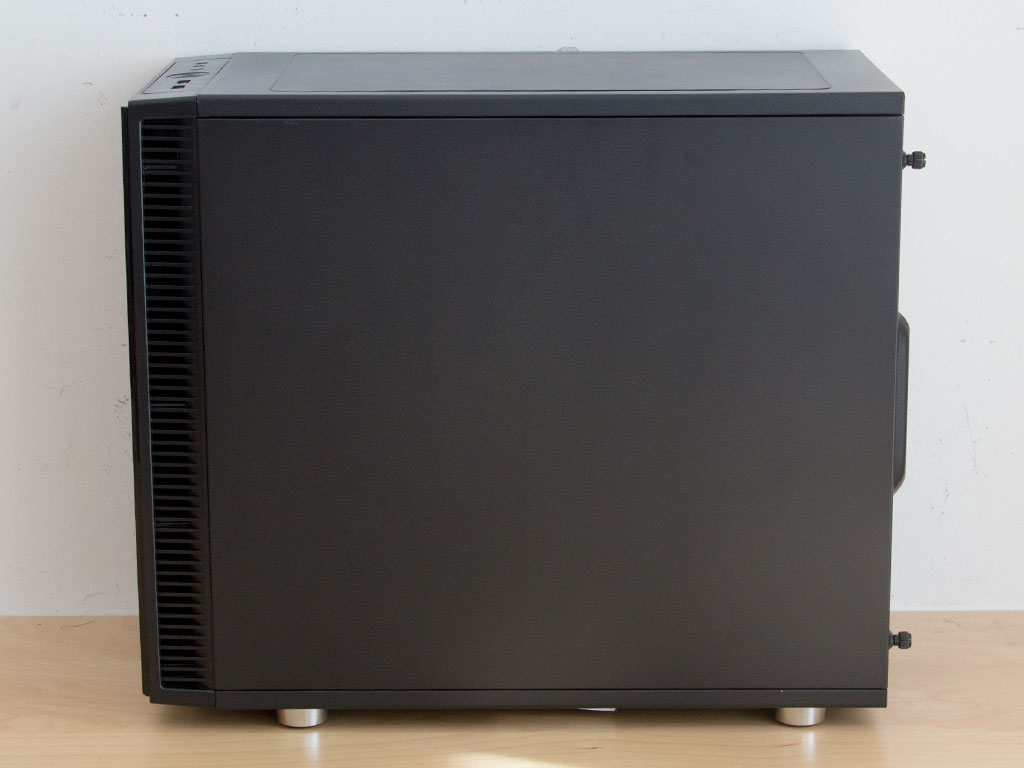
The Define Nano S is available with a solid panel or a window. We got the windowed version for review, which has its window embedded into the metal panel in such a way as to hide any mounting elements. The panel on the other side is completely solid, lacking openings or air vents.


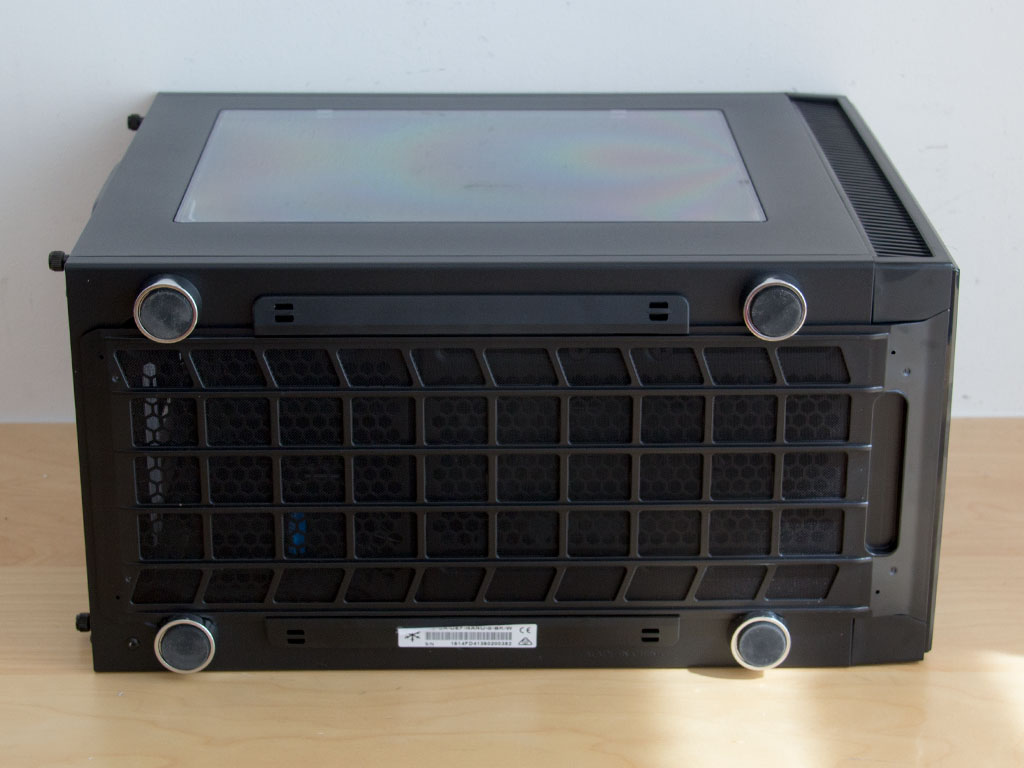
In the rear, the bottom is intended for a fully sized ATX PSU, with two sets of mounting holes for utmost compatibility. Above that are the two expansion slots for the motherboard, each protected with a reusable white cover - a signature design element from Fractal Design. At the very top, you will find a 120mm fan-mounting possibility. Fractal Design pre-installed a retail-grade cooling unit there and set it to push air out through the back of the chassis.
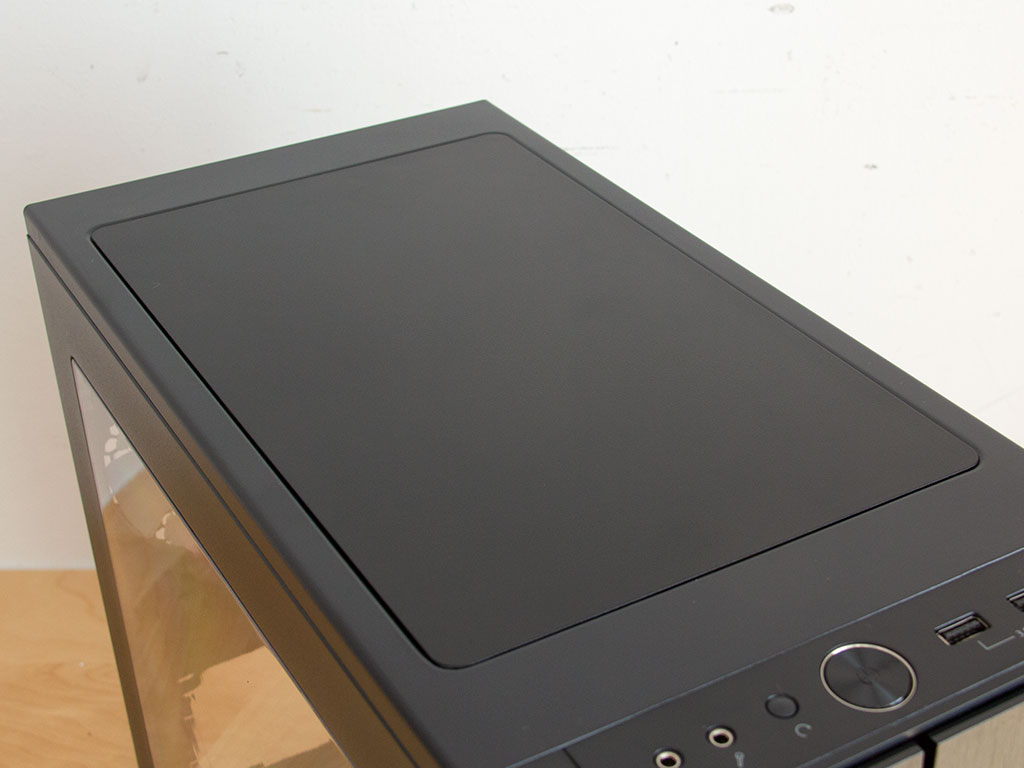
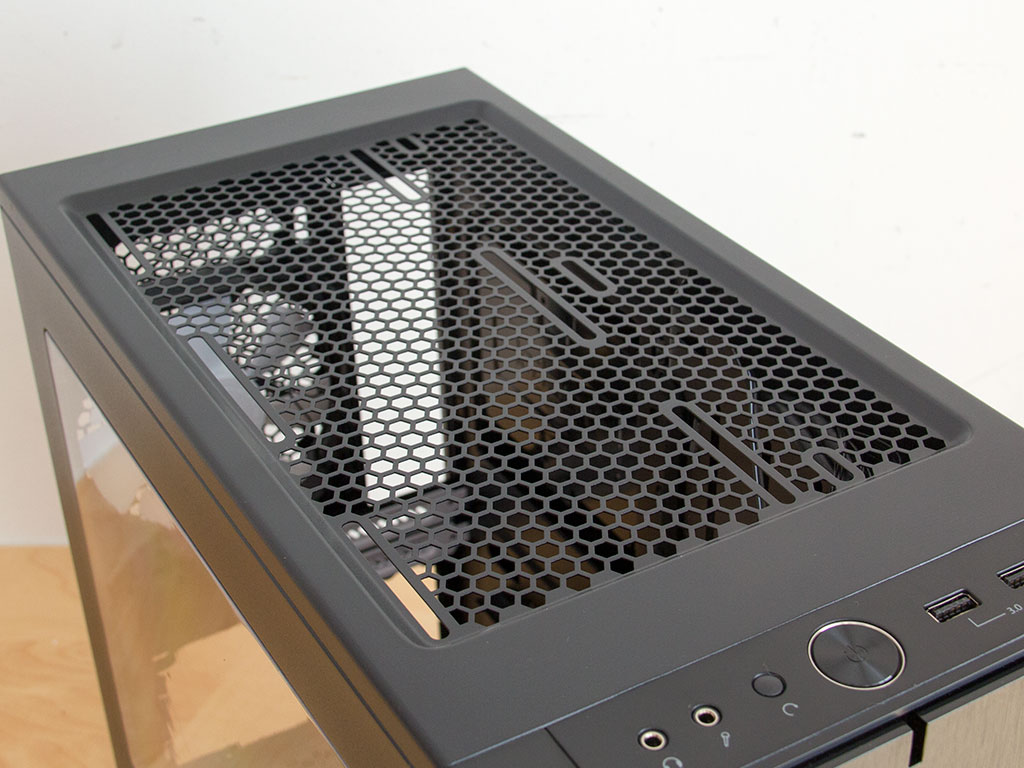
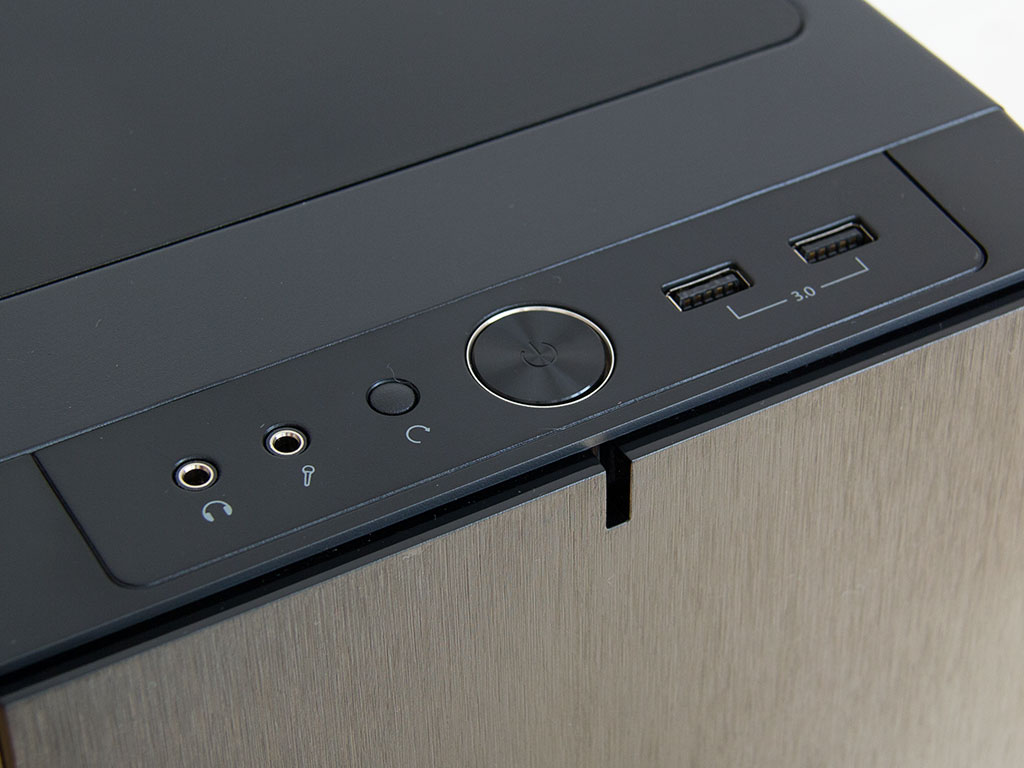
Just like with the Define S, Fractal Design allows you to install fans or a radiator in the ceiling. To keep the noise insulation for those who do not require such cooling elements in the ceiling, there is a cover that seals that opening up quite nicely. There are mounting holes for two 120mm or 140mm fans or - at most - a 240mm radiator. You will find a basic set of I/O consisting of two USB 3.0, the usual pair of audio plugs, and the power and reset buttons at the front.

Putting the case on its side reveals the dust filter for the PSU and fan mounting spots there. Simply pull the plastic filter out through the front of the chassis to clean it.
Mar 10th, 2025 13:17 EDT
change timezone
Latest GPU Drivers
New Forum Posts
- RX 9070 availability (163)
- DTS DCH Driver for Realtek HDA [DTS:X APO4 + DTS Interactive] (2110)
- Zen6 is almost here ? (45)
- Gaming PC instabiliity (16)
- It's happening again, melting 12v high pwr connectors (1019)
- newegg ATX 3.1 PSU on Clearance and Free Fan (2)
- What's your latest tech purchase? (23269)
- Samsung 9100 PRO is on preorder (0)
- I'm looking for a good tool to make the 3D scanning of my mini-pc using the photogrammetry and my Kinect 2. (45)
- 2022-X58/1366 PIN Motherboards NVME M.2 SSD BIOS MOD Collection (903)
Popular Reviews
- Sapphire Radeon RX 9070 XT Nitro+ Review - Beating NVIDIA
- XFX Radeon RX 9070 XT Mercury OC Magnetic Air Review
- ASUS Radeon RX 9070 TUF OC Review
- MSI MAG B850 Tomahawk Max Wi-Fi Review
- NVIDIA GeForce RTX 5080 Founders Edition Review
- NVIDIA GeForce RTX 5070 Founders Edition Review
- Corsair Vengeance RGB CUDIMM DDR5-8800 48 GB CL42 Review
- AMD Ryzen 7 9800X3D Review - The Best Gaming Processor
- ASUS GeForce RTX 5070 Ti TUF OC Review
- MSI GeForce RTX 5070 Ti Gaming Trio OC+ Review
Controversial News Posts
- NVIDIA GeForce RTX 50 Cards Spotted with Missing ROPs, NVIDIA Confirms the Issue, Multiple Vendors Affected (513)
- AMD Plans Aggressive Price Competition with Radeon RX 9000 Series (277)
- AMD Radeon RX 9070 and 9070 XT Listed On Amazon - One Buyer Snags a Unit (261)
- AMD RDNA 4 and Radeon RX 9070 Series Unveiled: $549 & $599 (260)
- AMD Mentions Sub-$700 Pricing for Radeon RX 9070 GPU Series, Looks Like NV Minus $50 Again (248)
- NVIDIA Investigates GeForce RTX 50 Series "Blackwell" Black Screen and BSOD Issues (244)
- AMD Radeon RX 9070 and 9070 XT Official Performance Metrics Leaked, +42% 4K Performance Over Radeon RX 7900 GRE (195)
- AMD Radeon RX 9070-series Pricing Leaks Courtesy of MicroCenter (158)