 24
24
Glorious GMMK 3 Pro HE Wireless Keyboard Review
(24 Comments) »Introduction
Those who have been following TechPowerUp for a few years now are no doubt familiar with Glorious, which started as the Glorious PC Gaming Race brand complete with all the associated memes. It made a name for itself with the original GMMK—the Glorious Modular Mechanical Keyboard—which helped introduce a lot of PC gamers to mechanical keyboards and arguably was the product to popularize modular switch sockets in keyboards. Then came the GMMK Pro with its CNC-machined aluminium case, first-party screw-in stabilizers, open-source firmware that didn't necessarily have the best execution, and the ability to purchase as a barebones kit to better appeal to the more enthusiast keyboard community. The more affordable GMMK was updated over two years ago, and we covered both the Compact TKL (65%) and Full-size (96%) offerings on launch day. It seemed apt timing for perhaps a GMMK Pro 2, or even a GMMK 3 thus. Little did I know both would be coming, and in a manner I was not expecting.

Yes, I know calling it Glorious GMMK is a redundant phrase, but blame search engine optimization and everyone referring to these keyboards as much. Either way, Glorious held a product showcase event in Copenhagen this past summer, but I was unable to attend it given the short notice. Our mice editor did go on my behalf, seeing as how he's also covered several Glorious-branded mice, and you will see the fruits of his travel in this review too. At the event, Glorious talked about the new GMMK 3 series which comes in standard and pro versions, mechanical or HE (Hall effect) versions, different keyboard sizes/languages/layouts, and also in pre-built and barebones options. These alone would be a lot of SKUs for any company to launch, but then Glorious decided to also offer what it calls the Boardsmith feature, effectively making the GMMK 3 the world's most customizable keyboard. This is a custom configurator you go through to create the keyboard of your dreams with over 1 billion (yes, that's a B) possible combinations available.
You might have seen multiple reviews of the GMMK 3 last month when it officially launched, all of which were different looking as a result of us getting access to this feature. I was halfway across the world, but was still looking forward to seeing how my specific keyboard came out—it's not the one in the teaser image above, I just designed one to put forth yet another possibility. I'll also aim to get my hands on a pre-built version of the GMMK 3 for a separate review, if only because there are so many things to talk about in this keyboard family, but for now I'll thank Glorious for providing two separate custom GMMK 3 units to TechPowerUp, and this particular review happens to be of the GMMK 3 Pro HE Wireless version. Given the nature of the configurator, having a single set of product specifications doesn't really work here, so let's do directly to the unboxing experience on the next page.
Packaging and Accessories
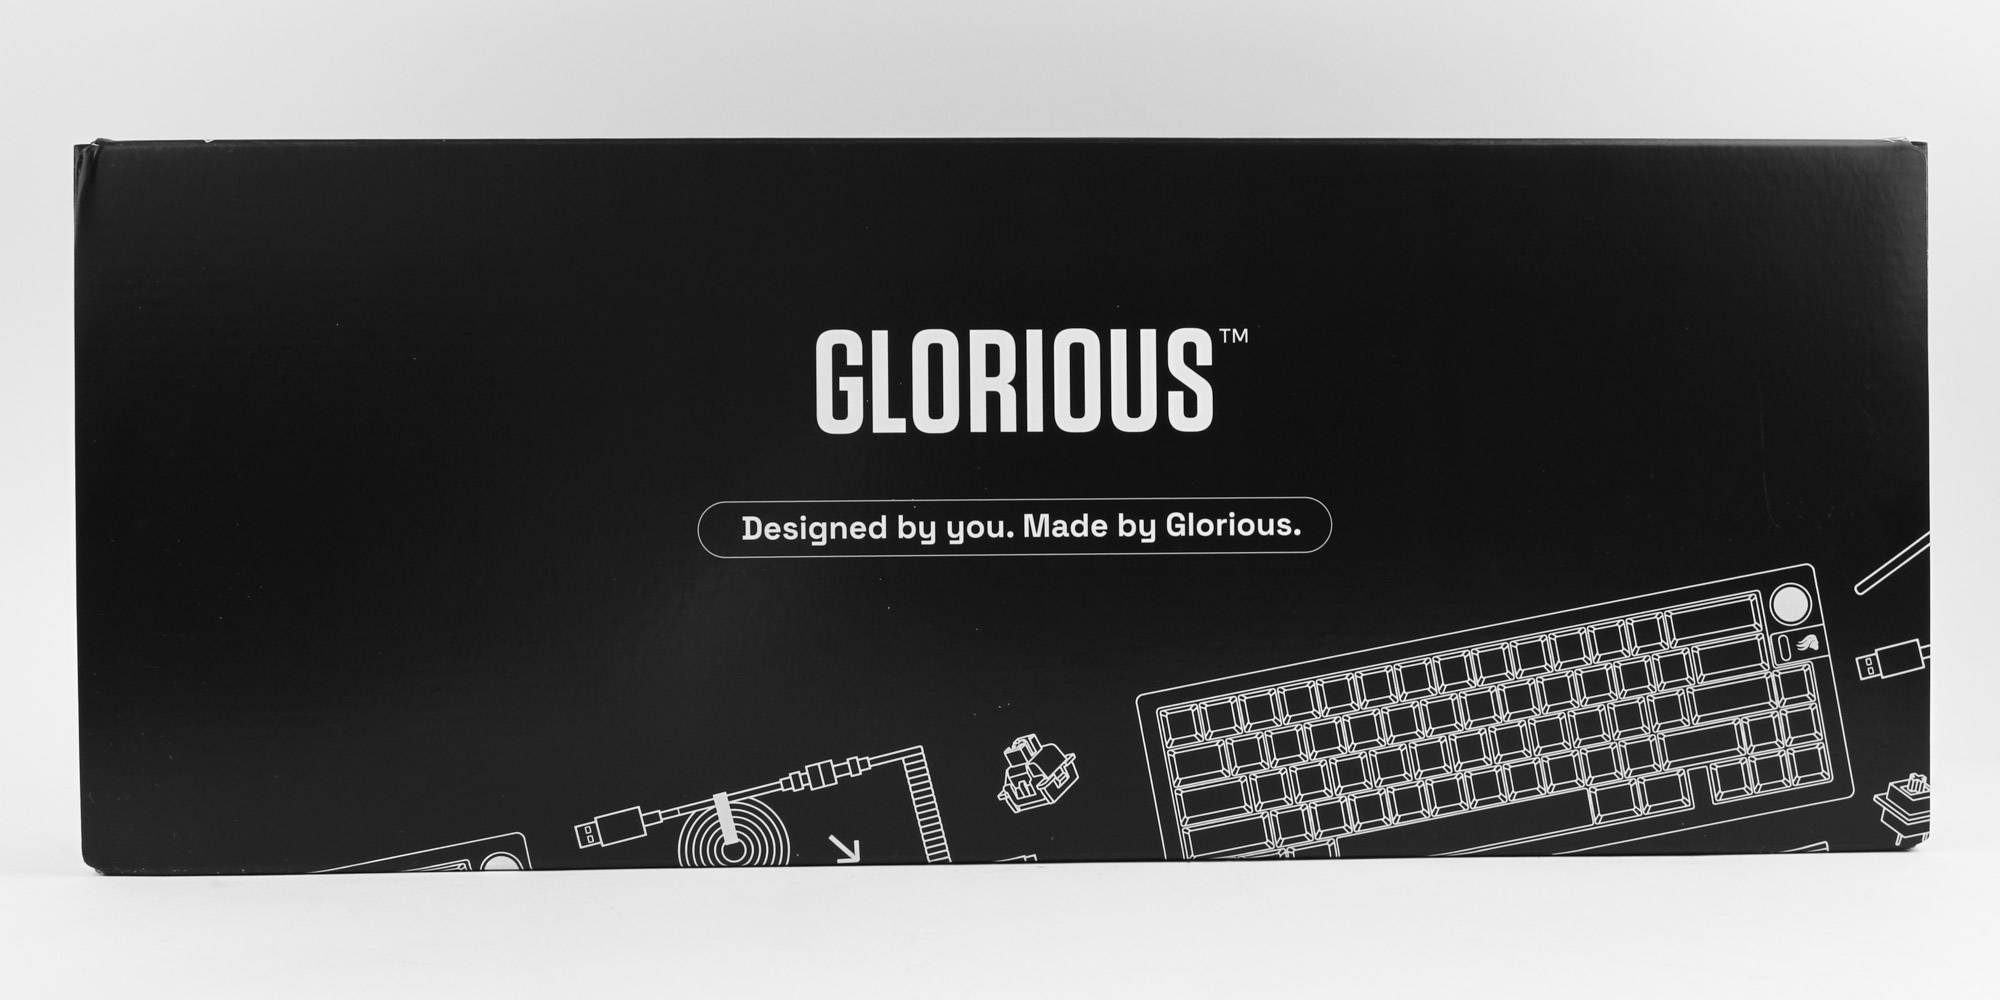
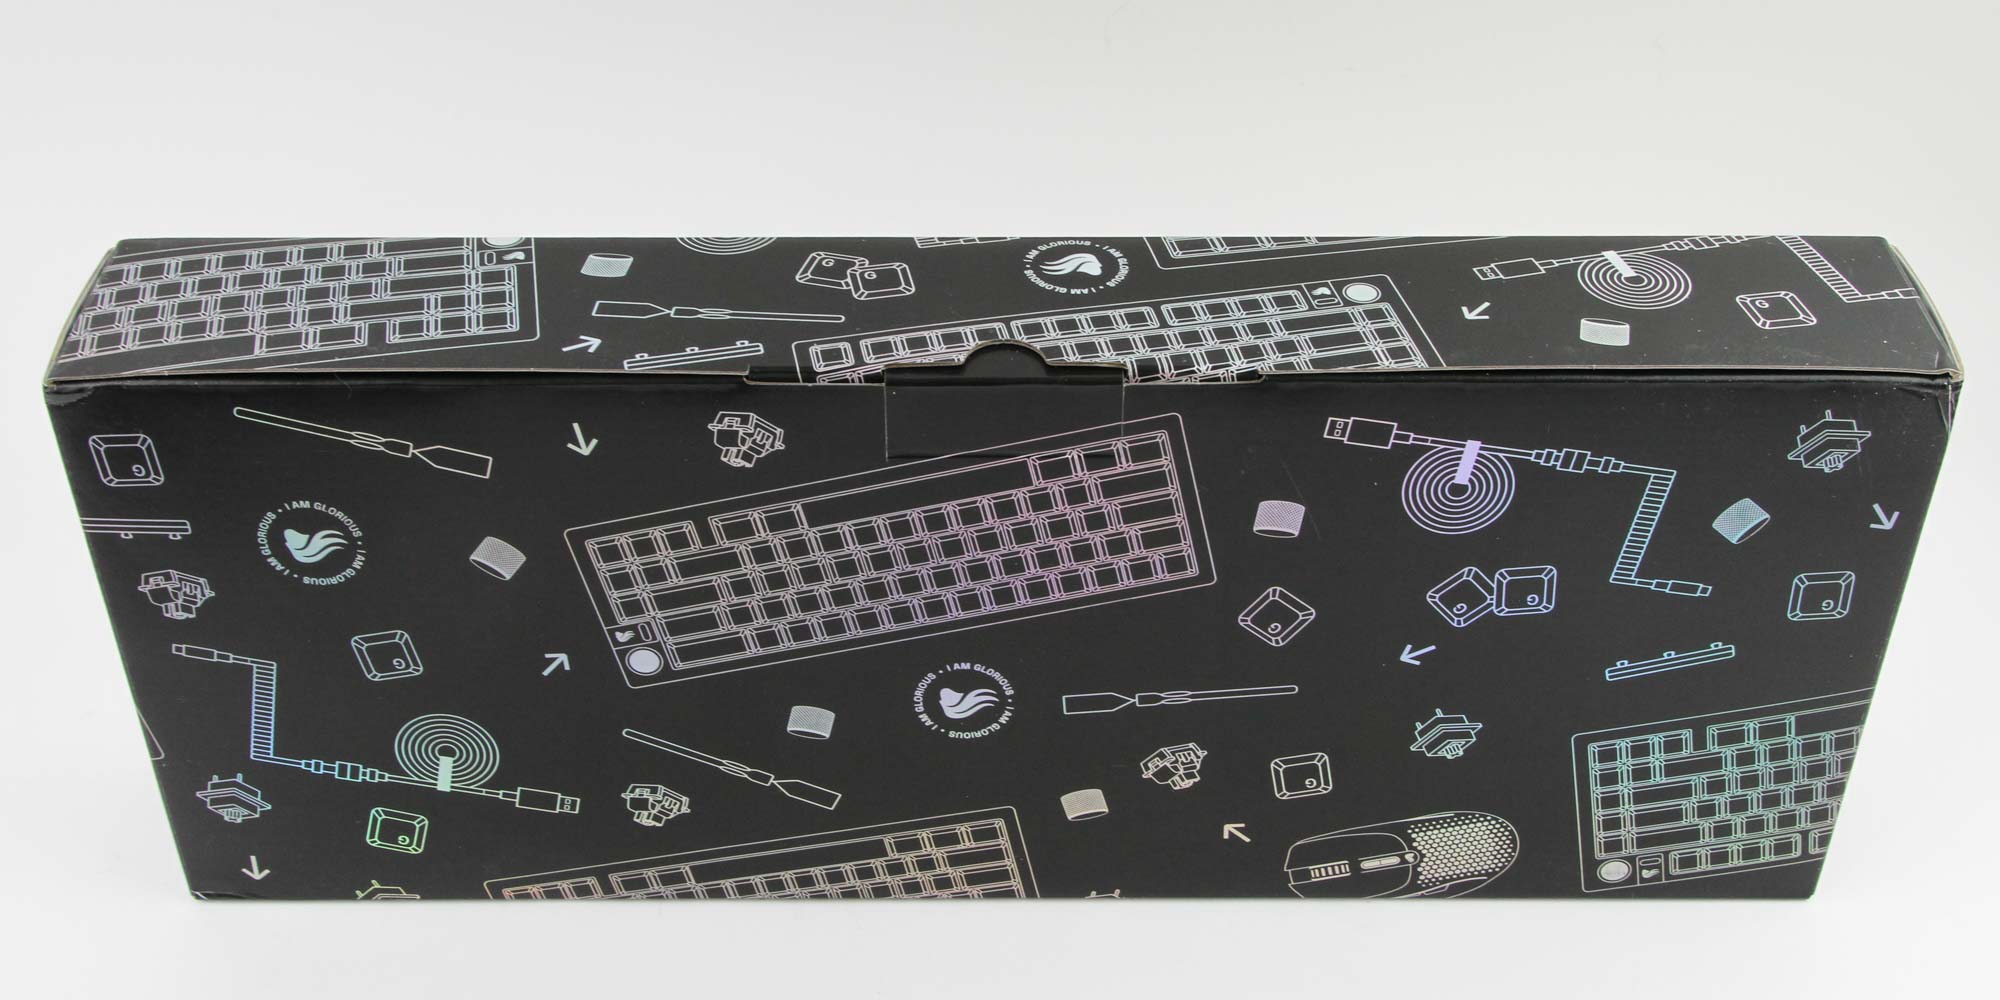
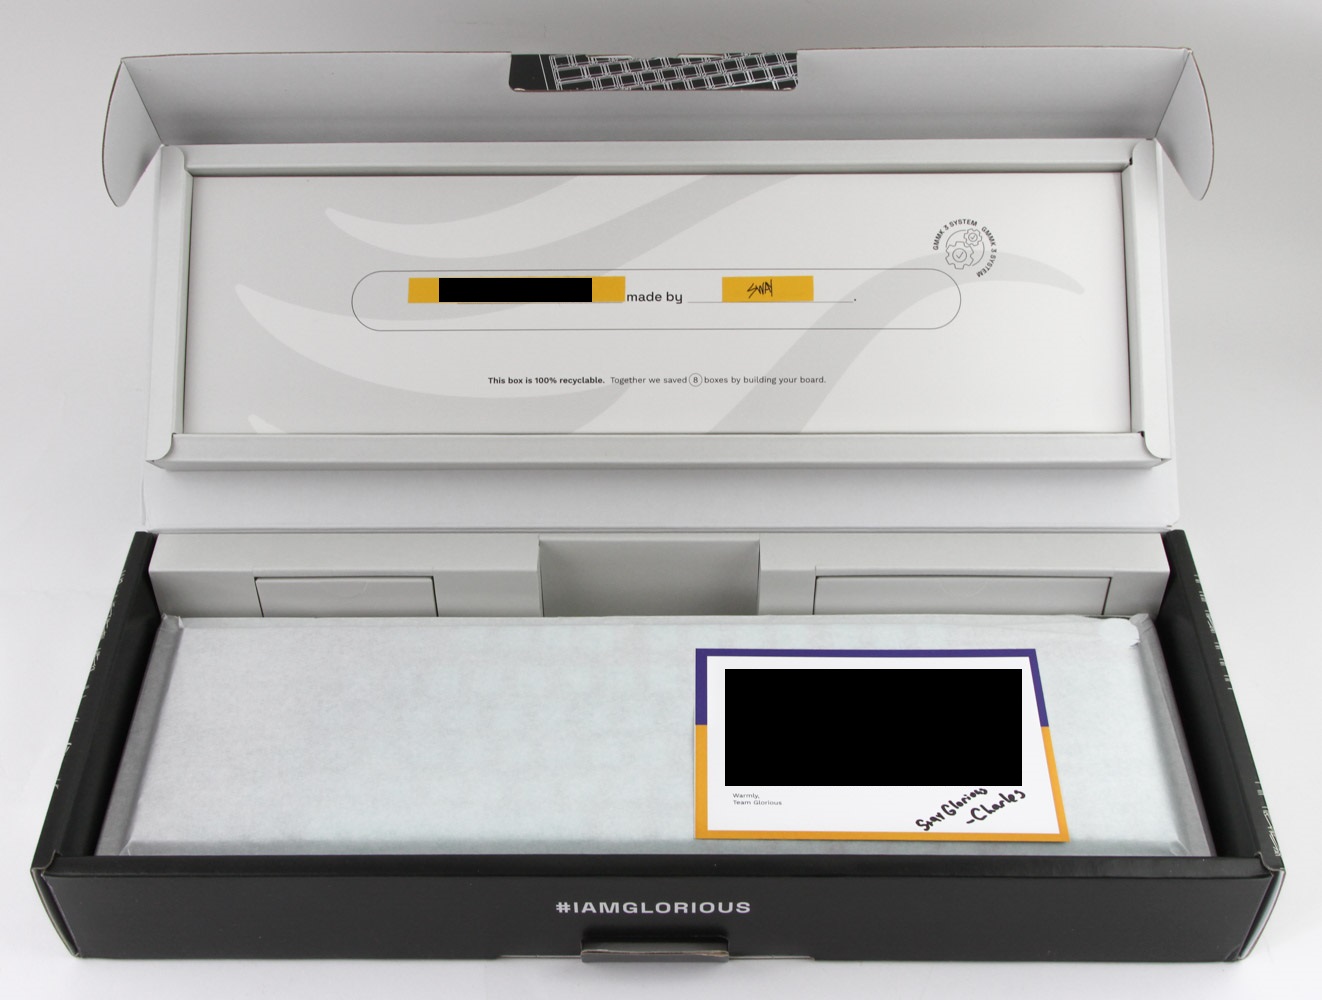
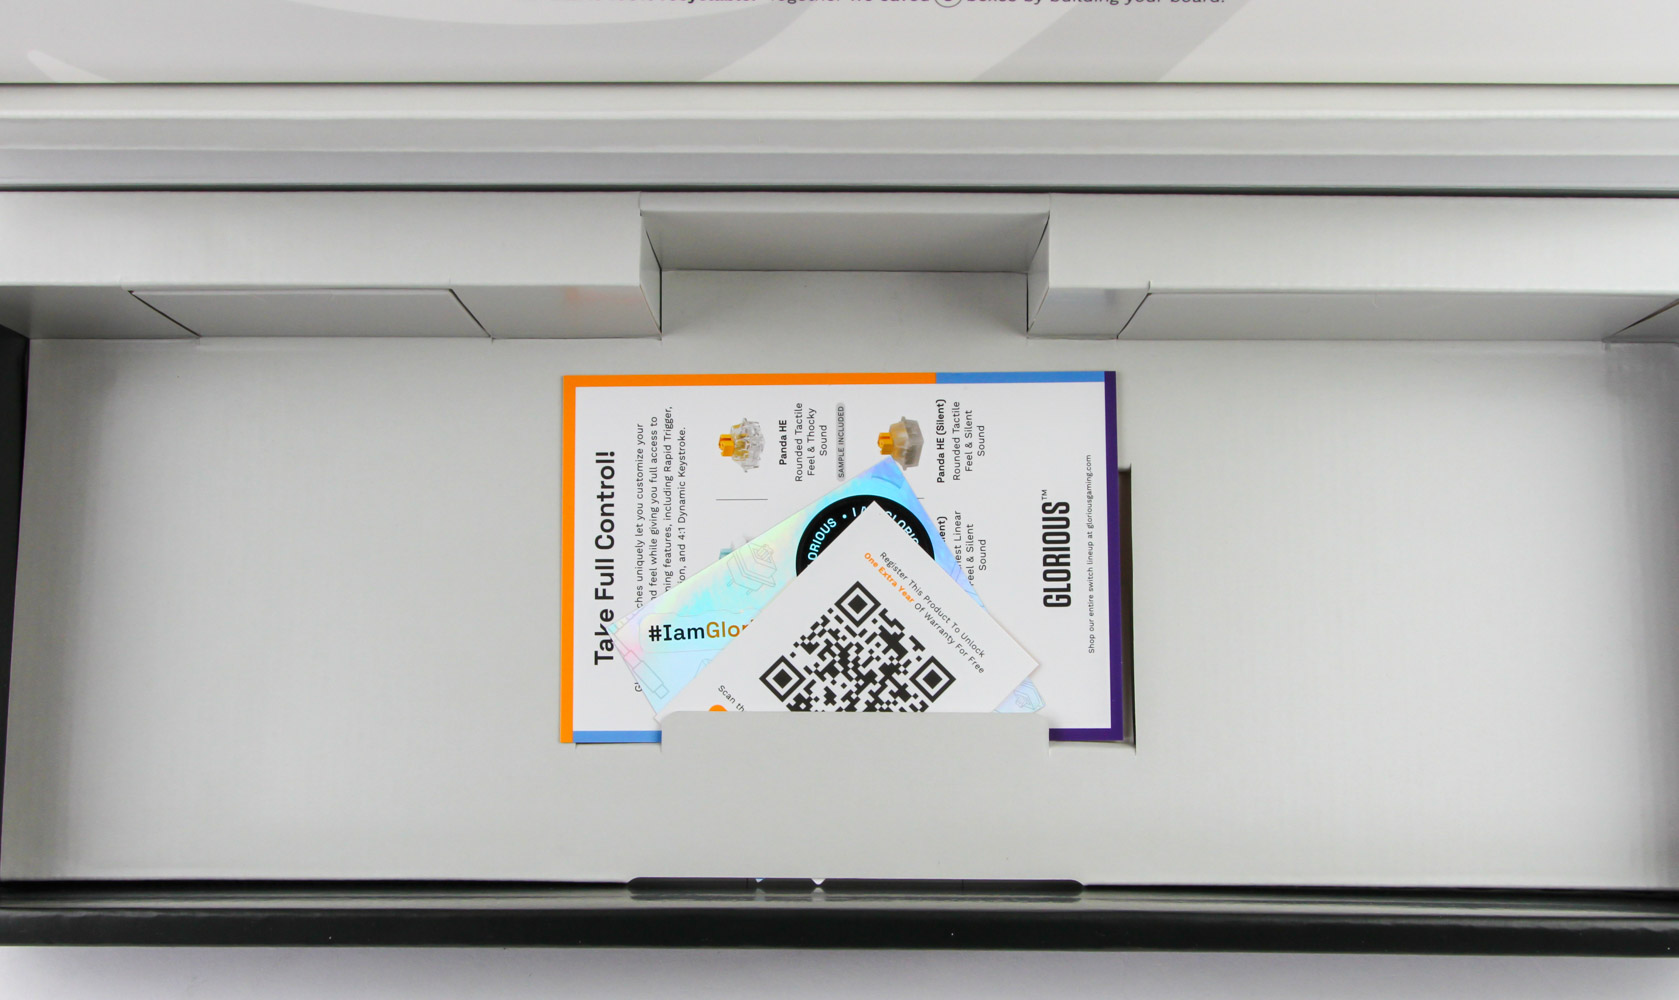
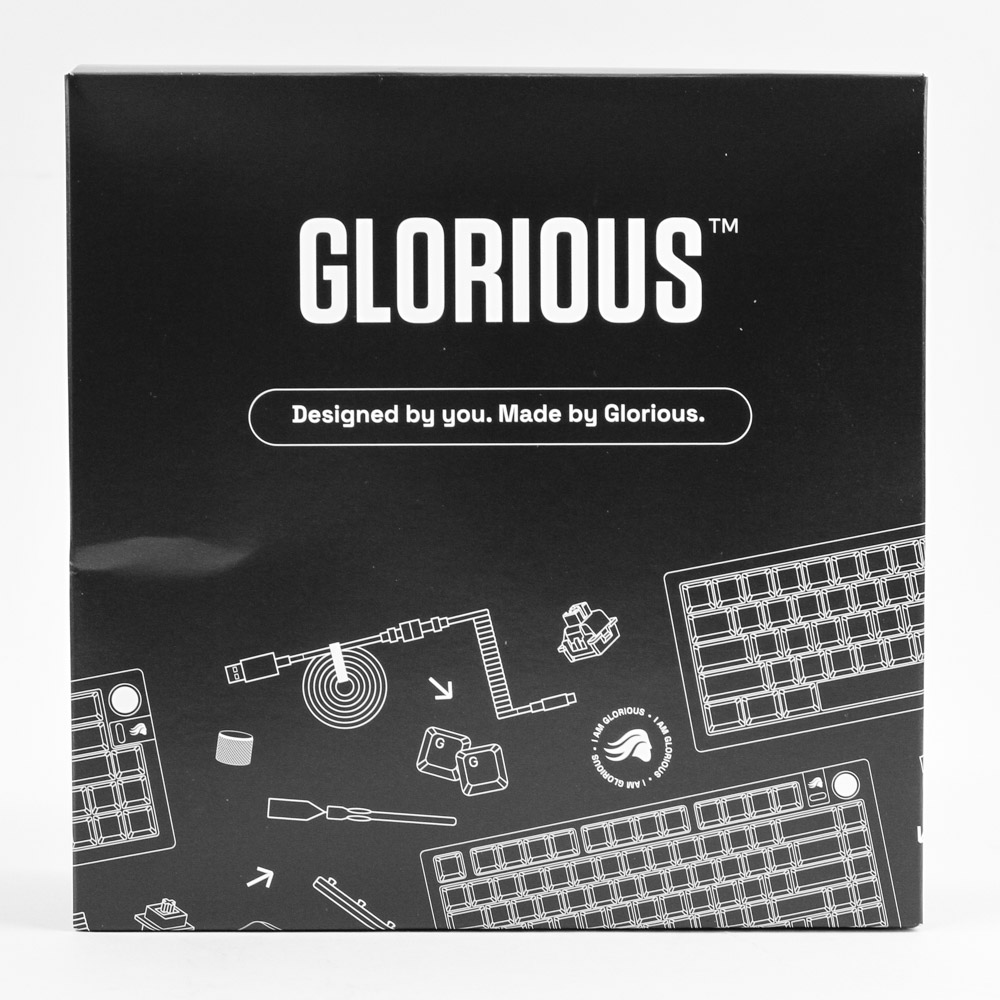
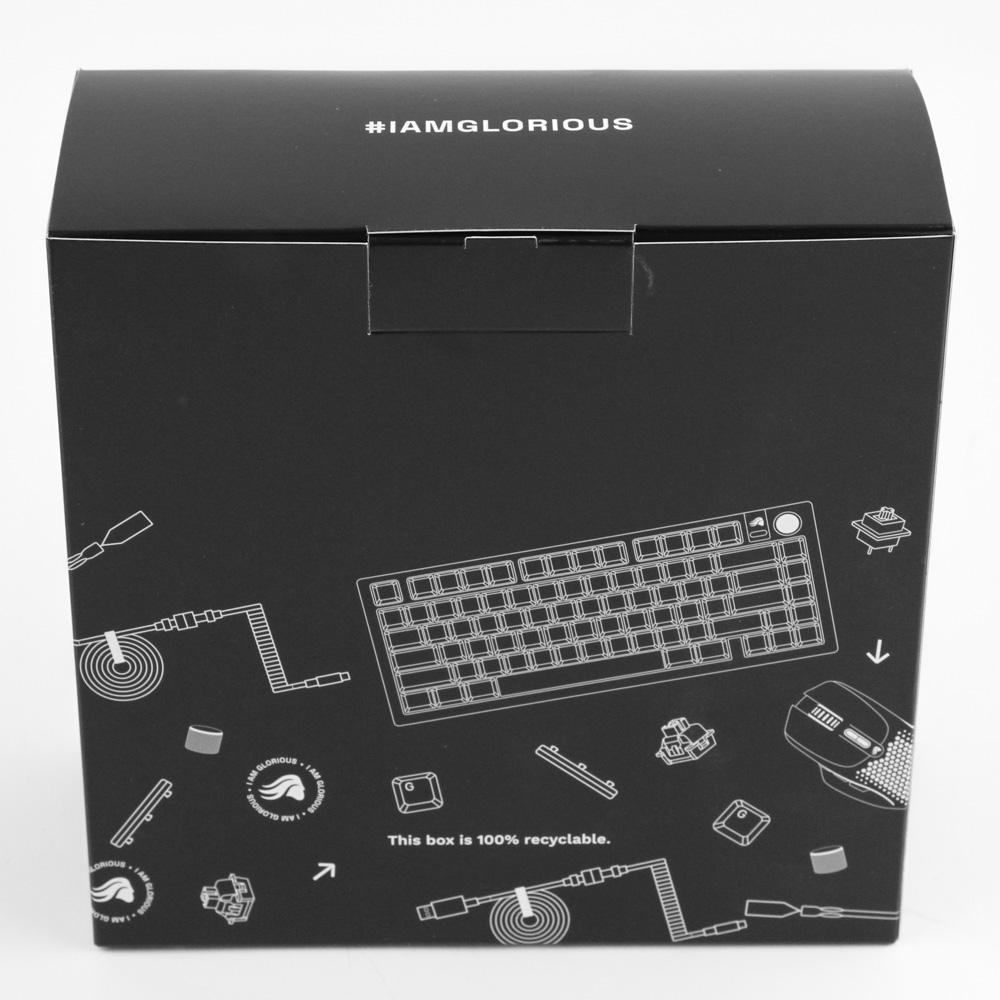
Another side effect of the GMMK 3 configurator is it's basically impossible for Glorious to have a specific product box for the exact keyboard inside. In fact, given the vast amount of options available, even a sticker with the exact choices made would run long and look ugly on the box. As such, I am in agreement with the use of a generic banderole on the cardboard used here, and even then Glorious did add some touches here and there. Take the marketing slogan on the front, for example, which is effectively the tagline for the entire GMMK 3 series. The back and sides are adorned by the various items and accessories on offer too, giving you a teaser of what's to come. A double flap helps keep the contents in place on their way to you, and be warned that the box can be quite heavy depending on what you go with. Opening the box, we see a yellow badge with the owners name and that of the person who put together the order, which is a nice touch. There was a card here with review embargo notes that are of course not relevant to the retail experience, and we then see the keyboard comes wrapped in paper to maintain the more eco-friendly packaging going on. Accessories are found underneath or in two separate cardboard boxes in a separate layer as seen here.

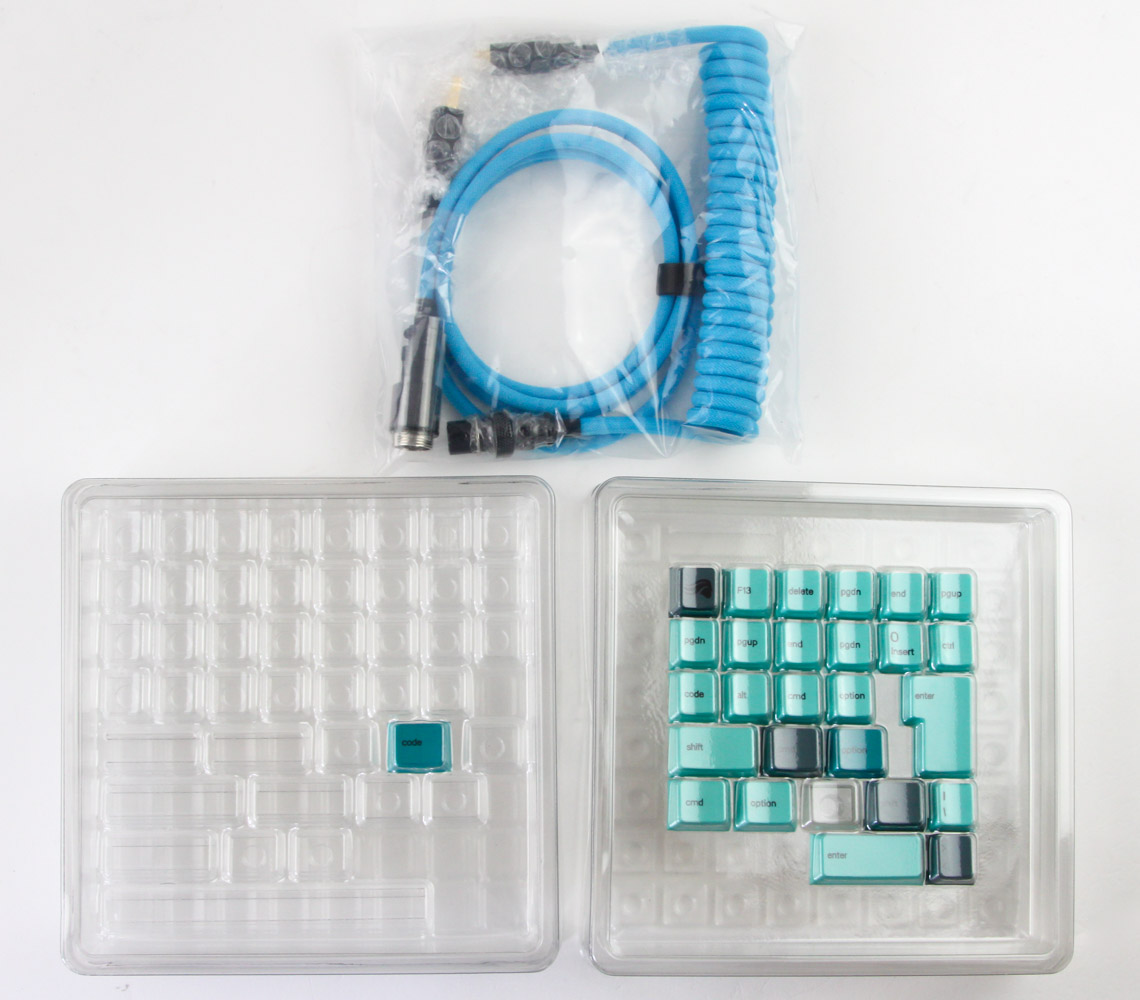
Expect some stickers, a product registration note/QR code, a pamphlet about the configurator, and a primer on the six different Hall effect switches on offer with the HE versions of the GMMK 3. These come in handy since Glorious also provides some spare HE switches for you to try out. I also appreciate the Phillips screwdriver which comes in handy to disassemble the keyboard, as well as two spare gaskets, spare screws, and washers too. We are additionally provided with a low profile USB 2.4 GHz dongle, a plastic ring-style keycap puller, and a metal ring-style switch remover tool. I do feel like Glorious could have provided a better version of both here, especially for the asking price of these keyboards. In case you were wondering about the keyboard cable, you will find it a separate box that also contains the remaining keycaps left unused from the keycap set that you chose. This is a nice gesture and also leaves no doubt as to how the GMMK 3—when designed and built from the Boardsmith configurator—is basically a custom keyboard that someone builds for you in a Glorious-run facility. The cable, or at least this particular one, came in this box.
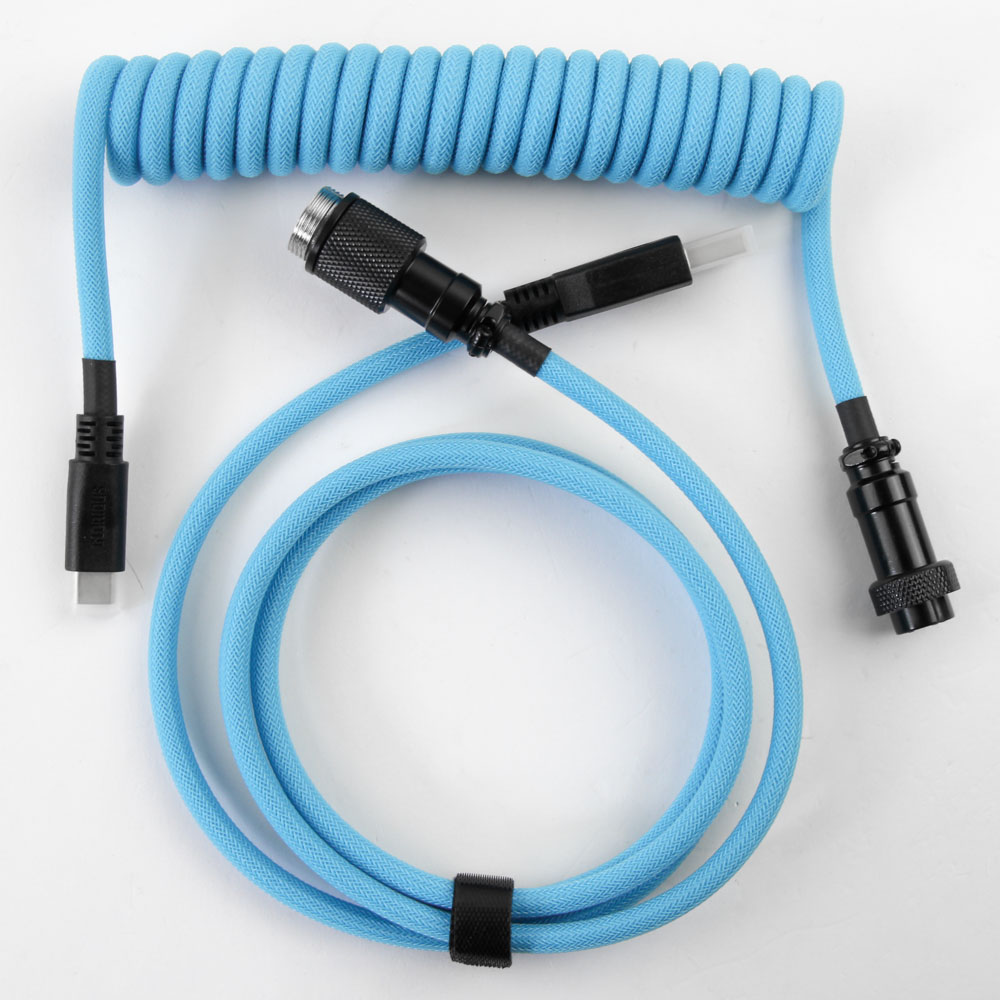
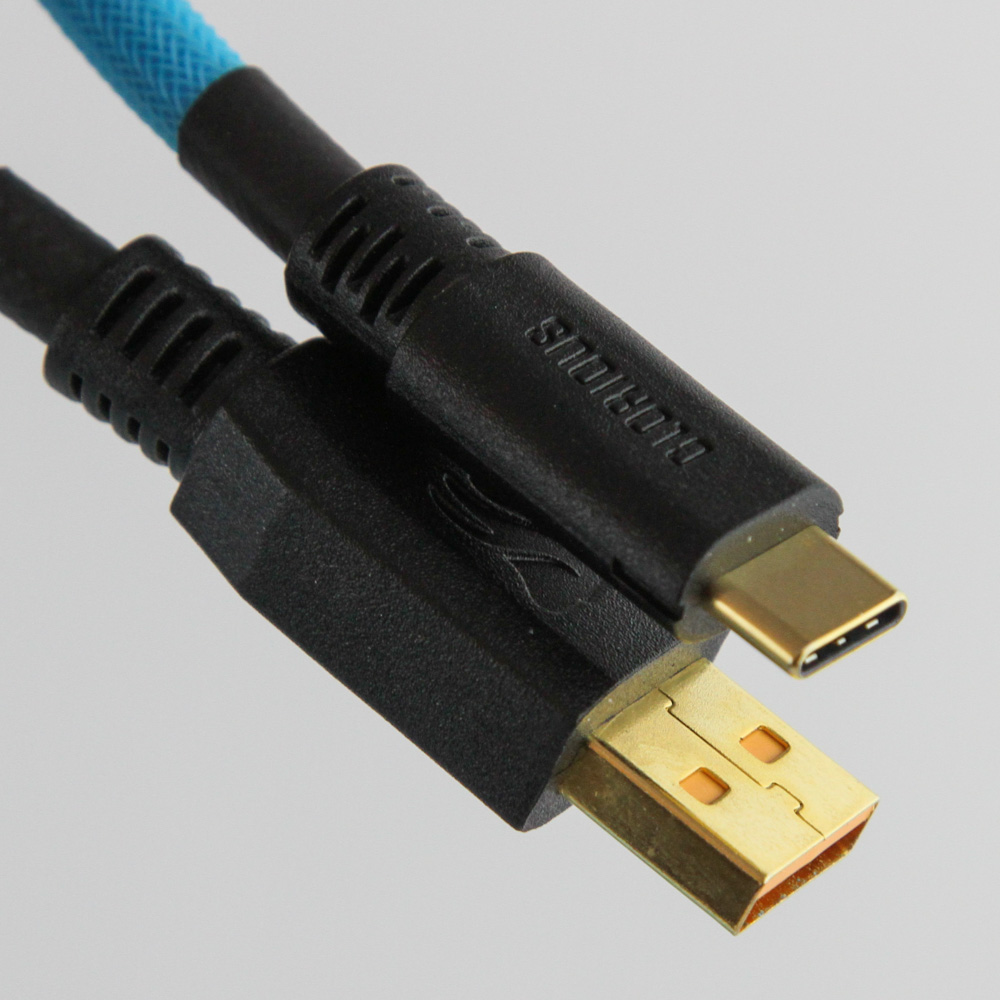

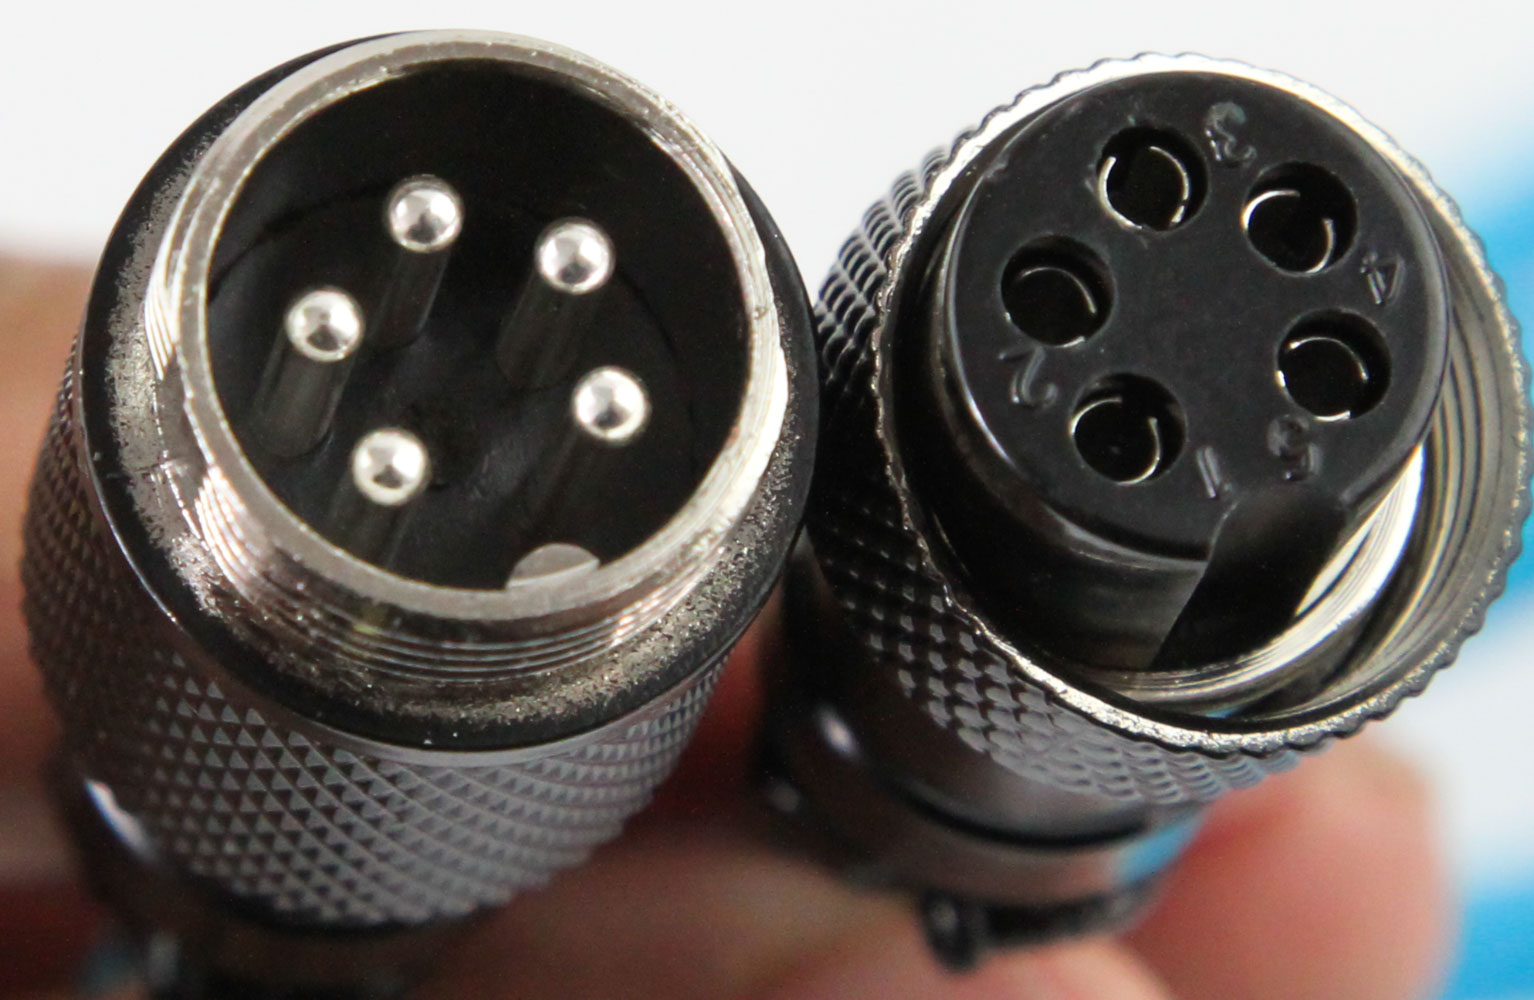
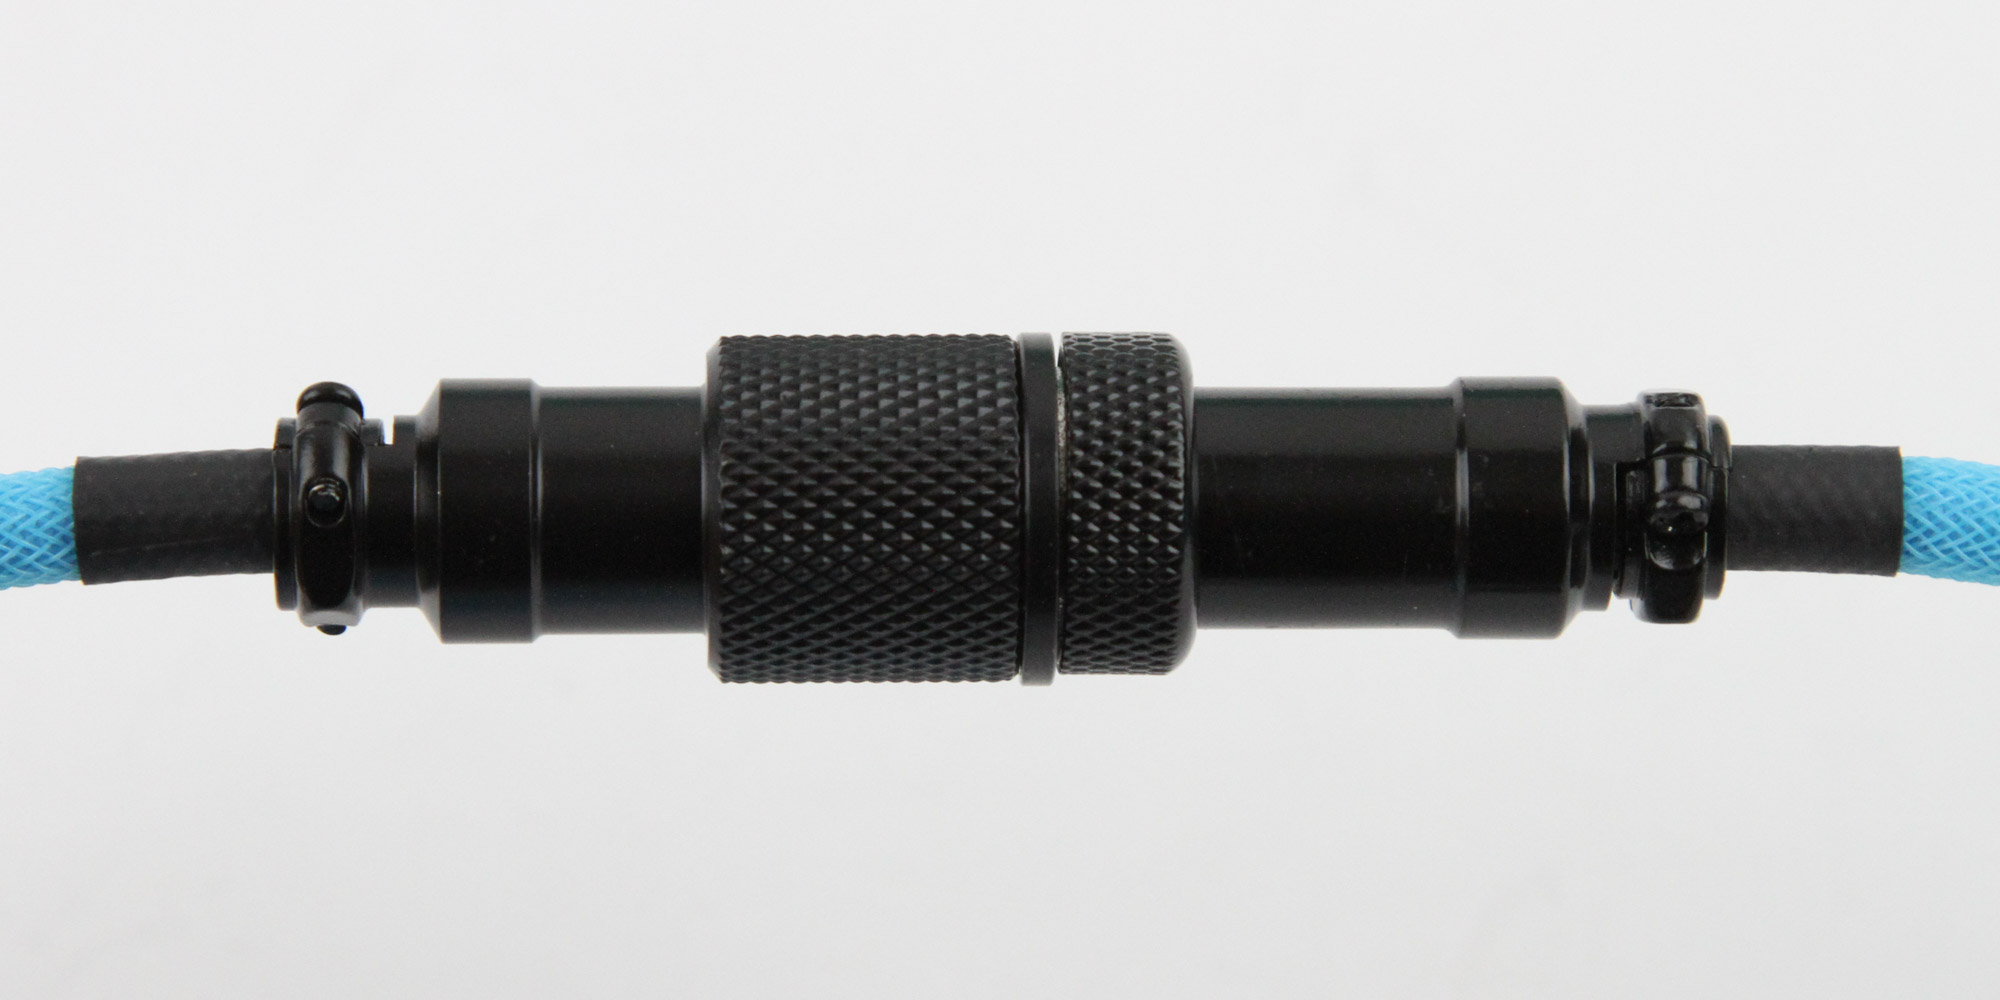
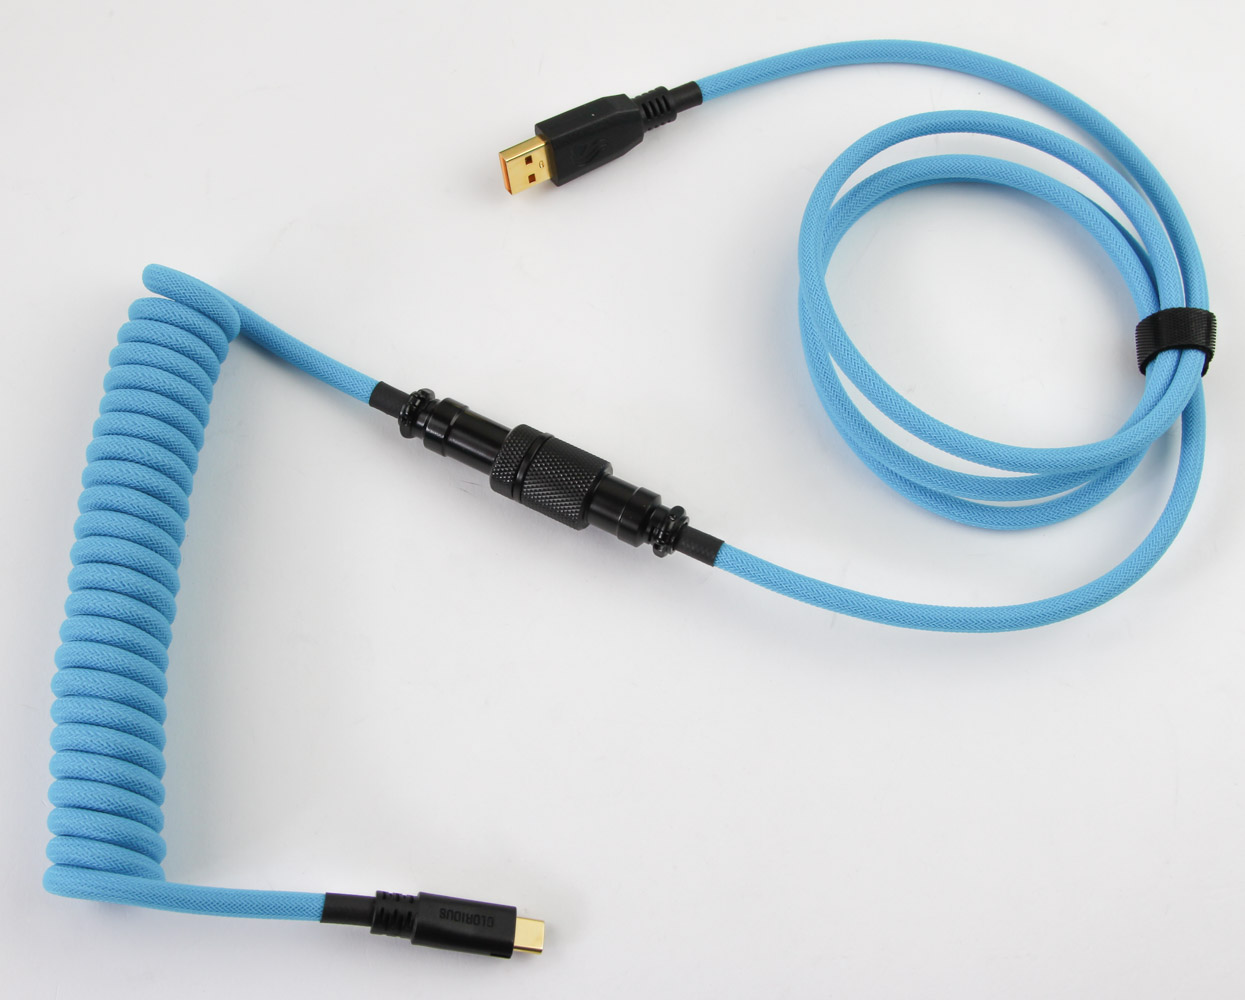
I chose a coiled cable, because the straight cable options only come in black or white colors, and this is a $50 cable which uses a 5-pin aviator-style connection in the middle. The cable is thick, comes double sleeved, and feels well-built. It's the same style as the one I used with the GMMK Pro before, and that cable has lasted years now for what it's worth. This particular cable is in the electric blue color scheme, so keep that in mind as we now get to the custom keyboard itself.
Closer Examination

As I mentioned before, Glorious had provided early access to the GMMK 3 Boardsmith, thus allowing me to design my own GMMK 3 unit to be used for this review. Keep in mind that no prices were shown on the configurator at the time and I only knew what the pre-built keyboards would cost. Still, I knew things would be on the more expensive side as I started putting this together. I decided to go with a 100% keyboard because it's increasingly rare to get one of those in for review these days. The Pro versions with the metal chassis also had a lot more color options, and I went with the HE PCB for two cool reasons we will talk about shortly. It was nice to see the configurator show real-time renders of how the keyboard would look, and I appreciated the vast amount of options available. You can of course spend a lot of money here or save a lot too, the biggest costs were going to the Pro version and the wireless HE PCB, for what it's worth. I've deliberately blacked out the cost of this configuration for the time being so we can proceed with a fairly open mind until the end.


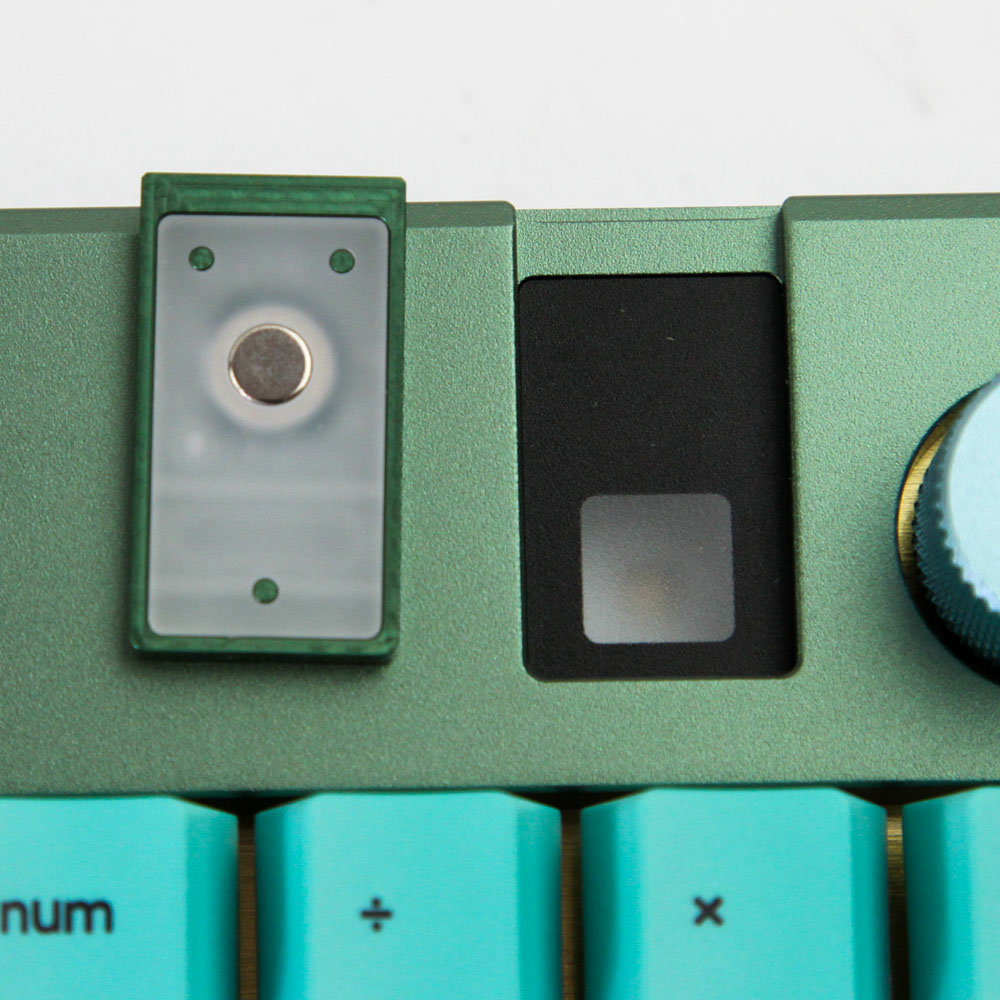
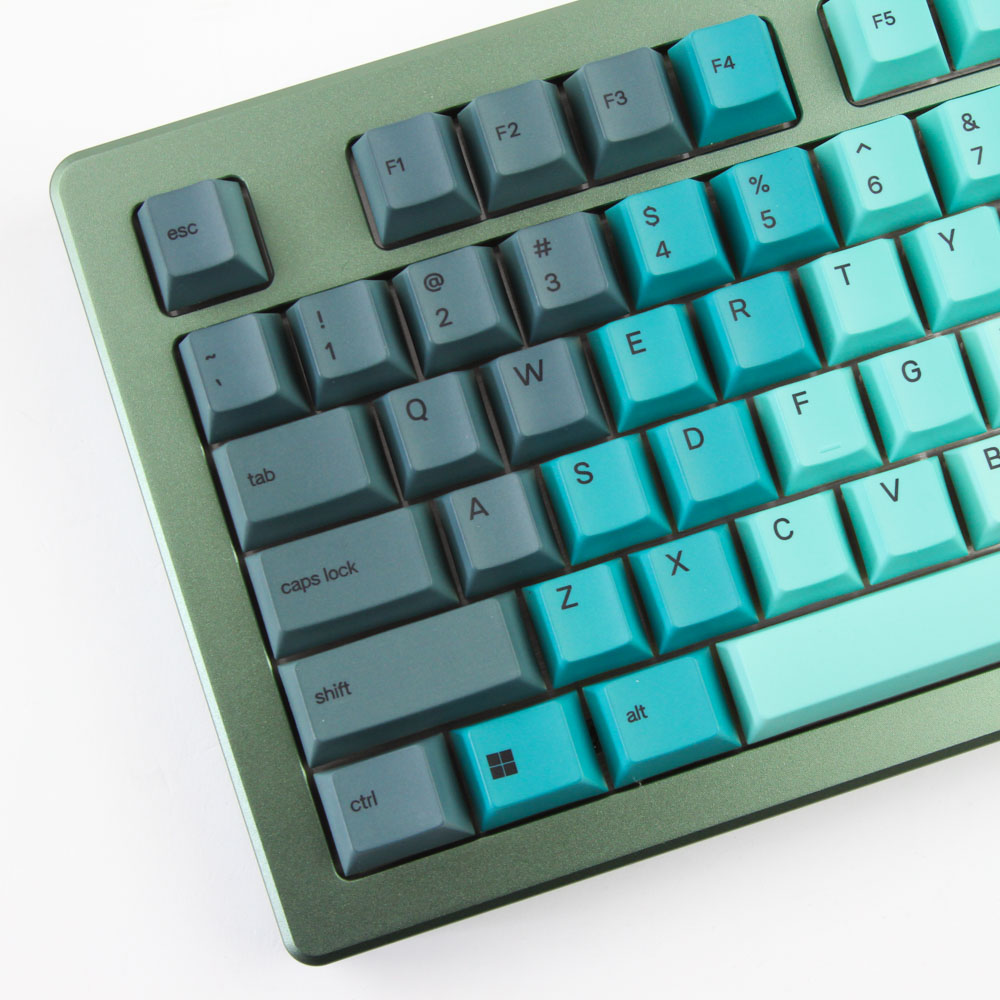

Here is the final keyboard, as made by "Sway," a Glorious team member mentioned on the product box. It matches the renders extremely well and there will be a sense of excitement when you unbox the keyboard to see your keyboard. I went with the sage green top case and arctic blue bottom case, the rain forest gradient keycap set which has the spare keycaps separately provided as seen on the previous page, a sage green badge and an arctic blue rotary knob. There are plastic versions of all the metal parts, and of course different sizes too, so you can see where the billion+ combinations come from. The end result is a keyboard that weighed over 2.8 kg and looks/feels extremely well-built. If anything, it's not the easiest to pick up so I'd probably just leave it on a desk and go wired more often than not—something to consider as this can save a lot of money. The badge is held by magnets and allows for some further customization, although currently it's only used for branding. The metal rotary knob is made of aluminium and has a knurled finish, making it easier to rotate. The corners are slightly curved, bezels are about average in size and uniform throughout, except the top right corner where we could have had indicator lights along with the badge that does light up. There are two frosted plastic diffusers on the side between the top and bottom case panel for side lighting too. The keycap legends and whether they light up depends on the ones you choose, in this case the keycaps light up enough to illuminate the legends—especially the lighter color keycaps.


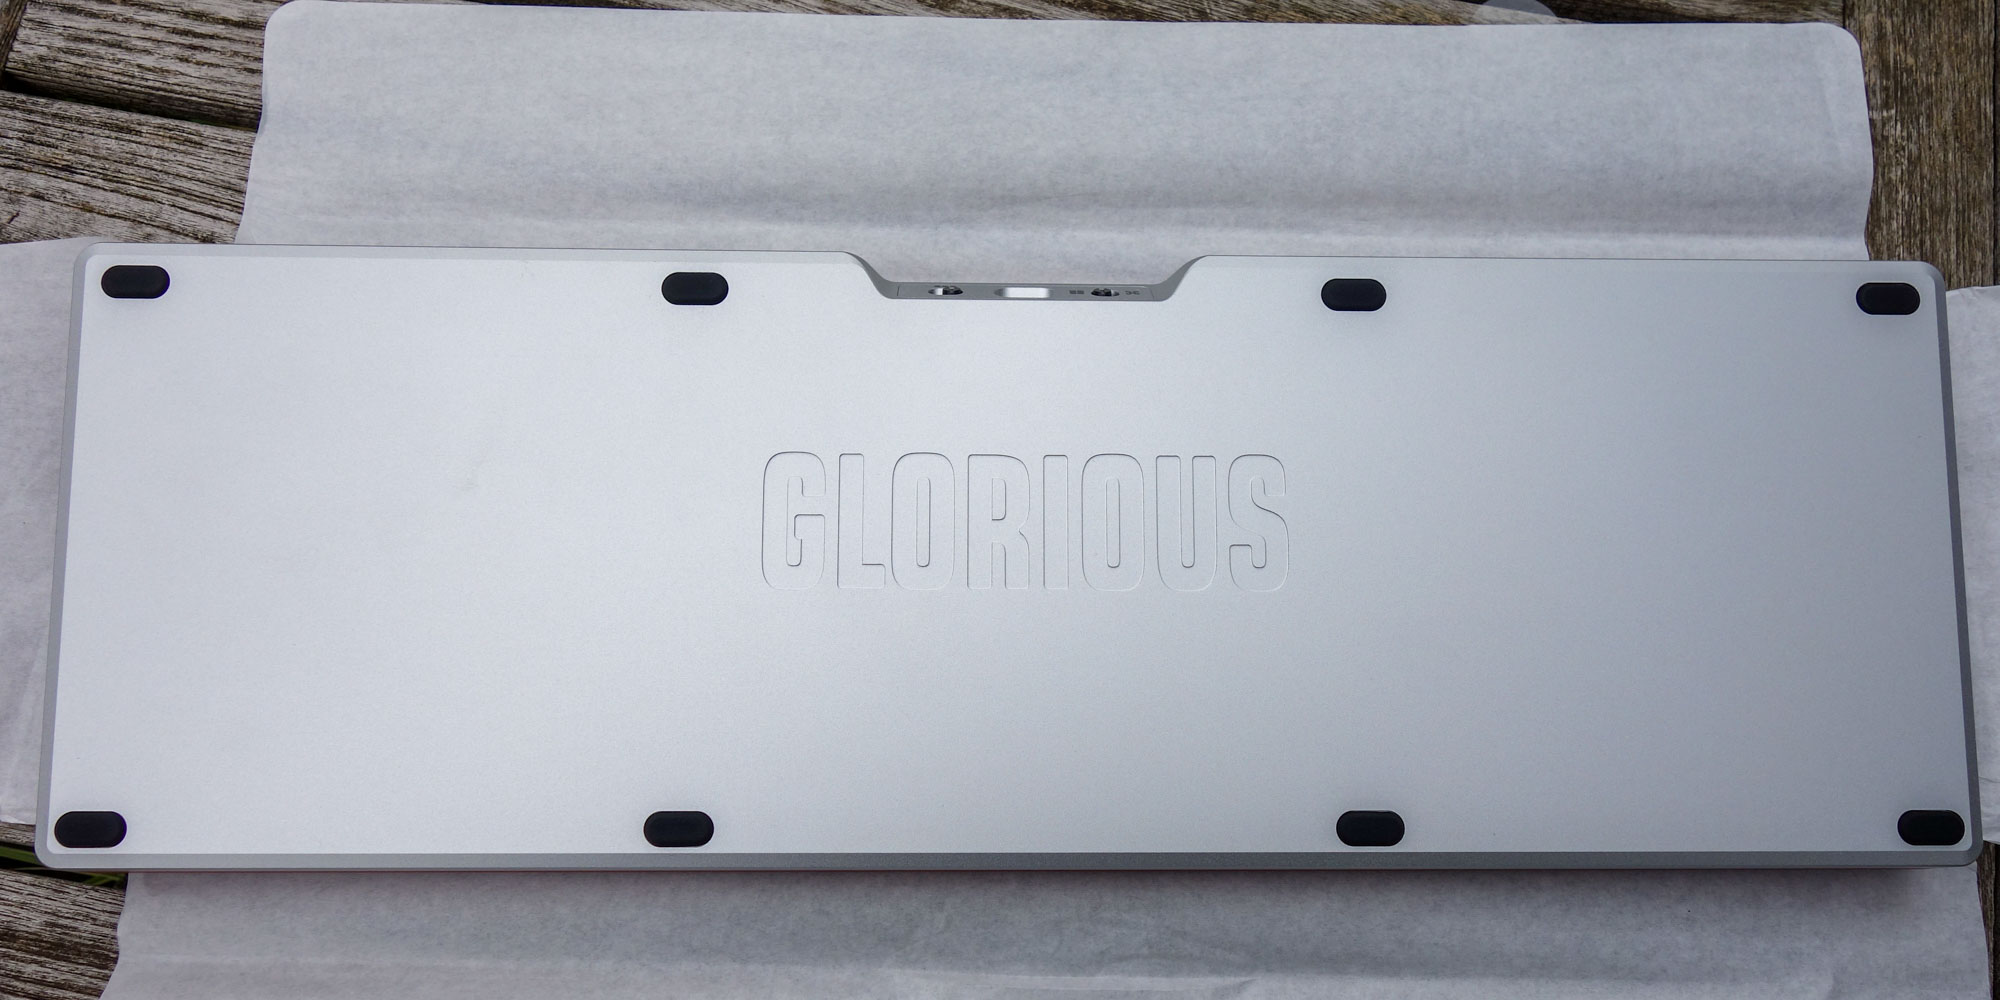
Turning the keyboard around provides a closer look at the arctic blue anodized aluminium bottom panel, which is by far the biggest contributor to the keyboard's weight. There's not a lot going on here outside the large Glorious logo etched in the middle, with no keyboard feet available on the metal chassis meaning the stock elevation is all you get. I feel Glorious had an opportunity here to provide clip-on feet to further add to the user experience. There are several rubber pads on the top and bottom to help add friction against the resting surface in addition to preventing the case from being scratched.


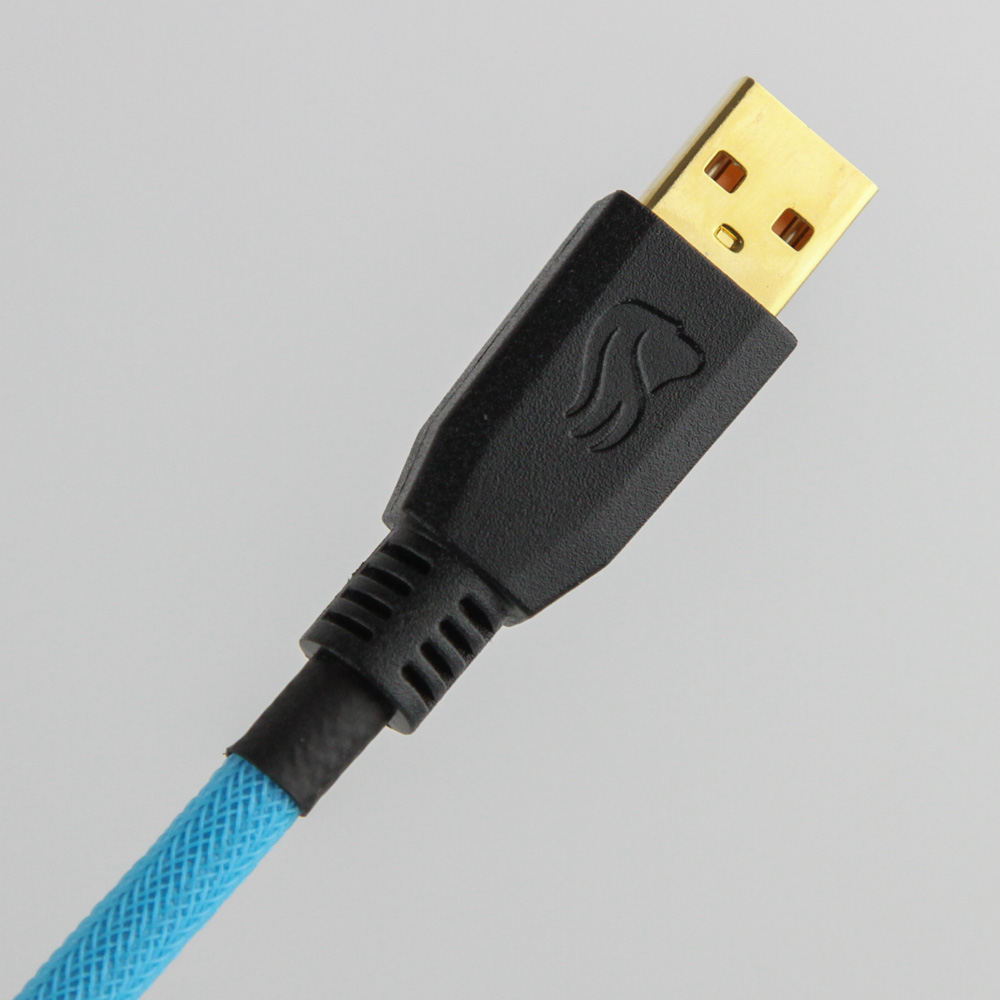

This version has hybrid wireless connectivity, so there's a 3-way switch in the back center facing away from the user allowing you to choose between Bluetooth, USB, and 2.4 GHz in order from furthest to nearest the Type-C charging port—if only there were useful markings here to indicate what position does what, instead forcing you to go to the online user guide or undergo the trial and error method. There's also a Windows/macOS selector switch on the other side, and I will say both of these plastic switches felt cheap, with more play in the enclosure than I wanted to feel. The Type-C port is inset into the metal chassis but has enough room here to accommodate most aftermarket cables in case you went with the standard free cable and wanted a more affordable coiled/colored cable from others. This particular coiled cable of course works nicely with the keyboard, albeit the $50 asking price is hefty, and goes to an available USB Type-A port on your PC where USB 3.0 (USB 3.2 Gen 1) will suffice for power and data alike.


A look from the side shows the built-in elevation of the keyboard, which I would classify as medium profile and can maybe benefit from a wrist rest if you are not used to touch typing with hands hovering over the keys at all times. Also note the flared back, with the angled wedge shape as a result of the two case panels coming together. This makes it so you can't easily use other keyboard cases, but then again I doubt anyone will after having paid for a specific GMMK 3. The provided keycap puller can help remove the keycaps but the space between these keycaps and the top panel was narrow, making it hard to use this tool. It feels like an oversight, and once again I feel Glorious should have just thrown in a metal wire-style puller. These particular keycaps are part of the Glorious PBT Rain Forest v2 131 keycaps set, which sells for $50 separately. There are various shades of green in a gradient, with opaque dye-sublimed legends on thick PBT plastic. This ensures longevity in use, although the actual keycap legends won't get backlit and thus the LEDs present on the keyboard will be for accent lighting only. There are other keycaps offering better backlighting support, as well as a more captivating RGB light show if that is more important to you.


You can get the GMMK 3 in your choice of Standard Hotswap (MX) or Hall Effect (HE) switch technology. This changes the PCB you get, with the former compatible only with Cherry MX-style mechanical switches and the latter, in a very clever implementation, allowing you to use not only Hall effect magnetic switches but also hot swap MX-style mechanical switches too. Going with the latter thus allows for far greater switch compatibility and makes for a more future-proof keyboard too. I went with the HE PCB here, and also chose one of the very, very few non-linear HE switches on the market currently, in the form of the Glorious Panda HE with tactile feedback. You have a choice of Fox/Lynx/Lynx Silent (linear), Panda/Panda Silent (tactile), and Raptor (clicky) HE switches too, making for the only such keyboard I have reviewed to date to offer all three feedback mechanisms with HE switches. The switches are installed in a north-facing configuration, so be aware of possible keycap compatibility issues with shorter profiles. The larger keycaps use Glorious-branded plate mounted stabilizers, although the PCB is compatible with screw-in stabilizers, which come lubed out of the box. There is no switch pad in use here, or any space bar dampening as seen with a few other keyboards. I also deliberately went with a brass plate over the other options to help minimize switch wobble, which can be a thing with some HE switches.

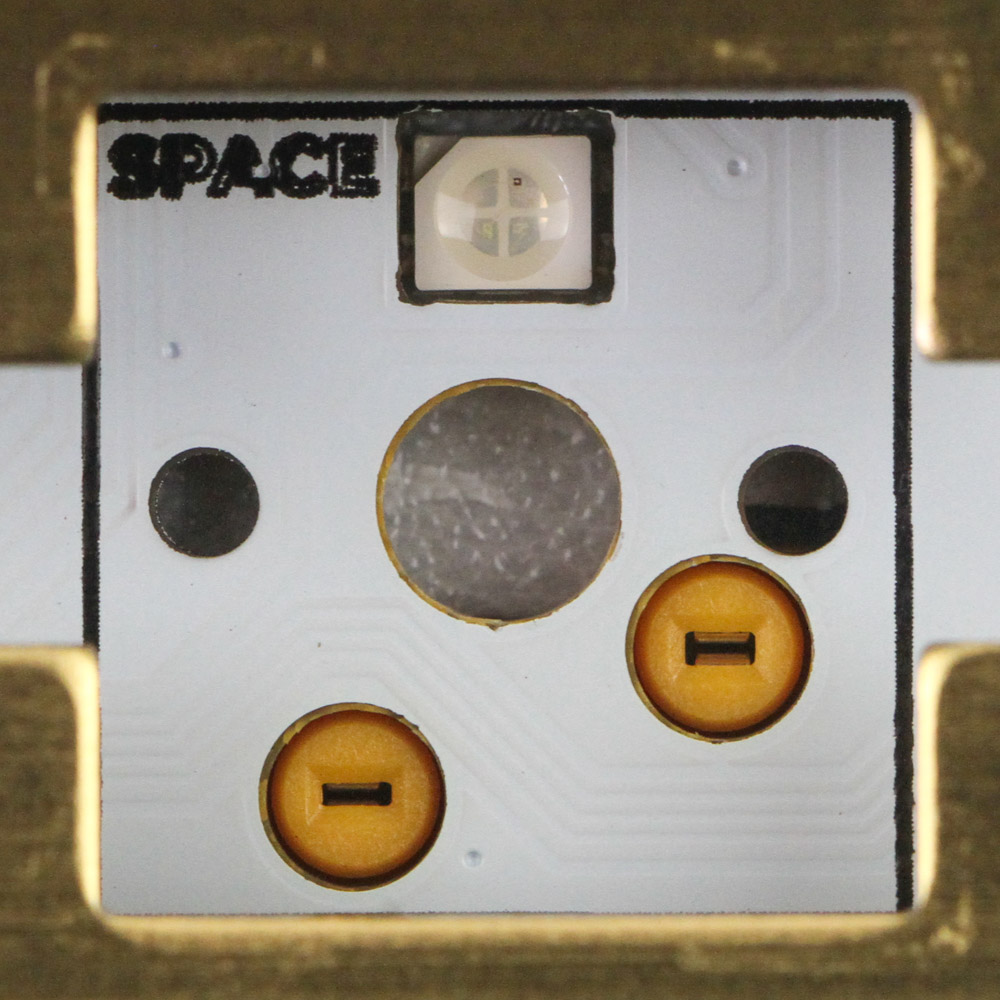

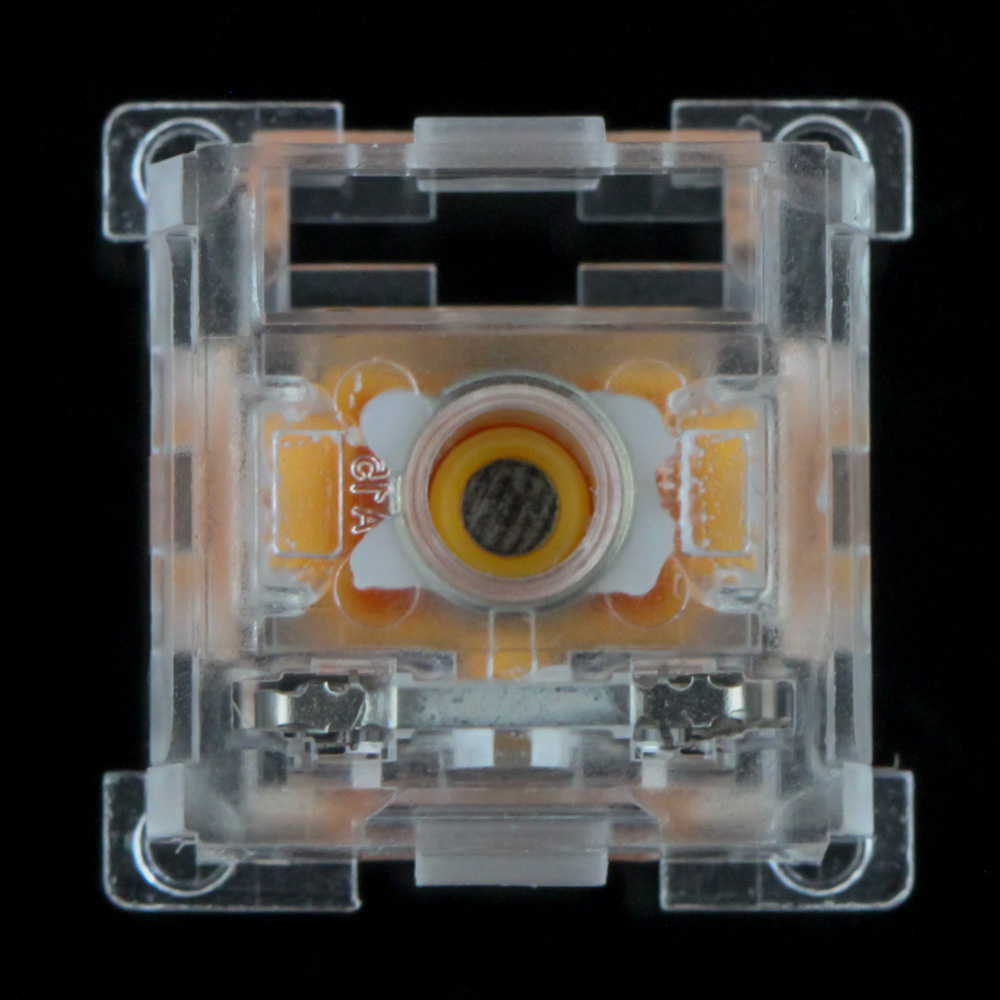
The switch remover tool is handy to remove the hot-swappable switches off the PCB where we see the use of what looks like a standard 5-pin mechanical switch hot-swap socket, as well as an SMD RGB LED firing upwards. The Hall effect sensor is on the other side of the PCB as usual, but you can see how the mechanical switches come into play here. In fact, you can even mix and match various HE and MX switches on this PCB if you wanted to do so! Here we also get a closer look at the Glorious Panda HE switch with clear housing and opaque orange stem with walls around for added dust/spill resistance. There are no support pins on the bottom, however, and this is why you might notice these switches wobbling in the switch socket, and going with a plate that has more give or lower manufacturing tolerance makes it more obvious. The GMMK 3 configurator allows you to choose between aluminium anodized in two colors (silver and black), FR4, polycarbonate, and brass—the brass plate is denser, dampens keystrokes and stabilizers further, and I've generally found it to prevent the switches from moving around too much as well. The acoustics are not for everyone since it can lead to a duller sound for some, but I'd take the more uniform switch feel any day of the week in return.
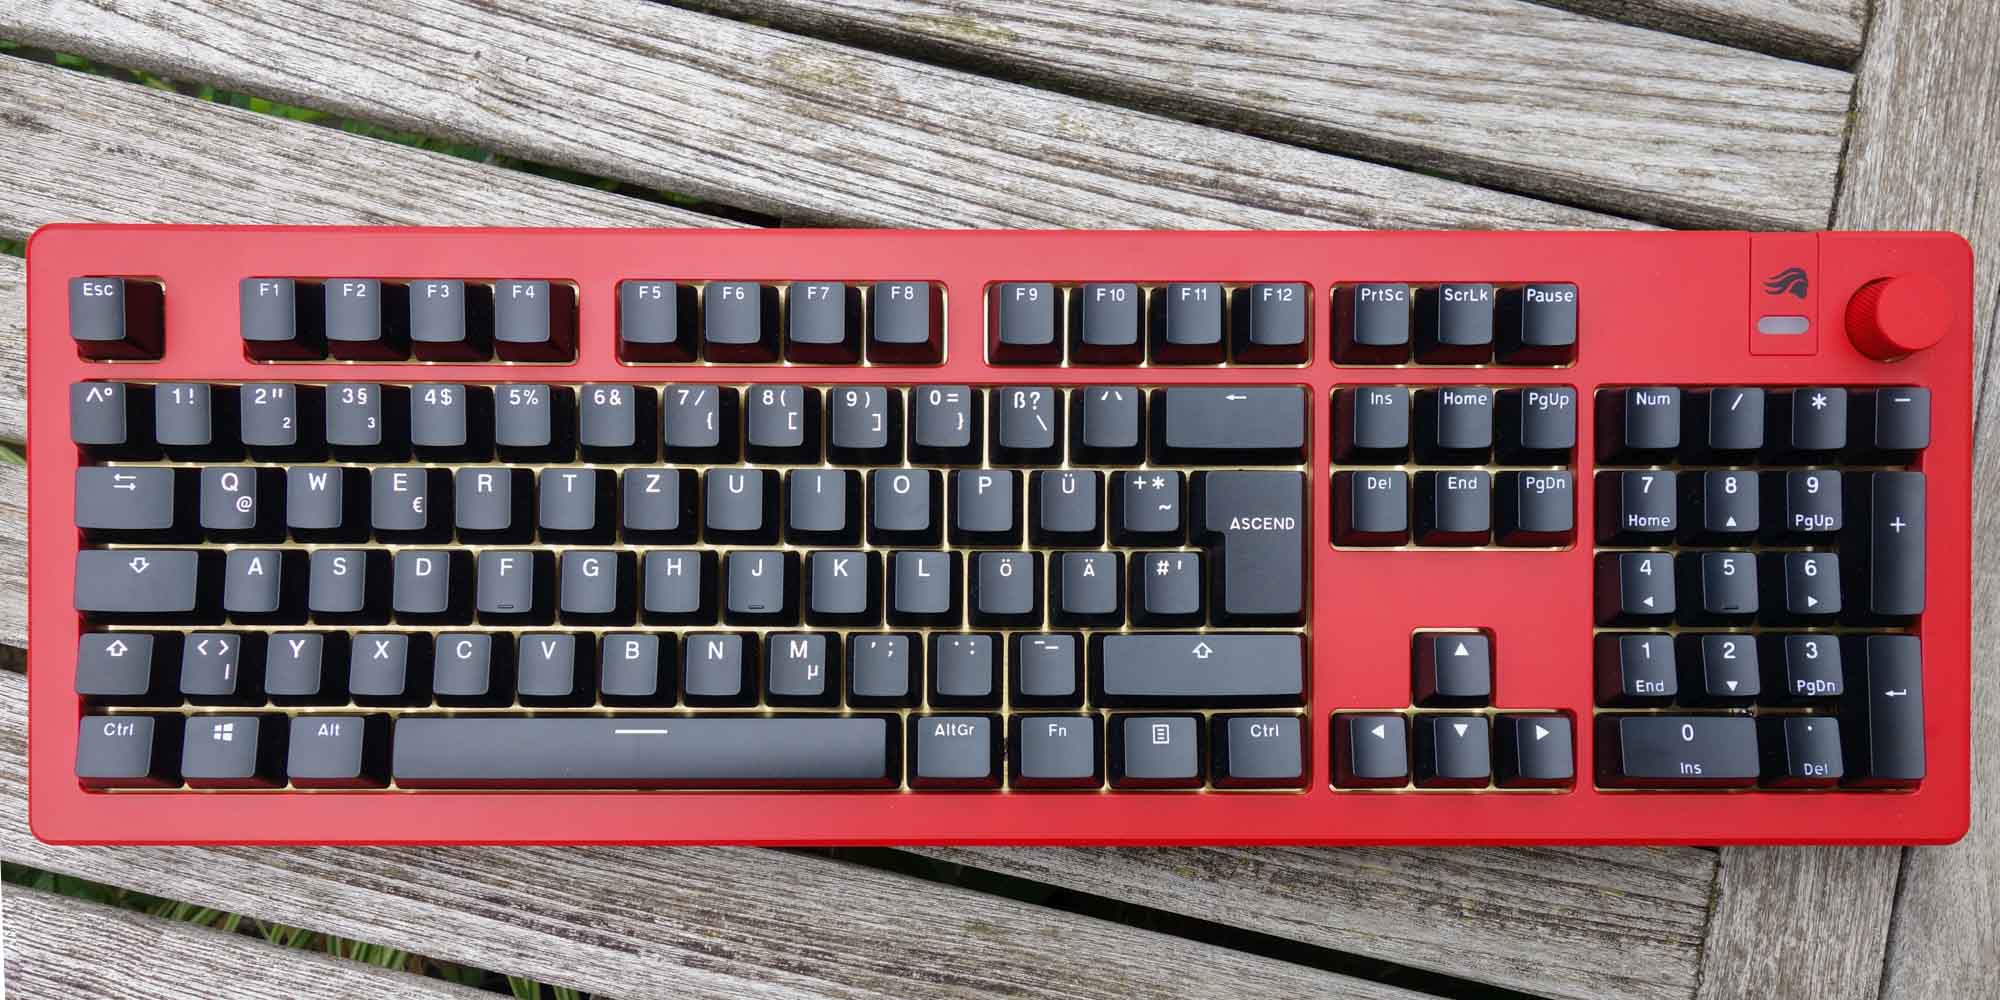


Remember when I mentioned our mice editor went to the Glorious product showcase since I was unable to? He was offered the same access to the pre-launch GMMK 3 Boardsmith and took some photos of his own keyboard here. It's funny to see he went with a full-size keyboard too, but otherwise you now have photos of another custom GMMK 3 Pro using a punk red top case, silver bottom case, a German (DE) layout, and what appear to be black backlit PBT keycaps.
Our Patreon Silver Supporters can read articles in single-page format.
Apr 12th, 2025 11:30 EDT
change timezone
Latest GPU Drivers
New Forum Posts
- How to relubricate a fan and/or service a troublesome/noisy fan. (194)
- What's your latest tech purchase? (23529)
- Sexy Hardware Close-Up Pic Clubhouse. (10274)
- The TPU UK Clubhouse (26086)
- Last game you purchased? (758)
- I need help finding the correct vBIOS for my Chinese graphics card. It's an RX 580 (6)
- Wrong iGPU Clock Readings on Comet Lake (2)
- Lenovo Workstations Owners Club (39)
- RivaTuner prevent game from launching (11)
- Folding Pie and Milestones!! (9471)
Popular Reviews
- The Last Of Us Part 2 Performance Benchmark Review - 30 GPUs Compared
- Thermaltake TR100 Review
- ASRock Z890 Taichi OCF Review
- TerraMaster F8 SSD Plus Review - Compact and quiet
- Zotac GeForce RTX 5070 Ti Amp Extreme Review
- Sapphire Radeon RX 9070 XT Pulse Review
- Acer Predator GM9000 2 TB Review
- ASUS GeForce RTX 5080 TUF OC Review
- Sapphire Radeon RX 9070 XT Nitro+ Review - Beating NVIDIA
- Upcoming Hardware Launches 2025 (Updated Apr 2025)
Controversial News Posts
- NVIDIA GeForce RTX 5060 Ti 16 GB SKU Likely Launching at $499, According to Supply Chain Leak (181)
- MSI Doesn't Plan Radeon RX 9000 Series GPUs, Skips AMD RDNA 4 Generation Entirely (146)
- Microsoft Introduces Copilot for Gaming (124)
- NVIDIA Sends MSRP Numbers to Partners: GeForce RTX 5060 Ti 8 GB at $379, RTX 5060 Ti 16 GB at $429 (118)
- Nintendo Confirms That Switch 2 Joy-Cons Will Not Utilize Hall Effect Stick Technology (105)
- Over 200,000 Sold Radeon RX 9070 and RX 9070 XT GPUs? AMD Says No Number was Given (100)
- Nintendo Switch 2 Launches June 5 at $449.99 with New Hardware and Games (99)
- NVIDIA PhysX and Flow Made Fully Open-Source (77)