 4
4
HyperX Pulsefire Haste Review
Sensor & Performance »Build Quality
Overall build quality is very solid. There is no rattle when shaking the mouse. When applying lateral pressure, minor creaking but no flexing of the shell can be observed. It's impossible to activate the side buttons by squeezing the sides. Lastly, no accidental clicks occur when slamming down the mouse.Buttons

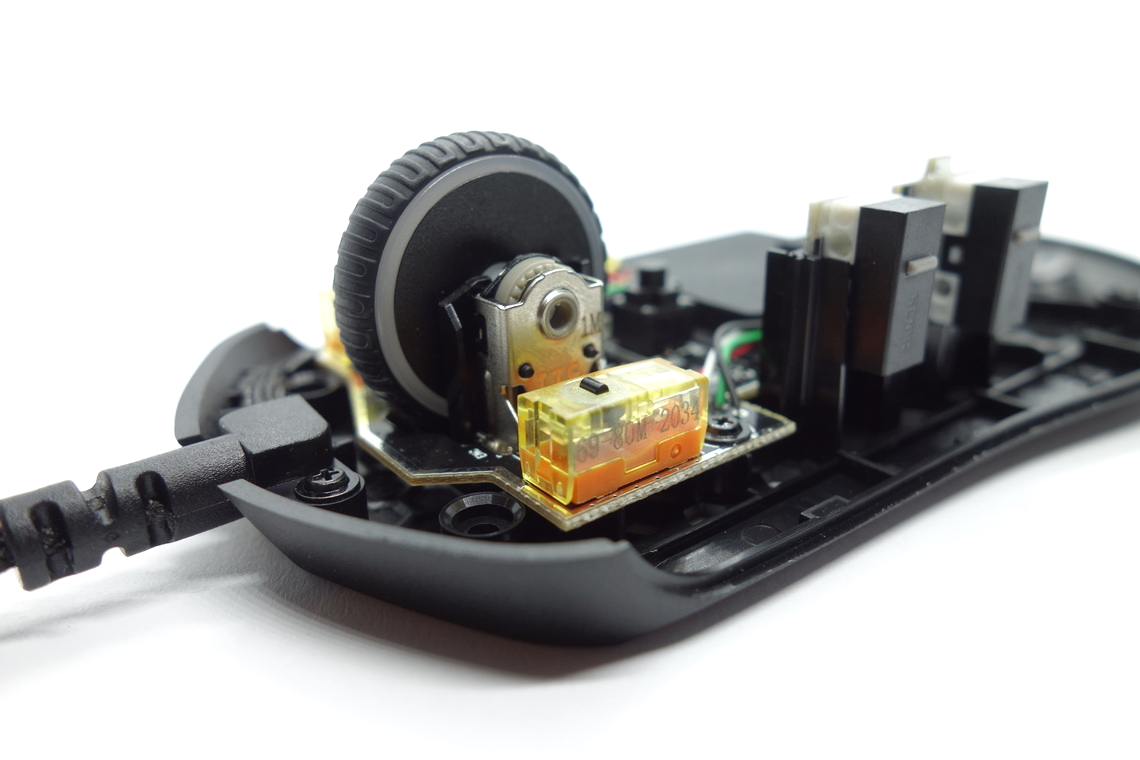
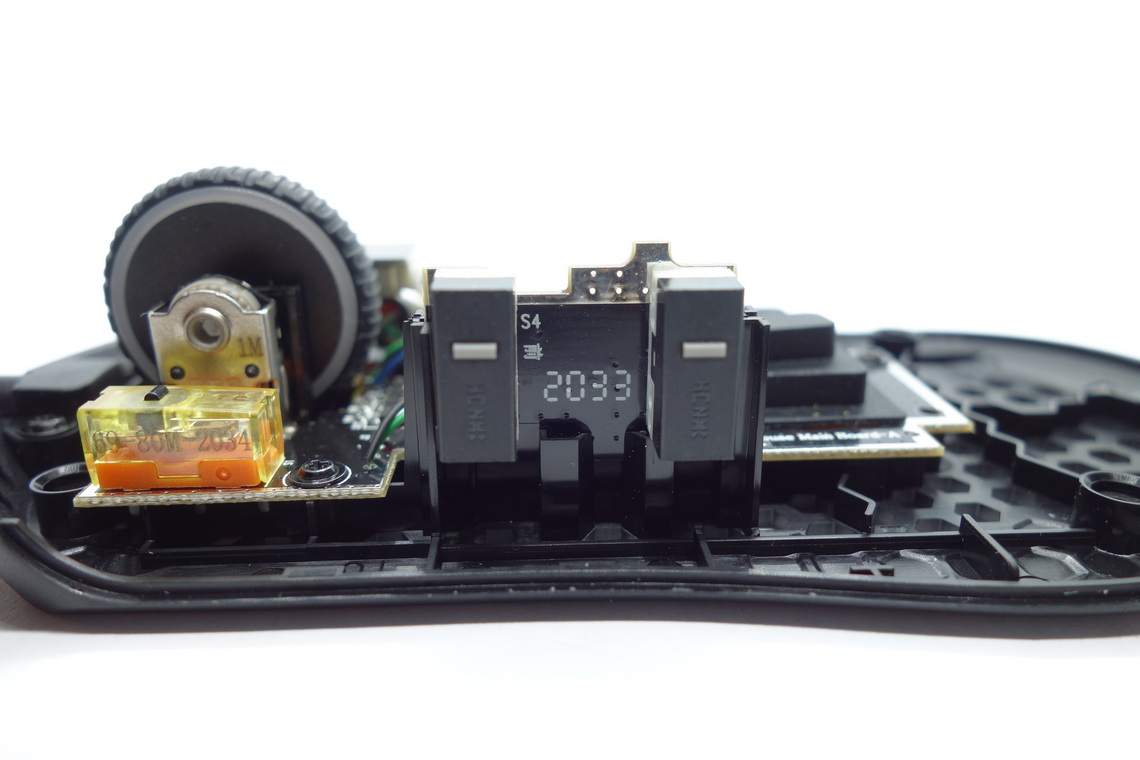
Main buttons on the Pulsefire Haste are very good. Pre-travel is very low and post-travel low to moderate, which results in a firm and satisfying click feel. While the buttons are separated from the shell, there is only minor button wiggle. Button stiffness is light. TTC Golden Micro Dustproof switches are used for these.

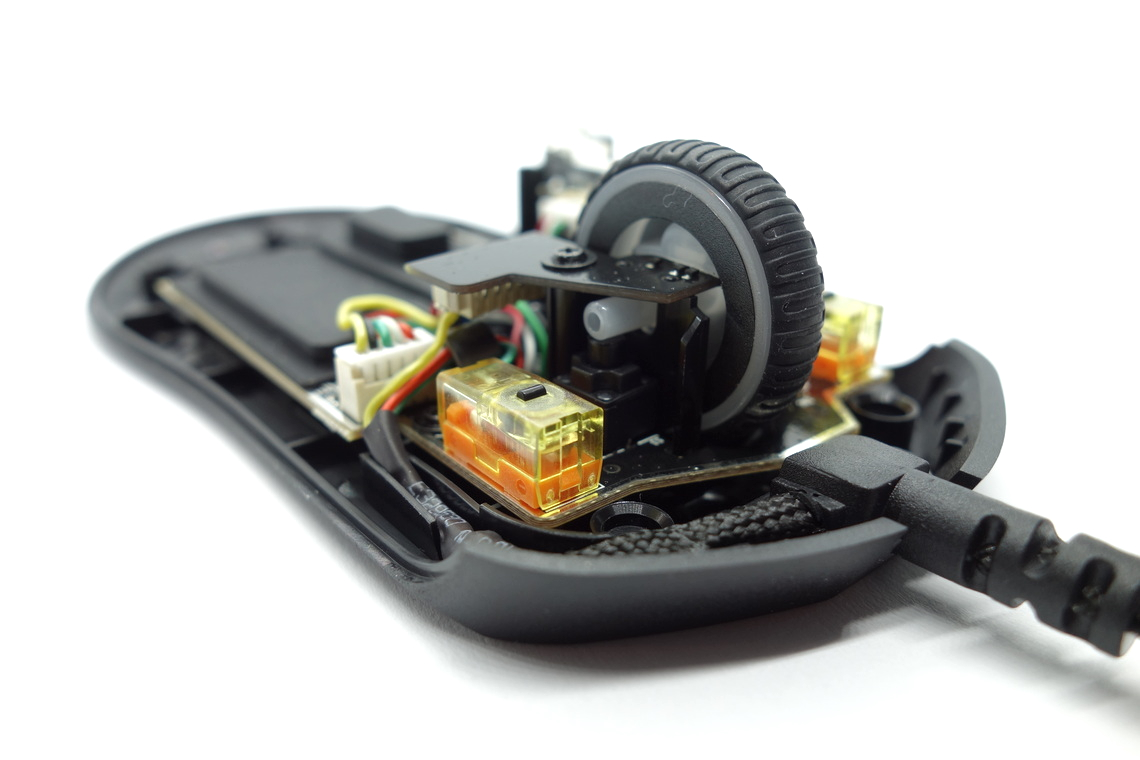
Side buttons are excellent. Both pre and post-travel are low, resulting in a snappy click response, and the pressure point is even across the entirety of these. Button size and placement are good as actuation is possible rather easily by rolling one's thumb across. A pair of switches from HCNHK (white plunger) is used here.
At the top of the mouse is a single button for cycling through the set CPI levels. Its click feel is good, and a seemingly unbranded tactile switch is used for this one.
Scroll Wheel
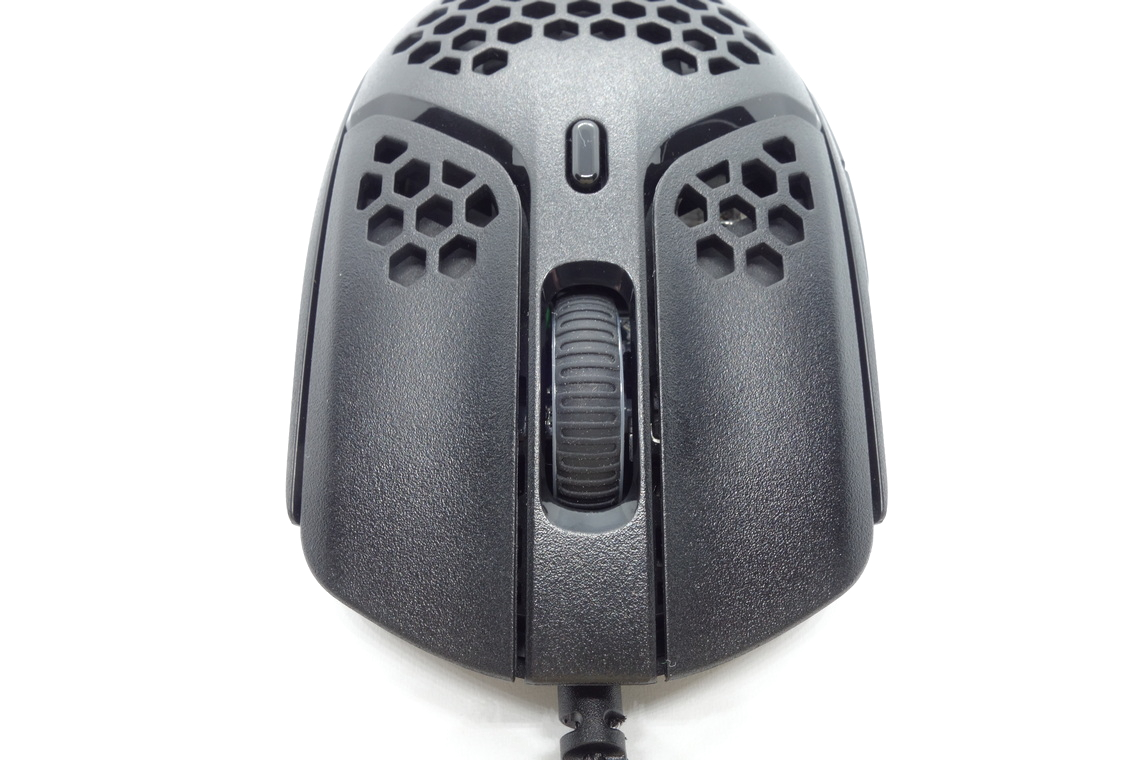
The scroll wheel is very good. Scrolling is light and produces barely any noise, and the individual steps are quite nicely separated, resulting in good tactility. The encoder comes from TTC. The middle (scroll wheel) click requires high force for actuation. Another seemingly unbranded tactile switch is used for this one.
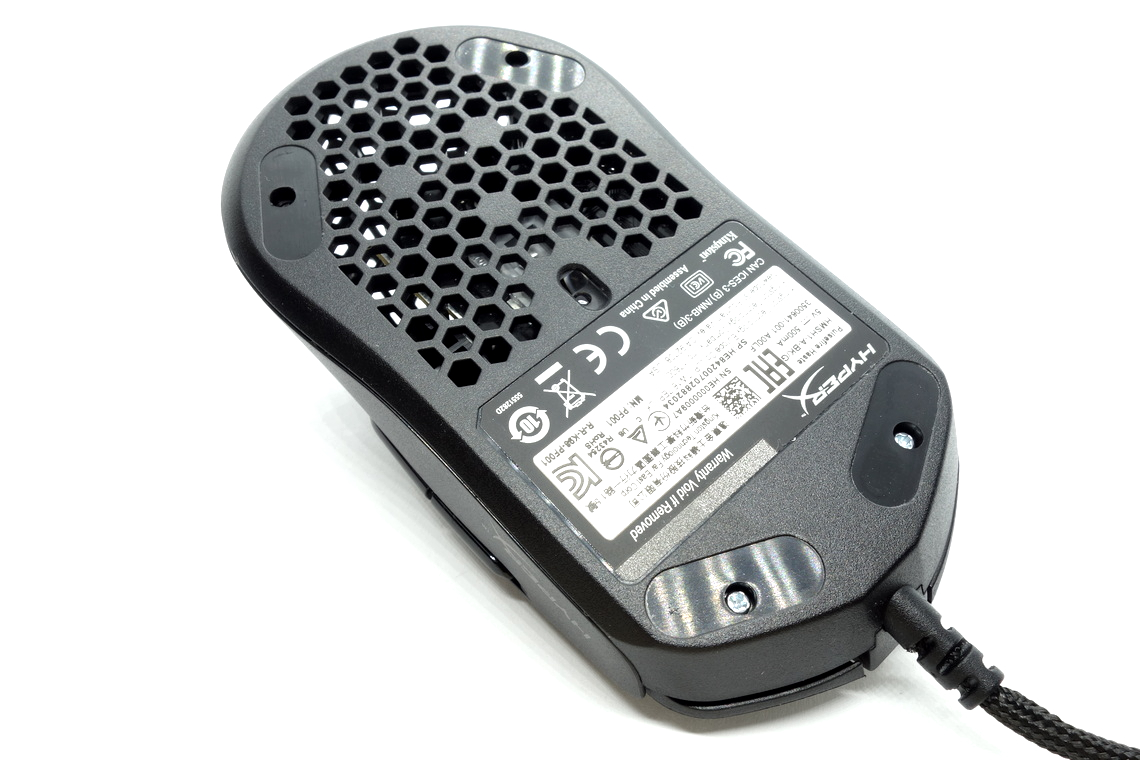
Coating
The Pulsefire Haste has a slightly rougher matte coating all over. It doesn't attract fingerprints, dirt, or the likes too much. It's easy to clean, and there are no signs of wear left after doing so. All in all, an excellent coating.Button Sound Test
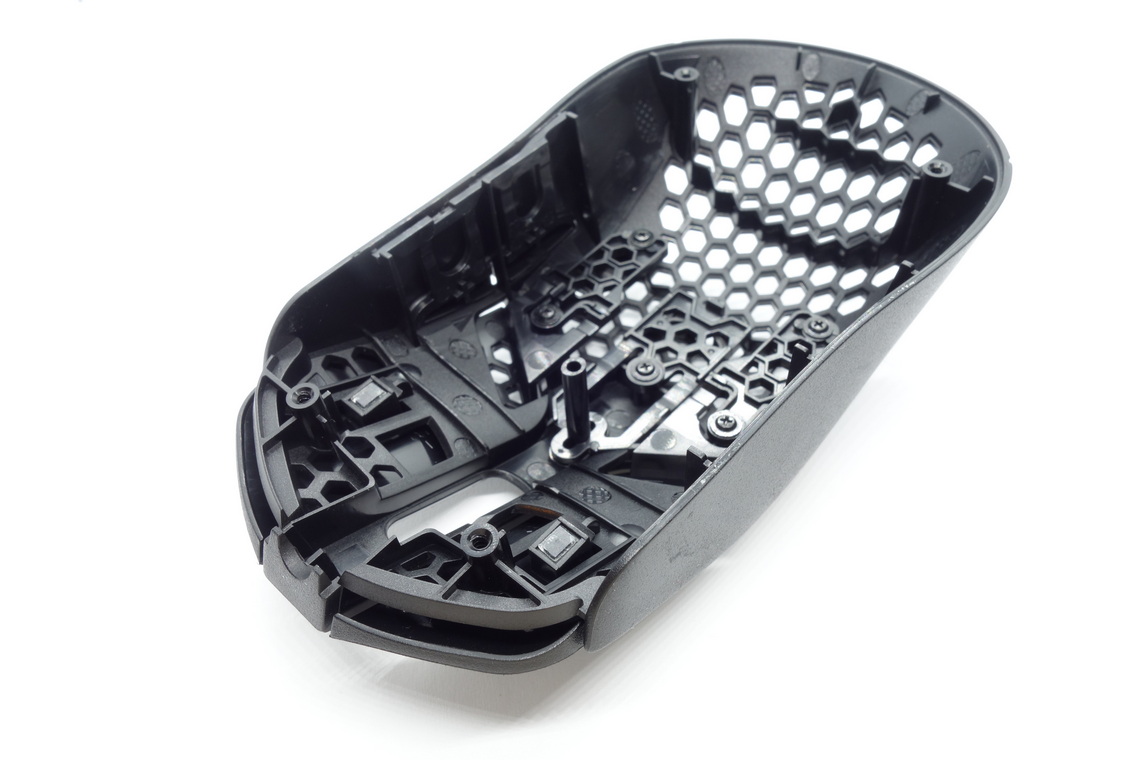
Disassembly
Disassembling the Pulsefire Haste is very simple. Remove all the feet and the screws beneath them. Top and bottom shell should now be easy to separate. Nearly everything sits on the main PCB. Only the side buttons are on their own vertically mounted PCB, connected to the main PCB with a 4-pin JST connector that has a plug only on one side. An auxiliary PCB next to the scroll wheel provides wheel illumination. Since that one comes with its own 5-pin JST connector, getting rid of that entire assembly would be a worthwhile measure to reduce the weight even further. Curiously, the sensor lens assembly along with large parts of the PCB are covered, which means I couldn't identify the MCU. Three screws in total are used to affix the main PCB to the bottom shell. Whereas the main PCB is fairly thin, the small side-button PCB is a bit thicker.
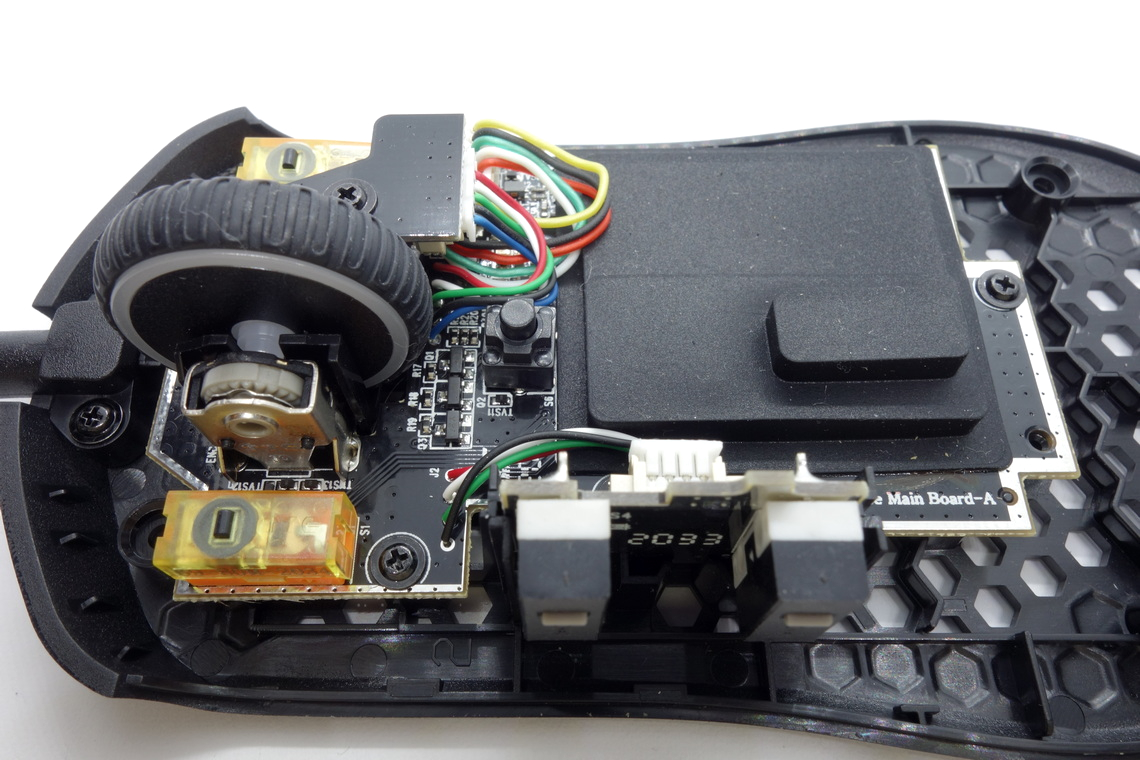
As for the soldering and general quality of the PCB, I'm unable to find any noteworthy flaws.
Mar 5th, 2025 14:11 EST
change timezone
Latest GPU Drivers
New Forum Posts
- Need a new webhost, any suggestions? (1)
- WD Black or Gold for Gaming (10TB) (26)
- Maxsun RX580 graphics card crashes (17)
- I5 10300H undervolting ,need to stop thermal throttle (14)
- What are you playing? (23095)
- Will I benefit from changing the thermal pad? (12)
- Windows 11 General Discussion (5816)
- i5-8365U Fujitsu Lifebook Throttlestop (0)
- sapphire nitro+ 5700 xt BIOS (2)
- Original VBIOS "RX 590 GME" requested (12)
Popular Reviews
- Sapphire Radeon RX 9070 XT Nitro+ Review - Beating NVIDIA
- NVIDIA GeForce RTX 5070 Founders Edition Review
- AMD Radeon RX 9070 Series Technical Deep Dive
- ASUS Radeon RX 9070 TUF OC Review
- EIZO FlexScan EV4340X Review - A Multitasking Powerhouse
- RAWM ES21M Review
- ASUS GeForce RTX 5070 Ti TUF OC Review
- AMD Ryzen 7 9800X3D Review - The Best Gaming Processor
- MSI GeForce RTX 5070 Ti Vanguard SOC Review
- MSI GeForce RTX 5070 Ti Ventus 3X OC Review
Controversial News Posts
- NVIDIA GeForce RTX 50 Cards Spotted with Missing ROPs, NVIDIA Confirms the Issue, Multiple Vendors Affected (513)
- AMD Plans Aggressive Price Competition with Radeon RX 9000 Series (277)
- AMD Radeon RX 9070 and 9070 XT Listed On Amazon - One Buyer Snags a Unit (261)
- AMD Mentions Sub-$700 Pricing for Radeon RX 9070 GPU Series, Looks Like NV Minus $50 Again (248)
- NVIDIA Investigates GeForce RTX 50 Series "Blackwell" Black Screen and BSOD Issues (244)
- AMD RDNA 4 and Radeon RX 9070 Series Unveiled: $549 & $599 (241)
- AMD Radeon RX 9070 and 9070 XT Official Performance Metrics Leaked, +42% 4K Performance Over Radeon RX 7900 GRE (195)
- AMD Radeon RX 9070-series Pricing Leaks Courtesy of MicroCenter (158)