 20
20
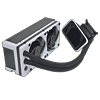
HYTE THICC Q60 240 mm AIO Review
Finished Looks »Installation
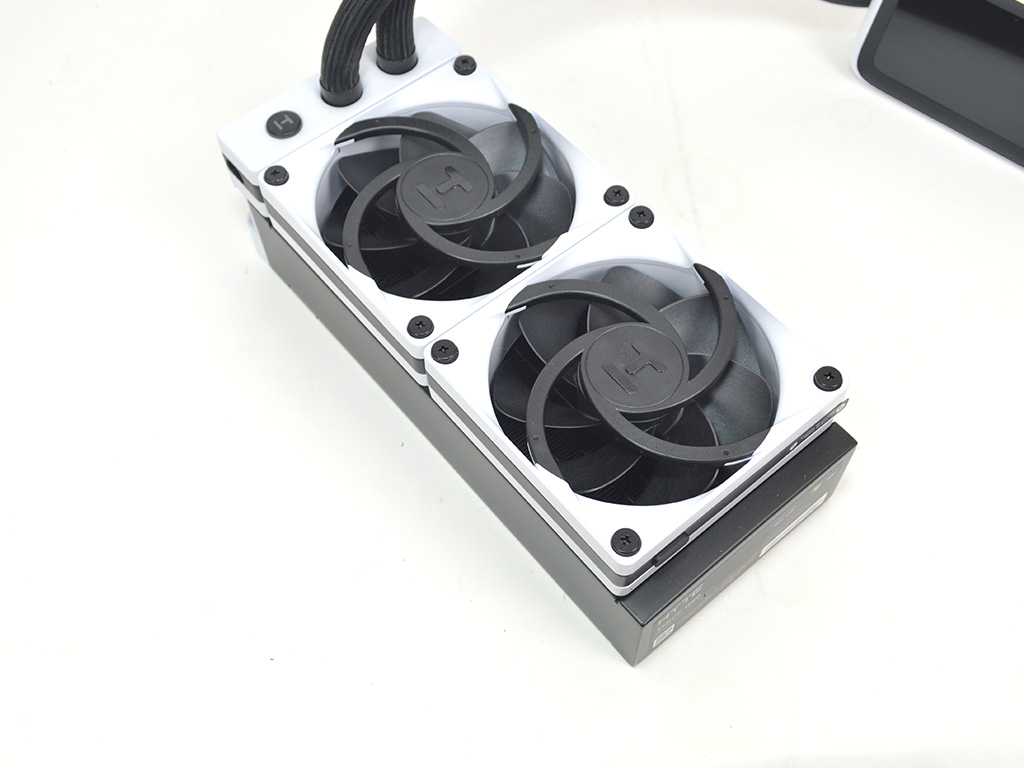

Installing the HYTE THICC Q60 is pretty easy considering all the built-in features. To start I had to re-install the fans, and depending on your setup you may want to swap them to a push configuration. You will then need to check the mounting brackets. If you're using AMD as I am here in these photos you will need to slide the Intel brackets off and slide the AMD bracket into place.
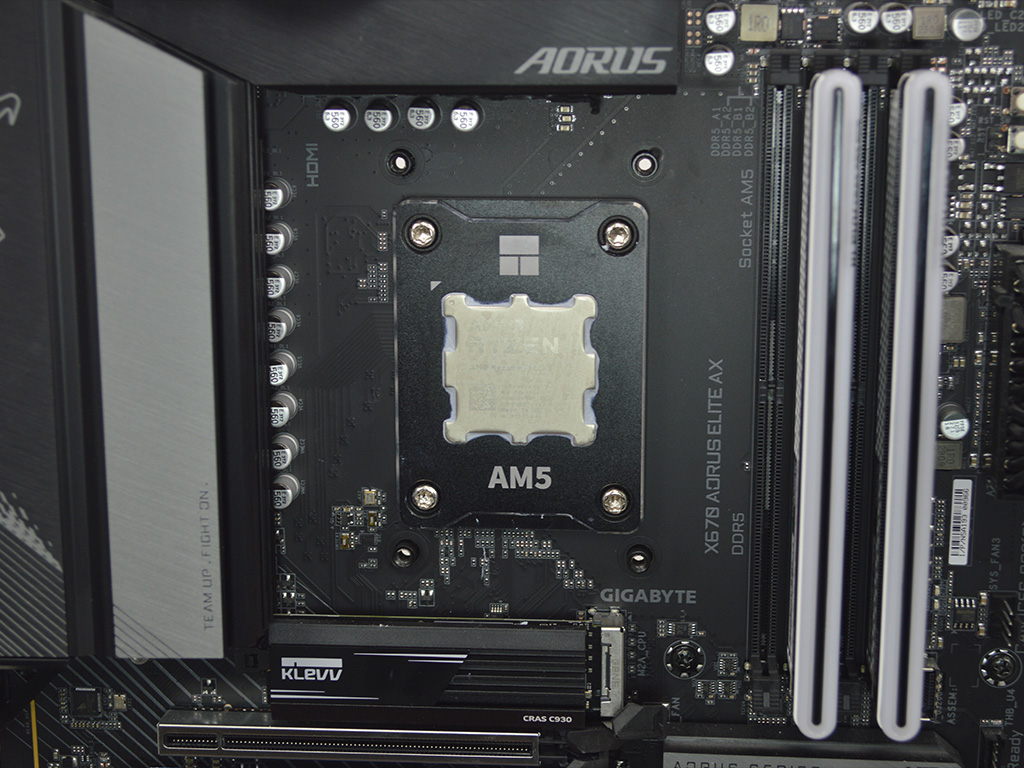
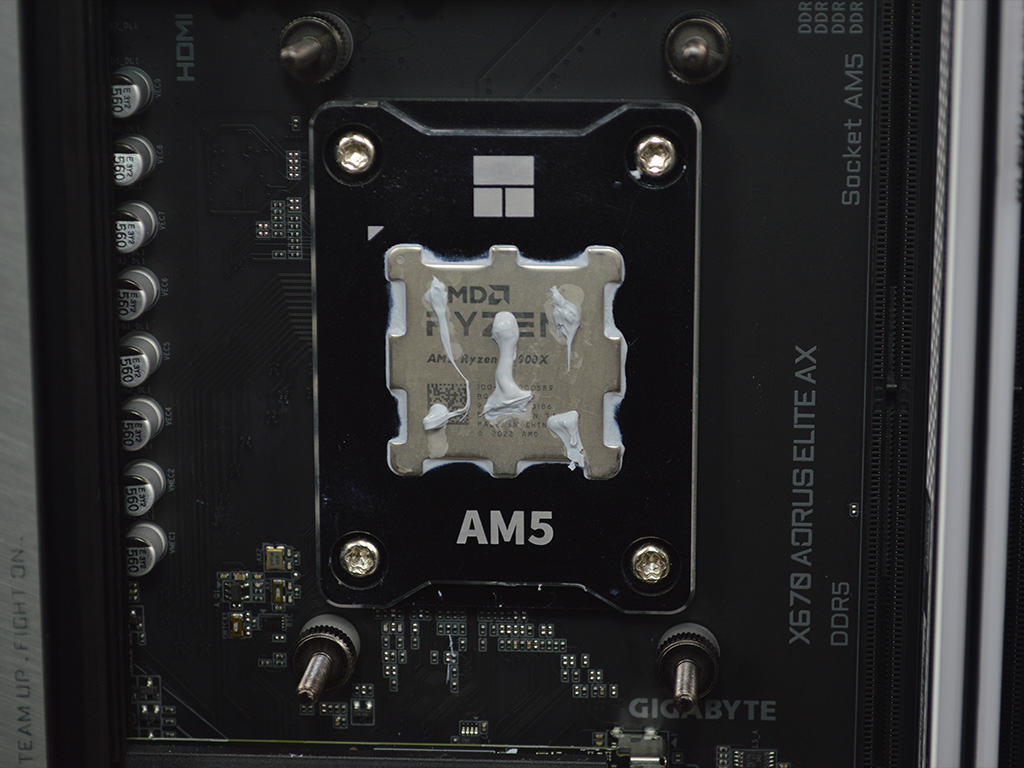
Next, remove the AMD plastic mounting brackets and screw in the AMD specified standoffs. Once they are in place clean the pre-applied thermal paste off if you wish to use your own and apply it.
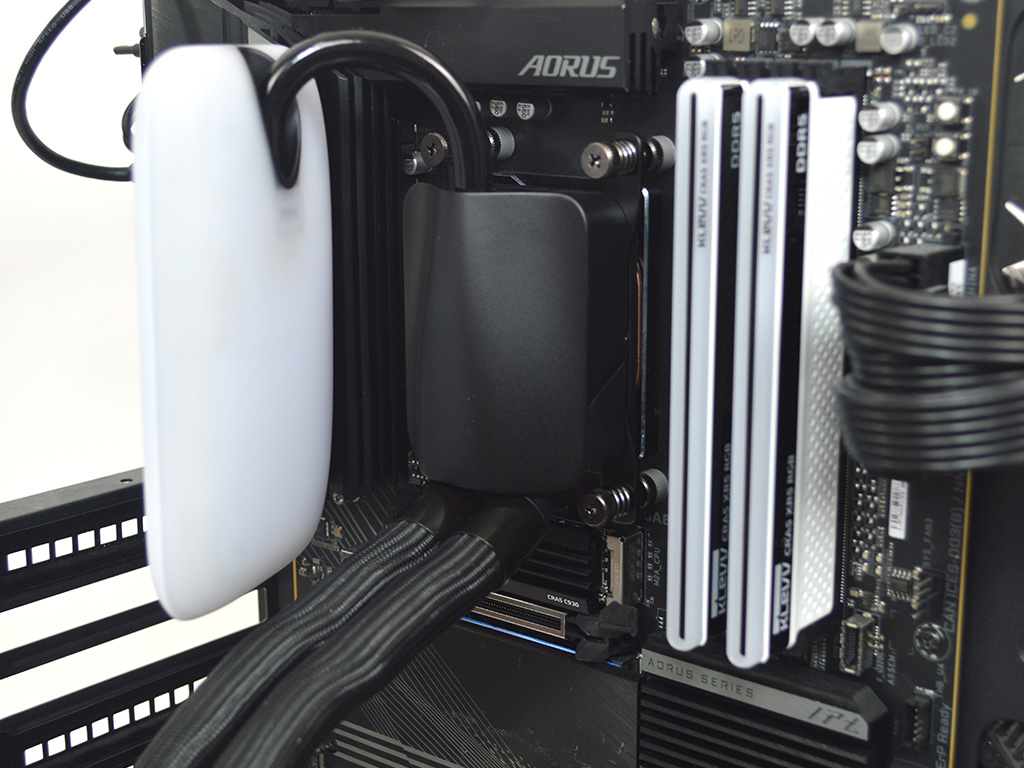

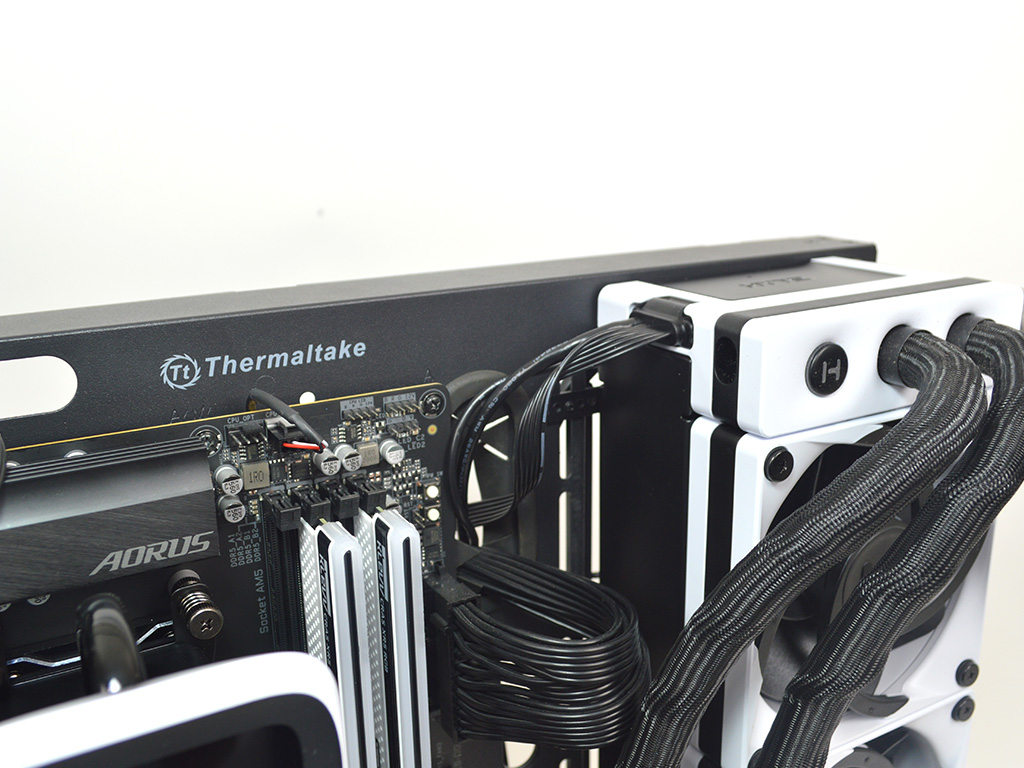
Now it's time to attach the CPU block with the included nuts and then install the radiator. Once complete, plug in the wiring harness on the radiator and run your cables making sure to plug in the PWM header, USB header, and PCIe power connector. After that, the only thing required to get fully operational is to download the Nexus software and install it.
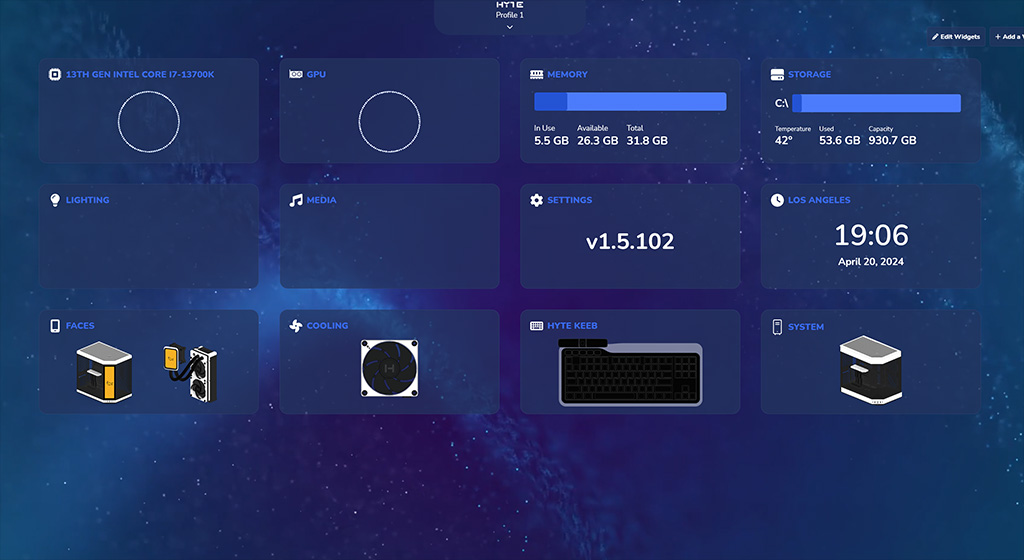
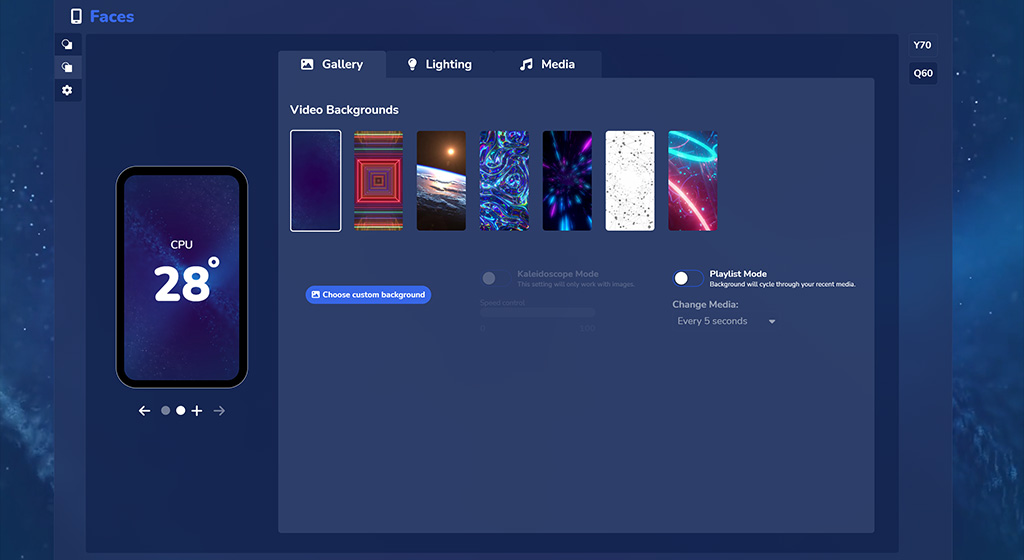
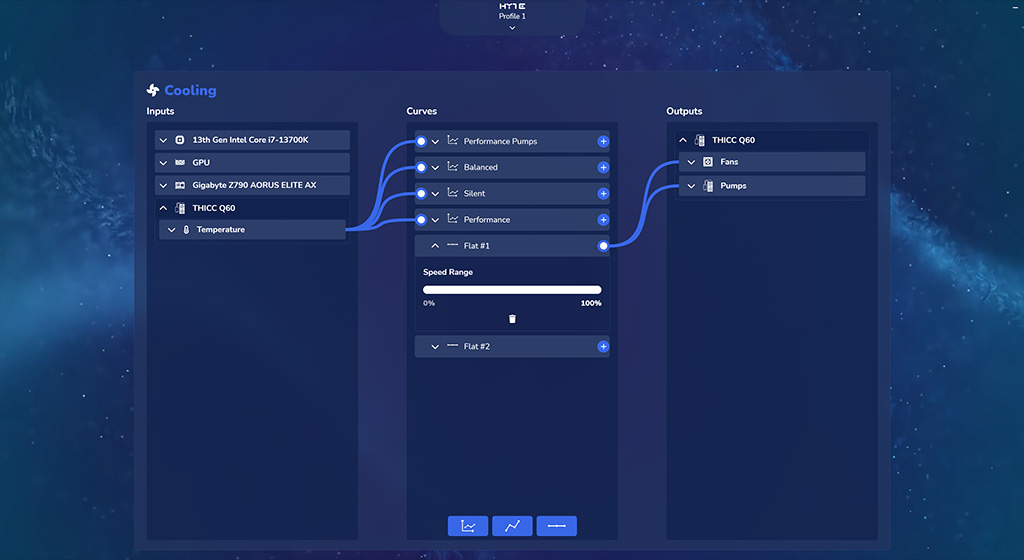
The software itself is very simple at first glance with the start page being user-friendly. The same can be said of the Faces tab which allows you to control the IPS display. You can choose what to show for performance metrics, pick a background or use a custom option and mess with the lighting etc. It isn't until you move to the Cooling page where things seem a bit odd. The cooler itself is listed on the left with a tab for temperature which defaults to the coolant in temp. Then that branches out to the various performance curves, and finally it outputs to the fans and pumps. While it is clean, if you want to control the fans and pumps you need to hit the arrow down, select each fan and the pumps on the far right, and drag the tiny circle to the curve you want on the left. While it's not difficult to use or understand, rather than dragging some tiny element to the curve you want, it would be far more intuitive if I could just click the fan then click the curve. Or better yet be able to select the cooler on the left as a whole and then select the curve you prefer on the right. As of now customization is good, but the UI feels unnecessarily complicated.
Overall, the installation is pretty straightforward on AMD with no real issues to report, and the same is true on Intel as well. On the software side of things, it worked as intended and while I was not a fan of the UI/UX in the cooling page, this was not related in any way to its functionality.
Mar 10th, 2025 13:29 EDT
change timezone
Latest GPU Drivers
New Forum Posts
- AMD RX 9070 XT & RX 9070 non-XT thread (OC, undervolt, benchmarks, ...) (2)
- newegg ATX 3.1 PSU on Clearance and Free Fan (3)
- Nvidia's GPU market share hits 90% in Q4 2024 (gets closer to full monopoly) (770)
- AAF Optimus Modded Driver For Windows 10 & Windows 11 - Only for Realtek HDAUDIO Chips (375)
- RX 9070 availability (165)
- DTS DCH Driver for Realtek HDA [DTS:X APO4 + DTS Interactive] (2110)
- Zen6 is almost here ? (45)
- Gaming PC instabiliity (16)
- It's happening again, melting 12v high pwr connectors (1019)
- What's your latest tech purchase? (23269)
Popular Reviews
- Sapphire Radeon RX 9070 XT Nitro+ Review - Beating NVIDIA
- XFX Radeon RX 9070 XT Mercury OC Magnetic Air Review
- ASUS Radeon RX 9070 TUF OC Review
- MSI MAG B850 Tomahawk Max Wi-Fi Review
- NVIDIA GeForce RTX 5080 Founders Edition Review
- NVIDIA GeForce RTX 5070 Founders Edition Review
- Corsair Vengeance RGB CUDIMM DDR5-8800 48 GB CL42 Review
- AMD Ryzen 7 9800X3D Review - The Best Gaming Processor
- ASUS GeForce RTX 5070 Ti TUF OC Review
- MSI GeForce RTX 5070 Ti Gaming Trio OC+ Review
Controversial News Posts
- NVIDIA GeForce RTX 50 Cards Spotted with Missing ROPs, NVIDIA Confirms the Issue, Multiple Vendors Affected (513)
- AMD Plans Aggressive Price Competition with Radeon RX 9000 Series (277)
- AMD Radeon RX 9070 and 9070 XT Listed On Amazon - One Buyer Snags a Unit (261)
- AMD RDNA 4 and Radeon RX 9070 Series Unveiled: $549 & $599 (260)
- AMD Mentions Sub-$700 Pricing for Radeon RX 9070 GPU Series, Looks Like NV Minus $50 Again (248)
- NVIDIA Investigates GeForce RTX 50 Series "Blackwell" Black Screen and BSOD Issues (244)
- AMD Radeon RX 9070 and 9070 XT Official Performance Metrics Leaked, +42% 4K Performance Over Radeon RX 7900 GRE (195)
- AMD Radeon RX 9070-series Pricing Leaks Courtesy of MicroCenter (158)