 4
4
i-Rocks K76M Illuminated Mechanical Keyboard Review
Disassembly »Closer Examination
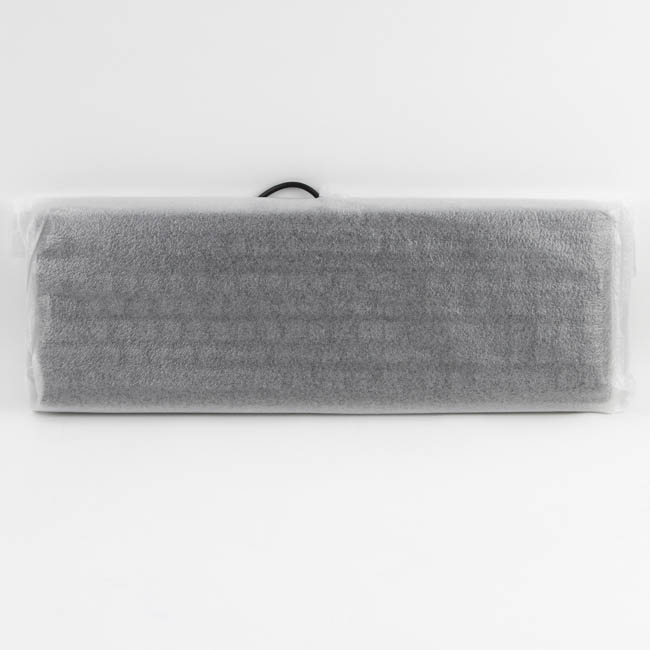
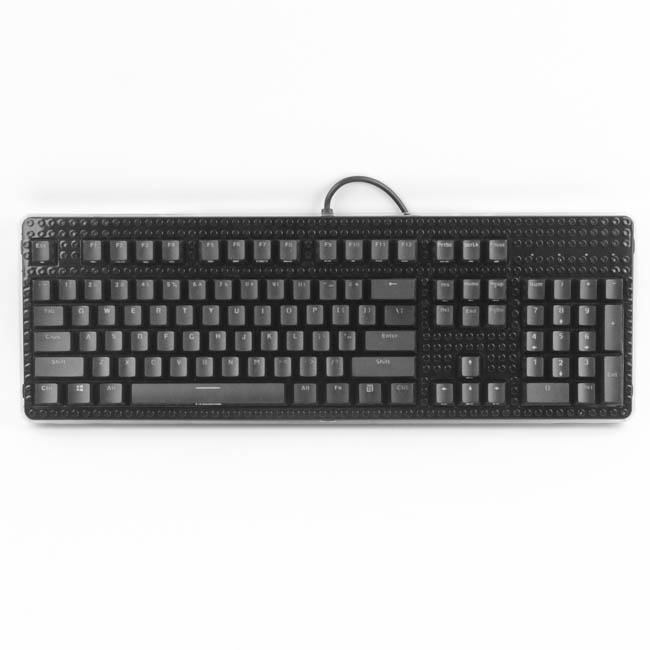
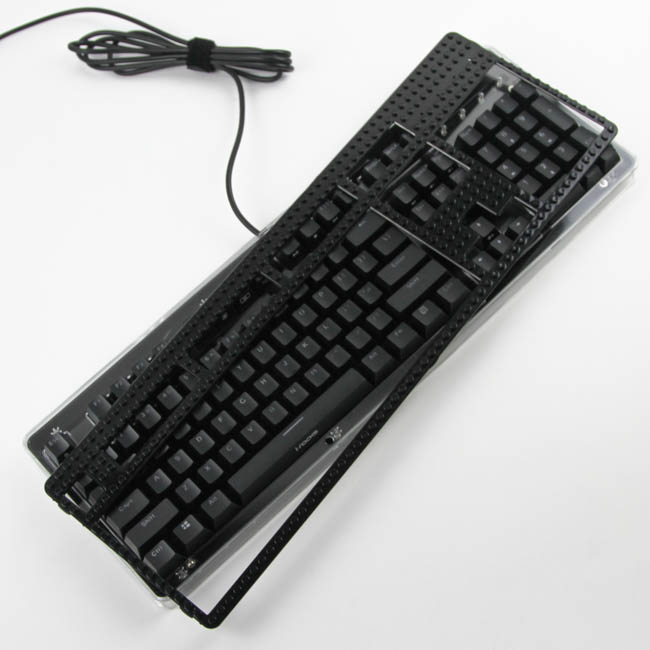
The i-Rocks K76M "Fun" keyboard comes in a soft foam wrap for further protection which is not durable enough to use as a travel sleeve. Removing it, we get our first good look at the keyboard and, as with the K70E, it offers another unique aesthetic I have not seen used before. The LEGO-compatible brick top plate with the acrylic side plate needs to be seen in person to be fully appreciated, and the black color option I have here has a black set of keycaps with a black top cover plate that has a semi-glossy finish. The only branding here is the i-Rocks logo on the front of the space bar, so you will not really see it often, but let's be honest here - you would not be purchasing this "Fun" variant with that novel top cover to use in an office. You would instead customize it with your own building blocks as i-Rocks has done themselves with some examples shown on their website.
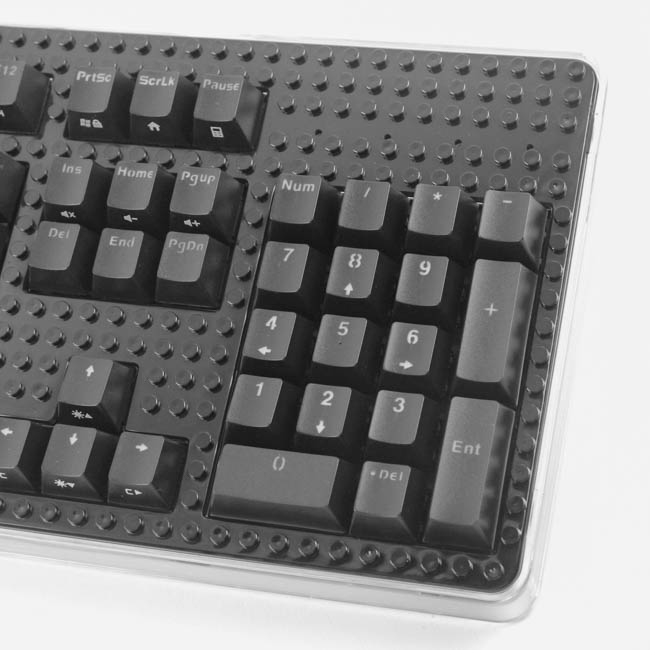
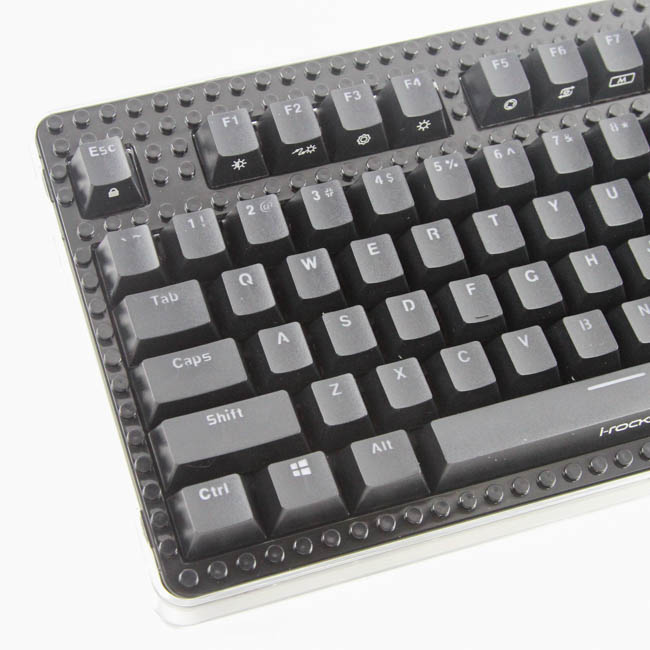
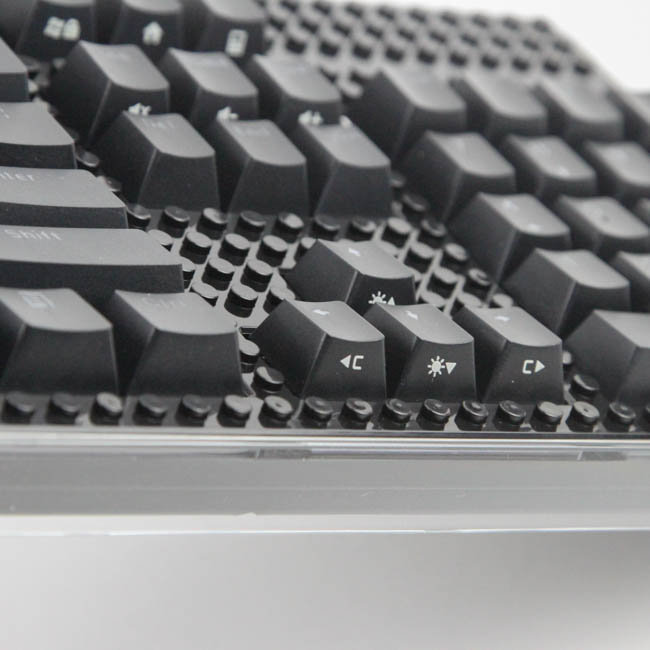
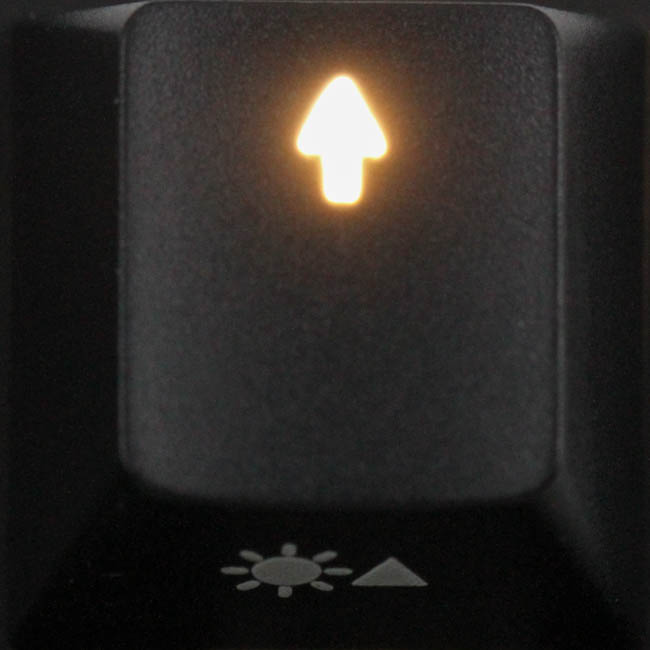
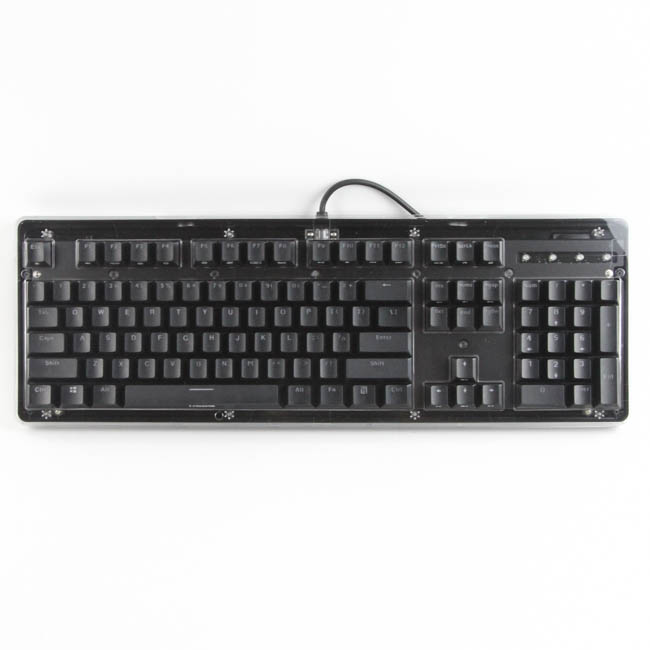
The bezels here are on the larger side of average, but only just, and part of this is due to the removable top panel which requires some space on all sides to be removable and installable. From the side, we can also see a clear acrylic side plate that appears to be another i-Rocks feature on their recent keyboards. There are four indicator LEDs above the Num Pad, three standard and one a Win Lock indicator. Given the nature of the onboard controls here, we have a lot of secondary legends on the keycaps wherever applicable. The universally used (for Windows OS, anyway) secondary legends are placed below the primary ones on all but the number row in the alphanumeric section, where they are placed alongside, which will affect uniformity with backlighting for the various legends. The keyboard-specific secondary legends are front-printed instead, which will further affect backlighting, and that is assuming they are doubleshot injected as with the others. Positioning of all the single legends is in the top center for smaller and larger keycaps alike, and the font is of average size, which is not due to a lack of available space, but more for uniformity with other keycaps. The seams in legends with loops (D, R, etc.) are a result of the traditional doubleshot injection rather than a choice to be more aggressive.
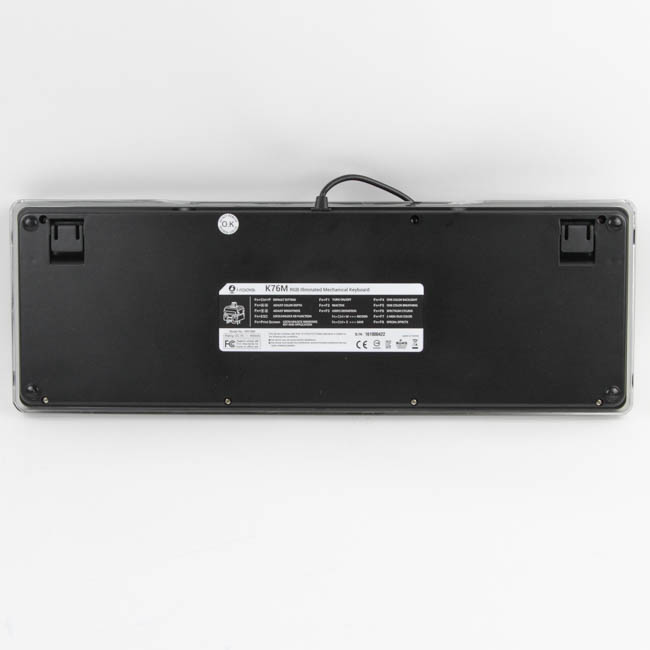
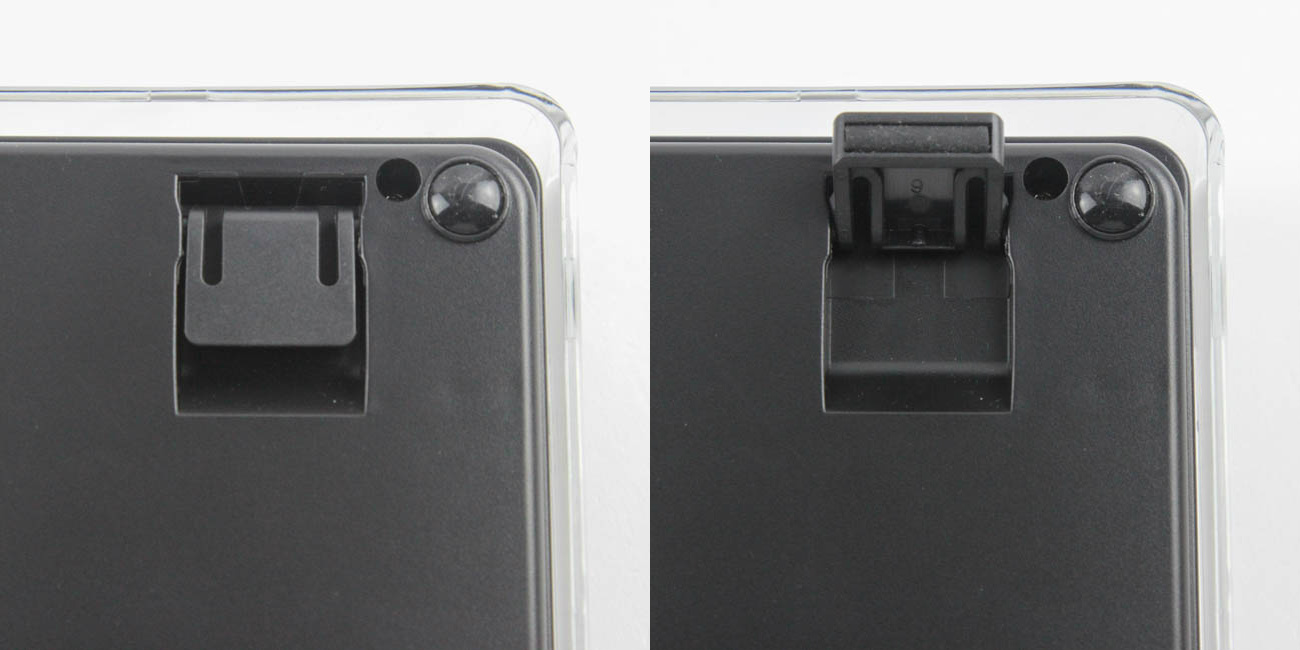
Flipping the keyboard around, we see the usual certification sticker in the middle, and this one happens to be mostly in white with black writing for some contrast to the black plastic case used on the bottom. There are four small rubber pads at the top and bottom corners for some friction against a desk's surface to keep the keyboard from sliding around, and there are two case feet at the top as well, and these can be raised to elevate the keyboard. Keeping up with the attention to detail here, the bottom of each foot has a black rubber pad, so they won't scratch when used.

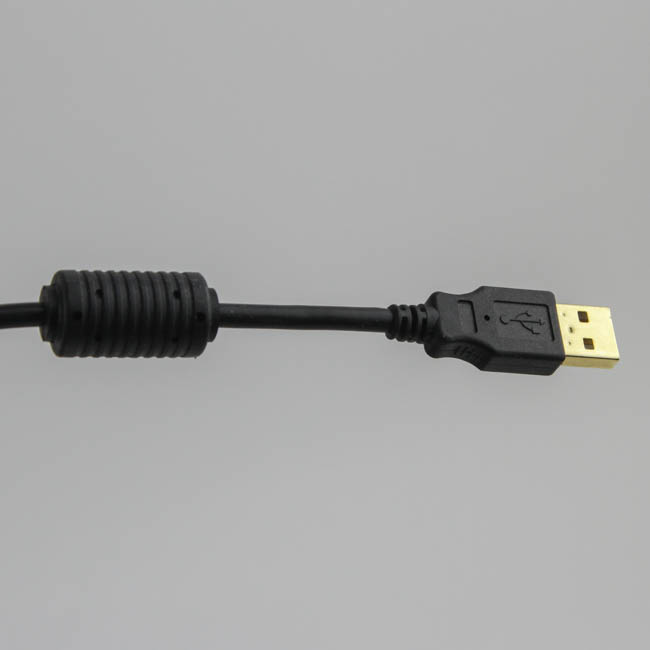
The keyboard has a non-removable cable that comes out the top as seen from the front. This cable is black in color for this black version, non-braided, and uses thick rubber insulation, which should make it quite durable over the long run, and it shouldn't catch on anything either. It is also on the longer side of average at 6.6' as compared to the standard 6', which helps if your PC is further away from the operating area on your desk. The keyboard requires a single male USB Type-A port on your computer and draws an average of 0.02 A on the 5V DC rail with no backlighting, 0.20-0.22 A with full keyboard animation effects, and a maximum of 0.35 A with all LEDs on at 100% brightness, so USB 2.0 will suffice when it comes to powering it.
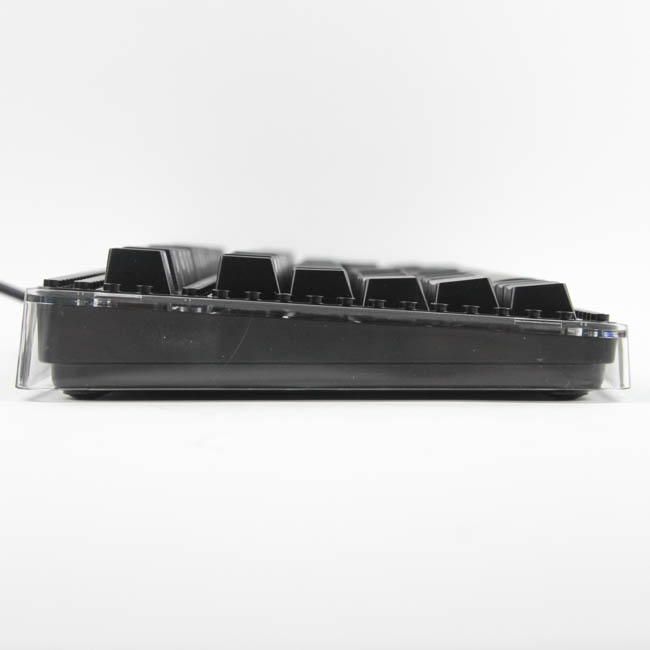
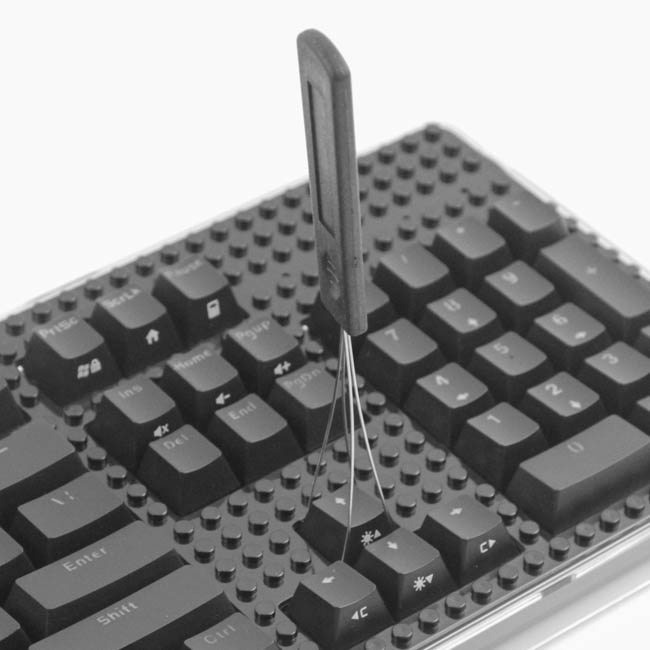
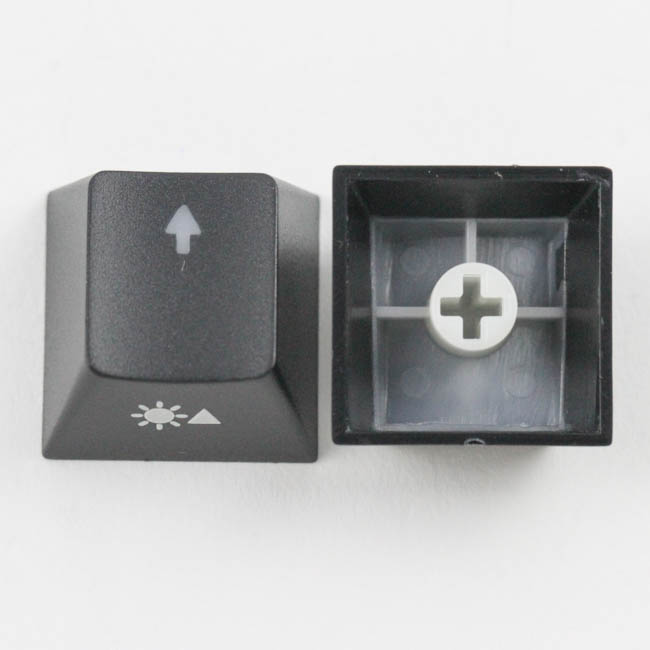
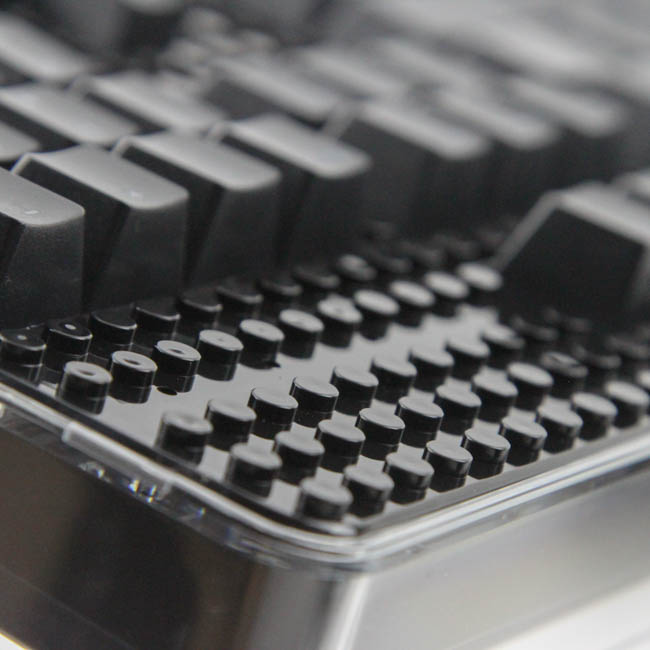
From the side, the clear finish of the acrylic plate is all the more obvious compared to the smoked finish in the i-Rocks K70E. We can also see that i-Rocks has gone with a floating keycap implementation; however, it is masked by the LEGO-compatible extensions in the top cover plate. The stock keycaps adopt a modified OEM profile in that they have the same sculpted rows as most others, but they are also low in profile, akin to the Cherry profile. We saw this with Tesoro and their original GRAM Spectrum keyboards, and this is part of why the i-Rocks K76M is lower in height than most keyboards. The included keycap puller works very well here since there is enough room around each keycap for it to easily be pulled out. Once done, we see that the stock keycaps are made out of ABS plastic, but the plastic is rather thick at an average wall thickness of 1.32 mm. This, coupled with the bulk majority of the legends being doubleshot injected, will help with the longevity of the keycaps.
The black keyboard version uses white legends on the black plastic as compared to the black legends on the white plastic and there is, thus, good clarity even without backlighting. Unfortunately, the front printed keyboard-specific secondary legends are laser etched, but not by enough for backlighting support, which is quite puzzling. These have a protective coating on top, so they will show signs of wear and tear slower than most, but this remains a weak point. For what it is worth, the spacing of the bottom row here make the keyboard compatible with a lot of aftermarket keycap sets.
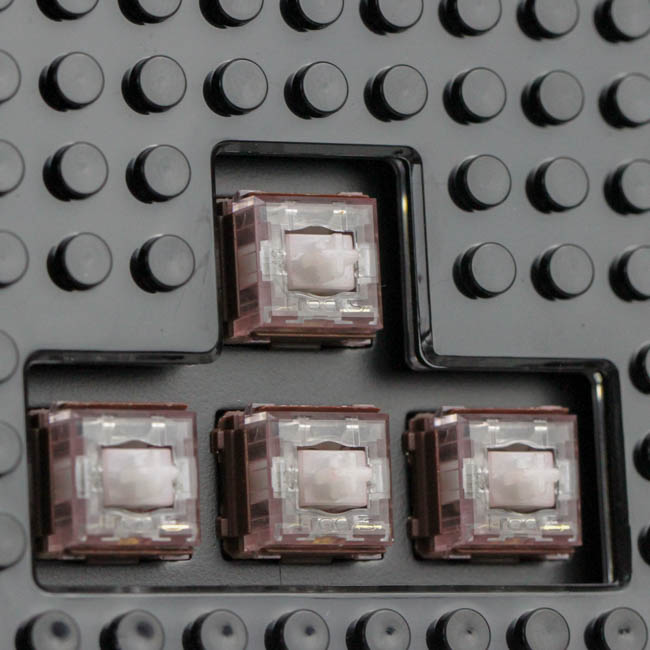
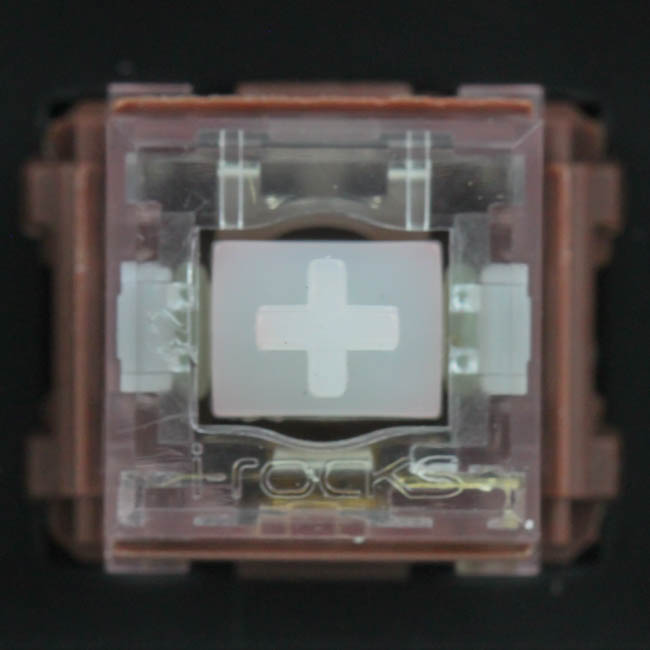

The switches are one of the keyboard's major selling points and merit a discussion across multiple pages. For now, taking the keycaps off reveals one of i-Rocks' Alps-inspired switches. They come in a Red, Brown, Blue, and Geek variety with my sample being the Brown switch with their patented ORS (O-Ring system) noise dampening integrated into the switch to minimize noise. We can also see here that the larger switches adopt a costar-style wire stabilizer, and these work great with the lower-profile keycaps by providing a satisfying feeling throughout, although a big part of this is due to the switch itself. Do note that some thick PBT plastic keycaps may interfere with the stabilizers used here.
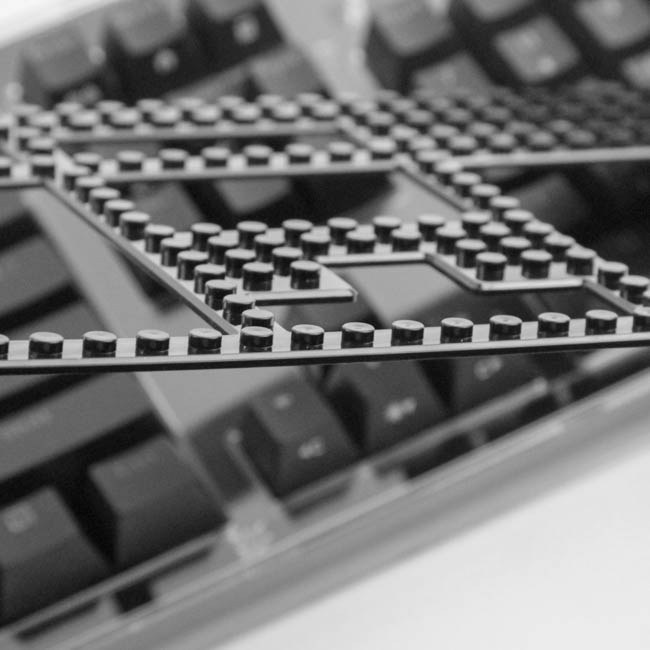
As with the i-Rocks K70E, there are notches in the acrylic side plate which the brick top plate hooks into on each side, and there is enough flex to use a thin, flat object to pry them apart. We can see that the brick plate is on the thinner side for the base, and removing it, we get an acrylic plate underneath that is part of the one-piece acrylic going around the sides as well. This ensures that there is a barrier between the switches and the PCB underneath should something happen when changing out the top plate.
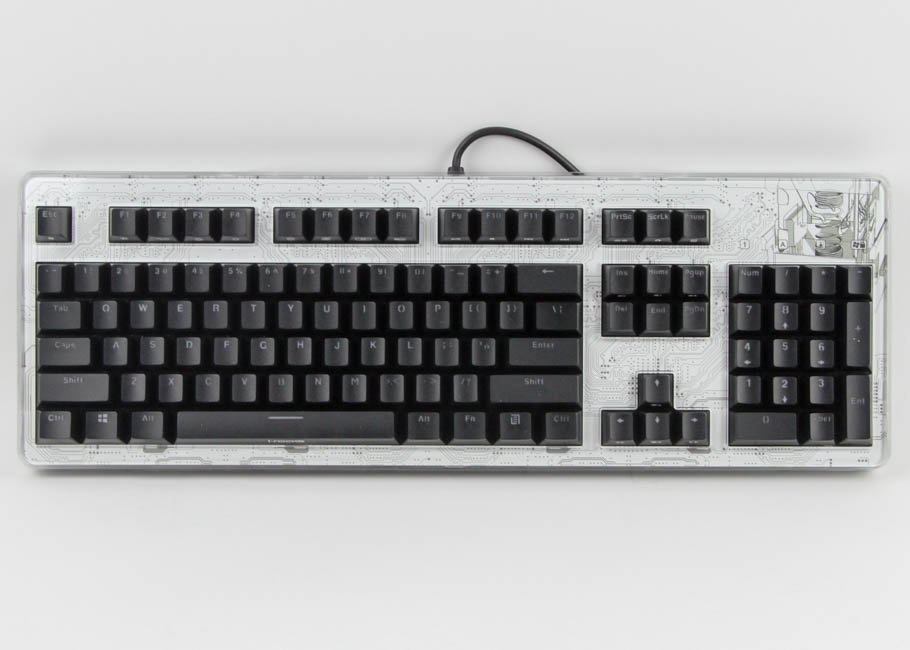
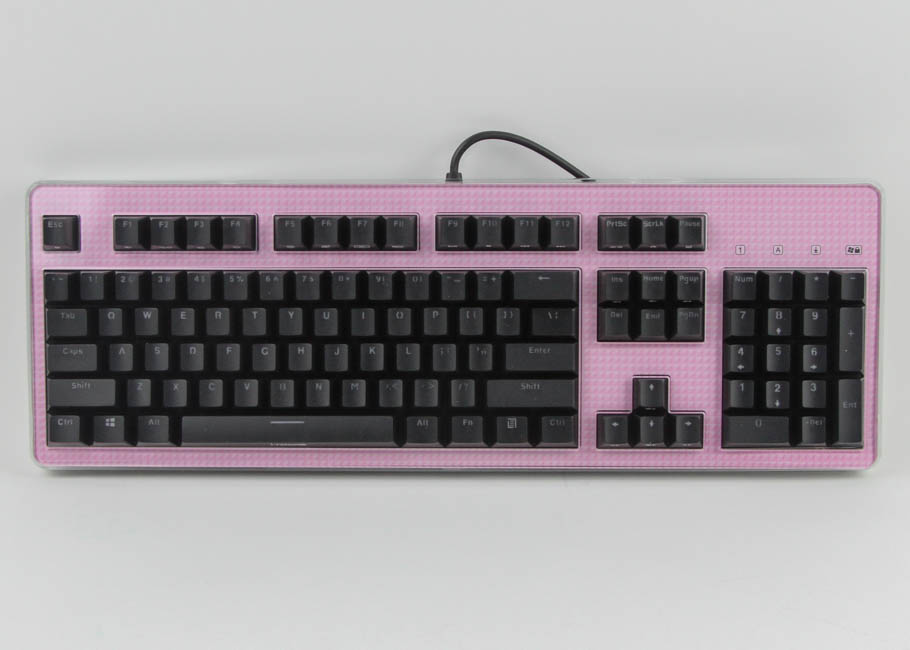

Here is a look at the keyboard with three of the optional paper covers instead of the default brick one. Three others can be seen on the relevant page of the K70E review as well, and between these, you should get a better idea of what to expect with these paper skins and the acrylic top plate.
May 5th, 2025 10:53 EDT
change timezone
Latest GPU Drivers
New Forum Posts
- Question about photos (4)
- What phone you use as your daily driver? And, a discussion of them. (1668)
- Can't connecte my xbox controller to my pc (ugreen bt adapter) (7)
- Corsair Type 3 vs 4 cables (5)
- What are you playing? (23548)
- Thread '(thread name)' could use more distinction (4)
- Low budget psu for medium high loads (under 400 watt usage) (26)
- Windows 12 (176)
- Are the 8 GB cards worth it? (870)
- What's your latest tech purchase? (23707)
Popular Reviews
- ASUS ROG Maximus Z890 Hero Review
- ASUS Radeon RX 9070 XT TUF OC Review
- Clair Obscur: Expedition 33 Performance Benchmark Review - 33 GPUs Tested
- Montech HS02 PRO Review
- NVIDIA GeForce RTX 5060 Ti 8 GB Review - So Many Compromises
- Seasonic Vertex GX 850 W Review
- Upcoming Hardware Launches 2025 (Updated Apr 2025)
- ASUS GeForce RTX 5090 Astral Liquid OC Review - The Most Expensive GPU I've Ever Tested
- Sapphire Radeon RX 9070 XT Nitro+ Review - Beating NVIDIA
- AMD Ryzen 7 9800X3D Review - The Best Gaming Processor
Controversial News Posts
- AMD Radeon RX 9060 XT to Roll Out 8 GB GDDR6 Edition, Despite Rumors (131)
- NVIDIA Sends MSRP Numbers to Partners: GeForce RTX 5060 Ti 8 GB at $379, RTX 5060 Ti 16 GB at $429 (128)
- NVIDIA Launches GeForce RTX 5060 Series, Beginning with RTX 5060 Ti This Week (115)
- Nintendo Confirms That Switch 2 Joy-Cons Will Not Utilize Hall Effect Stick Technology (105)
- NVIDIA PhysX and Flow Made Fully Open-Source (95)
- Sony Increases the PS5 Pricing in EMEA and ANZ by Around 25 Percent (84)
- Parts of NVIDIA GeForce RTX 50 Series GPU PCB Reach Over 100°C: Report (78)
- Intel "Bartlett Lake-S" Gaming CPU is Possible, More Hints Appear for a 12 P-Core SKU (77)