 8
8
In Win A1 Review
Assembly & Finished Looks »A Closer Look - Inside
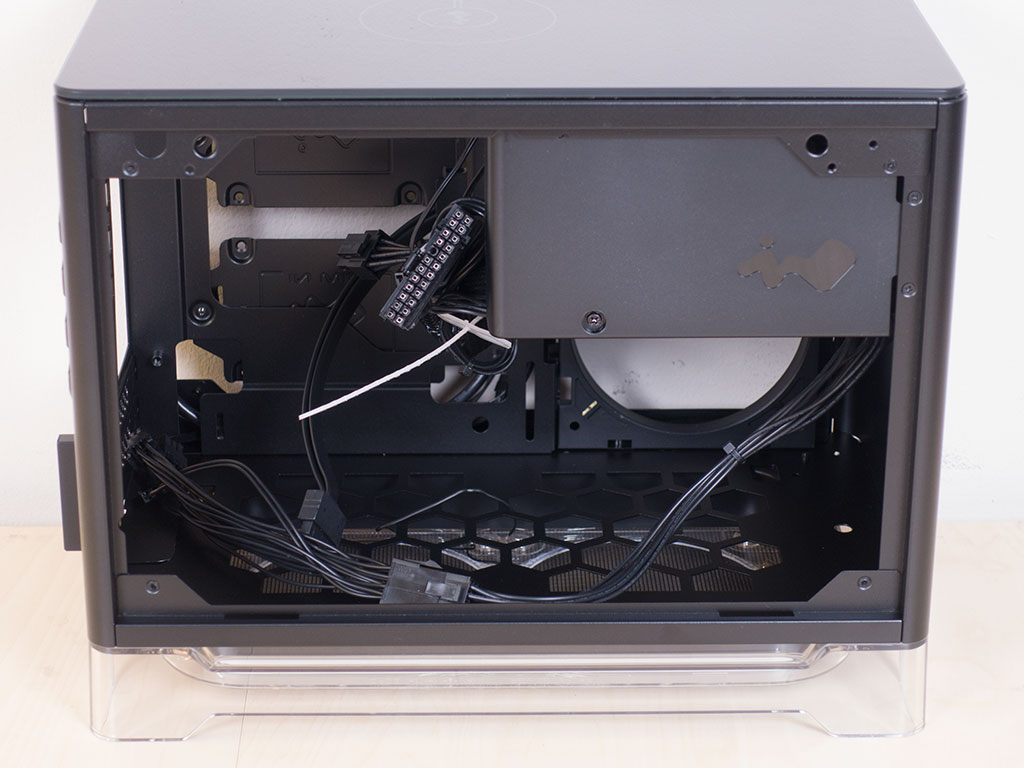
To access the interior, simply remove the two push pins and pull off the covers. Even though the In Win A1 is quite compact, there is no other way to get into the case. In fact, the main point of entry is definitely the side with the glass panel. However, if you look at the opposite side, the functional features and layout really don't allow for another implementation.
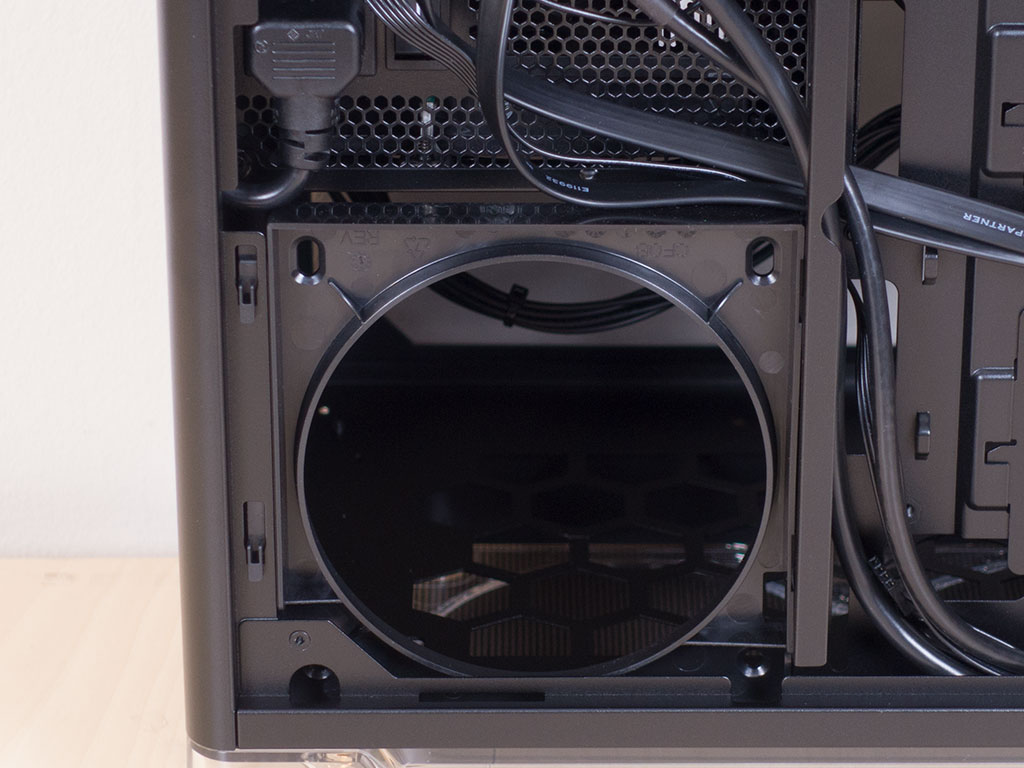
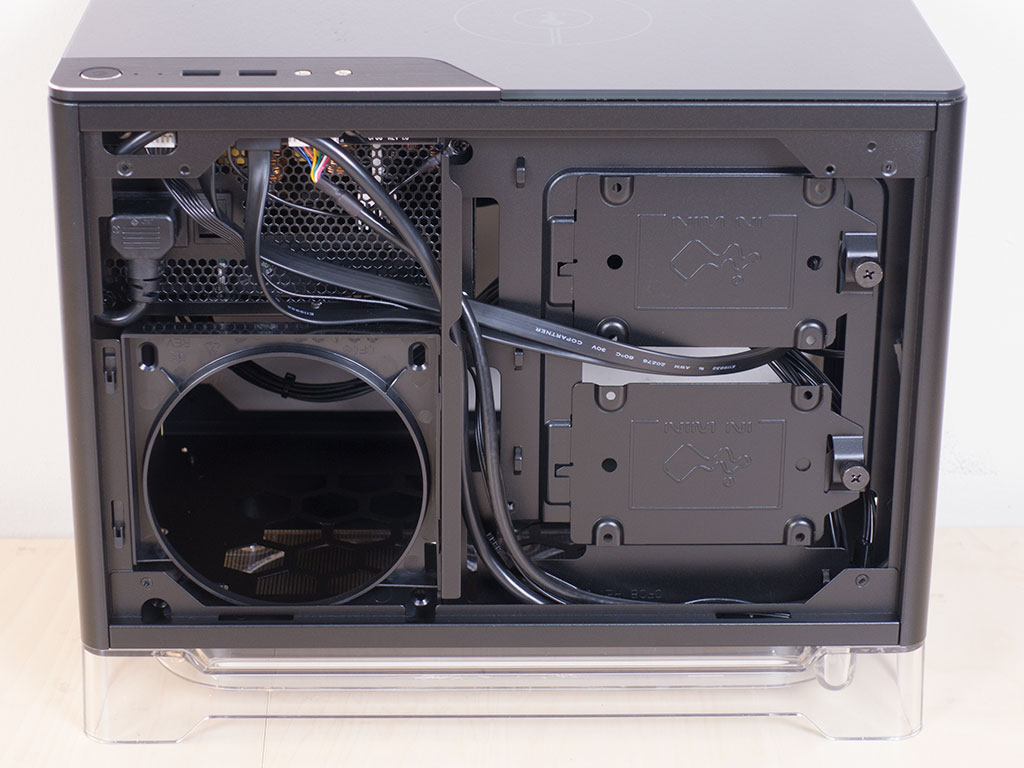
On this side, you will find a fourth 120 mm mounting possibility for air cooling. This means you can install a total of four fans within the A1, which is pretty impressive considering the overall size of the chassis.
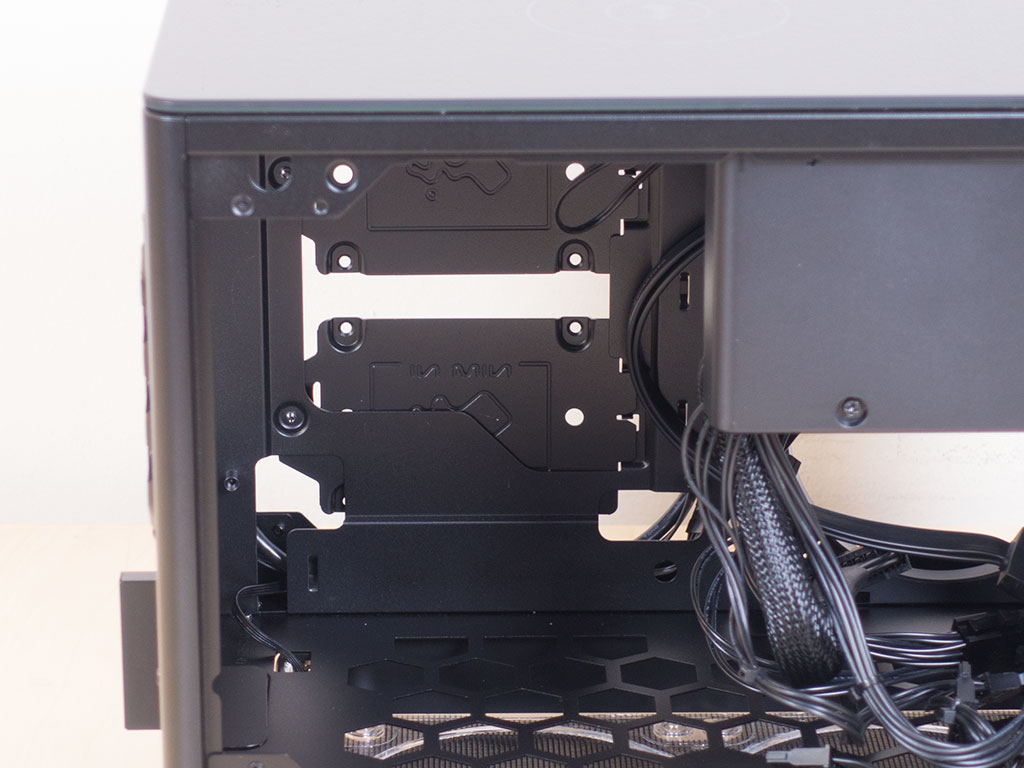
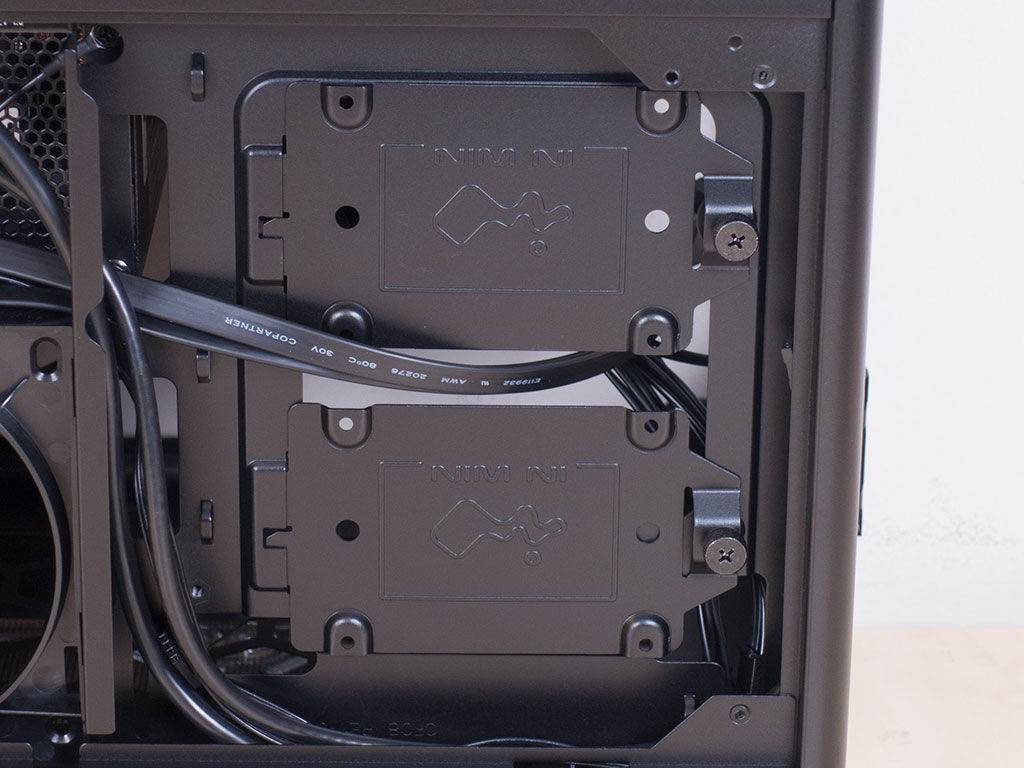
The motherboard area is pretty straightforward, but comes with a large opening that is only covered by SSD trays, so you should even be able to access the backside of the CPU area with everything assembled.
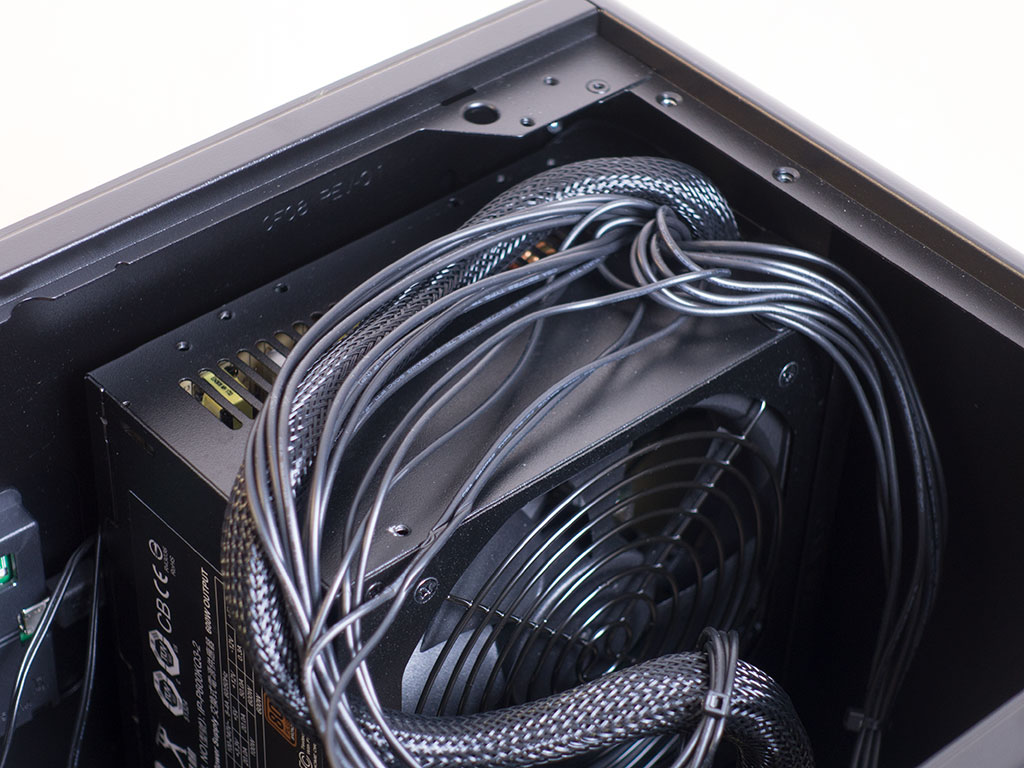
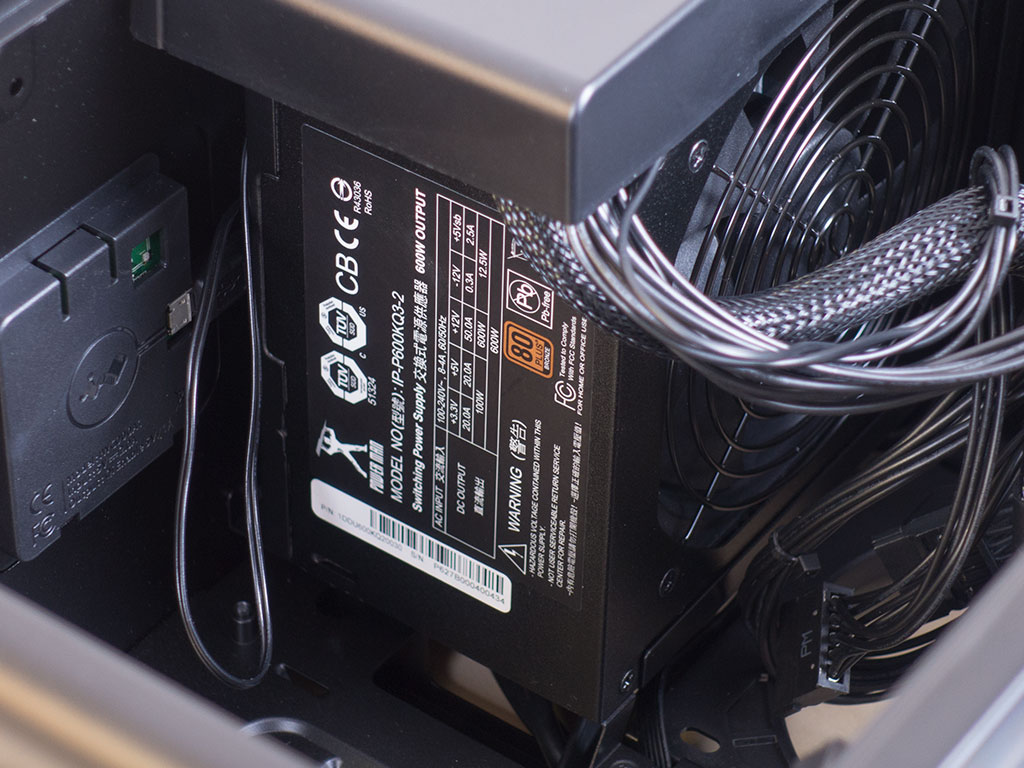
Behind the plastic cover in the front of the chassis is the pre-installed 600 W PSU. It is quite compact but potent enough to really power anything you can throw inside the A1. If you want a tad bit more power, the A1 Plus has a 650 W unit instead. The plastic PSU shroud does not only serve a cosmetic purpose by hiding the power supply itself from view, but also allows you to route cables and hide those as well.
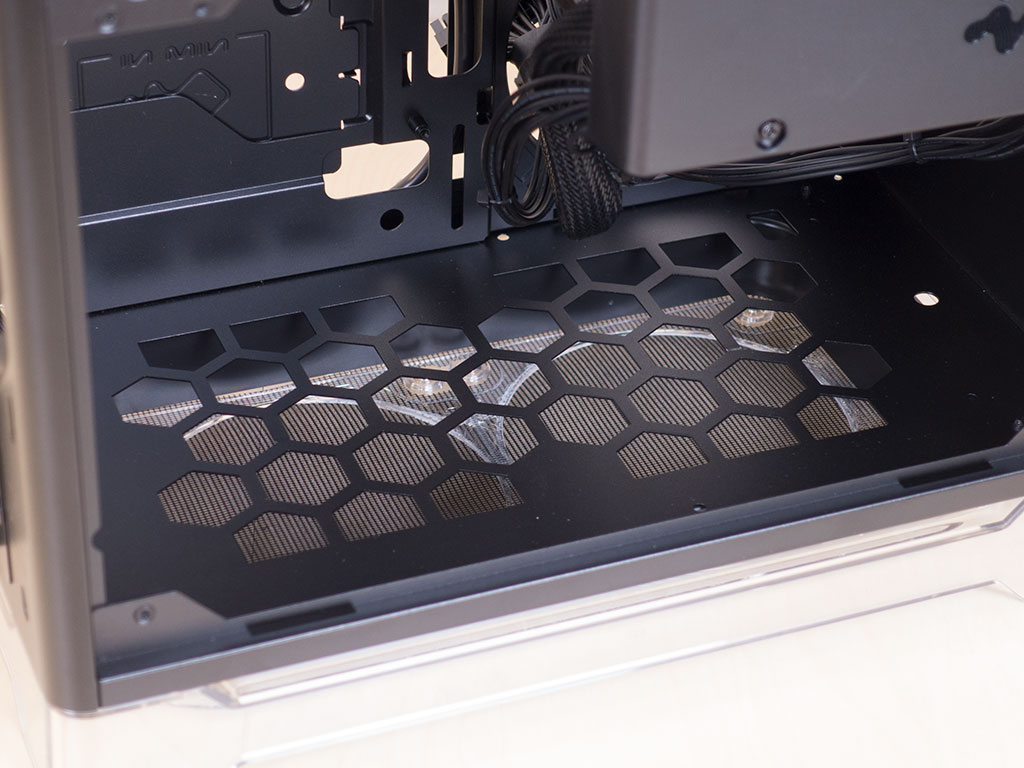
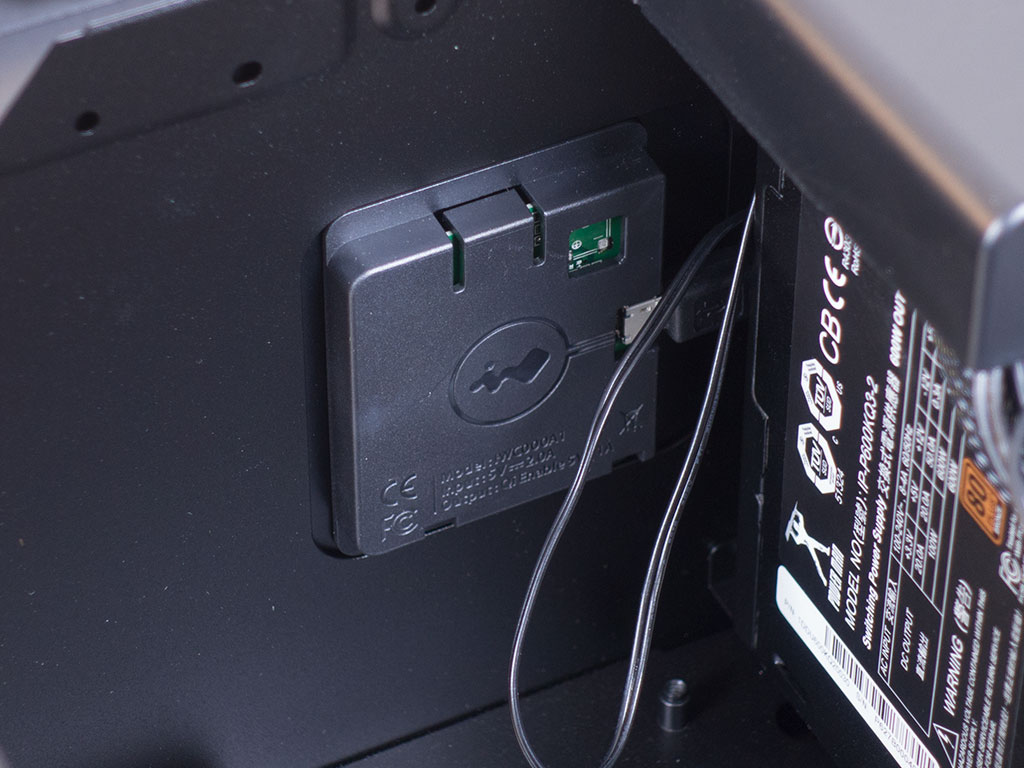
Looking at the floor, it is apparent where the two floor-based fans come in handy. If you install a fully sized GPU, these cooling units push cool air right on to the GPU heatsink fans, which will certainly help keep temperatures down. A quick peek at the ceiling reveals the Qi charging pad, which is powered by a USB cable.
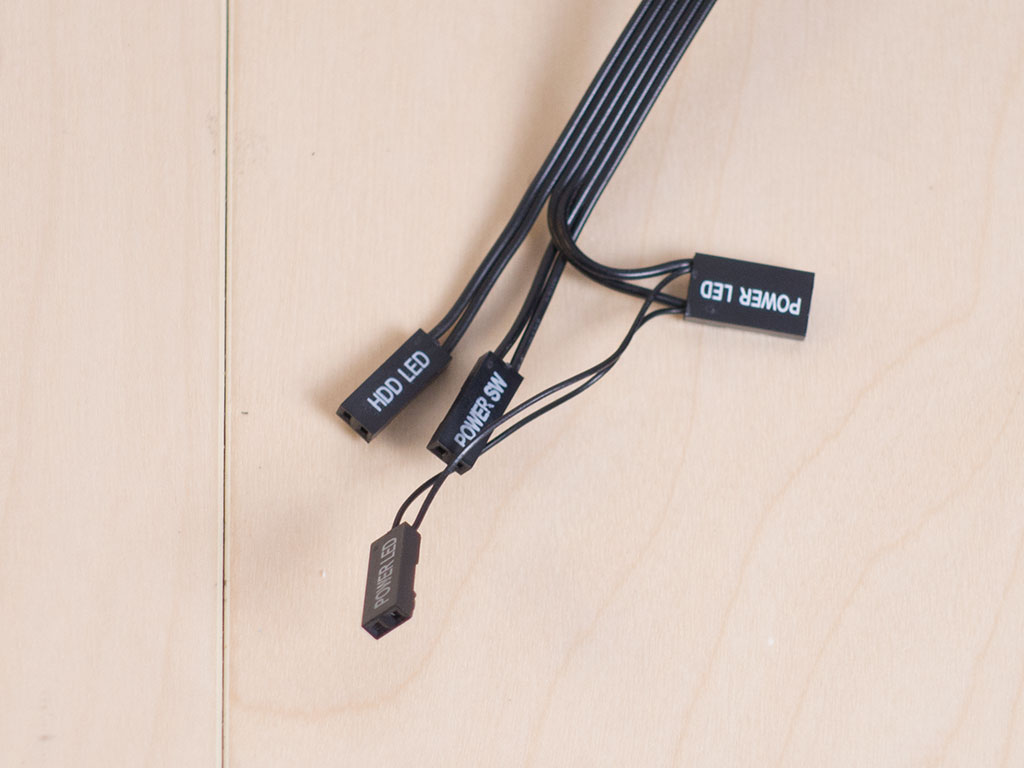
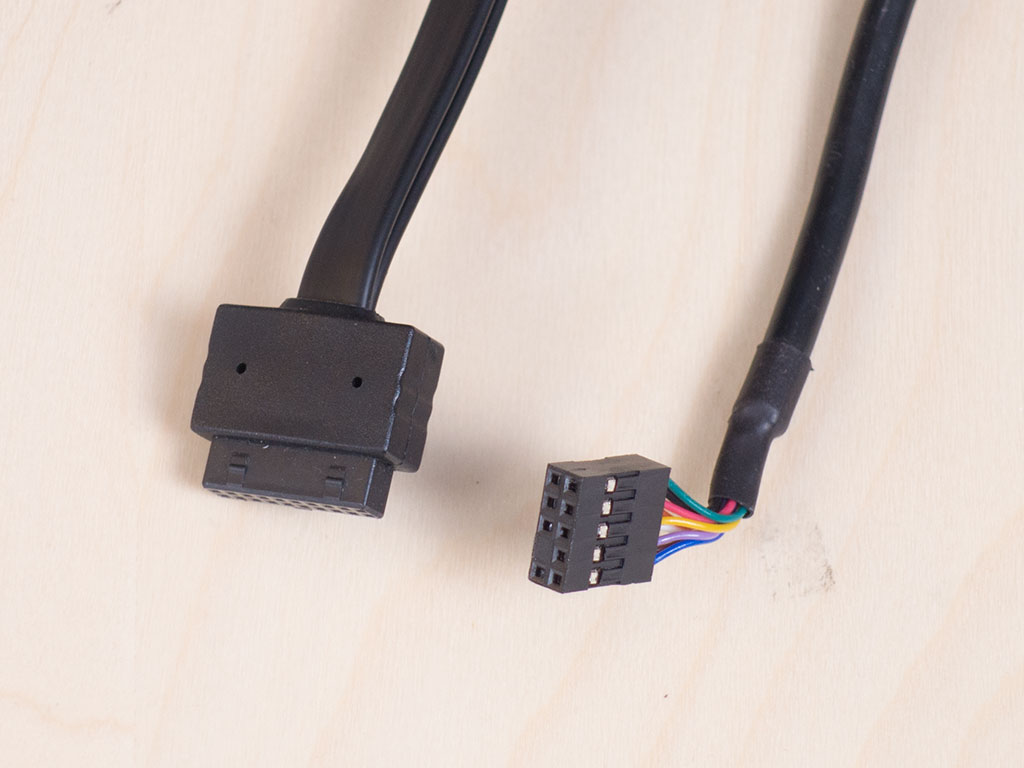
Besides that, all the leads within the A1 are pretty generic and black, and of the usual plugs, so you should have no issues getting everything hooked up.
Apr 11th, 2025 00:35 EDT
change timezone
Latest GPU Drivers
New Forum Posts
- What are you playing? (23363)
- (Some of) What I'd like to See From a Final Fantasy IX Remake (14)
- Game Soundtracks You Love (1034)
- Free Games Thread (4614)
- Can the display output be enabled by modifying the vBIOS of the Radeon Pro V620? (5)
- [REQUEST] How to use ThrottleStop to overclock 1630v3 to 4.5ghz on a t5810 workstation? (0)
- Will I benefit from changing the thermal pad? (64)
- Lossless scaling (4)
- I tried to use AMD Auto Overclock, and now my PC has been freezing up sometimes. Afterwards, the screen goes black or displays artifacts. (17)
- The TPU UK Clubhouse (26077)
Popular Reviews
- The Last Of Us Part 2 Performance Benchmark Review - 30 GPUs Compared
- ASRock Z890 Taichi OCF Review
- Thermaltake TR100 Review
- Zotac GeForce RTX 5070 Ti Amp Extreme Review
- Sapphire Radeon RX 9070 XT Pulse Review
- Acer Predator GM9000 2 TB Review
- Sapphire Radeon RX 9070 XT Nitro+ Review - Beating NVIDIA
- Upcoming Hardware Launches 2025 (Updated Apr 2025)
- PowerColor Radeon RX 9070 Hellhound Review
- MCHOSE L7 Pro Review
Controversial News Posts
- NVIDIA GeForce RTX 5060 Ti 16 GB SKU Likely Launching at $499, According to Supply Chain Leak (175)
- MSI Doesn't Plan Radeon RX 9000 Series GPUs, Skips AMD RDNA 4 Generation Entirely (146)
- Microsoft Introduces Copilot for Gaming (124)
- AMD Radeon RX 9070 XT Reportedly Outperforms RTX 5080 Through Undervolting (119)
- NVIDIA Reportedly Prepares GeForce RTX 5060 and RTX 5060 Ti Unveil Tomorrow (115)
- NVIDIA Sends MSRP Numbers to Partners: GeForce RTX 5060 Ti 8 GB at $379, RTX 5060 Ti 16 GB at $429 (104)
- Nintendo Confirms That Switch 2 Joy-Cons Will Not Utilize Hall Effect Stick Technology (103)
- Over 200,000 Sold Radeon RX 9070 and RX 9070 XT GPUs? AMD Says No Number was Given (100)