 4
4
In Win Dragon Rider Review
Assembly & Finished Looks »A Closer Look - Inside
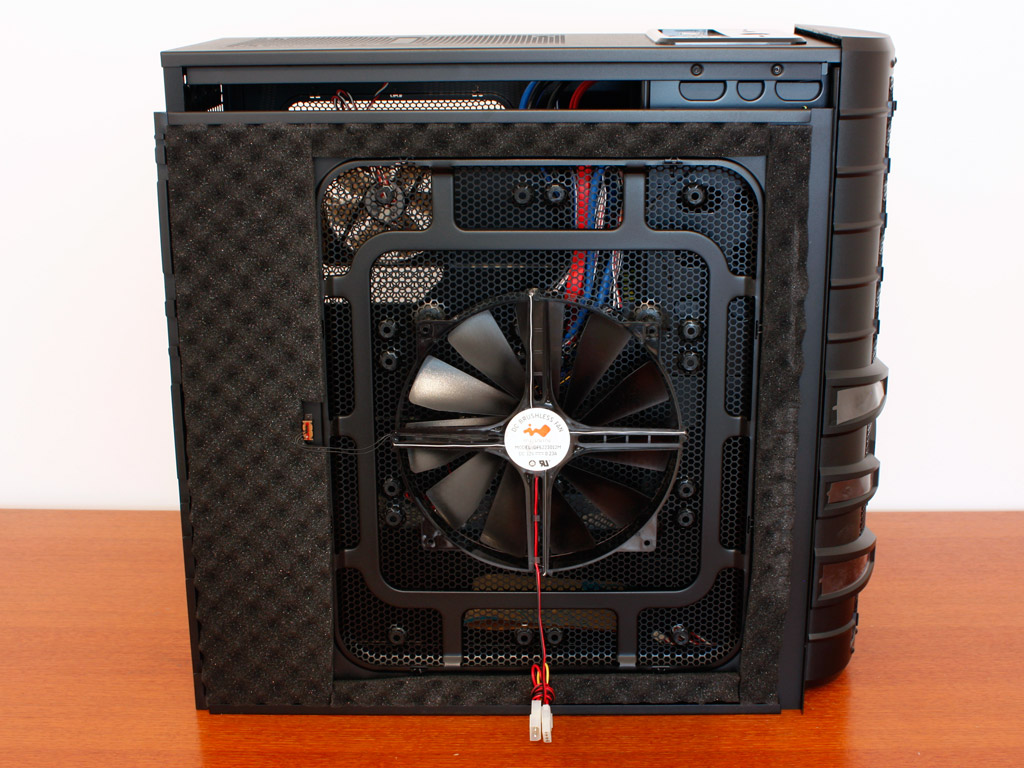
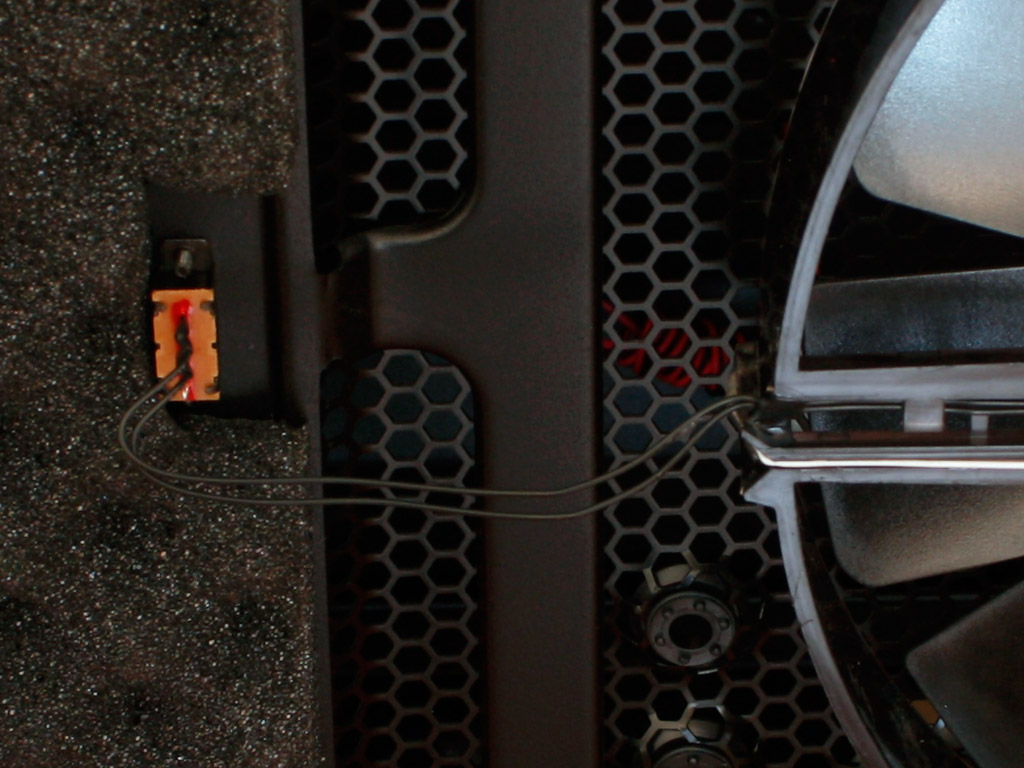

To gain access to the interior, simply remove the thumb screws holding each side panel in place. But before we dive right in, let us take a quick look at both side panels. The main one is actually lined with thick but fairly soft sound dampening material. This may be rather useless because of the very large openings, but that may also be the reason why In Win has installed the material. Two very thin cables run from the fan to the LED switch. I would have liked to see thicker ones, as these seem rather fragile. The other side panel has no sound absorbing layer, but you can clearly see the 120 mm fan which comes equipped with a Molex connector. I would have liked to see a 3 pin fan here, to avoid it running at full speed all the time.
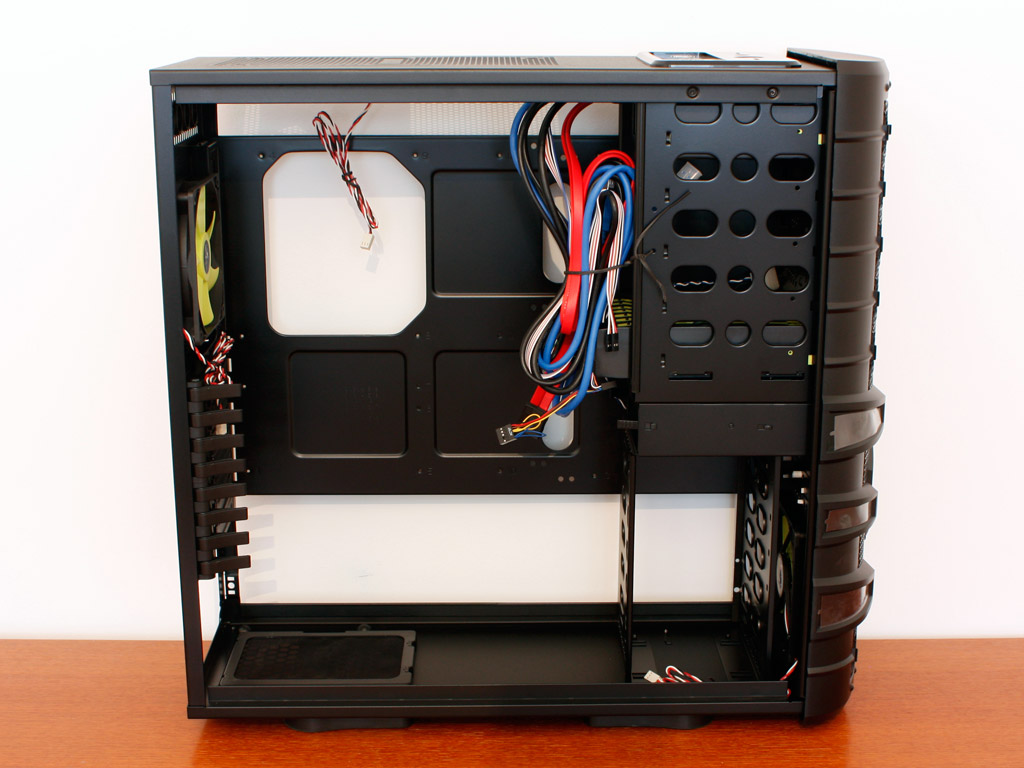

So, now that this is out of the way, let us take a look at the interior. As mentioned before, the entire insides are black as well and there are loads of open areas as the dimensions of the mainboard tray have been kept to a minimum. There is also a very large opening under the CPU area to allow for easily installation of large coolers with a support bracket and to maximize the cooling potential of the side fan.
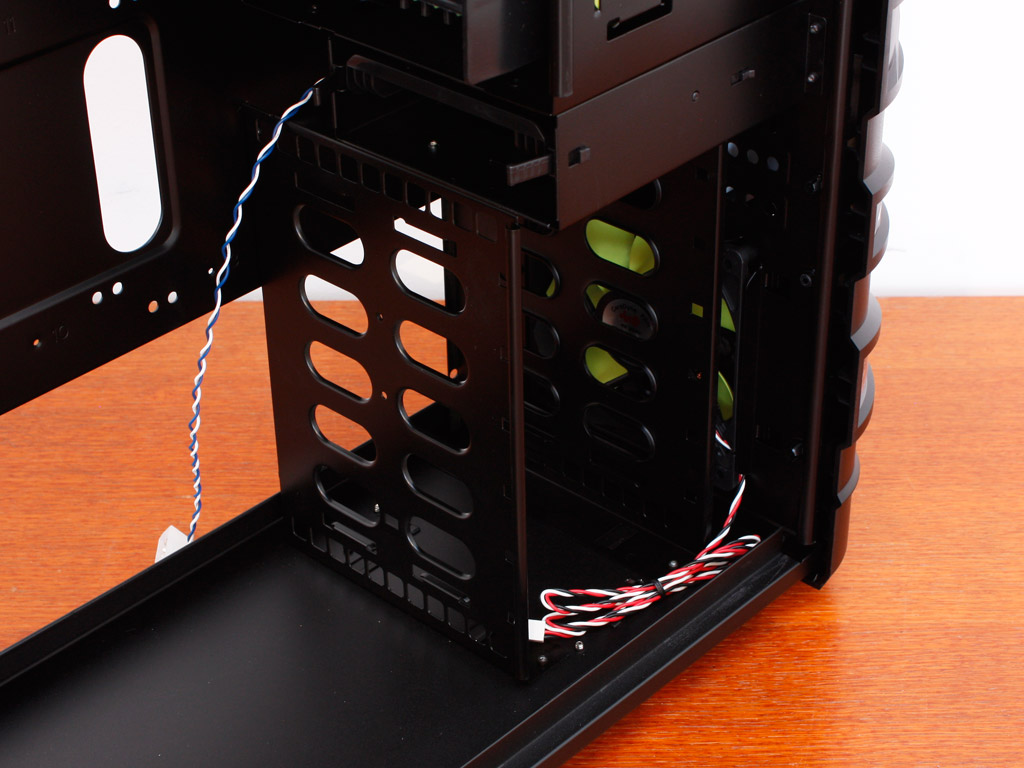
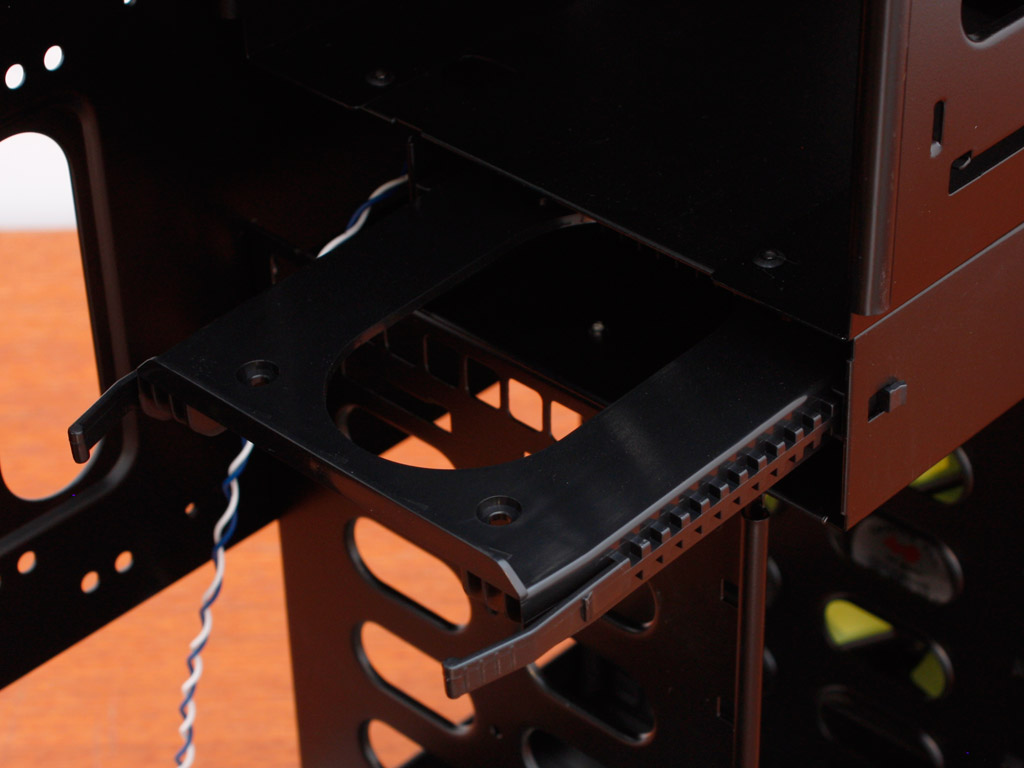
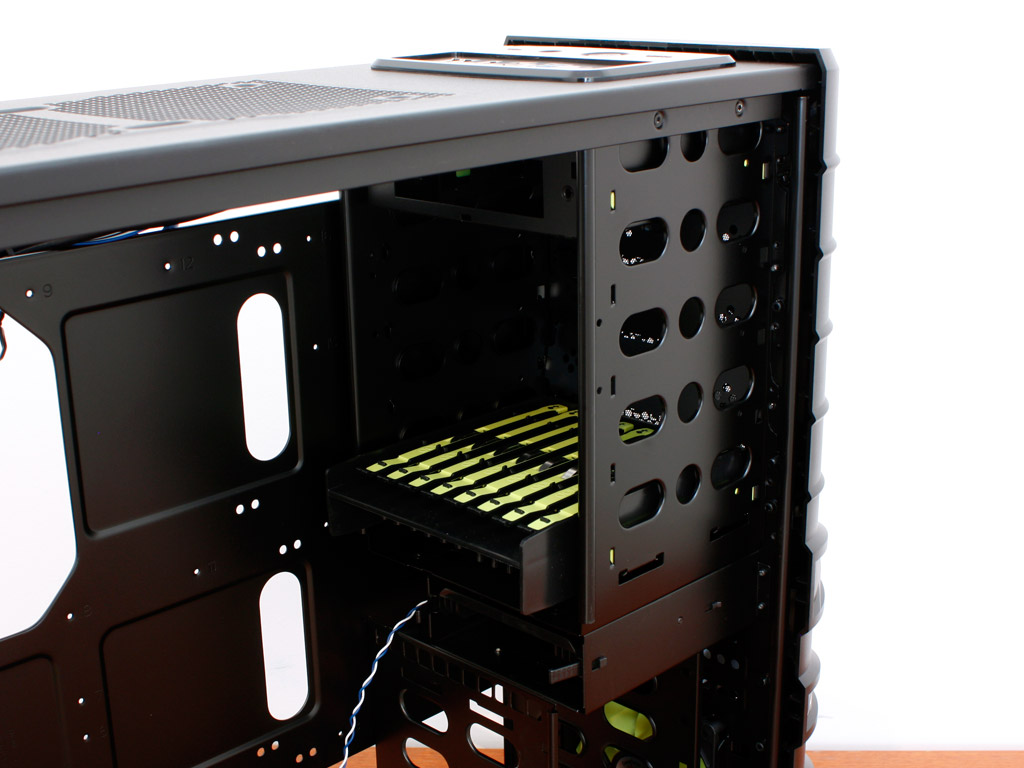
Starting with the front, the Dragon Rider has six hard drive bays, which have been turned 90 degrees, giving you more room for large graphic cards. Above that is a weird little compartment, which In Win has room for a single 2.5 inch drive. This drive sits on a tray and is pushed into place - but more on that during the assembly process. On the very top you will find the five external drive bays. As you can see, the tray with all the bright green rails has been placed here - very cool.

You may also take off the entire front panel of the Dragon Rider by firmly pulling it off. There are no cables attached to it, which makes things easier when wanting to break out the covers of the 5.25 inch bays. As you can see, there is a single intake fan intended to cool the internal drives.
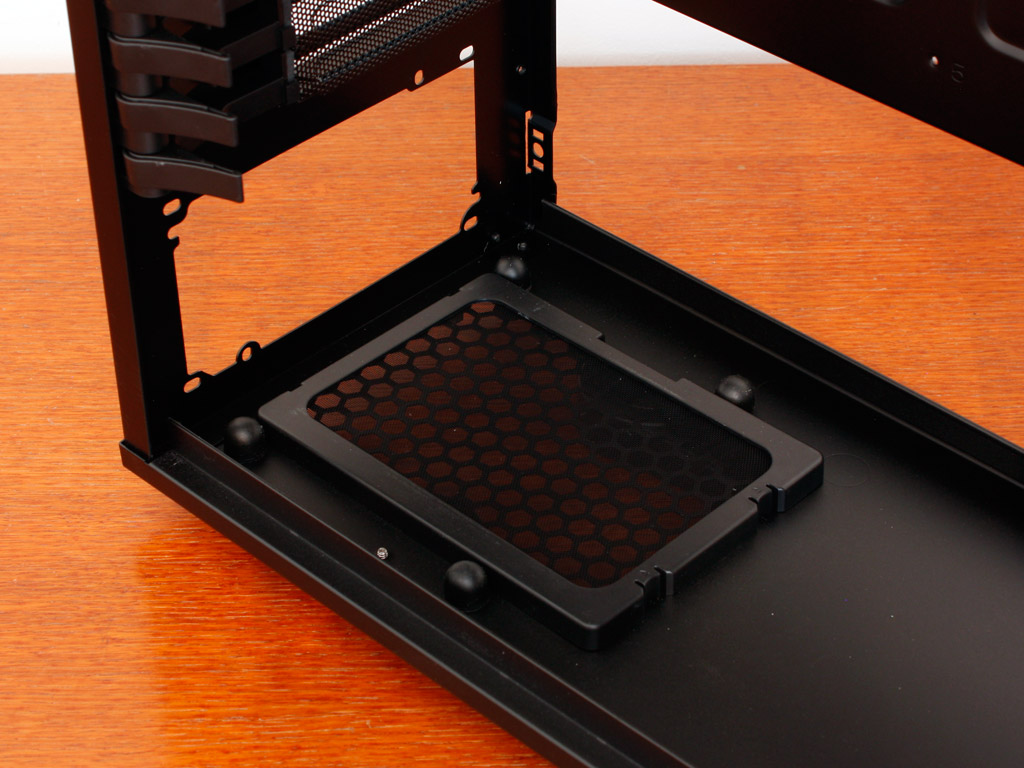


In the rear we have the already mentioned PSU bay on the bottom. There are four little rubber nubs installed here and In Win includes two additional ones in case you loose any of them. Above that are the eight expansion slots with large, plastic locks. We have seen these before and they are the only plastic locking mechanism I would ever use instead of a metal one or traditional screws, but once more - we will get to that during the assembly process. The very top area in the rear holds the 120 mm exhaust fan, which actually ships with a 3-pin mainboard header.
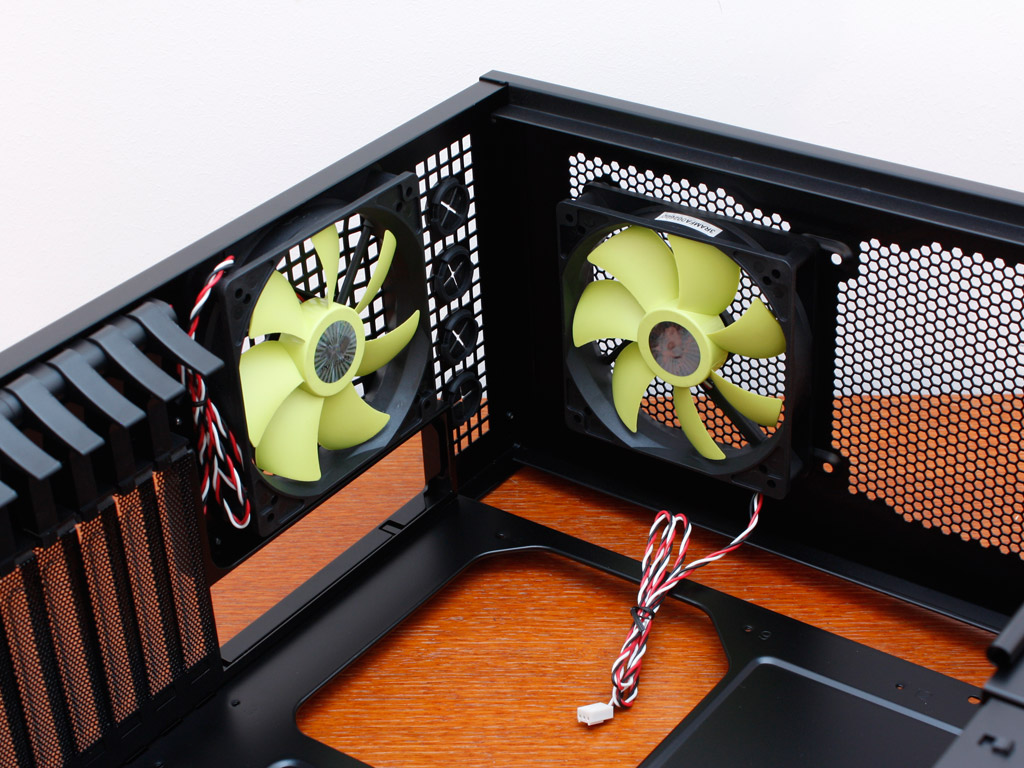
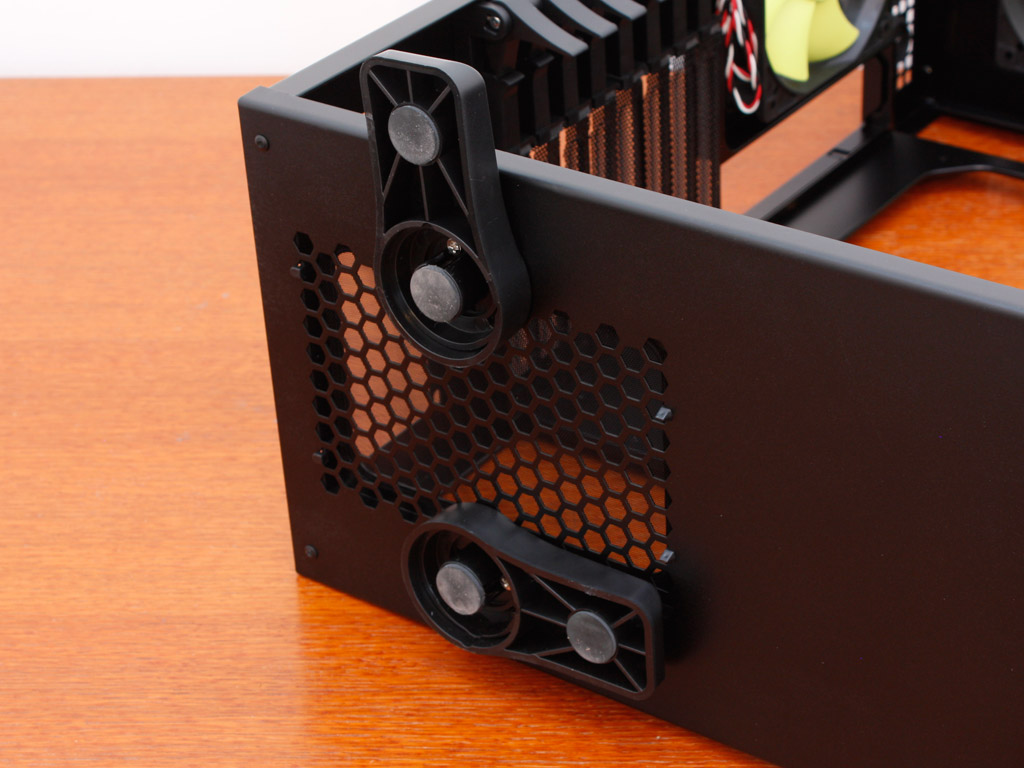
The top fan also comes with a 3 pin mainboard connector and also pushes hot air out the top of the chassis, so the CPU is covered from two sides. Instead of using rubber feet, In Win has equipped the Dragon Rider with large plastic ones. These may be flipped out to add further stability to the entire case. Looks like In Win has really tried to utilize useful implementations of all the various aspects within the case instead of cheaper, less user friendly options.
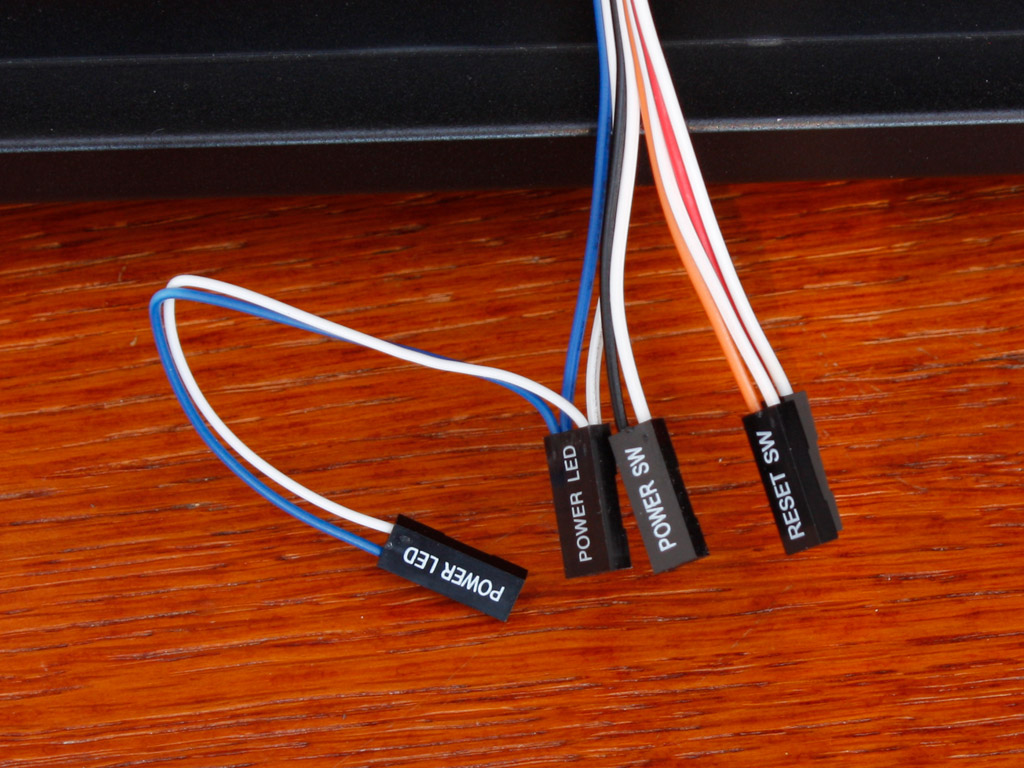


If there is one aspect I am not so happy about, it would be the I/O and other cables within the case. While they are of the standard variety and will work flawlessly with any modern mainboard, they are not black. This is certainly no deal breaker, but it would have been great to end on a high note before beginning the assembly process.
Feb 1st, 2025 00:02 EST
change timezone
Latest GPU Drivers
New Forum Posts
- New CPU or new MB/DDR5 (3)
- Hogwarts Legacy (18)
- What are you playing? (22728)
- Asus PCE-AC55BT can I replace the WLAN card? (4)
- Someone run games on AMD BC-250 under Linux * Cut down PS5 die to 6 CPU cores 24 GPU cores for use in crypto mining (63)
- NVIDIA RTX owners only - your opinion on DLSS Image quality (439)
- In regards to the 5090 "launch" a message to Nvidia, from a long time supporter (56)
- Will you buy a RTX 5090? (311)
- Ocassional stuttering and weird audio popping crackling (4)
- I need bios for XFX SWFT 319 RX 6800XT (14)
Popular Reviews
- NVIDIA GeForce RTX 5080 Founders Edition Review
- NVIDIA DLSS 4 Transformer Review - Better Image Quality for Everyone
- Galax GeForce RTX 5080 1-Click OC Review
- ASUS GeForce RTX 5090 Astral OC Review - Astronomical Premium
- MSI GeForce RTX 5080 Vanguard SOC Review
- ASUS GeForce RTX 5080 Astral OC Review
- NVIDIA GeForce RTX 5090 Founders Edition Review - The New Flagship
- Gigabyte GeForce RTX 5080 Gaming OC Review
- MSI GeForce RTX 5080 Suprim SOC Review
- MSI GeForce RTX 5090 Suprim SOC Review
Controversial News Posts
- NVIDIA 2025 International CES Keynote: Liveblog (470)
- AMD Debuts Radeon RX 9070 XT and RX 9070 Powered by RDNA 4, and FSR 4 (349)
- AMD is Taking Time with Radeon RX 9000 to Optimize Software and FSR 4 (251)
- AMD Denies Radeon RX 9070 XT $899 USD Starting Price Point Rumors (238)
- AMD Radeon RX 9070 XT & RX 9070 Custom Models In Stock at European Stores (226)
- NVIDIA GeForce RTX 5090 Features 575 W TDP, RTX 5080 Carries 360 W TDP (217)
- New Leak Reveals NVIDIA RTX 5080 Is Slower Than RTX 4090 (214)
- AMD's Radeon RX 9070 Launch Faces Pricing Hurdles (175)