 28
28
In Win S-Frame Review
Value & Conclusion »Assembly

Installing the motherboard is done by traditional means, with the included spacers and screws. It would have been nice of In Win to include black thumbscrews to add that tiny bit more value and uniqueness to the chassis. The same goes for various other screws used for other areas of the assembly process, but instead of mentioning it every time, consider this to be my last statement on the matter.
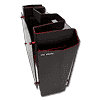
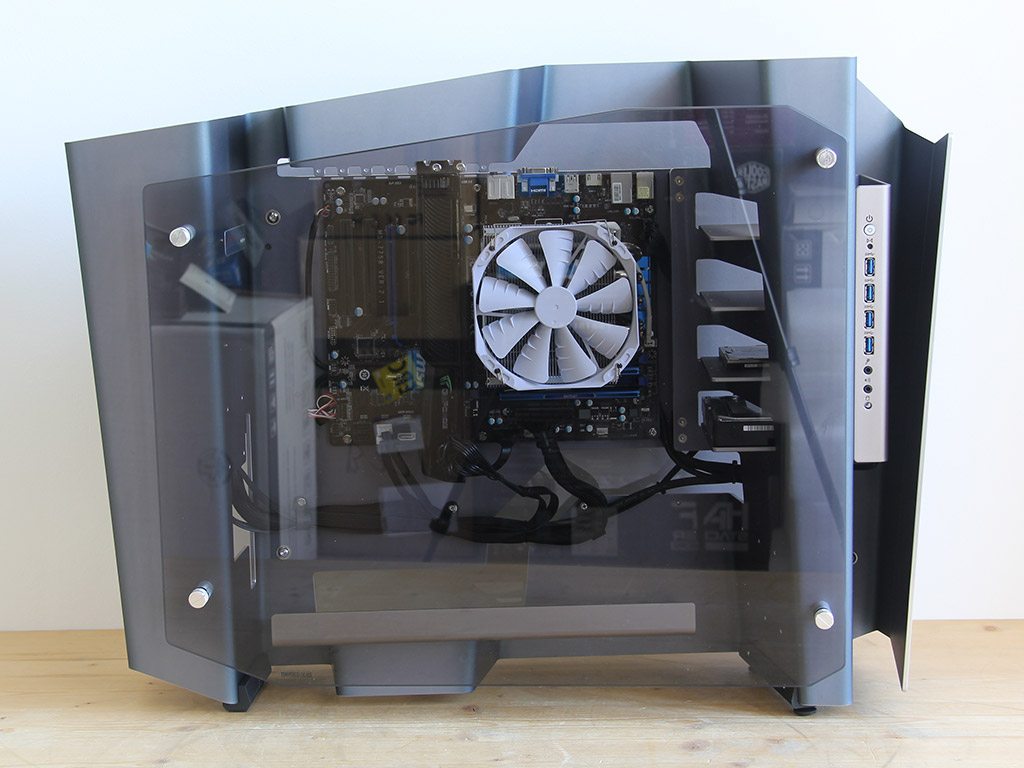
As the board is turned 90 degrees, the graphics cards face upward, so you are forced to run cables to the top of the case. While there is no issue in connecting DVI/HDMI cables to graphics cards, or other expansion units, the way things are folded puts some of the soldered on motherboard connectors underneath the aluminum going across the top, which makes connecting things there a bit more complicated.
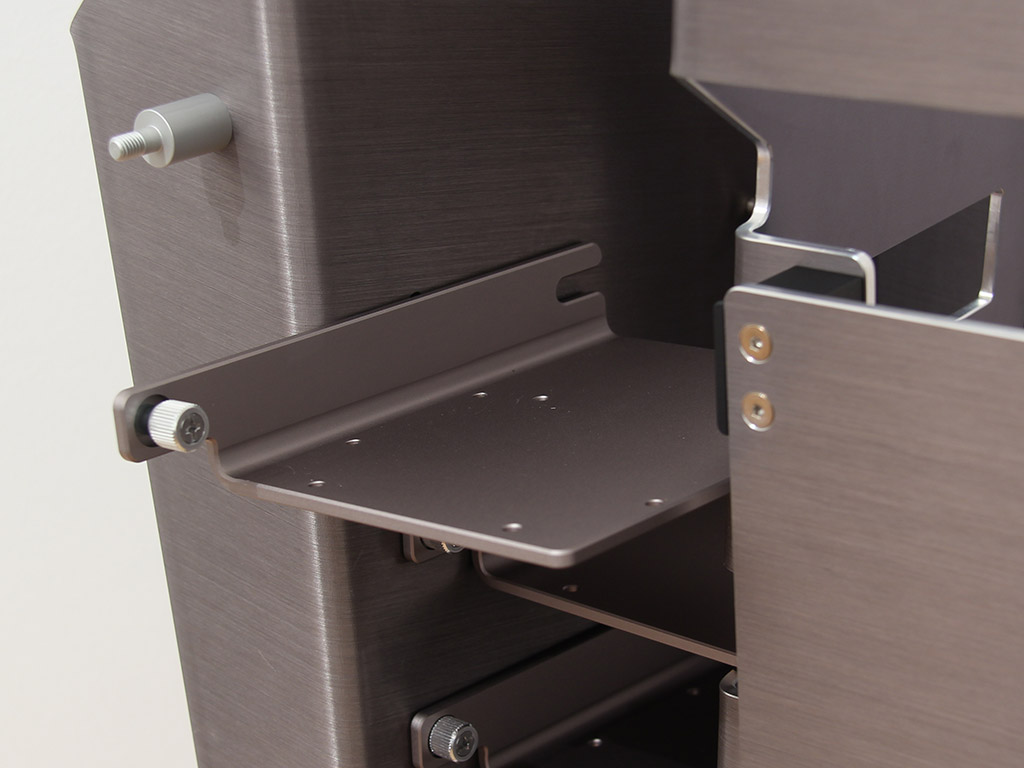
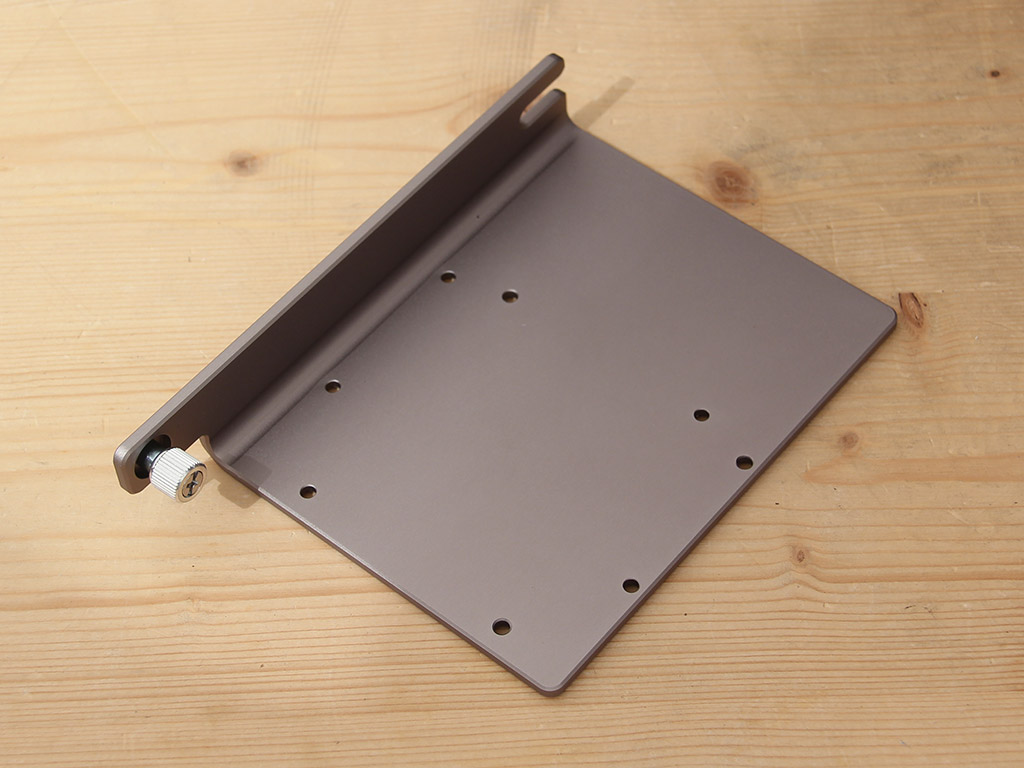
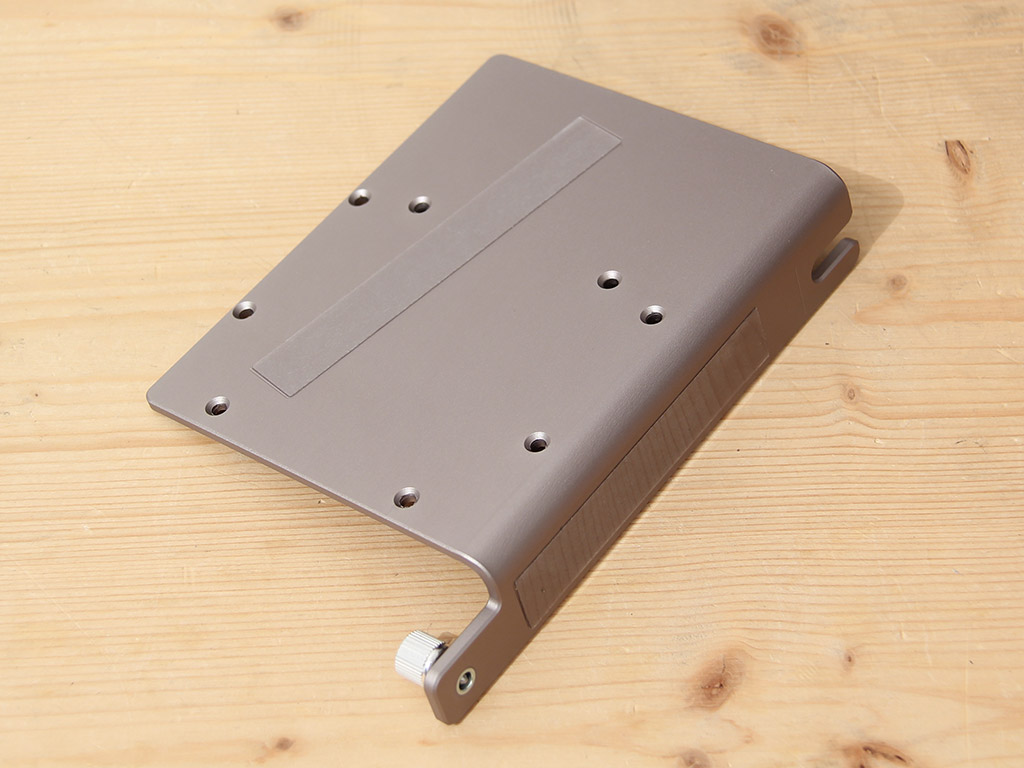
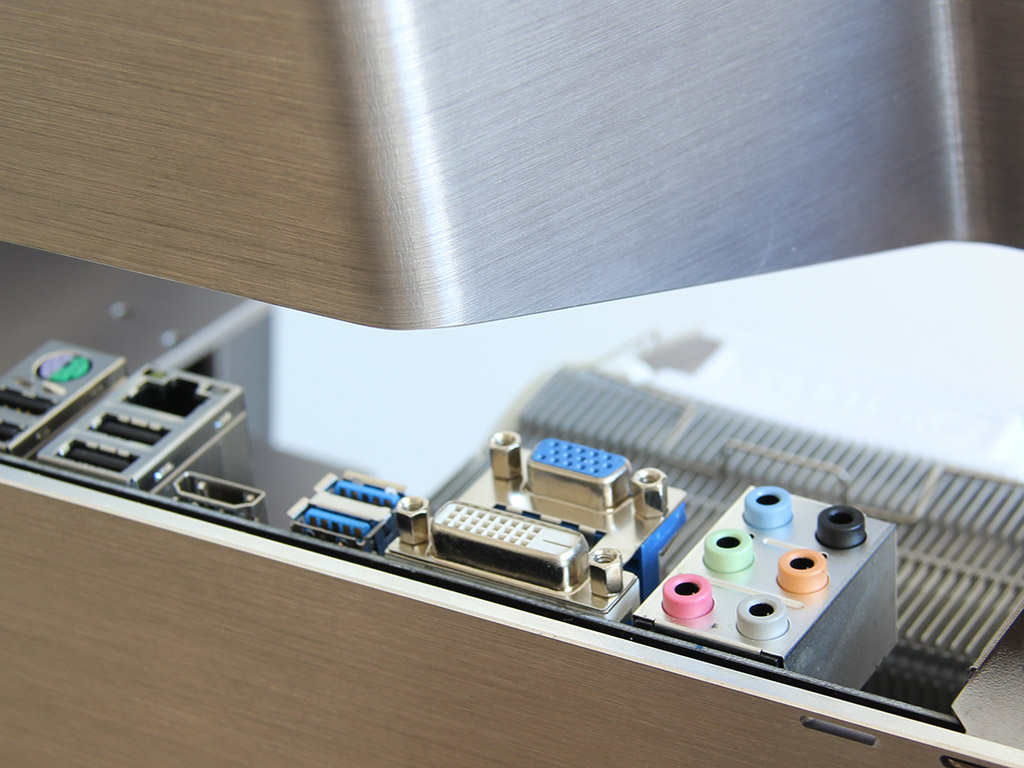
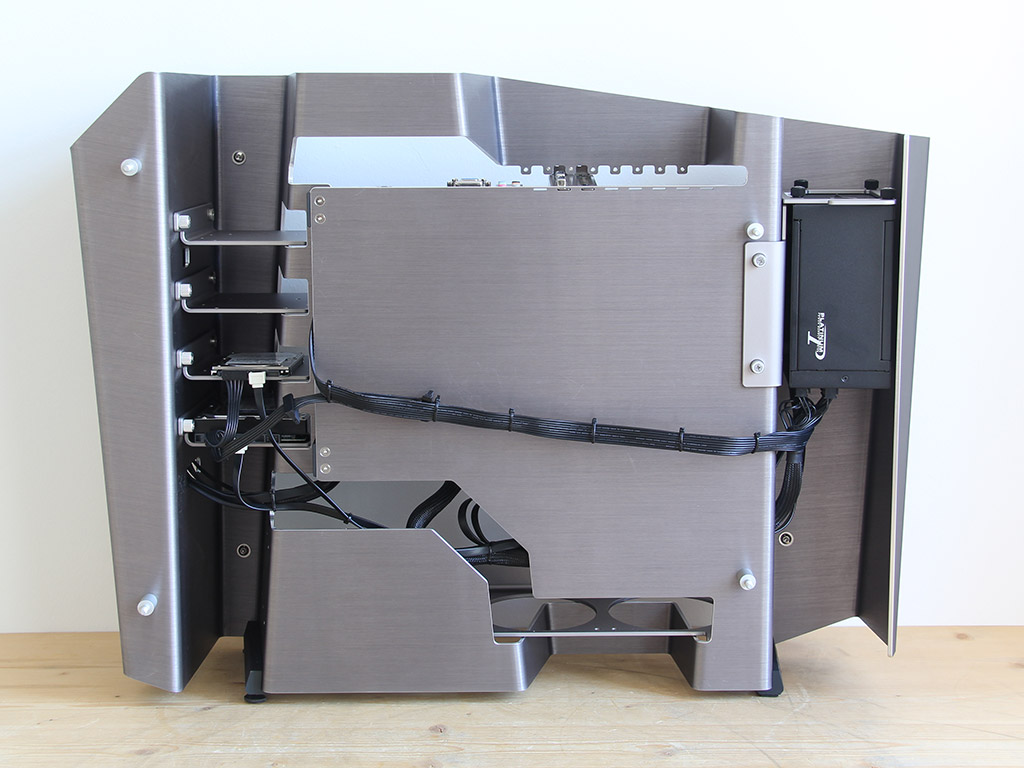
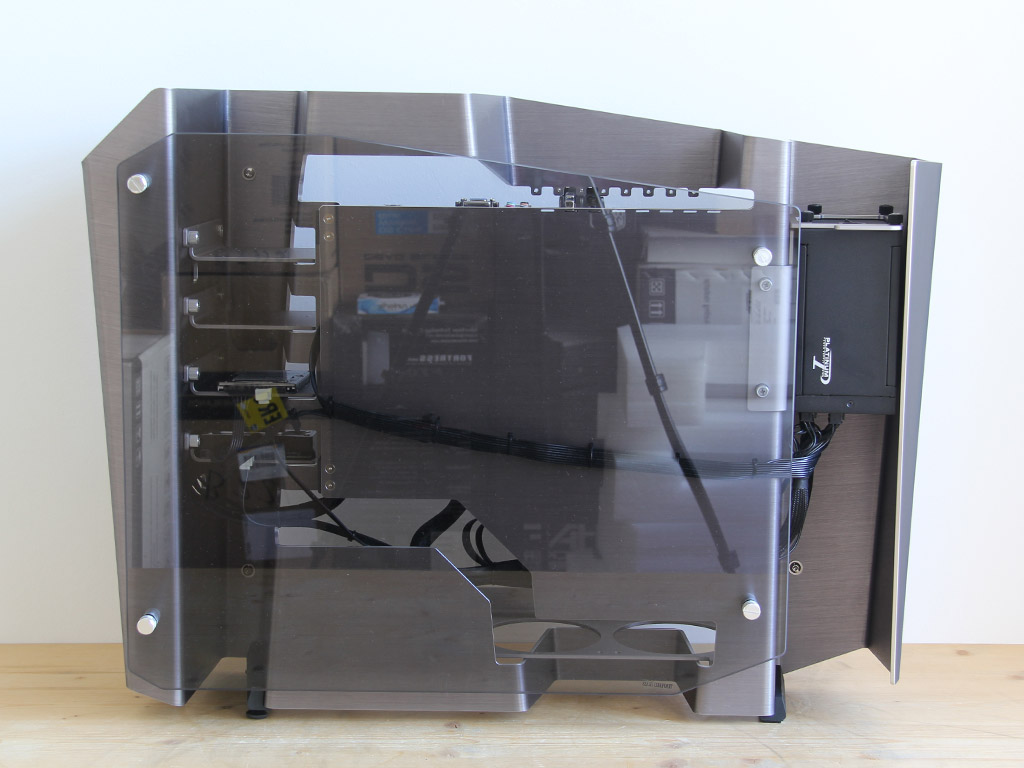
Each of the hard-drive trays can be removed by unscrewing a single spring-loaded thumbscrew. Once released, simply pull the tray out of the case. In Win placed plastic strips on all areas which make direct contact with the chassis, so you should not have to worry about any vibrations passing on to the chassis. Each tray comes equipped with two sets of mounting holes, which allows you to install both 2.5'' and 3.5" hard drive varients.

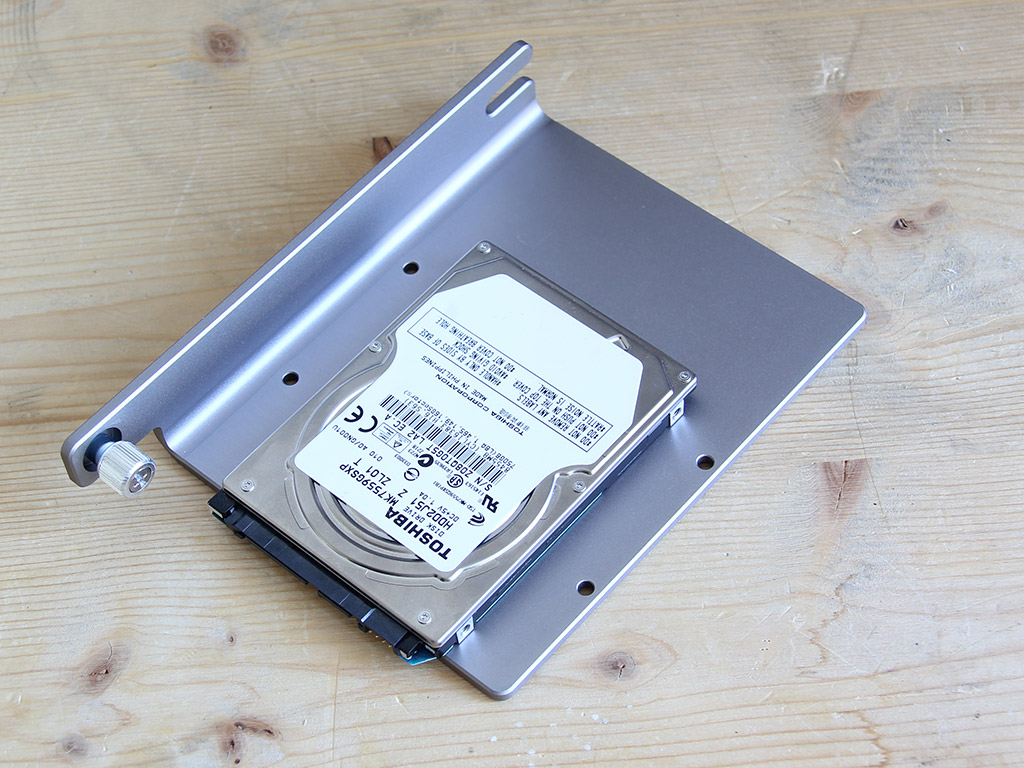
Attaching such drives requires a screwdriver with which to sink the included screws into each storage device's underside. 2.5" units are placed into the tray's center and all drive-specific connectors face away from the chassis, toward the S-Frame's right side.
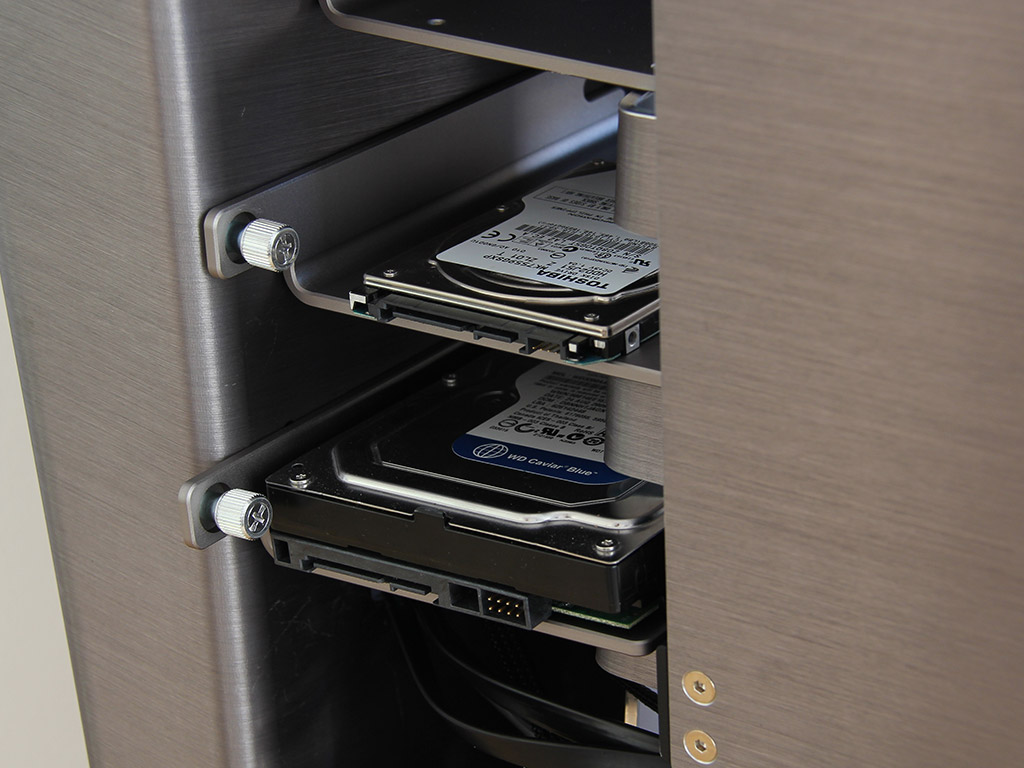
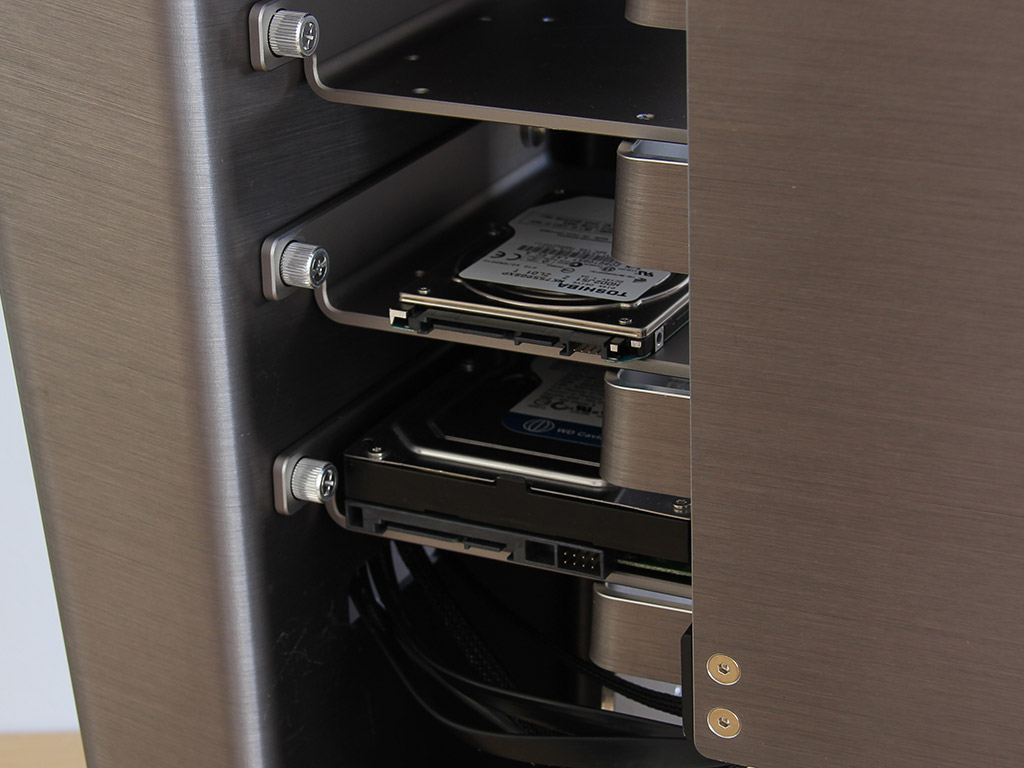
Once filled, simply slide each tray back onto the fold within the S-Frame, screwing the thumbscrew back into place. You won't have any issue securing these trays properly because of their firmly attached screw.
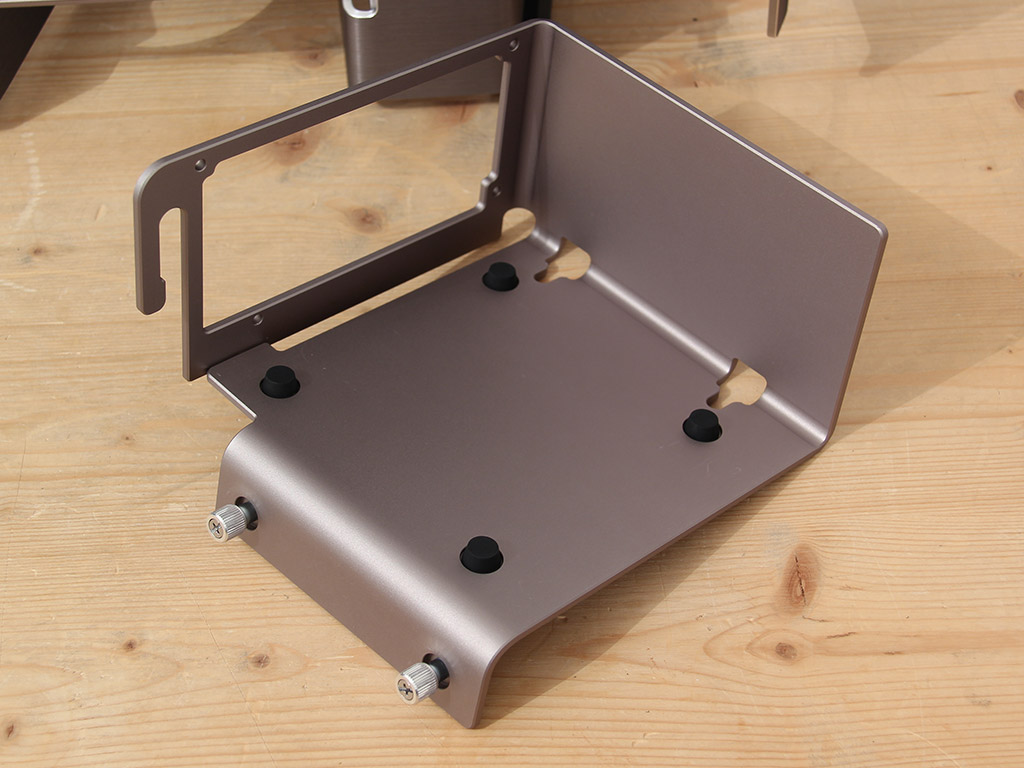
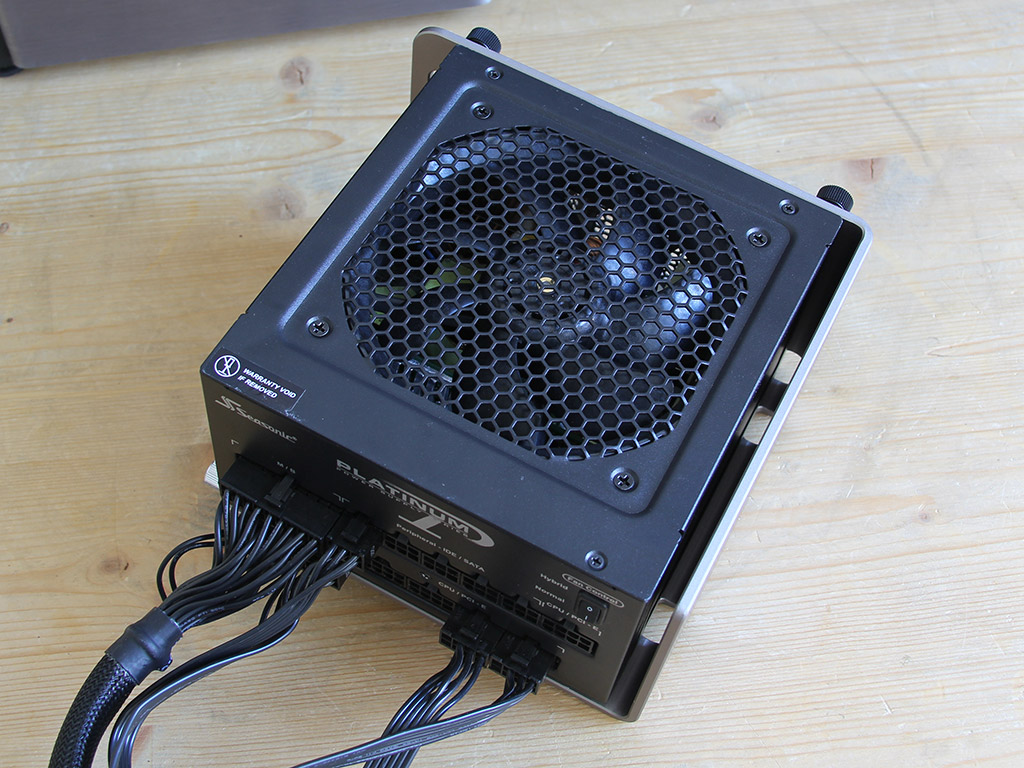
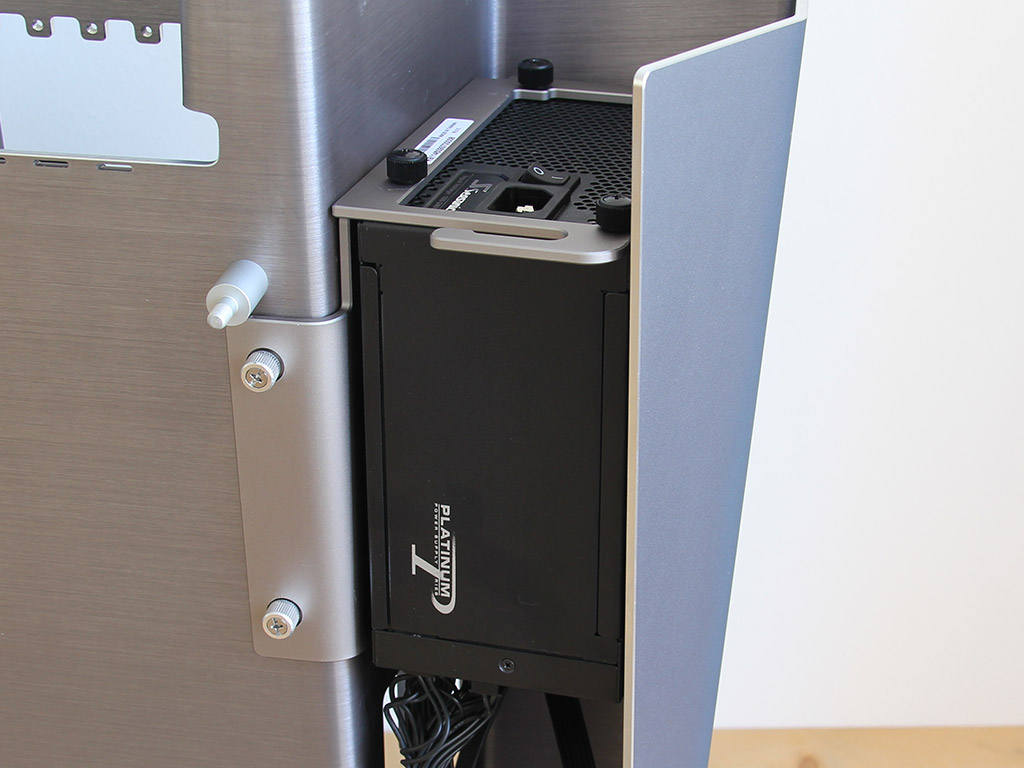
Installing the PSU requires you to remove the bracket, which, big surprise, is also made of the same 4-mm-thick aluminum as all other metal elements. There are four rubber mounts on which a PSU will rest, so there should be no issues with vibrations from this element either. Interestingly enough, In Win actually includes four large, black thumb screws for the power supply. Once attached to the bracket, simply slide it back into place to screw the two spring-loaded thumbscrews down.
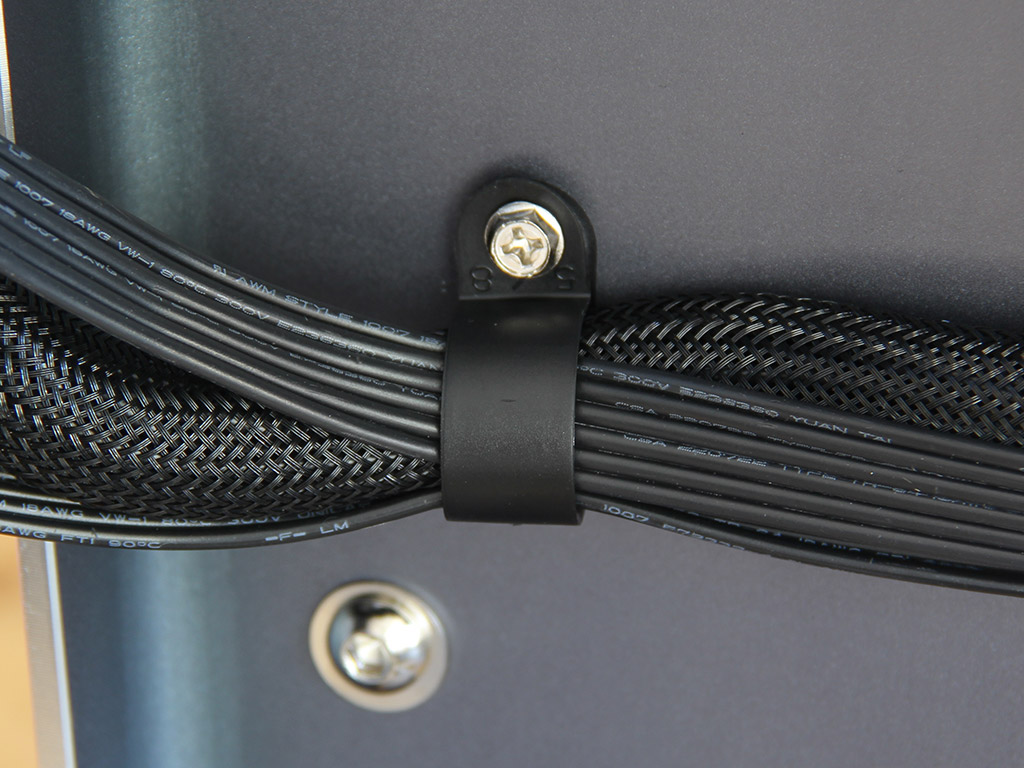
As with the D-Frame, you get a few plastic loops with which to nicely route cables within the chassis. These loops are easily attached to the main tray. I used a few of these to route the PSU, GPU and SATA data cables across the length of the S-Frame in a nice and clean fashion.
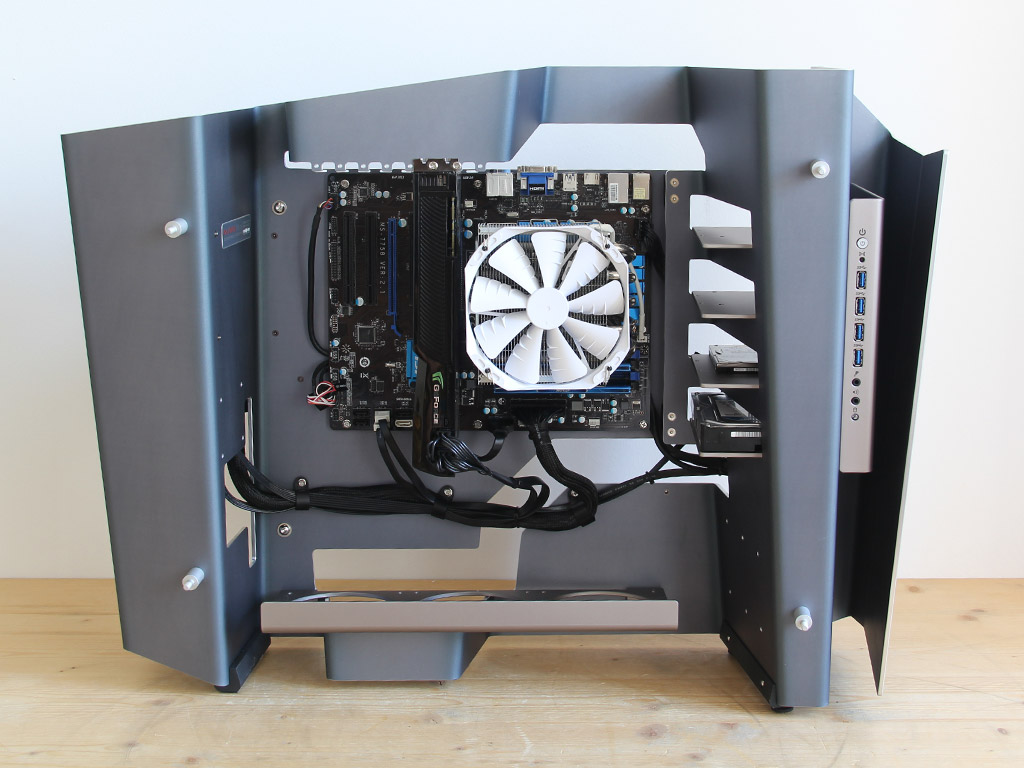
With everything in place, the S-Frame actually makes a surprisingly clean impression. Granted, I did go the extra mile to route all front-panel I/O cables below the motherboard so you would not see these anywhere. The other cables were pulled straight across to the front from the back to ensure they wouldn't interfere. Look closely and you can see that I did not use any of In Win's provided extension cables as they were simply not needed in my build.
Finished Looks
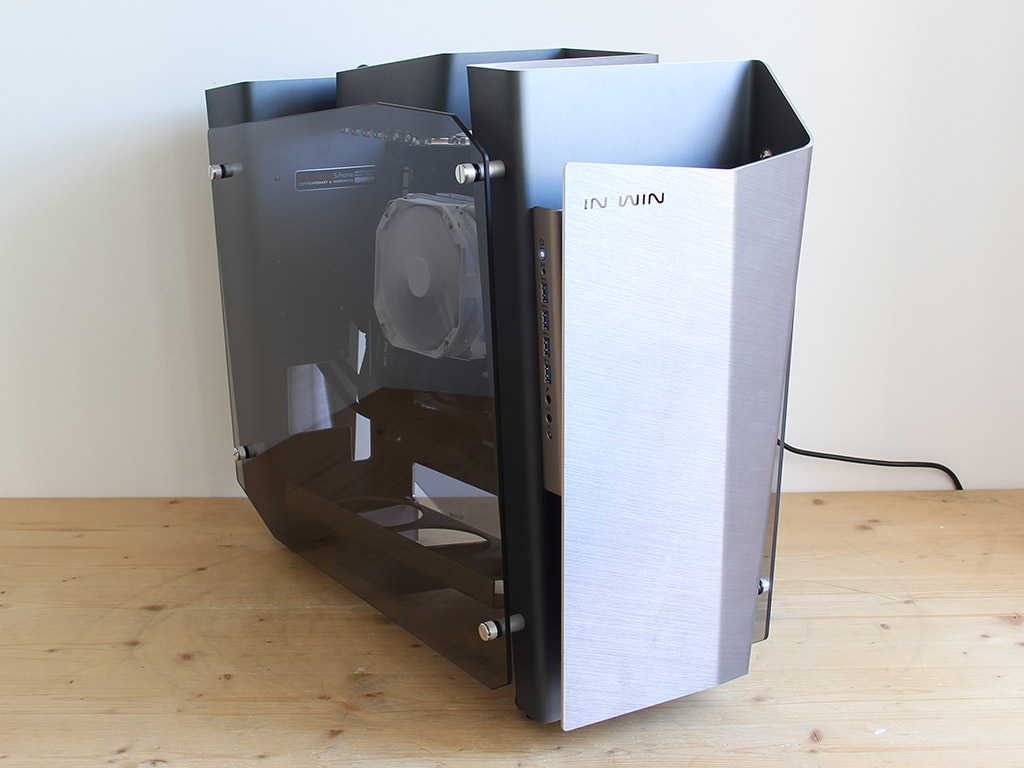
With the glass panels re-applied, the S-Frame makes a pretty damn sexy impression. Even filled with hardware, the chassis itself is intricate enough to really draw your attention away from the hardware. Thanks to the side panels' slight gray tone, none of the black cables really jump out at you while looking at the chassis.
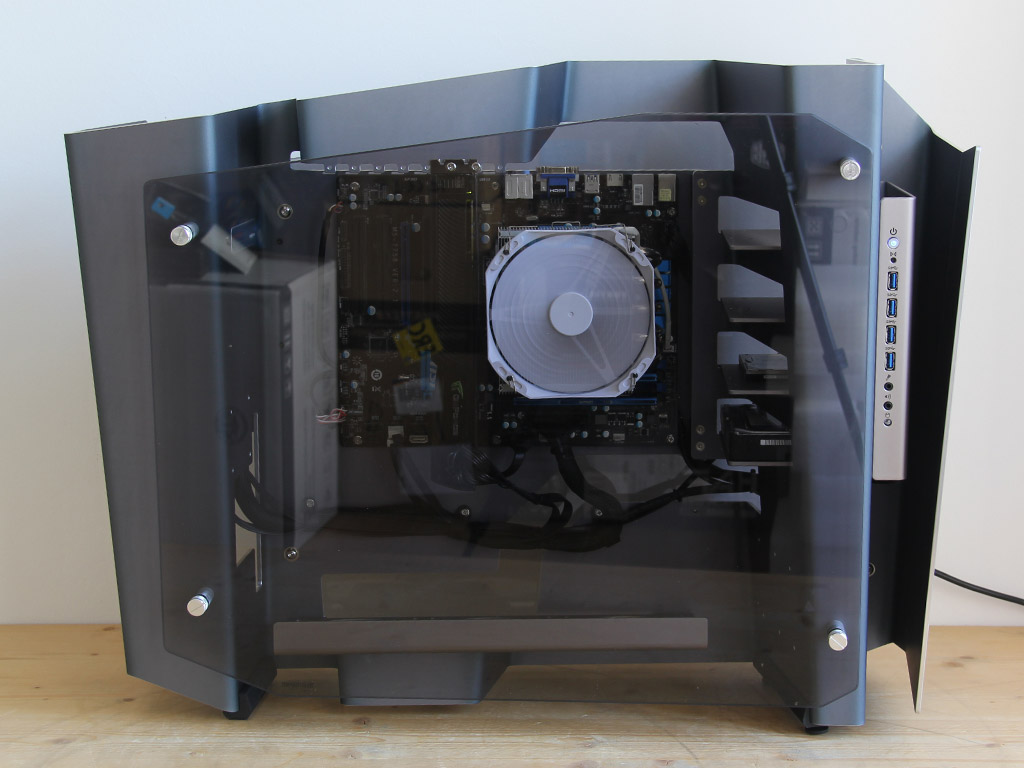
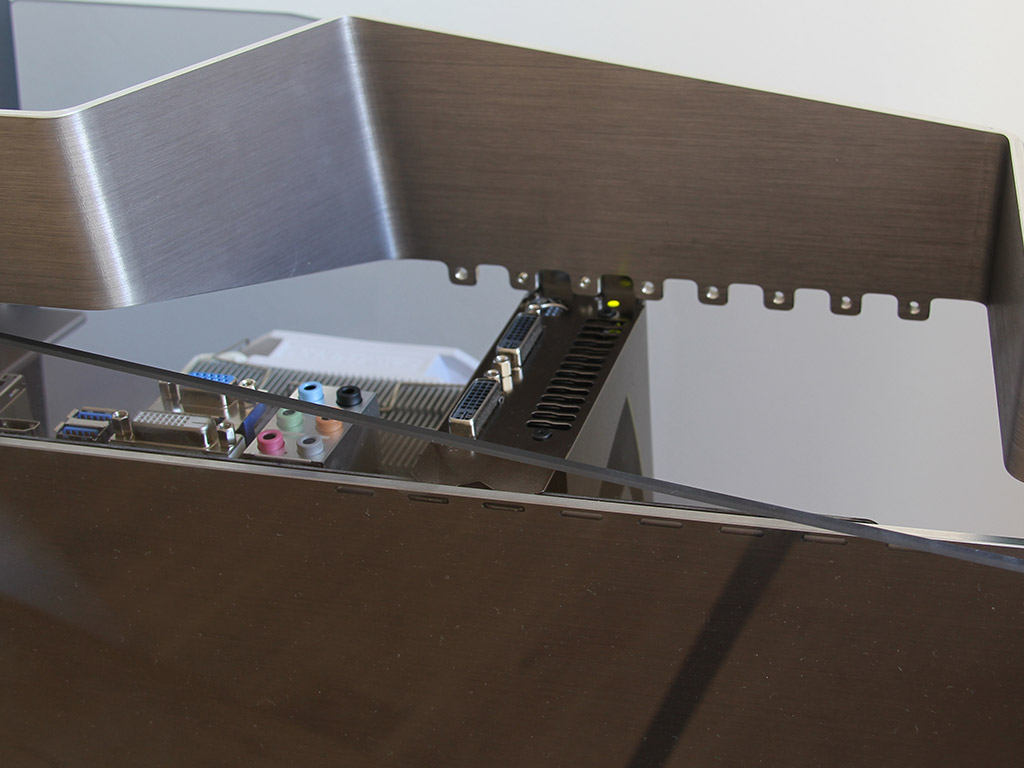
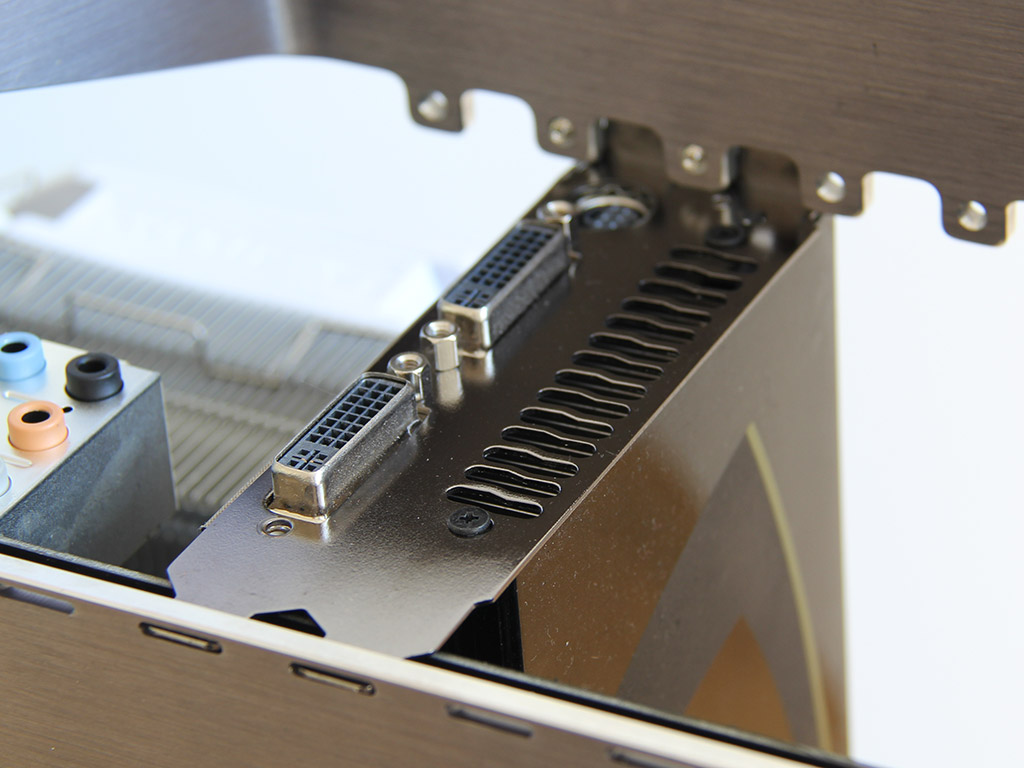
All the connectors in the top are reachable, but you should be careful as all of them are exposed. Those with small children should really make sure such a PC out of reach. You would not want your kids to get hurt or short the system because they had the great idea to stick a steel fork into your running system.
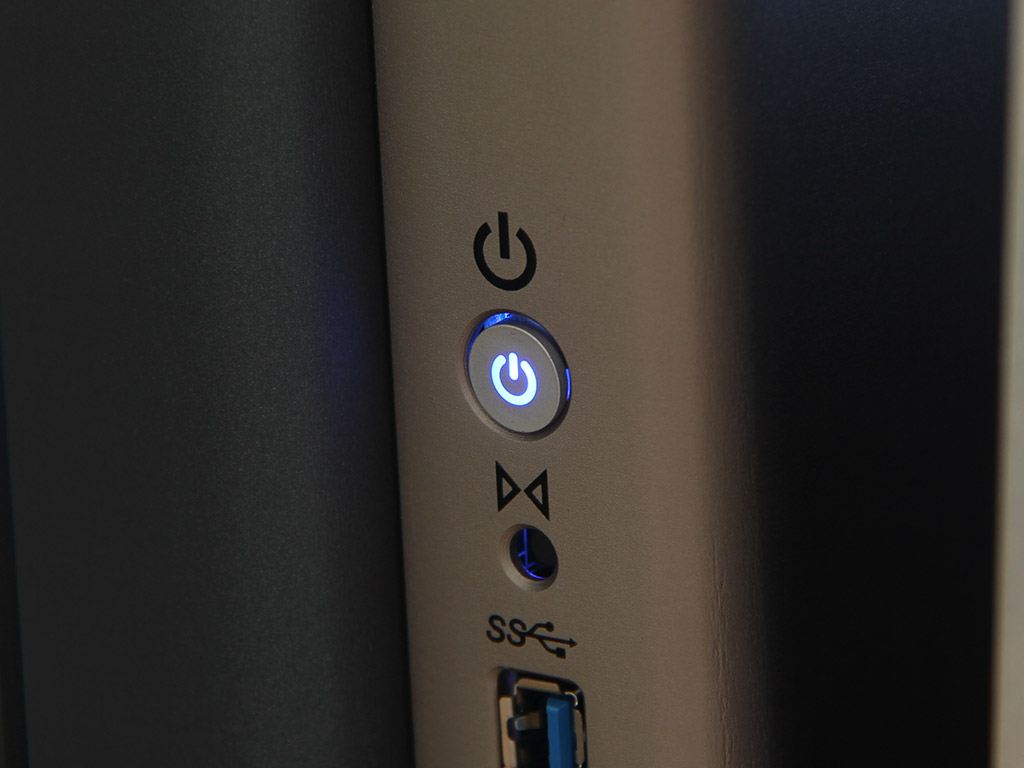
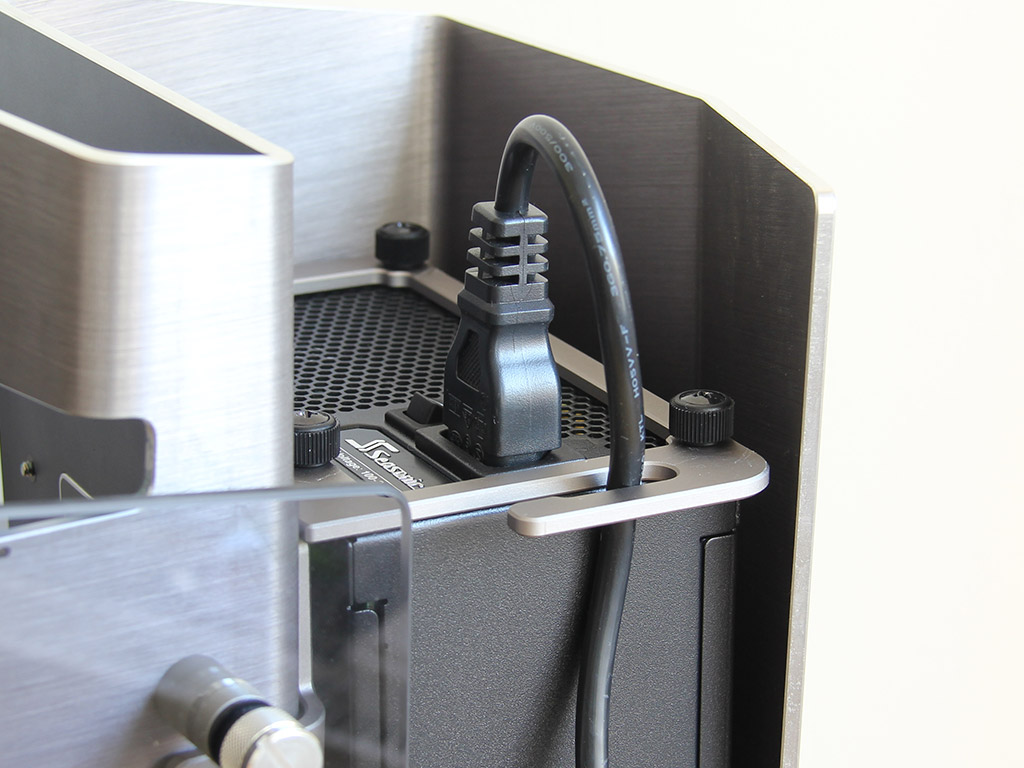
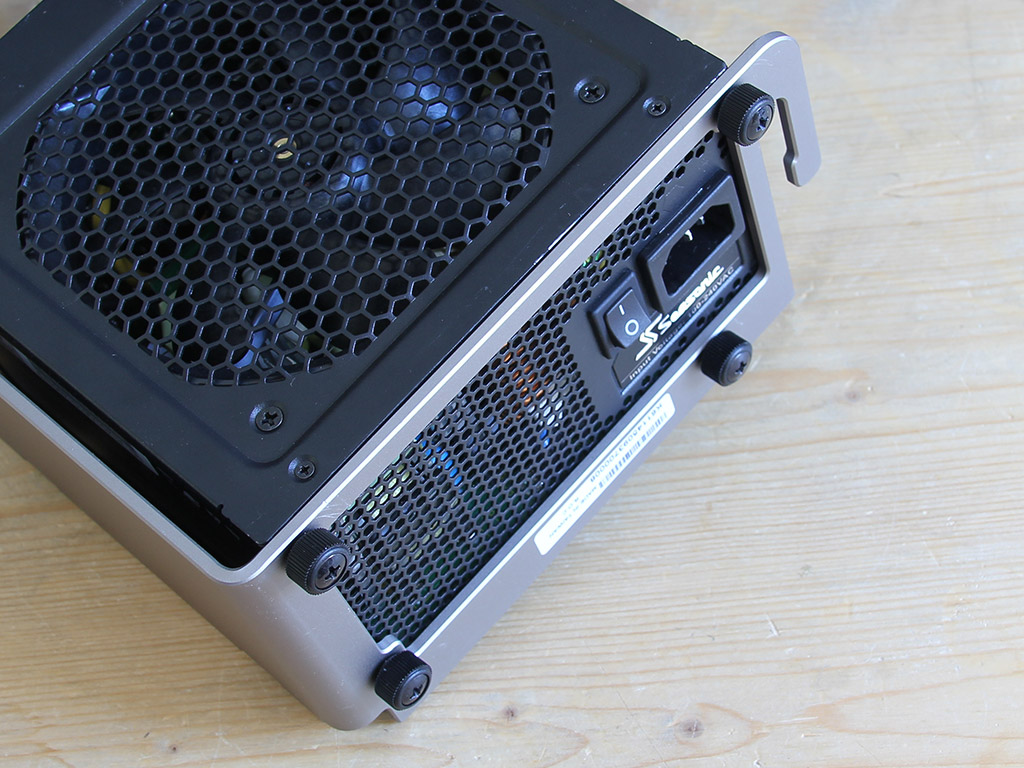
The embedded power LED lights up blue once the S-Frame has been turned on. Last but not least, there is a little hook on the PSU bracket, which allows you to route any cable downward easily, so it won't hang off the power supply loosely.
Apr 22nd, 2025 22:52 CDT
change timezone
Latest GPU Drivers
New Forum Posts
- Pls help me decide on a stop-gap upgrade (CAD currency) (31)
- Which is the best replacement for Microsoft Office? (1)
- Deal or no Deal Threadripper WX? (41)
- How to move partitions for free? (W11) (4)
- I dont understand the phone OS world..... (16)
- Are the 8 GB cards worth it? (31)
- How do I get rid of the extra vertical space Linux Ubuntu forces on me? i want more vertical space while browsing the web (1)
- To distill or not distill what say ye? (57)
- am i alone to still using an asus p6t motherboard in the world ? (98)
- RTX5000 Series Owners Club (189)
Popular Reviews
- ASRock X870E Taichi Lite Review
- ASUS GeForce RTX 5060 Ti TUF OC 16 GB Review
- NVIDIA GeForce RTX 5060 Ti 8 GB Review - So Many Compromises
- NVIDIA GeForce RTX 5060 Ti PCI-Express x8 Scaling
- Upcoming Hardware Launches 2025 (Updated Apr 2025)
- Sapphire Radeon RX 9070 XT Pulse Review
- Sapphire Radeon RX 9070 XT Nitro+ Review - Beating NVIDIA
- Palit GeForce RTX 5060 Ti Infinity 3 16 GB Review
- MSI GeForce RTX 5060 Ti Gaming OC 16 GB Review
- AMD Ryzen 7 9800X3D Review - The Best Gaming Processor
Controversial News Posts
- NVIDIA GeForce RTX 5060 Ti 16 GB SKU Likely Launching at $499, According to Supply Chain Leak (182)
- NVIDIA Sends MSRP Numbers to Partners: GeForce RTX 5060 Ti 8 GB at $379, RTX 5060 Ti 16 GB at $429 (127)
- NVIDIA Launches GeForce RTX 5060 Series, Beginning with RTX 5060 Ti This Week (115)
- Nintendo Confirms That Switch 2 Joy-Cons Will Not Utilize Hall Effect Stick Technology (105)
- Nintendo Switch 2 Launches June 5 at $449.99 with New Hardware and Games (99)
- Sony Increases the PS5 Pricing in EMEA and ANZ by Around 25 Percent (85)
- NVIDIA PhysX and Flow Made Fully Open-Source (77)
- Windows Notepad Gets Microsoft Copilot Integration (75)