 3
3
Lancool Metal Boned K6 Review
Assembly & Finished Looks »A Closer Look - Inside
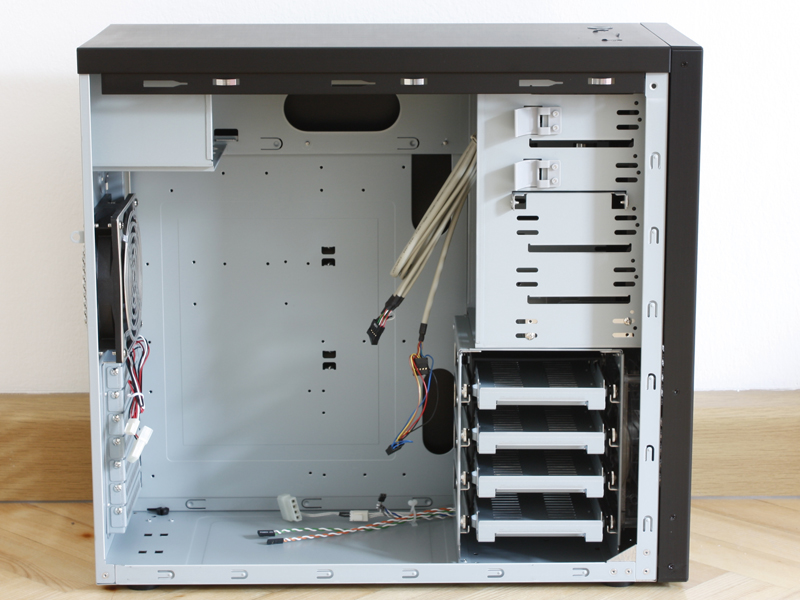
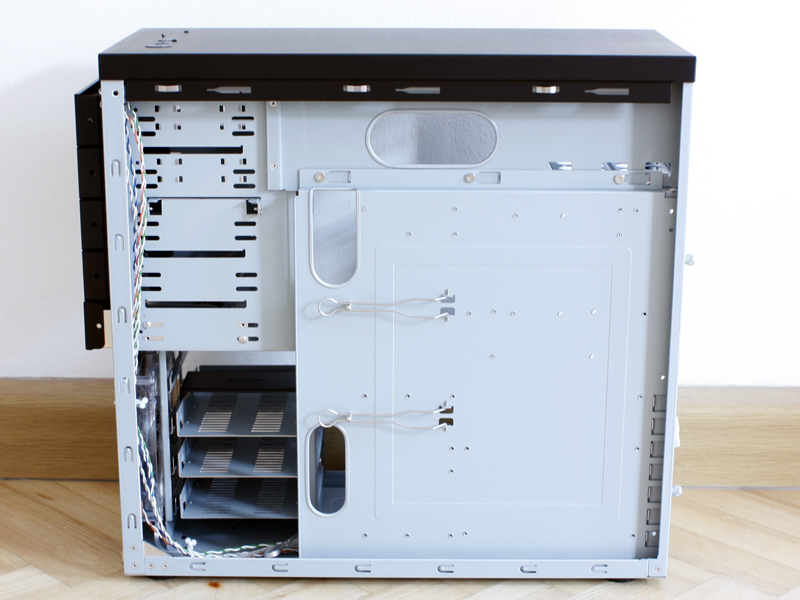
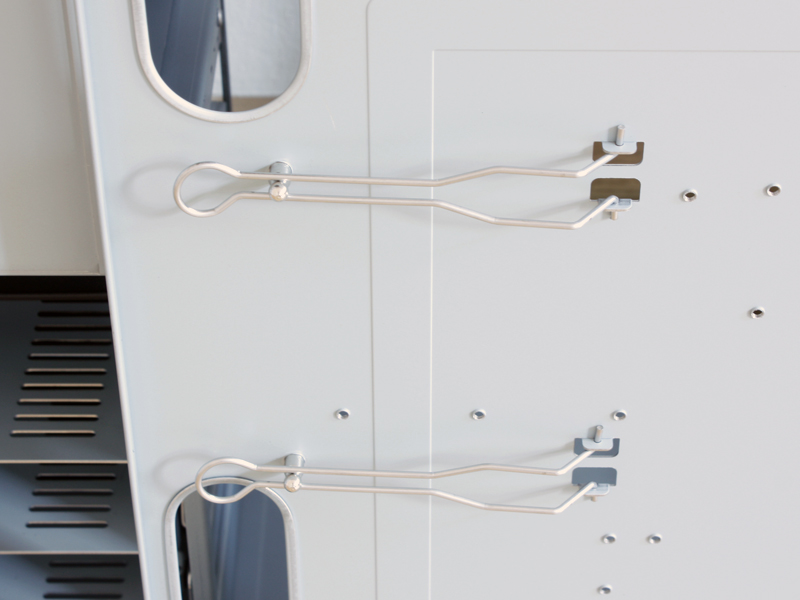
To gain access to the insides, you have to remove two thumb screws. The general internal layout of the Metal Boned K6 is nothing out of the ordinary, but each area holds a few surprises. The other side of the chassis looks similar to that of the K7 and also features the two large clips to aid in cable management.
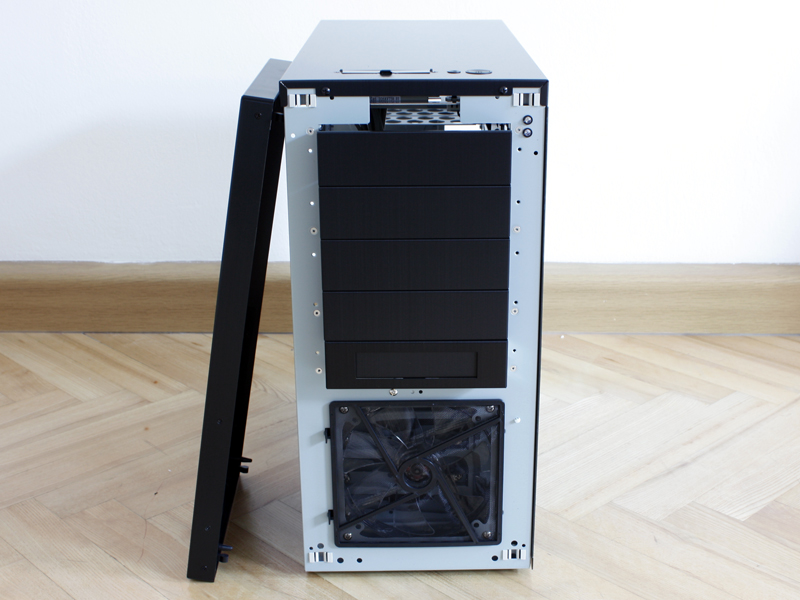

You can also remove the front of the chassis by firmly pulling at the opening of the bottom. The front 140 mm fan is covered by a removable and washable dust filter. The mainboard tray is removable by simply unscrewing two thumb screws. This tray is identical to that found in the K7 and while it does serve its purpose, you will not be able to mount large CPU coolers outside of the chassis and place the filled tray back into the K6. Such coolers will get in the way of the upper portion of the chassis.
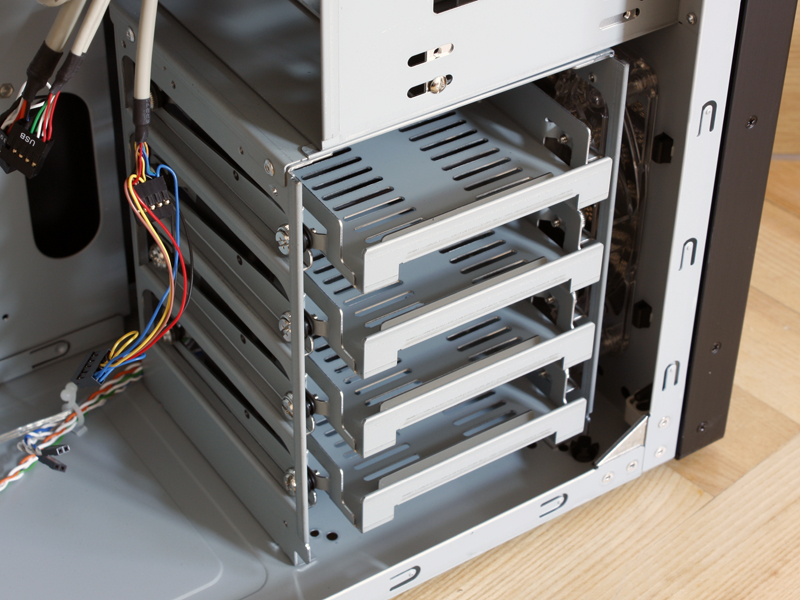
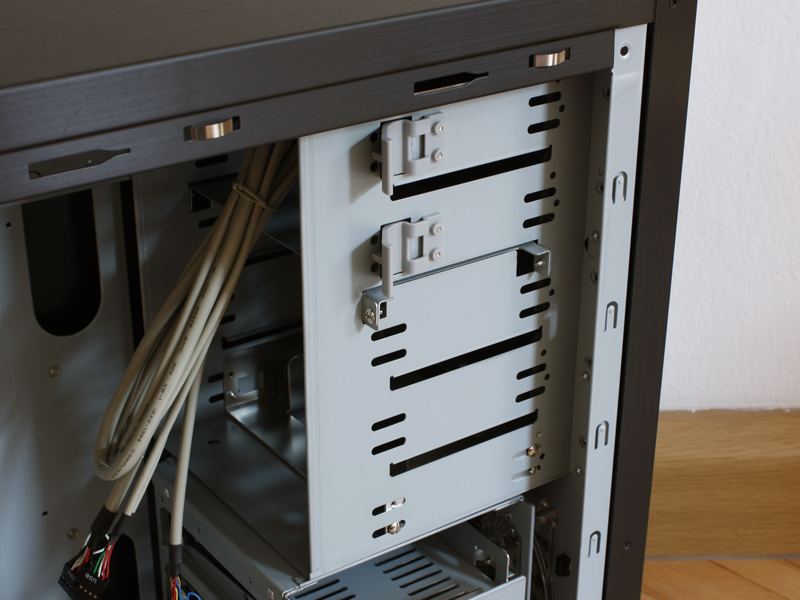

The hard drive cage holds four trays. These are completely different than what we have seen in the K7 and have been passed down from the new range of Lian Li enclosures. Two of the 5.25" drive bays have plastic clips to secure drives within the chassis, while the rest still requires the use of the included screws. The 3.5 to 5.25" adapter is the same you can buy seperately. It carries the Lian Li MF-515B model number and costs around 15€. Thus, it is great to see this unit included in the K6.

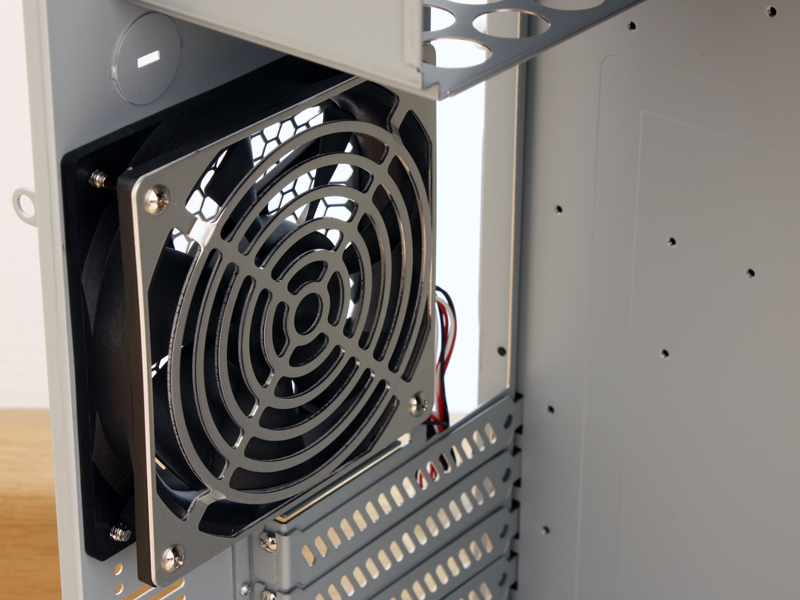
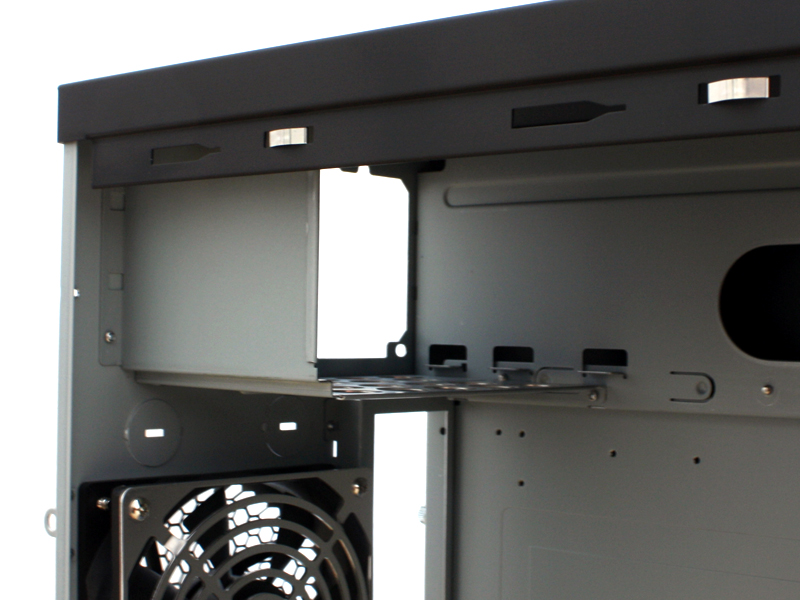
The seven mainboard expansion slot covers are secured with normal case screws. I for one would have liked to see thumb screws here, but it is also positive, that Lancool has opted for traditional screws, instead of a mediocre screw-less system. The middle part holds the 120 mm exaust fan, with the signature fan grill from Lian Li on it. All the way up top, the PSU bay does not hold any surprises - being simple and functional.
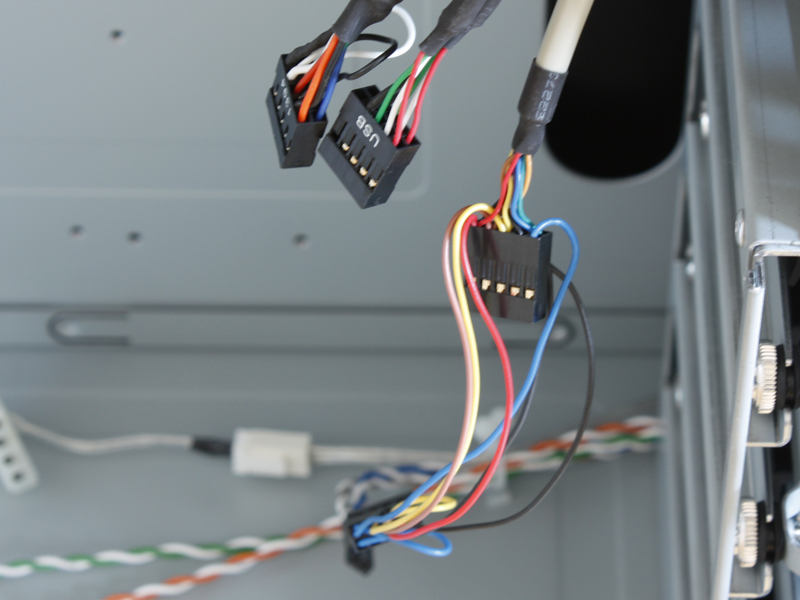
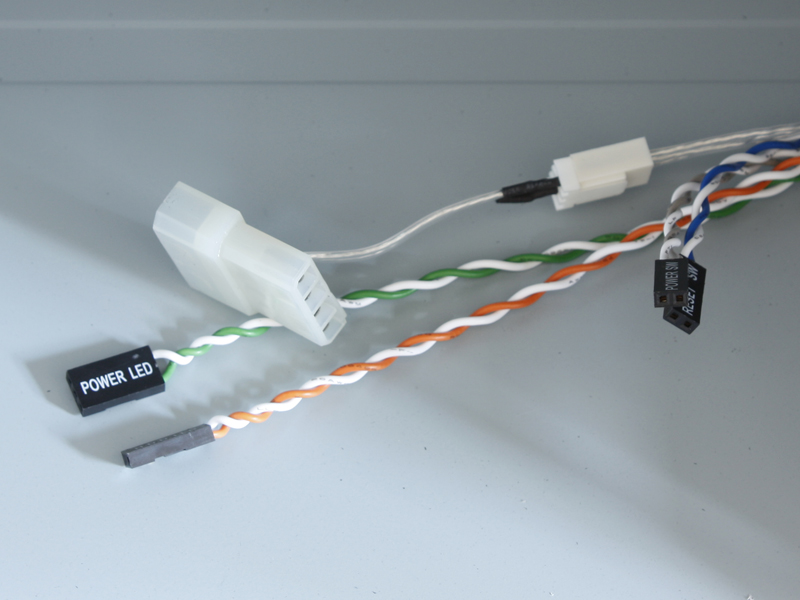
There is a full compliment of cables included in the Metal Boned K6. The front/top I/O are nothing out of the ordinary. The same goes for the power/reset & LED cables. One additional fan connectors with an adapter to Molex leads to the front intake fan.
Feb 25th, 2025 02:25 EST
change timezone
Latest GPU Drivers
New Forum Posts
- What local LLM-s you use? (64)
- Nvidia's GPU market share hits 90% in Q4 2024 (gets closer to full monopoly) (570)
- The TPU UK Clubhouse (25778)
- AMD RX 7000 series GPU Owners' Club (1300)
- TPU's Nostalgic Hardware Club (19998)
- Retired AM4 Workstation Case Swap - 1st Post (2)
- Testing max ram overclock pn Ryzen 1700 (75)
- AIO - 120mm cpu cooler? (31)
- Windows 11 General Discussion (5705)
- Where did the 7900xtx go? (23)
Popular Reviews
- ASUS GeForce RTX 5070 Ti TUF OC Review
- MSI GeForce RTX 5070 Ti Vanguard SOC Review
- MSI GeForce RTX 5070 Ti Ventus 3X OC Review
- MSI GeForce RTX 5070 Ti Gaming Trio OC+ Review
- Corsair Virtuoso MAX Wireless Review
- darkFlash DY470 Review
- Corsair Xeneon 34WQHD240-C Review - Pretty In White
- Palit GeForce RTX 5070 Ti GameRock OC Review
- AMD Ryzen 7 9800X3D Review - The Best Gaming Processor
- Gigabyte GeForce RTX 5090 Gaming OC Review
Controversial News Posts
- NVIDIA GeForce RTX 5090 Spotted with Missing ROPs, NVIDIA Confirms the Issue, Multiple Vendors Affected, RTX 5070 Ti, Too (467)
- AMD Radeon 9070 XT Rumored to Outpace RTX 5070 Ti by Almost 15% (304)
- AMD Plans Aggressive Price Competition with Radeon RX 9000 Series (272)
- AMD Radeon RX 9070 and 9070 XT Listed On Amazon - One Buyer Snags a Unit (247)
- Edward Snowden Lashes Out at NVIDIA Over GeForce RTX 50 Pricing And Value (241)
- AMD Denies Radeon RX 9070 XT $899 USD Starting Price Point Rumors (239)
- NVIDIA Investigates GeForce RTX 50 Series "Blackwell" Black Screen and BSOD Issues (239)
- AMD Radeon RX 9070 XT Launch Allegedly Set for March 6 (152)