 19
19
Lian Li O11 Dynamic XL Review
Value & Conclusion »Test System
| System Parts for Case Reviews | |
|---|---|
| Processor: | Intel Core i7-8600K |
| Motherboards: | ATX: MSI Z370 GAMING PRO CARBON AC MATX: Z370M GAMING PRO CARBON Mini-ITX: MSI Z370i GAMING PRO CARBON Provided by: MSI |
| Graphics Card: | Long: ASUS Radeon RX580 Short: HIS Radeon 5350 HD |
| Memory: | 16 GB XPG Dazzle DDR4 2800 MHz CL17-17-17 1.25 V 32 GB GB XPG SPECTRIX D40 3000 MHz. CL16-18-18 1.35 V 16 GB XPG GAMMIX D10 DDR4 2400 MHz CL16-16-16 1.20 V Provided by: ADATA |
| HDD: | Western Digital 320 GB 7200 RPM |
| SSD: | ADATA XPG SX850 256 GB ADATA Ultimate SU800 3D 256 GB ADATA Ultimate SU700 240 GB Provided by: ADATA |
| Power Supply: | Antec HCG High Current Gamer 650 W 80Plus Gold Antec HCG High Current Gamer 850 W 80Plus Bronze Provided by: Antec |
| Cooling: | Thermaltake Floe 360 Flex Pro RGB Provided by: Thermaltake |
Assembly

Installing a motherboard is done by traditional means, and it is quite easy due to the room all around. You may install up to an E-ATX motherboard of even EBB dimensions. However, installing one with EBB dimensions requires an optional accessory. For this review, we used a 360 mm radiator setup as the O11 Dynamic XL is clearly geared towards liquid cooling. However, you may also install any air cooler of up to 167 mm in height without issue.
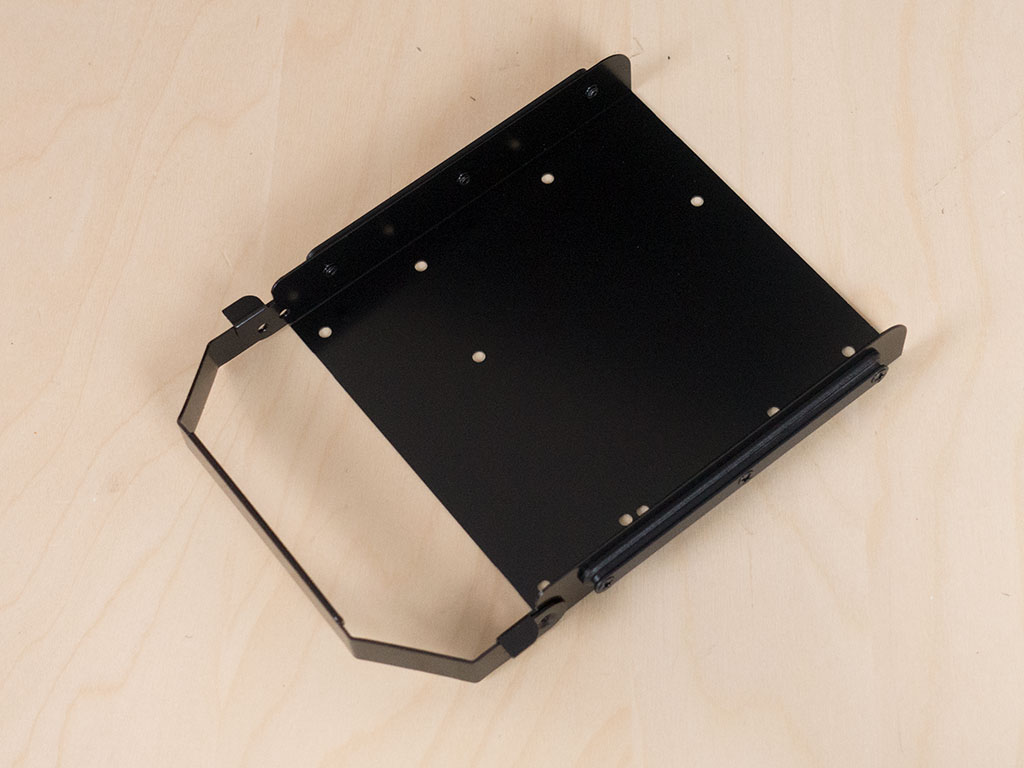
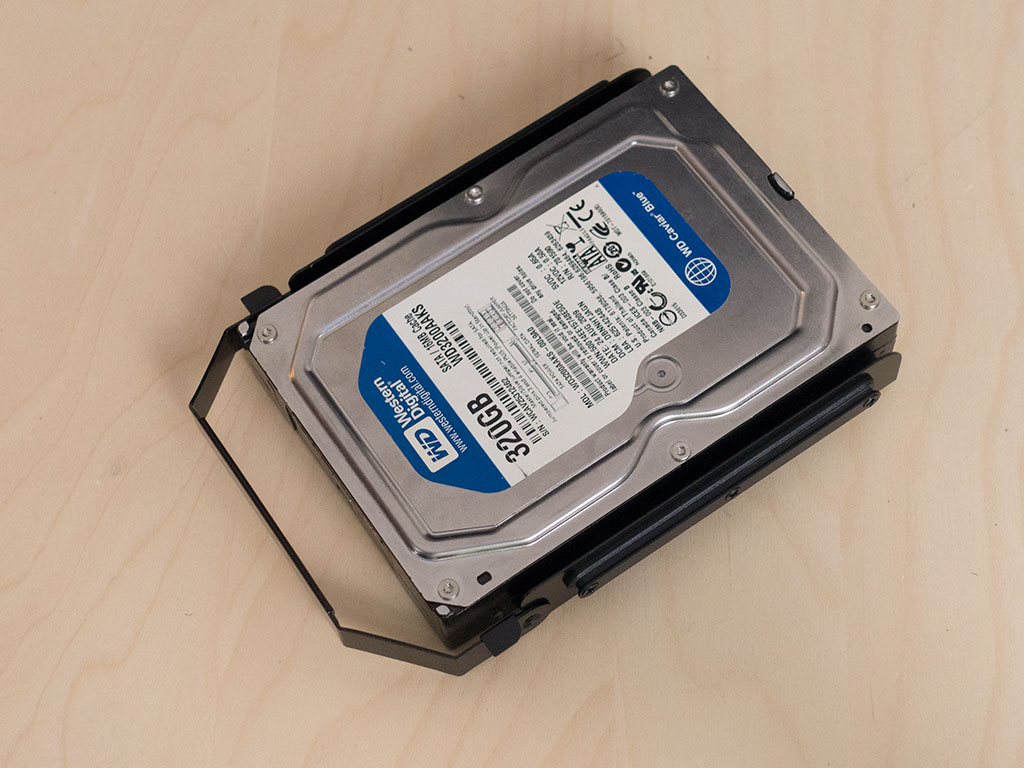
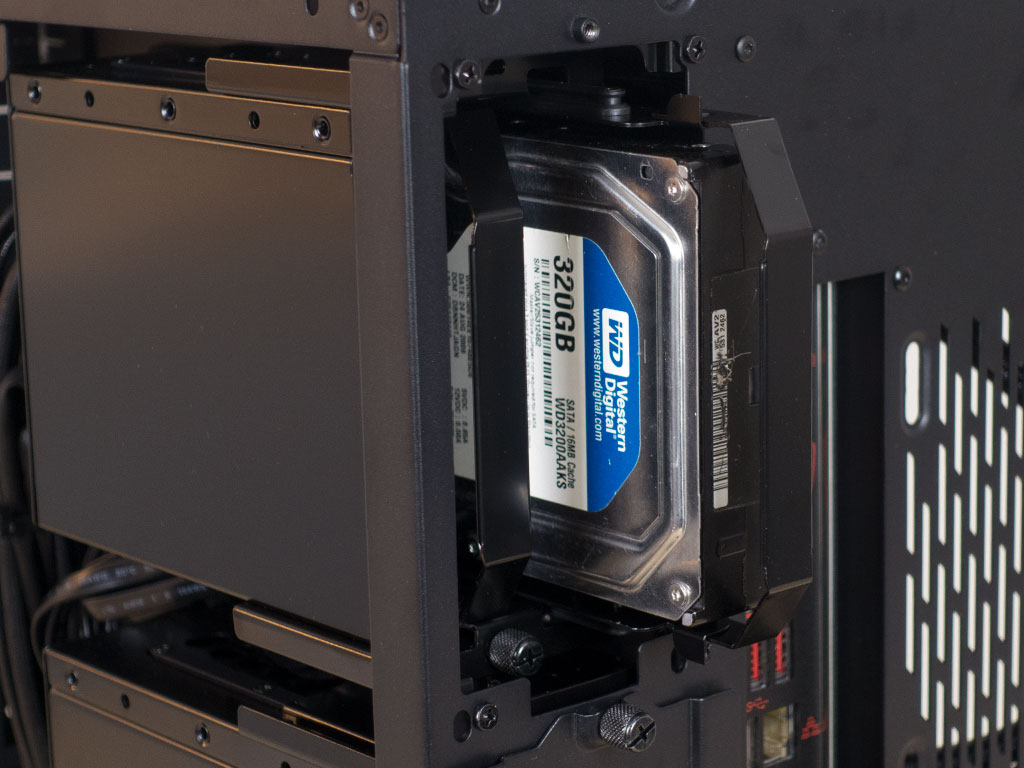

Adding a 3.5" HDD is done by first securing it to the steel tray and then sliding it into place. There is a sliding lock that secures it in place. Last but not least, simply put the thumbscrew-equipped cover back in its place.
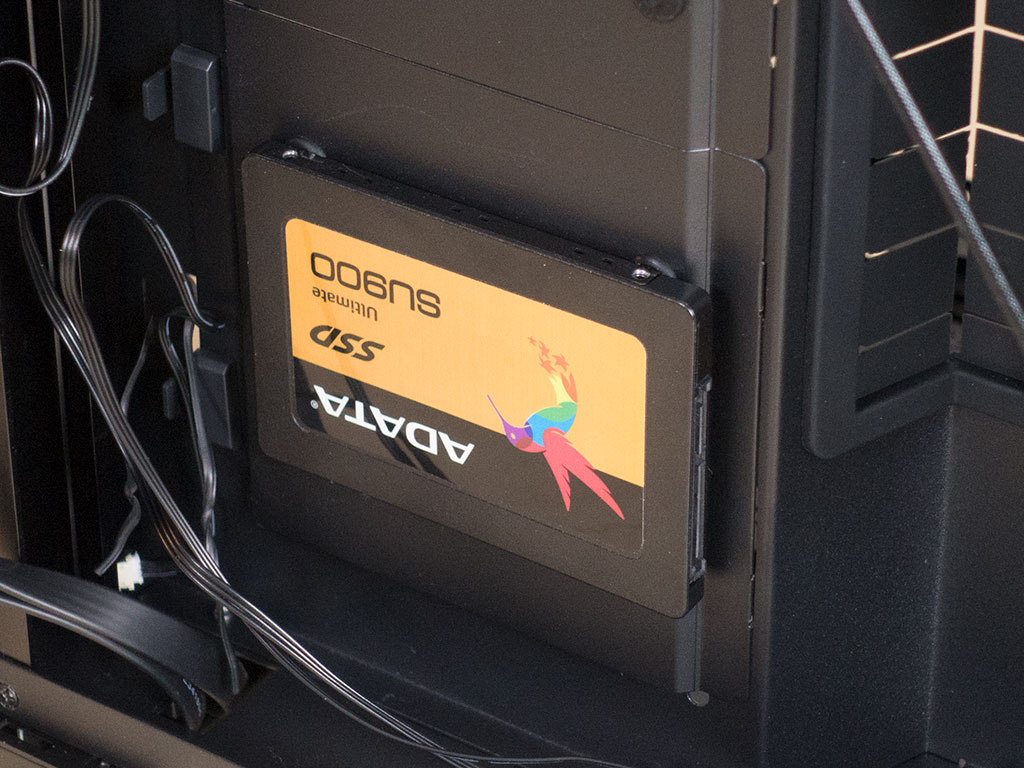
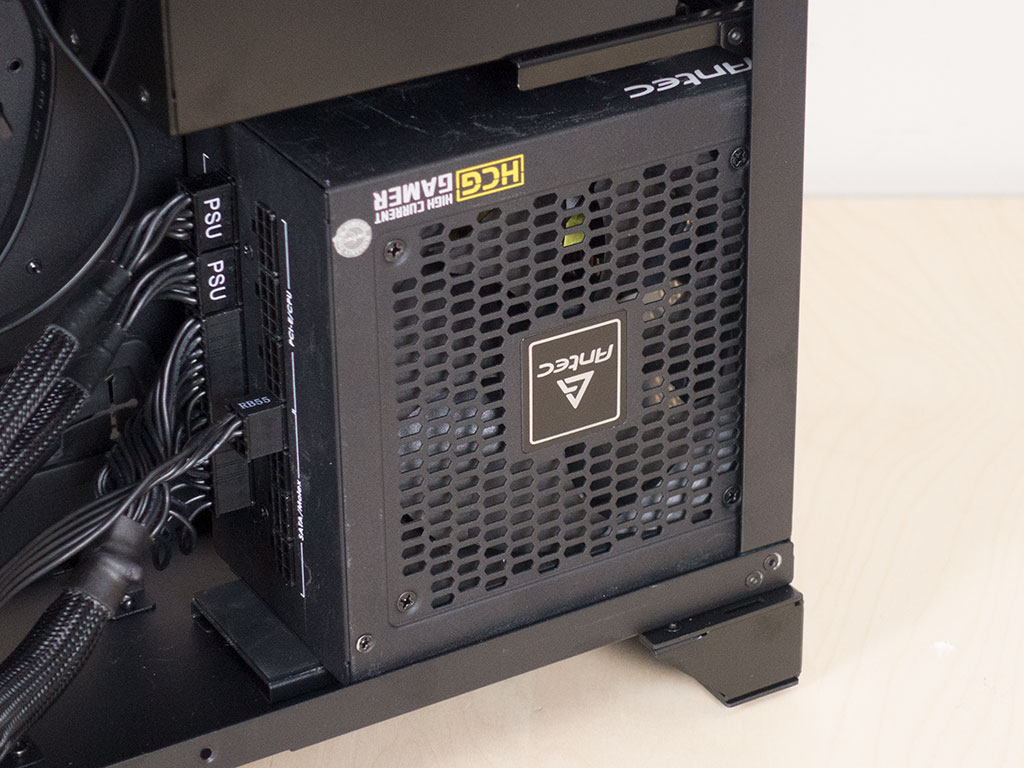
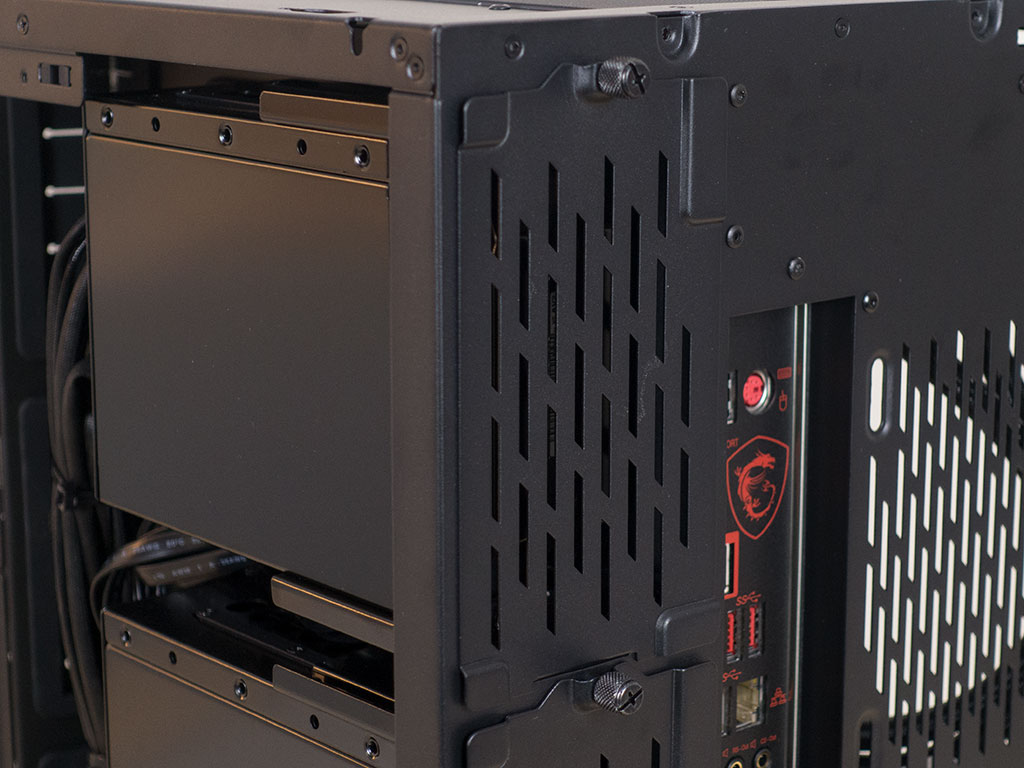
No matter where you install an SSD, be it to an individual or the larger plate, simply use the special screws to pin it down to the rubber-ringed holes. Lastly, the PSU is easily added as well as it slides right into place with four traditional case screws used to secure it in place. As you can see, the fan of the power supply lines up perfectly with one of the openings in the side panel.
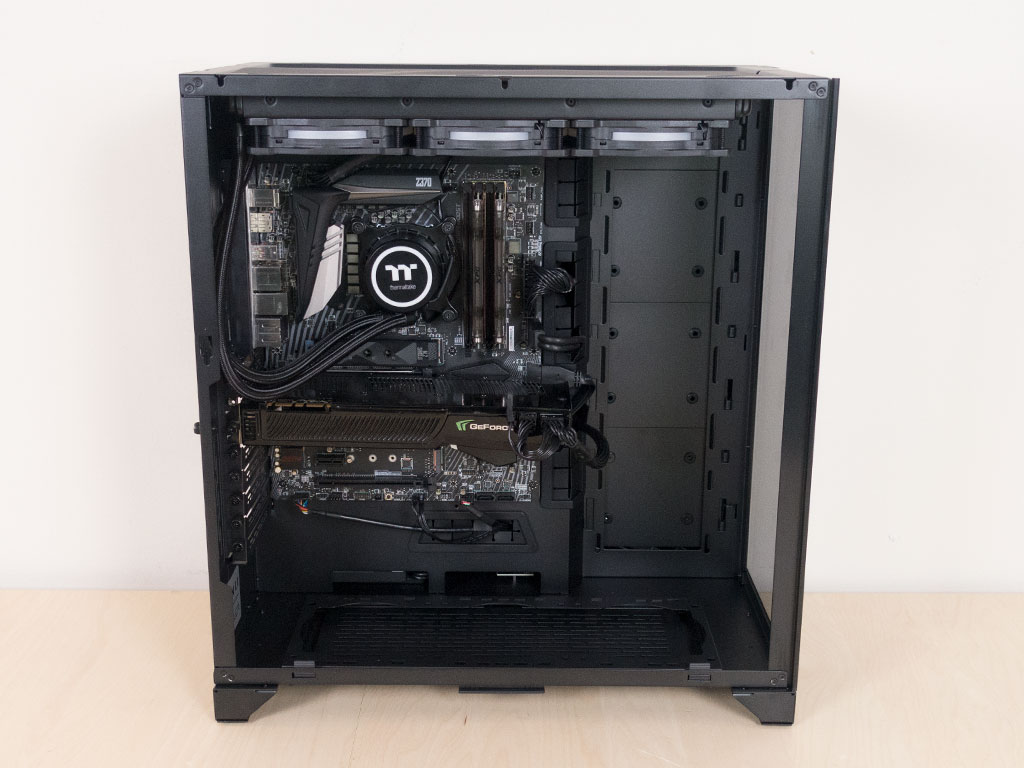
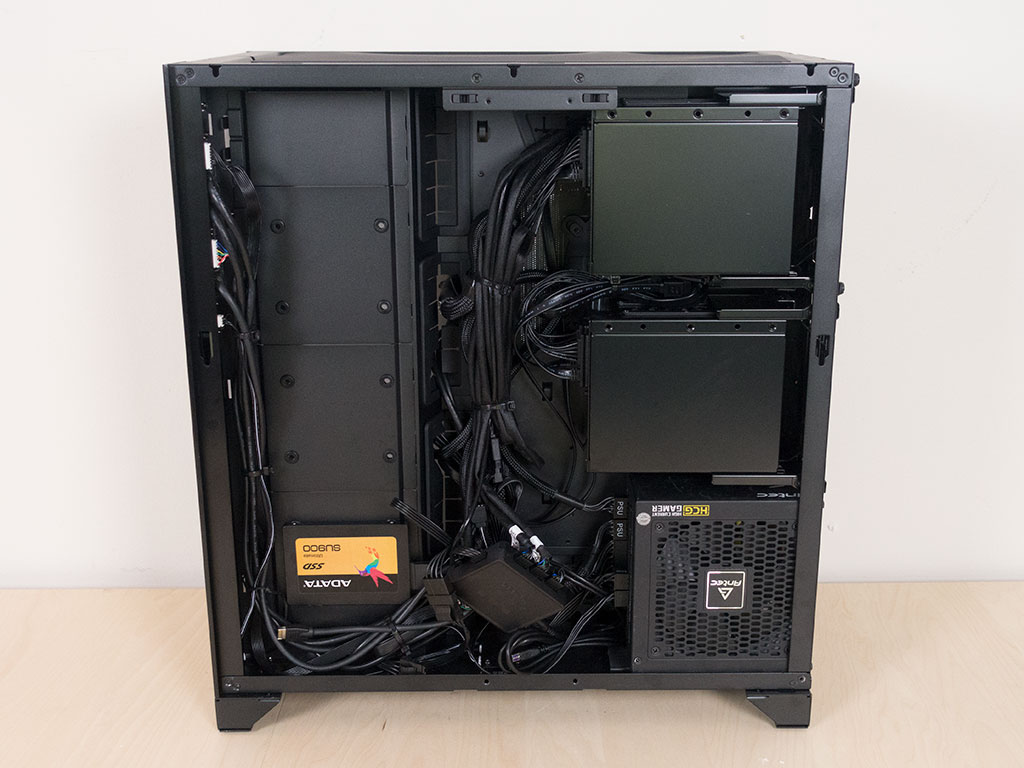
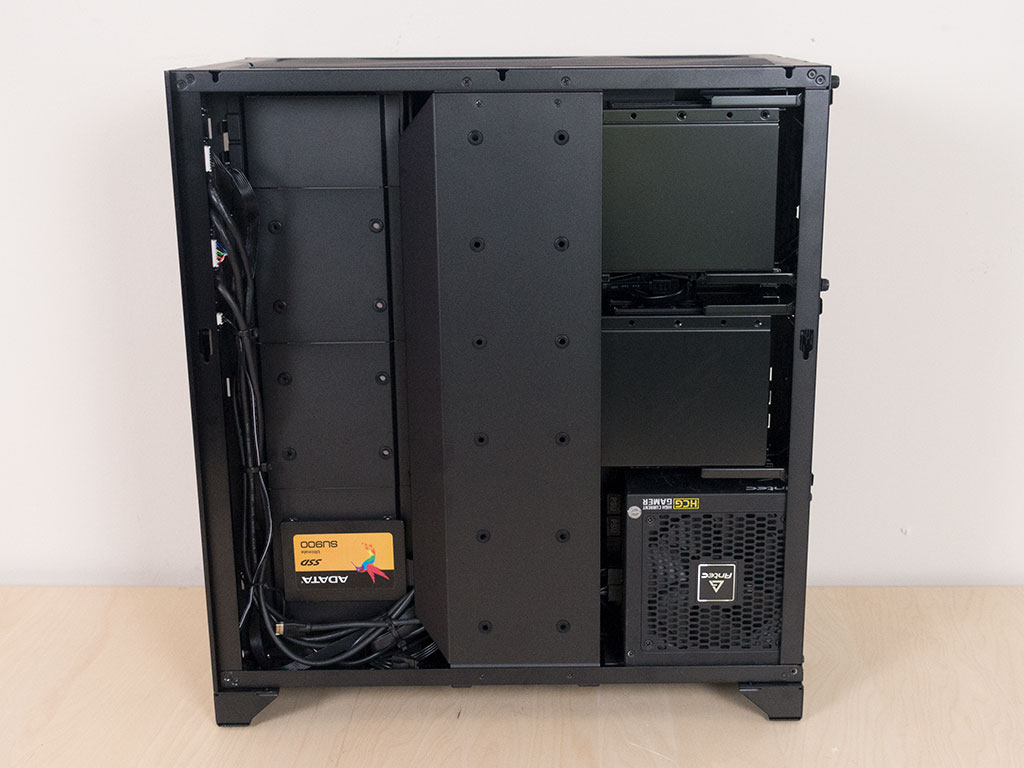
Once everything is assembled and the cables are routed, the interior of the Lian Li O11 Dynamic XL makes a great impression due to the well-placed, angled, rubber-grommet-covered openings. As you can see, all the cable mess is hidden in the trench next to the HDD cages, including the wiring from the Thermaltake Floe 360 RGB. The latter looks rather messy, but with the HDD plate in place, none of it is visible.
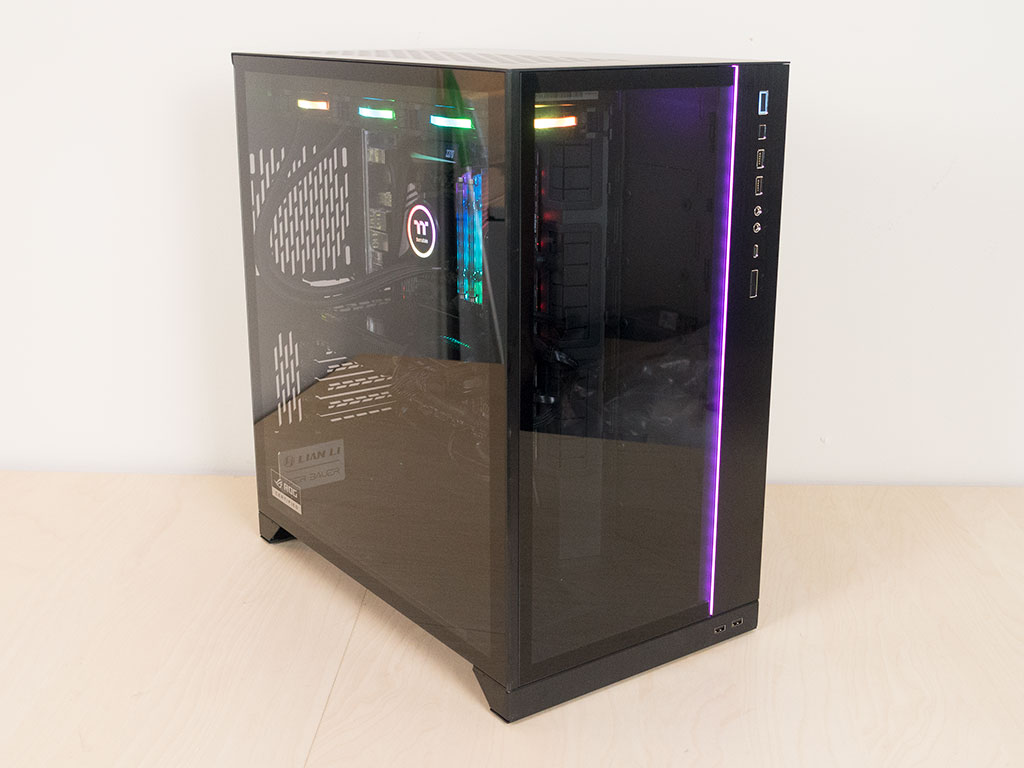
Finished Looks
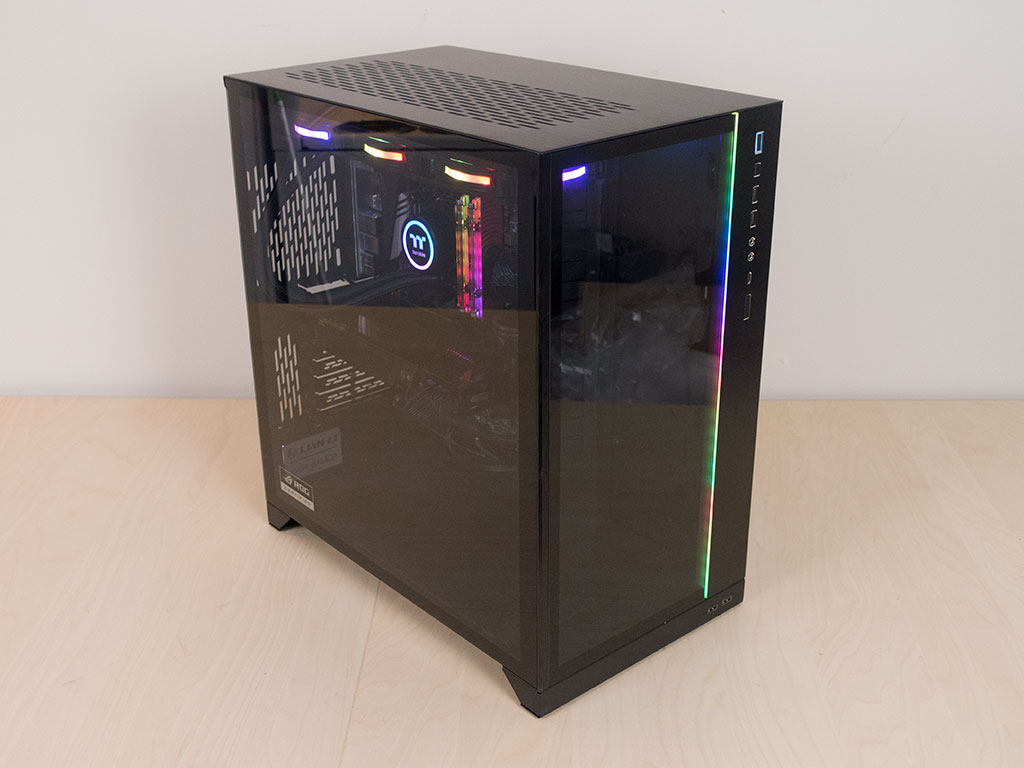
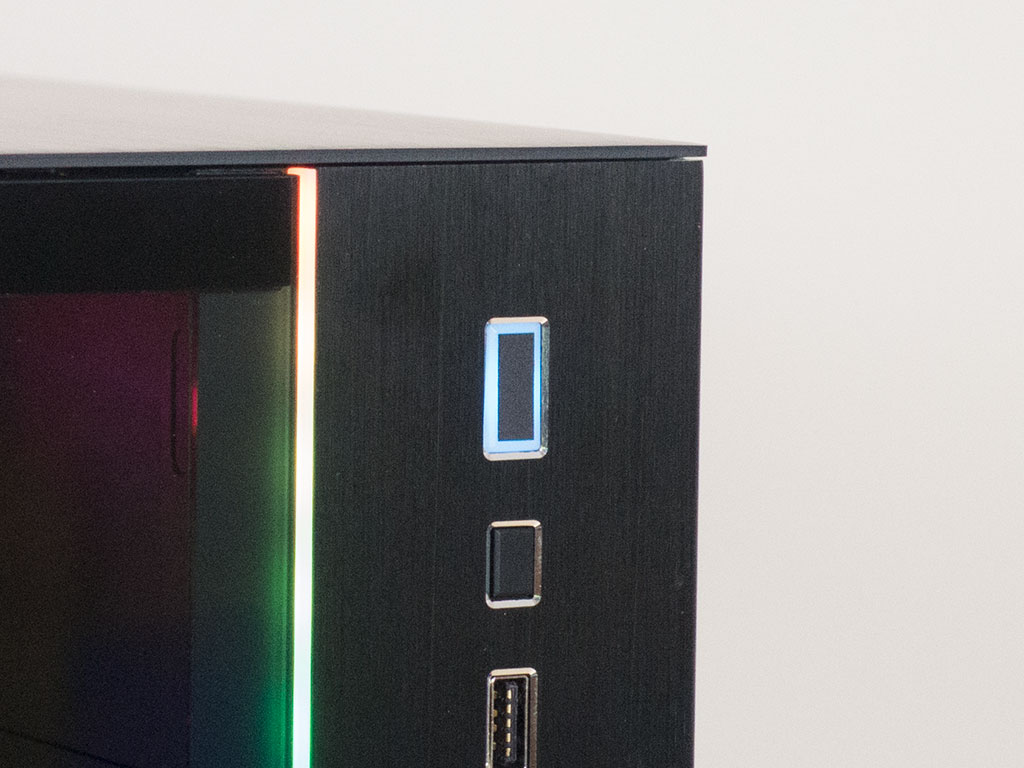
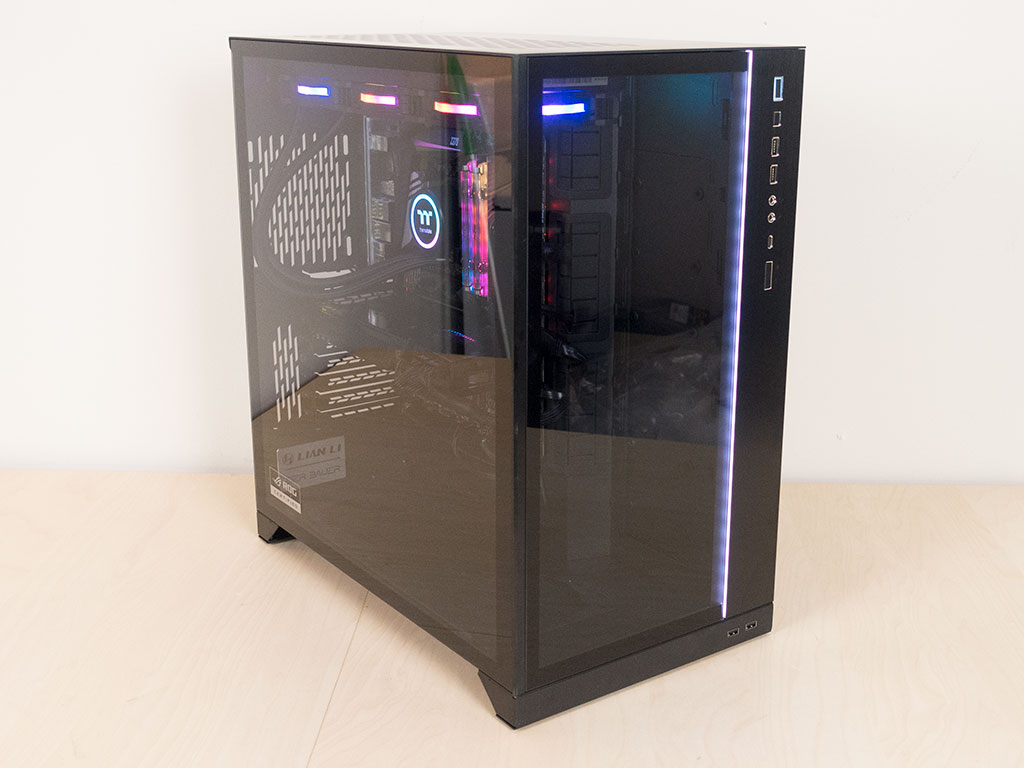
With everything turned on, the RGB strip in the front, between the aluminium and glass panel, looks extremely spiffy. Lian Li allows you to toggle through eight multi-colored animations with a push of a button. Naturally, as the O11 Dynamic XL is ROG certified, you may also control the colors via the ASUS AURA motherboards (and others, of course). A white LED lights up around the power button to let you know the system is up and running.

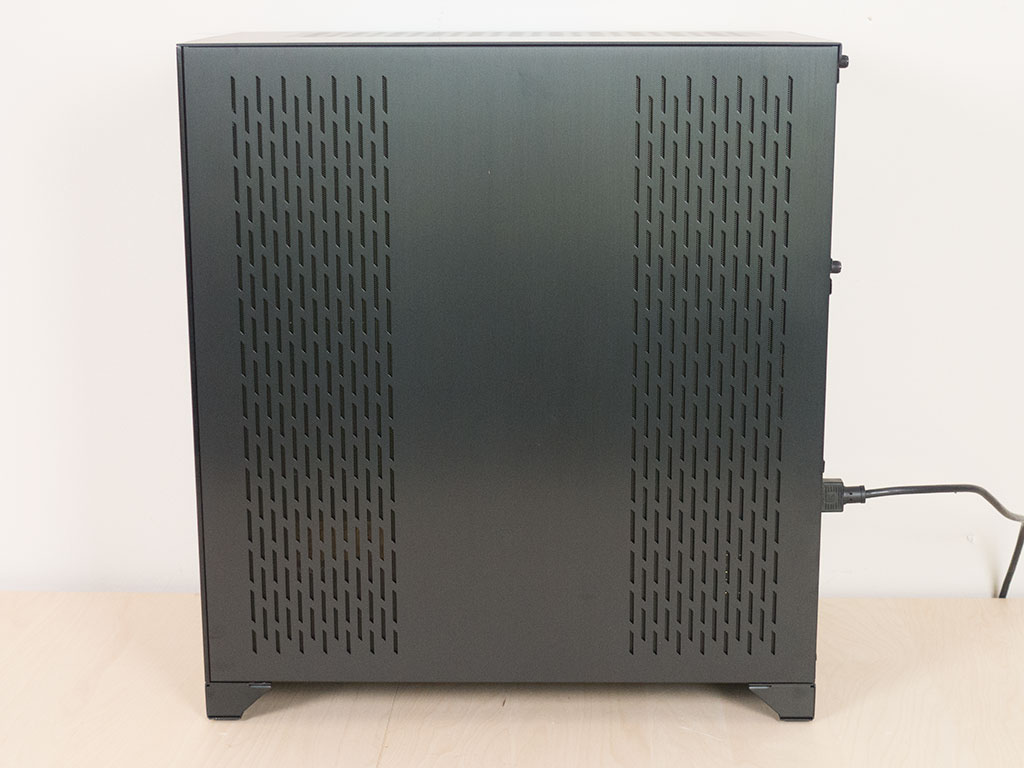
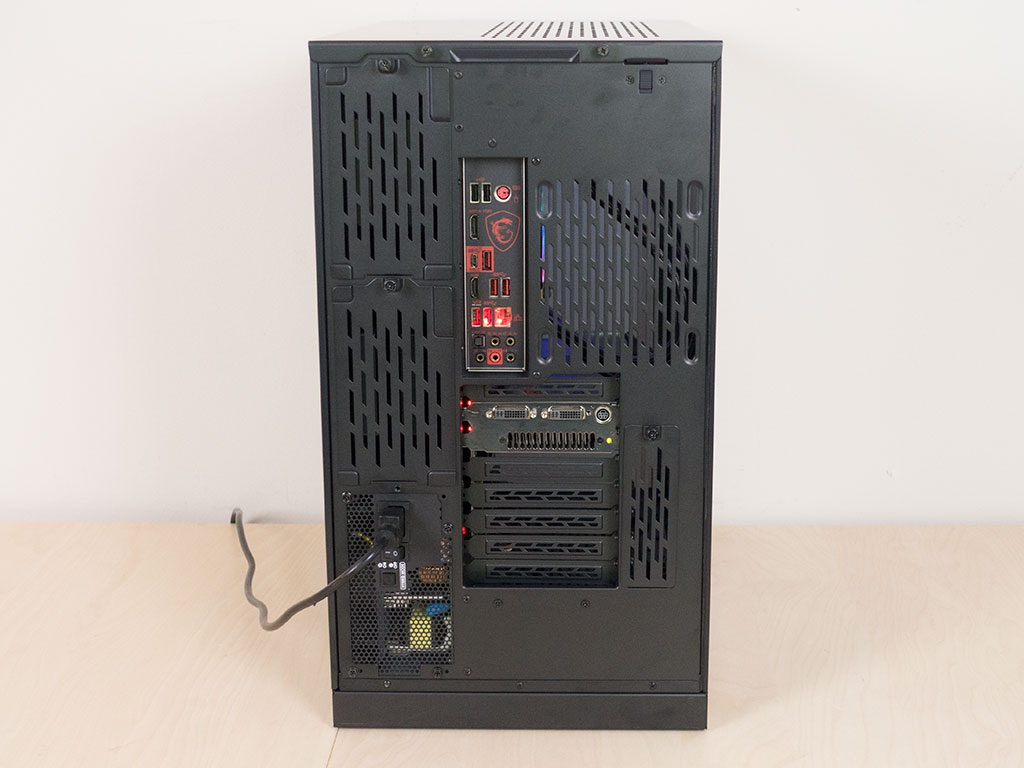
Looking at the side of the system, you can clearly see all the potent hardware within because of the clean, clear window panels. On the opposite side is just a faint glow of the hardware within, while the rear allows unobstructed access to all ports as the PSU is placed far to the left.


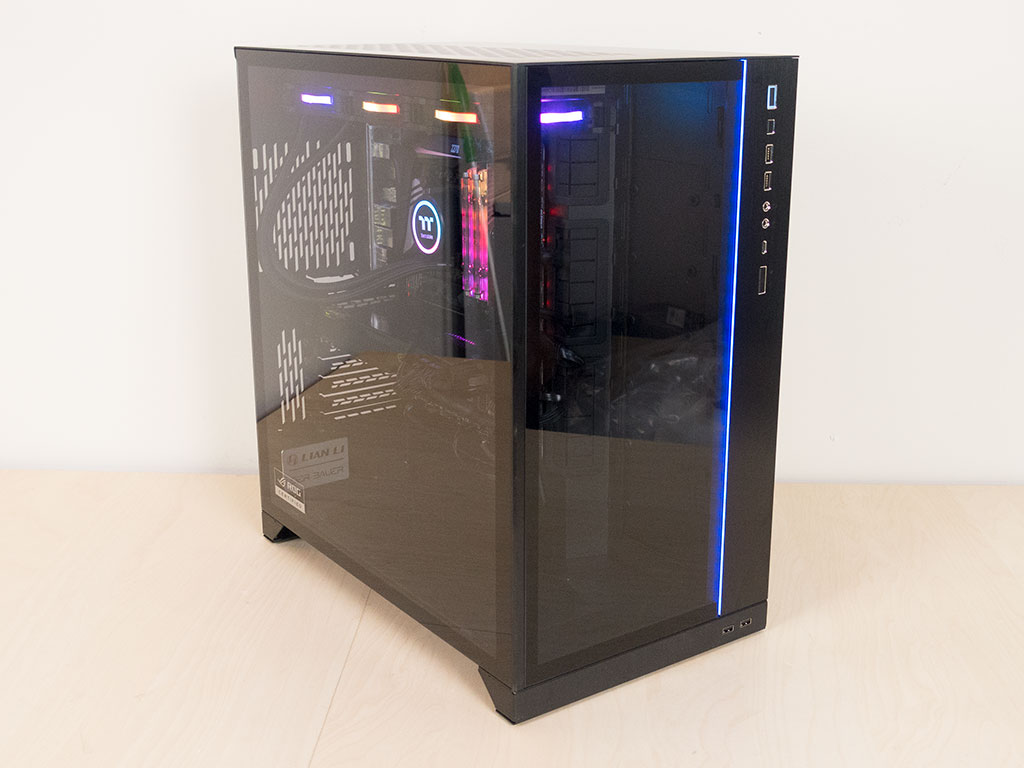

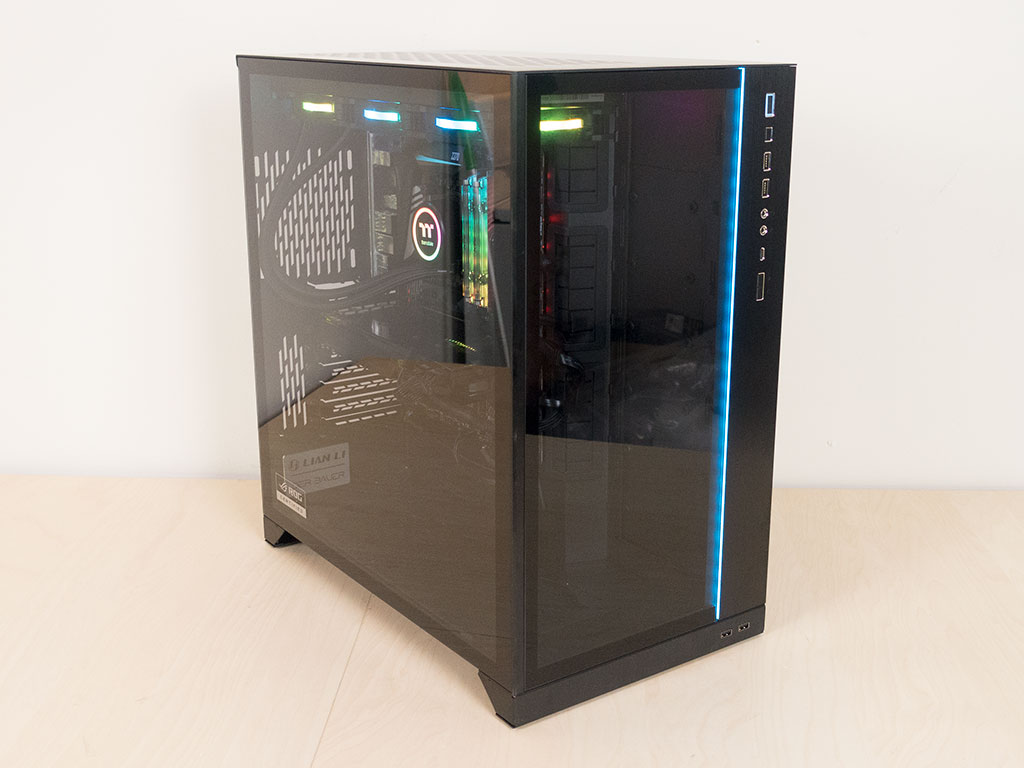
In addition to the numerous animations, you may toggle through seven solid colors by pressing the second button at the front of the chassis.
Mar 19th, 2025 05:50 EDT
change timezone
Latest GPU Drivers
New Forum Posts
- Free Games Thread (4578)
- Intel to AMD upgrade, re-using 2x24Gb memory? (17)
- 9070 XT - 2x HDMI high refresh displays (144 and 120 Hz) not working (31)
- HalfLife2 RTX Demo Is out! (115)
- I'm looking for a good tool to make the 3D scanning of my mini-pc using the photogrammetry and my Kinect 2. (142)
- MSI MEG Z890 GODLIKE. (4)
- Gtx 1050ti (27)
- The Official Thermal Interface Material thread (1667)
- Unlock the shaders - AMD Radeon RX 560D (341)
- nVidia RTX PRO 4000 Blackwell ¿ 16 GB VRAM? (1)
Popular Reviews
- Corsair SF750 750 W Review
- Sapphire Radeon RX 9070 XT Nitro+ Review - Beating NVIDIA
- AMD Ryzen 9 9950X3D Review - Great for Gaming and Productivity
- ASRock Radeon RX 9070 XT Taichi OC Review - Excellent Cooling
- MSI GeForce RTX 5070 Gaming Trio OC Review
- Kioxia Exceria Plus G4 2 TB Review - Energy-Efficient PCIe Gen 5
- XFX Radeon RX 9070 XT Mercury OC Magnetic Air Review
- ASUS Radeon RX 9070 TUF OC Review
- ASUS GeForce RTX 5090 TUF Review
- AVerMedia Core Go & Elite Go Review
Controversial News Posts
- NVIDIA GeForce RTX 50 Cards Spotted with Missing ROPs, NVIDIA Confirms the Issue, Multiple Vendors Affected (519)
- AMD RDNA 4 and Radeon RX 9070 Series Unveiled: $549 & $599 (260)
- AMD Mentions Sub-$700 Pricing for Radeon RX 9070 GPU Series, Looks Like NV Minus $50 Again (250)
- NVIDIA Investigates GeForce RTX 50 Series "Blackwell" Black Screen and BSOD Issues (244)
- AMD Radeon RX 9070 and 9070 XT Official Performance Metrics Leaked, +42% 4K Performance Over Radeon RX 7900 GRE (195)
- AMD Radeon RX 9070-series Pricing Leaks Courtesy of MicroCenter (158)
- MSI Doesn't Plan Radeon RX 9000 Series GPUs, Skips AMD RDNA 4 Generation Entirely (138)
- Microsoft Introduces Copilot for Gaming (123)