 4
4
Lian Li PC-A70 Review
A Closer look cont. & Case Inside »Packaging
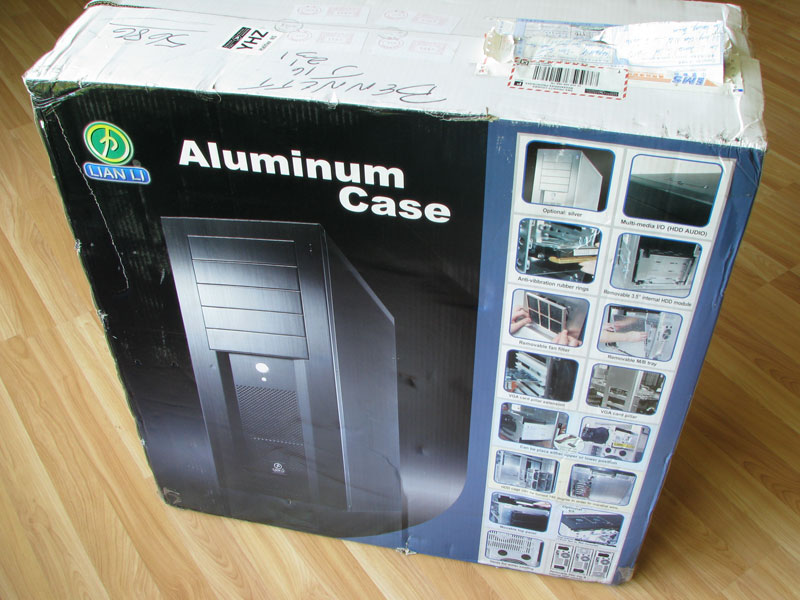

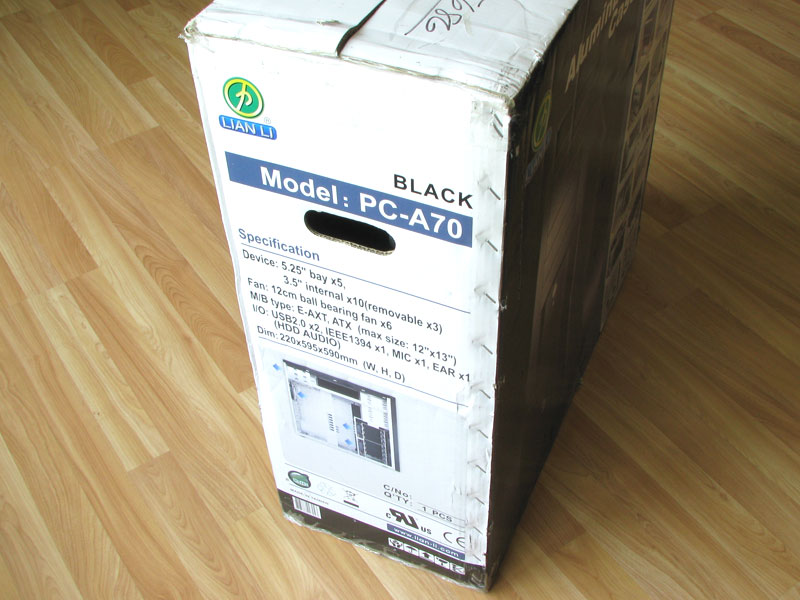
When the case arrived, the packaging looked like it went through a war. There were some tears in the box, and some parts were slightly crushed. Though this has nothing to do with Lian Li themselves, it would be nice to get everything there undamaged. Another thing that jumped out at me was the shear size of the box; it's absolutely massive.
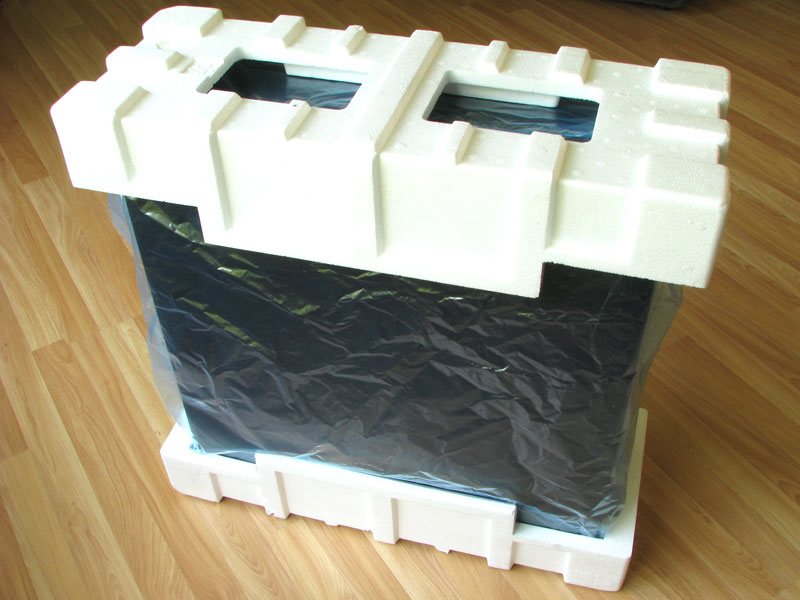
Once the box was opened and the case taken out, we see the packaging did its job of protecting the case. However, some of the front panel 5.25" bezels were knocked out of place and I found them free-falling around the case which did scratch them up somewhat.
Contents
- Screw Driver
- 16 x Copper Standoffs
- 3 x Cable ties
- 1 x Spare Thumb Screw
- 6 x PSU Screws
- 1 x Adjustable Clamp
- 8 x #6-32 Screws
- 14 x HDD Screws
- 35 x Drive Screws
- 14 x Rubber Rings


A Closer Look


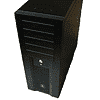
Here's the behemoth Lian Li PC-A70 unveiled from its box standing 595mm high, almost two feet. The PC-A70 has a very simplistic design like most Lian Li cases. The biggest "thing" that stands out about this case to me is the shear size of it.
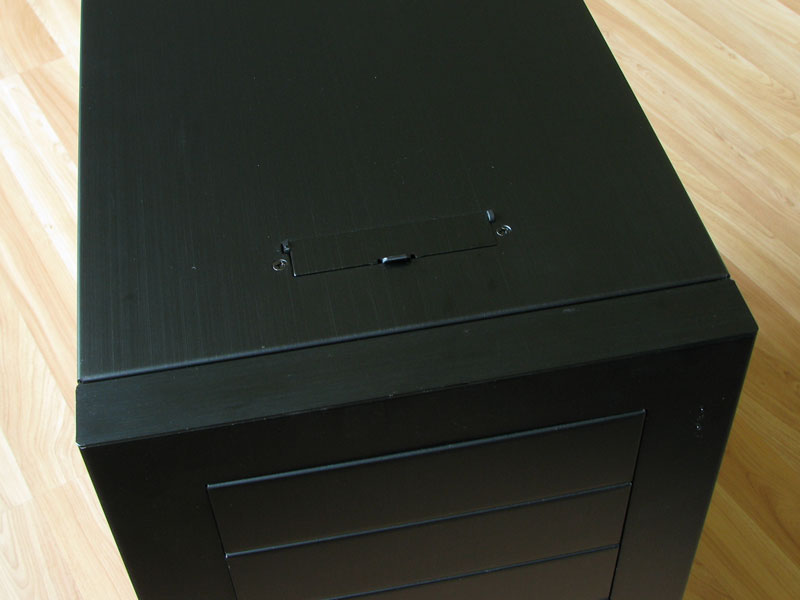

On the top of the case a small flip up door contains access to USB, Firewire and Audio I/O ports. How good this location of the ports is, is arguable. By this I mean if the case is put on the floor next to your desk, it would be fairly easy to access the ports. However if the case was seated on, or up high next to your desk, because of the size of the case it might be a bit difficult to get to them.


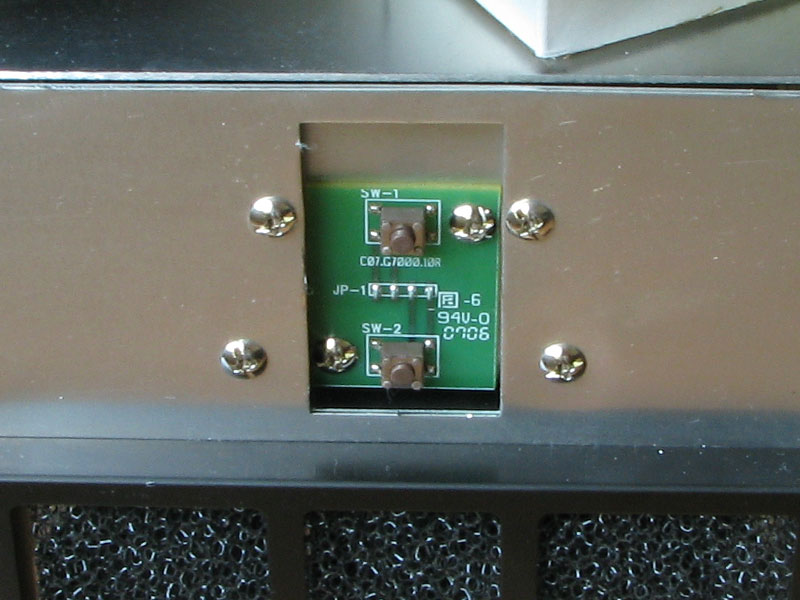
Two 120mm fans are mounted on the front of the case, and the fans both have air filters over them. A metal rack sits over the fans holding the washable air filters in place, which is easily removed for cleaning. When the front panel is removed, the Power/Reset switches are exposed as well. Lian Li uses a small circuit board for the switches which is mounted to the case.

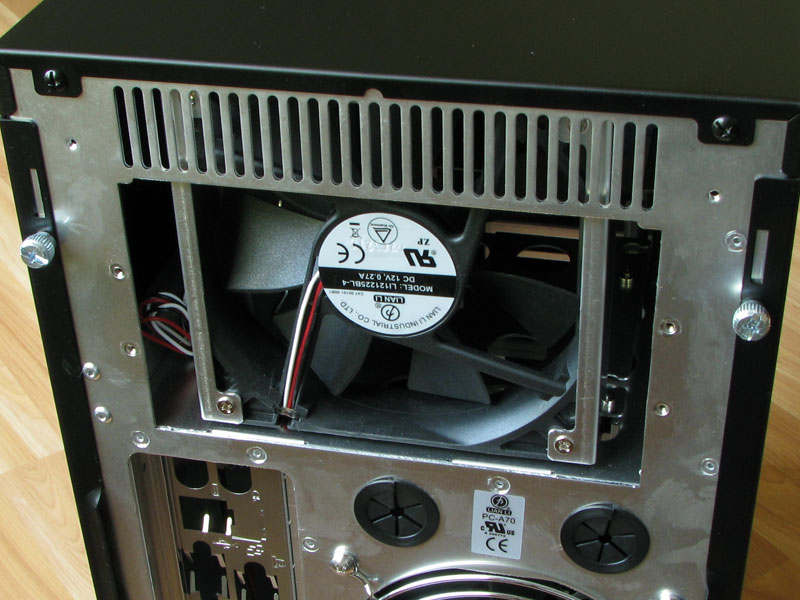
Due to the PC-A70's large size, it has two spots for PSUs to be mounted - In the top of the case and in the bottom. The default place is the bottom and the top has another internal 3.5" cage in it with a fan and a grill to cover the area where a PSU can be mounted. The cage is held in via four screws with rubber dampeners, so it's very easy to remove and position the PSU there.
Mar 10th, 2025 13:37 EDT
change timezone
Latest GPU Drivers
New Forum Posts
- AMD RX 9070 XT & RX 9070 non-XT thread (OC, undervolt, benchmarks, ...) (3)
- AGESA 1.2.0.A update (32)
- Gaming PC instabiliity (17)
- RX 9070 availability (166)
- MorePowerTool for RDNA 4. (0)
- newegg ATX 3.1 PSU on Clearance and Free Fan (3)
- Nvidia's GPU market share hits 90% in Q4 2024 (gets closer to full monopoly) (770)
- AAF Optimus Modded Driver For Windows 10 & Windows 11 - Only for Realtek HDAUDIO Chips (375)
- DTS DCH Driver for Realtek HDA [DTS:X APO4 + DTS Interactive] (2110)
- Zen6 is almost here ? (45)
Popular Reviews
- Sapphire Radeon RX 9070 XT Nitro+ Review - Beating NVIDIA
- XFX Radeon RX 9070 XT Mercury OC Magnetic Air Review
- ASUS Radeon RX 9070 TUF OC Review
- MSI MAG B850 Tomahawk Max Wi-Fi Review
- NVIDIA GeForce RTX 5080 Founders Edition Review
- NVIDIA GeForce RTX 5070 Founders Edition Review
- Corsair Vengeance RGB CUDIMM DDR5-8800 48 GB CL42 Review
- AMD Ryzen 7 9800X3D Review - The Best Gaming Processor
- ASUS GeForce RTX 5070 Ti TUF OC Review
- MSI GeForce RTX 5070 Ti Gaming Trio OC+ Review
Controversial News Posts
- NVIDIA GeForce RTX 50 Cards Spotted with Missing ROPs, NVIDIA Confirms the Issue, Multiple Vendors Affected (513)
- AMD Plans Aggressive Price Competition with Radeon RX 9000 Series (277)
- AMD Radeon RX 9070 and 9070 XT Listed On Amazon - One Buyer Snags a Unit (261)
- AMD RDNA 4 and Radeon RX 9070 Series Unveiled: $549 & $599 (260)
- AMD Mentions Sub-$700 Pricing for Radeon RX 9070 GPU Series, Looks Like NV Minus $50 Again (248)
- NVIDIA Investigates GeForce RTX 50 Series "Blackwell" Black Screen and BSOD Issues (244)
- AMD Radeon RX 9070 and 9070 XT Official Performance Metrics Leaked, +42% 4K Performance Over Radeon RX 7900 GRE (195)
- AMD Radeon RX 9070-series Pricing Leaks Courtesy of MicroCenter (158)