 9
9
Montech Air X Review - Big Fans on a Tight Budget
Montech Gamma II PSU & Z3 PRO ARGB Fans »Test System
| System Parts for Case Reviews | |
|---|---|
| Processor: | Intel Core i5-9600K |
| Motherboards: | ATX: MSI Z390 GAMING EDGE AC MATX: Z370M GAMING EDGE AC Mini-ITX: MSI Z370I GAMING EDGE AC Provided by: MSI |
| Graphics Card: | ATX/mATX: Palit GeForce RTX 2080 Gaming Pro OC ITX: EVGA GTX 1650 SC Ultra Black 4 GB |
| Memory: | 16 GB XPG GAMMIX D30 DDR4 2666 MHz CL16-18-18 1.20 V 16 GB XPG SPECTRIX D60G DDR4 3000 MHz CL16-18-18 1.35 V Provided by: ADATA |
| HDD: | Western Digital 320 GB 7200 RPM |
| SSD: | ITX: ADATA SX6000 Pro M.2 256 GB mATX: ADATA GAMMIX S11 Pro M.2 256 GB ATX: ADATA SPECTRIX S40G M.2 256 GB ADATA XPG SX850 256 GB ADATA Ultimate SU630 240 GB ADATA Ultimate SU750 256 GB Provided by: ADATA |
| Power Supply: | Fractal Design ION+ 750W 80 Plus Platinum Provided by: Fractal Design |
| Cooling: | be quiet! Dark Rock 4 be quiet! Dark Rock Slim be quiet! Shadow Rock LP Provided by: be quiet! |
Assembly
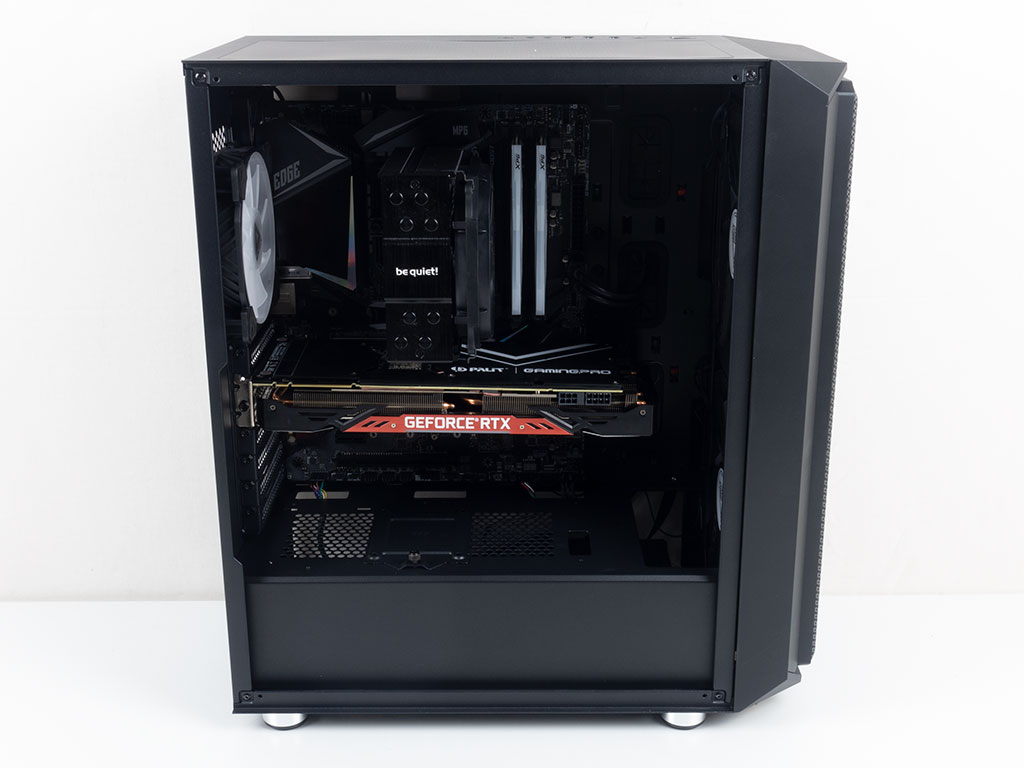
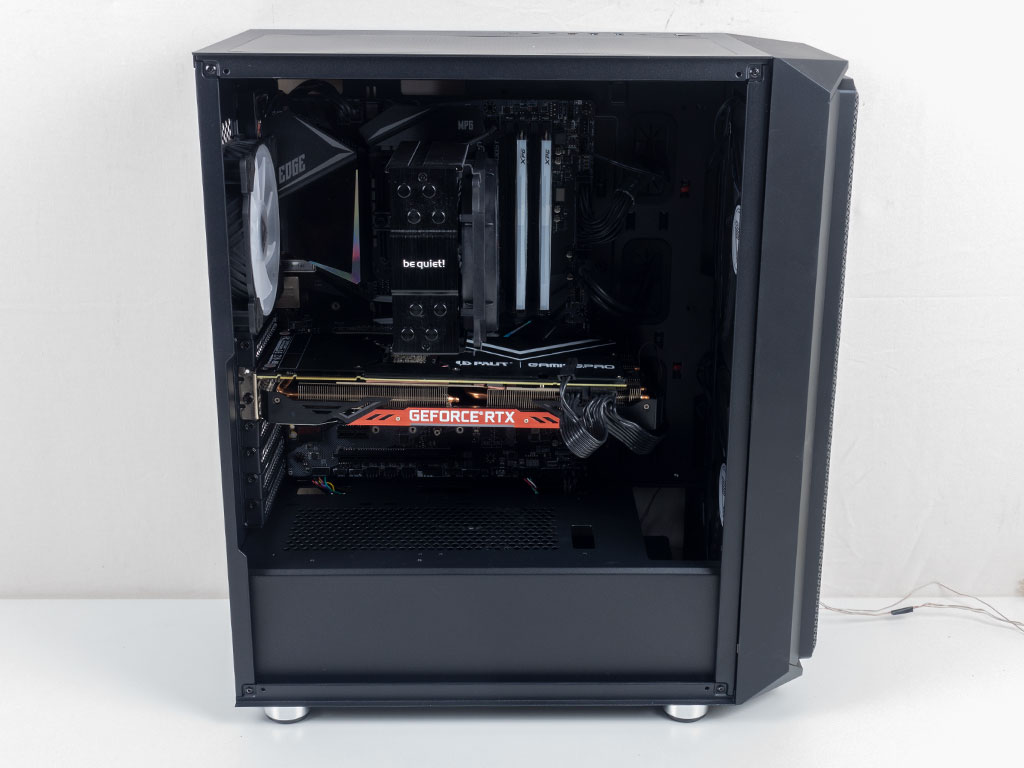
Installing the motherboard is done with the use of spacers and screws. There is plenty of space on top, and well-aligned routing holes on the bottom. As you can see, the RTX 2080 fits well, and you should still be able to liquid cool without issue even with such a long GPU.

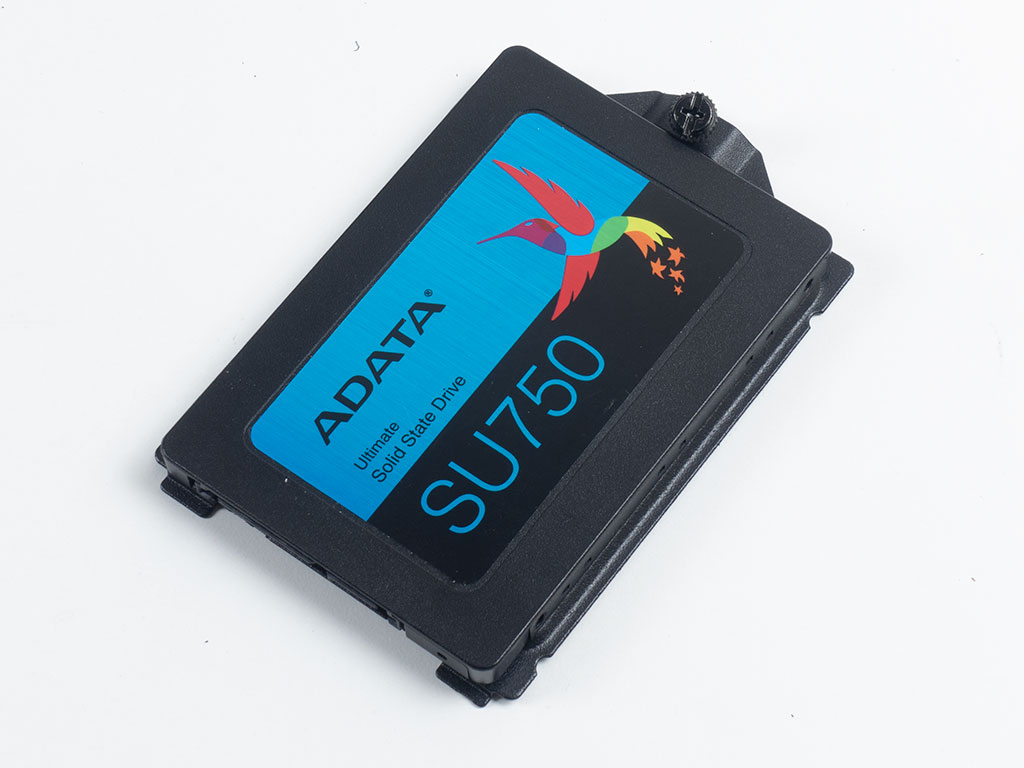
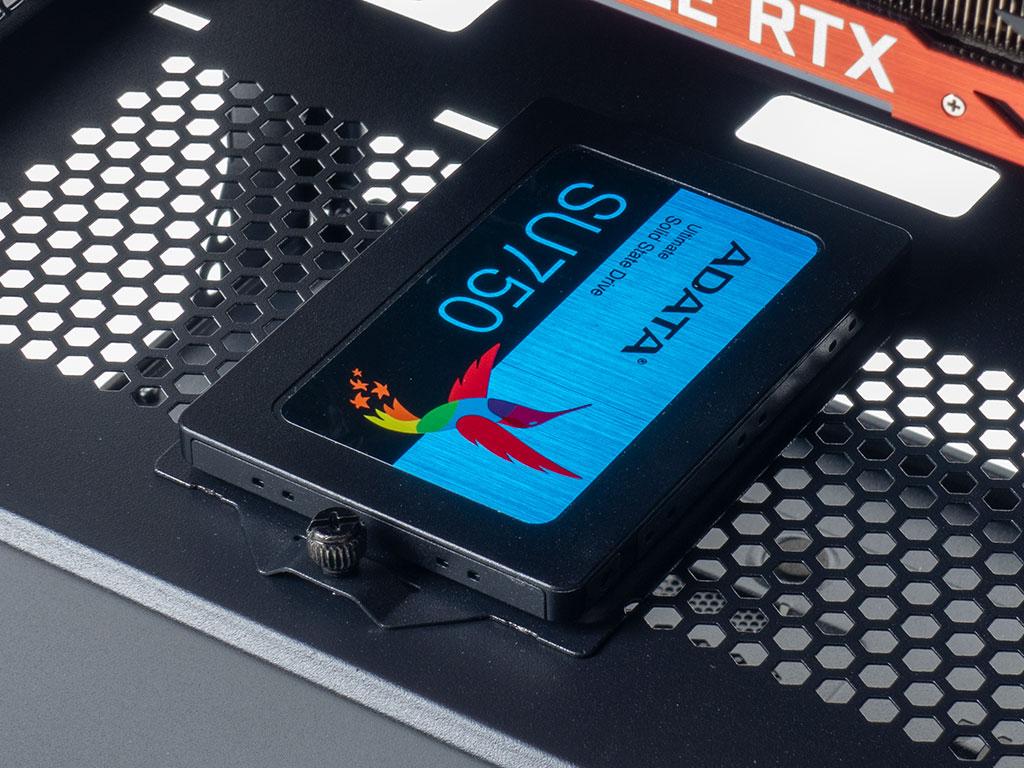
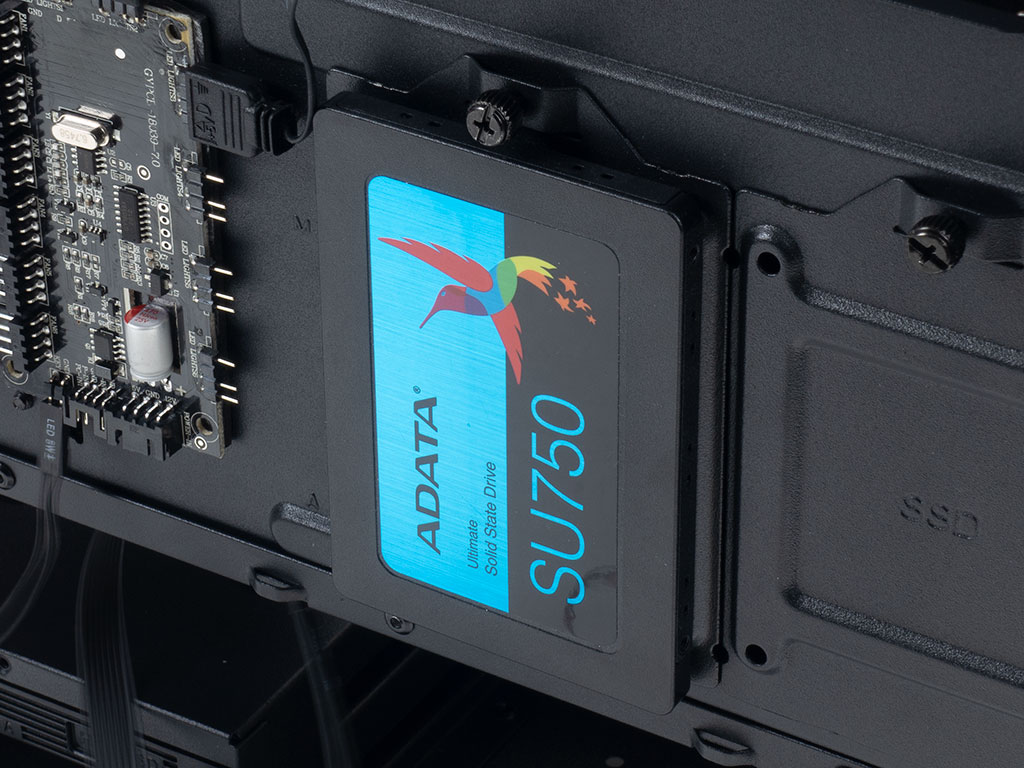
Adding a 2.5" SSD is simple as well. First, remove the tray from the case, fill it by using traditional screws, and put it back into place, securing it with the attached thumb screw. The drive aligns with the cable-routing hole on the shroud well, should you opt to show it off, but you may simply place it behind the motherboard tray as well.
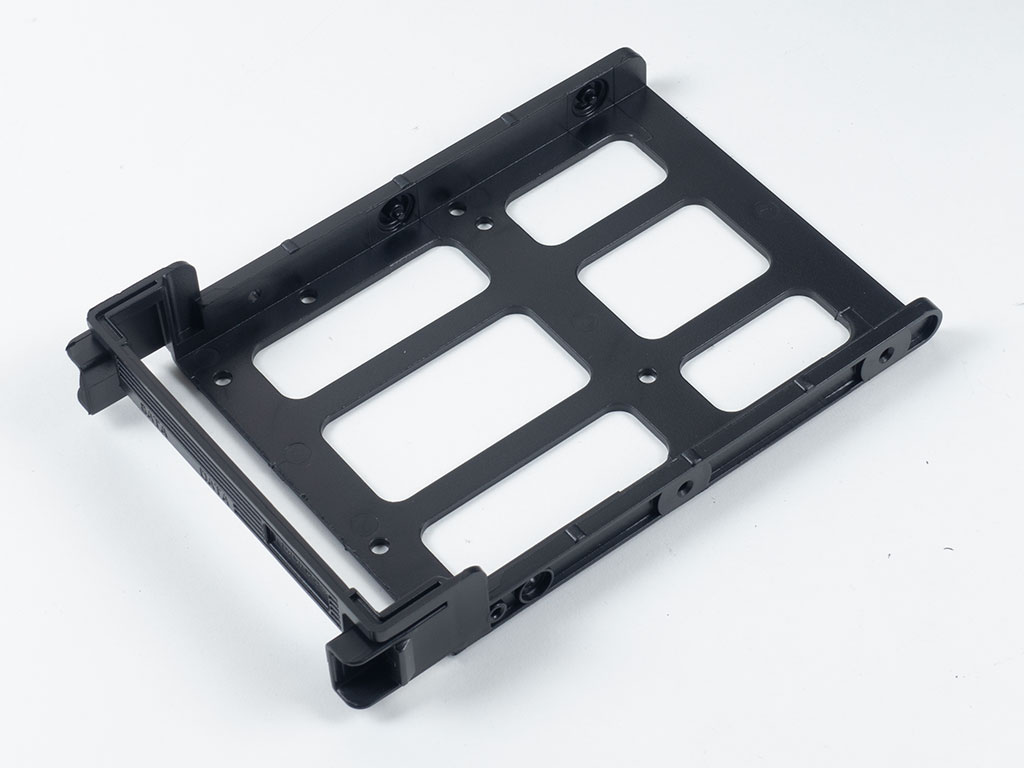
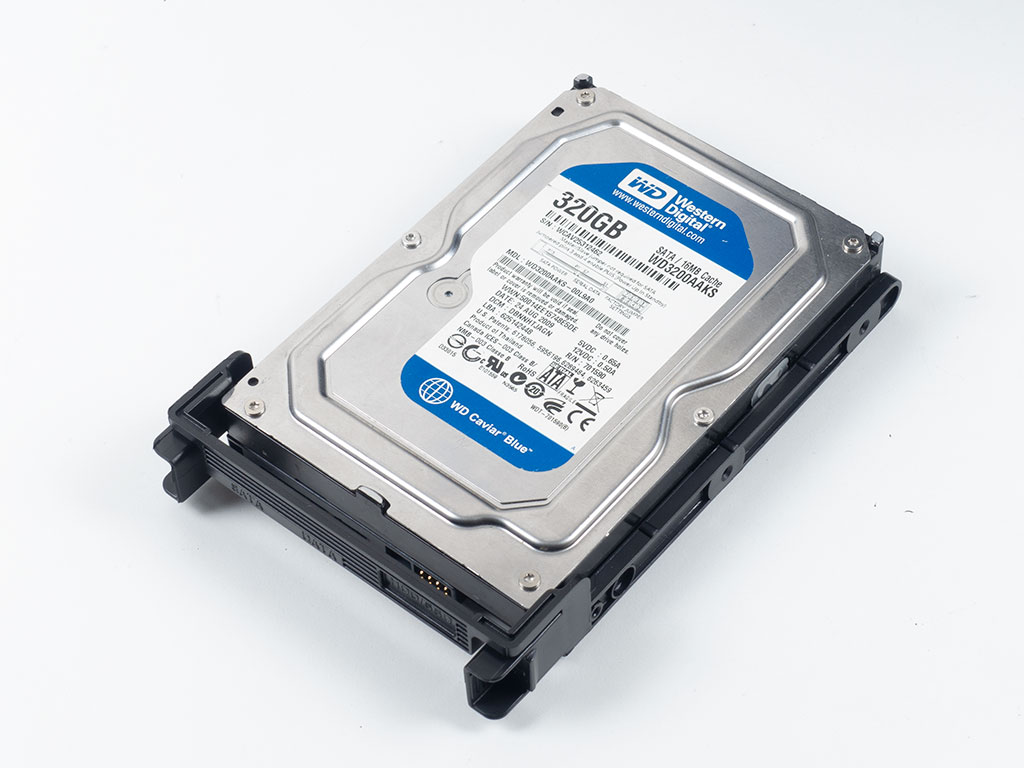
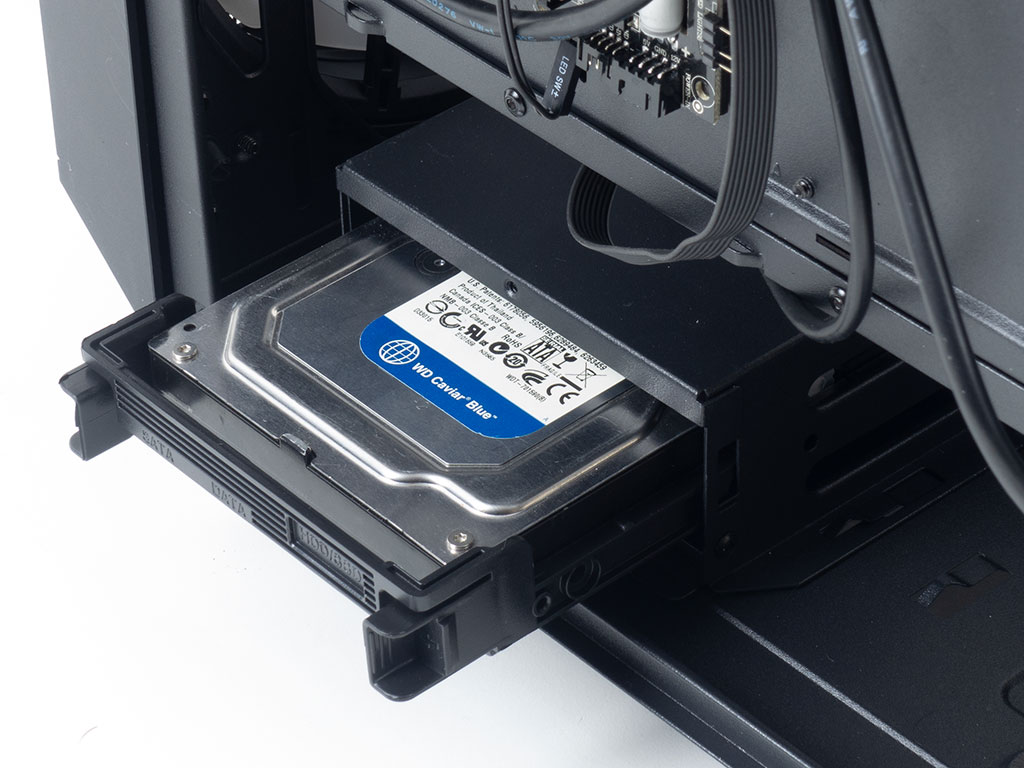
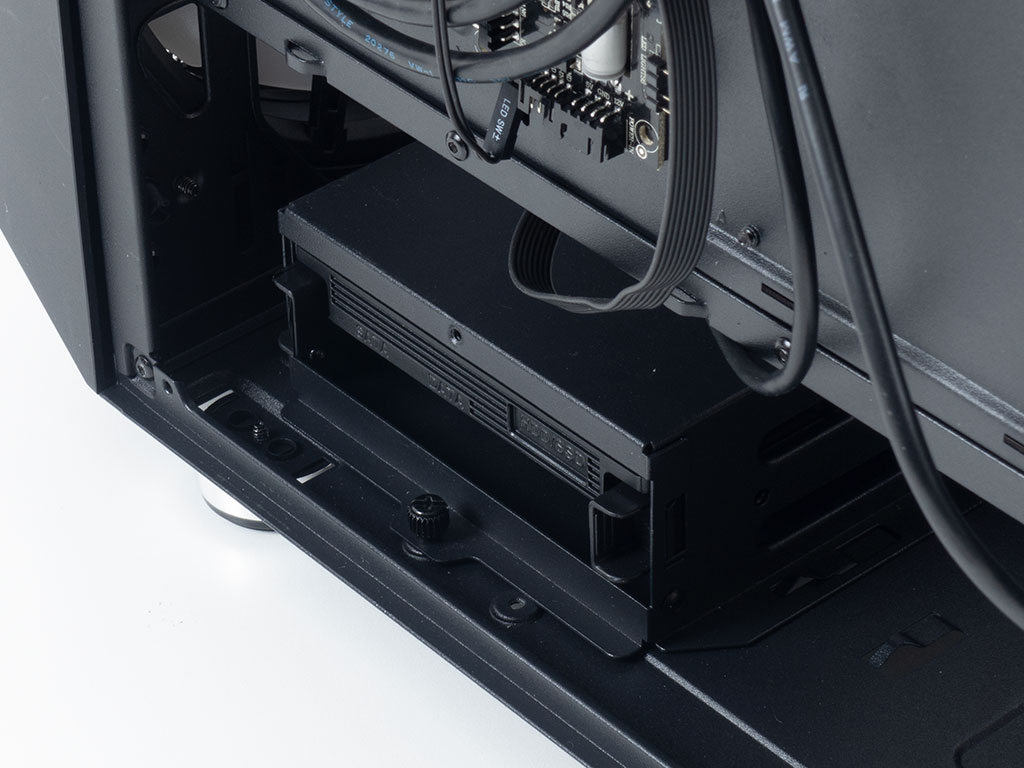
Installing a 3.5" drive using the included tray is completely tool-less as the drive is held in place by plastic pins. However, go with an extra-large drive (8 TB or more) and you will have to snip off the center pins and use two screws on the end of the tray to keep it secure. Once filled, simply slide the whole contraption in until it snaps down securely.
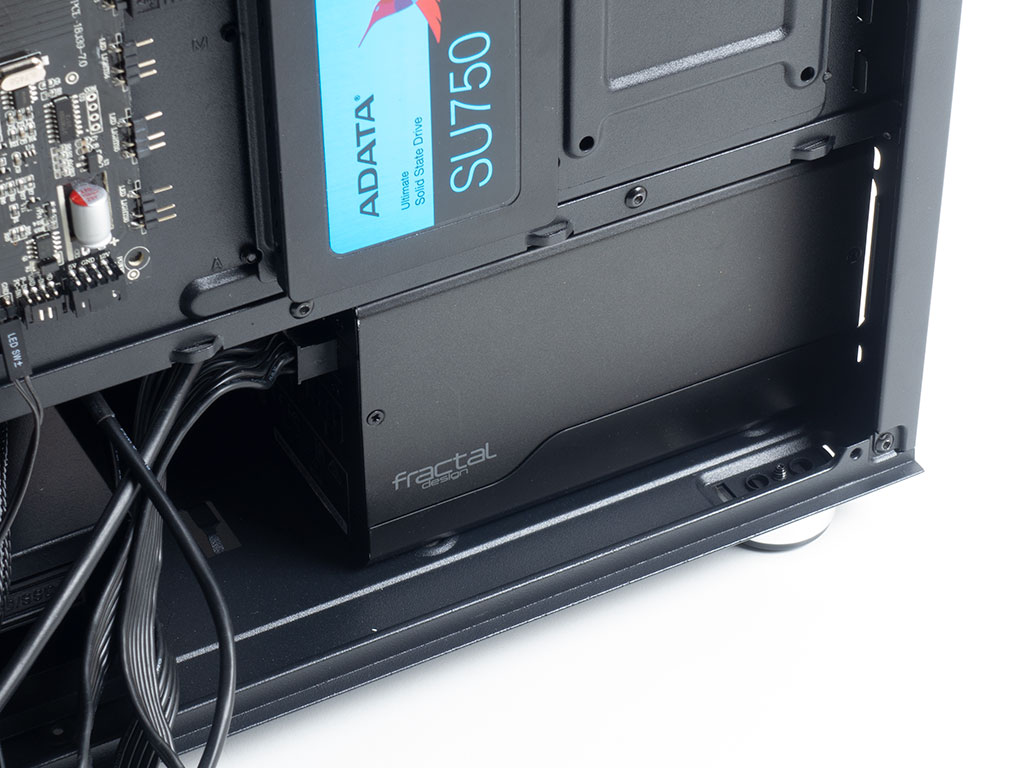
The PSU underneath the shroud is held down with traditional screws which are applied through the rear of the chassis. There is plenty of space—you should have no issues using high-capacity units within the Air X.
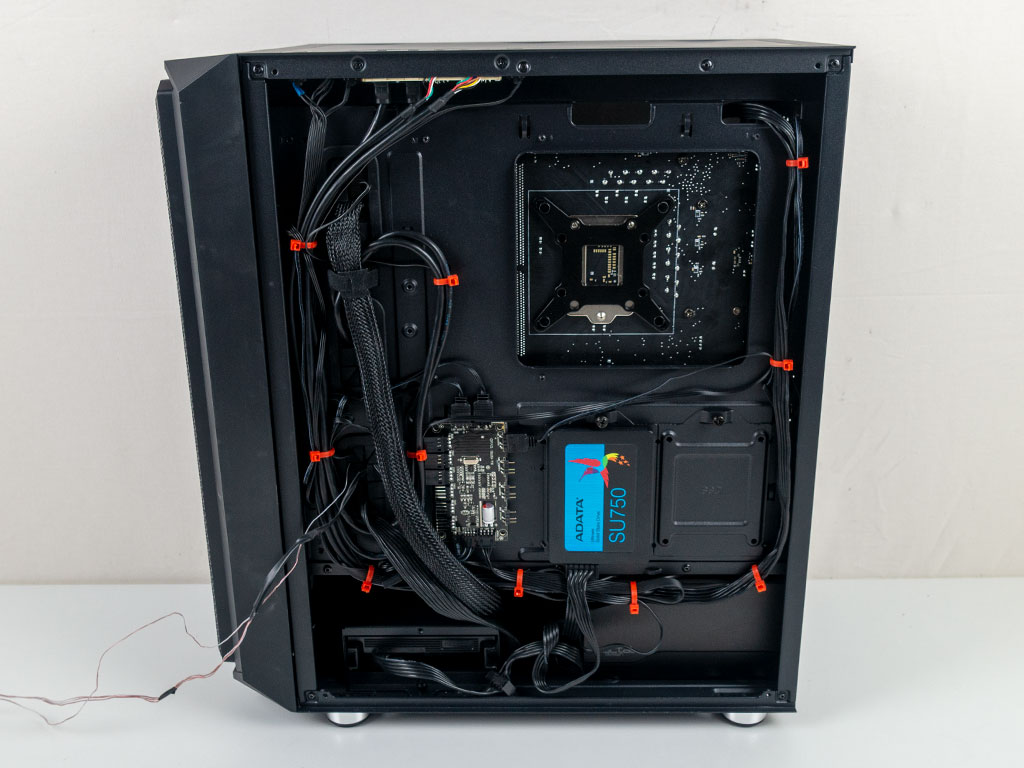
With everything installed, the Montech Air X makes a clean impression on the insides, but also allows for proper cable routing behind the motherboard tray. As you can clearly see by the red zip ties, there are a slew of well-placed locations to tie down any loose cables.
Finished Looks
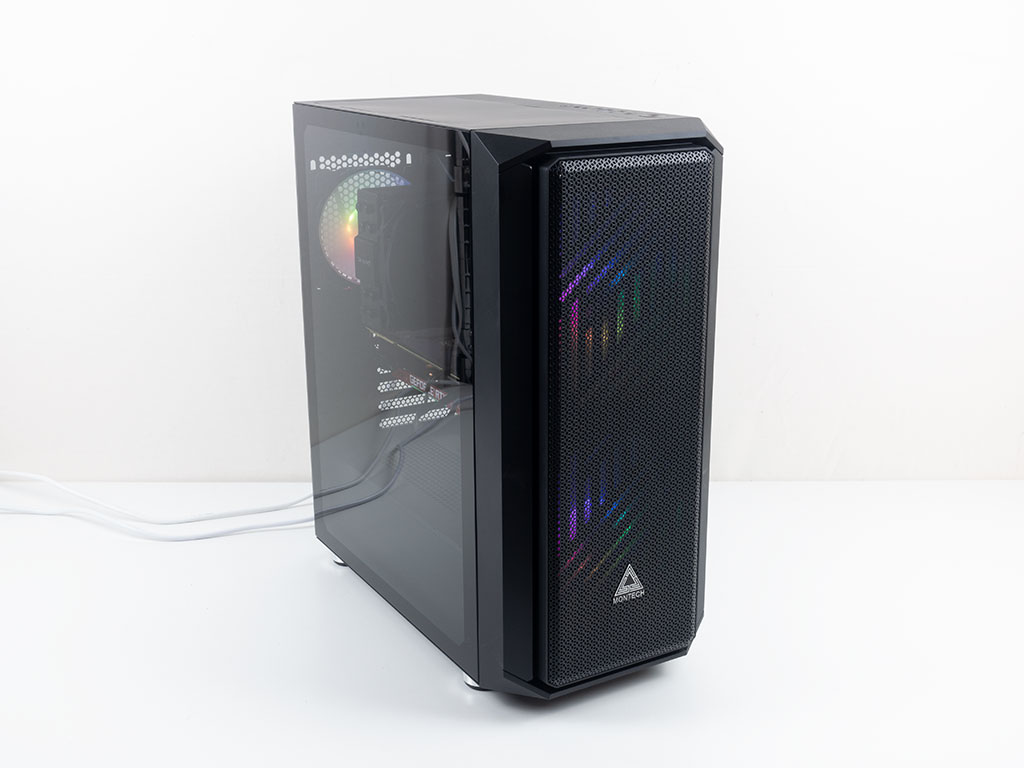
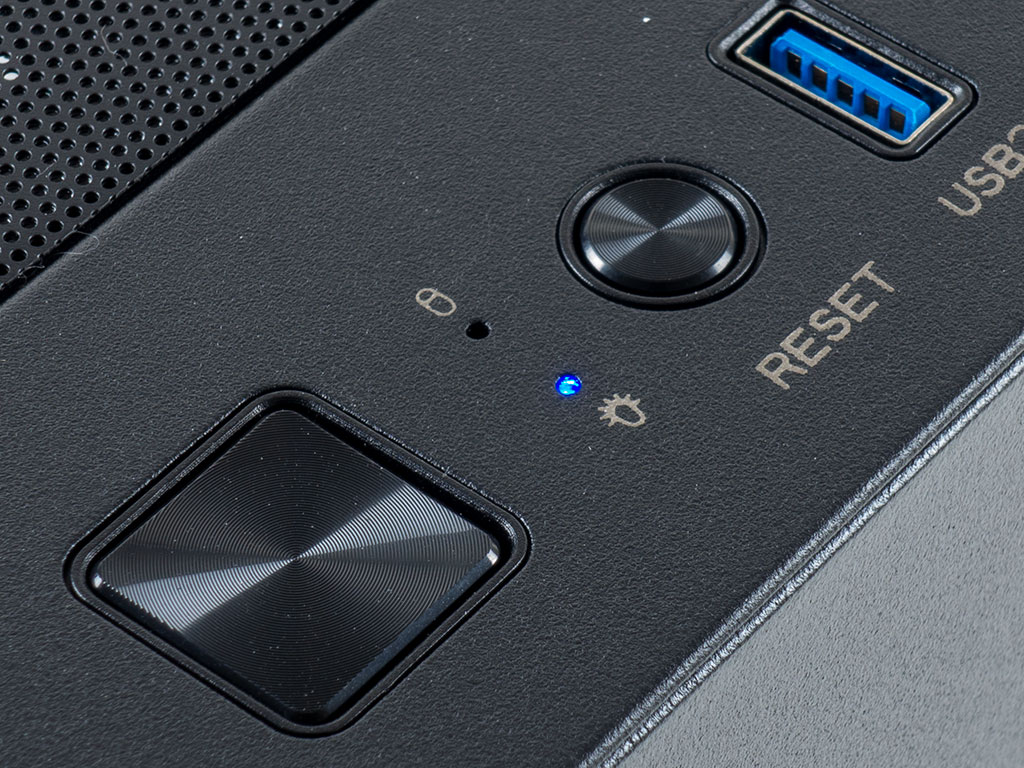
Once turned on, the fans emit a clean central glow from their hubs since the LEDs are located there. A blue LED in the top of the chassis also lets you know that the PC is up and running. Montech has included pretty fast-spinning fans, which translates into excellent temperatures, but also quite high noise levels. Luckily, you can easily adjust their speed in the motherboard BIOS to make things much quieter.
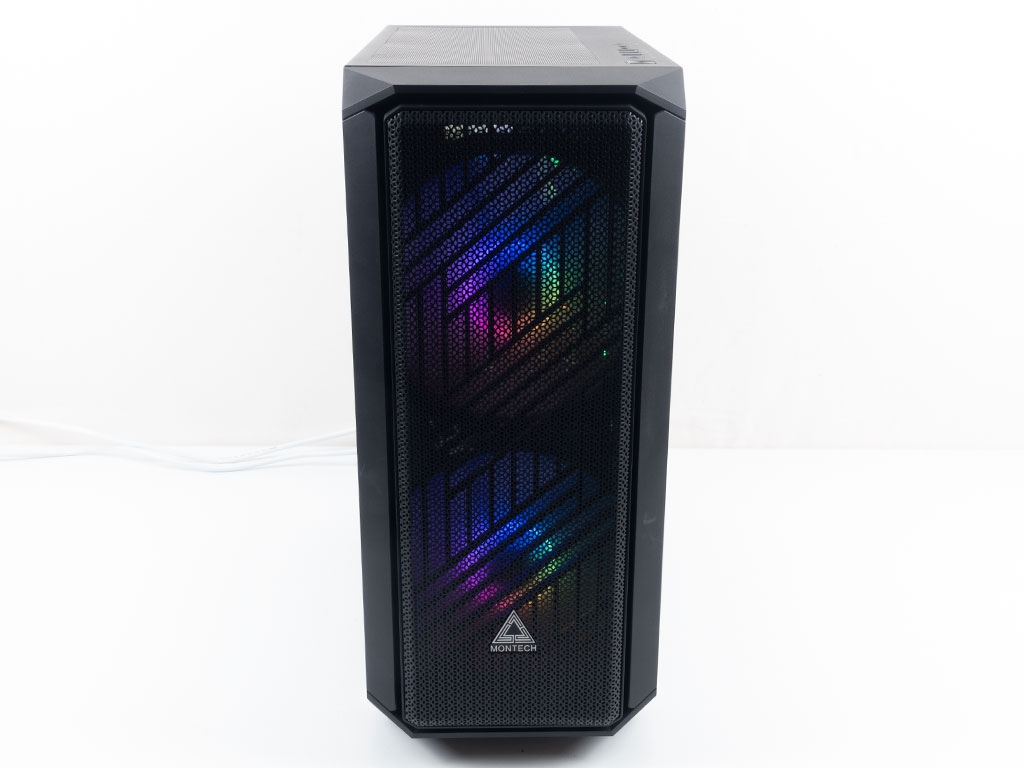
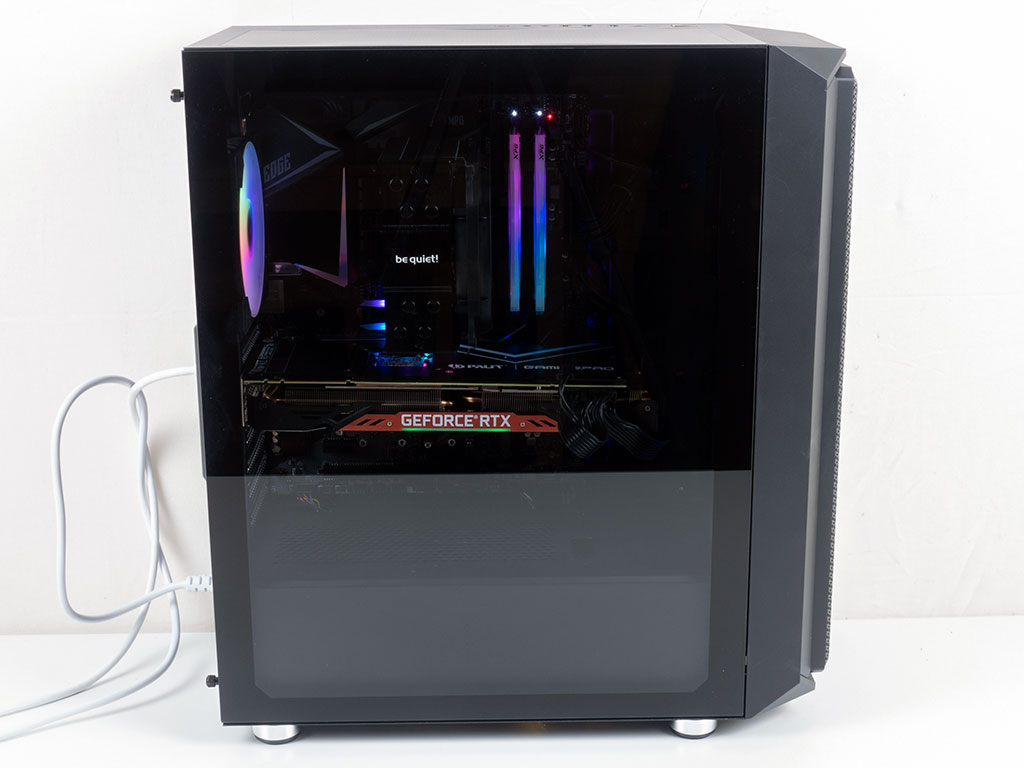
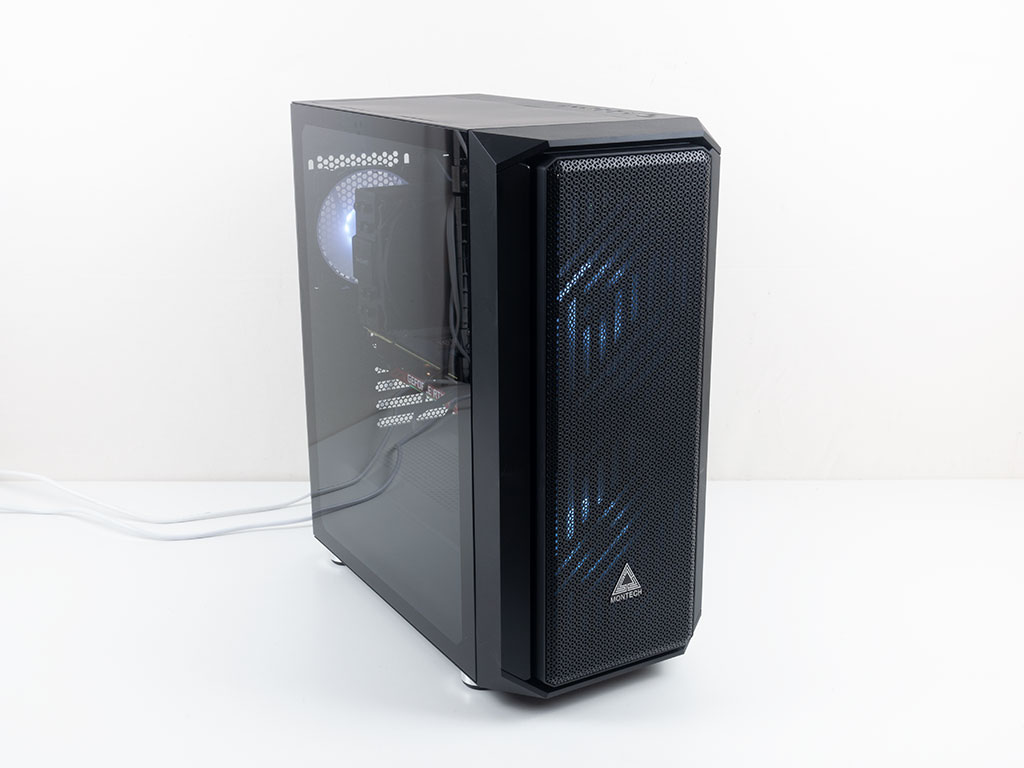
You can barely see the glow of the fans through the uniquely designed metal mesh, while the same holds true when looking at your parts though the window. Obviously, in a dark environment, the effects would be more apparent, but you may want to add a generic ARGB strip somewhere to really make everything bedazzle in most scenarios.
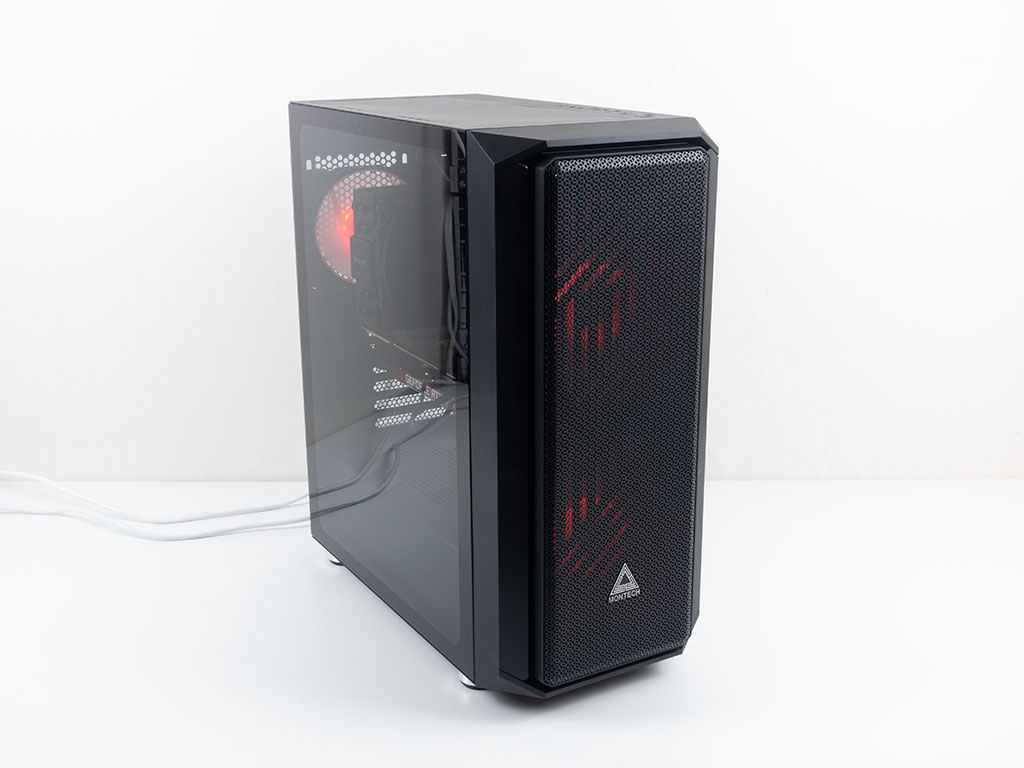
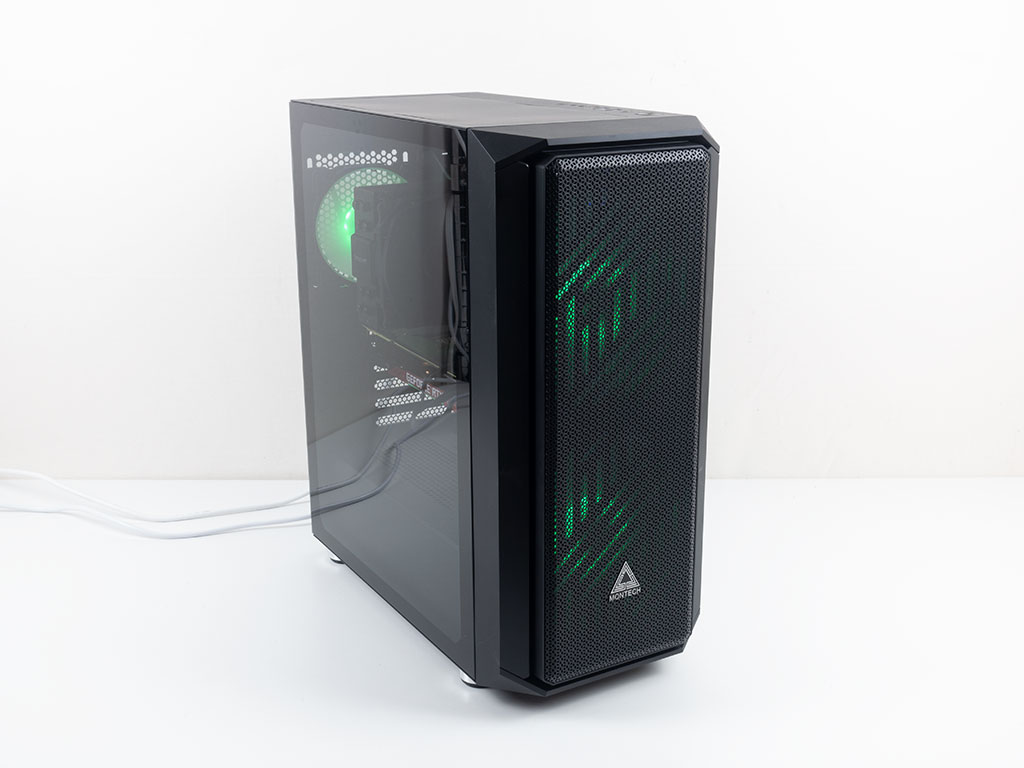

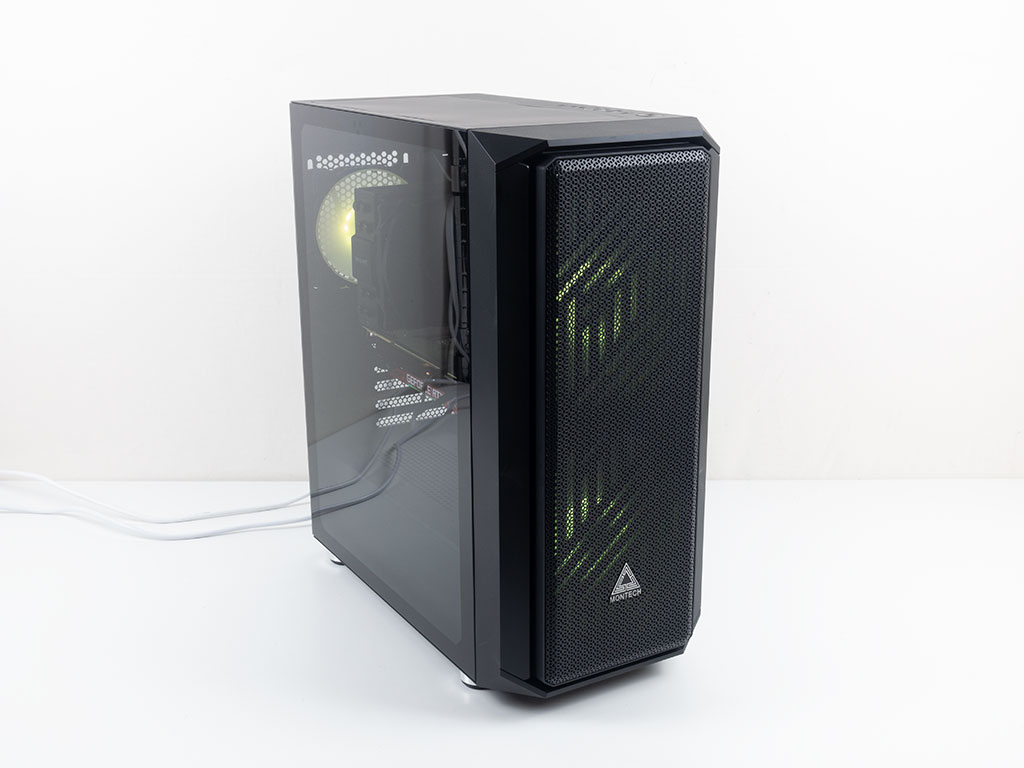

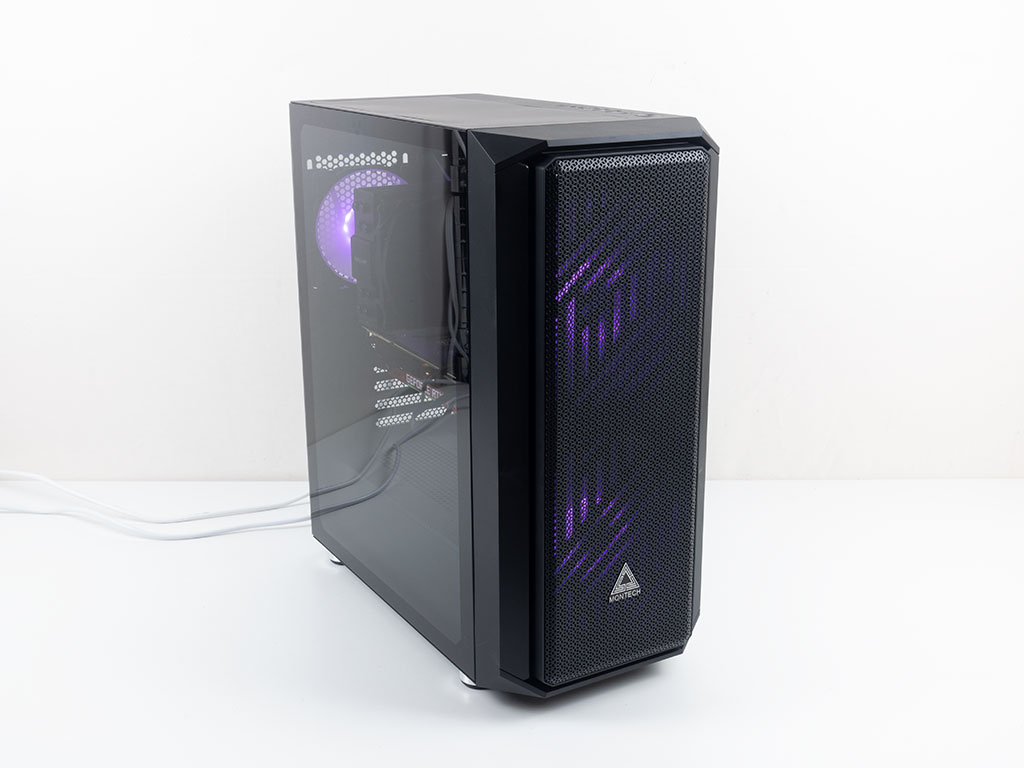
Thanks to the built-in controller, you may toggle through various lighting effects and the usual set of solid colors.
Apr 24th, 2025 10:41 EDT
change timezone
Latest GPU Drivers
New Forum Posts
- To distill or not distill what say ye? (84)
- Are the 8 GB cards worth it? (138)
- Help me identify Chip of this DDR4 RAM (34)
- The TPU UK Clubhouse (26167)
- AAF Optimus Modded Driver For Windows 10 & Windows 11 - Only for Realtek HDAUDIO Chips (442)
- What are you playing? (23456)
- 5060 Ti 8GB DOA (263)
- New GPU 5070 Ti or better CPU Ryzen7 7800X3D ? (13)
- Microcenter GPU Stock status (85)
- Help in overclocking the AMD Ryzen 7 7700 in ASUS TUF B650-PLUS WiFi Mobo (1)
Popular Reviews
- NVIDIA GeForce RTX 5060 Ti 8 GB Review - So Many Compromises
- Colorful iGame B860M Ultra V20 Review
- ASUS GeForce RTX 5060 Ti TUF OC 16 GB Review
- ASRock X870E Taichi Lite Review
- Upcoming Hardware Launches 2025 (Updated Apr 2025)
- Sapphire Radeon RX 9070 XT Pulse Review
- Sapphire Radeon RX 9070 XT Nitro+ Review - Beating NVIDIA
- NVIDIA GeForce RTX 5060 Ti PCI-Express x8 Scaling
- AMD Ryzen 7 9800X3D Review - The Best Gaming Processor
- ASUS GeForce RTX 5080 TUF OC Review
Controversial News Posts
- NVIDIA GeForce RTX 5060 Ti 16 GB SKU Likely Launching at $499, According to Supply Chain Leak (182)
- NVIDIA Sends MSRP Numbers to Partners: GeForce RTX 5060 Ti 8 GB at $379, RTX 5060 Ti 16 GB at $429 (127)
- NVIDIA Launches GeForce RTX 5060 Series, Beginning with RTX 5060 Ti This Week (115)
- Nintendo Confirms That Switch 2 Joy-Cons Will Not Utilize Hall Effect Stick Technology (105)
- Nintendo Switch 2 Launches June 5 at $449.99 with New Hardware and Games (99)
- Sony Increases the PS5 Pricing in EMEA and ANZ by Around 25 Percent (85)
- NVIDIA PhysX and Flow Made Fully Open-Source (77)
- Windows Notepad Gets Microsoft Copilot Integration (75)