 2
2
Montech Fighter 600 Review - A Solid & Compact Budget Case
Temperature & Noise Testing »Test System
| System Parts for Case Reviews | |
|---|---|
| Processor: | Intel Core i5-9600K |
| Motherboards: | ATX: MSI Z390 GAMING EDGE AC MATX: Z370M GAMING EDGE AC Mini-ITX: MSI Z370I GAMING EDGE AC Provided by: MSI |
| Graphics Card: | ATX/mATX: Palit GeForce RTX 2080 Gaming Pro OC ITX: EVGA GTX 1650 SC Ultra Black 4 GB |
| Memory: | 16 GB XPG GAMMIX D30 DDR4 2666 MHz CL16-18-18 1.20 V 16 GB XPG SPECTRIX D60G DDR4 3000 MHz CL16-18-18 1.35 V Provided by: ADATA |
| HDD: | Western Digital 320 GB 7200 RPM |
| SSD: | ITX: ADATA SX6000 Pro M.2 256 GB mATX: ADATA GAMMIX S11 Pro M.2 256 GB ATX: ADATA SPECTRIX S40G M.2 256 GB ADATA XPG SX850 256 GB ADATA Ultimate SU630 240 GB ADATA Ultimate SU750 256 GB Provided by: ADATA |
| Power Supply: | Fractal Design ION+ 750W 80 Plus Platinum |
| Cooling: | be quiet! Dark Rock 4 be quiet! Dark Rock Slim be quiet! Shadow Rock LP Provided by: be quiet! |
Assembly
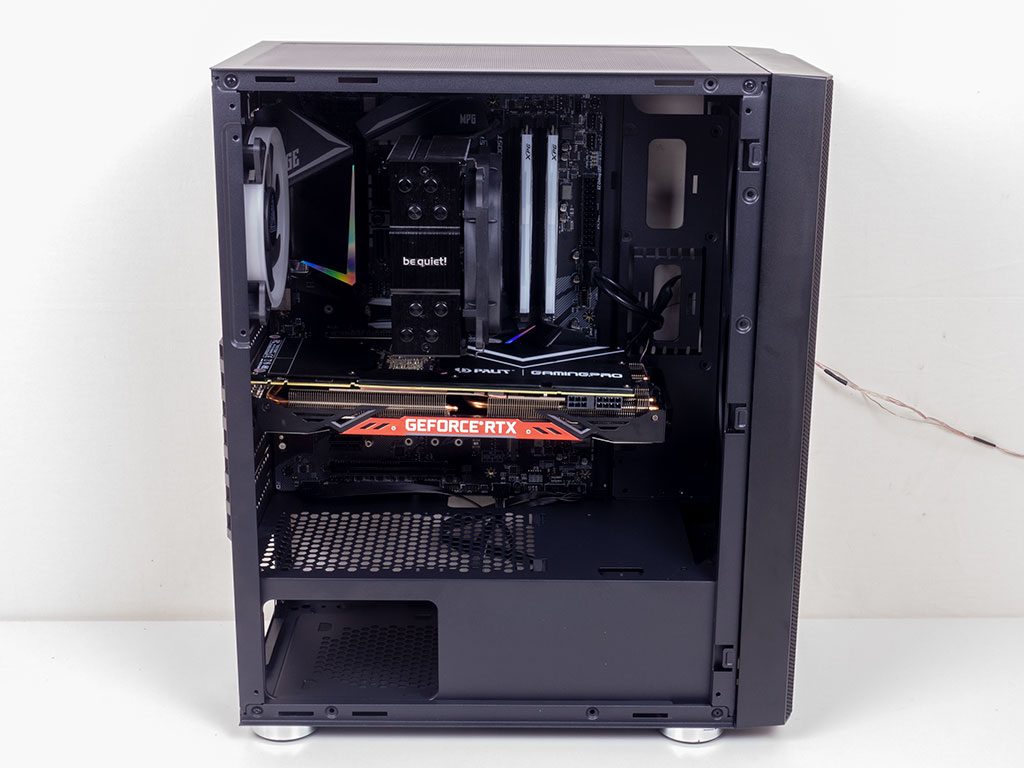
Installing the motherboard is done by traditional means, with spacers and screws. As you can see, there is barely any room around the edges, but you should still be able to get to all the important connections well. Also, as the Fighter 600 is so short, really long GPUs could get in the way of a thin radiator, but the Palit GeForce RTX 2080 still fits just fine.
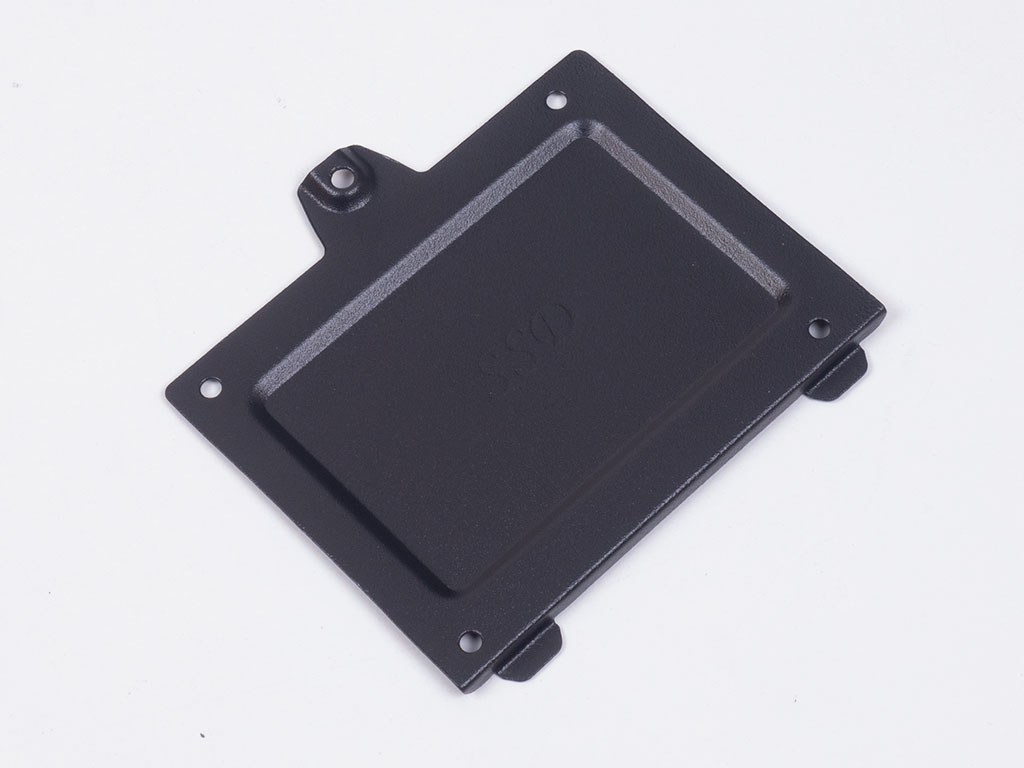
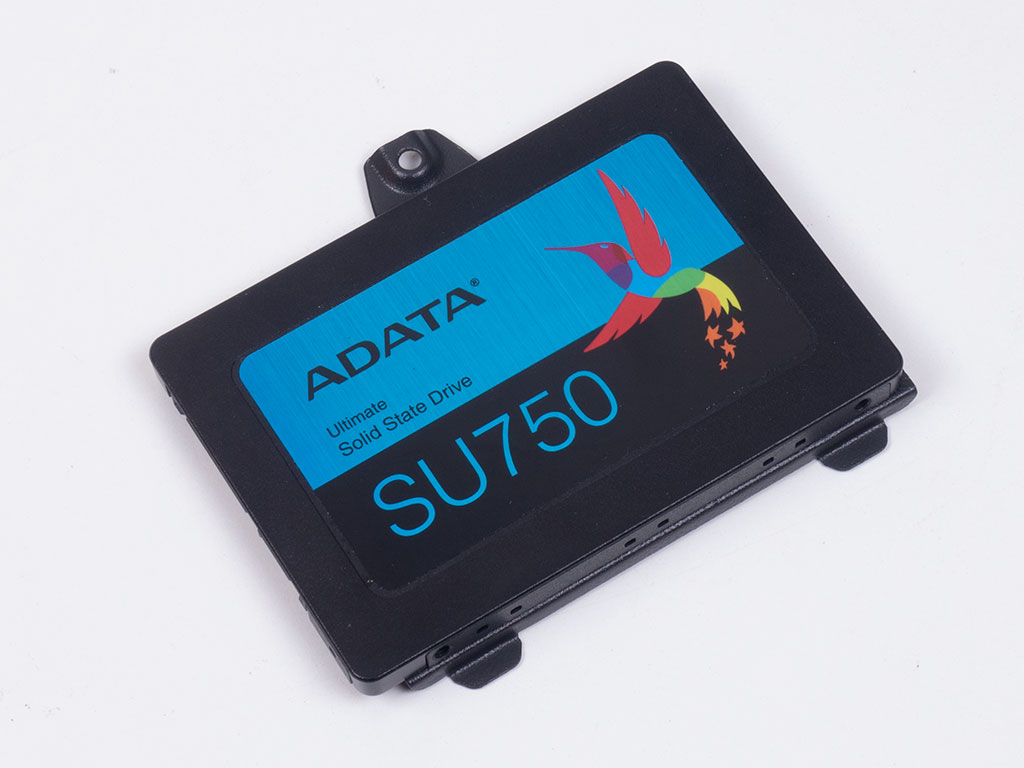
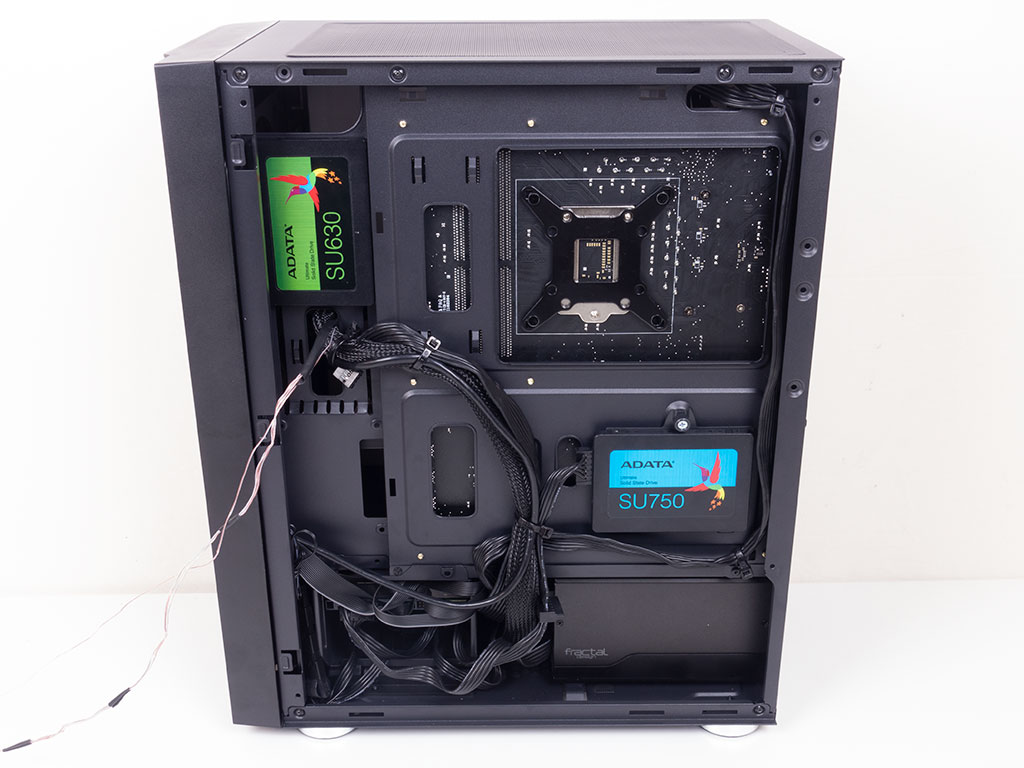
Adding an SSD using the tray is definitely the easiest way, as you may secure the SSD outside of the confines of the case. Once the tray is filled, simply put it back into place and secure it with the thumb screw.
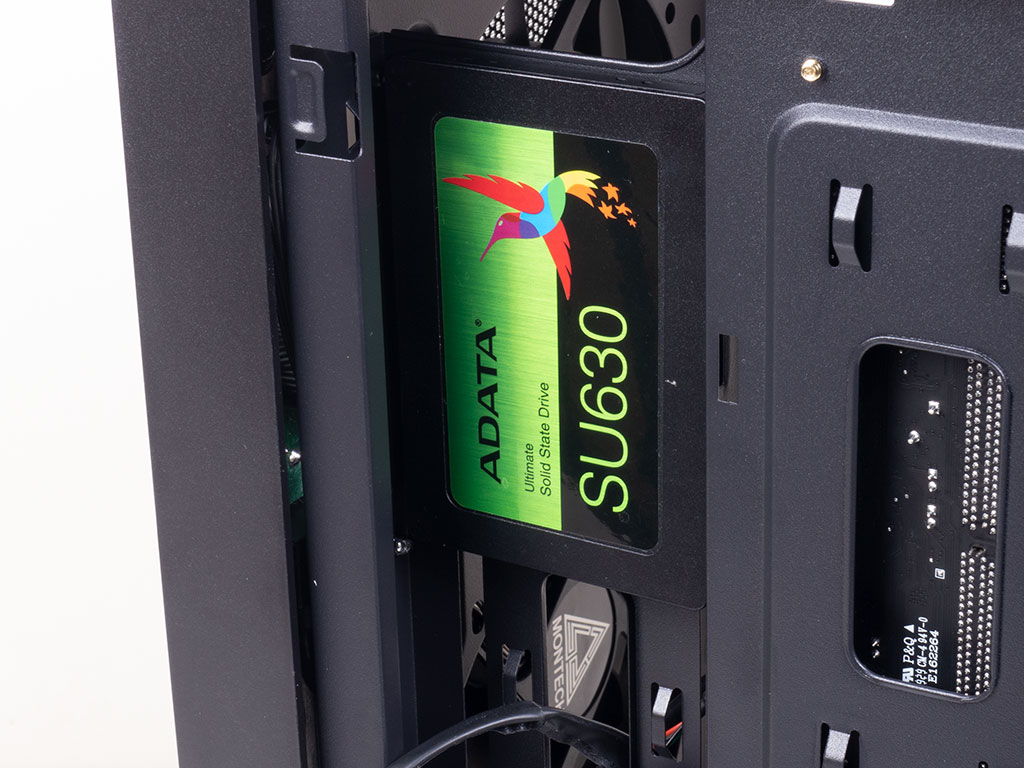
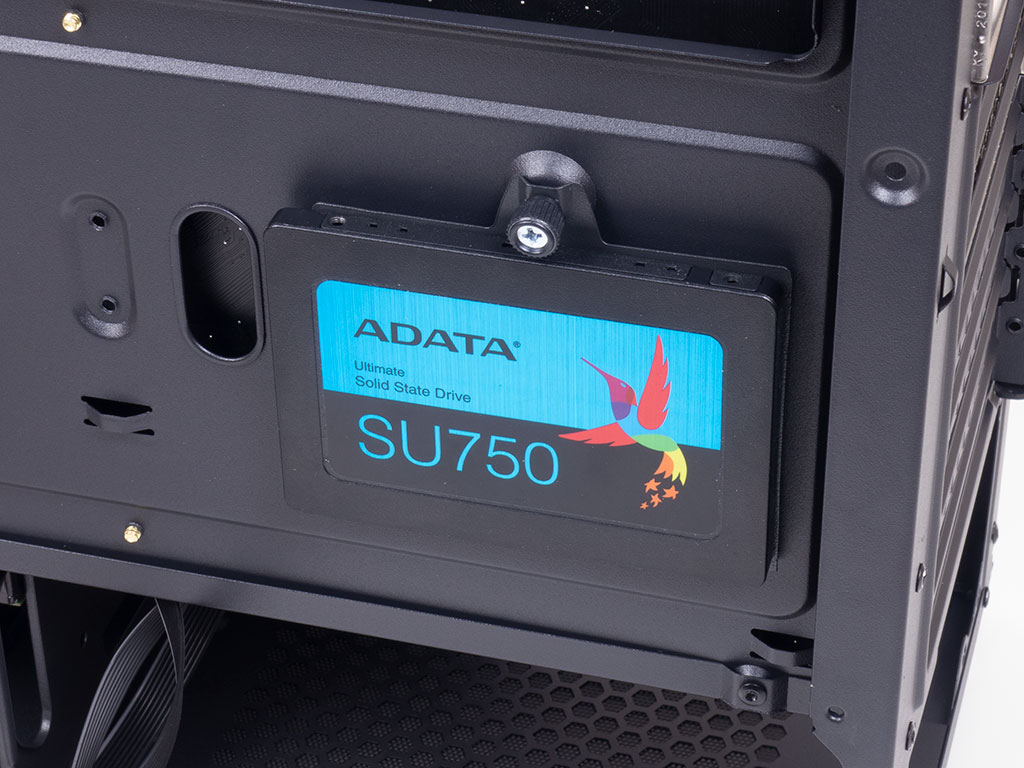
Installing a drive in the trench, as I call it, means you have to get to the screw holes through the interior. If you have a radiator installed, you will not be able to reach two of the four holes for each of the drives.
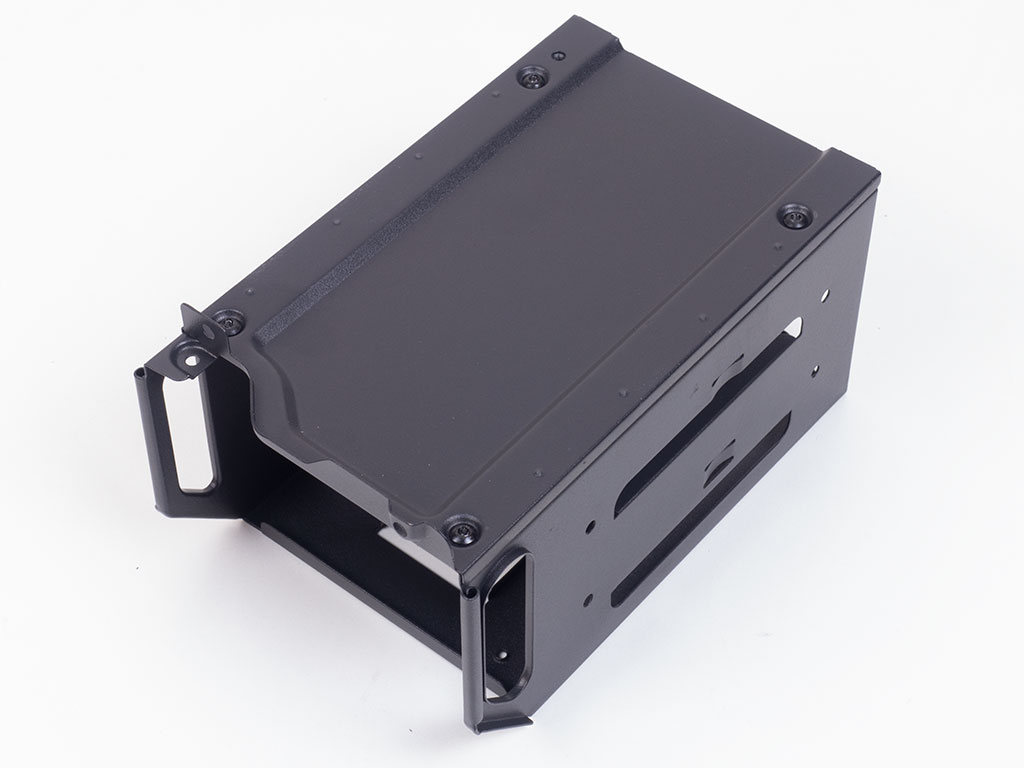
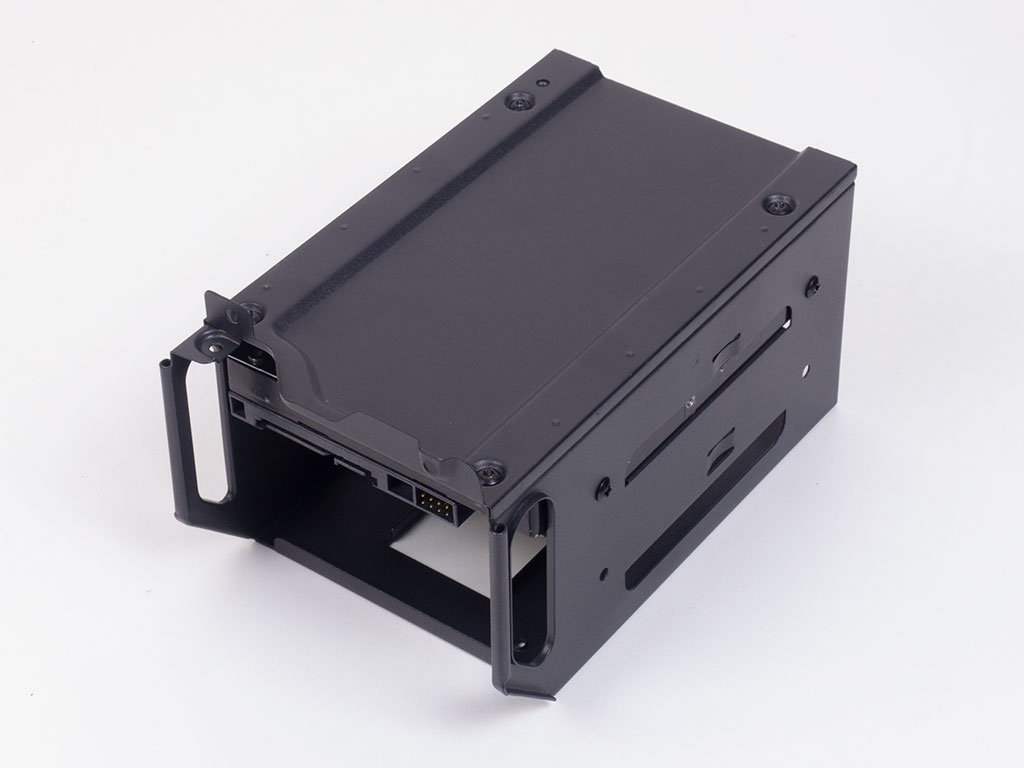
To add 3.5" drives, pull the whole tray out and utilize classic screws to hold the drive in place. The connectors of the drive line up with the cage nicely—plugging in the SATA data and power cables should work well.
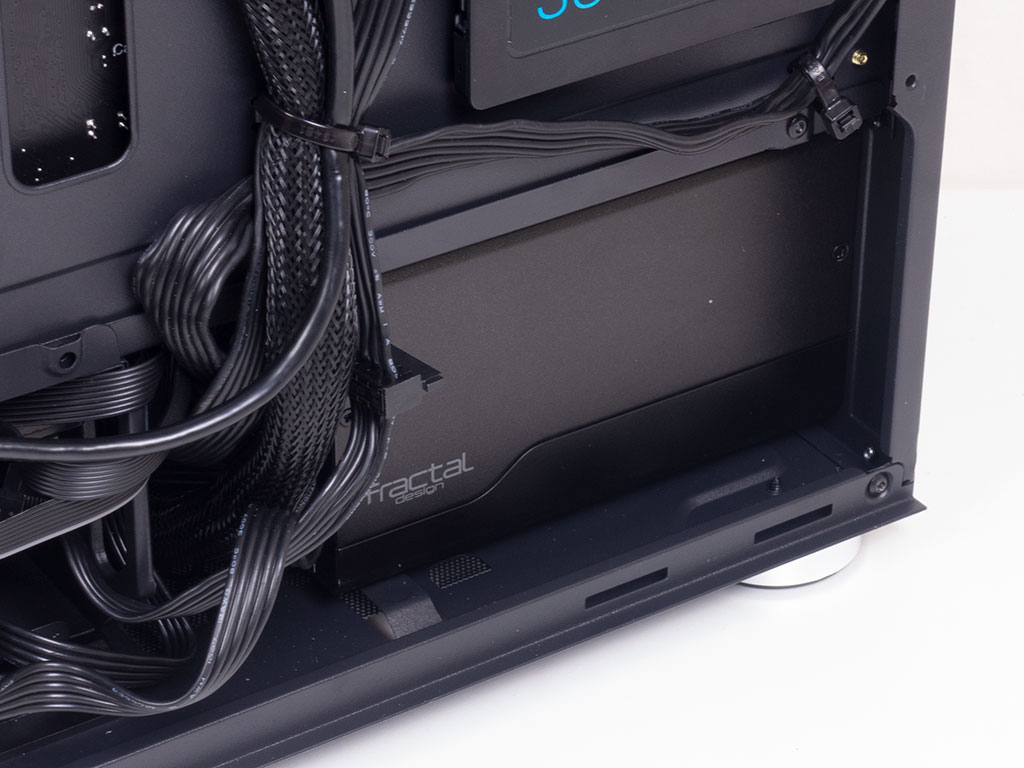
Adding a PSU underneath the shroud is pretty straightforward, and while the Fractal Design unit fits just fine, you won't be able to put in an extra-long variant. That having been said, the target audience for the Fighter 600 will be perfectly happy with a solid 650 or 750 W unit, which will easily find room.
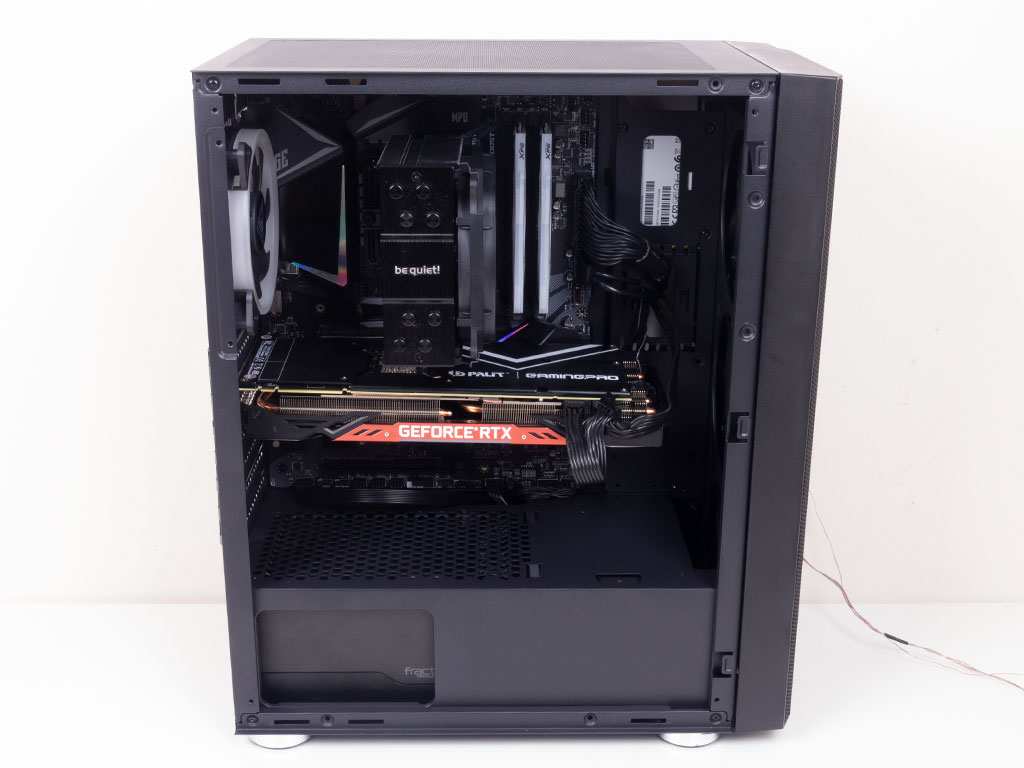
With everything installed, the interior does not really look as clean as with other cases. This is due to SSD spots getting in the way of some of the cable-routing when filled, and the fact that the audio cord needs to run all the way across the bottom edge of the board, which is a little unfortunate because it clashes with the very clean windowed panel a little bit.
Finished Looks
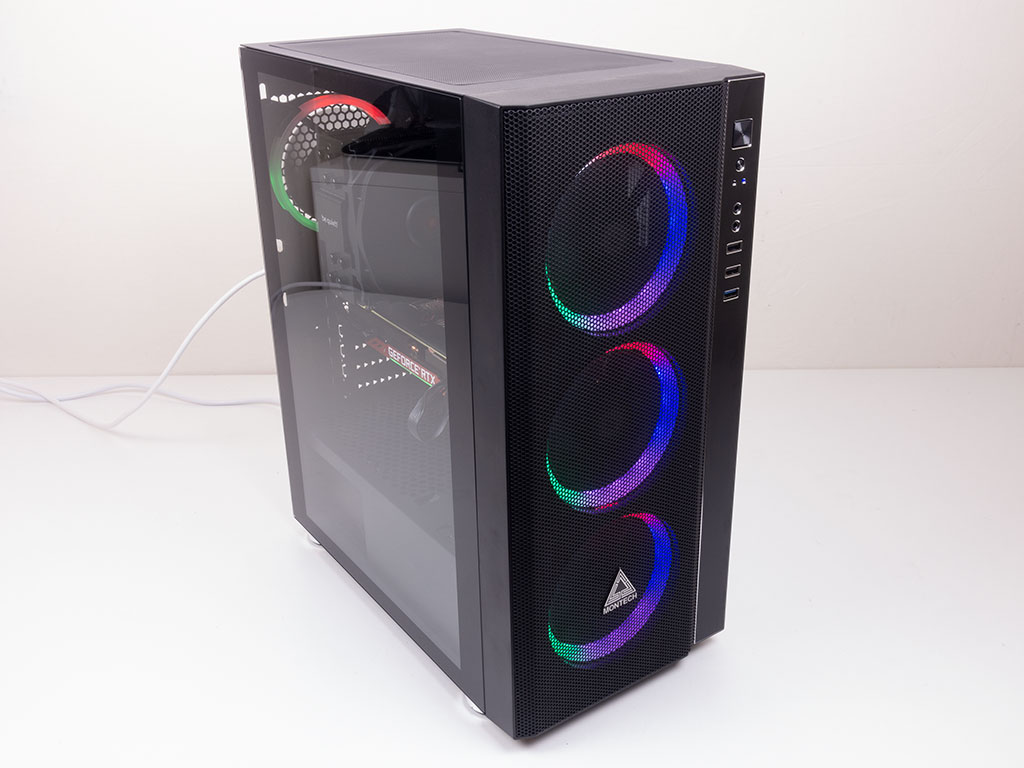
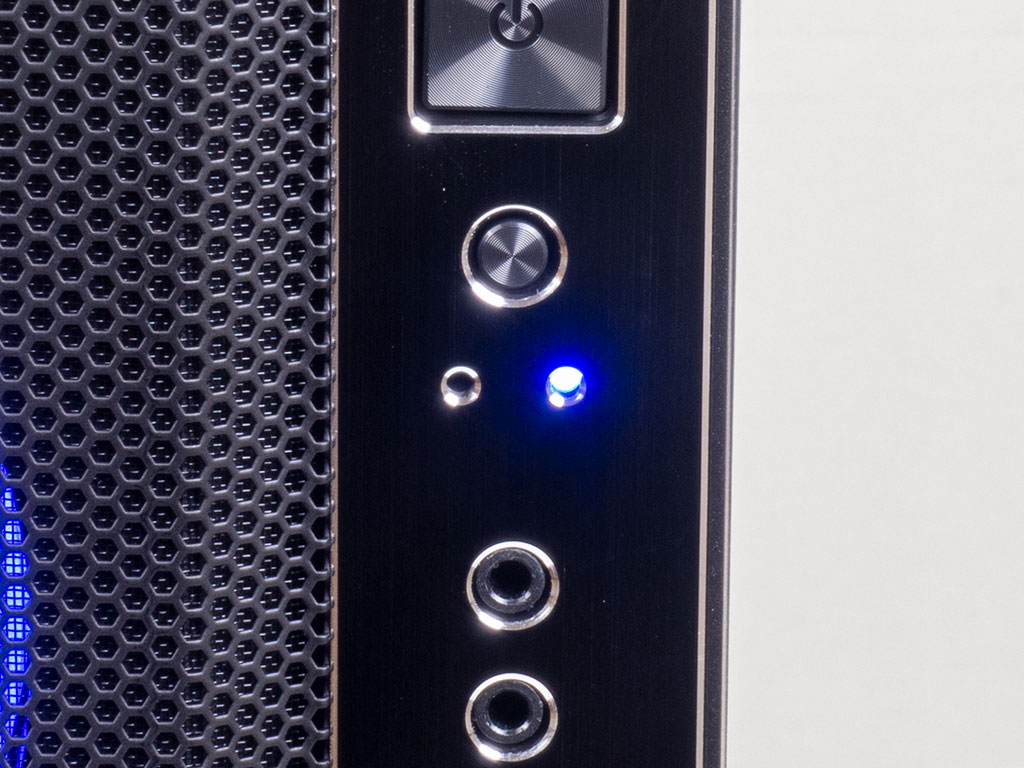
Once turned on, the LEDs in the fans also turn on in their fixed color configuration. As you can see, the rear fan lights up differently from those in the front, which is unfortunate. At this point, I would have rather seen LED fans of a single color, maybe white instead, but that is subjective. A small blue LED in the aluminium strip lights up to let you know the system is up and running.
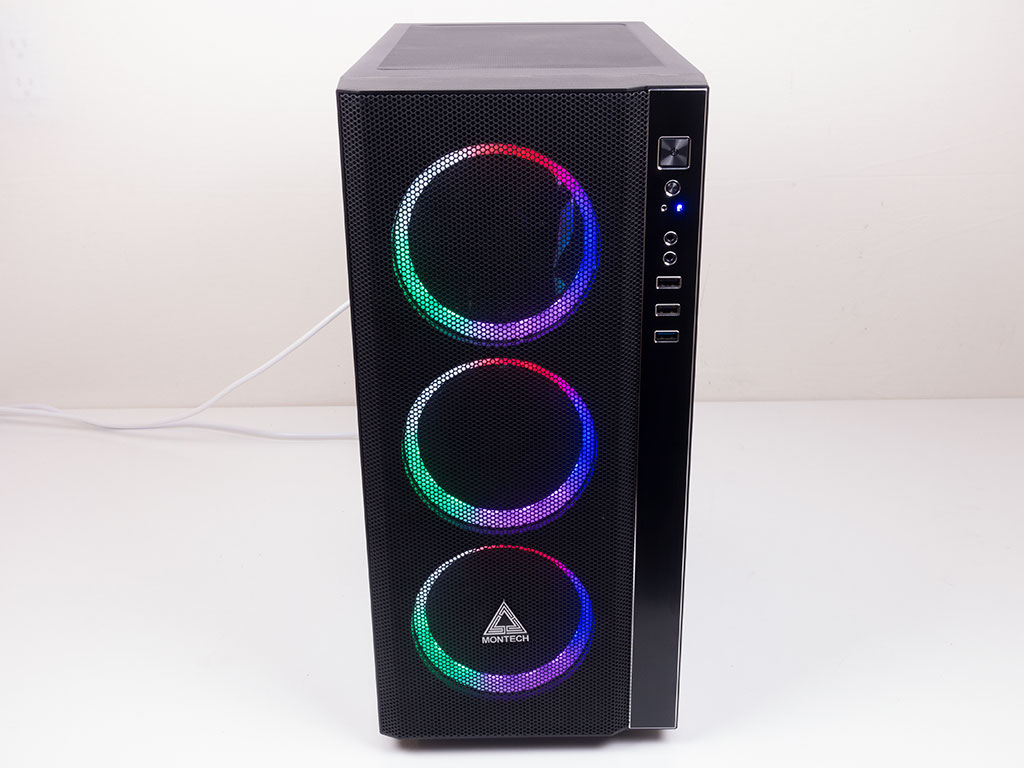

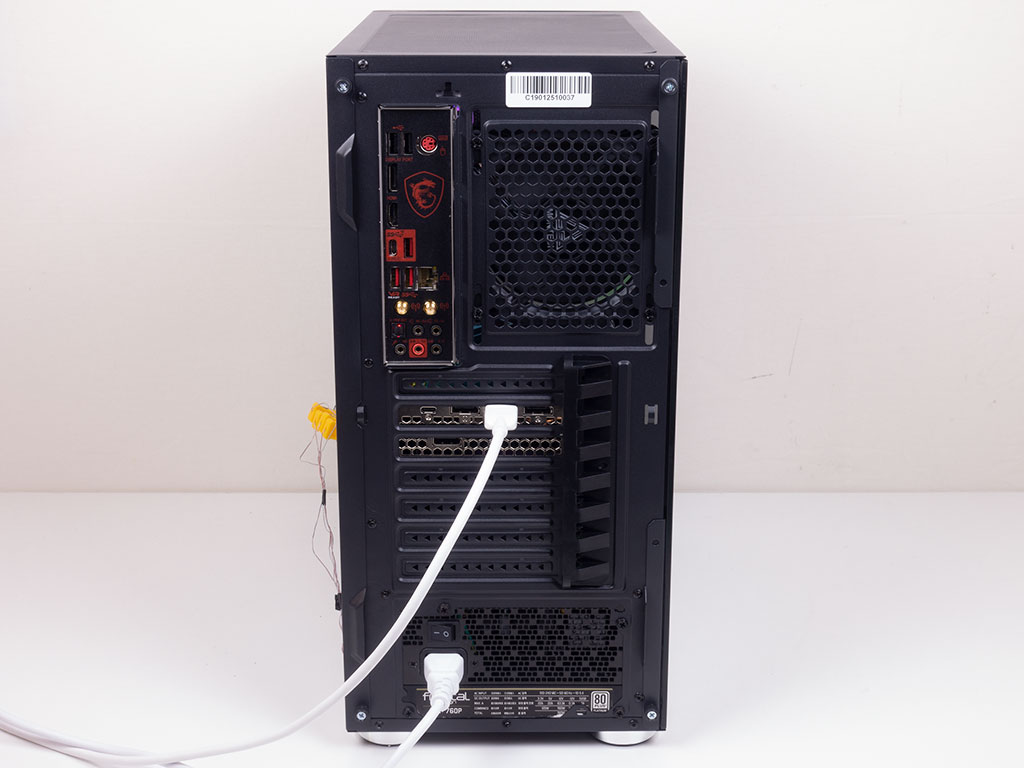
On the upside, the fans in the front line up well with both the mesh and the Montech logo, while the clear and clean side panel will easily show off all your parts inside as well. In the rear, everything is where you would expect it to be in a modern PC case.
Feb 27th, 2025 11:32 EST
change timezone
Latest GPU Drivers
New Forum Posts
- Samsung 870 EVO - Beware, certain batches prone to failure! (1248)
- Opinions on the drive config for new build please (26)
- Windows 11 General Discussion (5718)
- Should I make a thermal maintenance on my GPU? (76)
- It's happening again, melting 12v high pwr connectors (939)
- getting ready for dual 5090, Functional protype on dual 4090 (74)
- Is this temp normal for CPU? (3)
- 572.42 Drivers, Screen Blacking Out? (29)
- Amd rx570 sapphire nitro 8gb+ not detected (8)
- Just a rant about AMD and their so-called "foolproofness" (121)
Popular Reviews
- Corsair Xeneon 34WQHD240-C Review - Pretty In White
- ASUS GeForce RTX 5070 Ti TUF OC Review
- Corsair Virtuoso MAX Wireless Review
- Montech HyperFlow Silent 360 Review
- Gigabyte X870 Aorus Elite WiFi 7 Review
- MSI GeForce RTX 5070 Ti Ventus 3X OC Review
- AMD Ryzen 7 9800X3D Review - The Best Gaming Processor
- MSI GeForce RTX 5070 Ti Vanguard SOC Review
- MSI GeForce RTX 5070 Ti Gaming Trio OC+ Review
- Montech TITAN PLA 1000 W Review
Controversial News Posts
- NVIDIA GeForce RTX 50 Cards Spotted with Missing ROPs, NVIDIA Confirms the Issue, Multiple Vendors Affected (497)
- AMD Radeon 9070 XT Rumored to Outpace RTX 5070 Ti by Almost 15% (304)
- AMD Plans Aggressive Price Competition with Radeon RX 9000 Series (274)
- AMD Radeon RX 9070 and 9070 XT Listed On Amazon - One Buyer Snags a Unit (253)
- NVIDIA Investigates GeForce RTX 50 Series "Blackwell" Black Screen and BSOD Issues (244)
- Edward Snowden Lashes Out at NVIDIA Over GeForce RTX 50 Pricing And Value (241)
- AMD Denies Radeon RX 9070 XT $899 USD Starting Price Point Rumors (239)
- AMD Mentions Sub-$700 Pricing for Radeon RX 9070 GPU Series, Looks Like NV Minus $50 Again (219)