 13
13
Mountain Mods U2-UFO Choose Your Own Case Review
Installation »A Closer Look
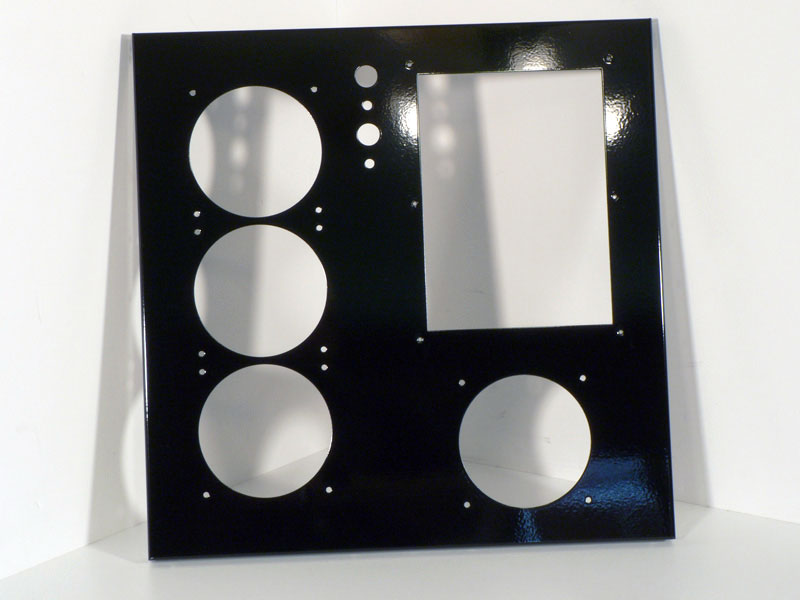

The front panel chosen for our Mountain Mods U2-UFO CYO case was the Standard with spacing for a triple Swiftech or Black Ice radiator along the left side. The rear panel selected was the Standard as well, with spacing for a dual Swiftech or Black Ice radiator and room for two power supplies. Mountain Mods recommends using the lower PSU mount for any power supply over six pounds. And since most users will only have one power supply to install, Mountain Mods includes an acrylic panel that matches your color choice to fill in the other PSU mount not being used.

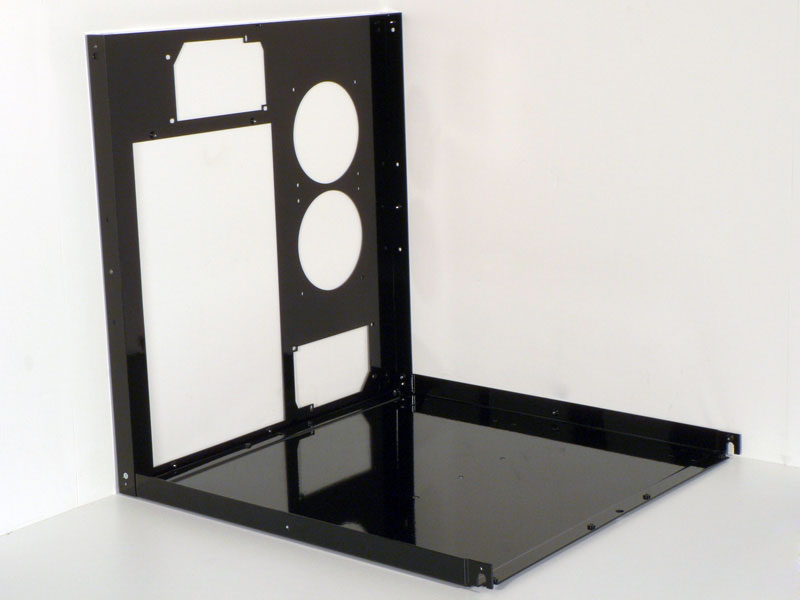

To start the assembly of the case, the bottom panel needs to be joined to the front and rear panels. One really great thing about this case is the "hyper modular" nature of the case. The rear panel can be installed 0, 90, 180 or 270 degrees from the lower panel. The front panel can be installed the same way, but 0 or 180 degrees are recommended due to the way the bay devices would be positioned. If the rear panel is to be installed at 90 or 270 degrees, an optional horizontal motherboard brace should be purchased when ordering.


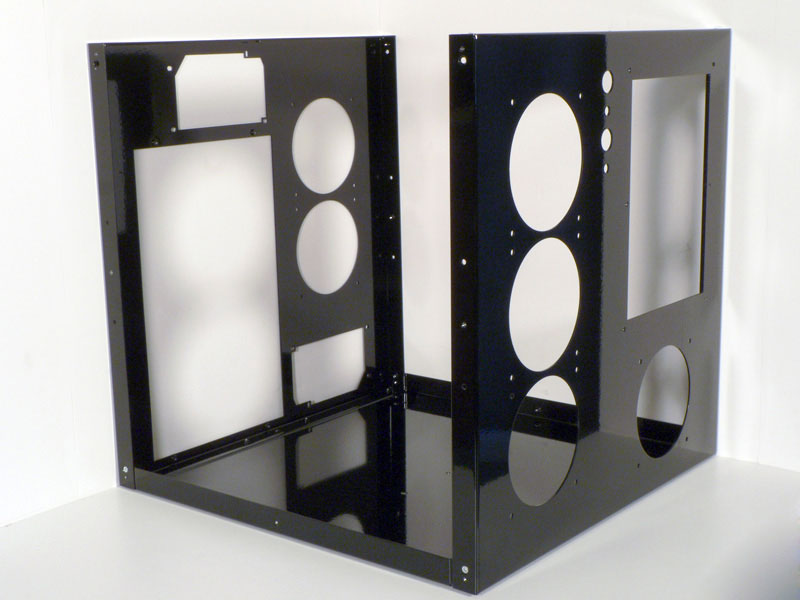
There are two long braces that are meant to be installed along the top edges of the sides. These are installed into the case in a similar manner as the front and rear panels.
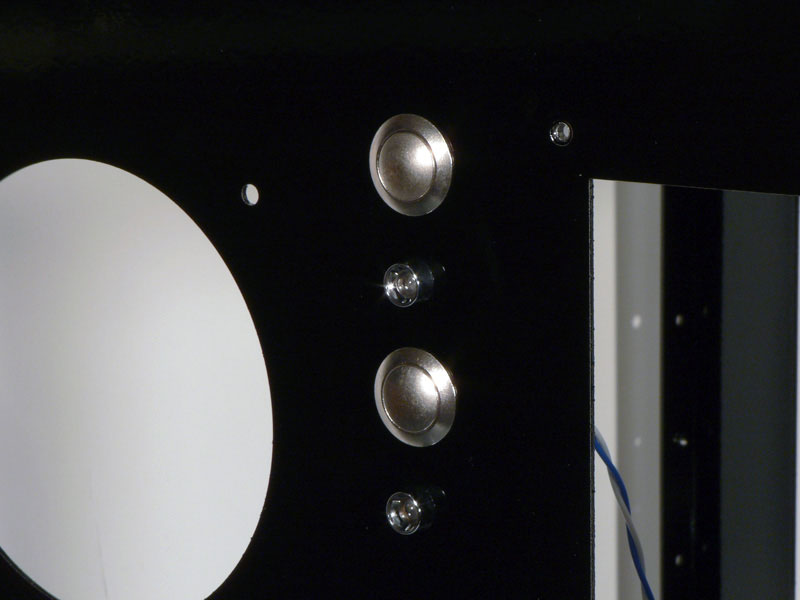
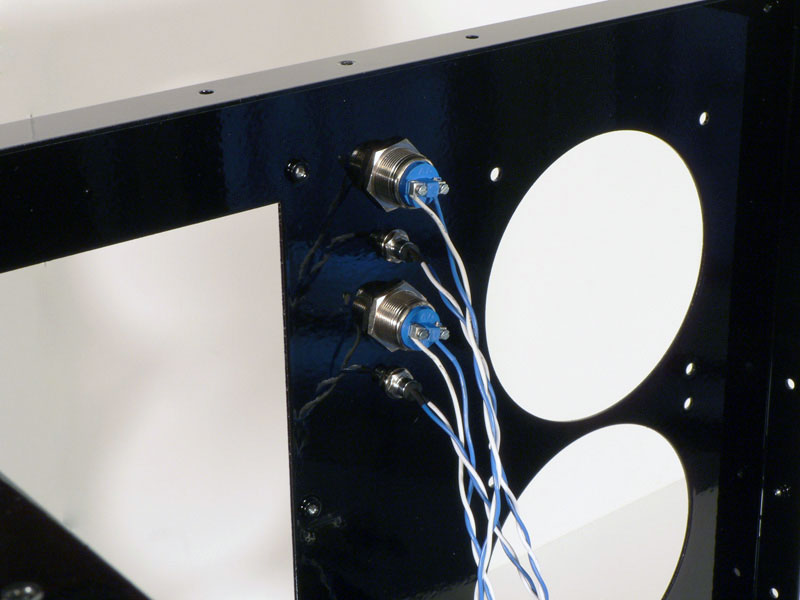
The two chrome switches and two LEDs need to be installed in the front panel, and this is easiest to do before adding any more parts. Each switch or LED has a thin nut that secures the item from behind the front panel, but it is hard to get each one tight without anything to hold it with. The best I could do was to hold the Switch or LED back in my fingers and tighten the nut with a wrench. By the way, the stock LED color is blue, but green or red LEDs can be purchased through Mountain Mods, or the chrome bezels can be used with any other 5mm T1¾ LED the user supplies.

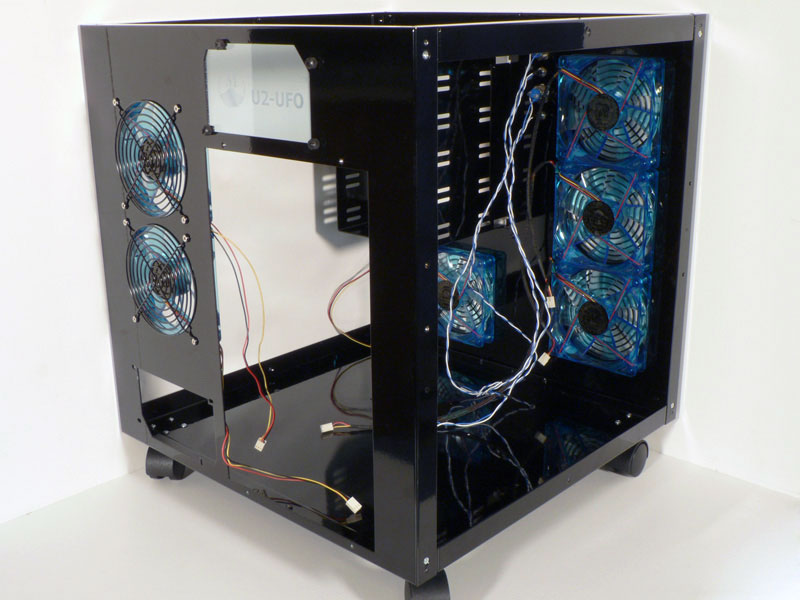
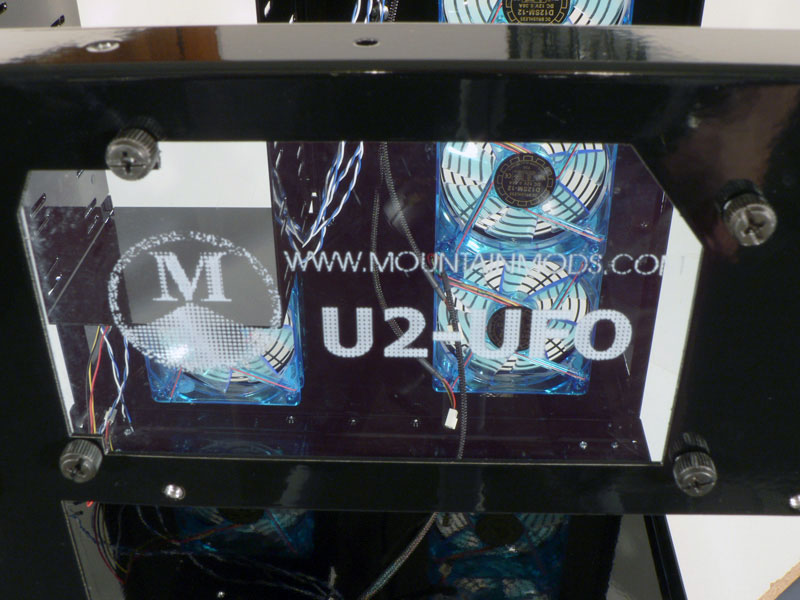
The next step was to install the many fans into the case, as well as the acrylic PSU cover. The 5.25" bay module can be installed at this point, although that and other parts assembled from this point on may need to be removed to add devices to the system. For now, the assembly process will continue, since it is easier to show without system components installed.
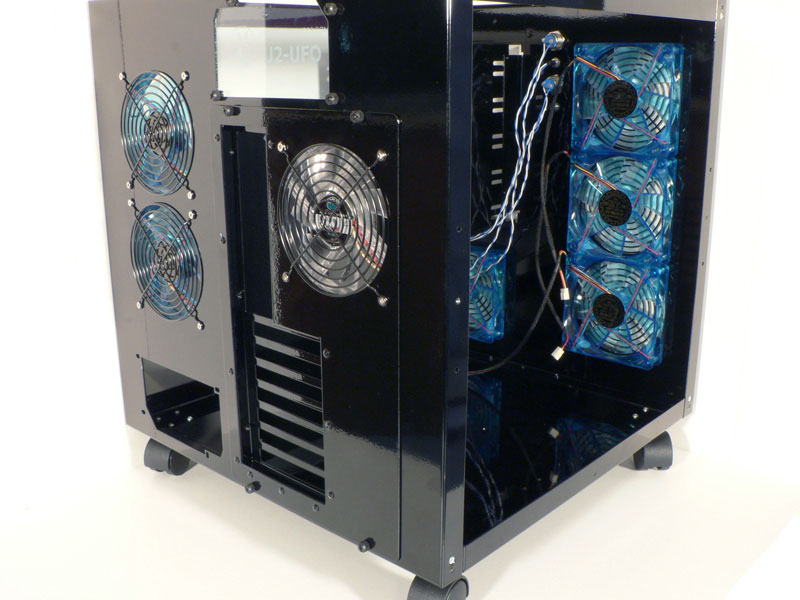
The motherboard tray is next to go into place, and it is secured with four thumbscrews on the back panel and one more at the bottom front of the tray. This makes it very easy to get the tray in and out of the case, but it would be nice to see some additional support for the top edge of the motherboard tray. While working inside the case, the tray has a tendency to wobble back and forth.
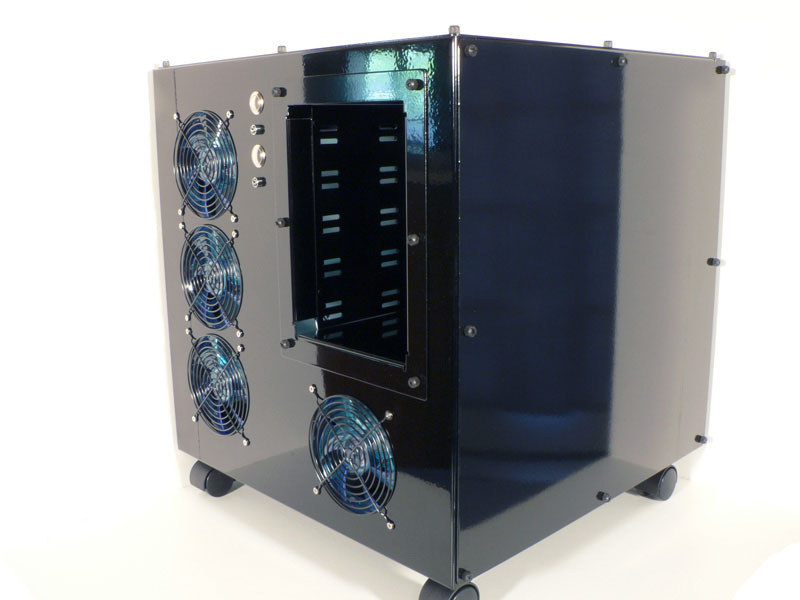

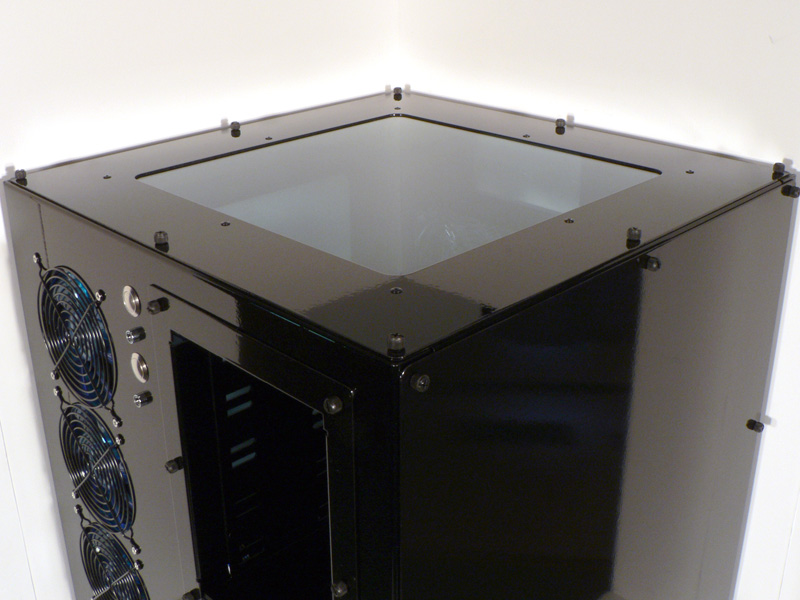

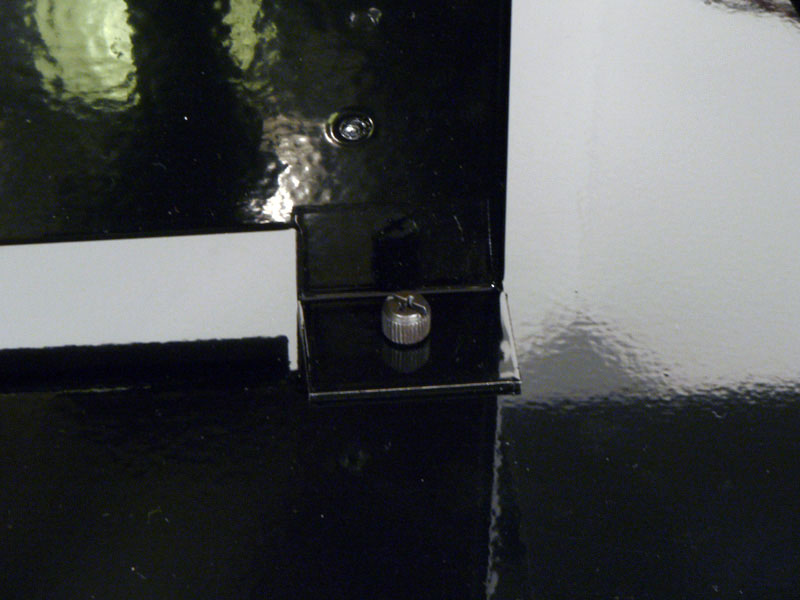
To finish out the case, the side panels are added with eight thumbscrews each. The right side panel shown is the "Solid" panel, which came in handy to help hide the cable clutter. The top and left side panel are both the "Big Window" style. Each panel can easily be interchanged with another, or each panel can be rotated as the user desires. For side panels with acrylic windows installed, the window is held in place with pop rivets and washers, which keeps the acrylic from breaking out.
Feb 13th, 2025 18:13 EST
change timezone
Latest GPU Drivers
New Forum Posts
- Monster Hunter WIlds - CPU scores (10)
- Which thermal paste never pumps out? (7)
- Free Games Thread (4454)
- Do you guys have backup GPUs? (55)
- [Intel AX1xx/AX2xx/AX4xx/AX16xx/BE2xx/BE17xx] Intel Modded Wi-Fi Driver with Intel® Killer™ Features (259)
- It's happening again, melting 12v high pwr connectors (463)
- What's your latest tech purchase? (23135)
- problem with wuwa and rtx 4090 and wutheringwaves (5)
- Were Ryzen 8000 CPUs a big mistake from AMD? (43)
- What local LLM-s you use? (11)
Popular Reviews
- Civilization VII Performance Benchmark Review - 35 GPUs Tested
- Team Group T-Force XTREEM DDR5-7200 48GB CL34 Review
- WD Black SN7100 2 TB Review - The New Best SSD
- Kingdom Come Deliverance II Performance Benchmark Review - 35 GPUs Tested
- DAREU A980 Pro Max Review
- AMD Ryzen 7 9800X3D Review - The Best Gaming Processor
- NVIDIA GeForce RTX 5080 Founders Edition Review
- ASRock Phantom Gaming B850I Lightning Wi-Fi Review
- Lime Ears TERRA Universal-Fit In-Ear Monitors Review
- Lian Li GA II Lite 360 Performance Review
Controversial News Posts
- AMD Radeon 9070 XT Rumored to Outpace RTX 5070 Ti by Almost 15% (299)
- AMD is Taking Time with Radeon RX 9000 to Optimize Software and FSR 4 (256)
- Edward Snowden Lashes Out at NVIDIA Over GeForce RTX 50 Pricing And Value (241)
- AMD Denies Radeon RX 9070 XT $899 USD Starting Price Point Rumors (239)
- AMD Radeon RX 9070 XT & RX 9070 Custom Models In Stock at European Stores (226)
- New Leak Reveals NVIDIA RTX 5080 Is Slower Than RTX 4090 (215)
- AMD Plans Aggressive Price Competition with Radeon RX 9000 Series (181)
- AMD's Radeon RX 9070 Launch Faces Pricing Hurdles (175)