 29
29
Mountain Mods Ascension Crystal Ship CYO Case Review
Installation »Assembly

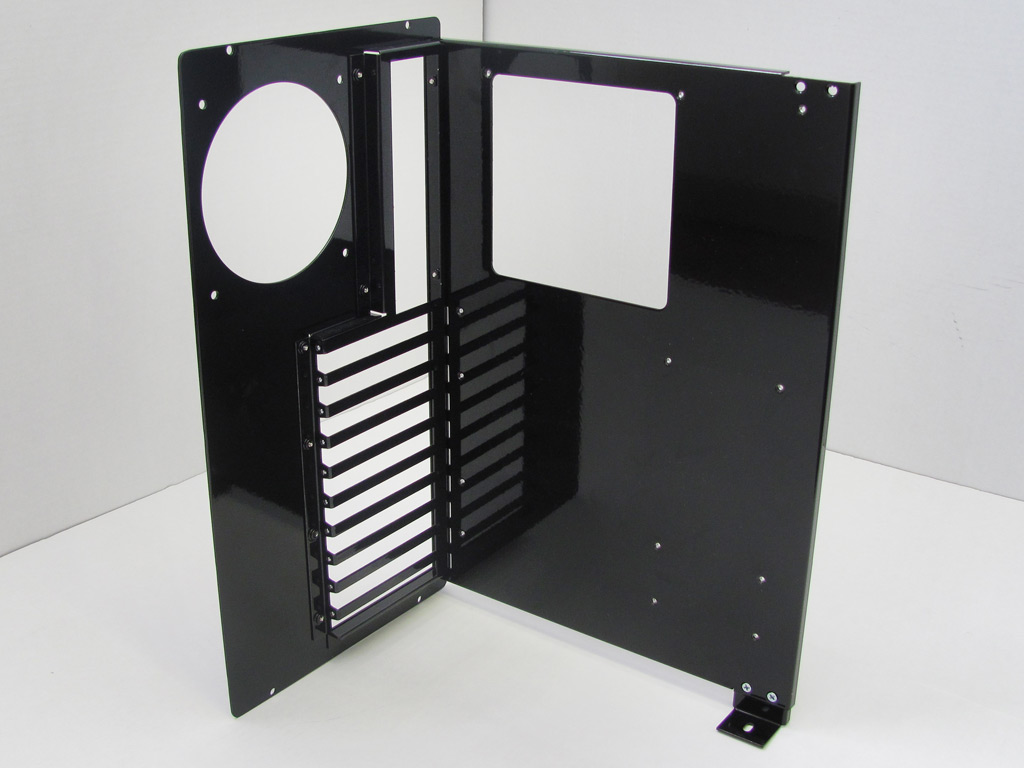
To begin assembly, locate the pieces of the motherboard tray which includes the tray itself, PCI panel and rear panel. Secure the PCI panel to the rear panel with eight case screws. Next attach the motherboard tray to the back panel with four case screws on the back panel followed by two more on the underside of the motherboard tray. Because this is the "XL-ATX" motherboard tray your tray may have a few less screws but they are all pretty much the same as far as assembly.
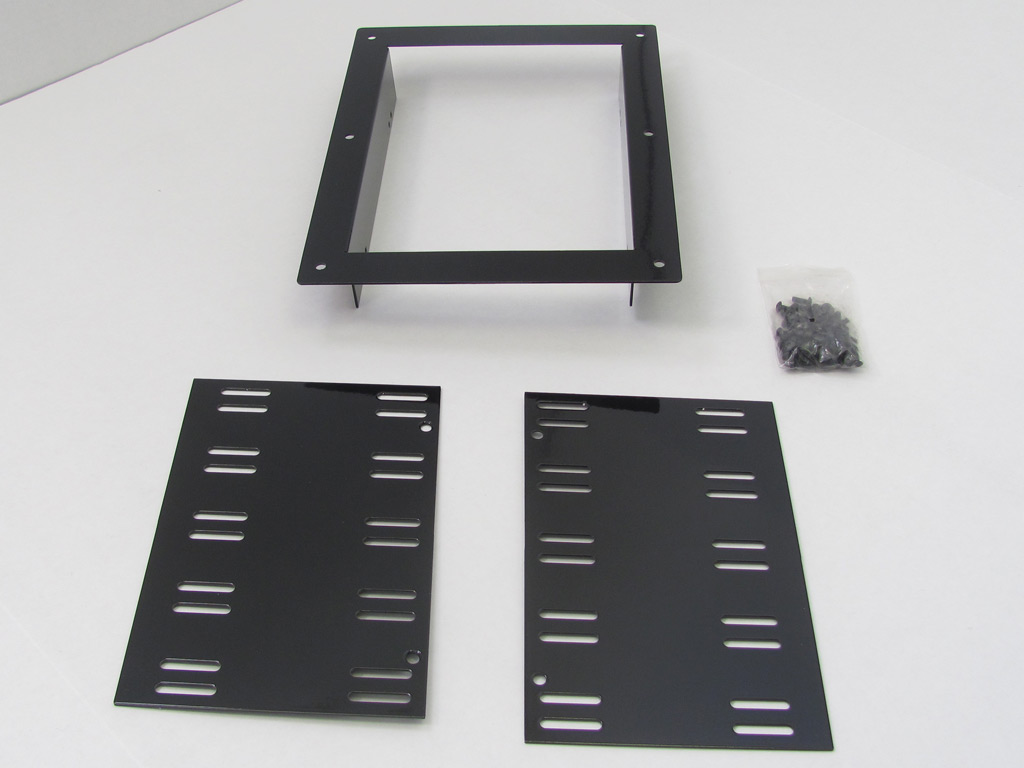
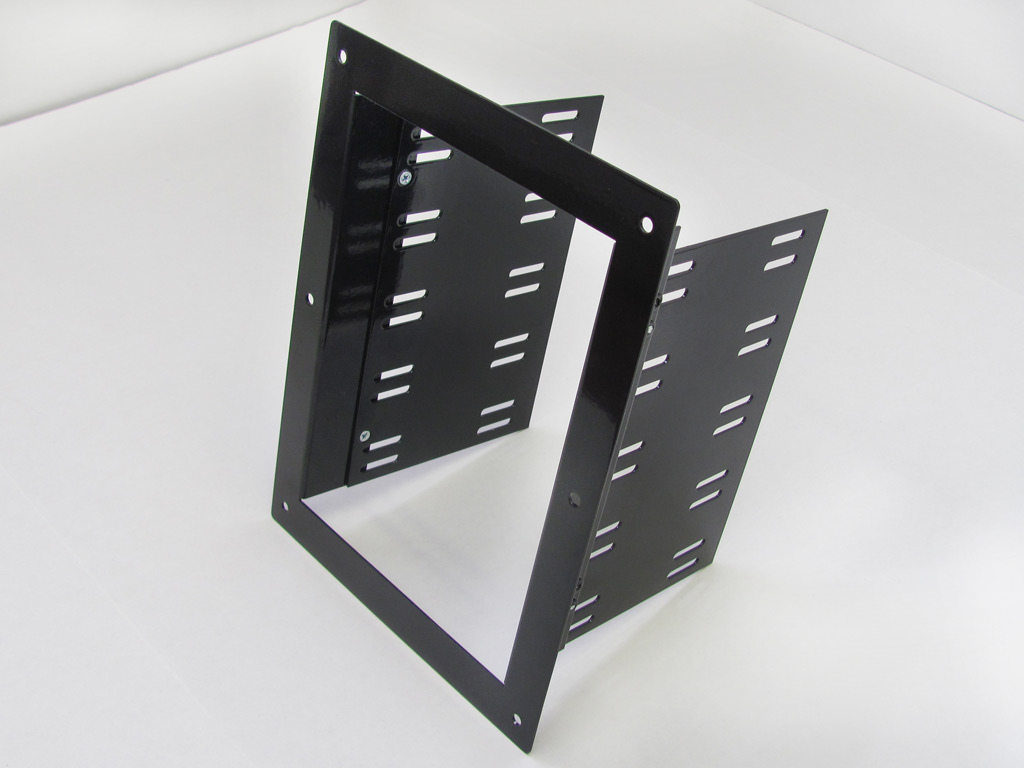
To assemble the 5.25 inch bays you need to locate the front ring, two side panels and four tapered head screws. Assembly is pretty much straight forward but it is recommended to use a short Phillips head screwdriver to facilitate assembly as the screws mount from the inside. Once assembled, it provides room for mounting up to five 5.25 inch devices.
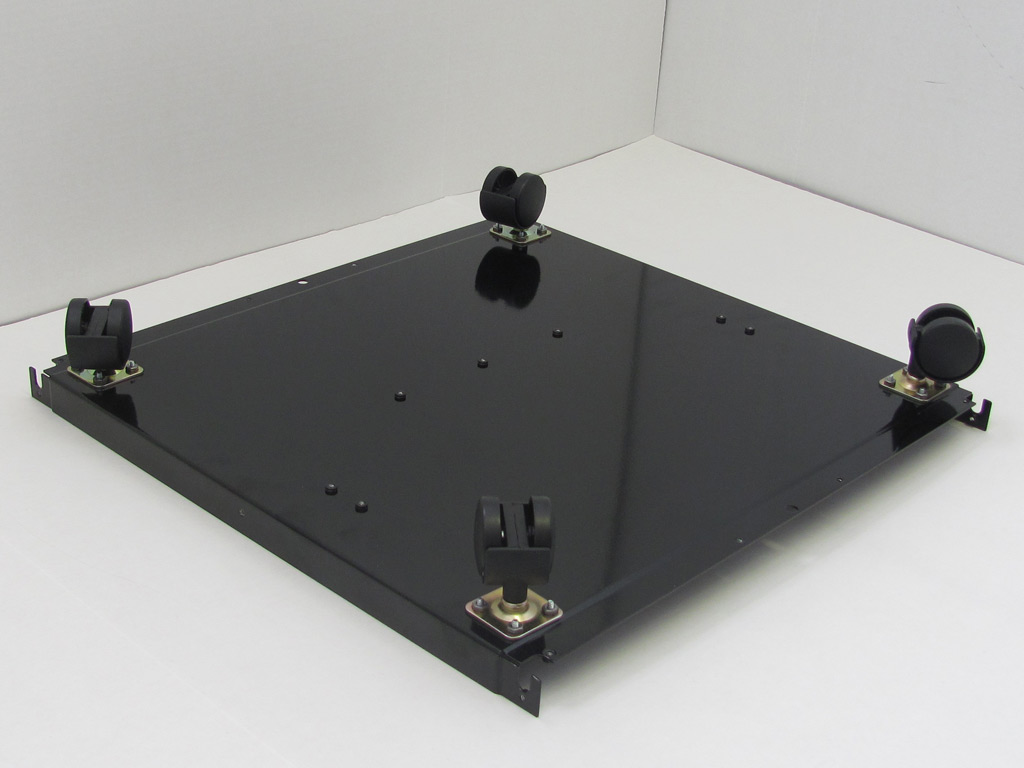
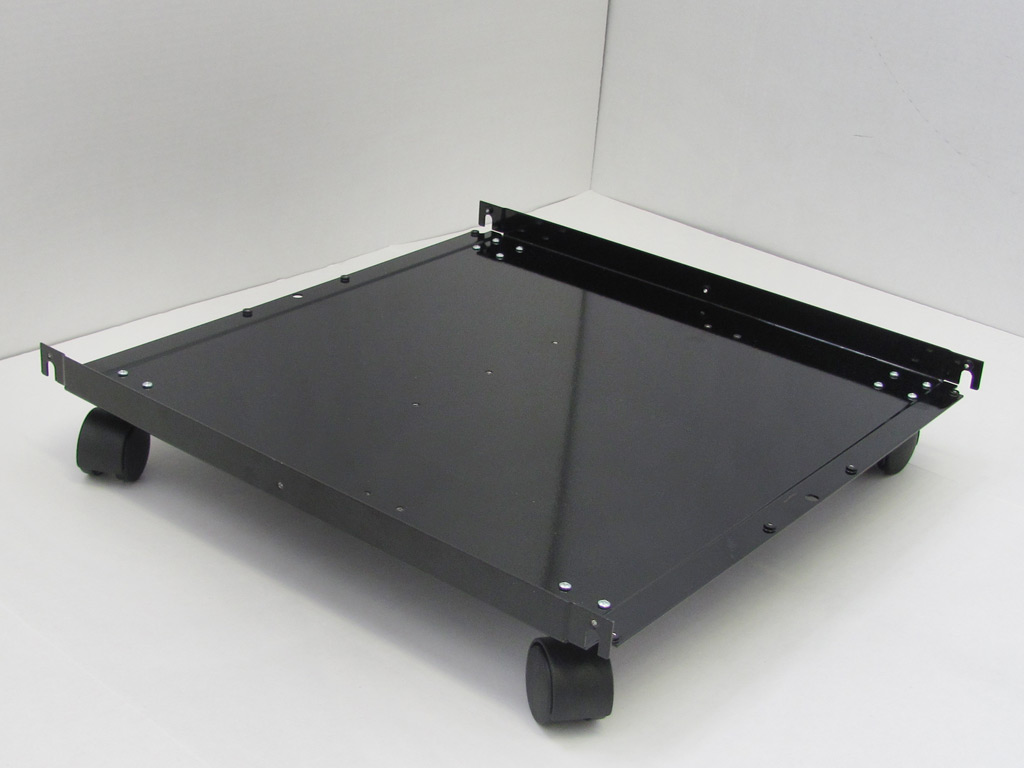
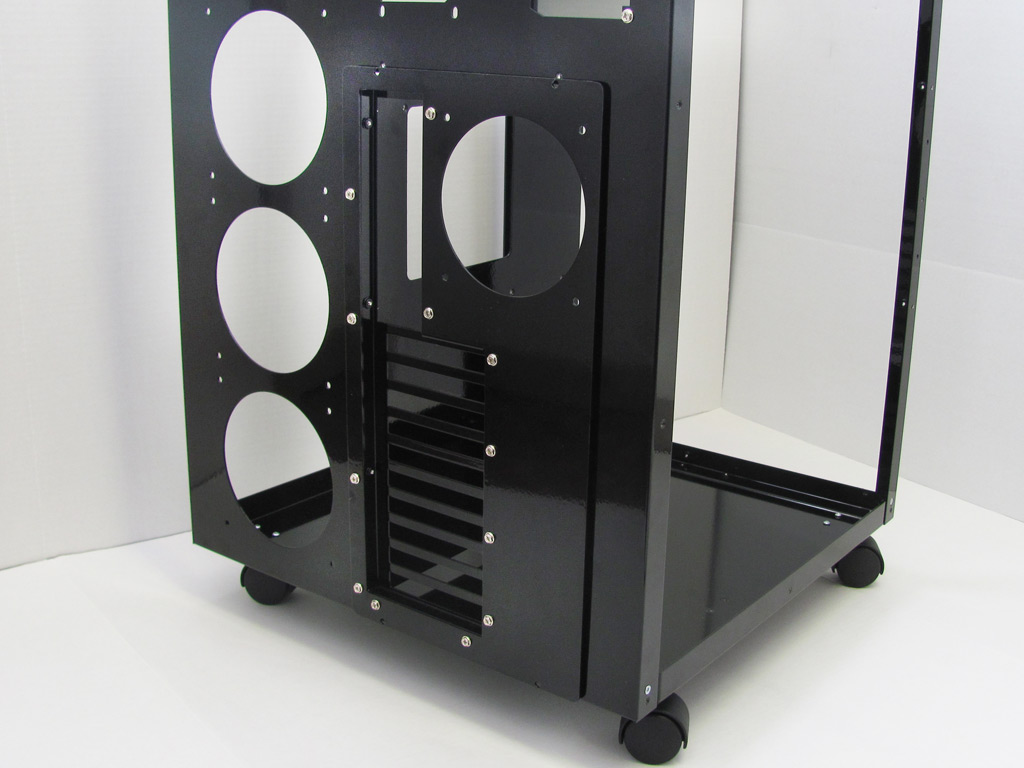
To begin the case construction, start with the bottom of the case. While it is an option to make use of the included wheels it is recommended if you are going to be putting a lot of hardware inside. Install the four wheels with the included screw kit. Be sure that the flange on the bottom is facing up as this is what the other panels mount to.

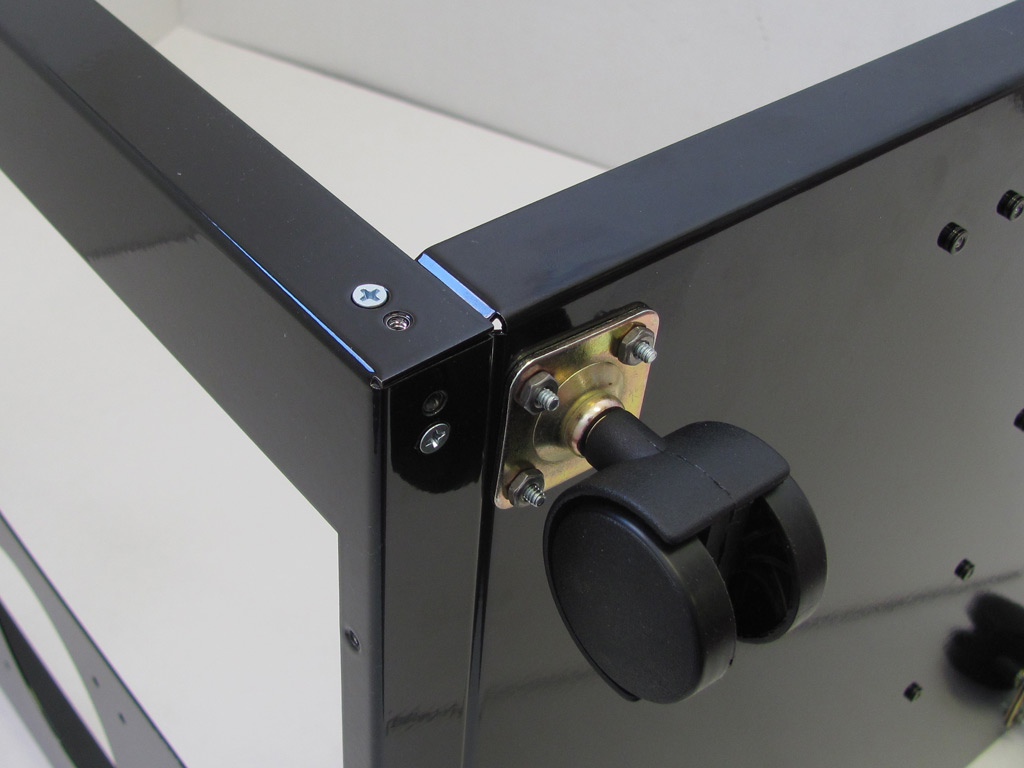
Locate and slide the back panel over the flange on the bottom of the case. Two tapered screws are located in each corner along with two case screws near the middle of the bottom flange of the side panel. The design MountainMods uses is extremely sturdy and you can tell this early in the assembly that the case is well designed.
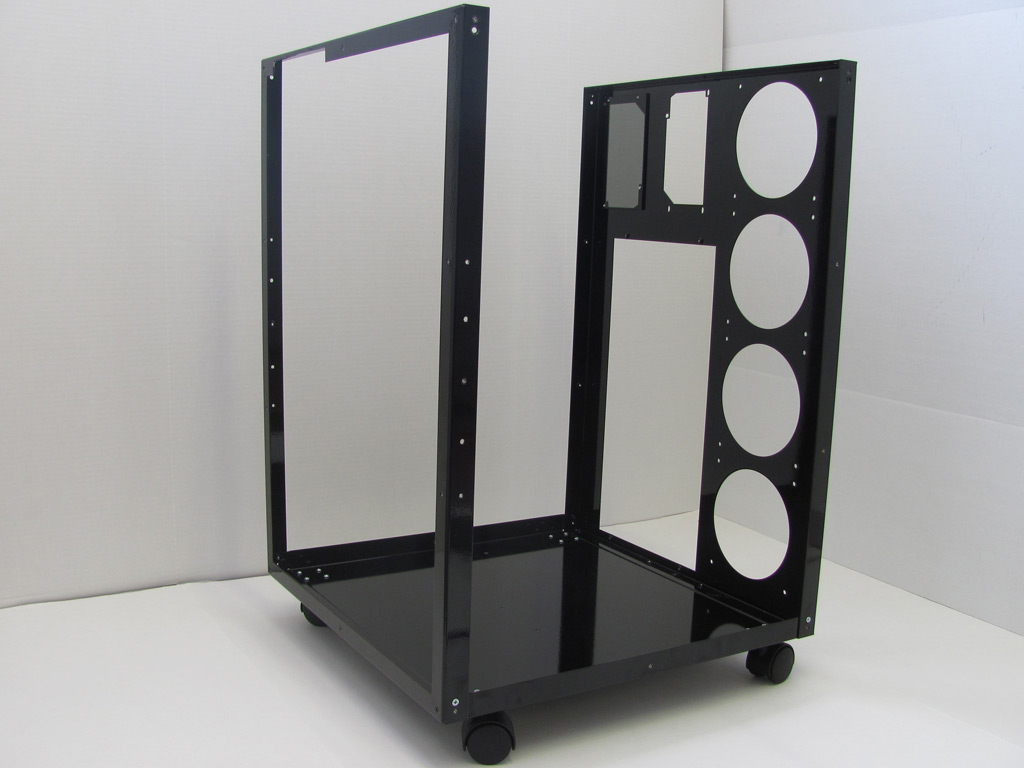
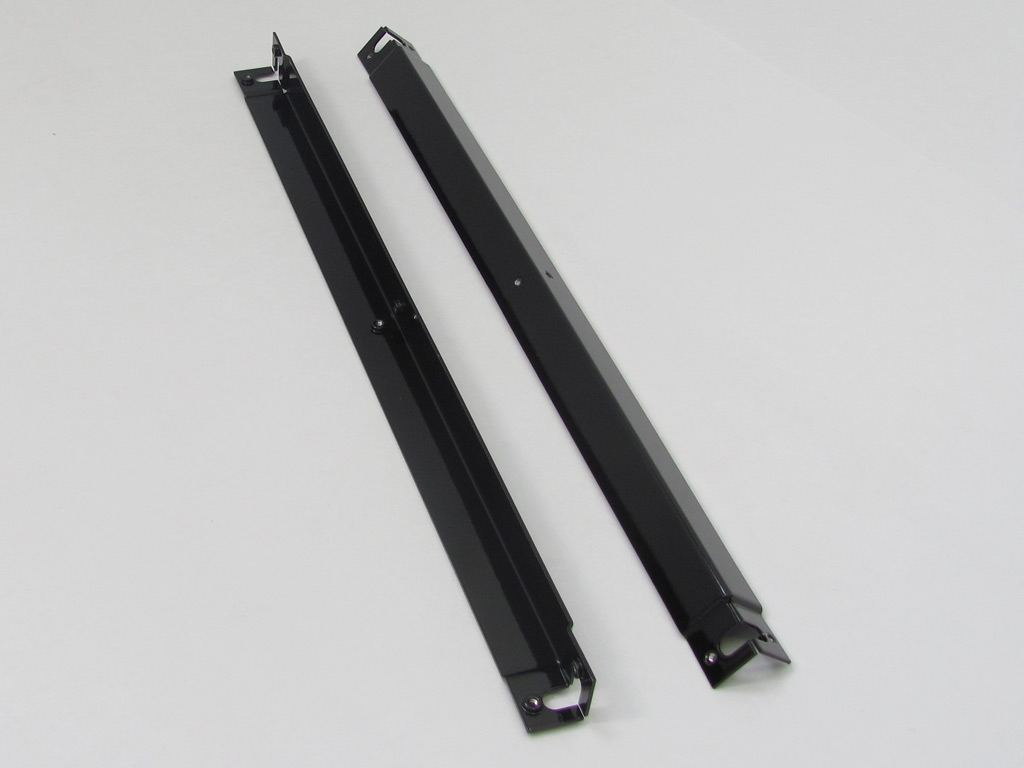
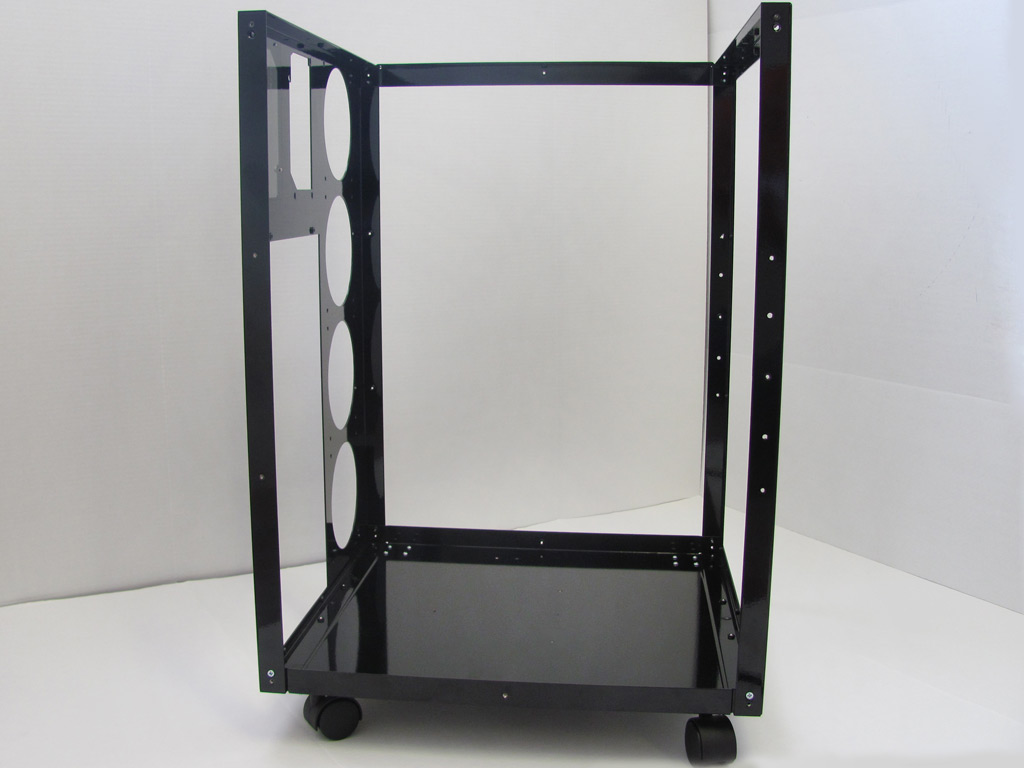
The front support frame mounts identical to the rear panel. Once both the front and rear panels are tightened down securely, it's time to install the upper support frame. These two pieces mount from the front to the back panels at the top corners and make use of the same tapered screws as the front and back panels. The case is very rigid and there is little to no flex at all.
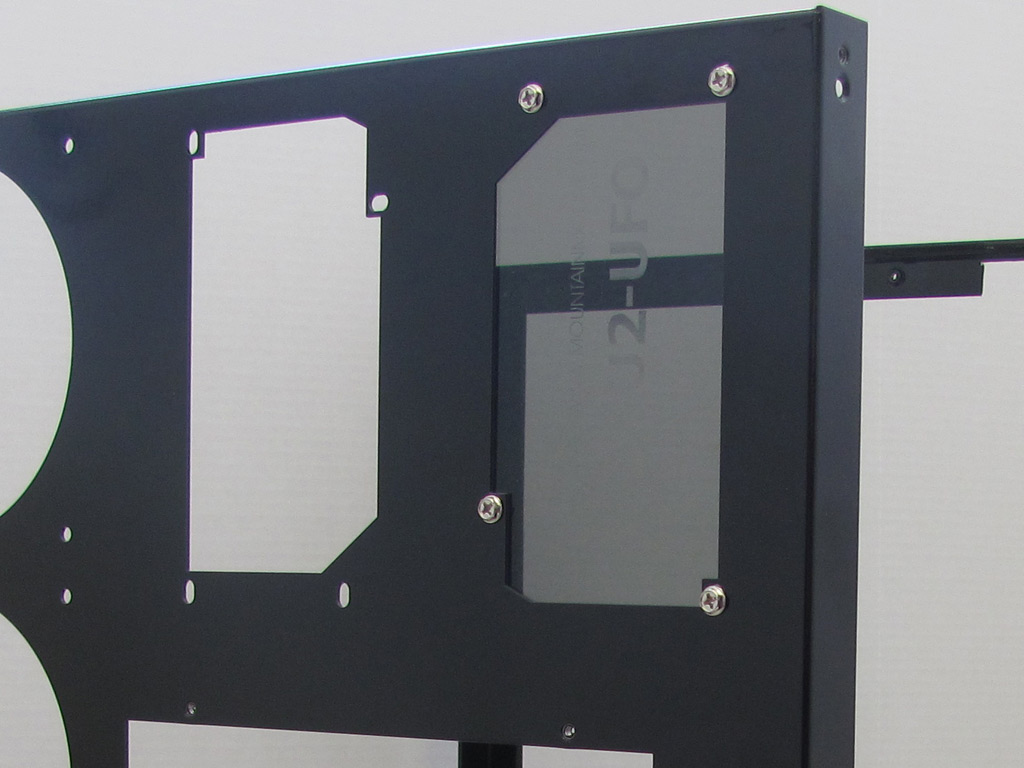
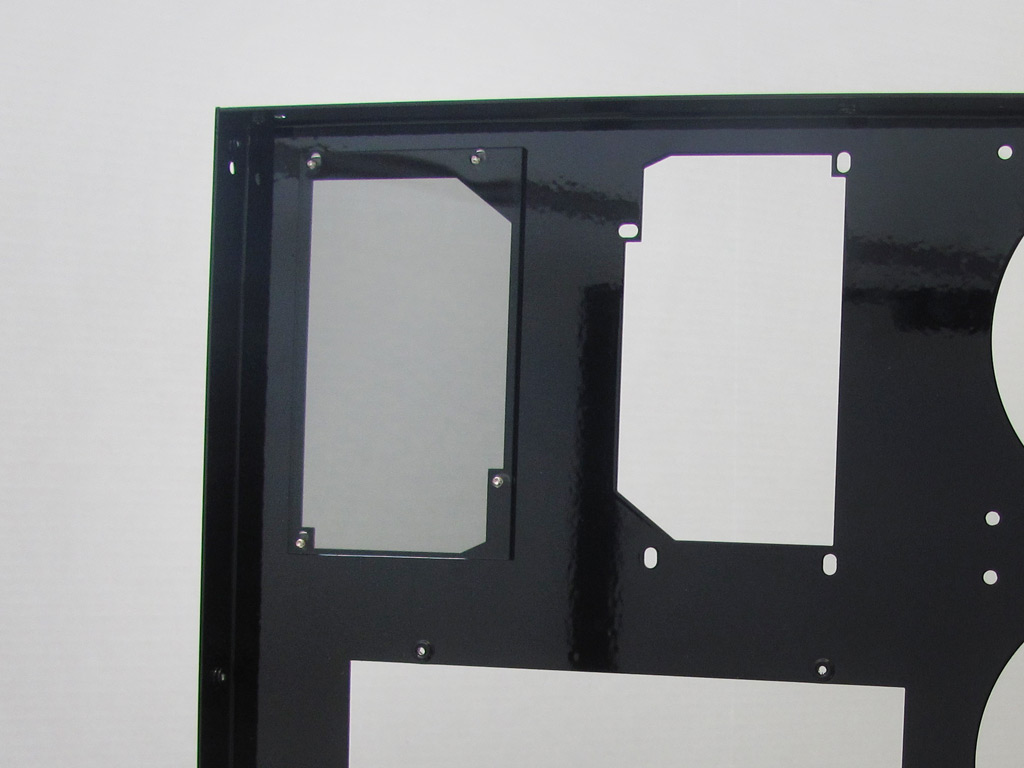
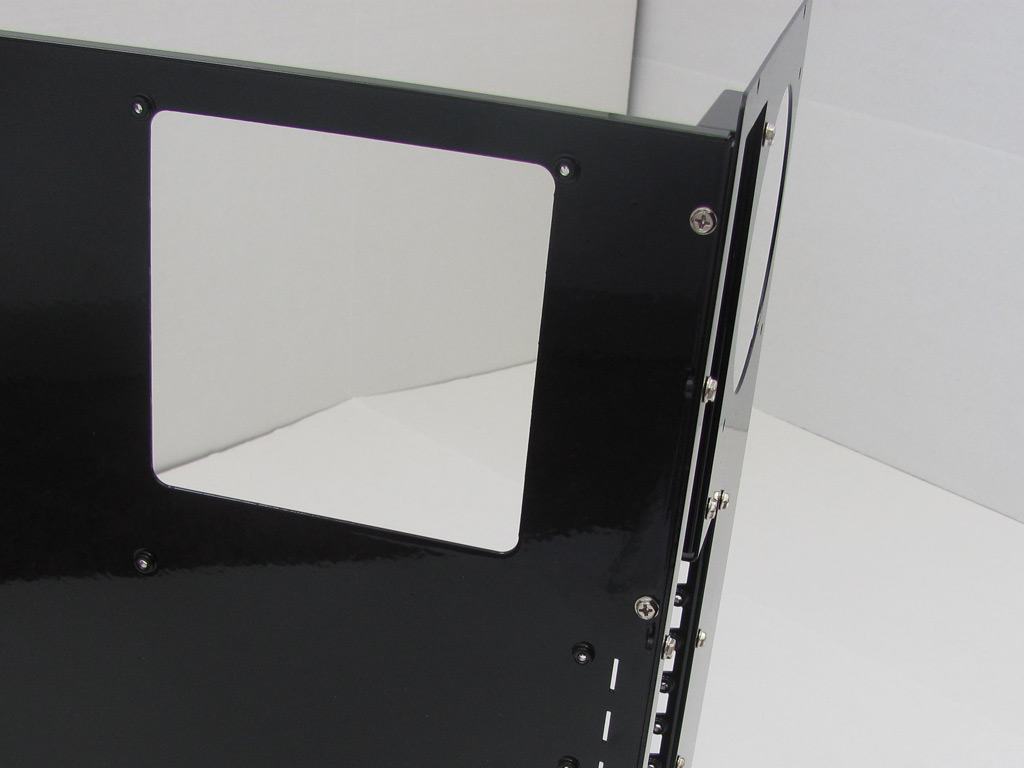
If you opt to have multiple power supply locations MountainMods will include cover plates to keep the case sealed up nicely and look sleek. Just like mounting a power supply, four case screws are needed to secure the plate in place. The plate is made with matching smoked black acrylic which looks wonderful with the rest of the case.
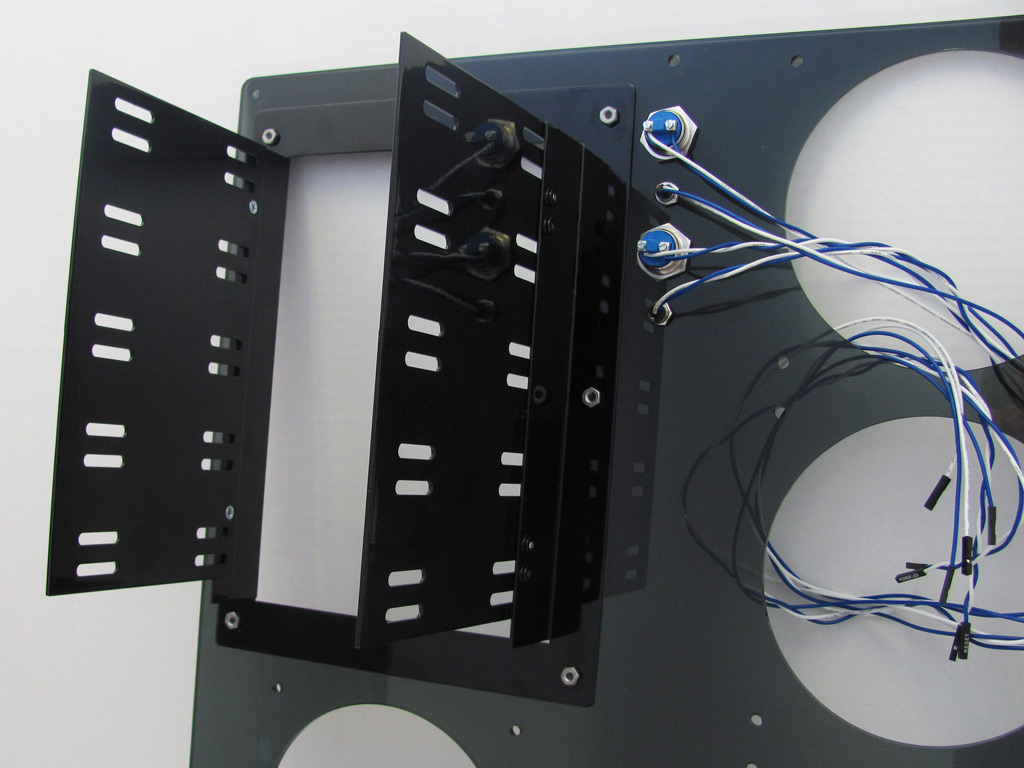
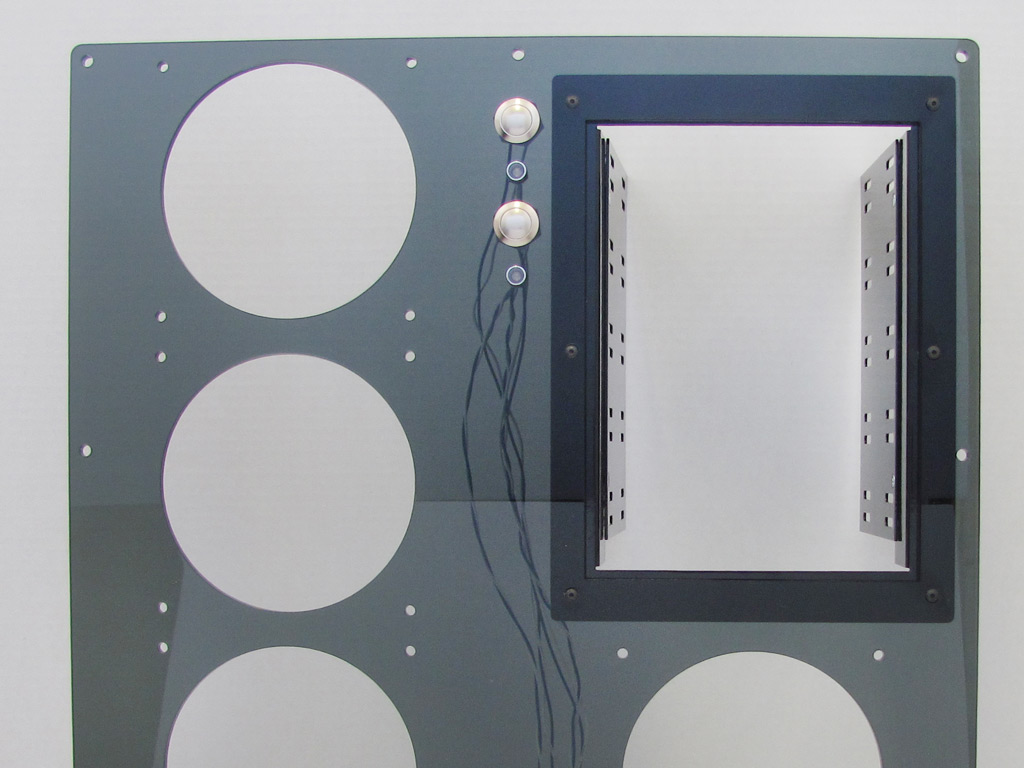
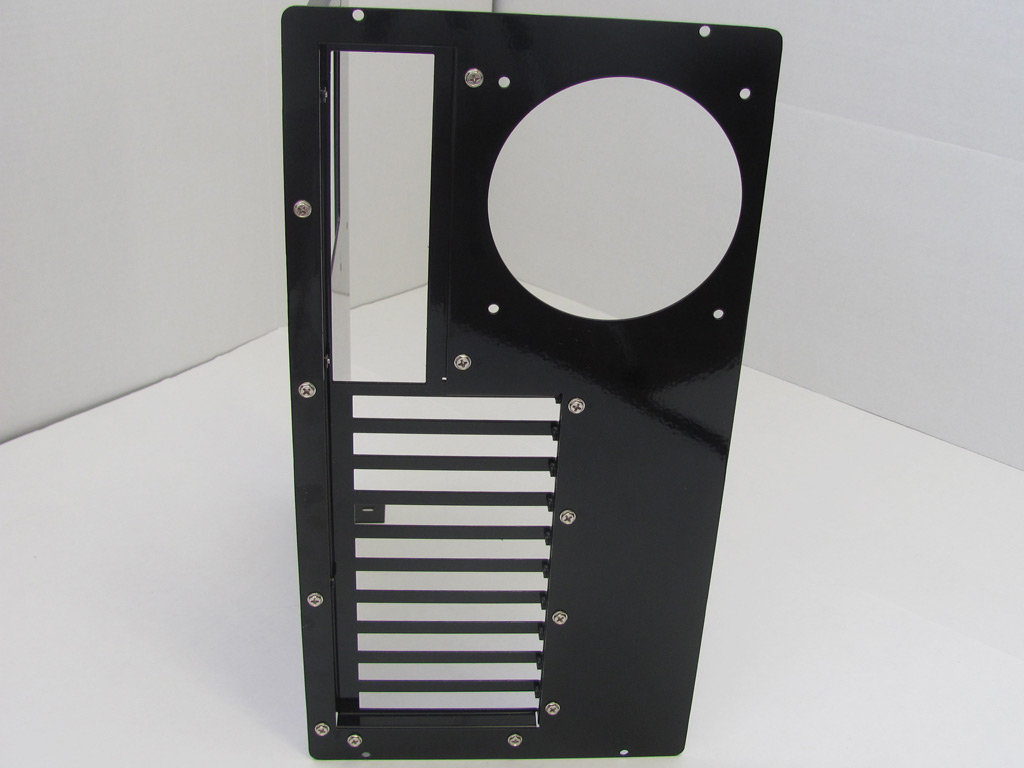
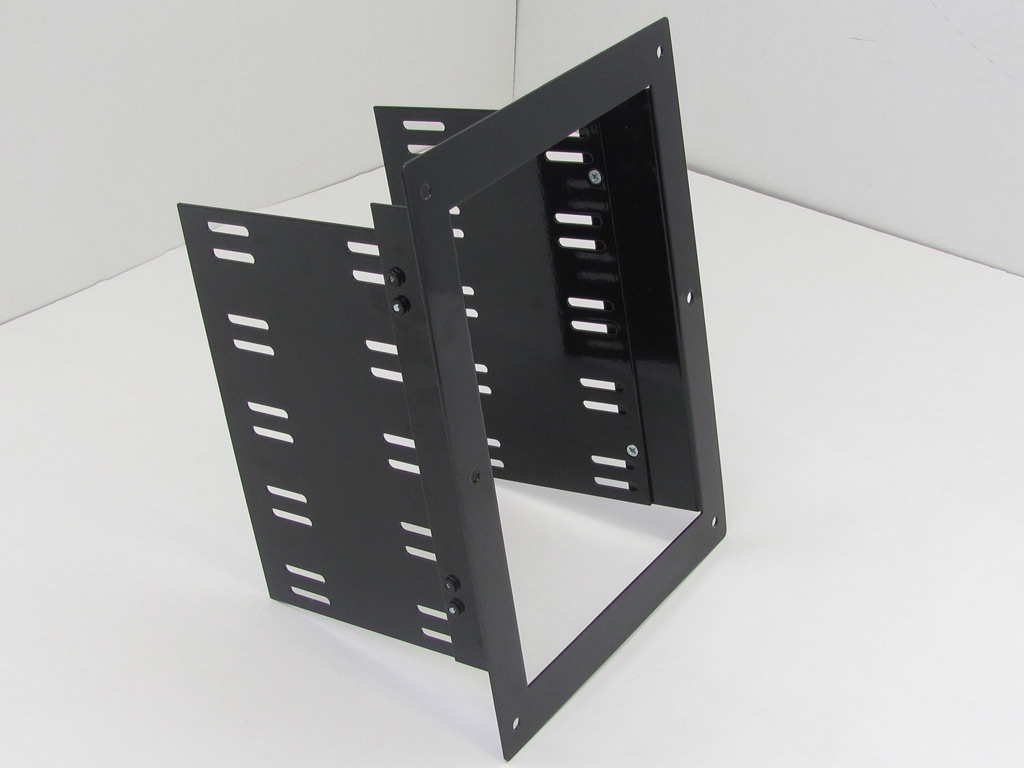
Next up, install the 5.25 inch bay cage into the front panel of the case. It is held in place with six button head Allen style onyx screws with a nut on the inside of the case to secure it. Feed the power/reset button and LED wires through the front panel from the outside and secure each with the lock nut on the inside.
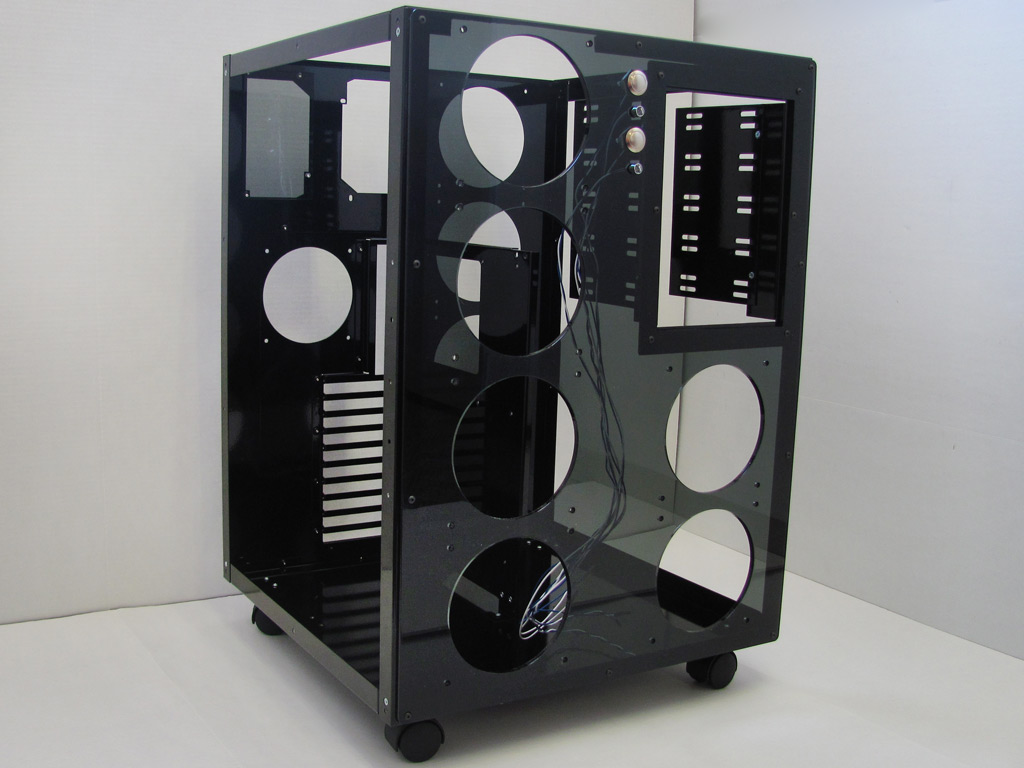
Finally the motherboard tray assembly can be slid into the case from the rear and secured with four case screws on the rear panel. The acrylic front panel attaches to the aluminum frame with ten button head Allen style onyx screws which blend in nicely and prevent any clothing snags if you brush up against the case.
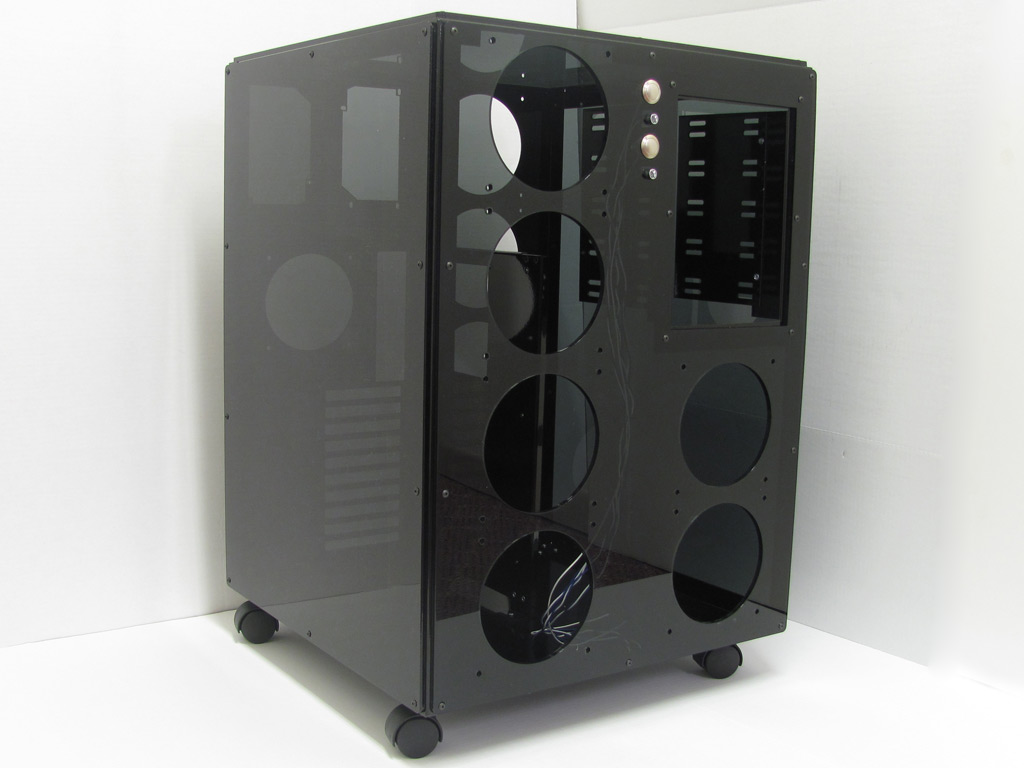
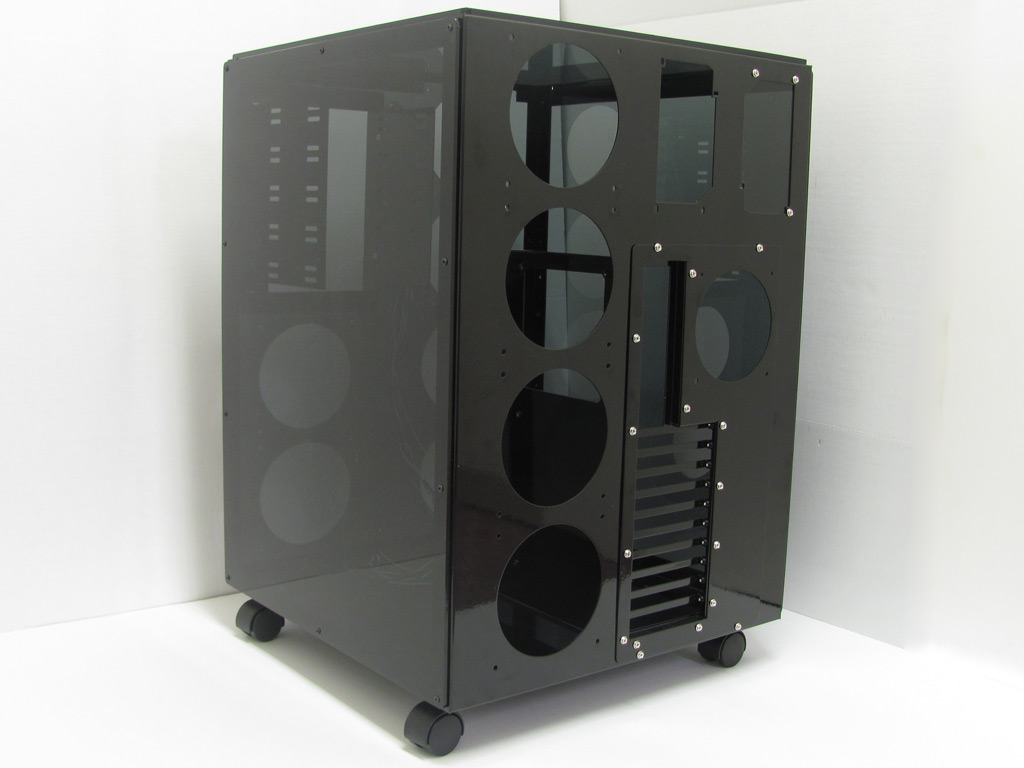
The top and two side panels which are also made of smoked black acrylic install the same as the front panel.
Feb 13th, 2025 14:15 EST
change timezone
Latest GPU Drivers
New Forum Posts
- WCG Daily Numbers (12762)
- TPU's Rosetta Milestones and Daily Pie Thread (2197)
- It's happening again, melting 12v high pwr connectors (441)
- Postulation: Is anyone else concerned with the proliferation of AI? (277)
- problem with wuwa and rtx 4090 and wutheringwaves (3)
- Balanced Gaming Build for the Next 4-5 Years (28)
- Proposed new Power Connector (69)
- Free Games Thread (4450)
- Folding Pie and Milestones!! (9377)
- Mouse and keyboard function in BIOS but not in Windows 7 (7)
Popular Reviews
- Civilization VII Performance Benchmark Review - 35 GPUs Tested
- Team Group T-Force XTREEM DDR5-7200 48GB CL34 Review
- WD Black SN7100 2 TB Review - The New Best SSD
- Kingdom Come Deliverance II Performance Benchmark Review - 35 GPUs Tested
- DAREU A980 Pro Max Review
- AMD Ryzen 7 9800X3D Review - The Best Gaming Processor
- ASRock Phantom Gaming B850I Lightning Wi-Fi Review
- NVIDIA GeForce RTX 5080 Founders Edition Review
- Lime Ears TERRA Universal-Fit In-Ear Monitors Review
- ASRock B860 Steel Legend Wi-Fi Review
Controversial News Posts
- AMD Radeon 9070 XT Rumored to Outpace RTX 5070 Ti by Almost 15% (299)
- AMD is Taking Time with Radeon RX 9000 to Optimize Software and FSR 4 (256)
- Edward Snowden Lashes Out at NVIDIA Over GeForce RTX 50 Pricing And Value (241)
- AMD Denies Radeon RX 9070 XT $899 USD Starting Price Point Rumors (239)
- AMD Radeon RX 9070 XT & RX 9070 Custom Models In Stock at European Stores (226)
- New Leak Reveals NVIDIA RTX 5080 Is Slower Than RTX 4090 (215)
- AMD Plans Aggressive Price Competition with Radeon RX 9000 Series (177)
- AMD's Radeon RX 9070 Launch Faces Pricing Hurdles (175)