 50
50
MSI GeForce RTX 2080 Ti Lightning Z 11 GB Review
(50 Comments) »Introduction
NVIDIA launched the GeForce RTX 20-series in September last year, with support for several new technologies, like machine learning and RTX Raytracing. This feature is so big for NVIDIA that it has changed the naming of their GeForce cards from "GTX" to "RTX".
NVIDIA RTX is a near-turnkey real-time ray-tracing model for game developers that lets them fuse real-time ray-traced objects into 3D scenes that have been rasterized. Ray-tracing the whole scene in existence isn't quite possible yet, but the results with RTX are still better-looking than anything rasterizing can achieve. To even get those few bits of ray tracing done right, an enormous amount of compute power is required. NVIDIA has hence deployed RTX cores, purpose-built hardware components on its GPUs that sit alongside all-purpose CUDA cores.

It has taken them a little while, but the MSI GeForce RTX 2080 Ti Lightning has finally been announced. This card is THE demo-vehicle to show what's possible when you build an RTX 2080 Ti custom-design without limits.
MSI is releasing two variants of the Lightning: The RTX 2080 Ti Lightning Z, which is clocked at 1770 MHz Boost Clock, and the RTX 2080 Ti Lightning (without Z), which runs at a more conservative 1575 MHz Boost. Both cards share the same impressive cooler and design. MSI is using a triple-slot heatsink with three large fans. Also included is plenty of RGB lighting that is fully adjustable and can be turned off. The power input capability has been upgraded to three 8-pin connectors, which are paired with a total of 19 power phases.
The MSI RTX 2080 Ti Lightning Z in this review retails for $1600, which is not exactly cheap. Let's see what MSI came up with to justify that price.
| Price | Shader Units | ROPs | Core Clock | Boost Clock | Memory Clock | GPU | Transistors | Memory | |
|---|---|---|---|---|---|---|---|---|---|
| GTX 1080 | $460 | 2560 | 64 | 1607 MHz | 1733 MHz | 1251 MHz | GP104 | 7200M | 8 GB, GDDR5X, 256-bit |
| RX Vega 64 | $400 | 4096 | 64 | 1247 MHz | 1546 MHz | 953 MHz | Vega 10 | 12500M | 8 GB, HBM2, 2048-bit |
| GTX 1080 Ti | $675 | 3584 | 88 | 1481 MHz | 1582 MHz | 1376 MHz | GP102 | 12000M | 11 GB, GDDR5X, 352-bit |
| RTX 2070 | $500 | 2304 | 64 | 1410 MHz | 1620 MHz | 1750 MHz | TU106 | 10800M | 8 GB, GDDR6, 256-bit |
| RTX 2070 FE | $600 | 2304 | 64 | 1410 MHz | 1710 MHz | 1750 MHz | TU106 | 10800M | 8 GB, GDDR6, 256-bit |
| RTX 2080 | $700 | 2944 | 64 | 1515 MHz | 1710 MHz | 1750 MHz | TU104 | 13600M | 8 GB, GDDR6, 256-bit |
| RTX 2080 FE | $800 | 2944 | 64 | 1515 MHz | 1800 MHz | 1750 MHz | TU104 | 13600M | 8 GB, GDDR6, 256-bit |
| RTX 2080 Ti FE | $1200 | 4352 | 64 | 1350 MHz | 1635 MHz | 1750 MHz | TU102 | 18600M | 11 GB, GDDR6, 352-bit |
| RTX 2080 Ti | $1300 | 4352 | 64 | 1350 MHz | 1545 MHz | 1750 MHz | TU102 | 18600M | 11 GB, GDDR6, 352-bit |
| MSI RTX 2080 Ti Lightning Z | $1600 | 4352 | 64 | 1350 MHz | 1770 MHz | 1750 MHz | TU102 | 18600M | 11 GB, GDDR6, 352-bit |
Packaging and Contents


You will receive:
- Graphics card
- Reinforcement brace
- 6-pin to 8-pin PCIe power adapter
- Voltage measurement cables
- Driver disc
- Documentation
The Card


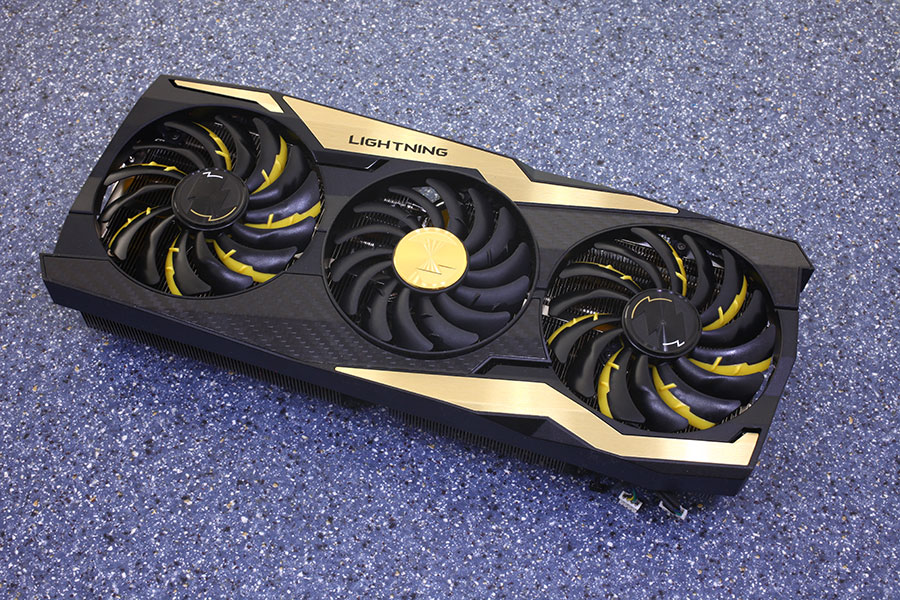
MSI's cooler uses a mix of black and gold as the color theme. Some checkerboard pattern surfaces add highlights. The other side has a nice looking backplate that's made from a material similar to carbon-fibre. With 33.0 x 14.5 cm, the card is huge and might not fit into some smaller cases.

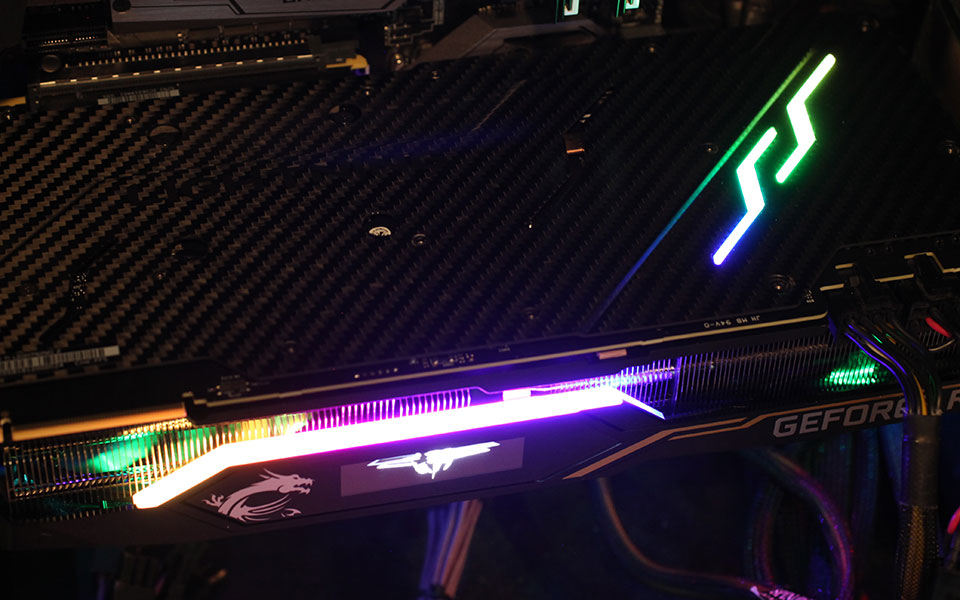
The card has fully adjustable RGB lighting on the sides and the back.
Installation requires three slots in your system.
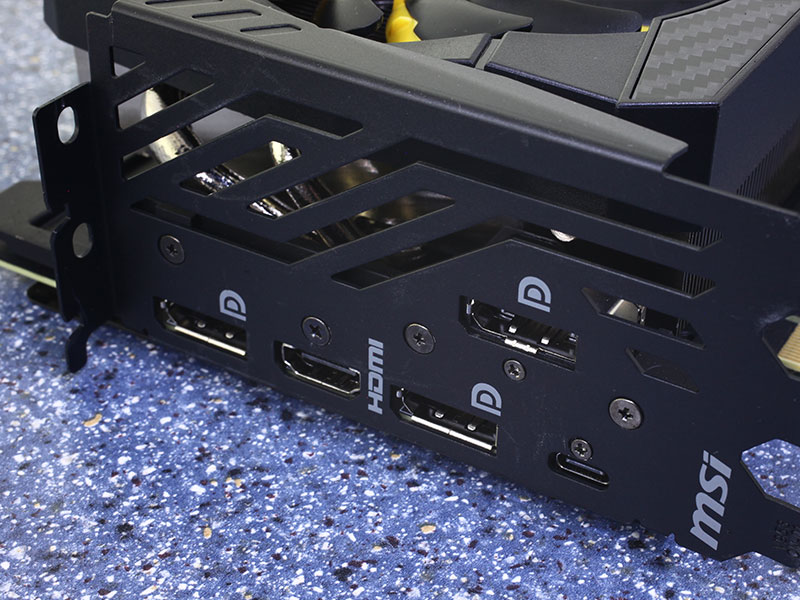
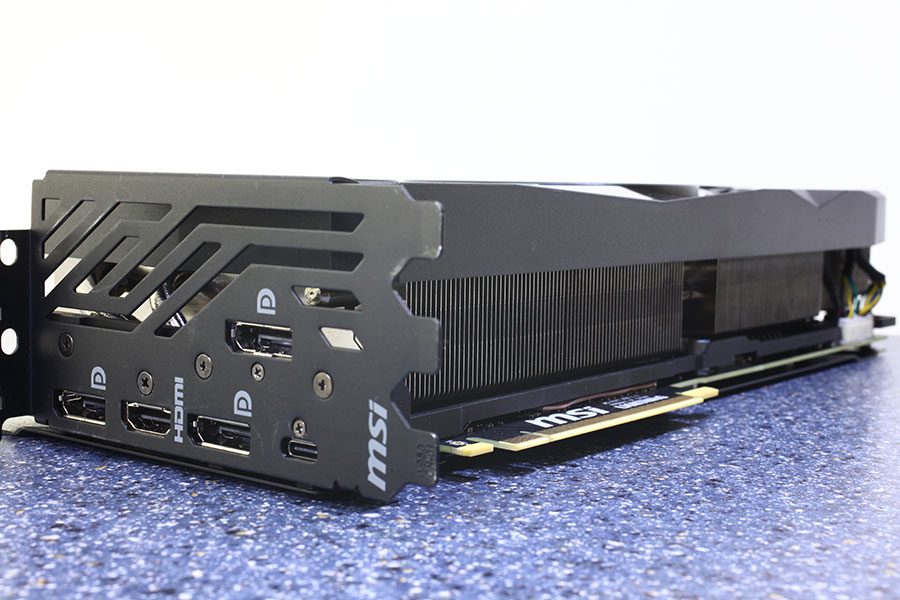
Display connectivity options include three standard DisplayPort 1.4a, one HDMI 2.0b, and a VirtualLink connector, which is basically USB-C with DisplayPort routing and USB-PD, so a single cable can power, display, and take input from your VR HMD.
NVIDIA has updated their display engine with the Turing microarchitecture, which now supports DisplayPort 1.4a with support for VESA's nearly lossless Display Stream Compression (DSC). Combined, this enables support for 8K@30Hz with a single cable, or 8K@60Hz when DSC is turned on. For context, DisplayPort 1.4a is the latest version of the standard that was published in April, 2018.
At CES 2019, NVIDIA announced that all their graphics cards will now support VESA Adaptive Sync (aka FreeSync). While only a small number of FreeSync monitors have been fully qualified for G-SYNC, users can enable the feature in NVIDIA's control panel, no matter whether the monitor is certified or not.
The board uses three 8-pin power connectors. This input configuration is specified for up to 525 watts of power draw.
With Turing, NVIDIA is using NVLink as a physical layer for its next-generation SLI technology. NVLink provides sufficient bandwidth for multi-GPU rendering at 8K 60 Hz, 4K 120 Hz, and other such bandwidth-heavy display resolutions. It's a point-to-point link between your GPUs, and so, latencies will be lower compared to pushing data through the PCI-Express bus.
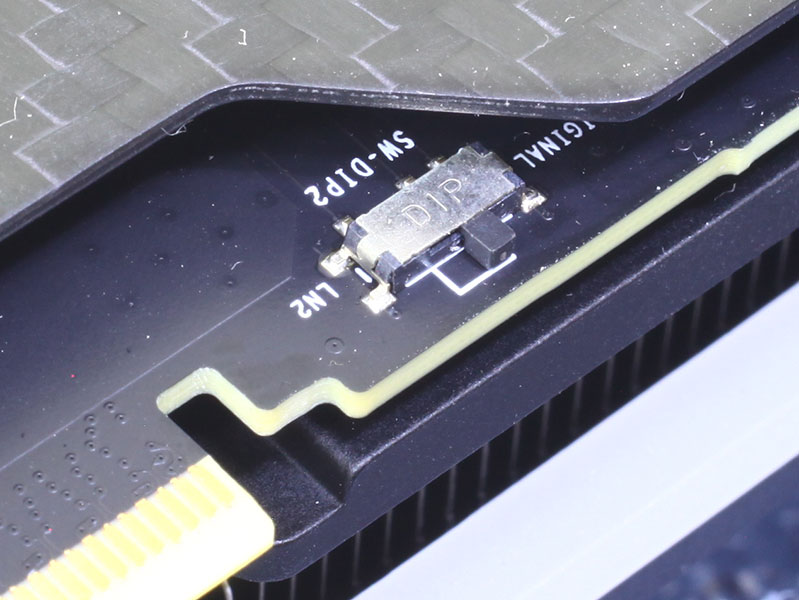
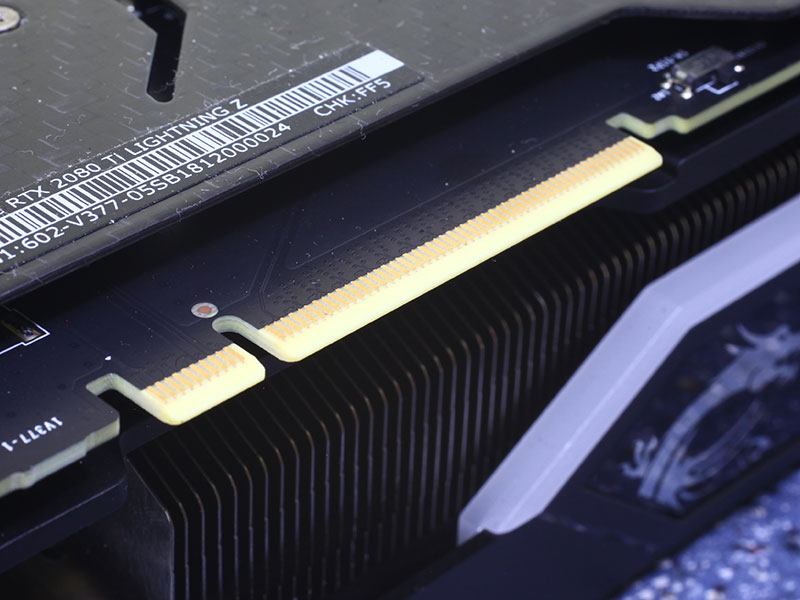
MSI has added a dual-BIOS feature on their Lightning. The second BIOS is optimized for liquid nitrogen usage.
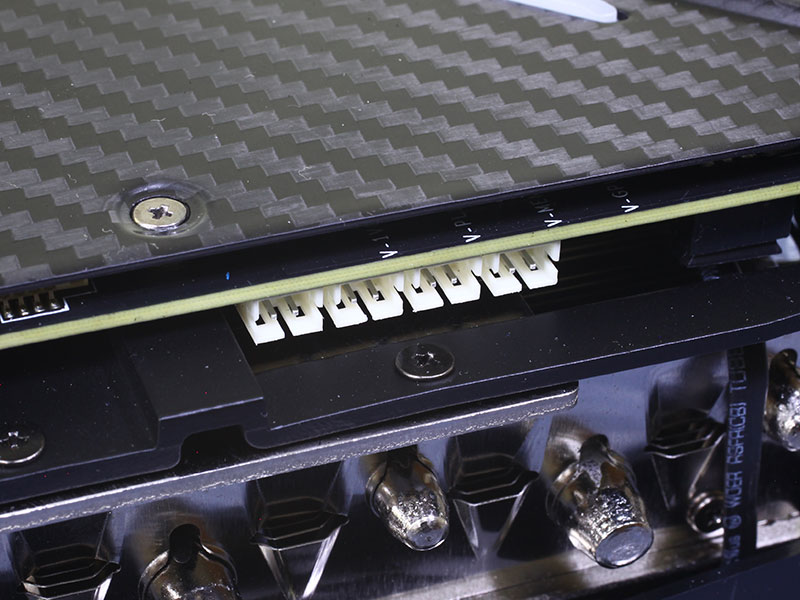
Near the back of the card, you'll find four ports to measure important voltages of the card using a DMM.

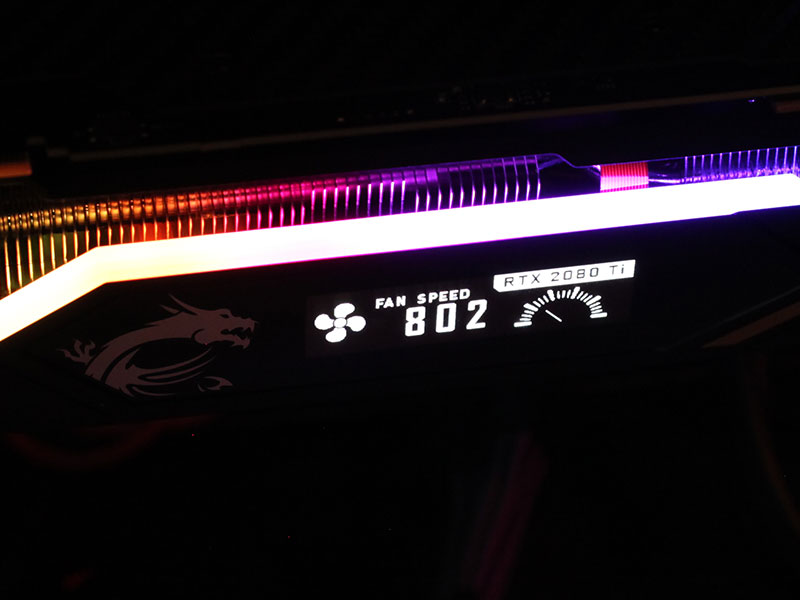
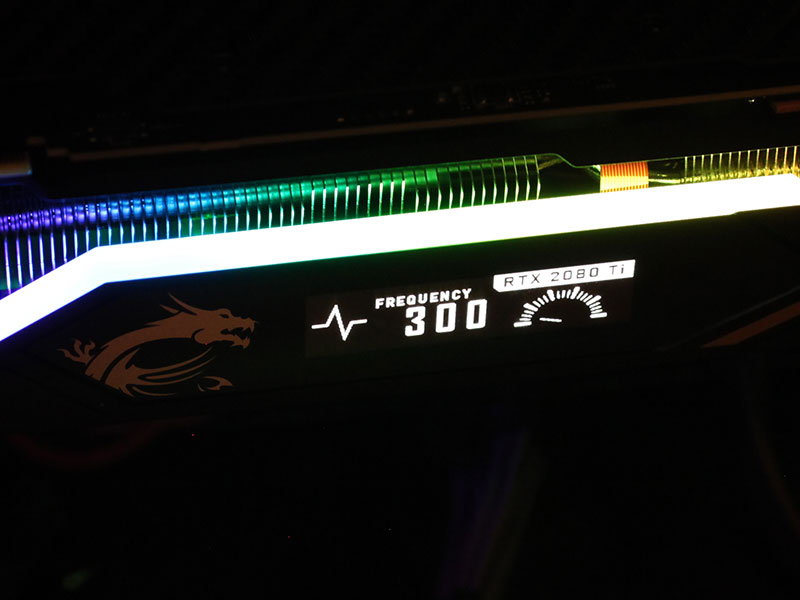
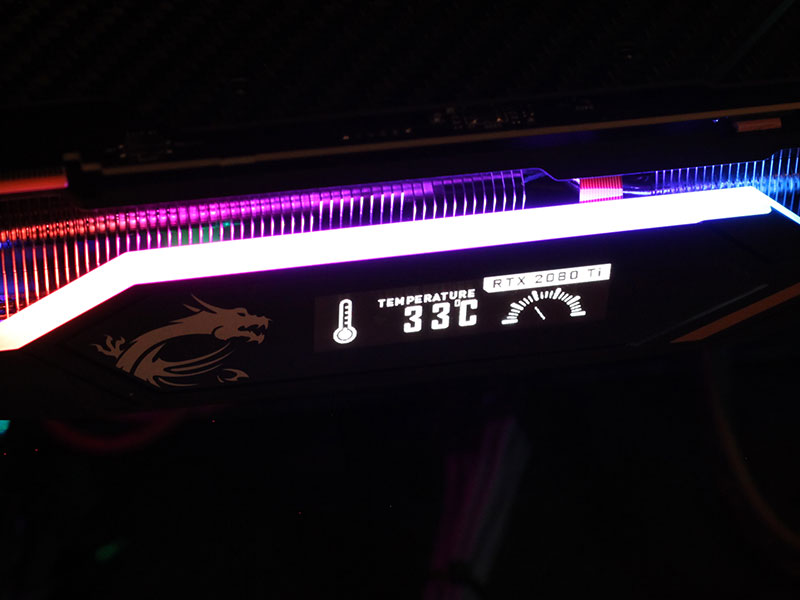
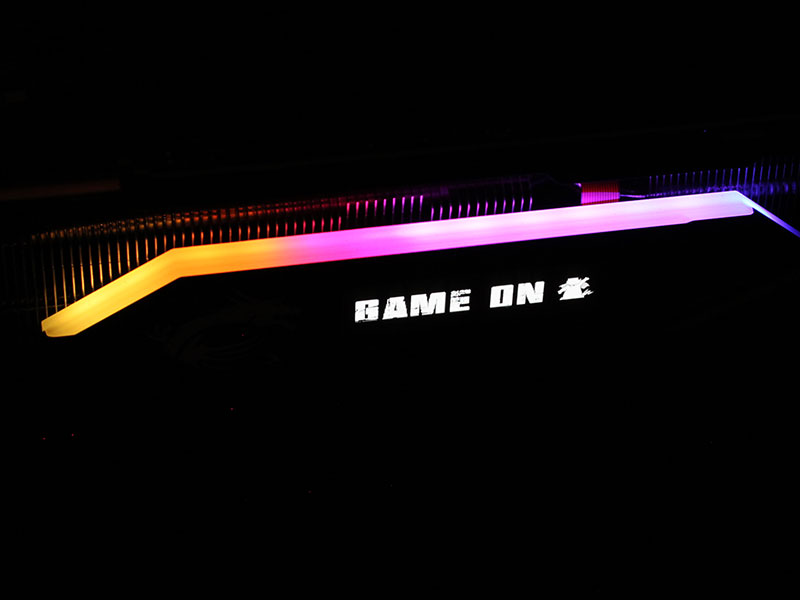
The front side has a little OLED display that plays back some animations by default, but can be customized to show parameters like temperatures—or your own animations.
Disassembly
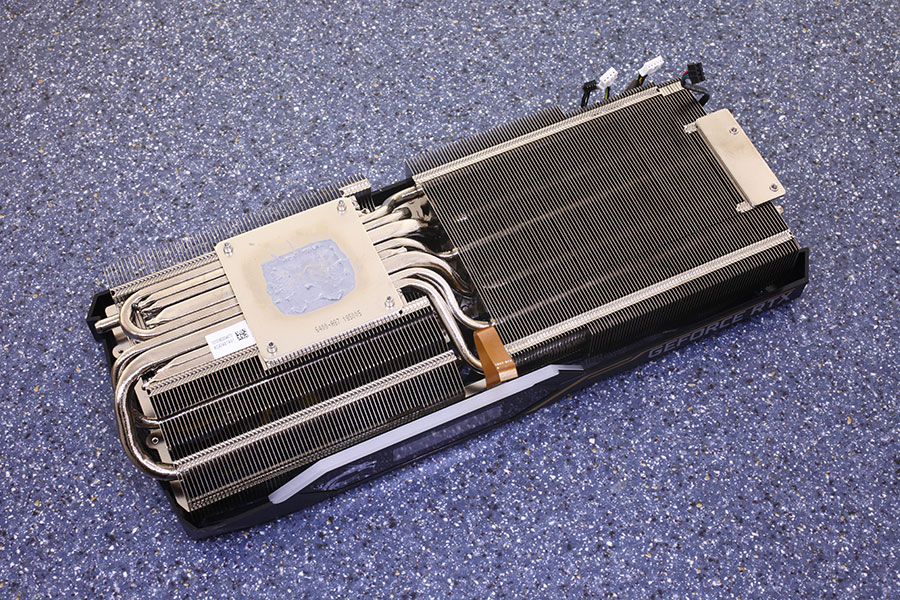
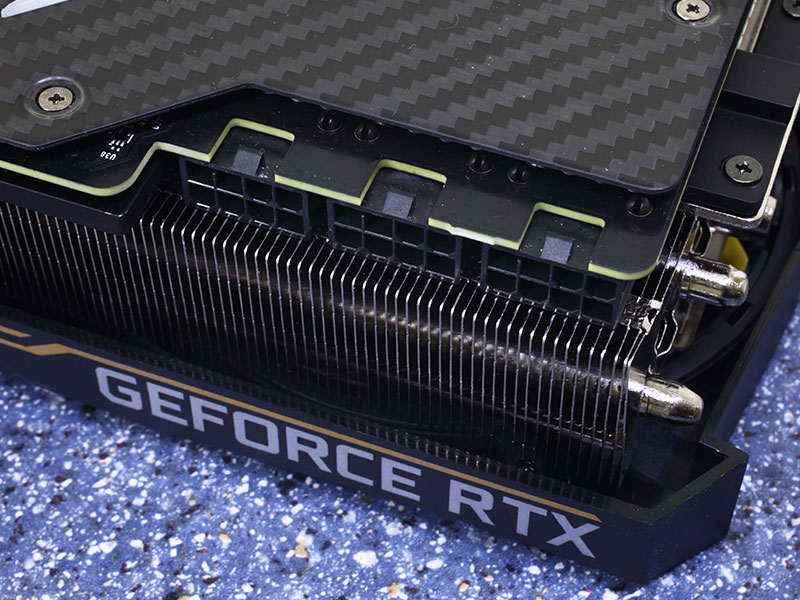
MSI's massive heatsink uses nice heatpipes and a ton of fin area to move heat away from the GPU chip.
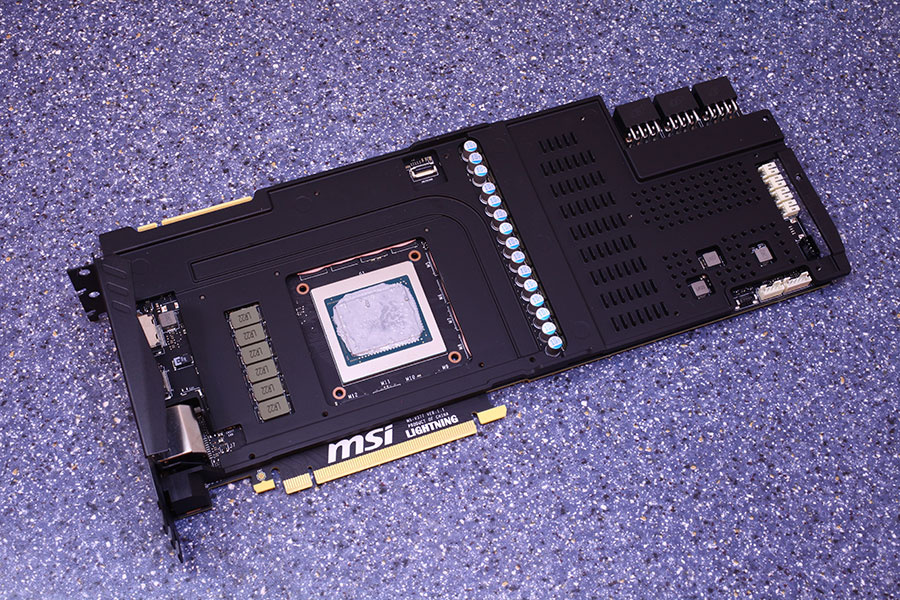
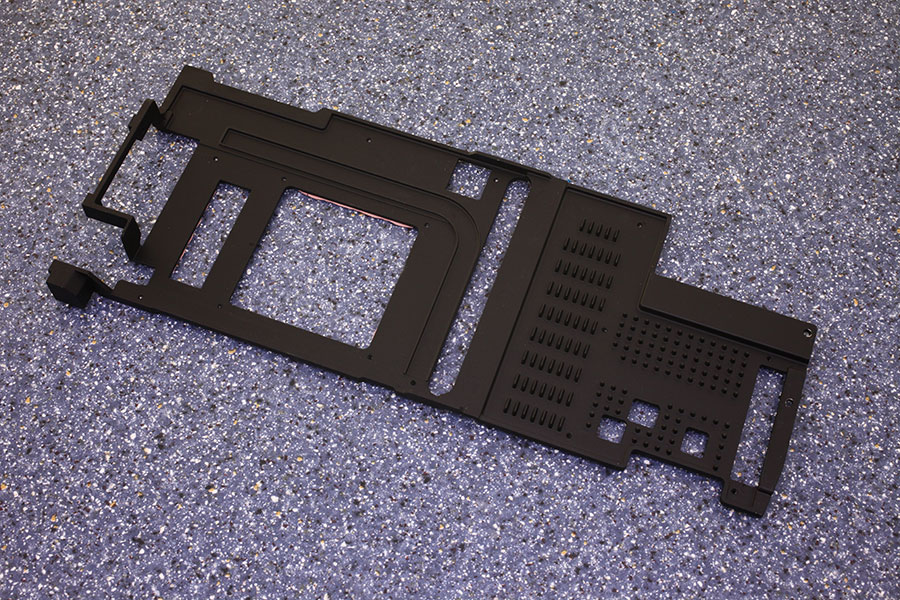
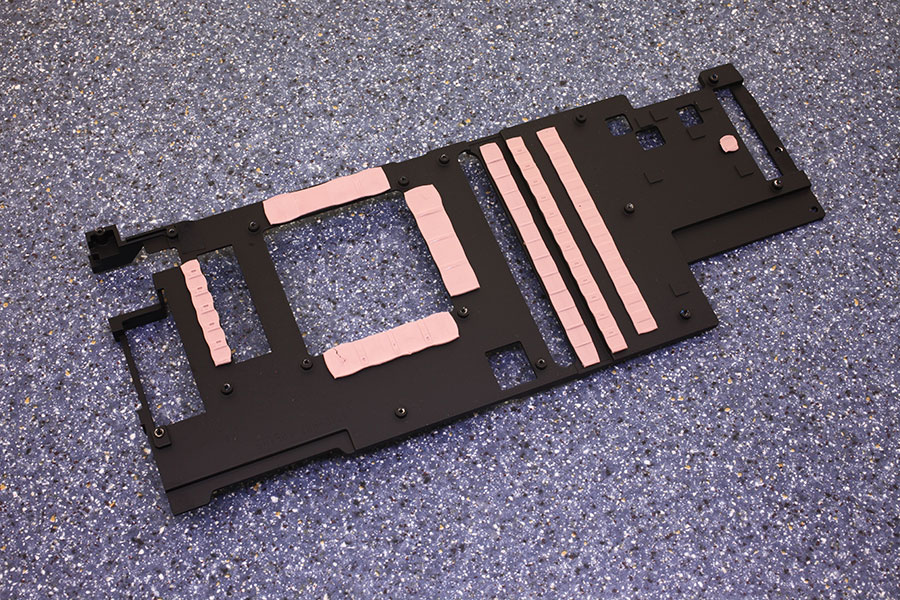
Once the main cooler is removed, a black die-cast baseplate becomes visible. It covers the whole card and provides cooling for memory chips and VRM circuitry.
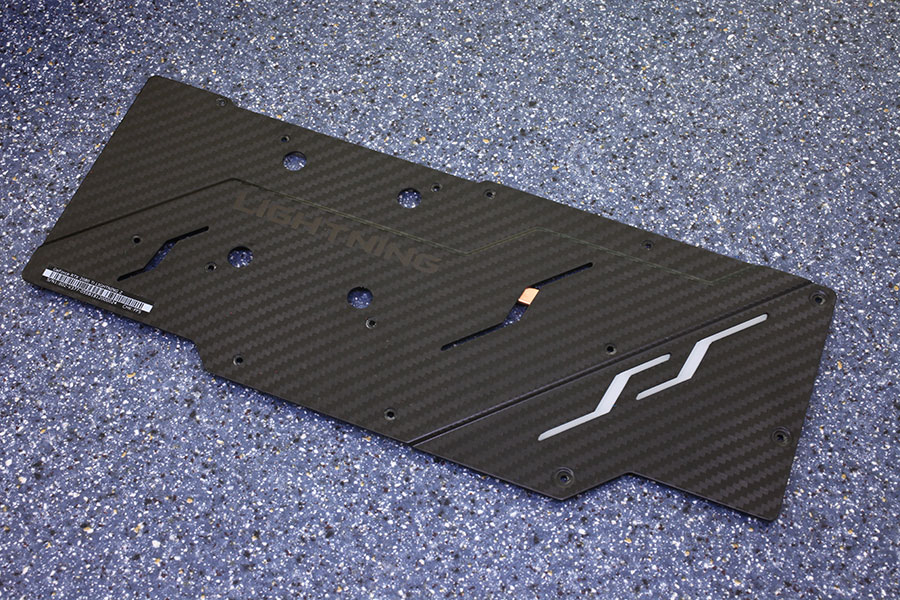
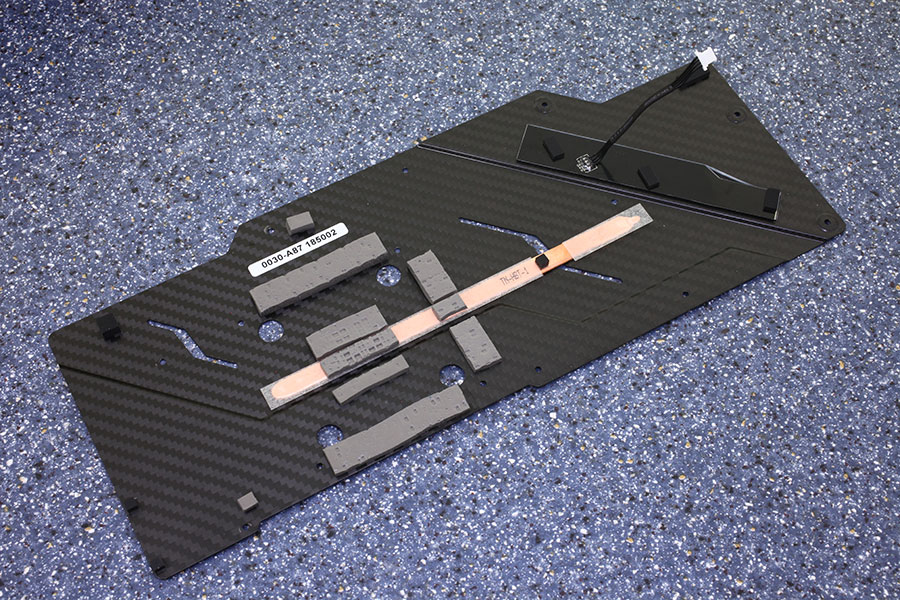
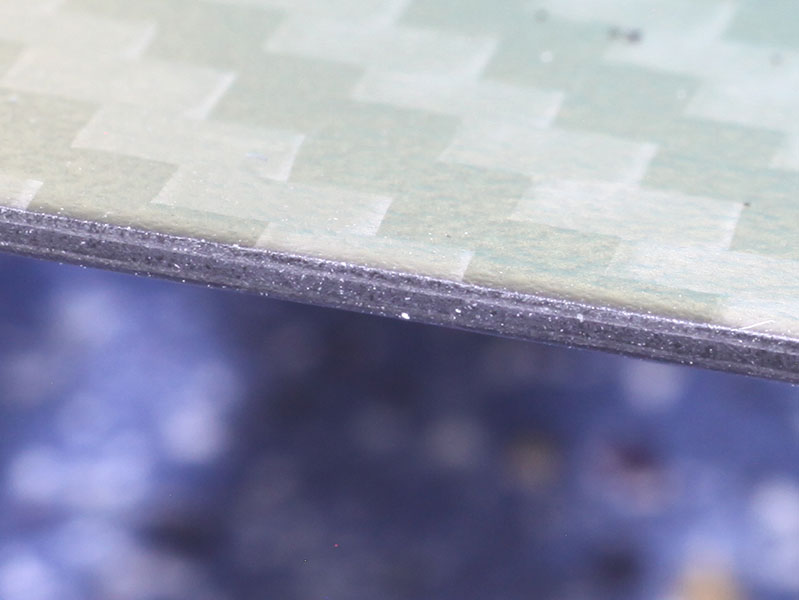
The backplate is made from some kind of carbon compound with epoxy. It's definitely not metal and definitely not plastic. I tried scratching it, and it doesn't scratch like either of those metals. Also, I measured its resistance, which is very low with 5 ohms. Please note the heatpipe that has been embedded into the backplate, which could slightly improve cooling. I tested the card without the backplate and temperatures are less than 1°C higher.
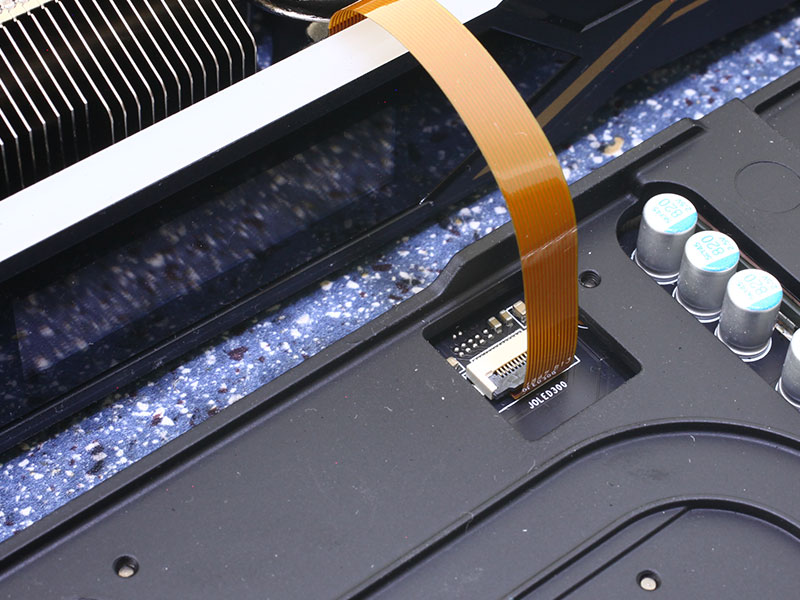
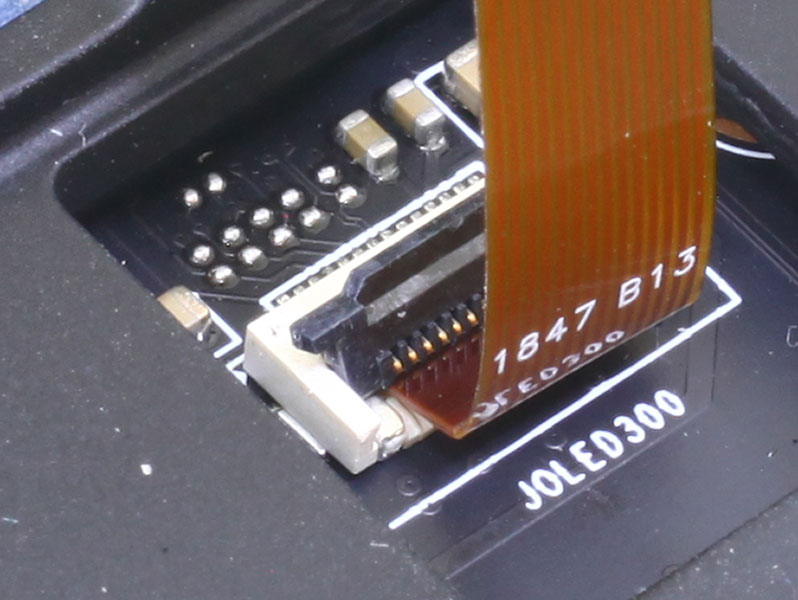
If you plan on disassembling the Lightning yourself, be aware of this delicate flat ribbon cable which connects the OLED screen to the PCB. You remove the cable by flipping the black part of the connector upward as indicated in the second image—don't just try to pull out the cable.
On the next page, we dive deep into the PCB layout and VRM configuration.
High-resolution PCB Pictures
These pictures are for the convenience of volt-modders and those who would like to see all the finer details on the PCB. Feel free to link back to us and use them in your articles or forum posts.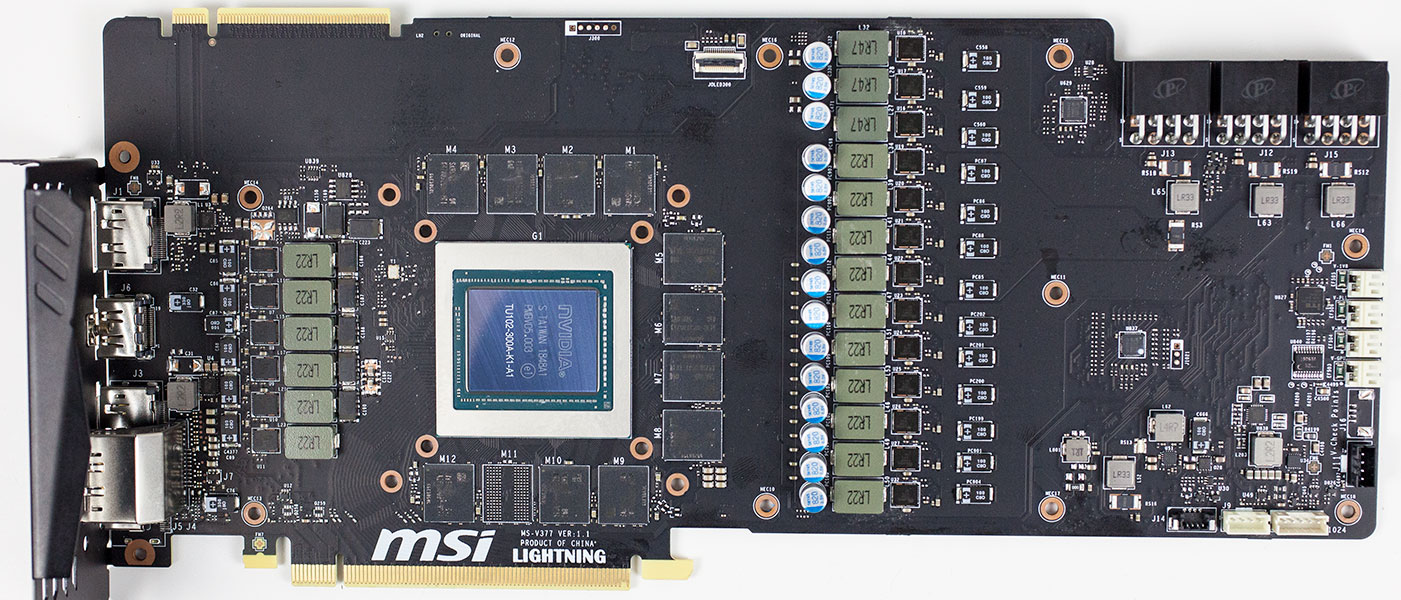

High-res versions are also available (front, back).
Our Patreon Silver Supporters can read articles in single-page format.
Apr 9th, 2025 12:24 EDT
change timezone
Latest GPU Drivers
New Forum Posts
- Help me pick a UPS (100)
- OEM and Retail GPU (5)
- Thermal testing two different size Gigabyte 5070 Ti cards - huge differences (8)
- worth overclocking 2666mhz cl19 ram for 1080p 75hz monitor? (23)
- (Some of) What I'd like to See From a Final Fantasy IX Remake (5)
- Entry level 4K gaming RIG for cRPG and h'n's games - Ryzen 5 5600 + RX 7600? (69)
- Steam Deck Owners Clubhouse (498)
- GTX1080 Phoenix GLH broken? monitor signal but black screen? (2)
- Cpu getting locked at 4Ghz (5)
- DTS DCH Driver for Realtek HDA [DTS:X APO4 + DTS Interactive] (2130)
Popular Reviews
- The Last Of Us Part 2 Performance Benchmark Review - 30 GPUs Compared
- MCHOSE L7 Pro Review
- UPERFECT UStation Delta Max Review - Two Screens In One
- PowerColor Radeon RX 9070 Hellhound Review
- Sapphire Radeon RX 9070 XT Pulse Review
- Upcoming Hardware Launches 2025 (Updated Apr 2025)
- Sapphire Radeon RX 9070 XT Nitro+ Review - Beating NVIDIA
- ASUS Prime X870-P Wi-Fi Review
- Acer Predator GM9000 2 TB Review
- AMD Ryzen 7 9800X3D Review - The Best Gaming Processor
Controversial News Posts
- NVIDIA GeForce RTX 5060 Ti 16 GB SKU Likely Launching at $499, According to Supply Chain Leak (167)
- MSI Doesn't Plan Radeon RX 9000 Series GPUs, Skips AMD RDNA 4 Generation Entirely (146)
- Microsoft Introduces Copilot for Gaming (124)
- AMD Radeon RX 9070 XT Reportedly Outperforms RTX 5080 Through Undervolting (119)
- NVIDIA Reportedly Prepares GeForce RTX 5060 and RTX 5060 Ti Unveil Tomorrow (115)
- Over 200,000 Sold Radeon RX 9070 and RX 9070 XT GPUs? AMD Says No Number was Given (100)
- Nintendo Switch 2 Launches June 5 at $449.99 with New Hardware and Games (98)
- Nintendo Confirms That Switch 2 Joy-Cons Will Not Utilize Hall Effect Stick Technology (98)