 7
7
Nanoxia Deep Silence 4 Review
Value & Conclusion »Assembly
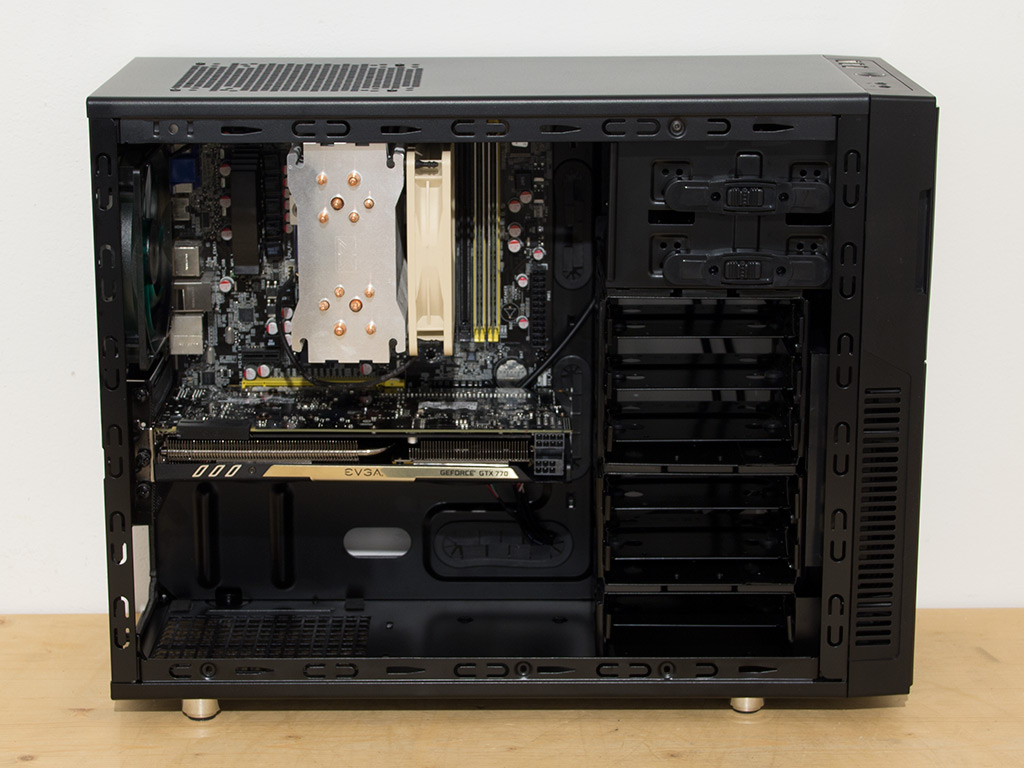
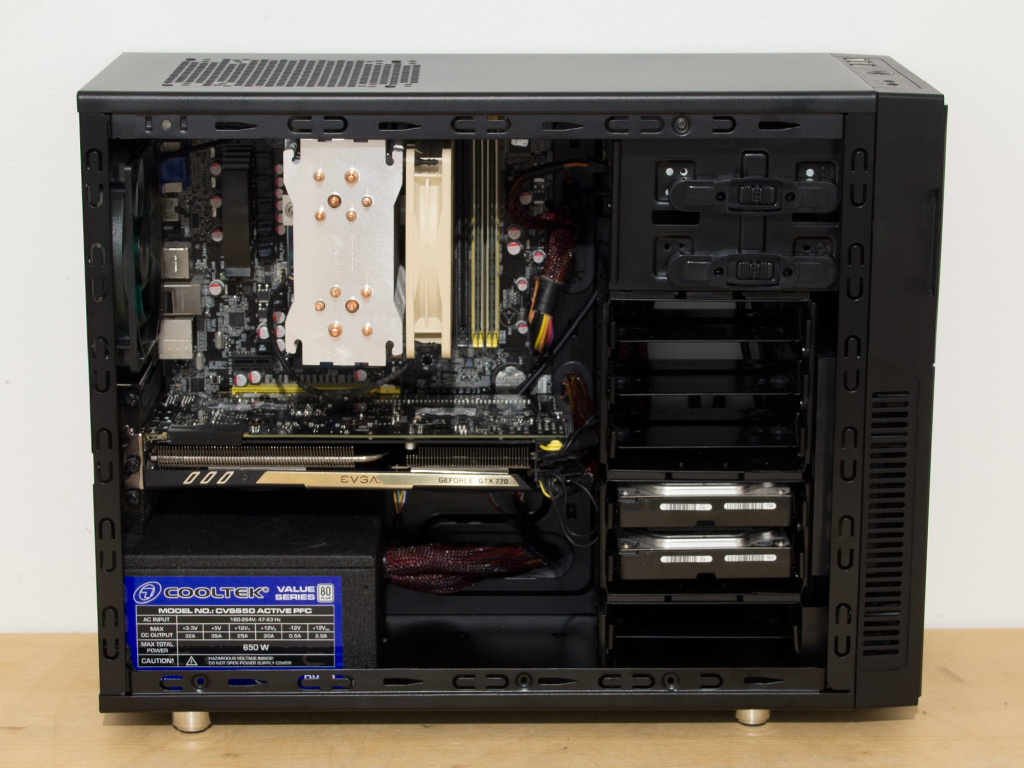
Installing a motherboard is done by traditional means, with the use of the included spacers. As you can see, a 120 mm tower cooler fits within the Deep Silence 4, but there is very little space left toward the top area of the chassis, which may make connecting cables to the upper edge of the motherboard difficult. The EVGA 770 SC fits just fine and should be the reference for the maximum length of graphics cards within the Deep Silence 4.

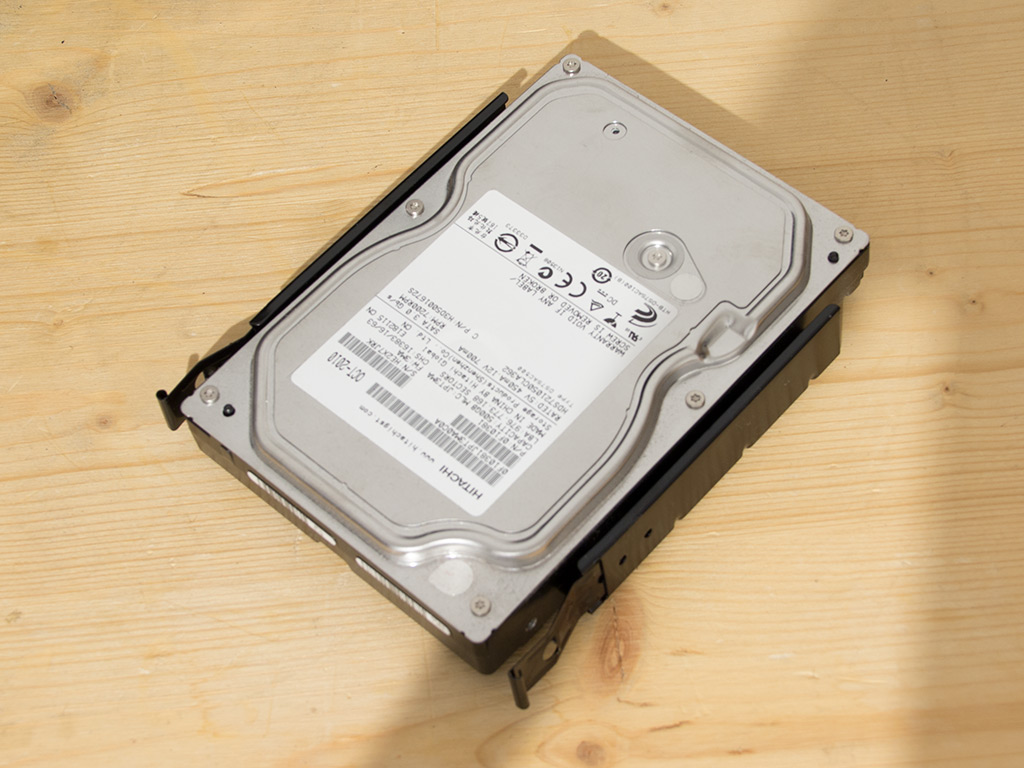
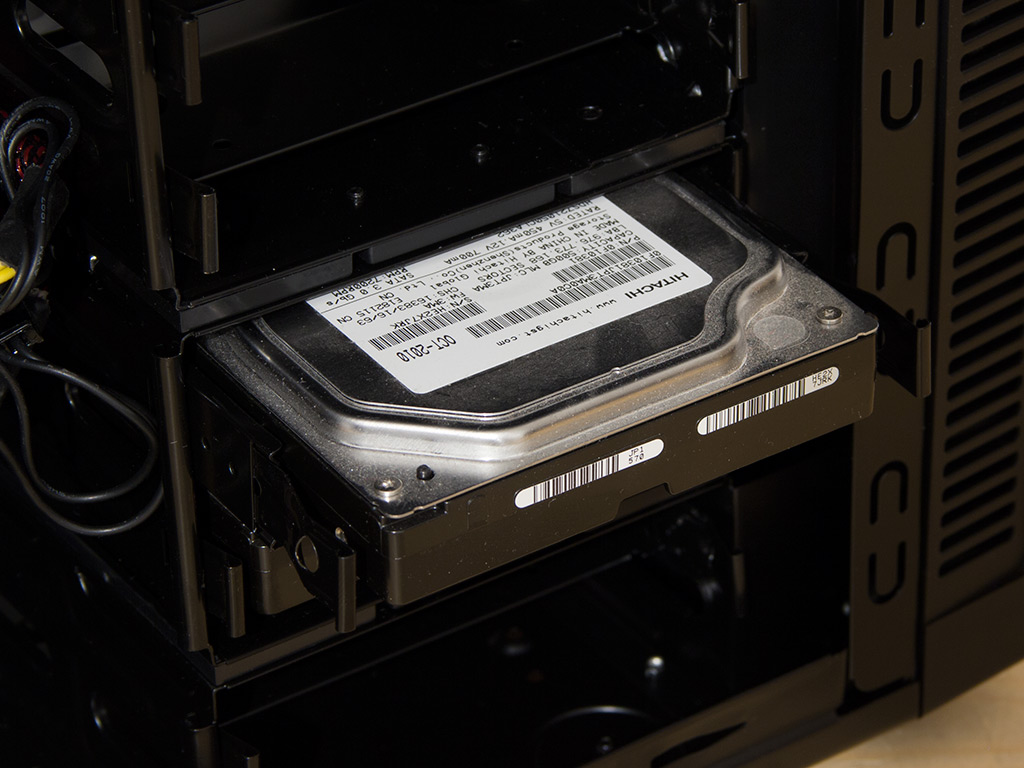
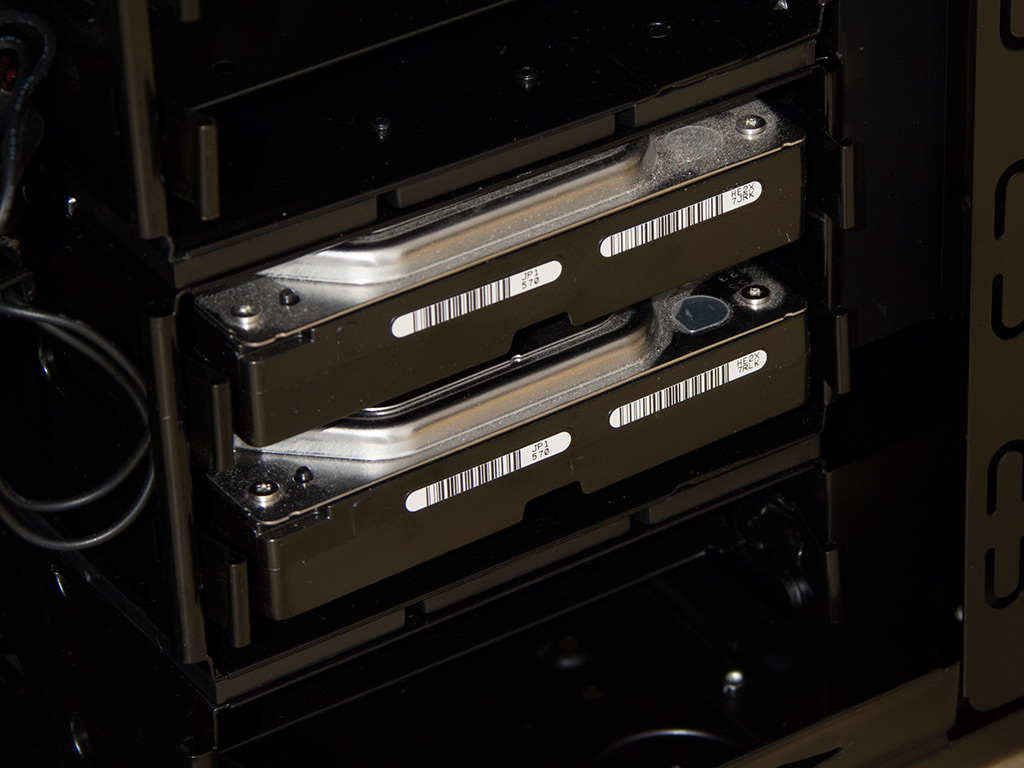
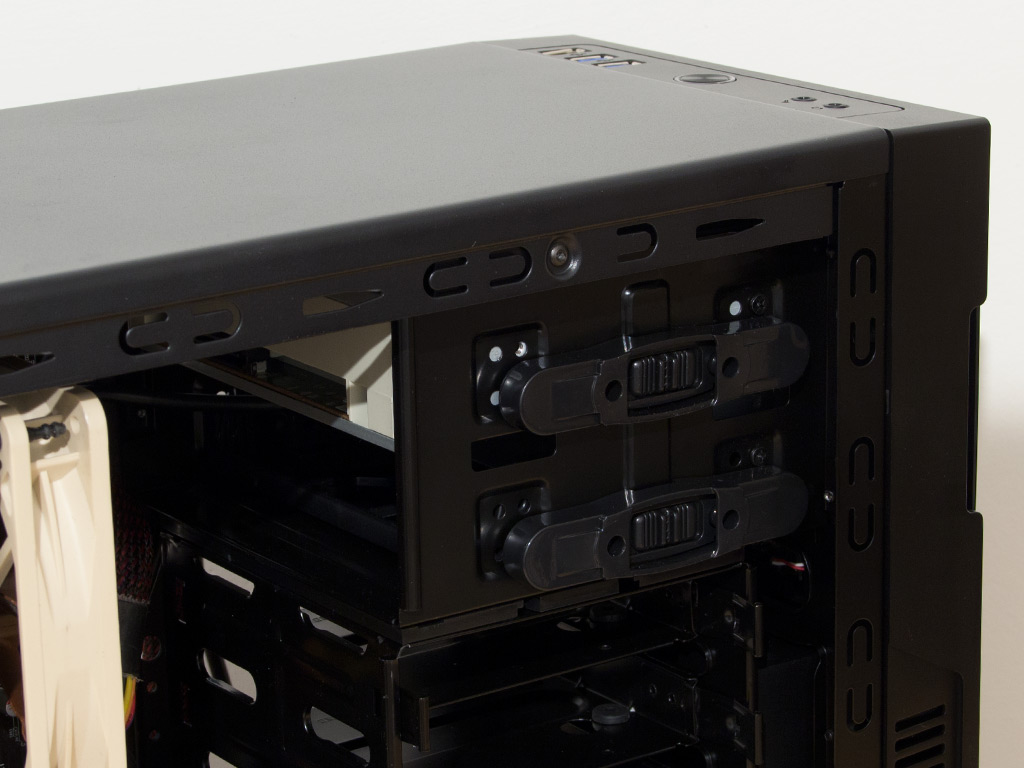
Nanoxia is one of the few companies out there to still utilize metal hard-drive trays instead of cheaper plastic ones. The included ones still require the use of tools and screws, but also come equipped with rubber rings as an anti-vibration measure. Once the tray is filled, simply slide it into the bay of your choice until it snaps into place.

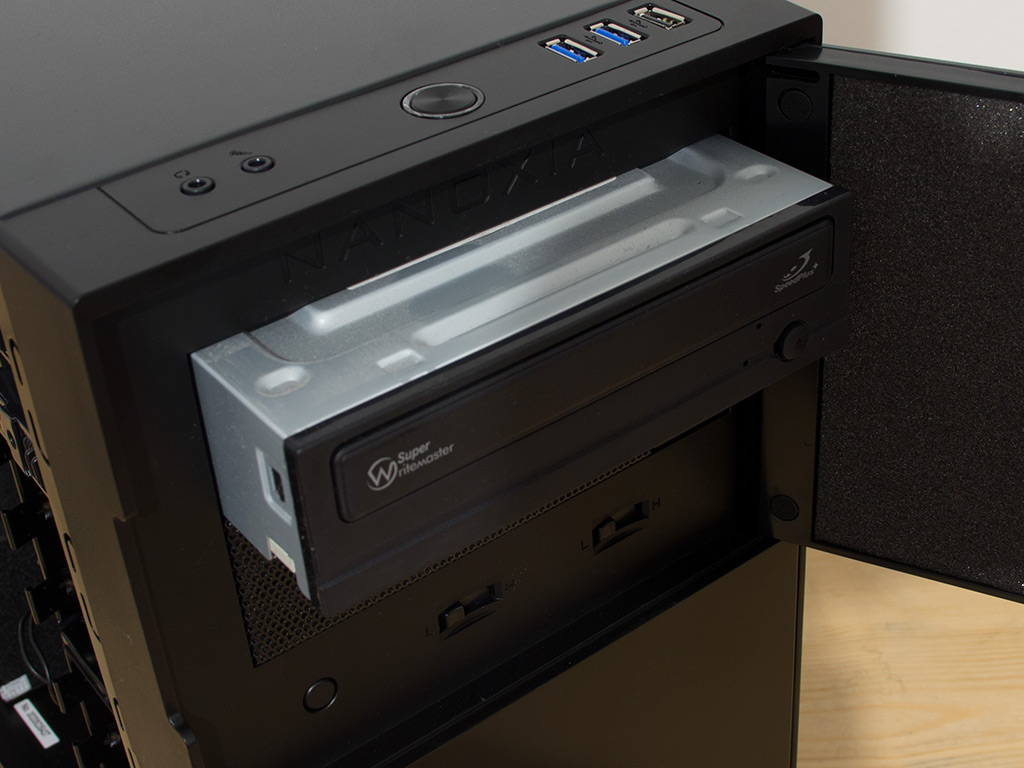
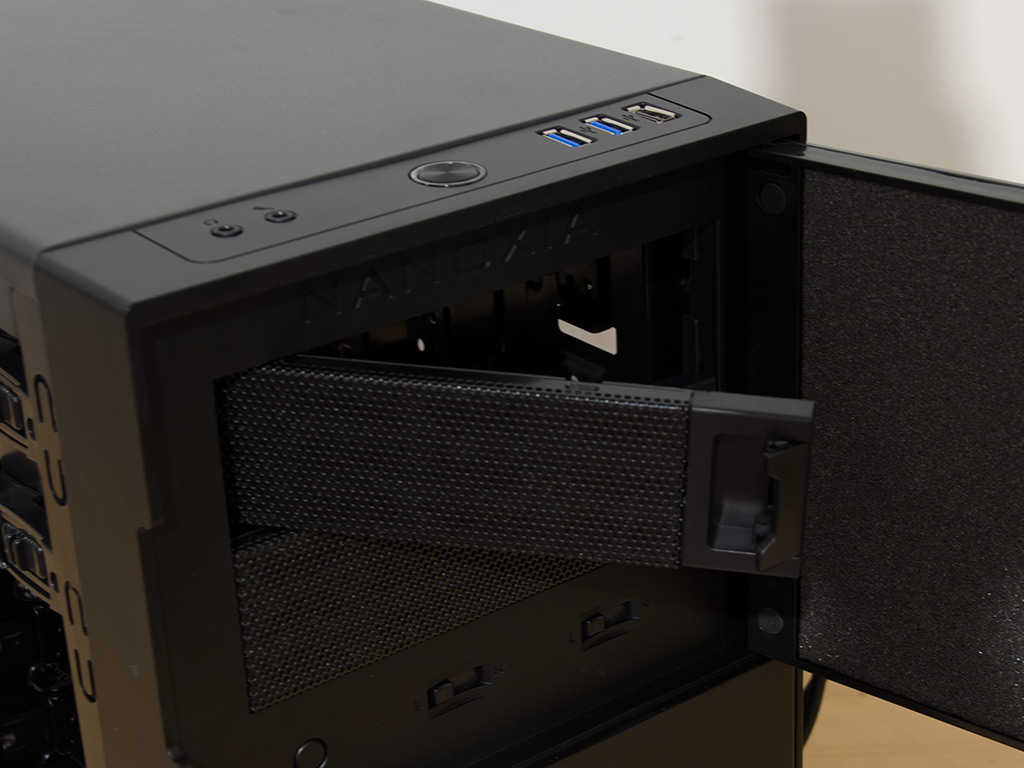
Installing an optical drive within the Deep Silence 4 does not require you to use any tools or parts. Simply take the cover out of the chassis and slide the drive into place. Lastly, use the included locks to hold it in place. They do hold well enough, but there is still a tiny bit of play, which could translate into vibration noise. I strongly suggest sinking a single screw in somewhere to pin it down properly.
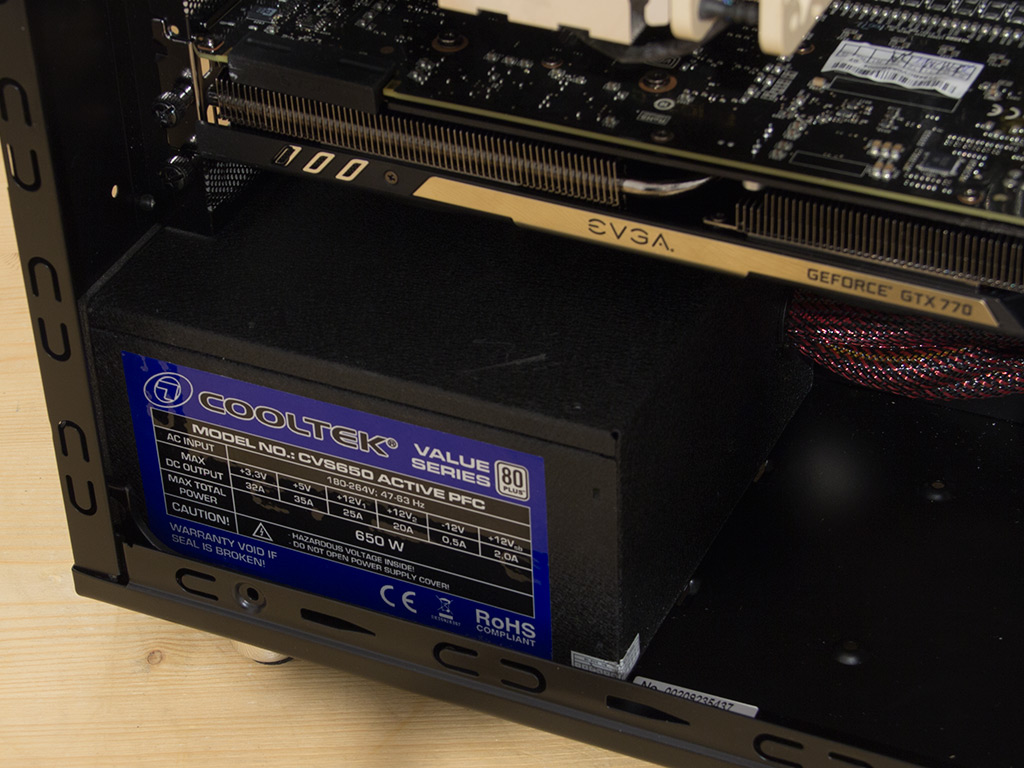
Adding the power supply to the system is done by traditional means and does require you to pull out a screwdriver. There is plenty of space to add a long unit if your assembled parts require such.
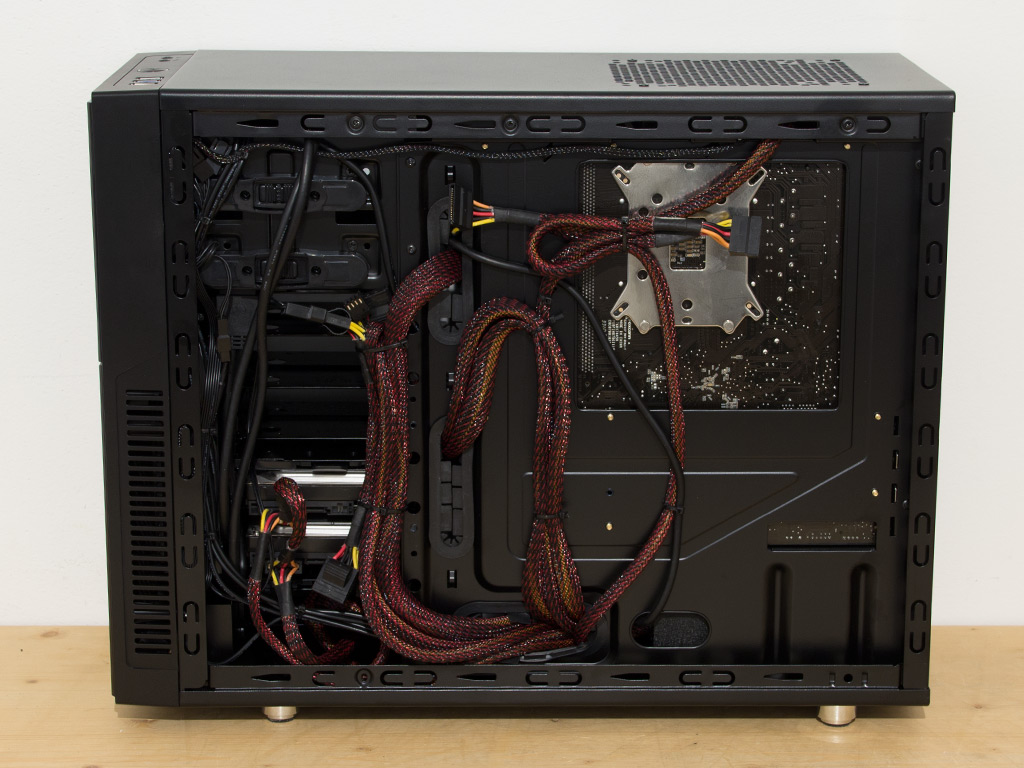
With everything installed, the interior of the Deep Silence 4 looks rather clean as most of the cable mess is nicely hidden behind the motherboard tray. While there is plenty of space, the motherboard tray does not come equipped with a lot of hooks for cable ties so that one has to get a bit creative to spread the cables apart nicely.
Finished Looks
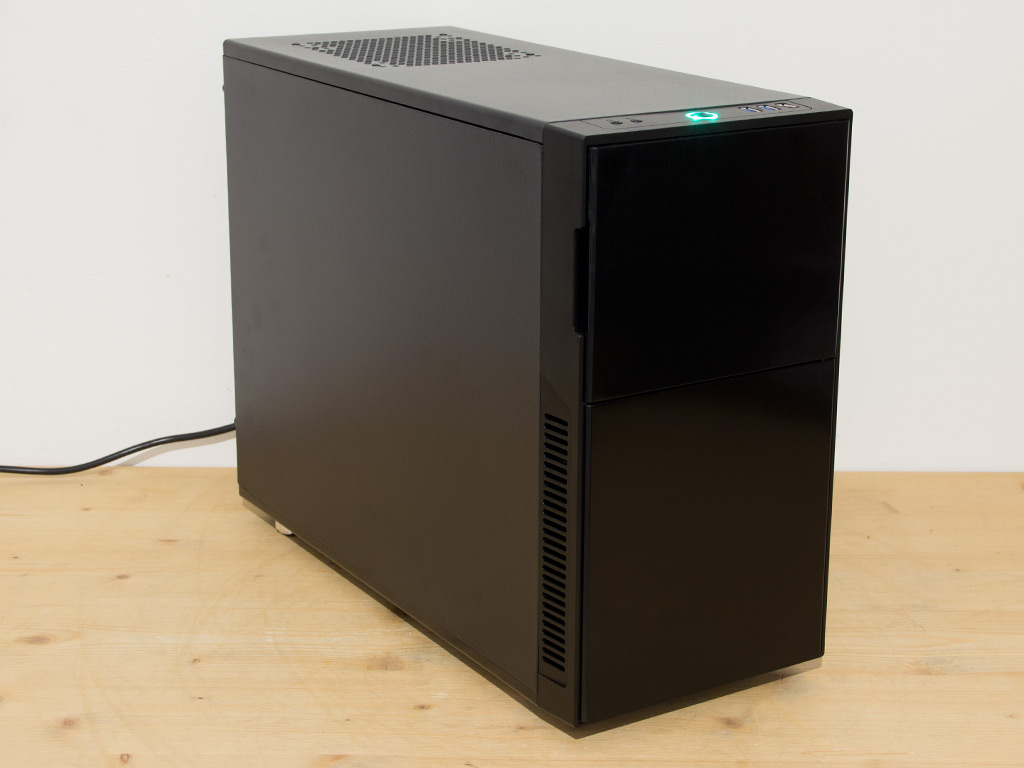
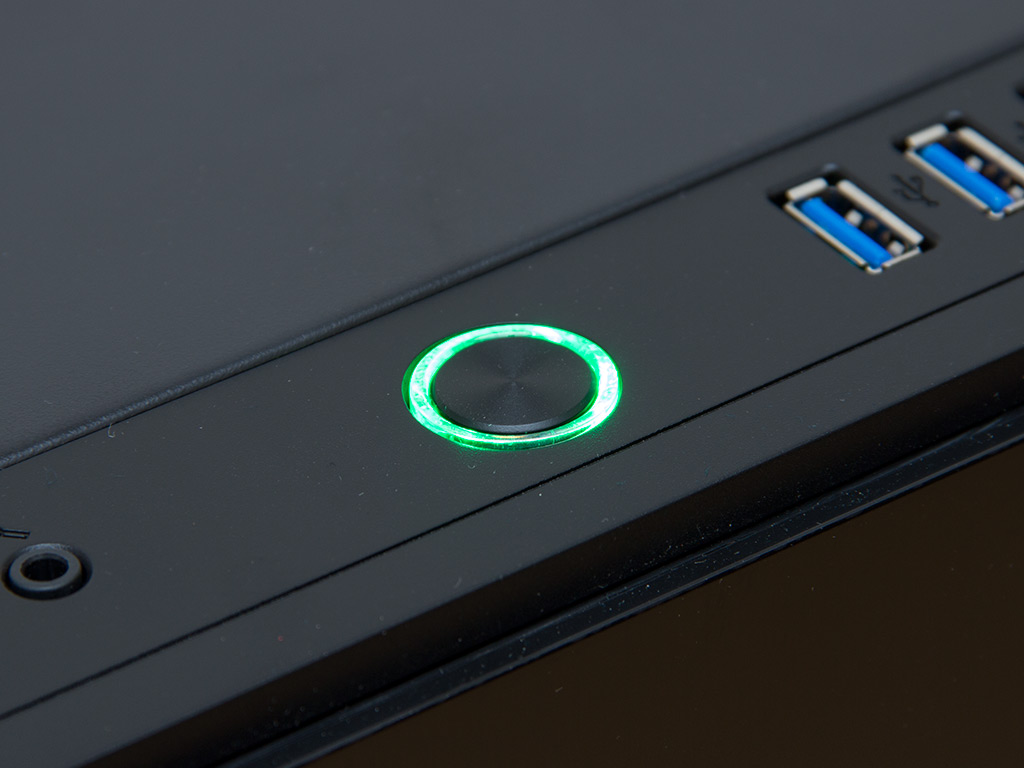
The first thing you will notice once the side panels have been re-applied and the system turned on is the noise, or lack thereof. The Deep Silence is quiet at full throttle and near silent with the fans turned down completely. This, however, only pertains to the chassis, not the included parts. If you have a 38 mm thick, high RPM fan installed within the chassis, you will still hear it—just not as much. A green ring lights up around the power button, but it also holds a red LED for HDD activity, so the two colors mix if data is accessed within the system.
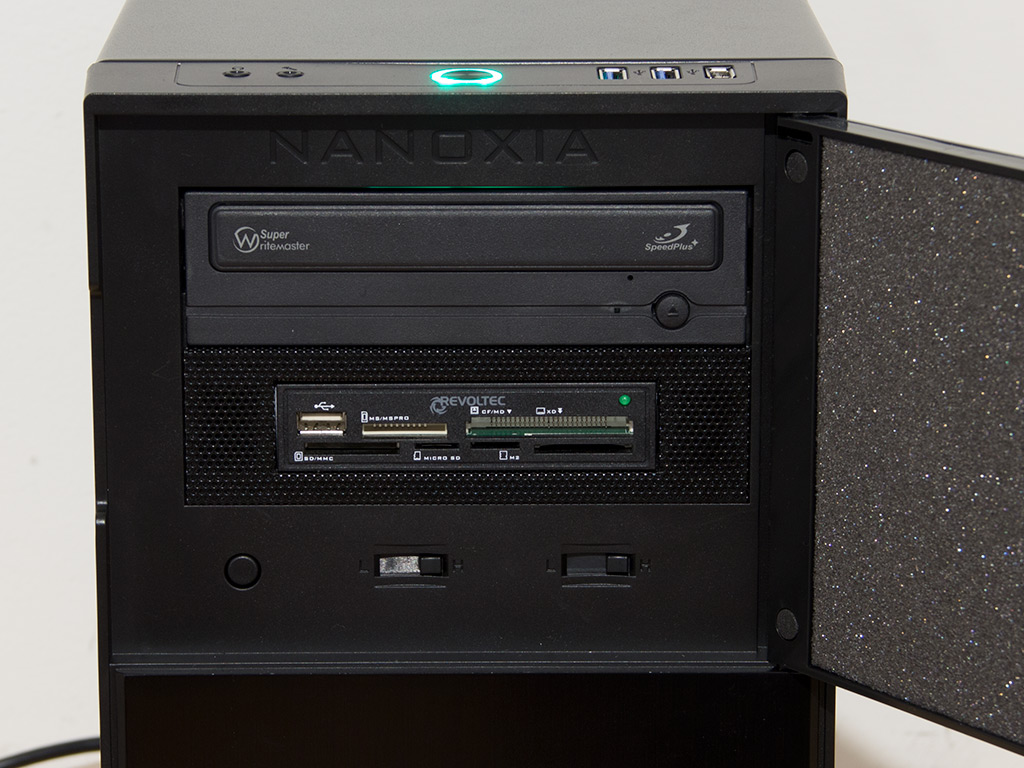
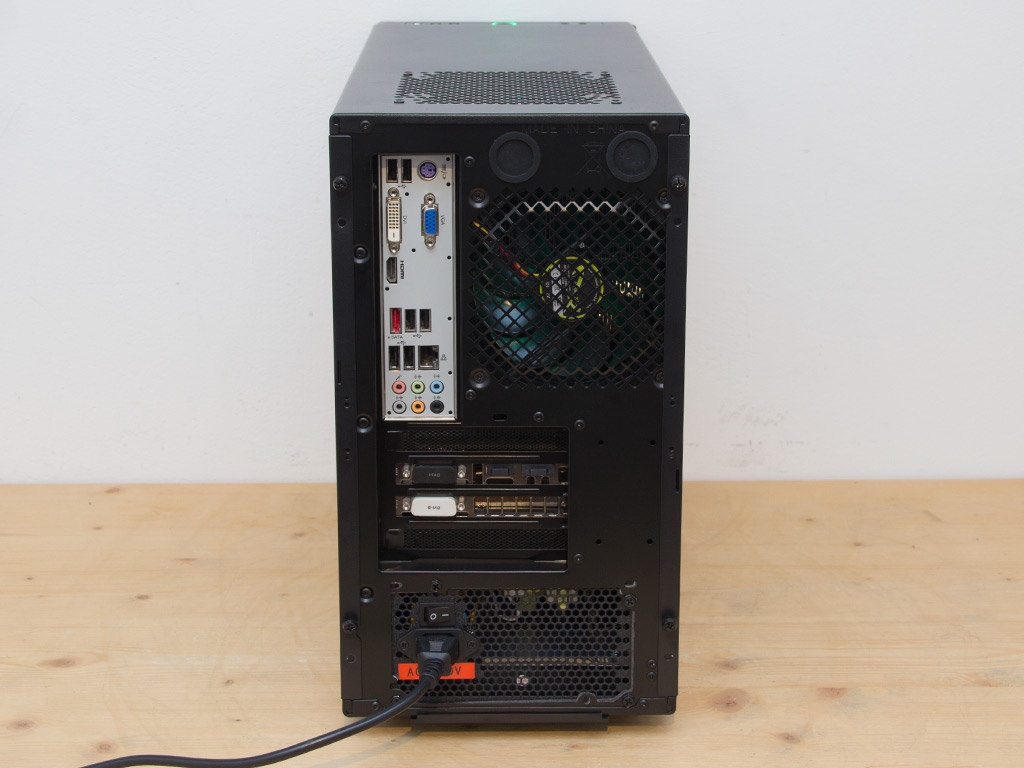
All the drives are nicely hidden behind the door. As you can see, the 3.5" adapter was used to install a card reader within the chassis. All the connectors in the rear are where you would expect to see them. Last but not least, the solid rubber grommets were used instead of the open ones as we do not have a need for such openings in the rear.
Mar 10th, 2025 19:22 EDT
change timezone
Latest GPU Drivers
New Forum Posts
- I'm looking for a good tool to make the 3D scanning of my mini-pc using the photogrammetry and my Kinect 2. (54)
- Post Your TIMESPY, PCMARK10 & FIRESTRIKE SCORES! (2019) (271)
- AMD RX 7000 series GPU Owners' Club (1307)
- I need a BIOS for the "Rx580 8gb" chip 215-0876406 (6)
- Biostar RX 6700 XT OC BIOS (7)
- Nvidia's GPU market share hits 90% in Q4 2024 (gets closer to full monopoly) (774)
- What's your latest tech purchase? (23278)
- Wherein lies the difference (2)
- USB hard disk box capacity limits (14)
- RX 9000 series GPU Owners Club (41)
Popular Reviews
- Sapphire Radeon RX 9070 XT Nitro+ Review - Beating NVIDIA
- XFX Radeon RX 9070 XT Mercury OC Magnetic Air Review
- ASUS Radeon RX 9070 TUF OC Review
- MSI MAG B850 Tomahawk Max Wi-Fi Review
- NVIDIA GeForce RTX 5080 Founders Edition Review
- NVIDIA GeForce RTX 5070 Founders Edition Review
- Corsair Vengeance RGB CUDIMM DDR5-8800 48 GB CL42 Review
- AMD Ryzen 7 9800X3D Review - The Best Gaming Processor
- ASUS GeForce RTX 5070 Ti TUF OC Review
- MSI GeForce RTX 5070 Ti Gaming Trio OC+ Review
Controversial News Posts
- NVIDIA GeForce RTX 50 Cards Spotted with Missing ROPs, NVIDIA Confirms the Issue, Multiple Vendors Affected (513)
- AMD Plans Aggressive Price Competition with Radeon RX 9000 Series (277)
- AMD Radeon RX 9070 and 9070 XT Listed On Amazon - One Buyer Snags a Unit (261)
- AMD RDNA 4 and Radeon RX 9070 Series Unveiled: $549 & $599 (260)
- AMD Mentions Sub-$700 Pricing for Radeon RX 9070 GPU Series, Looks Like NV Minus $50 Again (248)
- NVIDIA Investigates GeForce RTX 50 Series "Blackwell" Black Screen and BSOD Issues (244)
- AMD Radeon RX 9070 and 9070 XT Official Performance Metrics Leaked, +42% 4K Performance Over Radeon RX 7900 GRE (195)
- AMD Radeon RX 9070-series Pricing Leaks Courtesy of MicroCenter (158)