 4
4
Noble Viking Ragnar In-Ear Monitors Review - Worthy of Valhalla?
(4 Comments) »Introduction
Noble Audio is a family-owned audio brand that began its journey in early 2013. It's one of very few companies to have lasted this long without losing its US roots, and heading over to this page shows that the current seven-person Noble Audio team has four members with the same last name! John Moulton—nicknamed The Wizard (no relation to our own W1zzard)—is 50% owner of the brand and has a Ph.D. in audiology, and the others have their own specializations to help Noble Audio seemingly go from strength to strength over time. I first met Jim Moulton (the other 50% owner) at CanJam London 2022 where they were extremely patient walking me through the entire IEM lineup they had brought over. This included a literal piece of audio jewelry in the form of a gold-and-diamond version of the Noble Sultan that is valued at over $27,000 and they had no qualms about allowing me to examine it with my gloved hands. This then led to an astonishingly transparent discussion of what Noble Audio can and can't do, as well as why the company decided early on to leave the more budget-minded market for wired IEMs. They saw the upcoming race to the bottom that we are now seeing with ChiFi audio brands and also the tough competition from TWS earphones for the more mainstream market. As such, Noble Audio's strategy is to offer premium wired IEMs combined with its own take on the TWS craze too—not a bad business strategy if I say so myself!

Late 2021 saw a statement piece released by Noble Audio in the form of the Noble Viking—an all-Damascus steel set of IEMs, including with the hardware used on the cable, developed in conjunction with master jeweler and craftsman Chris Ploof and his team. The Noble Viking also used an expensive tribrid driver configuration and only 83 units were made to where all these factors combined into making it a set that cost over $7000! Sticker shock aside, the Noble Viking sold out soon and there was pent-up demand for a more mass production-compatible version from fans of the brand. Enter then the all-new flagship for the Noble Audio brand—the Noble Viking Ragnar—and thanks to the company for loaning a unit to TechPowerUp as we examine it closely in our review today beginning with a look at the product specifications in the table below.
Specifications
| Noble Viking Ragnar In-Ear Monitors | |
|---|---|
| Shell: | CNC-machined aluminium shells with hand-forged Damascus stainless steel face plate |
| Cable: | Four-wire graphene and Litz-style monocrystalline silver conductor |
| Driver Units: | Dual 10 mm DD for sub-bass and bass + four Knowles BA drivers for upper-bass, mid-range, and upper mid-range + four EST tweeters for upper-midrange, highs, and super-highs |
| Frequency Response: | 20 Hz–40 kHz |
| Sensitivity: | 112 dB/mW dB @1 kHz |
| Impedance: | 17 Ω |
| Cable Connectors: | 4.4 mm TRRS plug to source + two 0.78 mm 2-pin plugs to IEMs |
| Cable Length: | 4 ft/1.2 m |
| Warranty: | Two years |
Packaging and Accessories
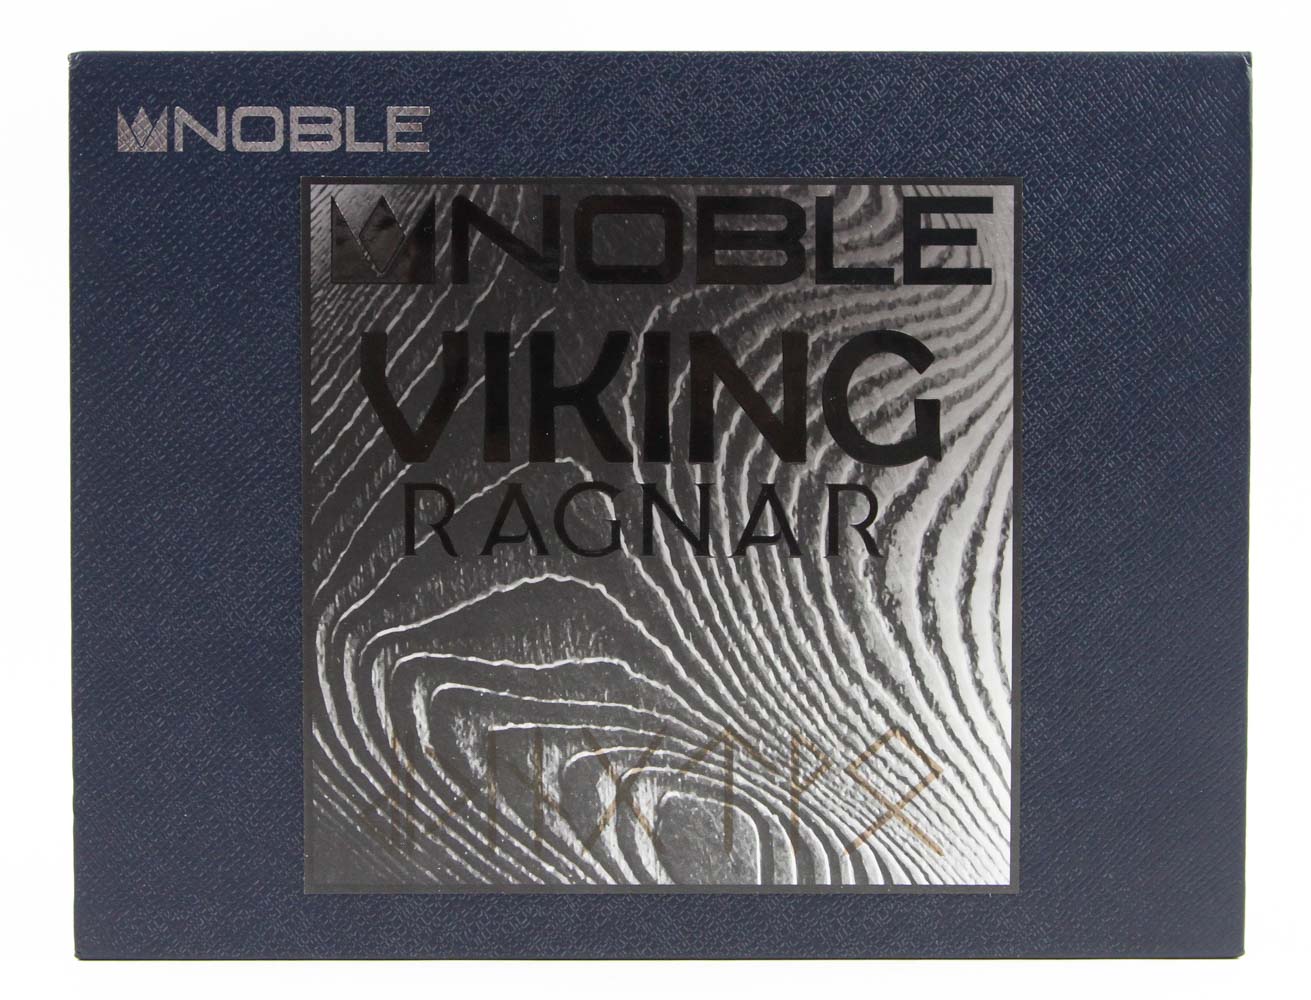
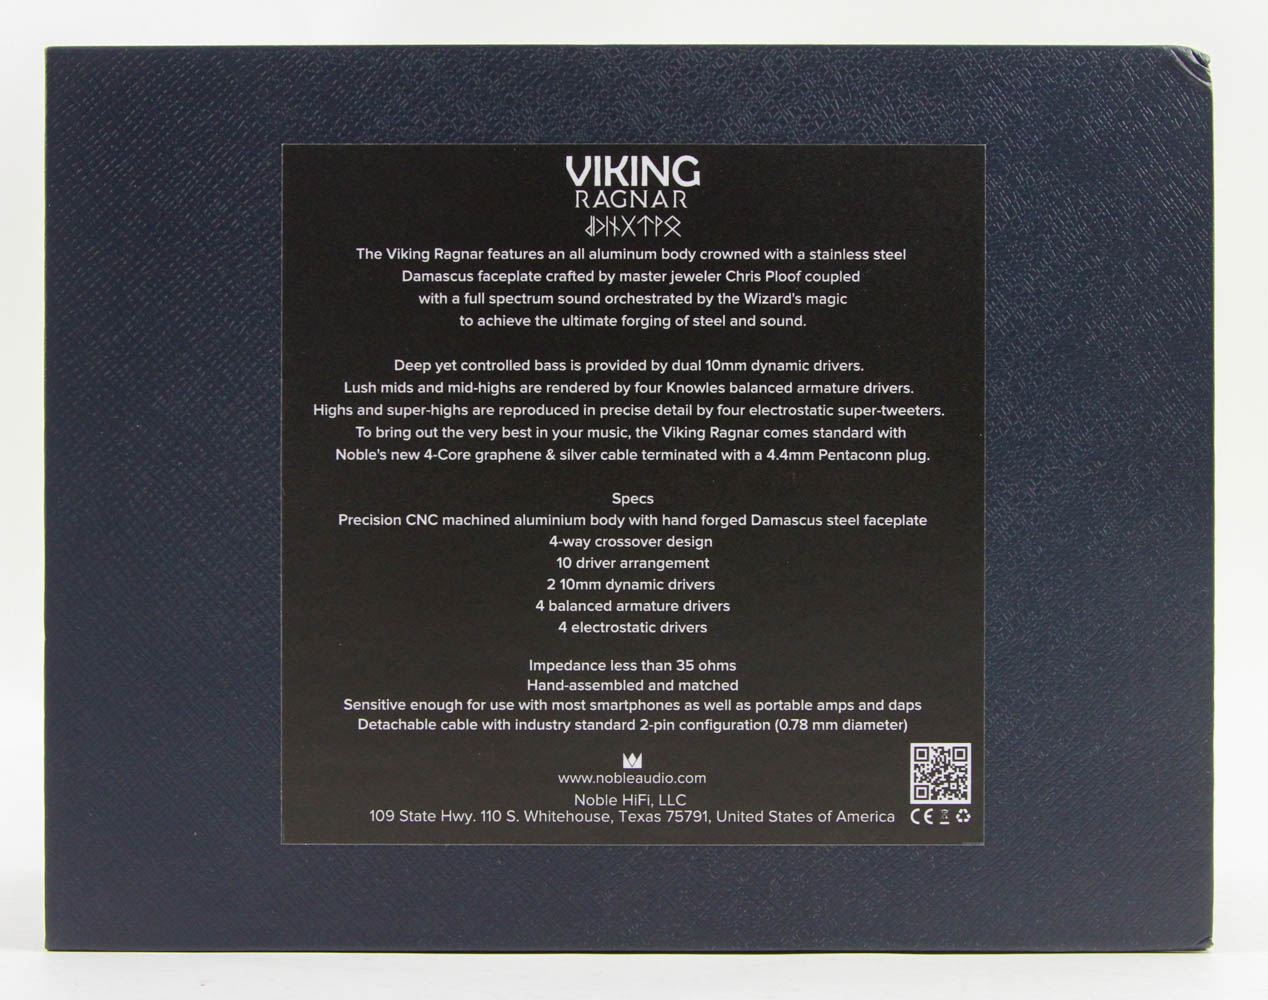
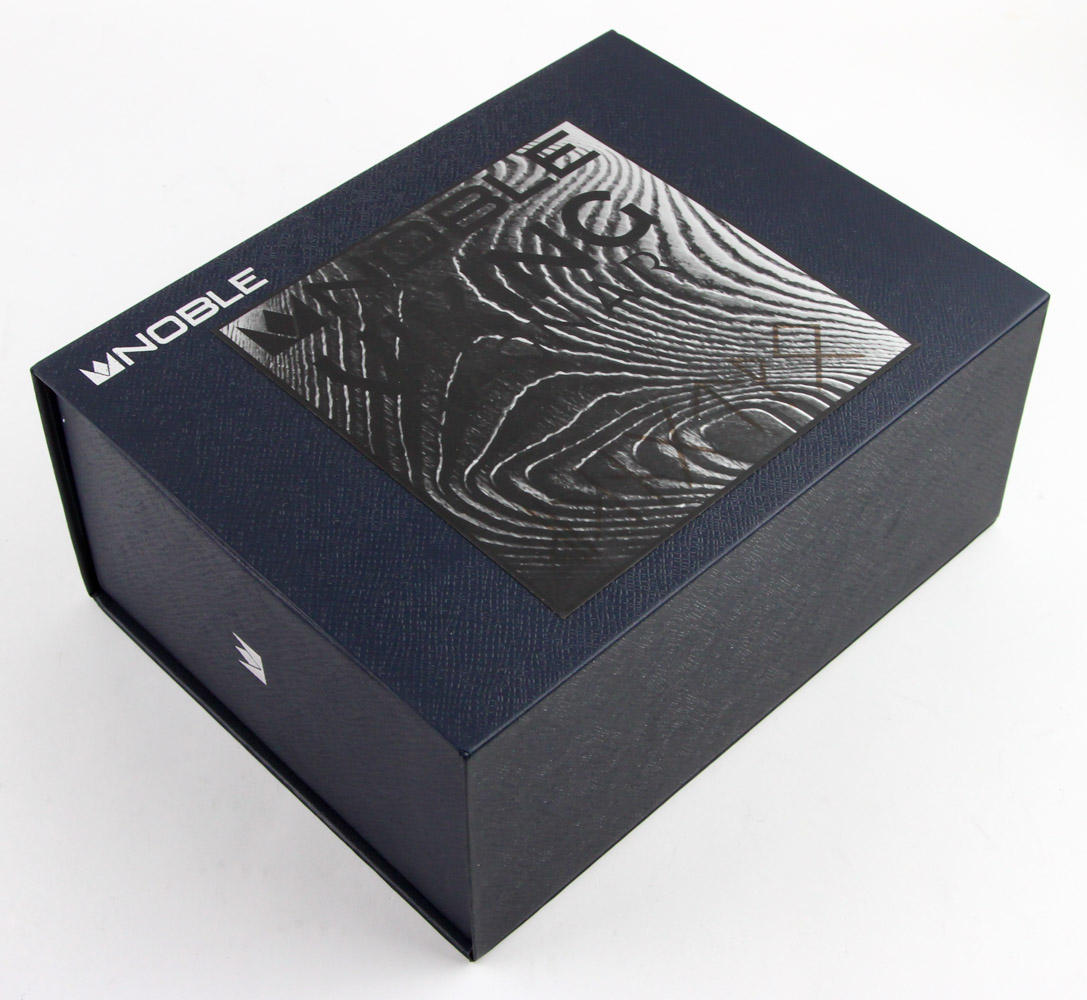
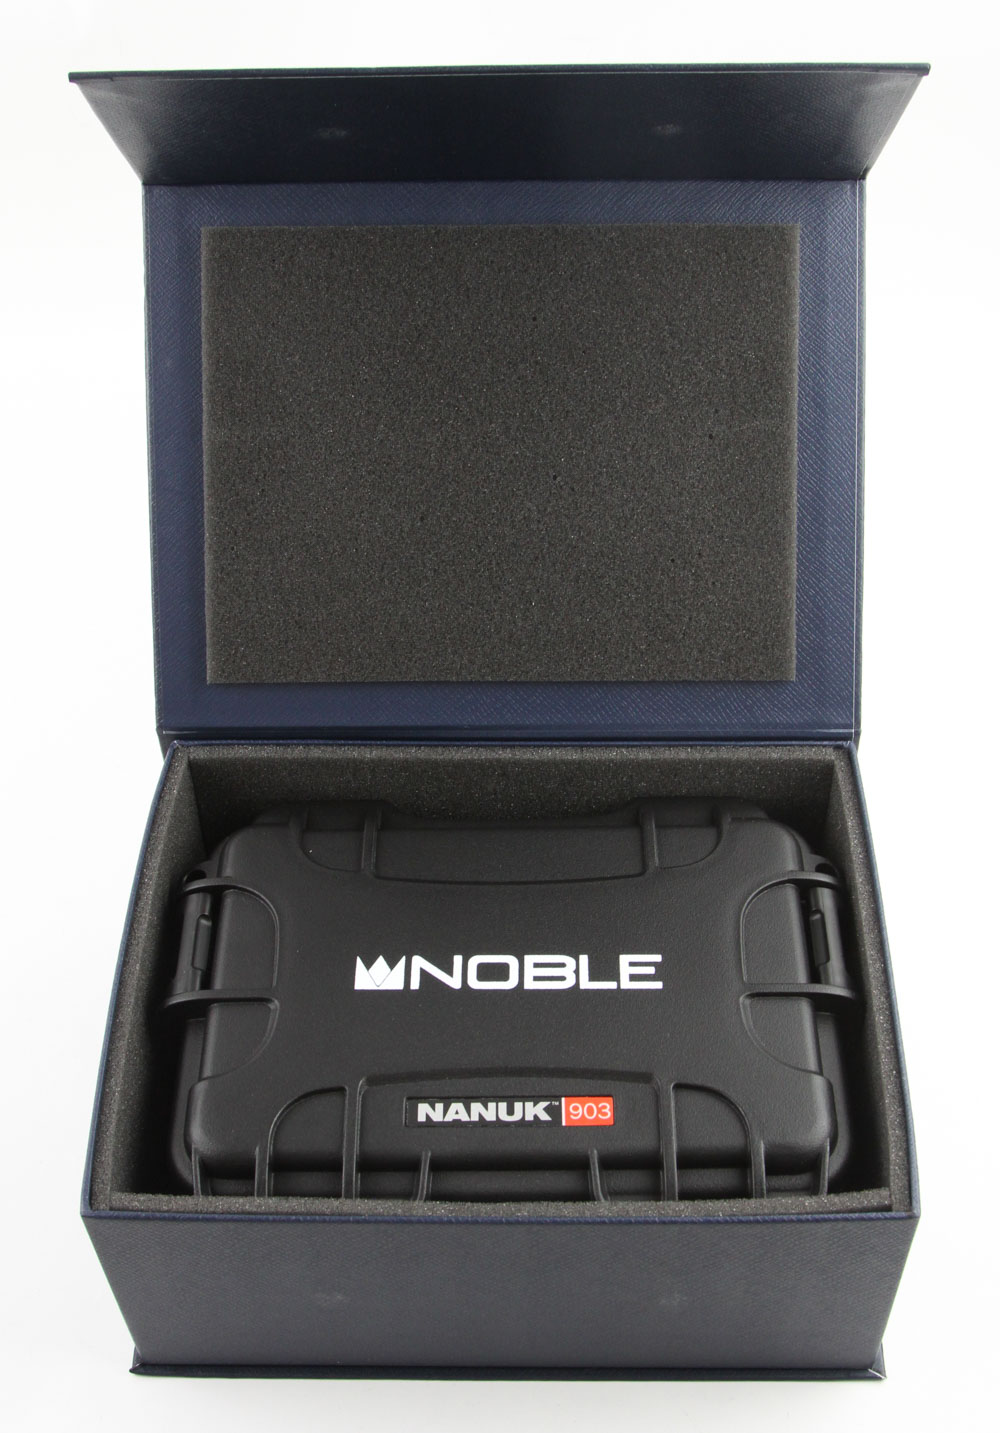
This is my first time unboxing a Noble Audio product and it happens to be the company's new flagship set at that. As such, while I wasn't sure what exactly to expect, I knew it would be grand. The product box for the Noble Viking Ragnar is on the larger side of average and uses thick cardboard with textures all around to the blue finish given. On the front is the company logo and a sticker that resembles the Damascus steel feature on these IEMs contains the product name too. A second, more standard sticker on the back adds in some marketing text in addition to more relevant information about the drivers and the cable itself. Contact information for Noble Audio is also found here, with more logos on the sides. The box unfurls from the bottom, where we see the use of magnetic clasps, and inside is a whole new case/product box of its own.
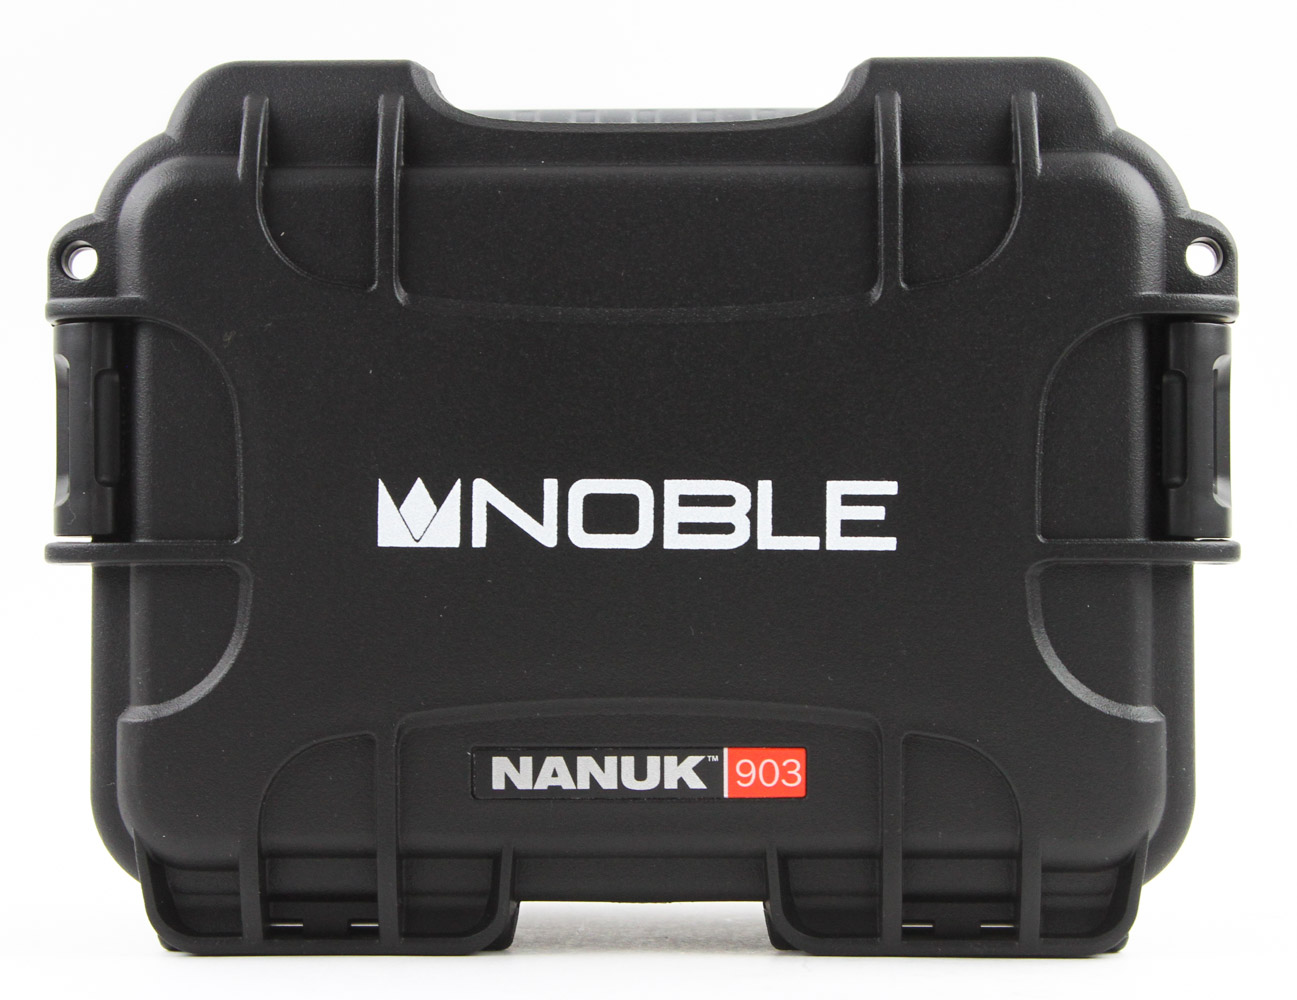

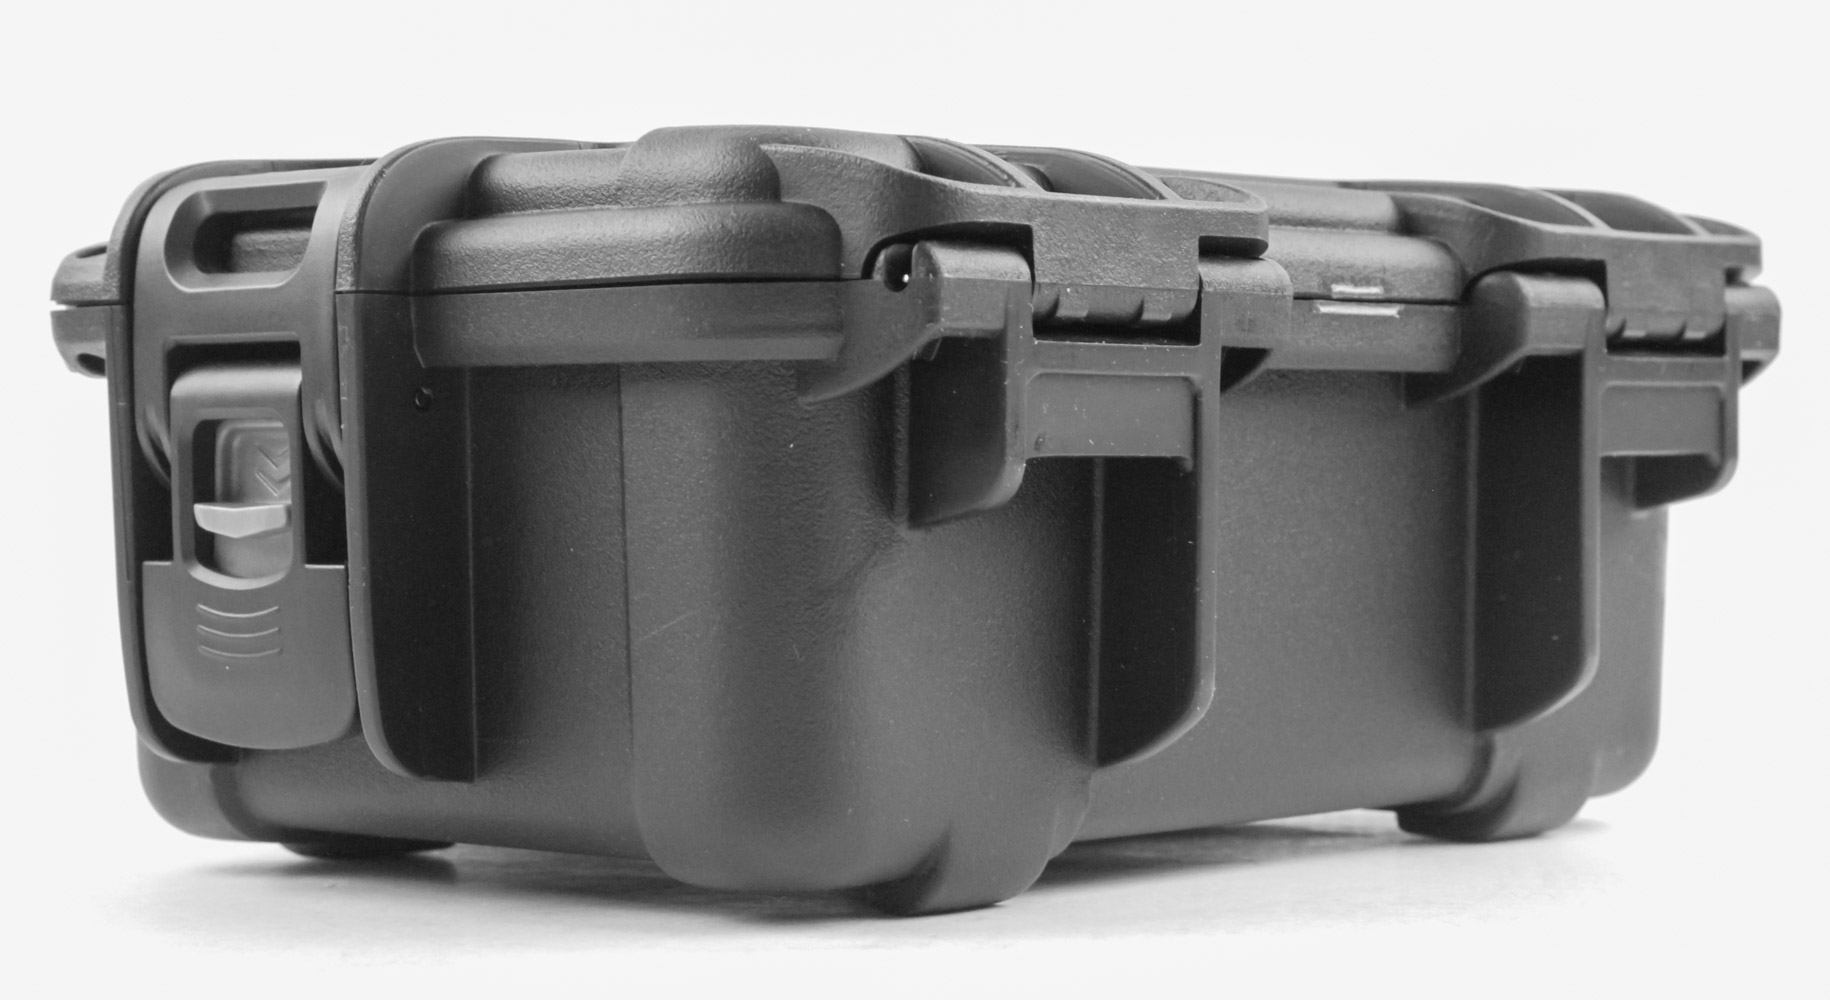
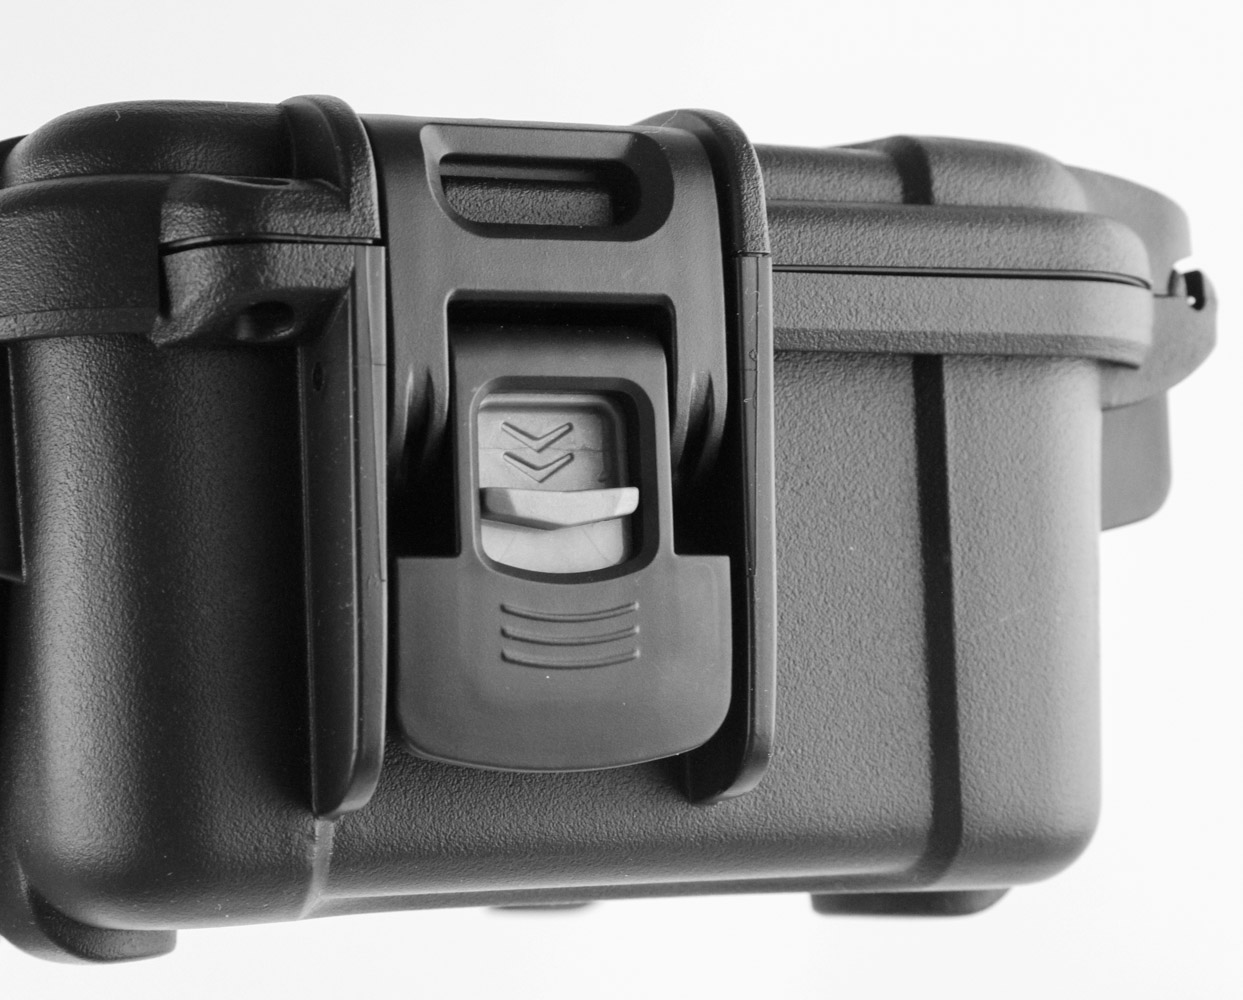
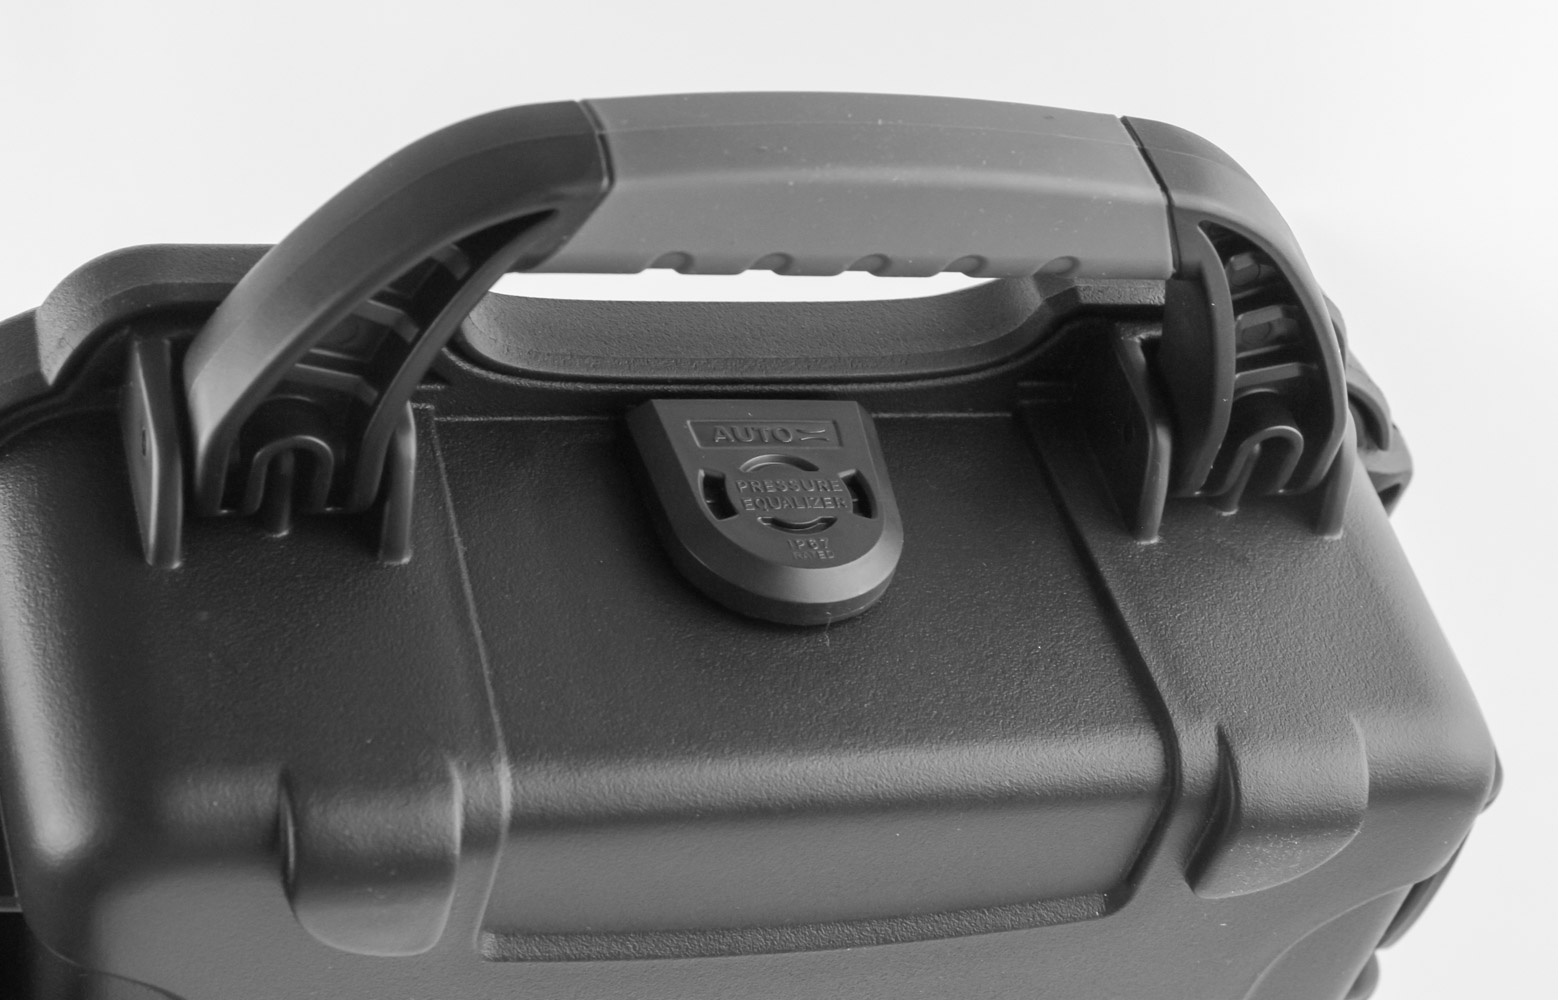
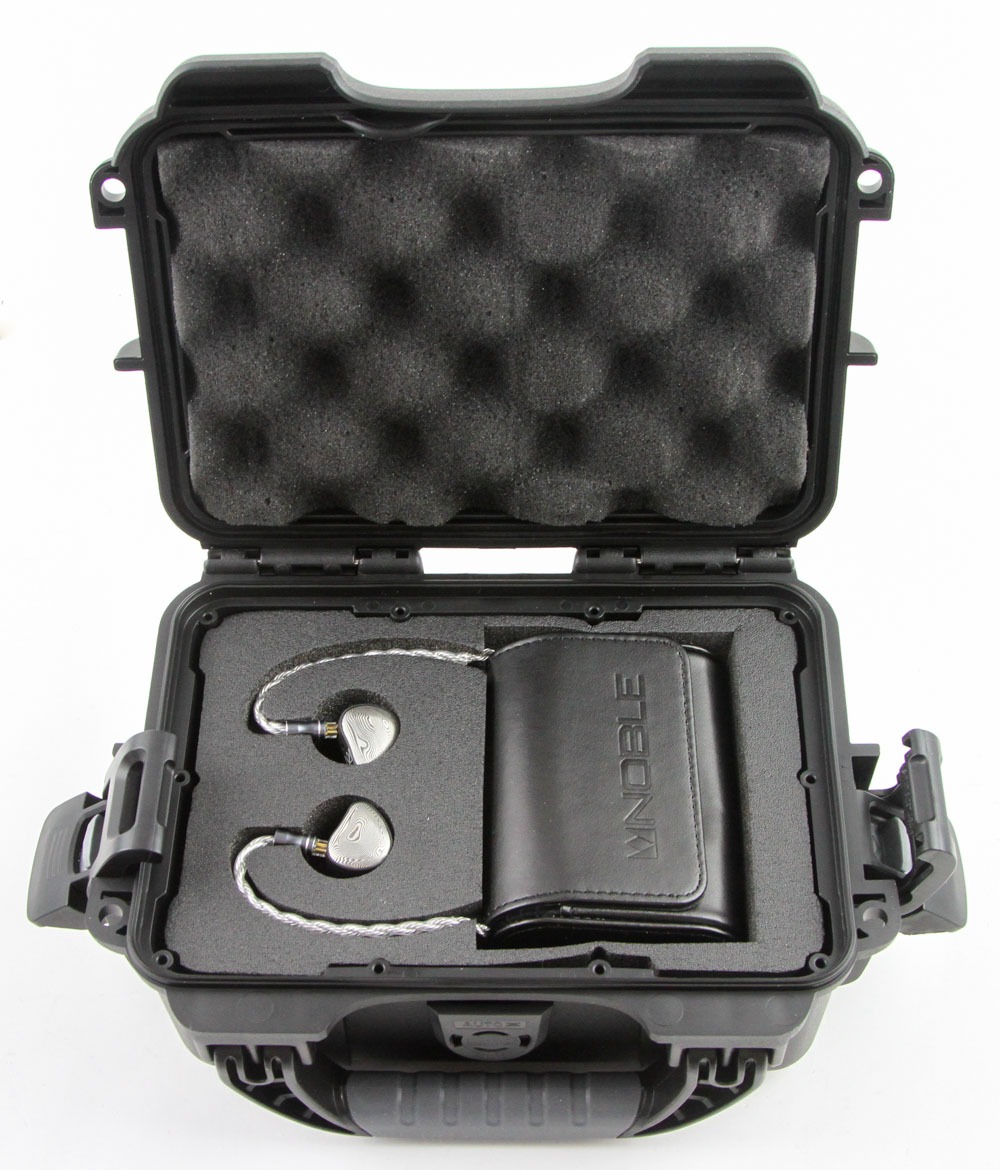
You get a Noble Audio-branded Nanuk 903 hard case with the Viking Ragnar. This indestructible-for-all-practical-purposes case sells for $55 separately and reminds me of the over-built hard cases shipped by the likes of Audeze for its headphones! There is an over-sized handle as well as multiple locking latches in addition to a pressure equalization valve that hints towards the contents inside being dust- and water-proof too. The case is made in Canada and has a custom foam insert with machined cutouts as well as more foam on the liner for added protection. The case is on the larger side of average when it comes to IEM storage solutions and yet feels about right if you wish to store/take along something of the magnitude of the Noble Viking Ragnar.
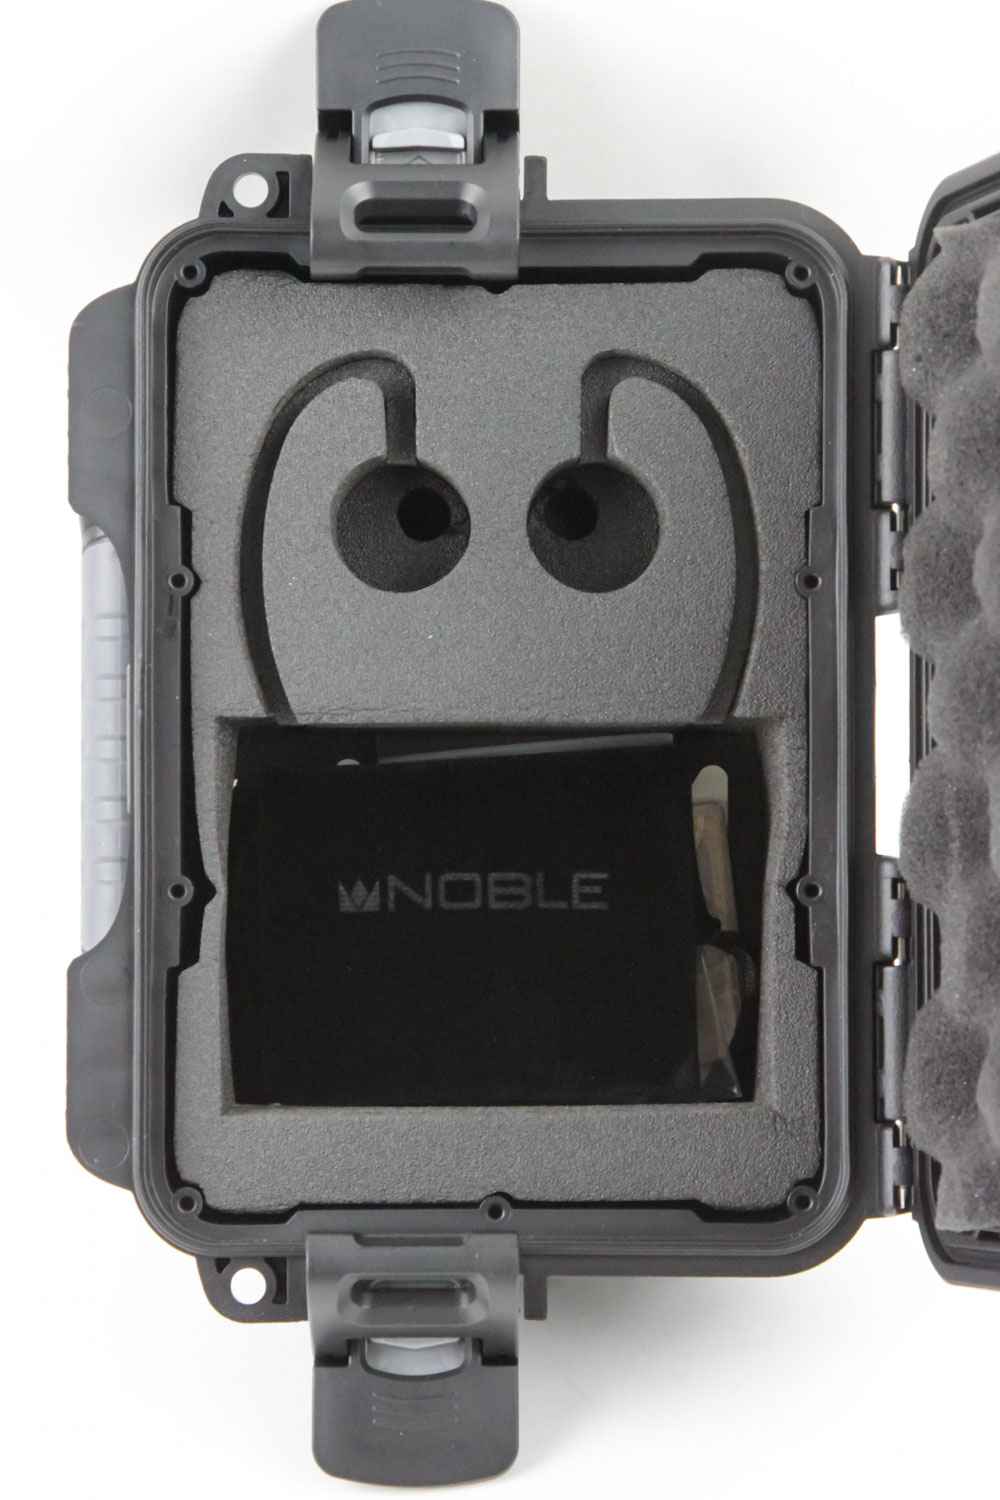
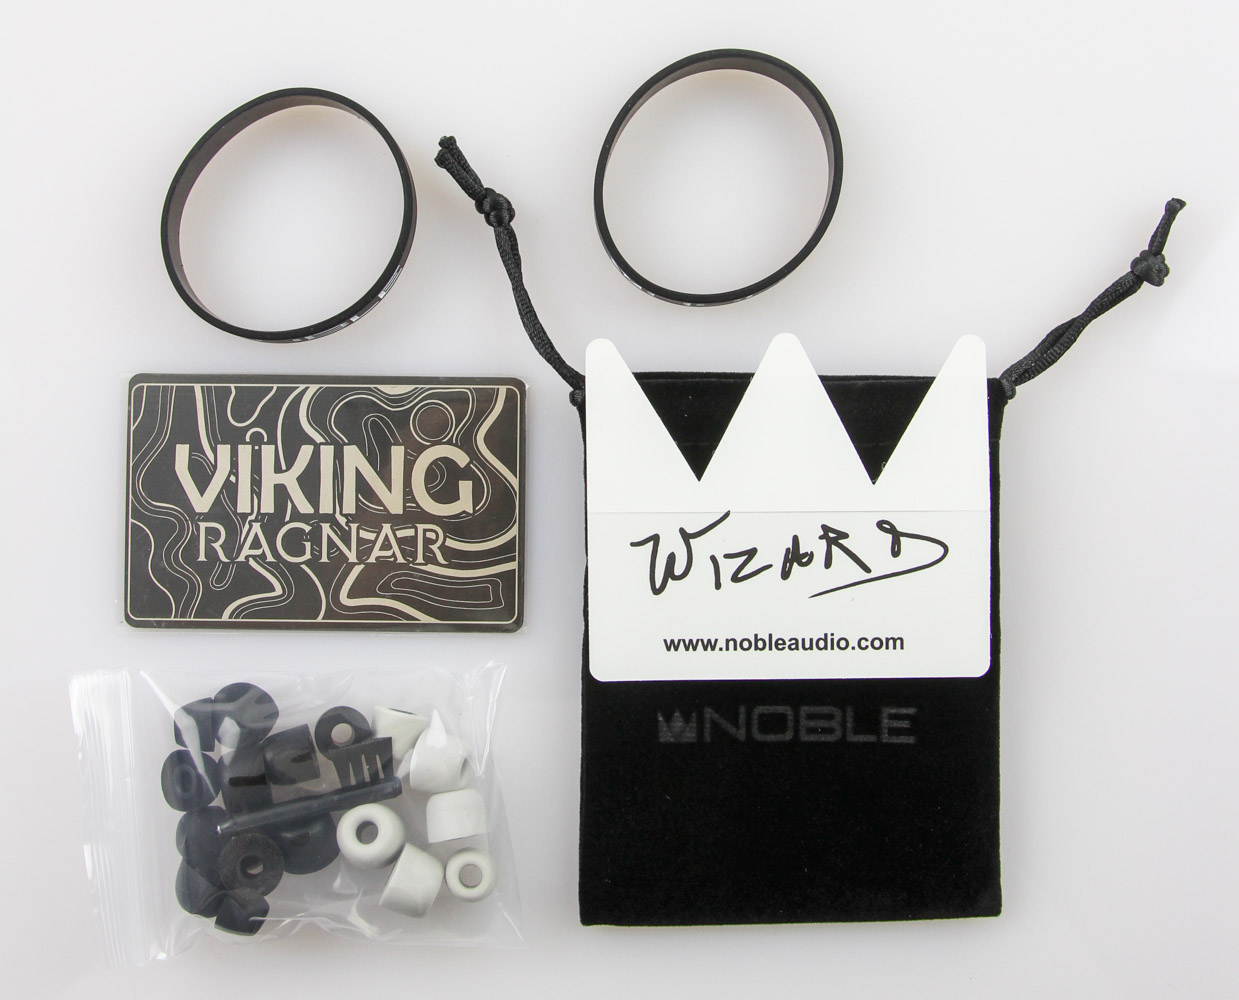
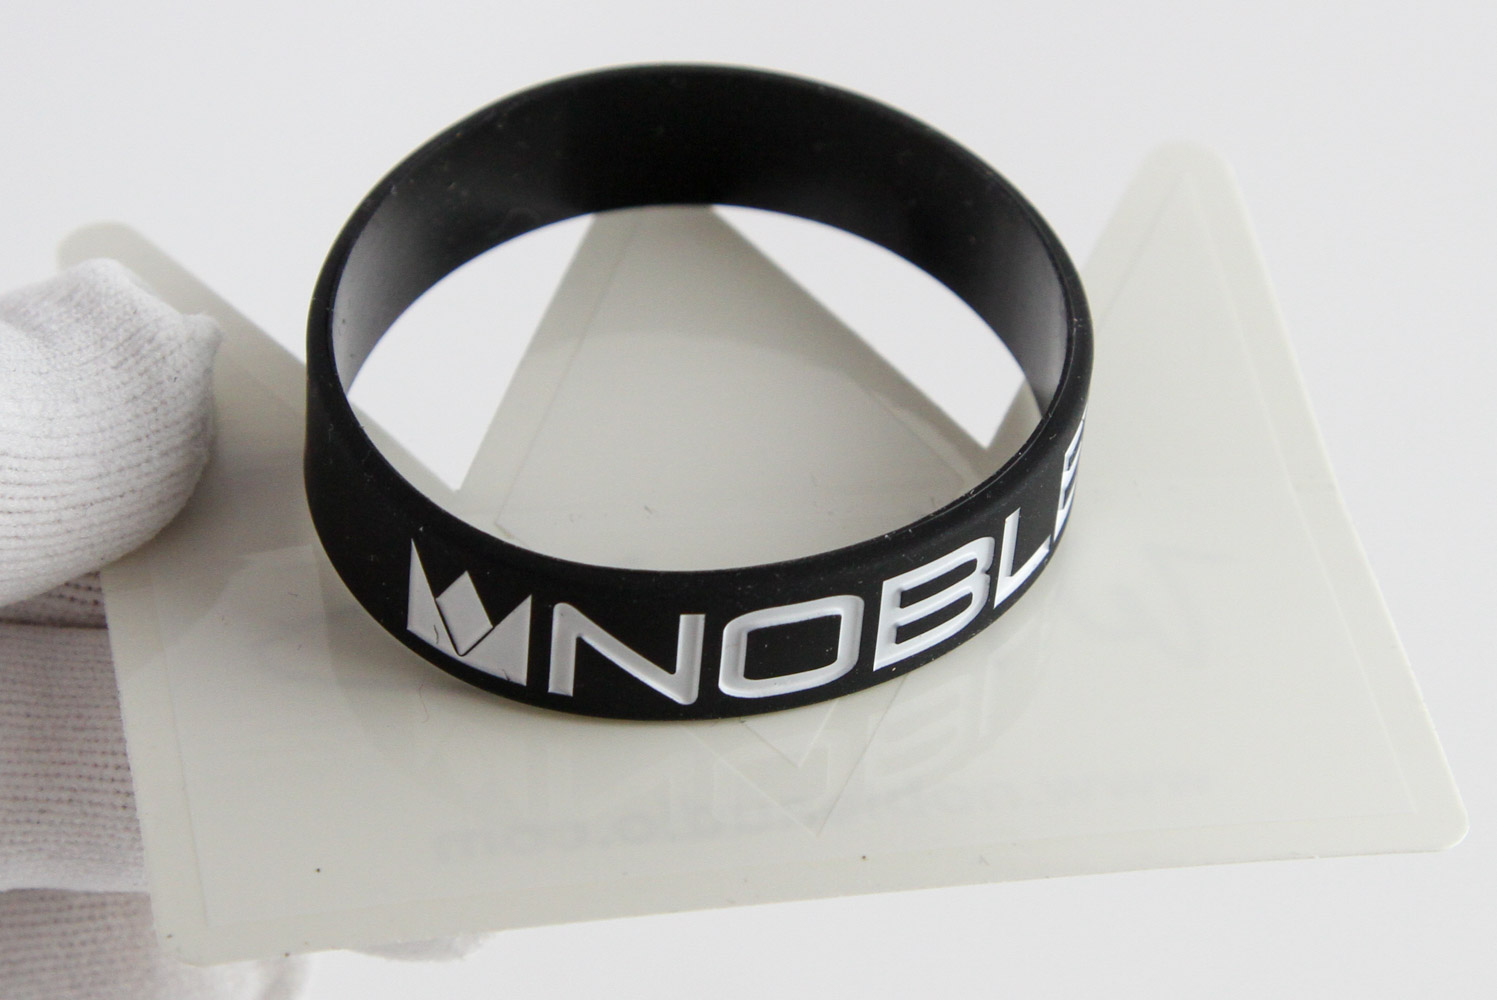
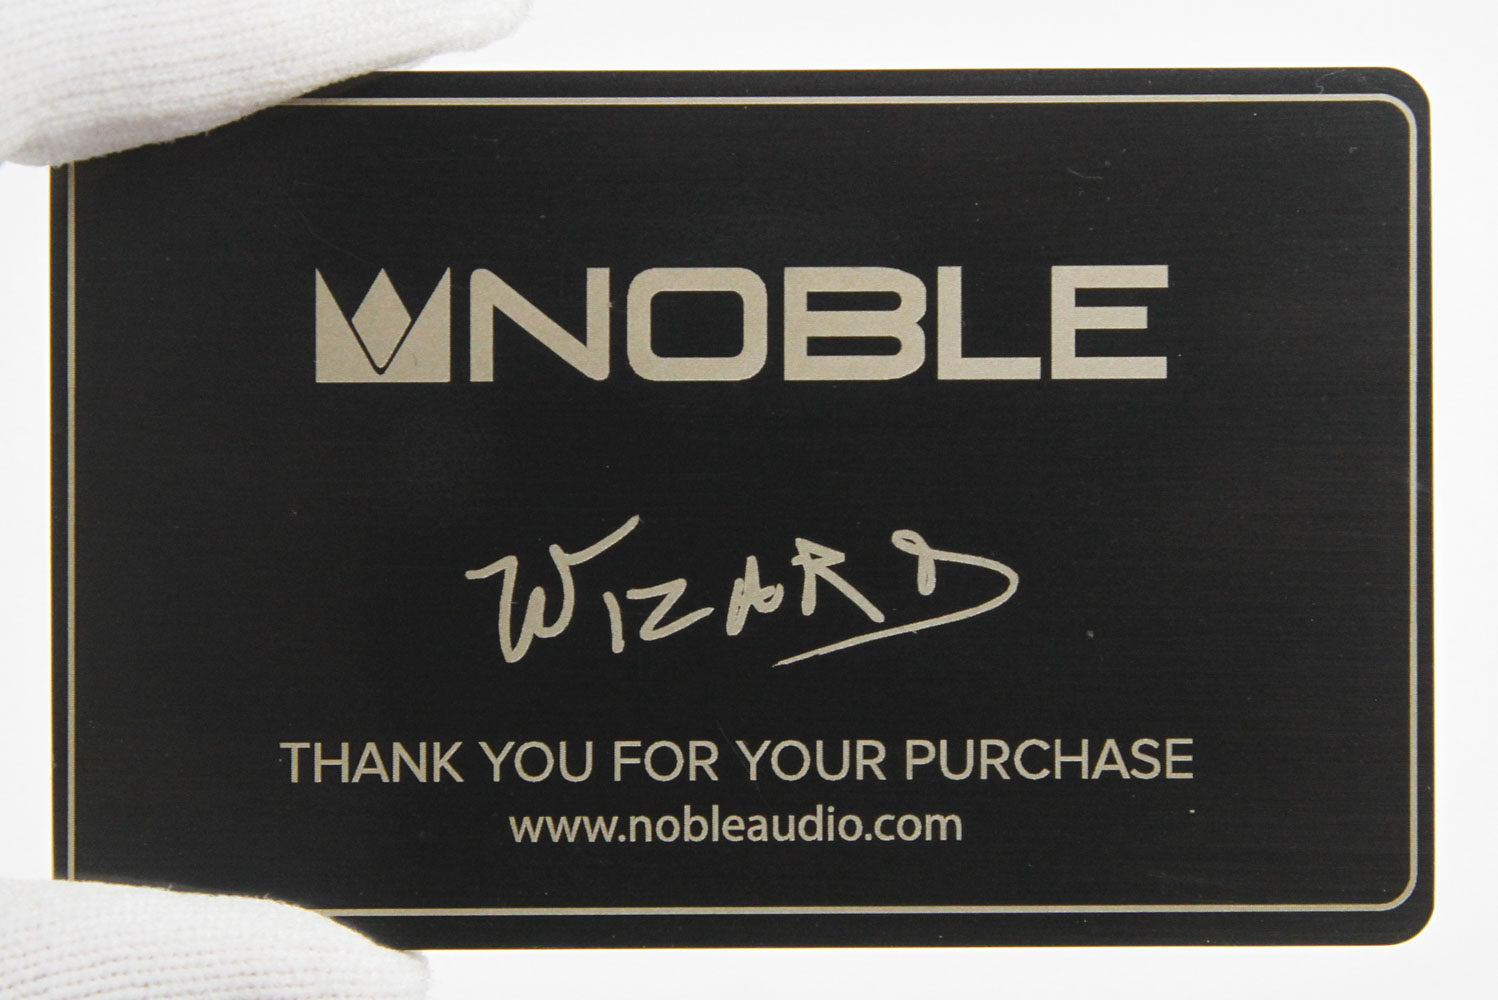
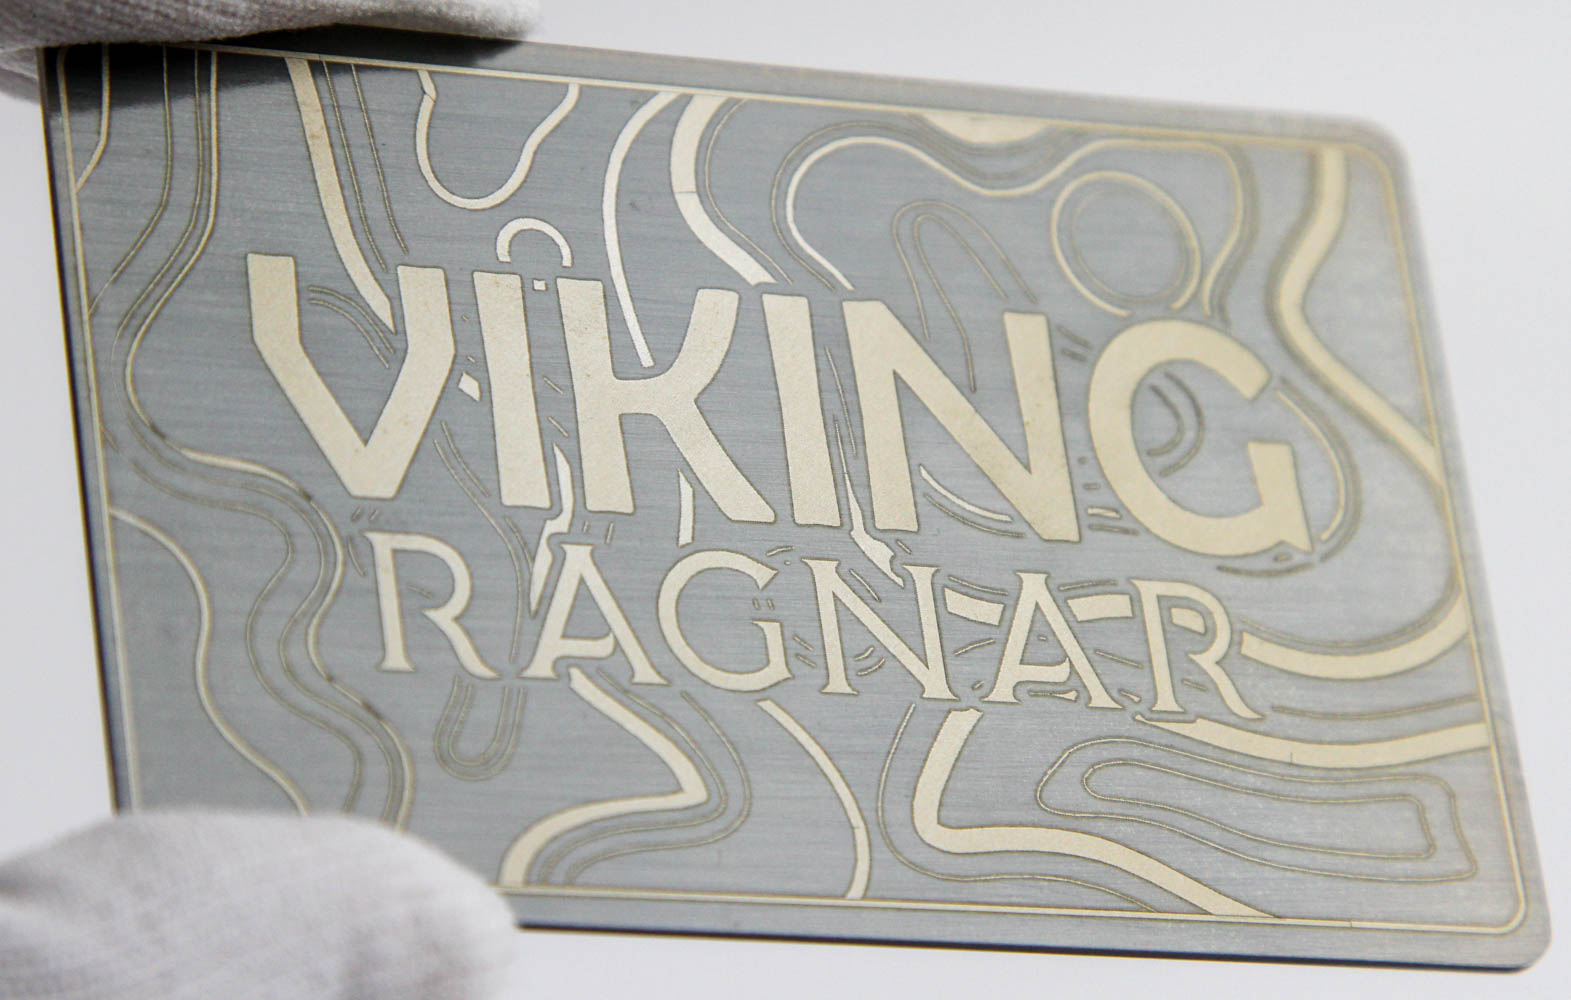
There are machined cutouts in the foam insert to snugly hold and protect the contents, and these include the IEMs themselves that have the cable pre-installed. There is a bottom layer with more accessories including a hand-signed sticker, two branded rubber bands, a soft fabric drawstring-style case with the Noble Audio logo on it, and a cool souvenir card of the Damascus steel USP of the Viking Ragnar which also doubles up as an ID card for these IEMs.
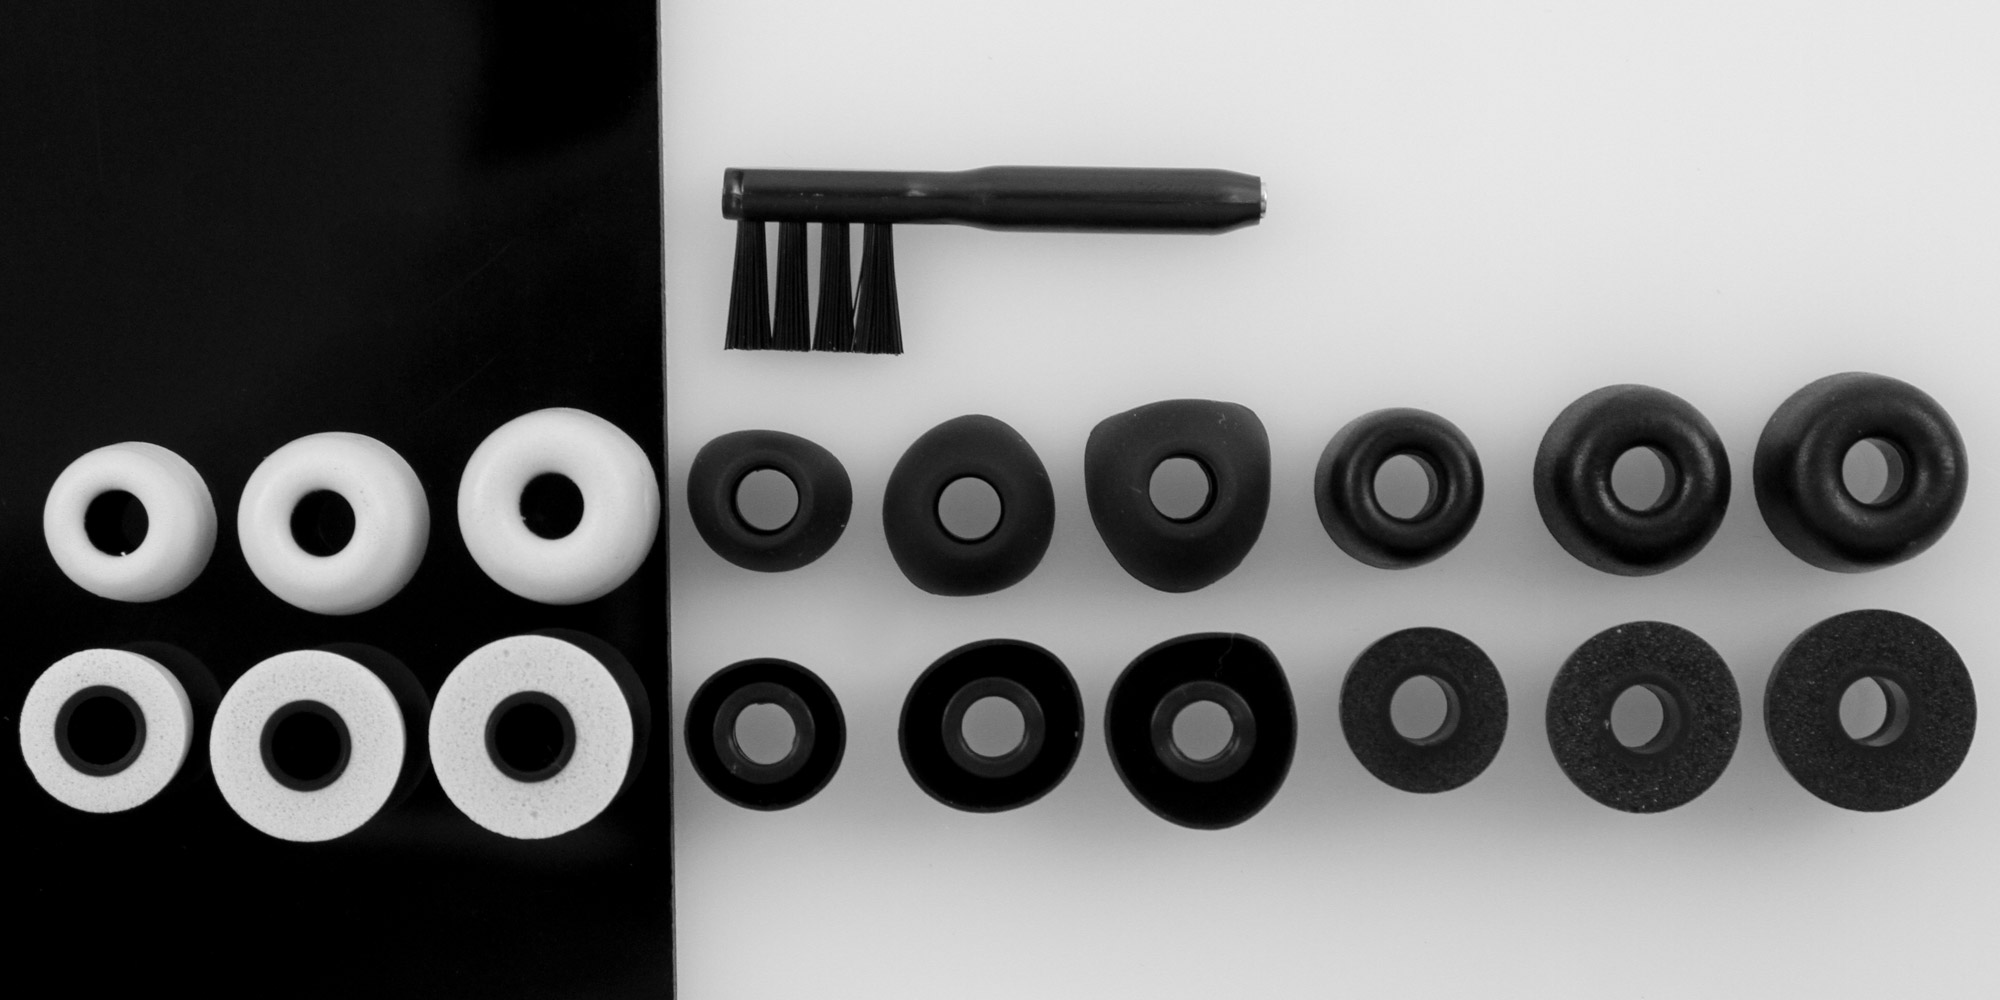
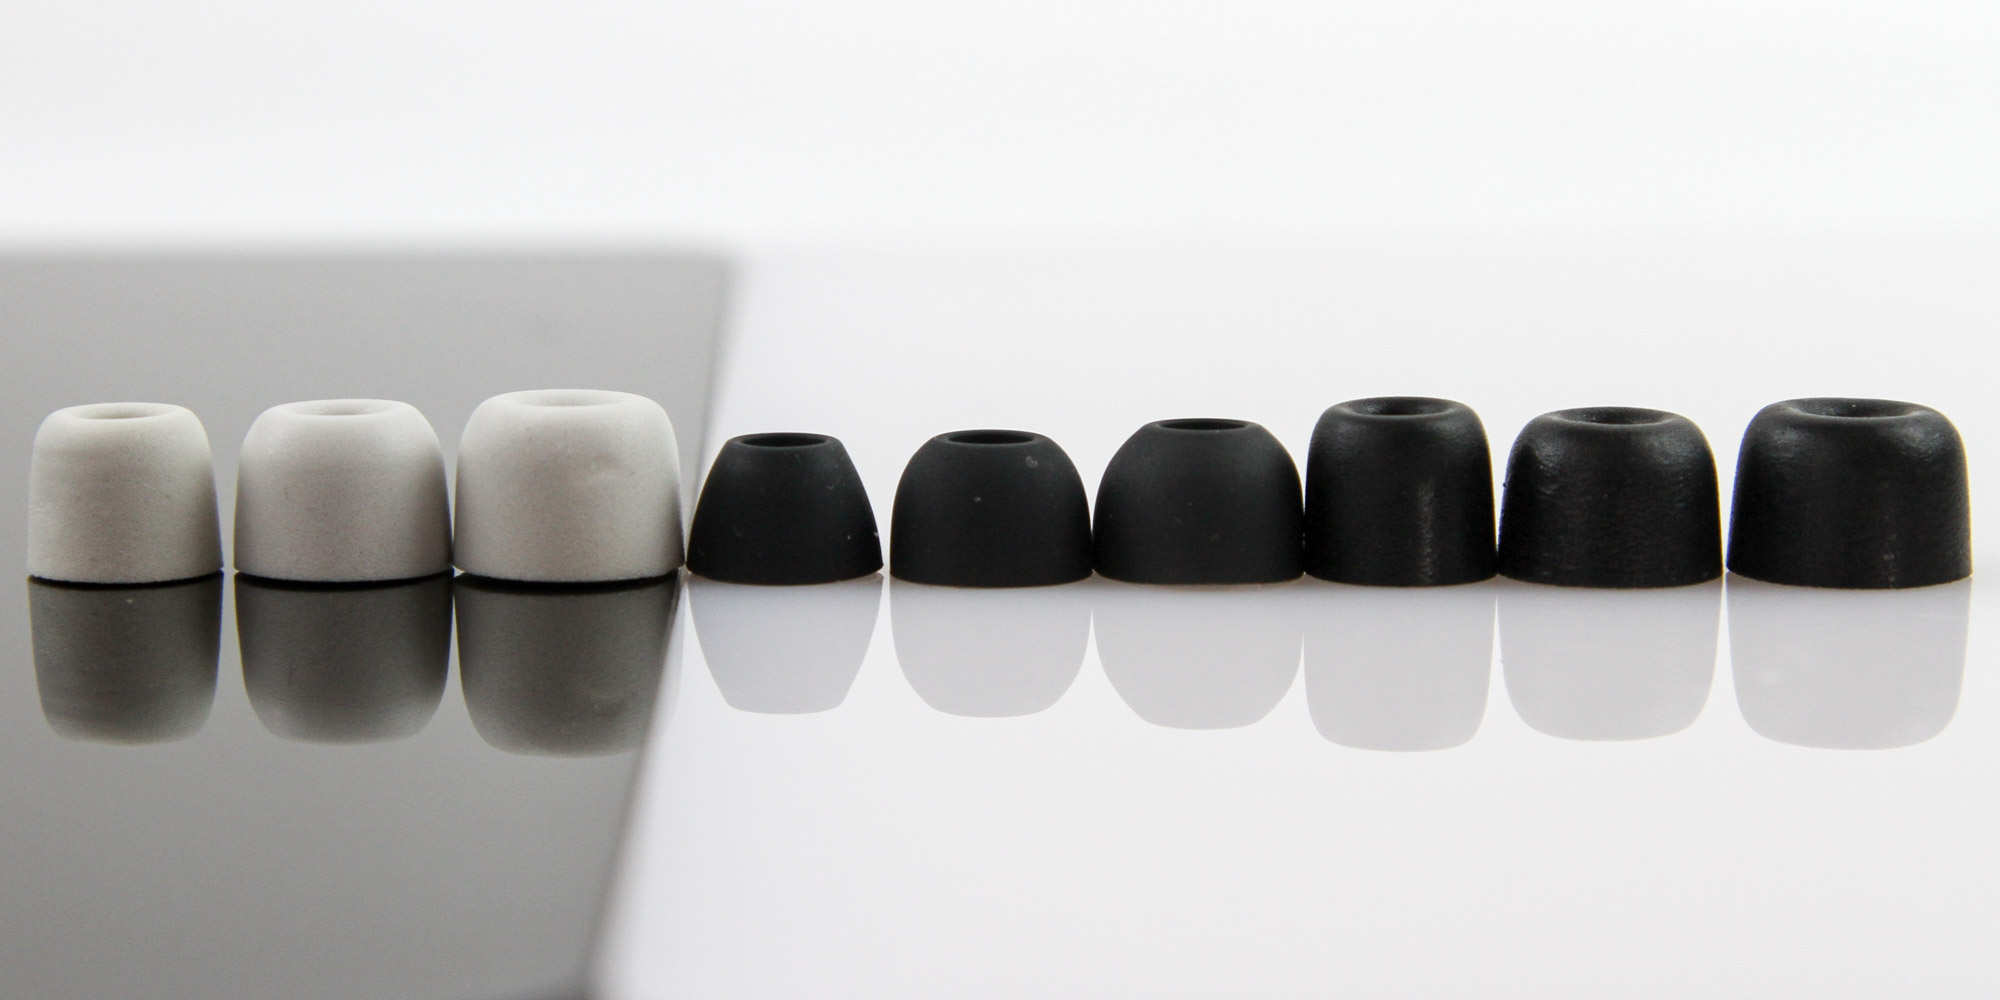
A plastic zip-lock bag contains a generic IEM cleaning brush as well as the various ear tips you get with the Noble Viking Ragnar. Interestingly, we see two types of foam tips and one type of silicone here as opposed to the usual norm of having equal/higher amount of silicone tips with IEMs. Each option comes in three sizes (S/M/L) to allow you to try and see what works best with your ear canals.
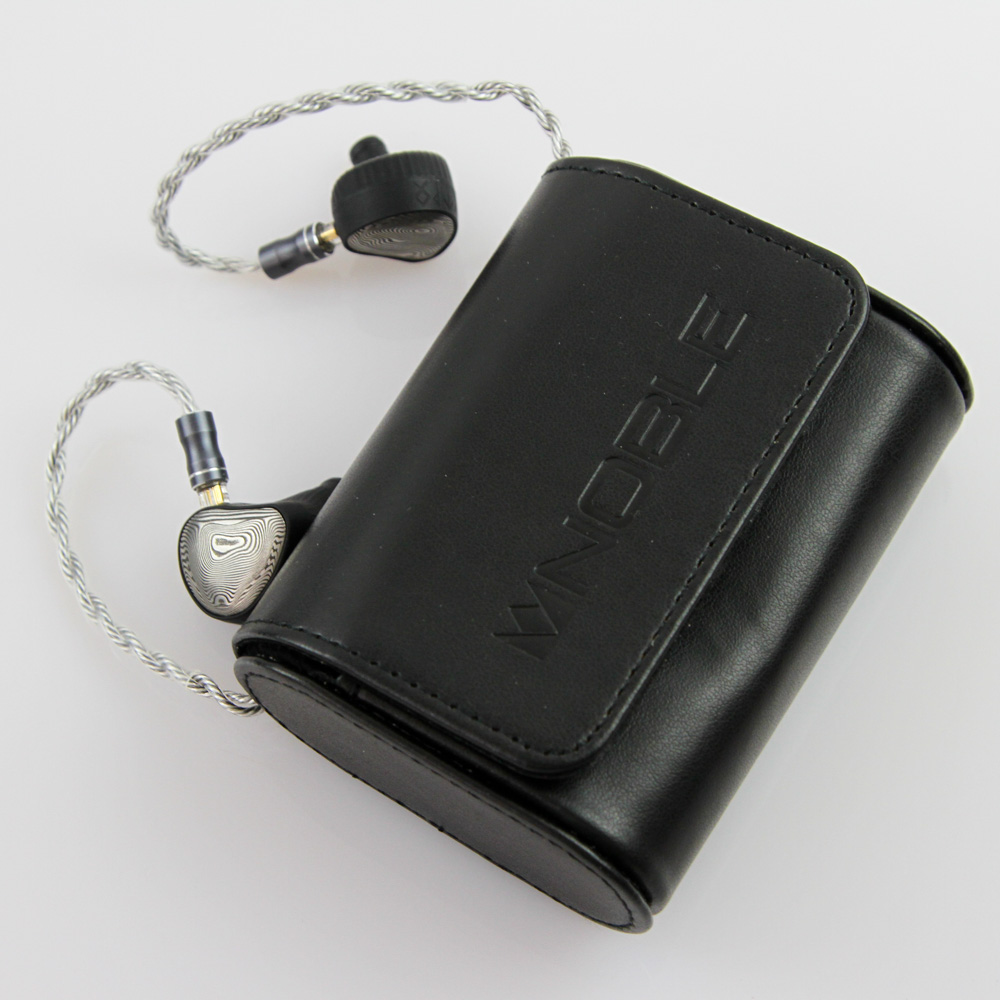
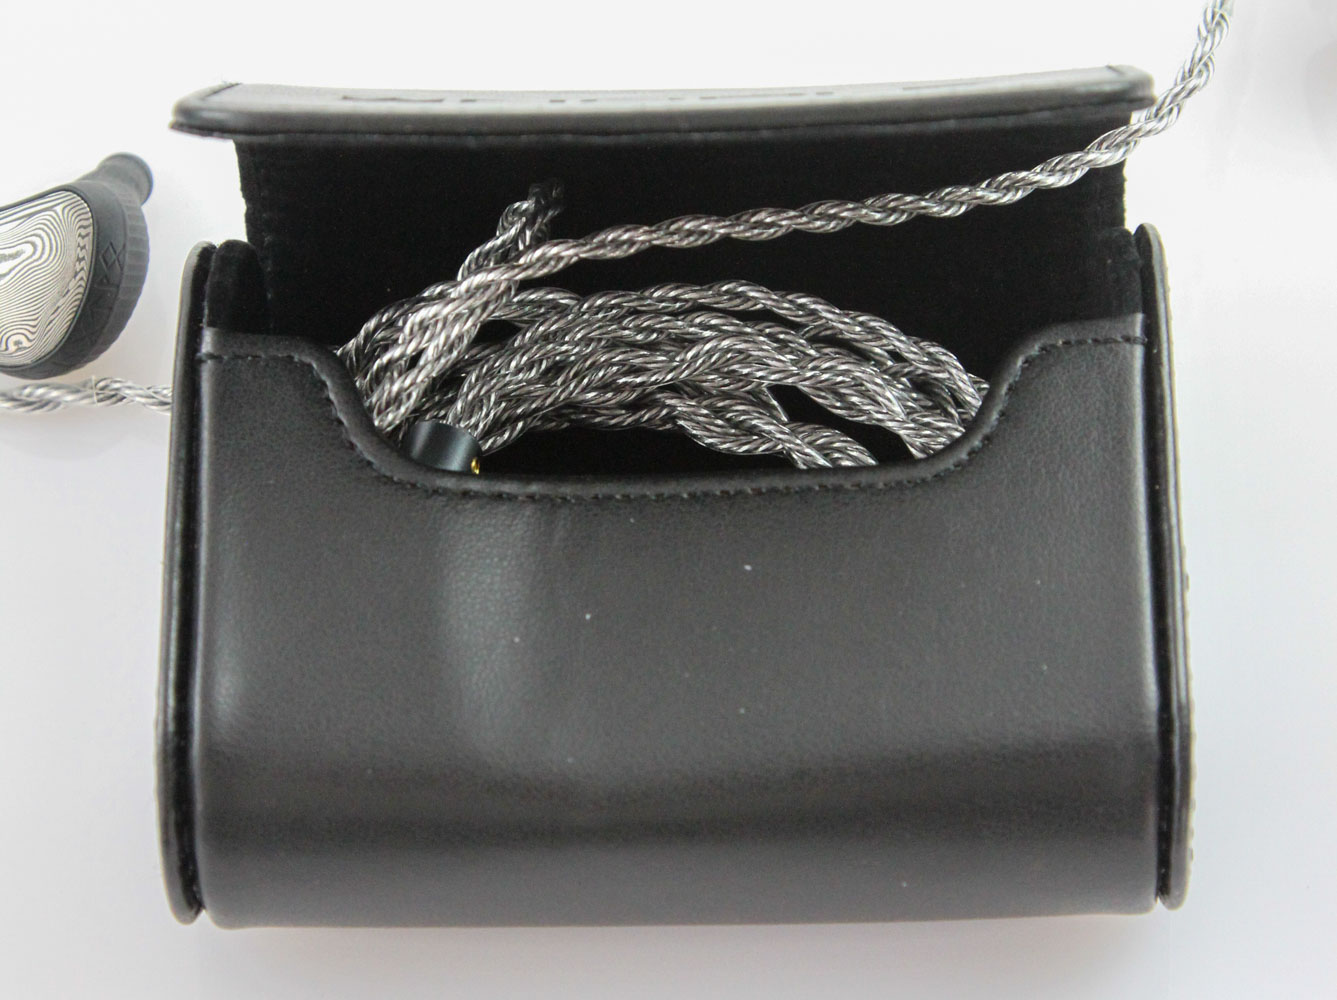
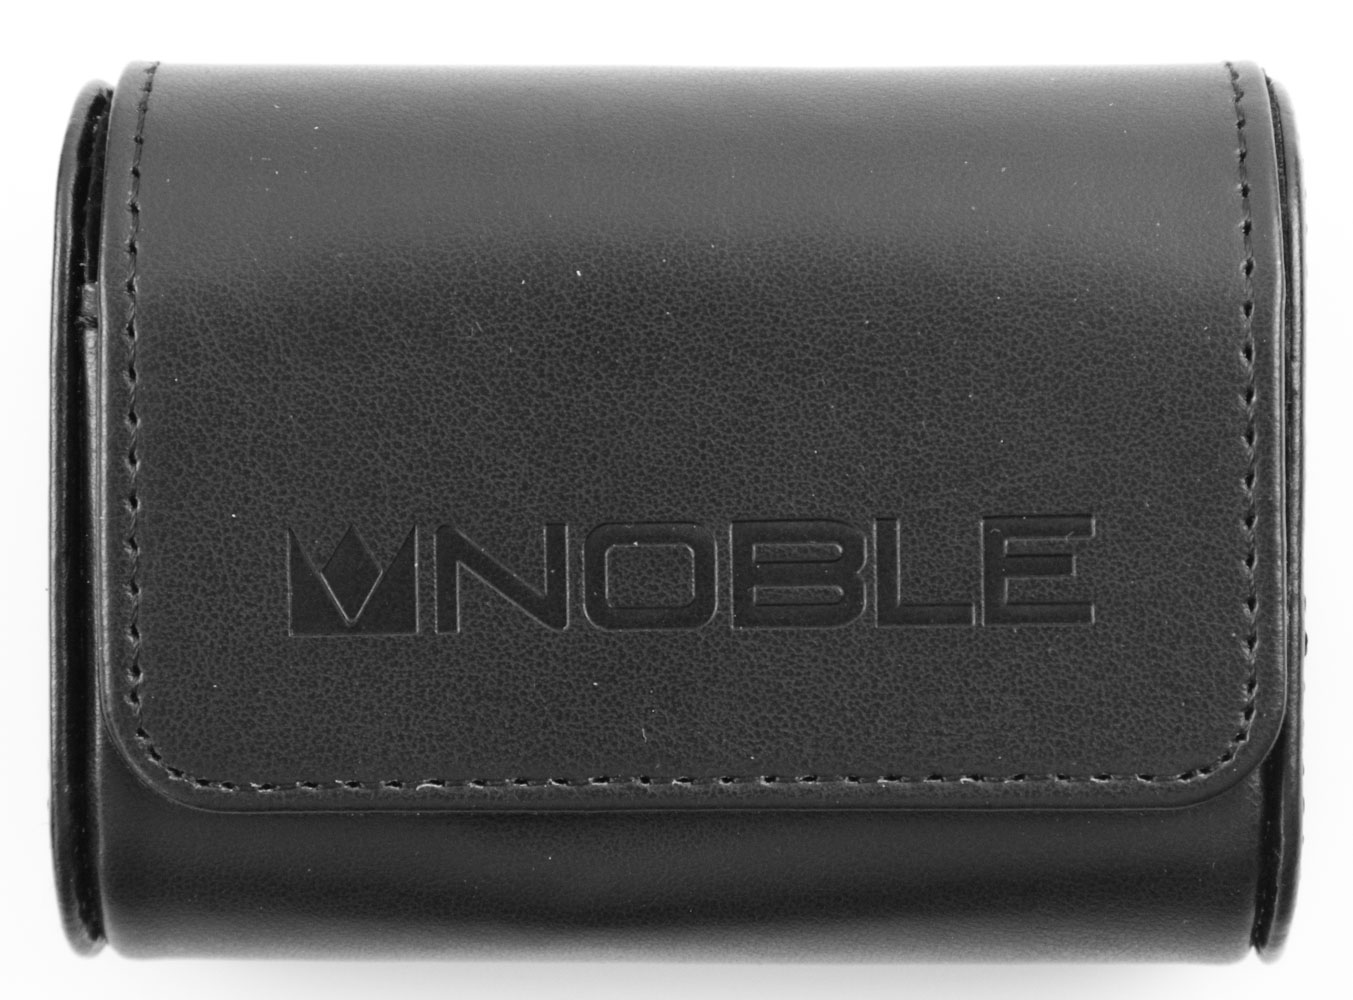

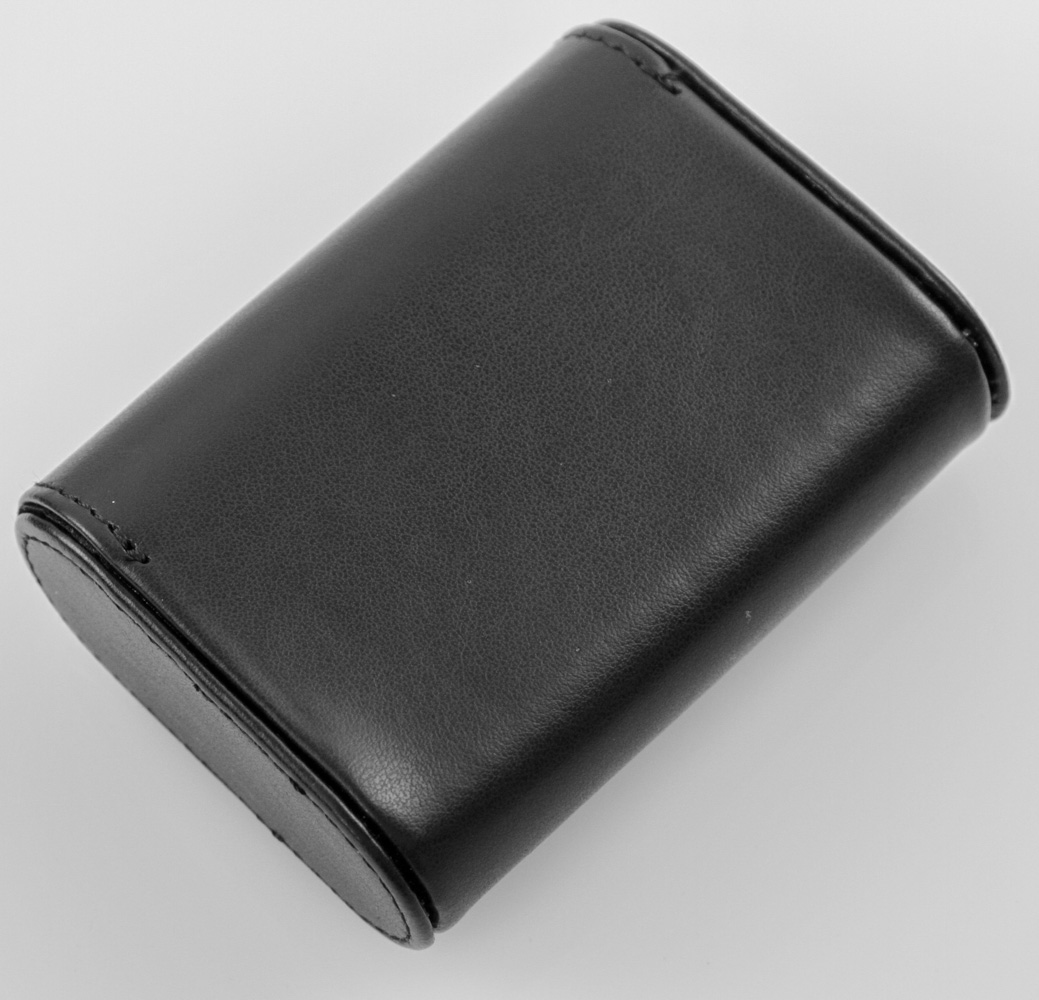
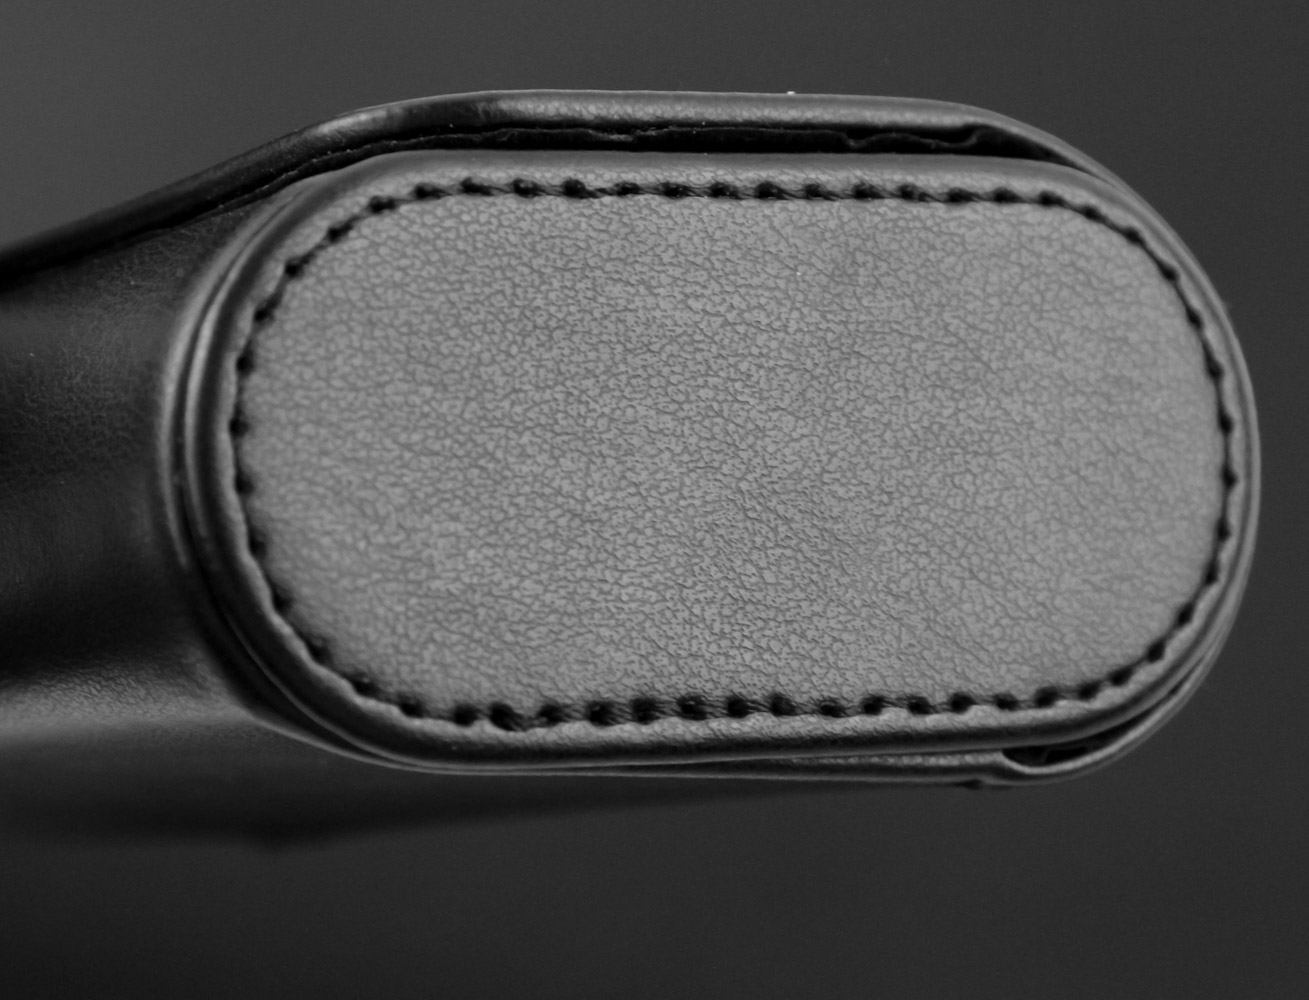
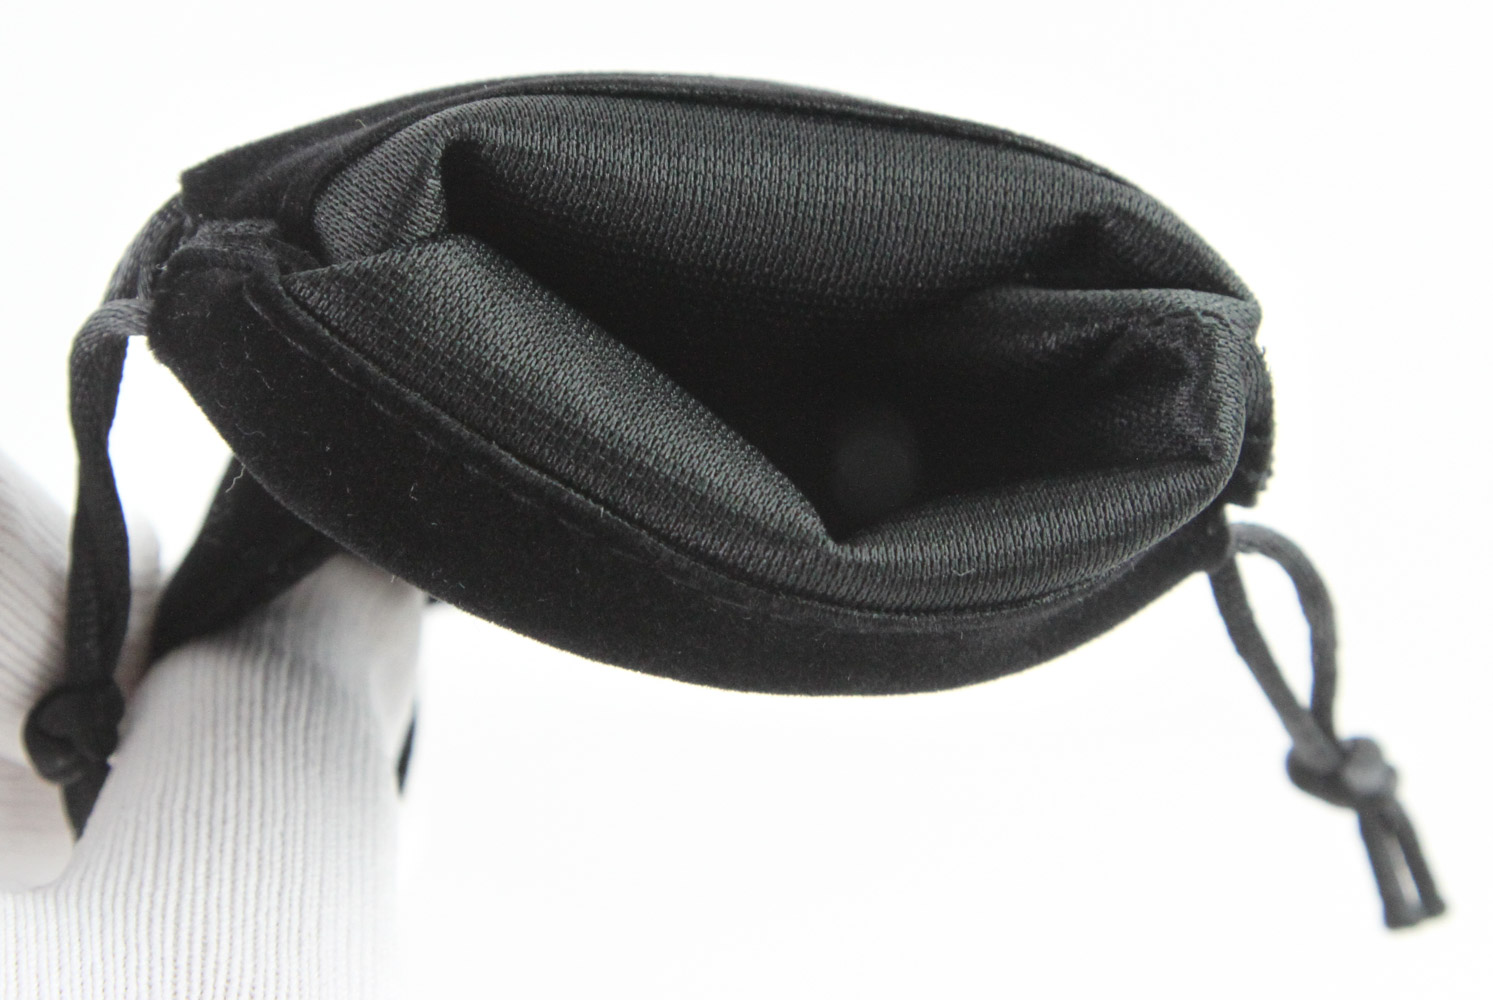
Noble Audio provides a third carry/storage solution in the form of its leatherette case that sells for $15 by itself—nice to see accessories being priced appropriately even from a premium brand! This is no different in shape and design as many other IEM cases we've seen before and has the Noble Audio logo embossed on the front along with stitching all around to give you a decent impression of the product even separate from the rest of the unboxing experience to date. We see that it can clearly fit the IEMs with the cable given the latter already comes placed inside and the all-black color scheme makes for a neat and inconspicuous finish should you not wish to draw much attention using this case compared to the bulkier and stronger Nanuk case.
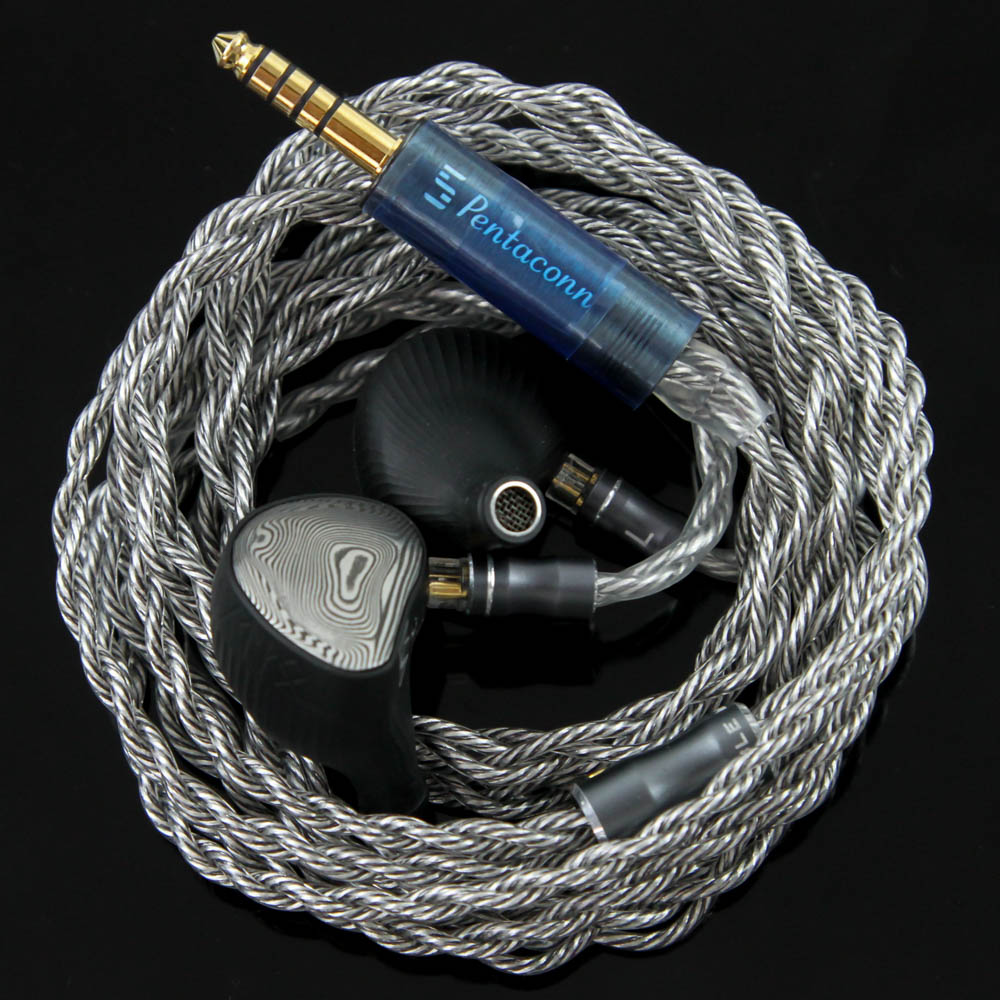
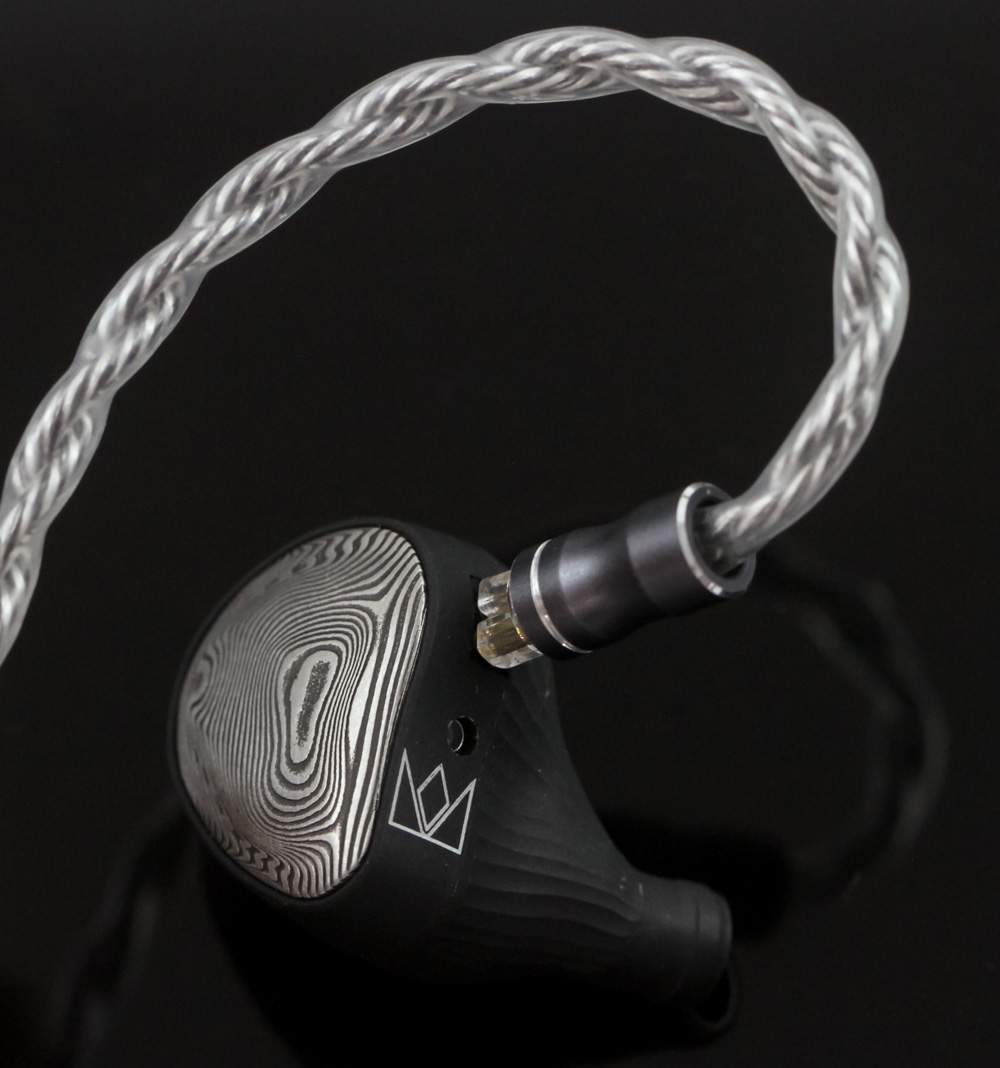
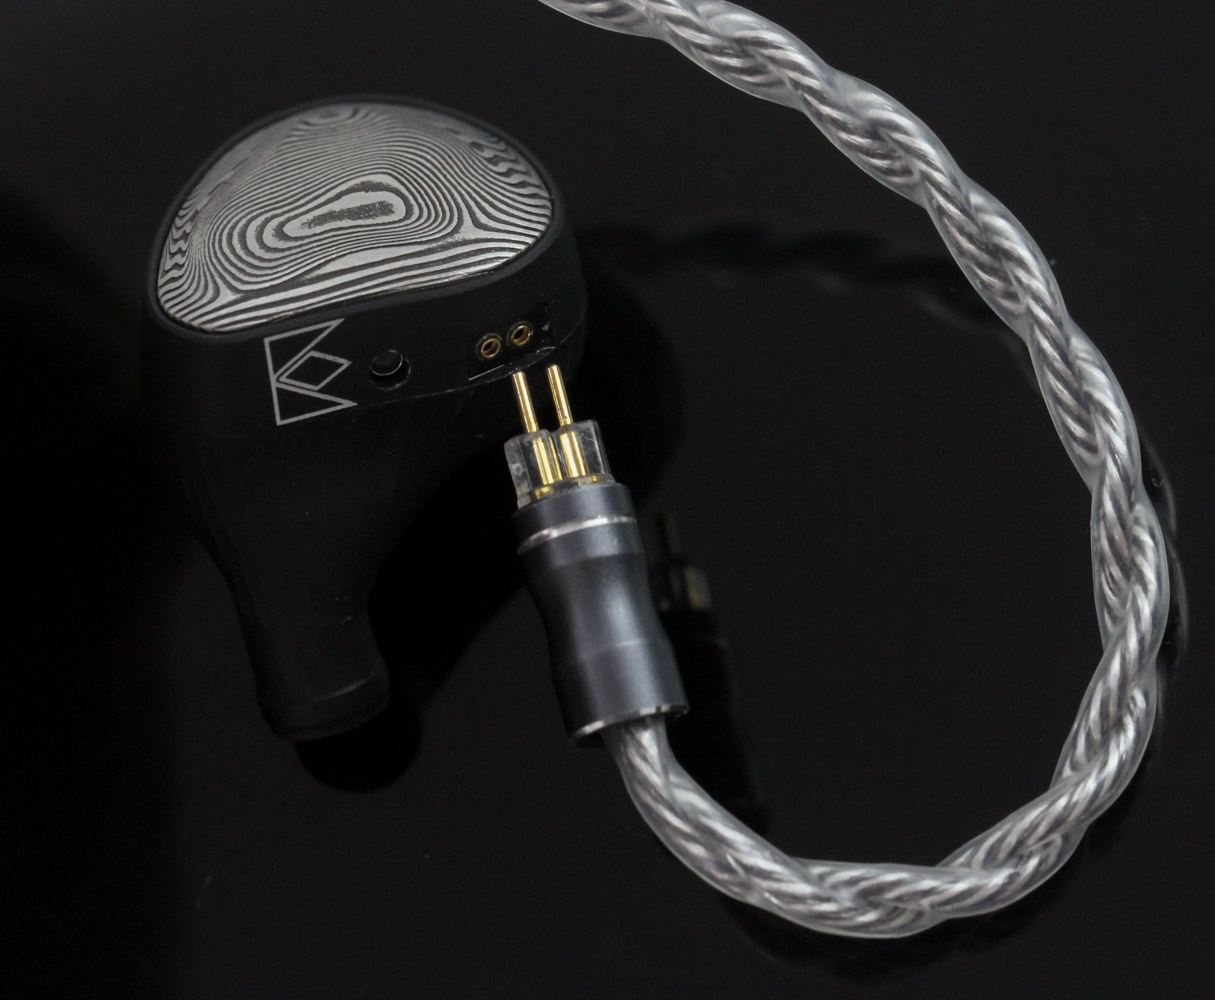
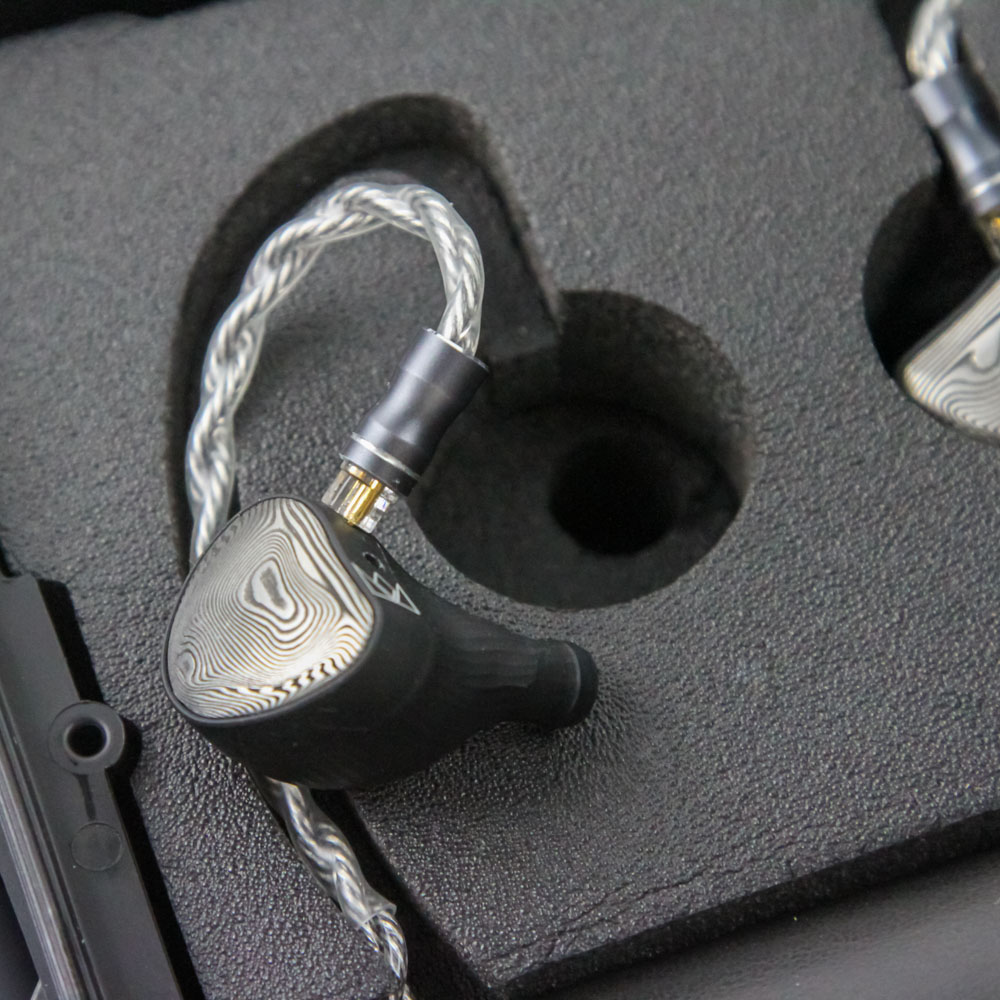
Before we get to a closer examination of the IEMs and the cables separately, I had to first separate the IEMs from the pre-installed cable. A quick look here reveals the use of standard 0.78 mm 2-pin connectors rather than MMCX so things are simple enough given this is a friction fit. Carefully dislodge the connectors by holding one of the IEM shells in one hand and applying outward pressure on the cable connector with the other without wiggling things sideways or up/down. Repeat this with the other side and you are good to go!
Our Patreon Silver Supporters can read articles in single-page format.
May 5th, 2025 12:59 EDT
change timezone
Latest GPU Drivers
New Forum Posts
- RX 9000 series GPU Owners Club (652)
- Windows 12 (178)
- Are the 8 GB cards worth it? (872)
- A Question for RTX 4070 Ti Super ROPs (3)
- What phone you use as your daily driver? And, a discussion of them. (1674)
- Post Your TIMESPY, PCMARK10 & FIRESTRIKE SCORES! (2019) (296)
- Graphics card..Need help. New to pc. 3070 (0)
- Request for advice [Big Build] (57)
- EDP and Temp Thorttling (6)
- 12600KF high latency (26)
Popular Reviews
- ASUS ROG Maximus Z890 Hero Review
- ASUS Radeon RX 9070 XT TUF OC Review
- Clair Obscur: Expedition 33 Performance Benchmark Review - 33 GPUs Tested
- Montech HS02 PRO Review
- Arctic Liquid Freezer III Pro 360 A-RGB Review
- NVIDIA GeForce RTX 5060 Ti 8 GB Review - So Many Compromises
- Seasonic Vertex GX 850 W Review
- Upcoming Hardware Launches 2025 (Updated Apr 2025)
- ASUS GeForce RTX 5090 Astral Liquid OC Review - The Most Expensive GPU I've Ever Tested
- Sapphire Radeon RX 9070 XT Nitro+ Review - Beating NVIDIA
Controversial News Posts
- AMD Radeon RX 9060 XT to Roll Out 8 GB GDDR6 Edition, Despite Rumors (131)
- NVIDIA Sends MSRP Numbers to Partners: GeForce RTX 5060 Ti 8 GB at $379, RTX 5060 Ti 16 GB at $429 (128)
- NVIDIA Launches GeForce RTX 5060 Series, Beginning with RTX 5060 Ti This Week (115)
- Nintendo Confirms That Switch 2 Joy-Cons Will Not Utilize Hall Effect Stick Technology (105)
- NVIDIA PhysX and Flow Made Fully Open-Source (95)
- Sony Increases the PS5 Pricing in EMEA and ANZ by Around 25 Percent (84)
- Parts of NVIDIA GeForce RTX 50 Series GPU PCB Reach Over 100°C: Report (78)
- Intel "Bartlett Lake-S" Gaming CPU is Possible, More Hints Appear for a 12 P-Core SKU (77)