 4
4
NZXT Adamas Review
Finished Looks »Installation
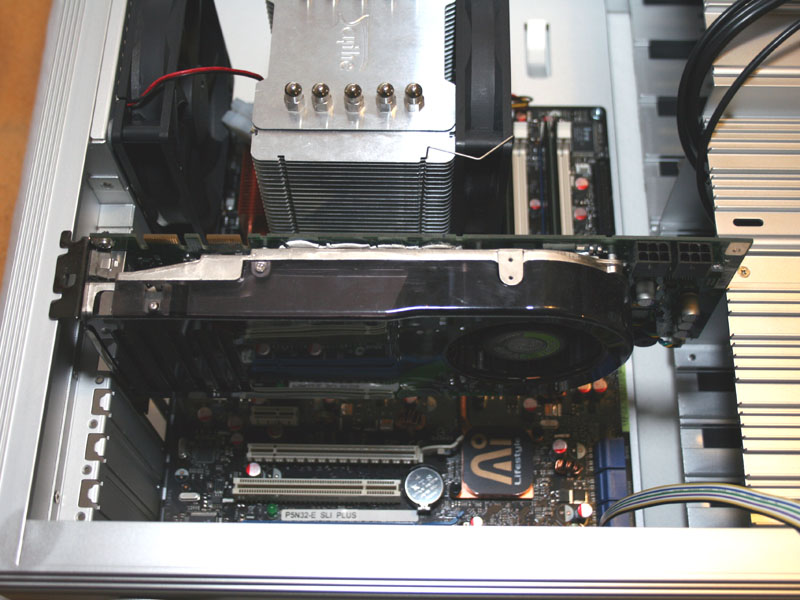
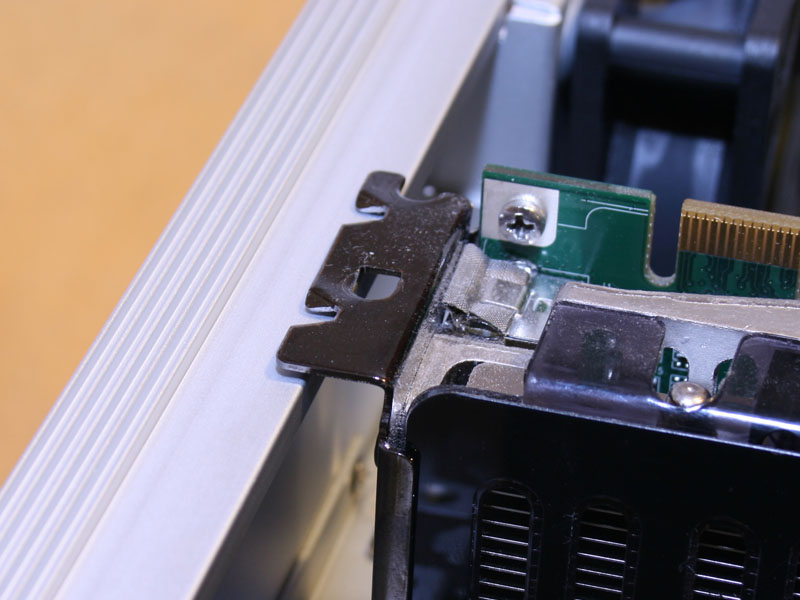
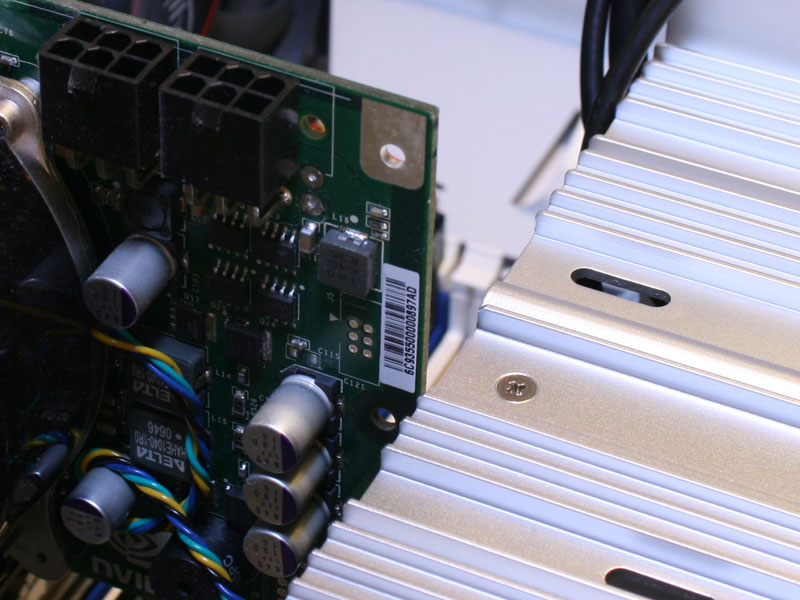
Installing the mainboard and parts is done in the usual fashion. As soon as I tried to install the GeForce 8800GTX, I stumbled across the first, bigger problem. It would simply not fit inside the case. As you can see, the left side does not have enough room as the card reaches all the way to the hard drive bays. The only way to install a card is to angle it slightly to get past this obstacle.
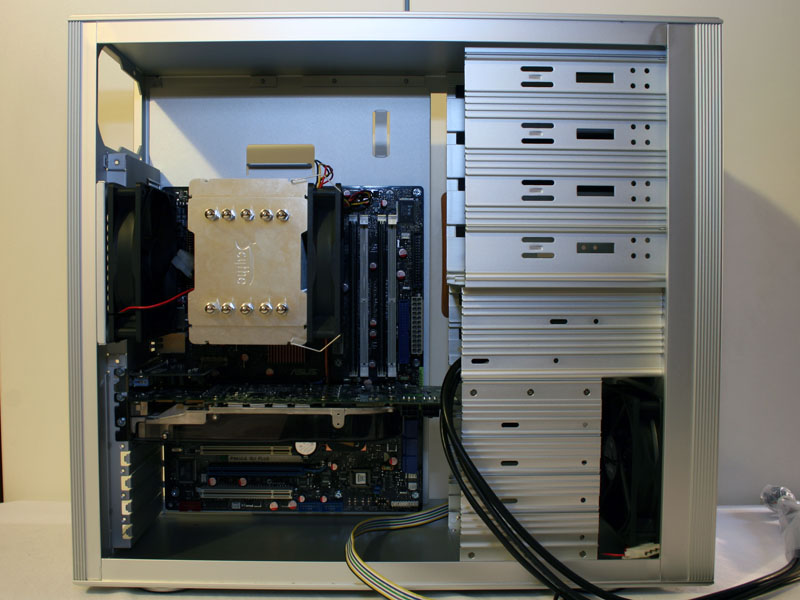

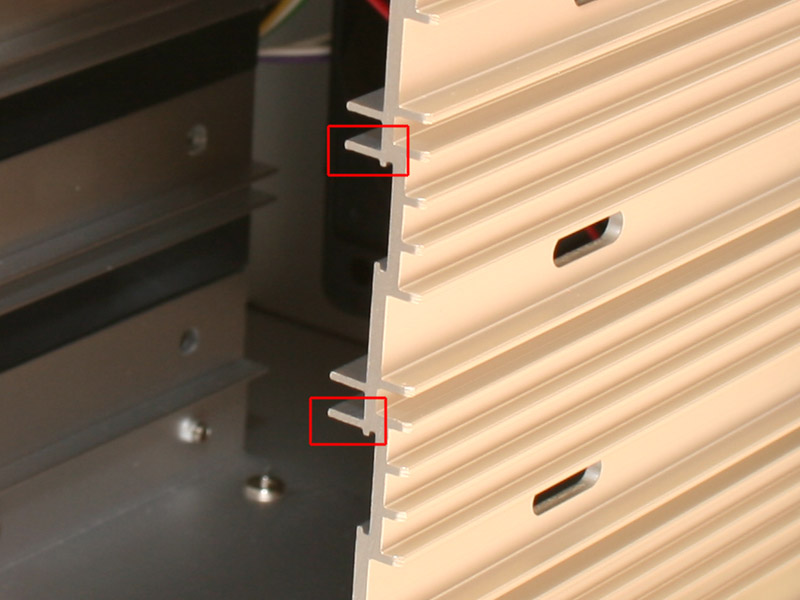
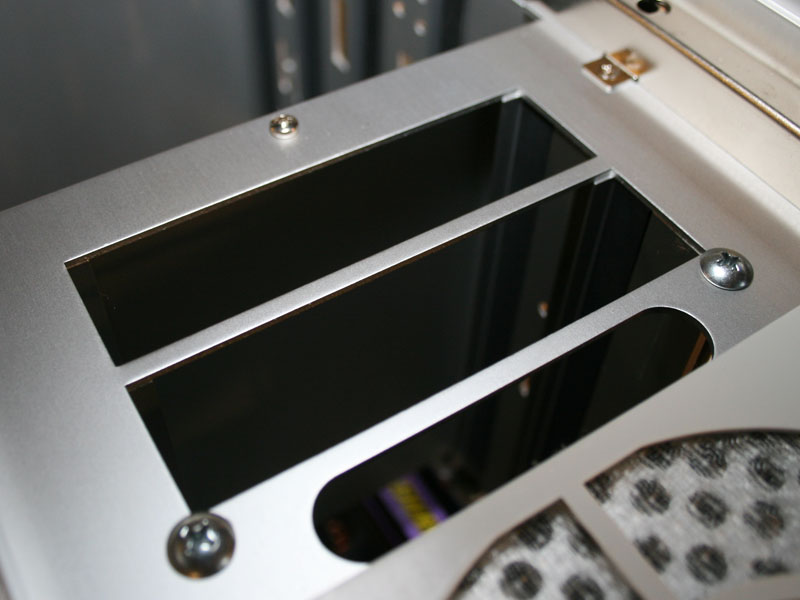
Once the essensials are installed the consequences of the lack of space becomes apparent. While the mainboard fits fine and there seems to be enough space around it for cabling and such, the long hard drive blocks two of the four hard drive bays. One is blocked by the PCB and one by the graphic card cooler. The latter prohibits from lining up the hard drive horizontally to slide into the bay. Installing such an SLI system would possibly block all hard drive bays. This is further restricted by an additional ledge above the hard drive bays. It serves no purpose at all. In fact, installing a Seagate drive posed no problem, while a Samsung drive simply did not fit and could not be used.
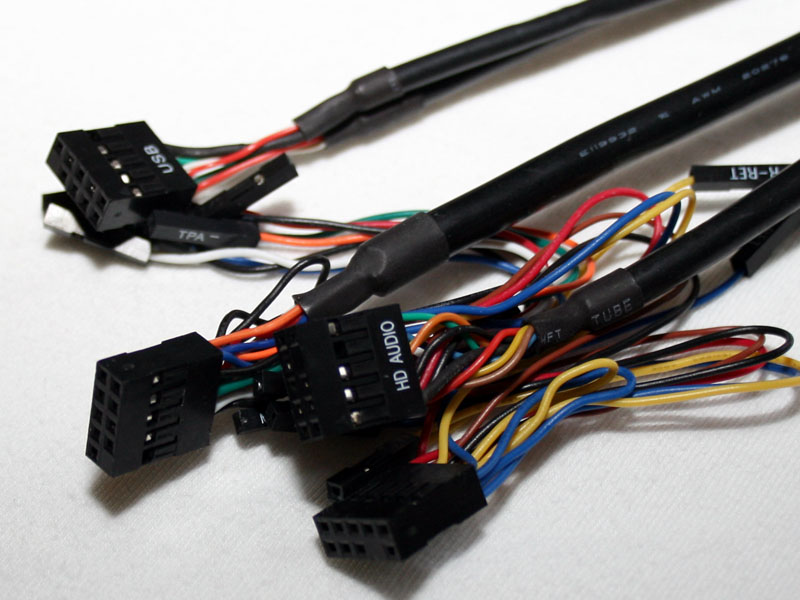
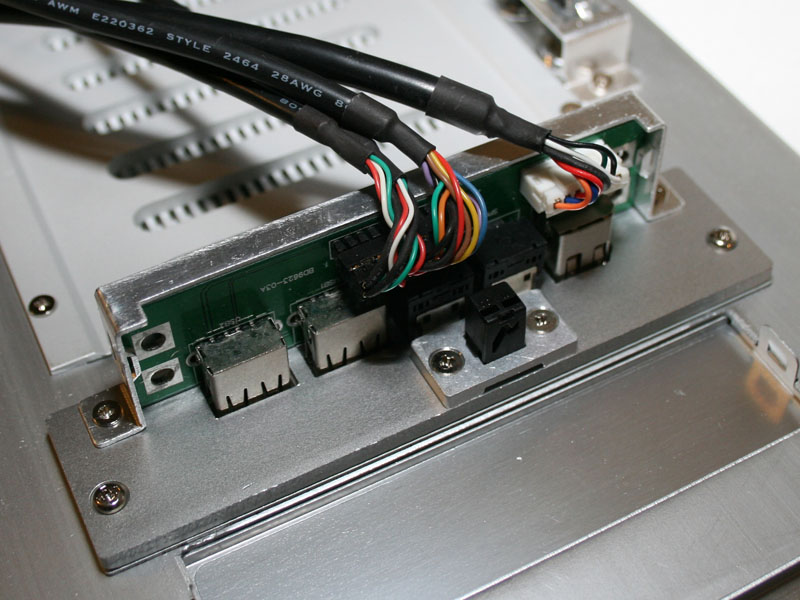
The mainboard connectors are of the same type as you will find in most other cases. As you can see the front I/O include any possible connection variant for all mainboards.
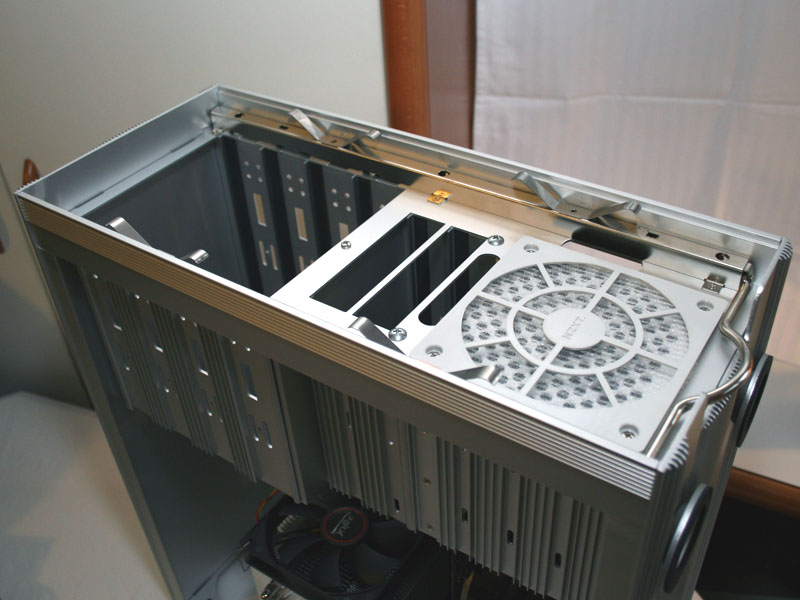
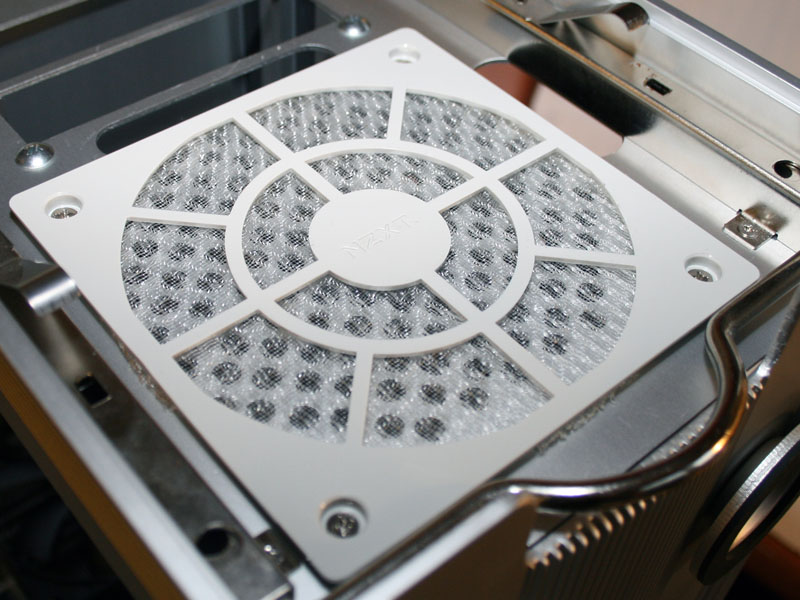
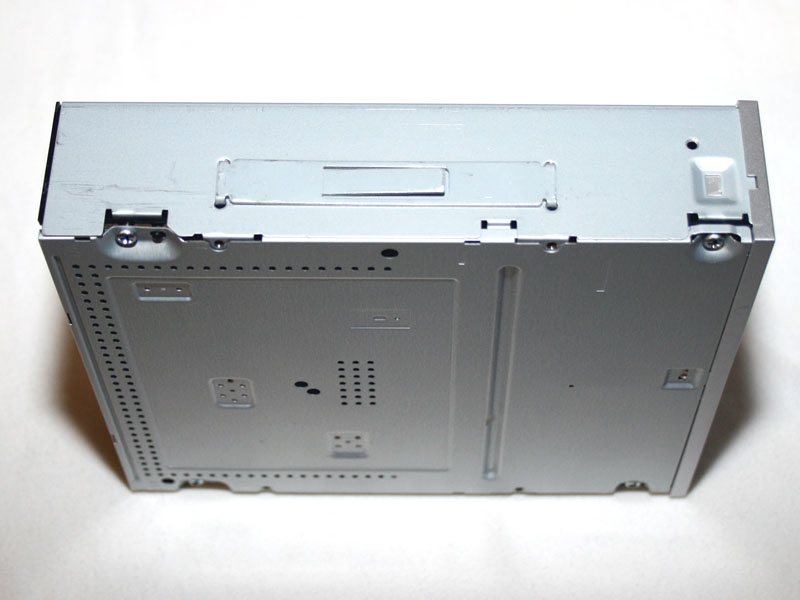
I pointed out the extending outer walls on the back of the case. These are needed to place a case on this back to install extenal drives comfortably inside the case. A firm pull of the handle releases the thick front, revealing all the external drive bays. There is a white, plastic air filter in front of the fan. This can only be taken out by removing the screws holding the fan into place. The two floppy bays are identical even though the front I/O is located inside the bottom one.
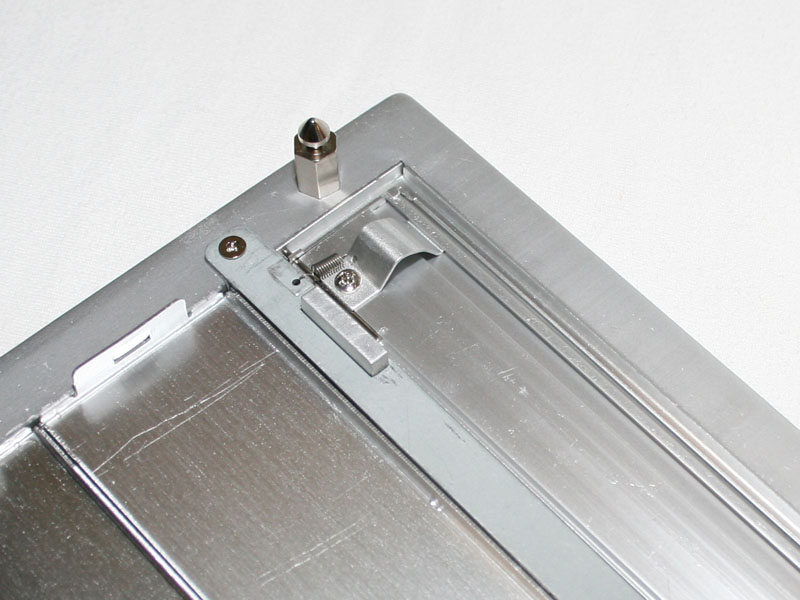
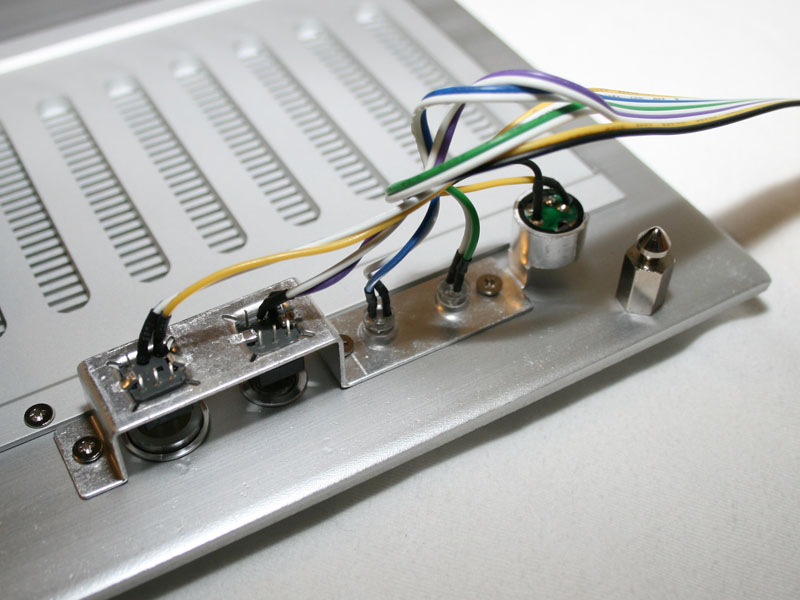
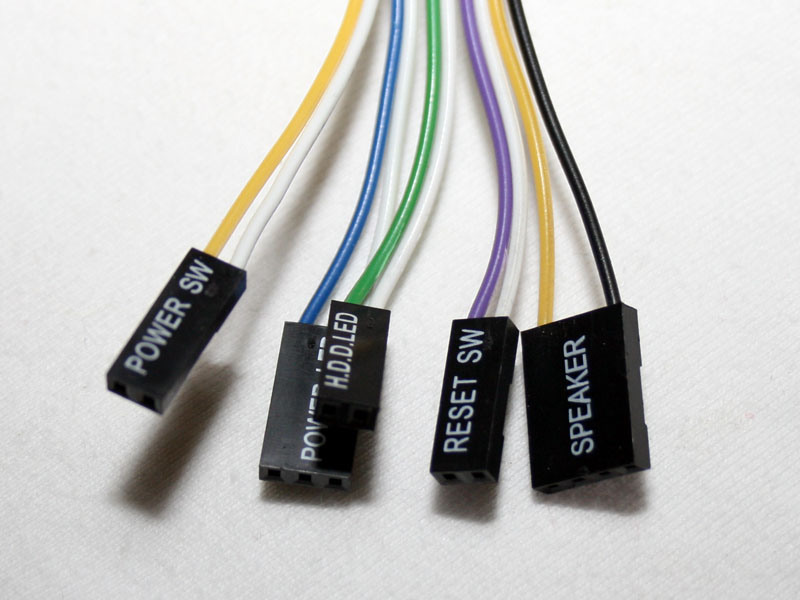
The front itself is constructed just as immaculate as the rest of the case. The corners have been rounded here as well, so there are absolutely no sharp edges to be found on the case. The I/O panel can be completely removed if need be, to give way to the second 3.5 inch drive bay. The power & reset button, as well as the LEDs and speaker are neatly wired with heatshrink at the connected ends.
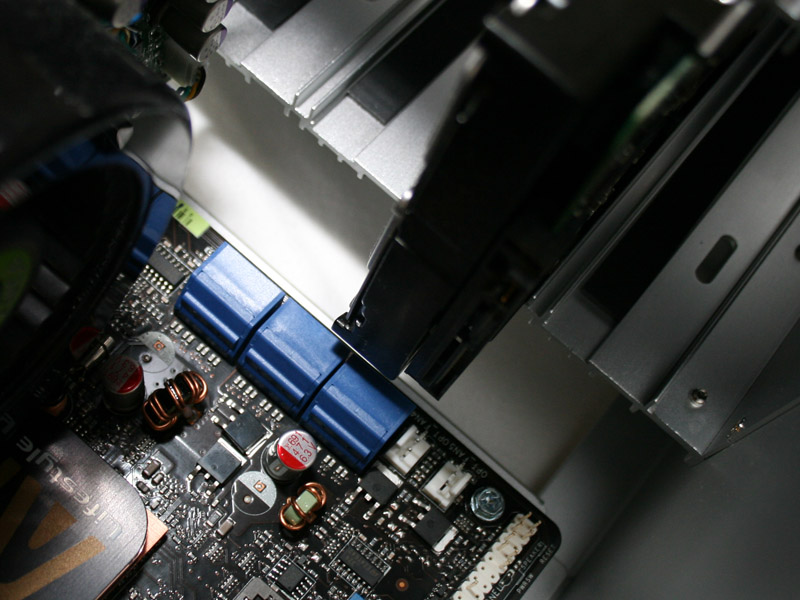
The optical drives are installed quickly by simply placing the rails on either side and sliding them into the case. If you want to use the one drive bay cover which is included you will need to use traditional screws instead. After installing the hard drive and wanting to connect the SATA cable, the very tight dimensions of the case became apparent once more. While not impossible, the angled mainboard connectors made it quite tricky to install the nessecary cable.
Feb 23rd, 2025 10:02 EST
change timezone
Latest GPU Drivers
New Forum Posts
- Hynix A die/M die recognising (6)
- RDNA4 Prediction Time Part Deux!!! (14)
- PC Turns Off Immediately After Pressing Power Button--Must be Held Down to Power On (14)
- As we live the age of game remakes, which game you would like to see to have a remake? (325)
- 5800X3D CO and RAM - Thoughts? (16)
- RTX5000 Series Owners Club (127)
- EFI partition too small, can't update Windows 11 on laptop (3)
- Cooler for r7 5700X3D [Stock] (8)
- TPU's Nostalgic Hardware Club (19981)
- 3D Printer Club (431)
Popular Reviews
- MSI GeForce RTX 5070 Ti Ventus 3X OC Review
- ASUS GeForce RTX 5070 Ti TUF OC Review
- Ducky One X Inductive Keyboard Review
- Galax GeForce RTX 5070 Ti 1-Click OC White Review
- MSI GeForce RTX 5070 Ti Vanguard SOC Review
- darkFlash DY470 Review
- Gigabyte GeForce RTX 5090 Gaming OC Review
- MSI GeForce RTX 5070 Ti Gaming Trio OC+ Review
- Palit GeForce RTX 5070 Ti GameRock OC Review
- Fantech Aria II Pro Review
Controversial News Posts
- NVIDIA GeForce RTX 5090 Spotted with Missing ROPs, NVIDIA Confirms the Issue, Multiple Vendors Affected, RTX 5070 Ti, Too (424)
- AMD Radeon 9070 XT Rumored to Outpace RTX 5070 Ti by Almost 15% (302)
- AMD Plans Aggressive Price Competition with Radeon RX 9000 Series (271)
- AMD Radeon RX 9070 and 9070 XT Listed On Amazon - One Buyer Snags a Unit (247)
- Edward Snowden Lashes Out at NVIDIA Over GeForce RTX 50 Pricing And Value (241)
- AMD Denies Radeon RX 9070 XT $899 USD Starting Price Point Rumors (239)
- New Leak Reveals NVIDIA RTX 5080 Is Slower Than RTX 4090 (215)
- NVIDIA Investigates GeForce RTX 50 Series "Blackwell" Black Screen and BSOD Issues (197)