 5
5
NZXT H710i Review
Assembly, Finished Looks »A Closer Look - Inside
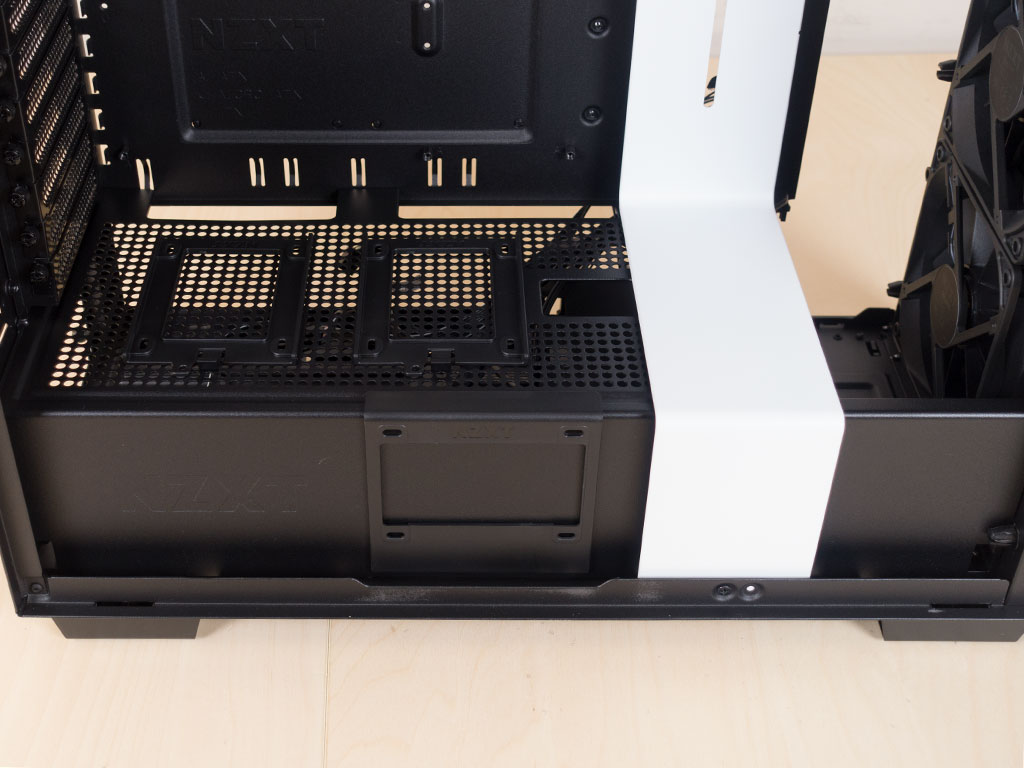

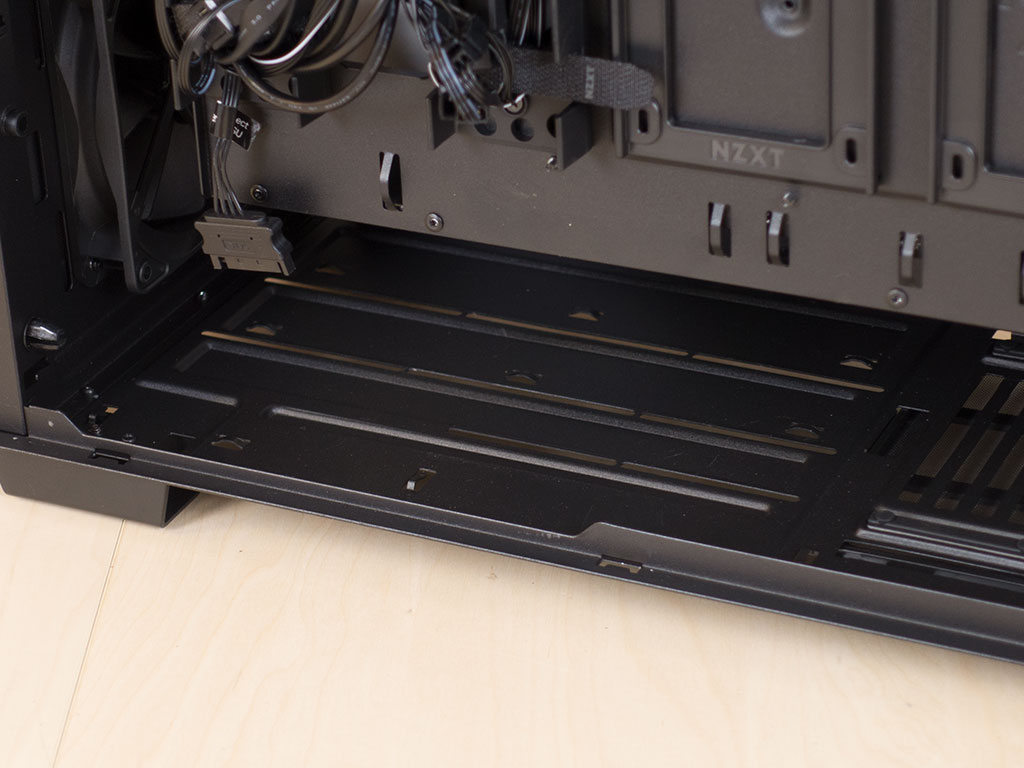
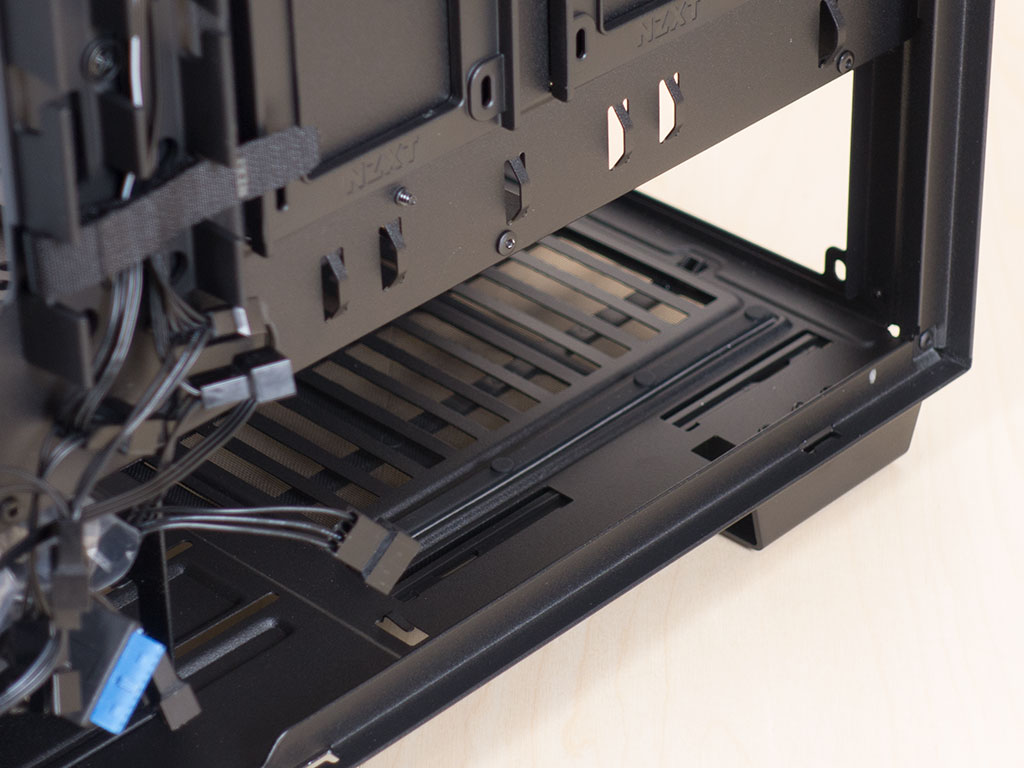
The shroud is made out of metal and offers up three 2.5" trays. These are no longer spring-loaded like in the H700i, but are of a simpler design, so you will have to use traditional screws to secure everything. Underneath the shroud, in the front, you will find a cage for three 3.5" units. There are rails in the floor of the chassis, so you could just mount a drive directly to the floor as well.

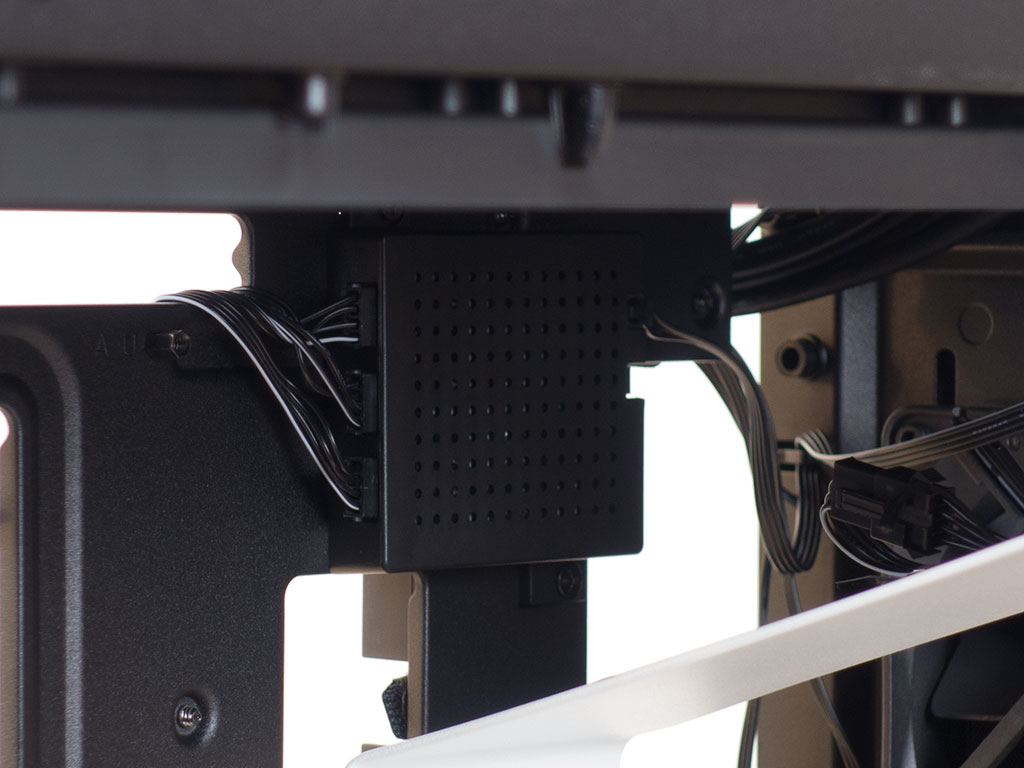
Above that are the three 120 mm intake fans for a total of four pre-installed units. There is plenty of space for 140 mm units here as well, or a 360 mm radiator setup if you like. The H-series signature cable cover extends from the shroud all the way up to the ceiling of the enclosure. Behind it you will find the NZXT Smart Device V2, which allows for software control of the two embedded LED strips and the included fans.

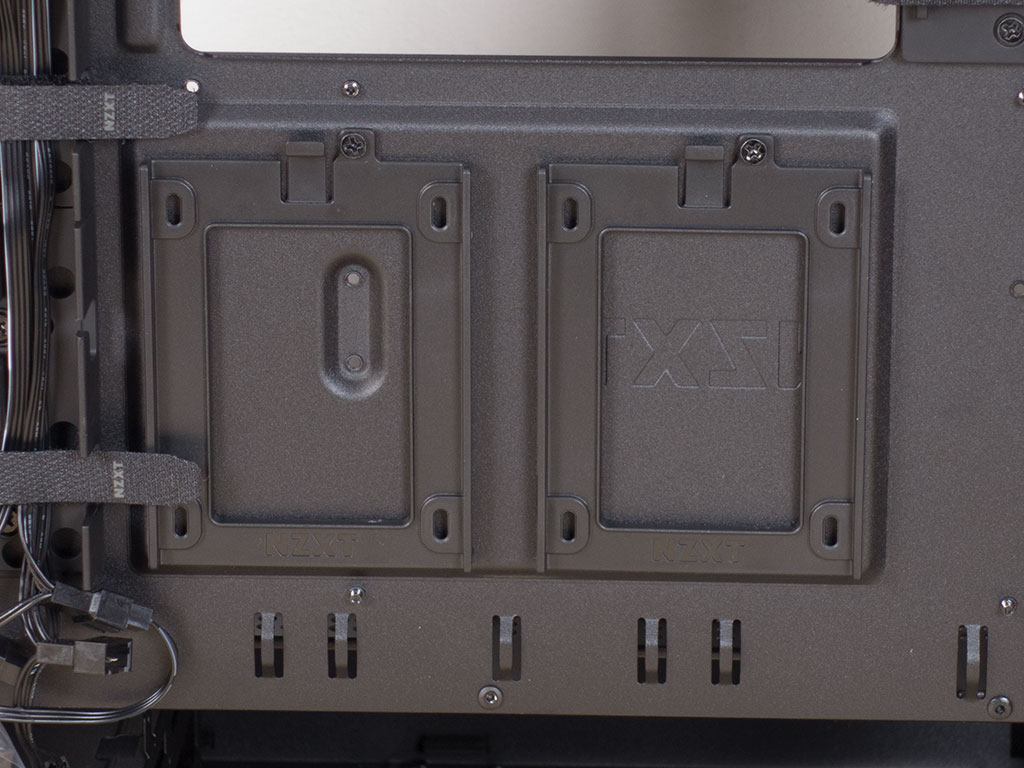
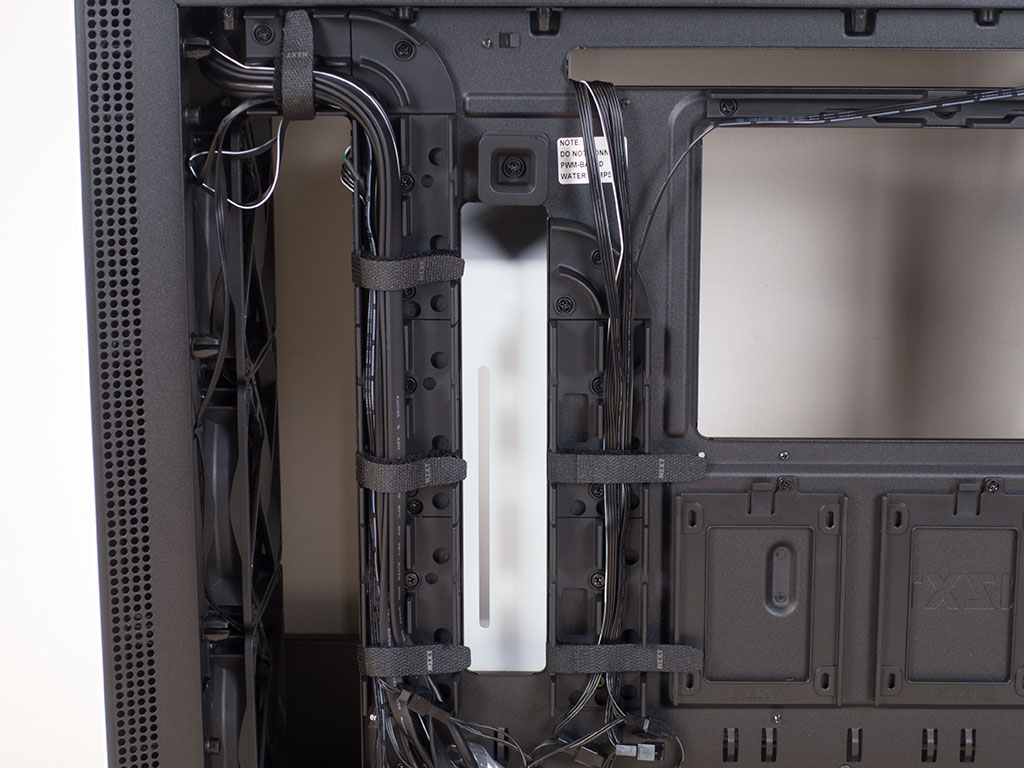
The backside of the motherboard tray actually holds a lot of well-thought-out engineering to make your life a little easier when assembling the system. Below the two SSD trays are short cable channels with Velcro strips, so you can easily route power and data leads through here nicely. Additional channels also run up the left side of the motherboard tray with the case cables nicely pre-routed for you right out of the box.
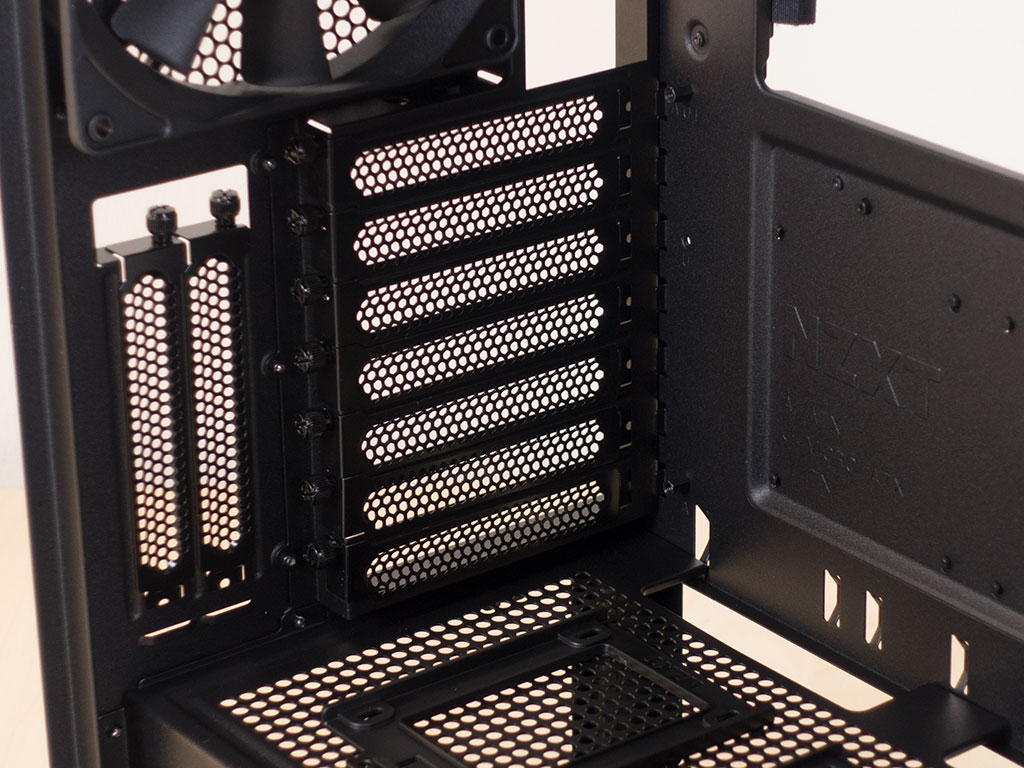
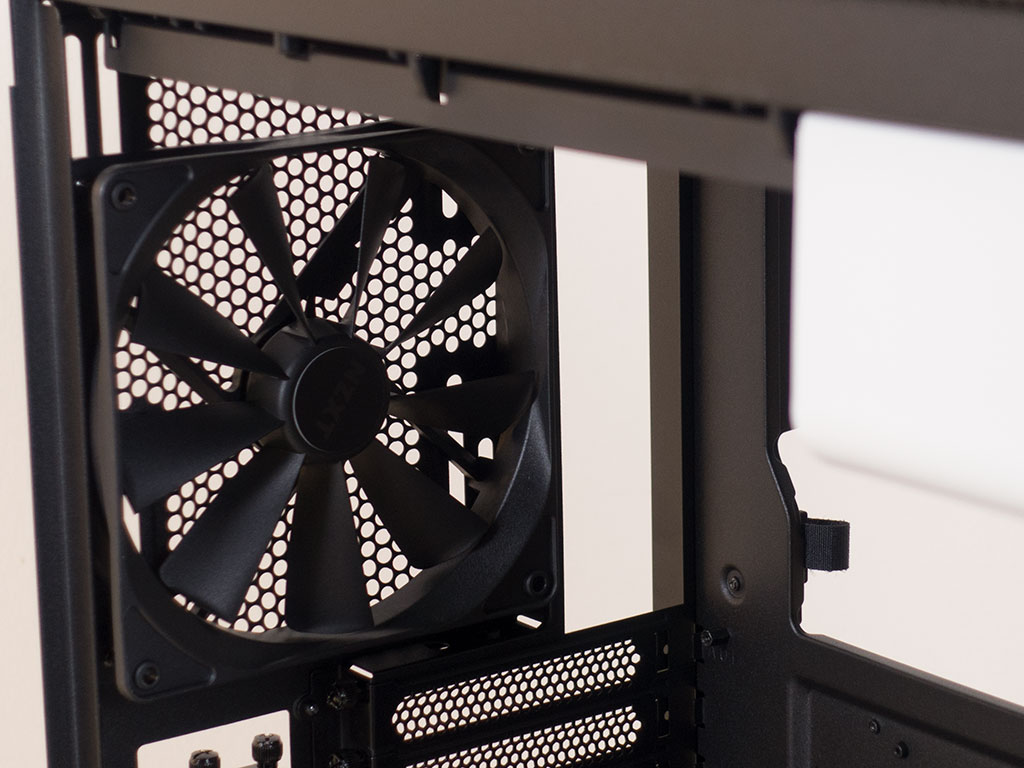
In the rear, beneath the shroud cover, the PSU bay comes equipped with rubber rails as an anti-vibration measure, while the expansion slots covers above that are held in place by thumb screws. The 140 mm unit in the very top is all black as well and set to push air out the back of the H710i.
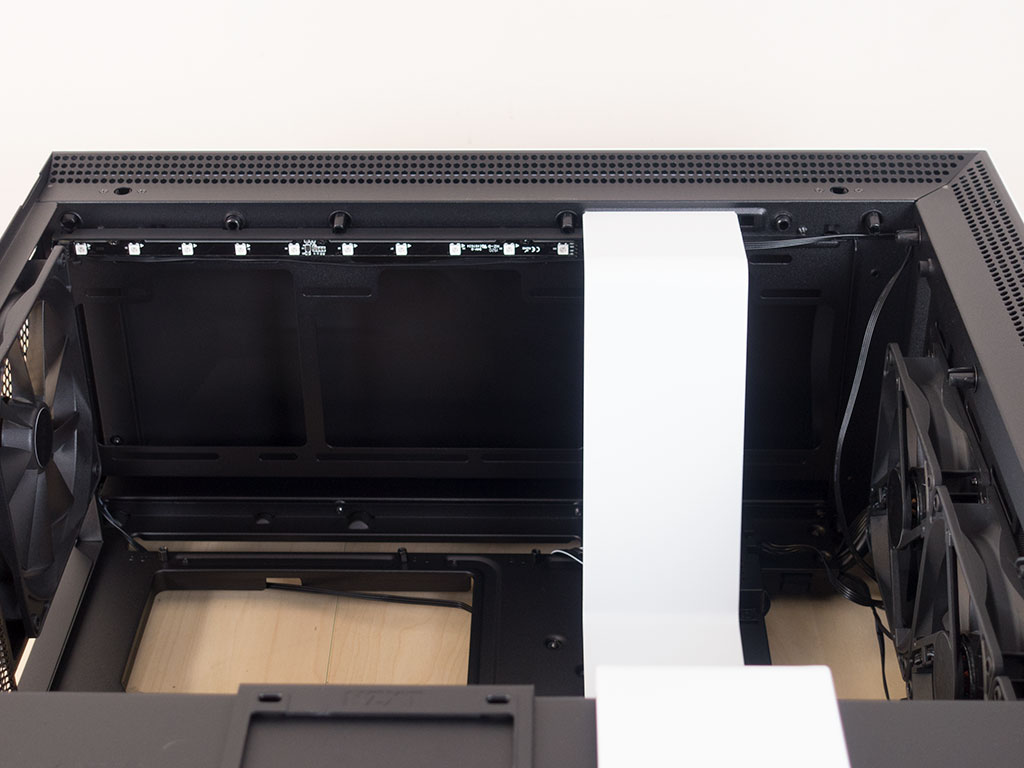
In the ceiling, the mounting possibilities for fans or a radiator combo can clearly be seen underneath the removable solid cover. NZXT pre-applied an RGB LED strip in the ceiling, which is great! A nice but very subtle improvement is a slim plastic cover that now hides the LED strip, so you cannot see it when looking at the system from the side. In other words, in the H700i, that strip was pretty bare.

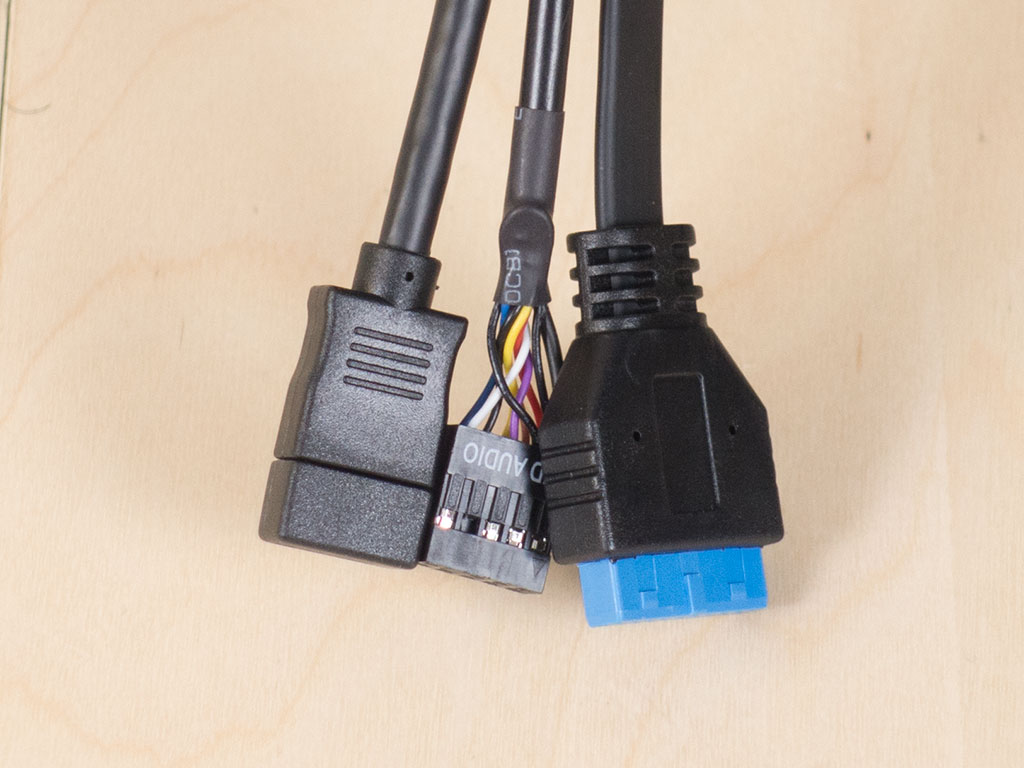

All the cables within the NZXT H710i are of the default variety, but if you look closely, you will see an additional USB 2.0 connector that is used by the internal CAM software powered by Smart Device V2.
Mar 18th, 2025 00:32 EDT
change timezone
Latest GPU Drivers
New Forum Posts
- Do you use Linux? (521)
- Gigabyte Gtx 1080 Ti Thermal Paste Replacement Problem (4)
- Mid-decade SATA data cable quality examination ¯\_ (ツ)_/¯ (15)
- revisiting hpet bcdedit tweaks: what are your timer bench results and settings? (110)
- World-first: US quantum computer solves problem million years faster than supercomputer (1)
- GPU upgrade deal used 6800? (1)
- I'm looking for a good tool to make the 3D scanning of my mini-pc using the photogrammetry and my Kinect 2. (140)
- Nvidia's GPU market share hits 90% in Q4 2024 (gets closer to full monopoly) (1133)
- Intel to AMD upgrade, re-using 2x24Gb memory? (0)
- First Build Won't Boot - Yellow DRAM Light on ASUS Prime B550M-A WiFi II (25)
Popular Reviews
- Gigabyte X870E Aorus Pro Review
- AMD Ryzen 9 9950X3D Review - Great for Gaming and Productivity
- Sapphire Radeon RX 9070 XT Nitro+ Review - Beating NVIDIA
- MSI GeForce RTX 5070 Gaming Trio OC Review
- Kioxia Exceria Plus G4 2 TB Review - Energy-Efficient PCIe Gen 5
- XFX Radeon RX 9070 XT Mercury OC Magnetic Air Review
- ASUS GeForce RTX 5090 TUF Review
- Corsair SF750 750 W Review
- ASUS Radeon RX 9070 TUF OC Review
- AMD Ryzen 7 9800X3D Review - The Best Gaming Processor
Controversial News Posts
- NVIDIA GeForce RTX 50 Cards Spotted with Missing ROPs, NVIDIA Confirms the Issue, Multiple Vendors Affected (519)
- AMD RDNA 4 and Radeon RX 9070 Series Unveiled: $549 & $599 (260)
- AMD Mentions Sub-$700 Pricing for Radeon RX 9070 GPU Series, Looks Like NV Minus $50 Again (250)
- NVIDIA Investigates GeForce RTX 50 Series "Blackwell" Black Screen and BSOD Issues (244)
- AMD Radeon RX 9070 and 9070 XT Official Performance Metrics Leaked, +42% 4K Performance Over Radeon RX 7900 GRE (195)
- AMD Radeon RX 9070-series Pricing Leaks Courtesy of MicroCenter (158)
- MSI Doesn't Plan Radeon RX 9000 Series GPUs, Skips AMD RDNA 4 Generation Entirely (125)
- Microsoft Introduces Copilot for Gaming (122)