 3
3
NZXT Phantom 240 Review
Value & Conclusion »Assembly

Installing the motherboard is done by traditional means, with the use of black spacers and some screws. Unfortunately, the Raijintek 120 mm tower cooler did not fit, so I had to use a different cooler for this review. This is quite an issue as the Phantom 240 is geared toward the gaming crowd. Another point of note is that I had to remove all hard-drive trays during installation because they kept falling out of their bays while I had the case tipped on its side. I am amazed NZXT still uses these flimsy trays after reviewers and users alike commented on their fragile and soft nature. The company is not listening to the community, which is a shame, so we will have to dock NZXT points for these. It is one thing for the trays to be flimsy, but another if they do not hold in place properly and yet another if we have been told, "yes, they are no good and will be phased out" a long time ago.

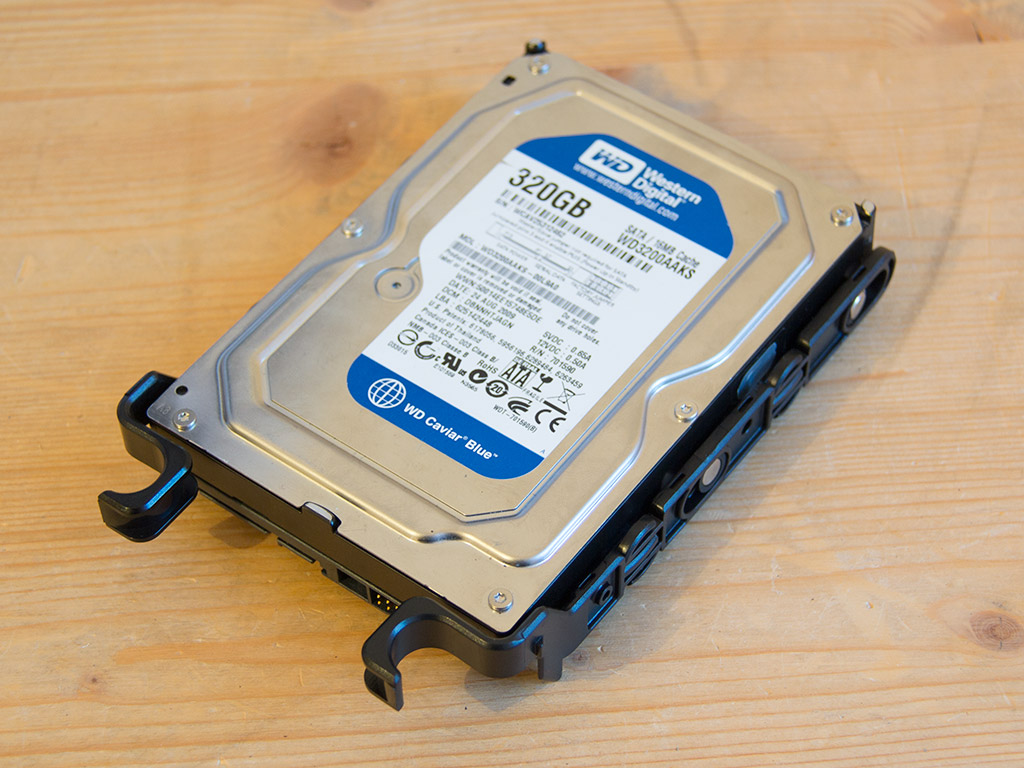
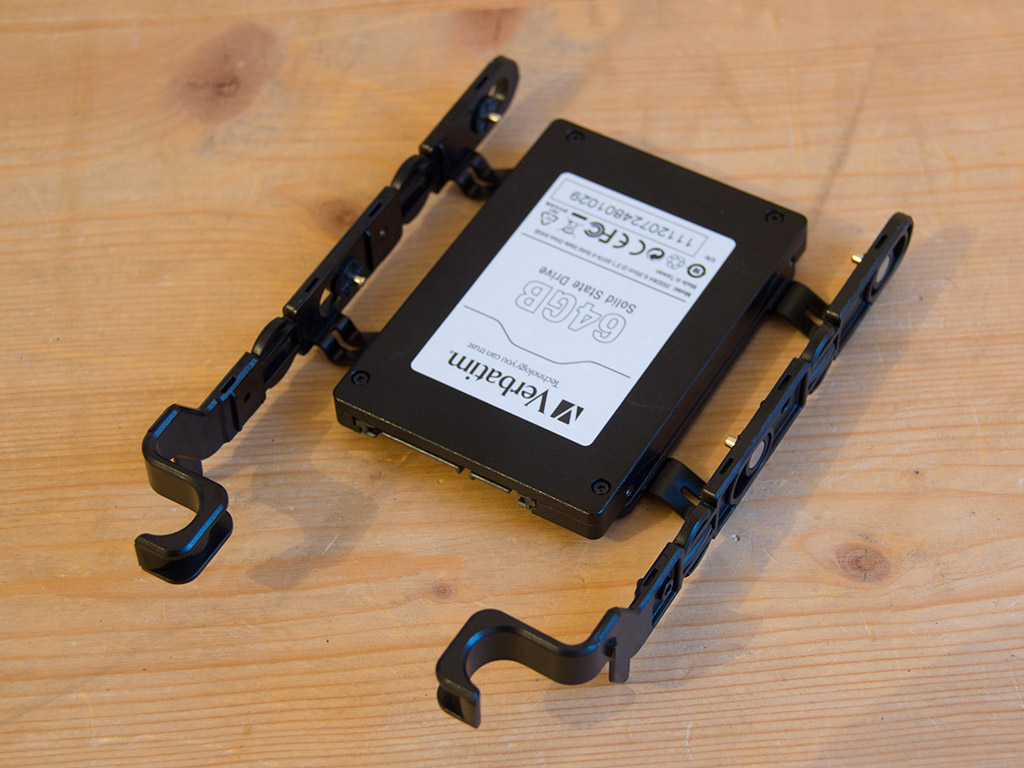
So NZXT is still using these very fragile, but intricate-looking hard-drive cages. We were told that upcoming NZXT cases will use more robust trays, but as it turns out, such only seems to hold true for the company's bigger, more expensive cases. That said, the current trays do not require any tools unless you want to place a 2.5" unit into these.
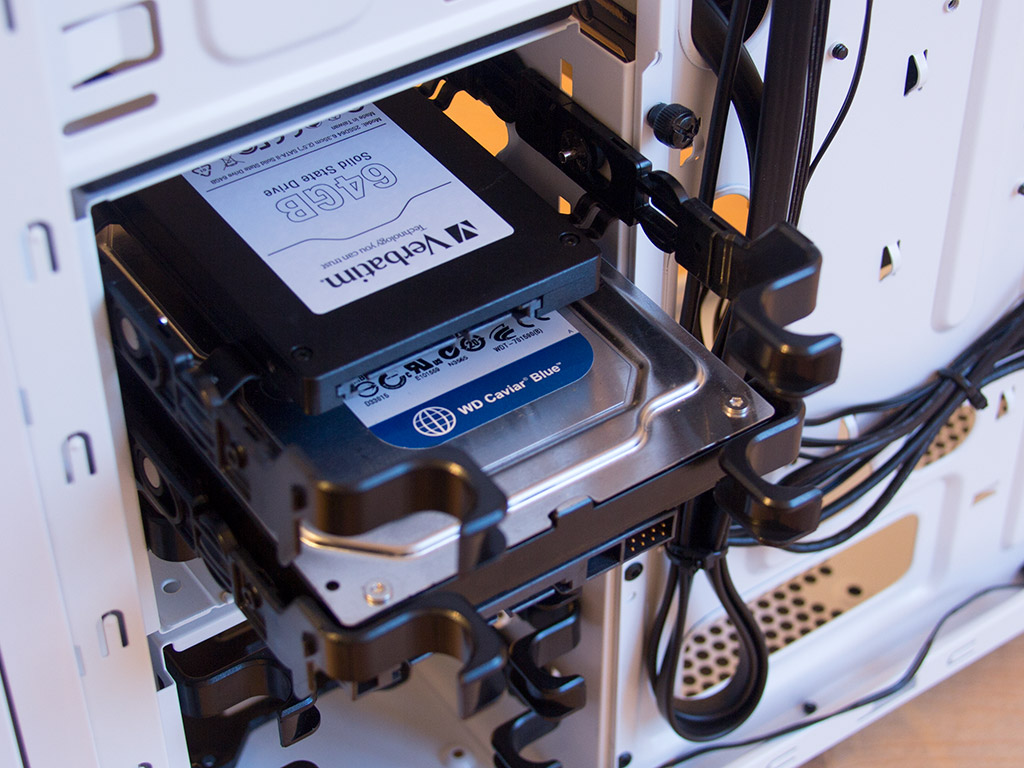
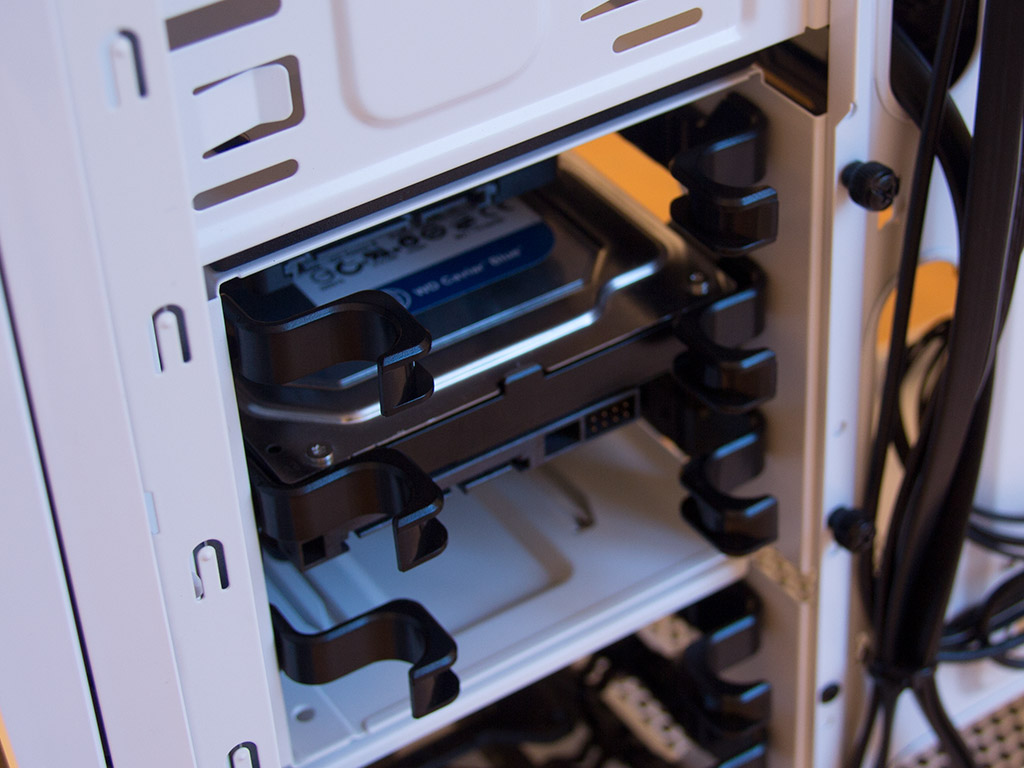
Once a drive has been installed into a tray, simply slide the tray into its slot until it snaps into place—more or less. There is still quite a bit of play after the drive has been filled with even a 3.5" drive. Connectors will face toward the motherboard, which will minimize the cable mess inside your case.

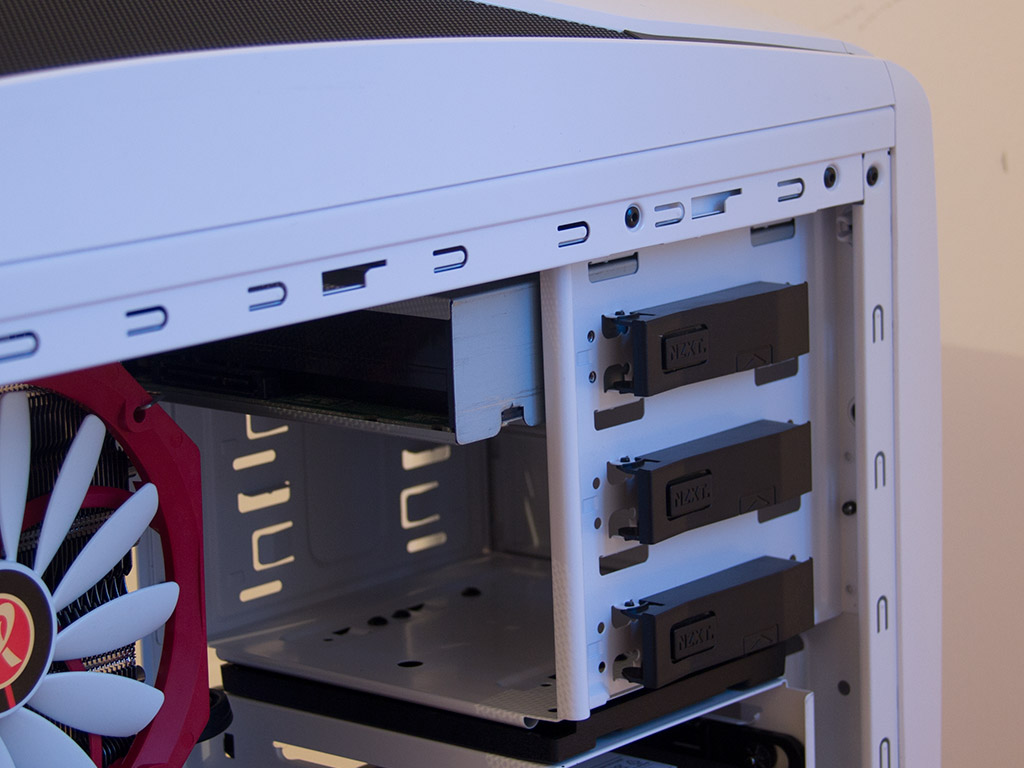
Installing an optical drive within the Phantom 240 does not require any tools. Once the bay of your choice is free, unlock the plastic lock and slide the drive into position. Last but not least, snap the lock back into place. The drive will now hold in place quite well, but you may want to apply a single screw to the opposite side to kill any vibrations the drives may cause.
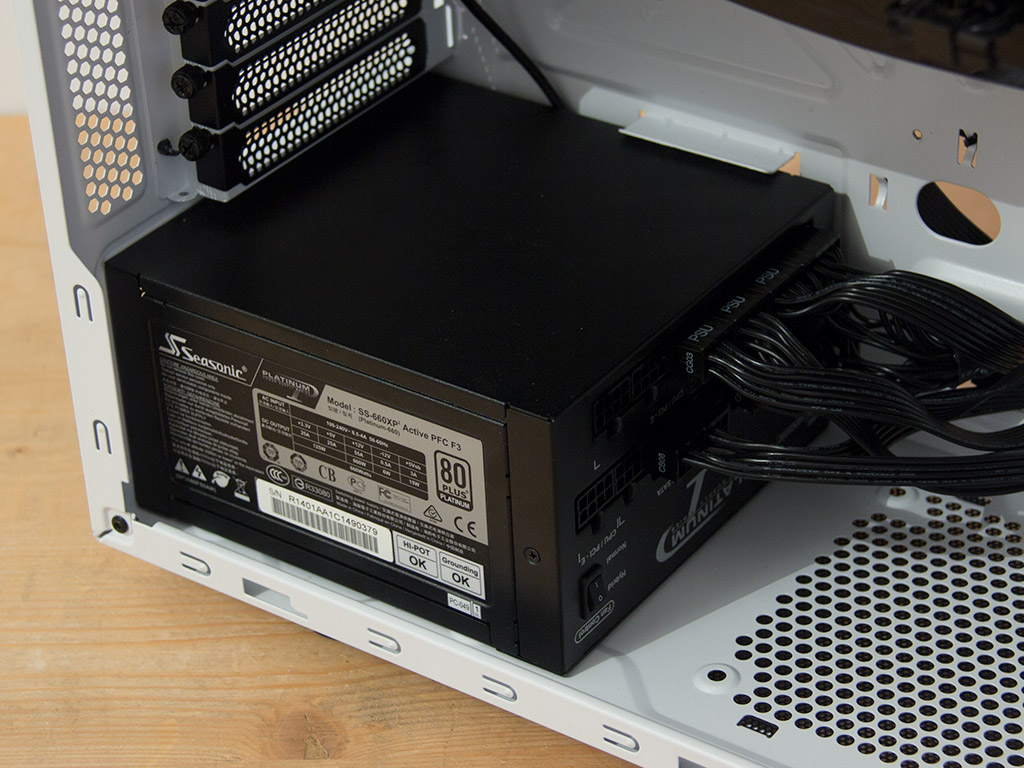
Installing a power supply is done by traditional means and does not bear any surprises. Simply screw your PSU down with the provided screws.
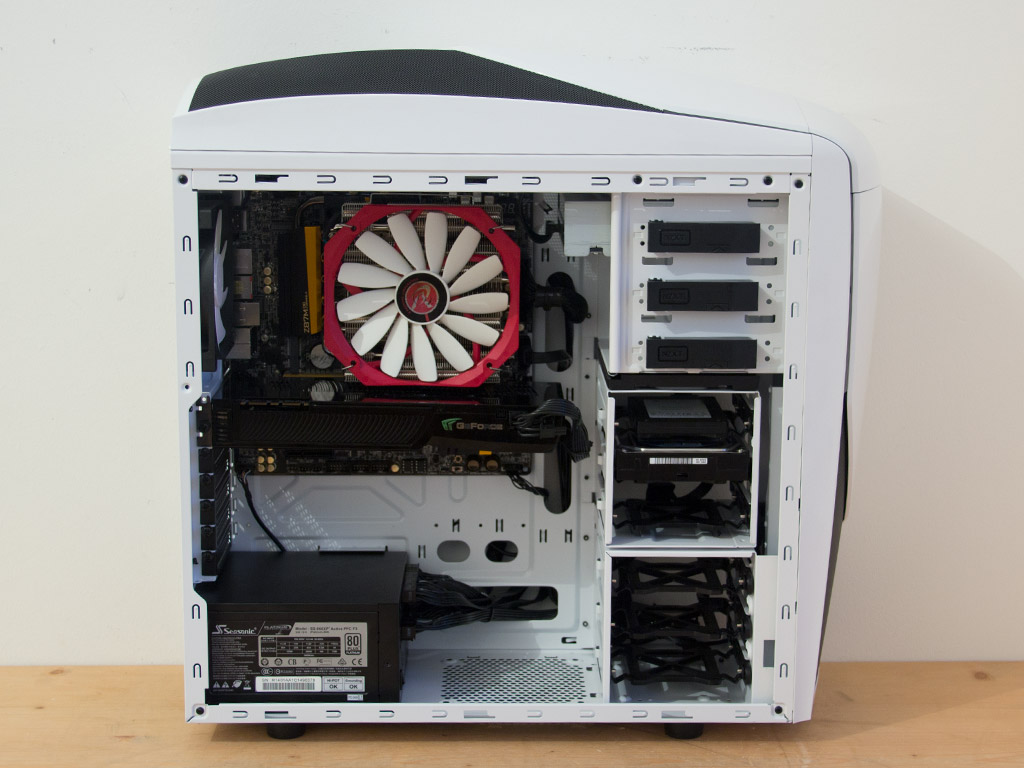
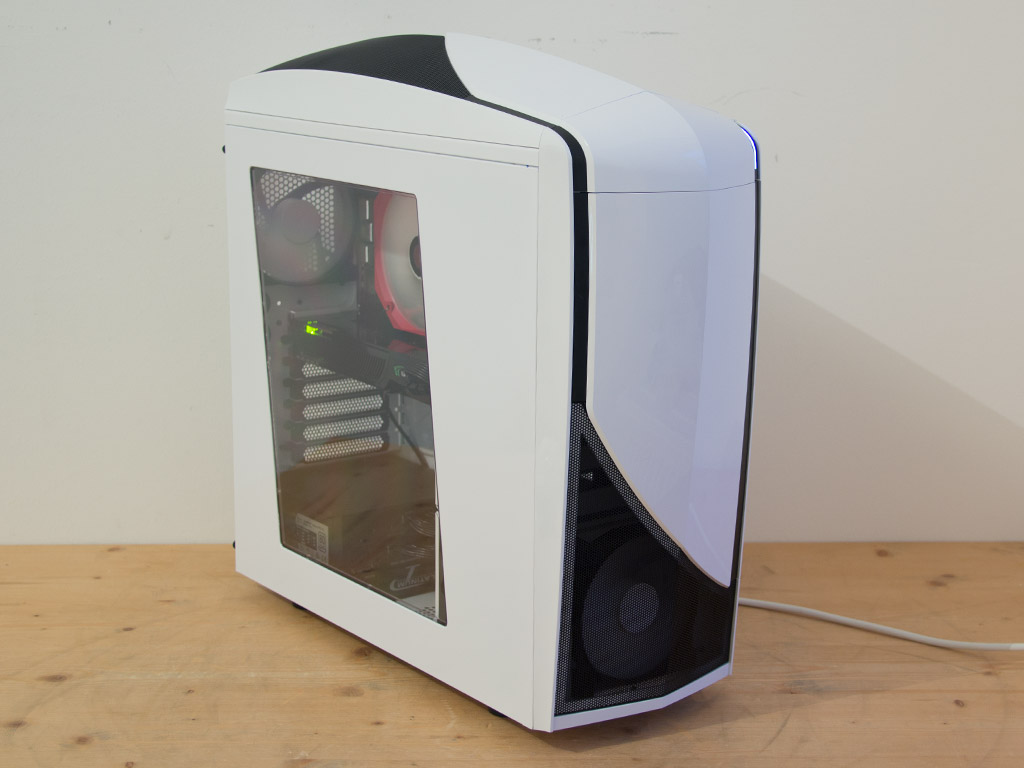
With everything in place, the full system looks alright in terms of cleanliness. Rubber grommets would have gone a long way in making it look even better, but as all the cables can be hidden behind the motherboard tray, things are not as bad as expected. The numerous hooks in the tray create plenty of opportunities to route and secure all cables.
Finished Looks
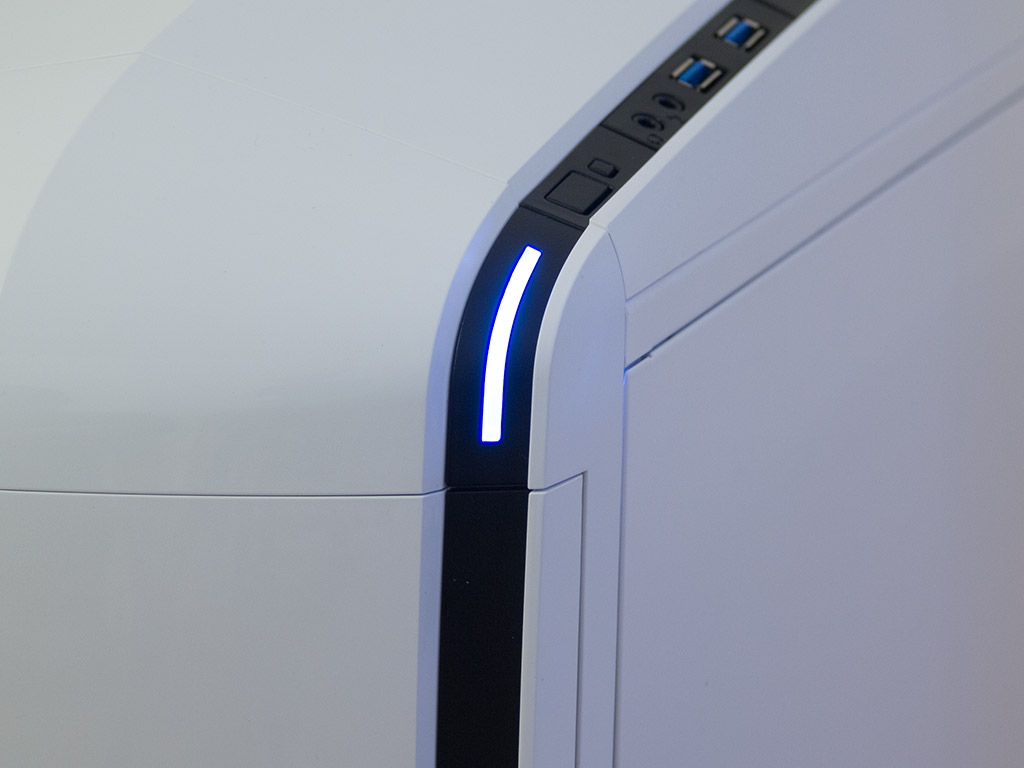
With everything installed, the chassis looks quite nice, and the bright white LED really suits the Phantom chassis well.

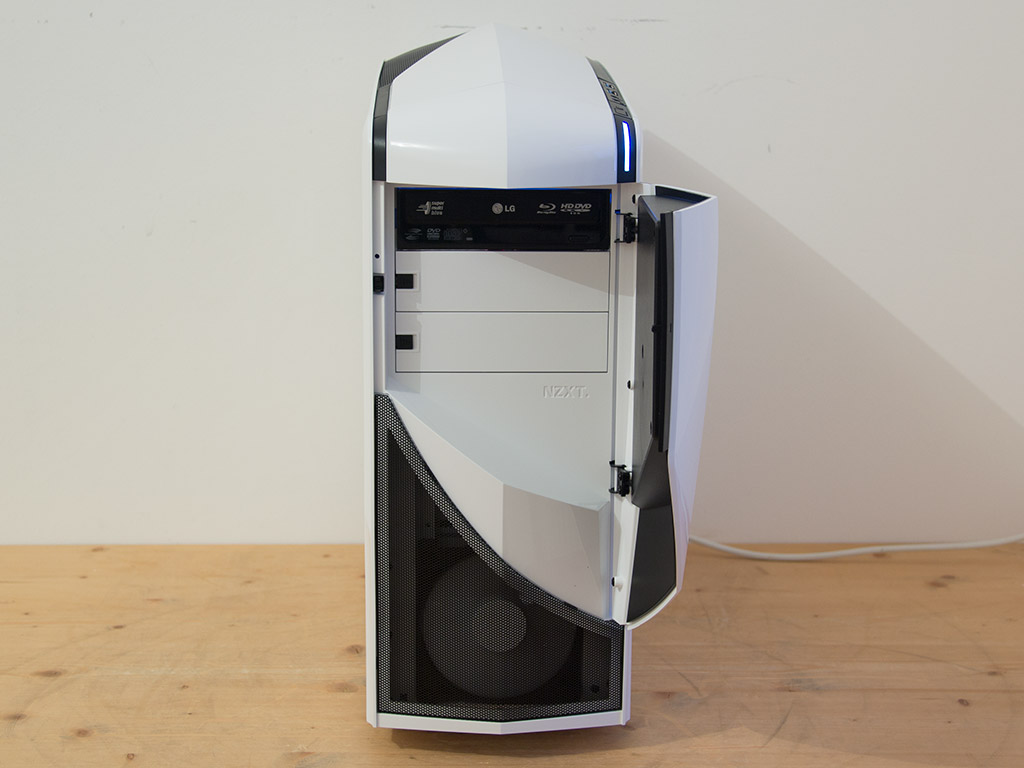
The door hides the black drive well, but any device with knobs or switches will not fit as there is not enough clearance for such once the door is closed.
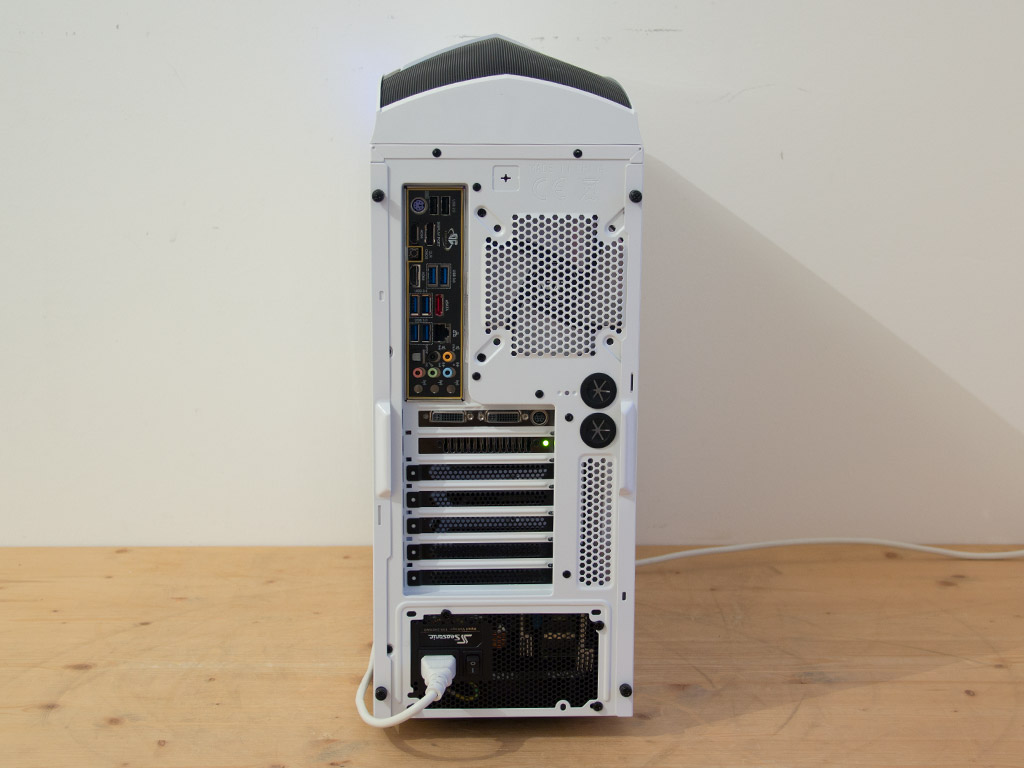
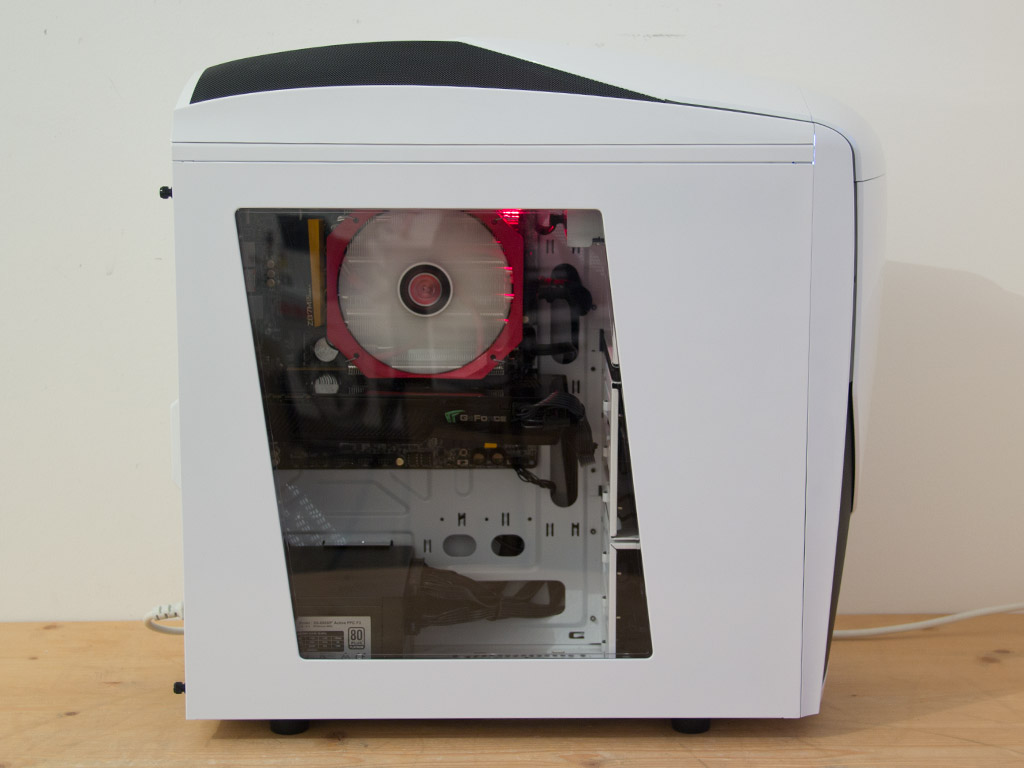
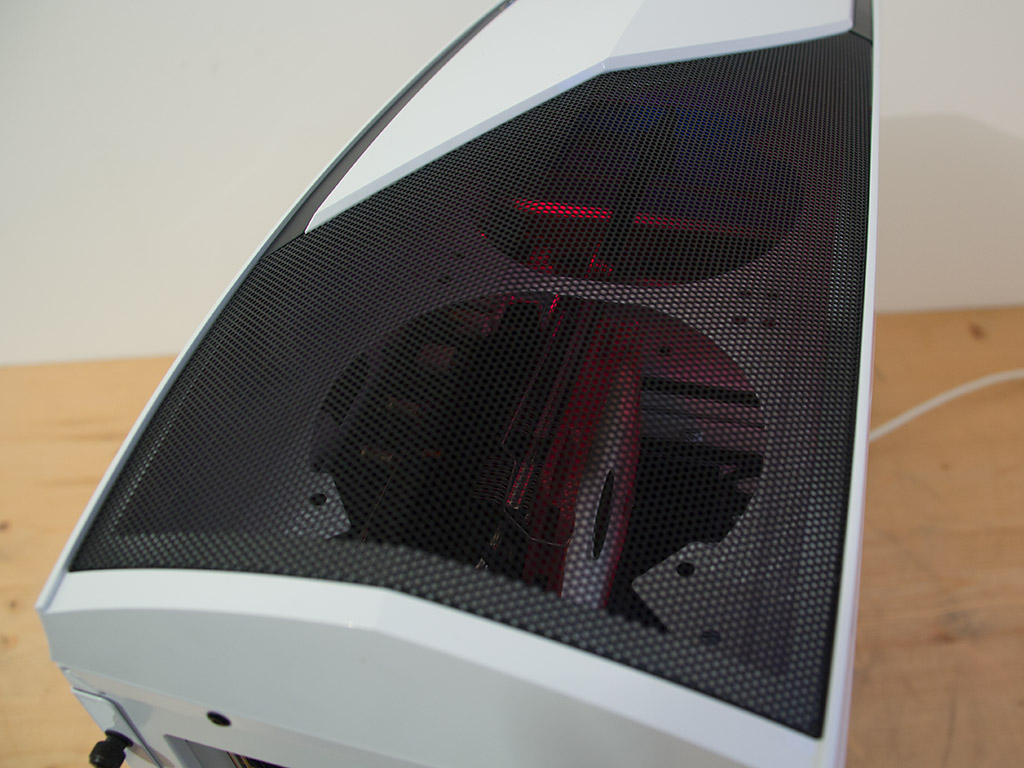
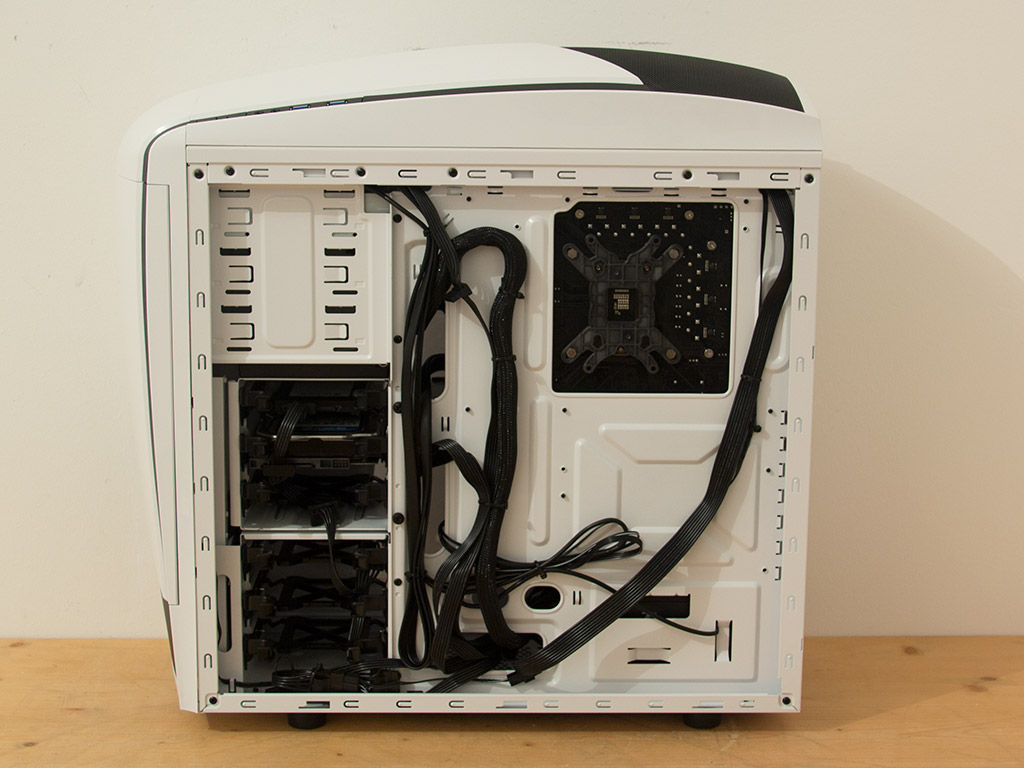
Looking at the rear, everything is where it is supposed to be. It would have been nice to see the backplate with an LED in the Phantom 240, as in all other recent Phantoms. The large window clearly showcases all the hardware, hard at work to push as many gaming pixels onto your screen as possible. Lastly, peeking into the top, you can clearly see the CPU cooler working away as well.
Mar 8th, 2025 18:45 EST
change timezone
Latest GPU Drivers
New Forum Posts
- Should I make a thermal maintenance on my GPU? (80)
- Fan speed locked high - EVGA 2060 sc (2)
- Complete shutdown of C1E (3)
- Zen6 is almost here ? (4)
- Die identification (3)
- Pls help- First Time Using Second-Hand Parts – Is This preowned AMD CPU Worth Buying (16)
- RTX5000 Series Owners Club (151)
- Optimal Airflow or Mistake? Need Expert Advice on My PC Cooling Setup (4)
- Dune: Awakening benchmark - post your results (33)
- I'm looking for a good tool to make the 3D scanning of my mini-pc using the photogrammetry and my Kinect 2. (17)
Popular Reviews
- Sapphire Radeon RX 9070 XT Nitro+ Review - Beating NVIDIA
- NVIDIA GeForce RTX 5070 Founders Edition Review
- ASUS Radeon RX 9070 TUF OC Review
- XFX Radeon RX 9070 XT Mercury OC Magnetic Air Review
- Corsair Vengeance RGB CUDIMM DDR5-8800 48 GB CL42 Review
- MSI MAG B850 Tomahawk Max Wi-Fi Review
- AMD Radeon RX 9070 Series Technical Deep Dive
- AMD Ryzen 7 9800X3D Review - The Best Gaming Processor
- ASUS GeForce RTX 5070 Ti TUF OC Review
- Zotac GeForce RTX 5080 AMP Extreme Infinity Review
Controversial News Posts
- NVIDIA GeForce RTX 50 Cards Spotted with Missing ROPs, NVIDIA Confirms the Issue, Multiple Vendors Affected (513)
- AMD Plans Aggressive Price Competition with Radeon RX 9000 Series (277)
- AMD Radeon RX 9070 and 9070 XT Listed On Amazon - One Buyer Snags a Unit (261)
- AMD RDNA 4 and Radeon RX 9070 Series Unveiled: $549 & $599 (249)
- AMD Mentions Sub-$700 Pricing for Radeon RX 9070 GPU Series, Looks Like NV Minus $50 Again (248)
- NVIDIA Investigates GeForce RTX 50 Series "Blackwell" Black Screen and BSOD Issues (244)
- AMD Radeon RX 9070 and 9070 XT Official Performance Metrics Leaked, +42% 4K Performance Over Radeon RX 7900 GRE (195)
- AMD Radeon RX 9070-series Pricing Leaks Courtesy of MicroCenter (158)