 3
3
NZXT Source 220 Review
Value & Conclusion »Assembly
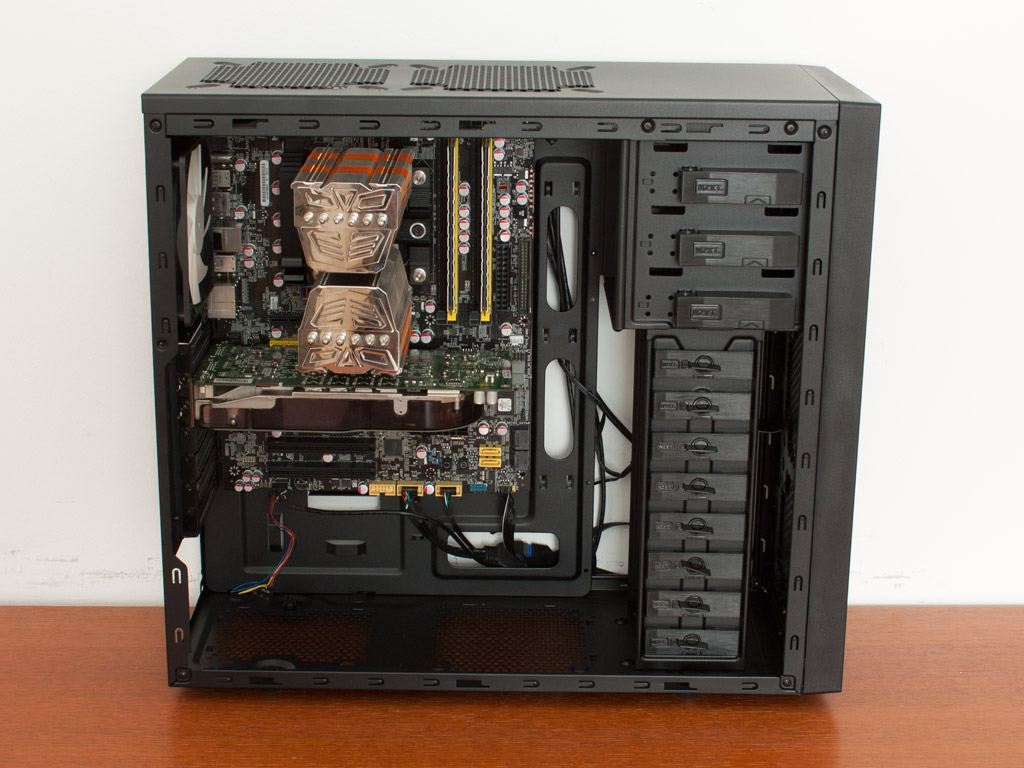
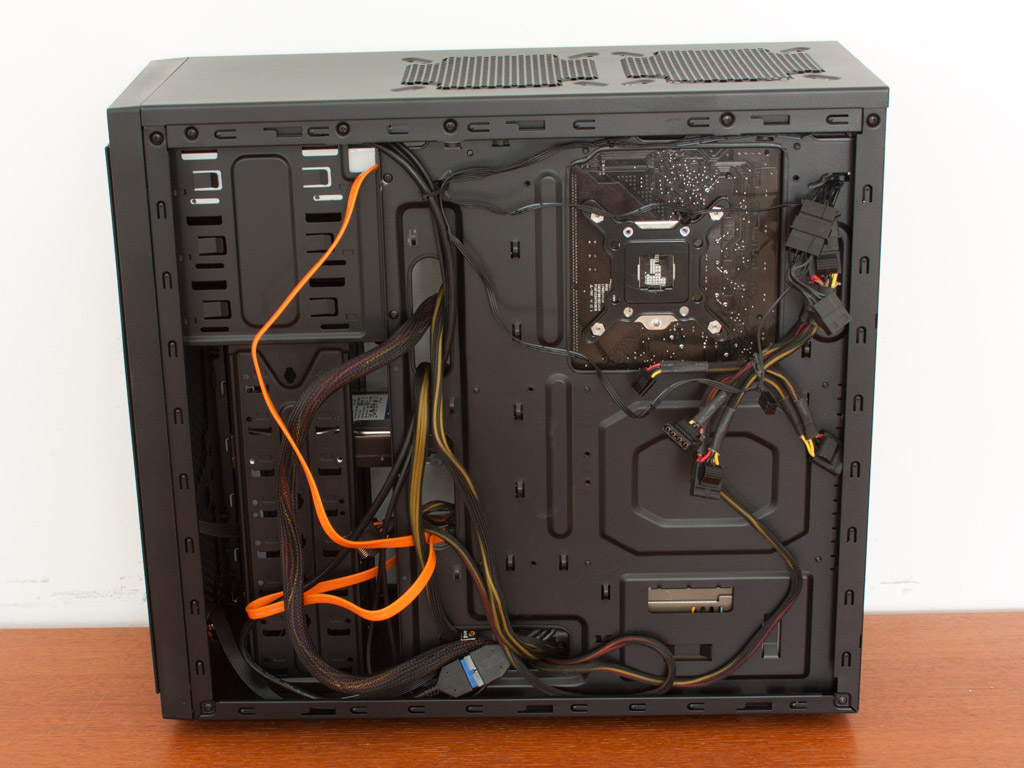
Installing the mainboard is nothing out of the ordinary. Simply place it on the golden spacers provided and secure it in place with the black screws. As you can see, even the fairly large Prolimatech Super Mega fits within the chassis. While cable management is not perfect, since the rubber covers are missing, you do have plenty of holes to route cables through.
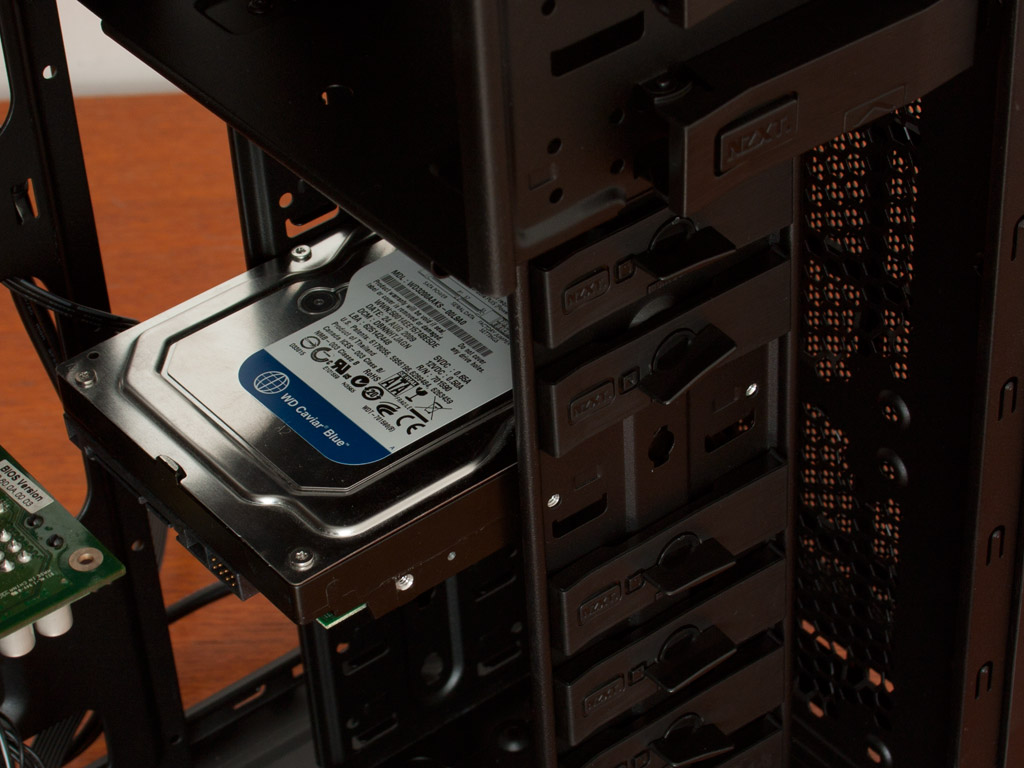
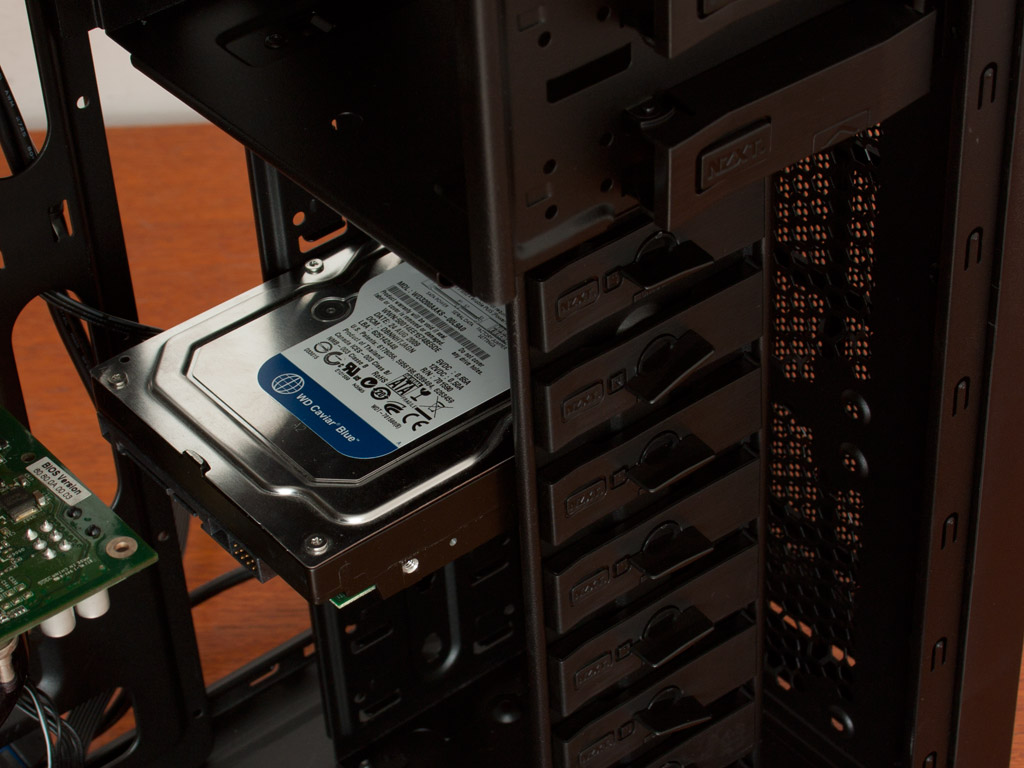
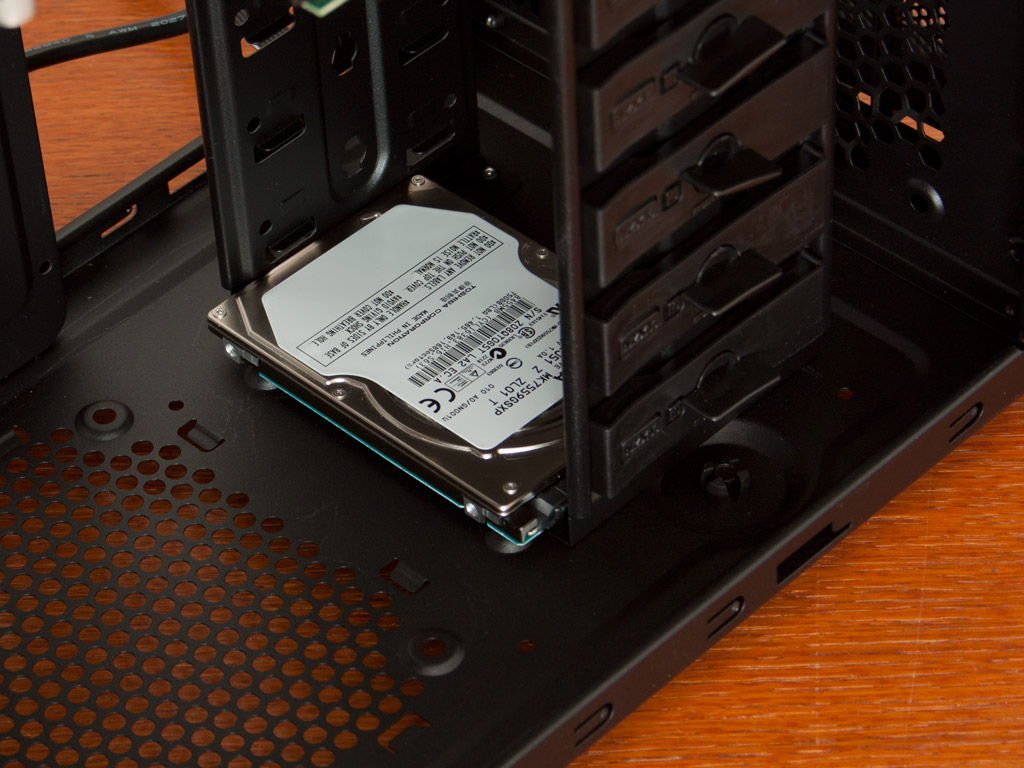
So, now unto the one part which had me worried. To install a 3.5 inch drive, first remove the plastic lock, slide the drive into place and then put the lock back. I am shocked to say, that the lock actually holds much better than expected - shocked in a good way of course. Sure, system integrators and worried users will still want to secure the drives with a single screw at least, so it is a good thing that NZXT has included enough screws with the Source 220 - which was something we sorely missed in the Source 210 Elite.
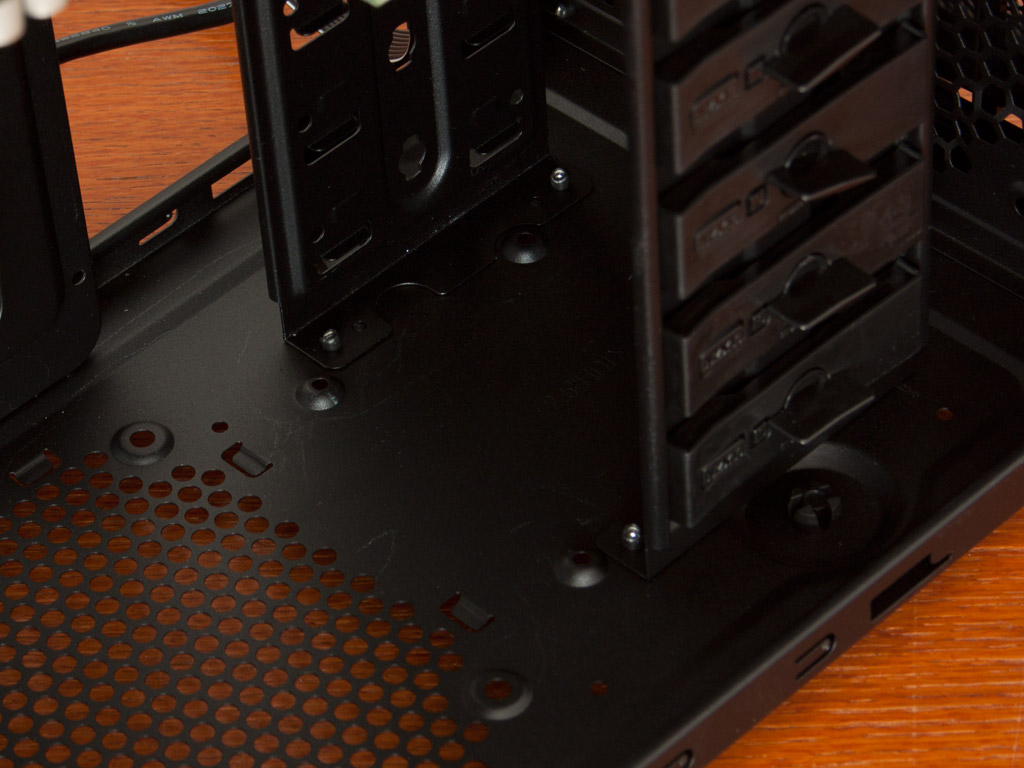
There seems to be a space for a 2.5 inch drive on the floor of the chassis, but upon closer inspection, it seems that someone forgot to turn it 90° before finalizing the tooling. Thus, this bay is actually of no use within the Source 220.
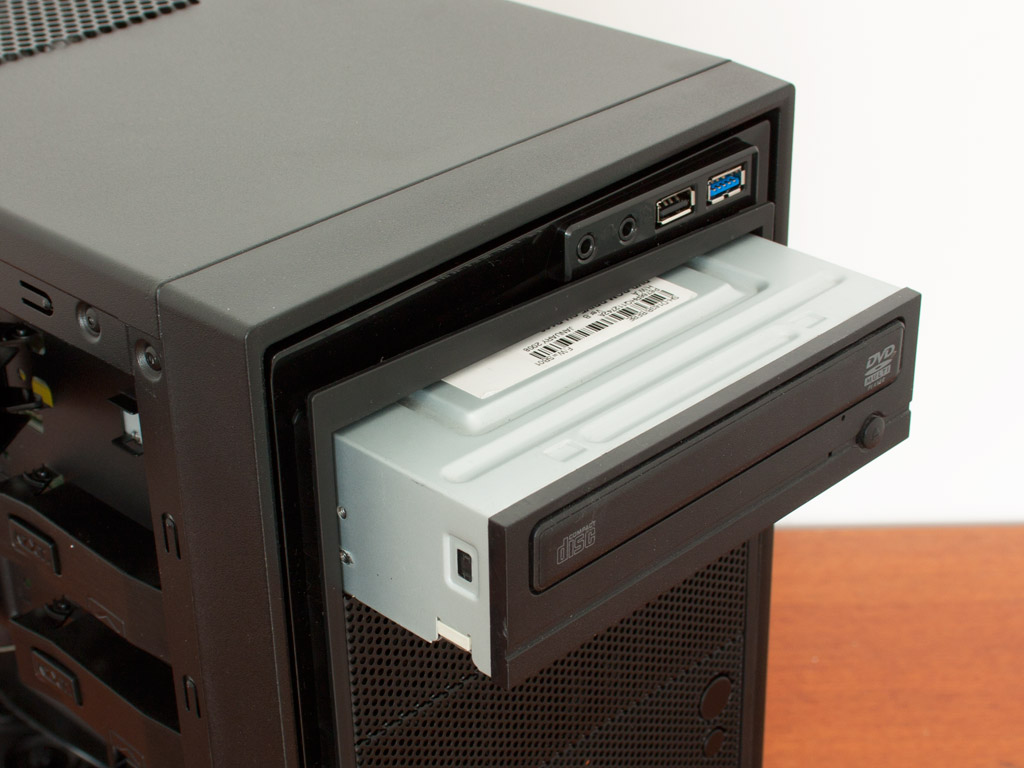
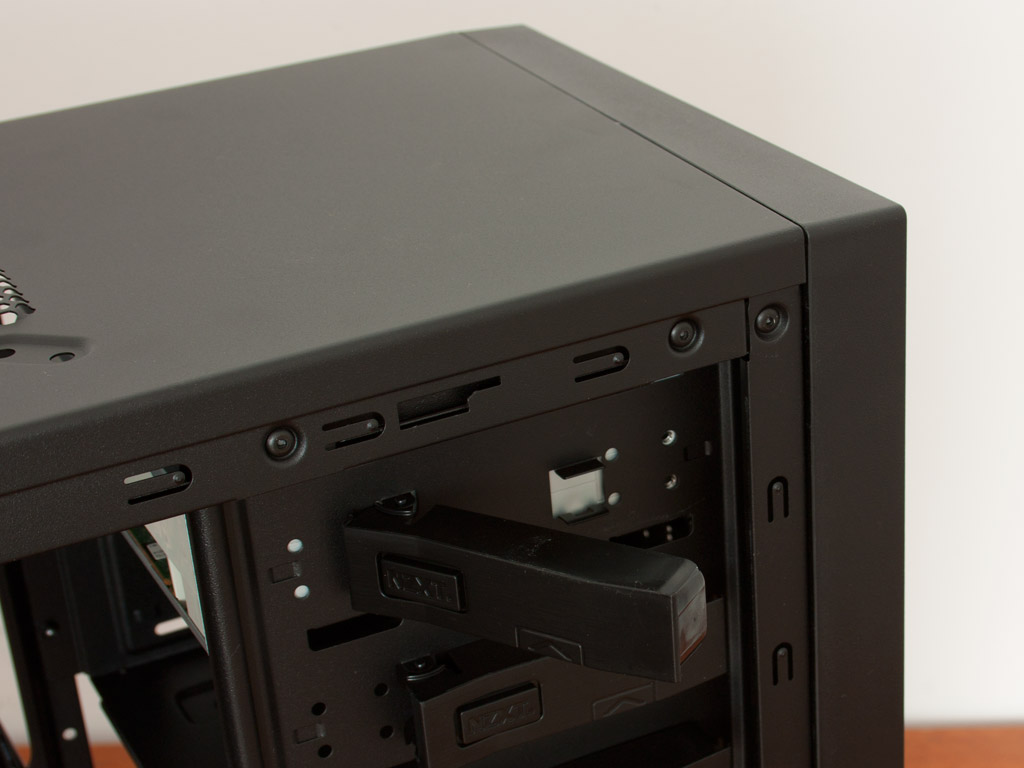
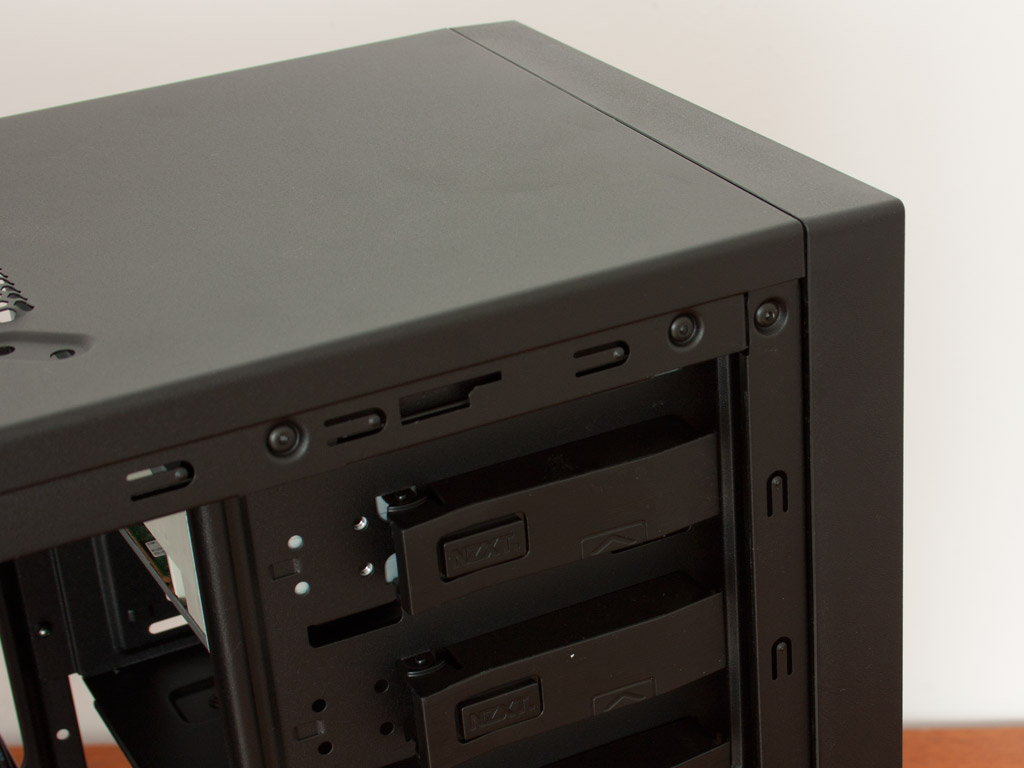
The locking mechanism is similar for the optical drives. While the lock holds the drive alright, it would make sense to use a single screw for absolute piece of mind and to avoid any annoying vibrations being passed on from the drive to the chassis.
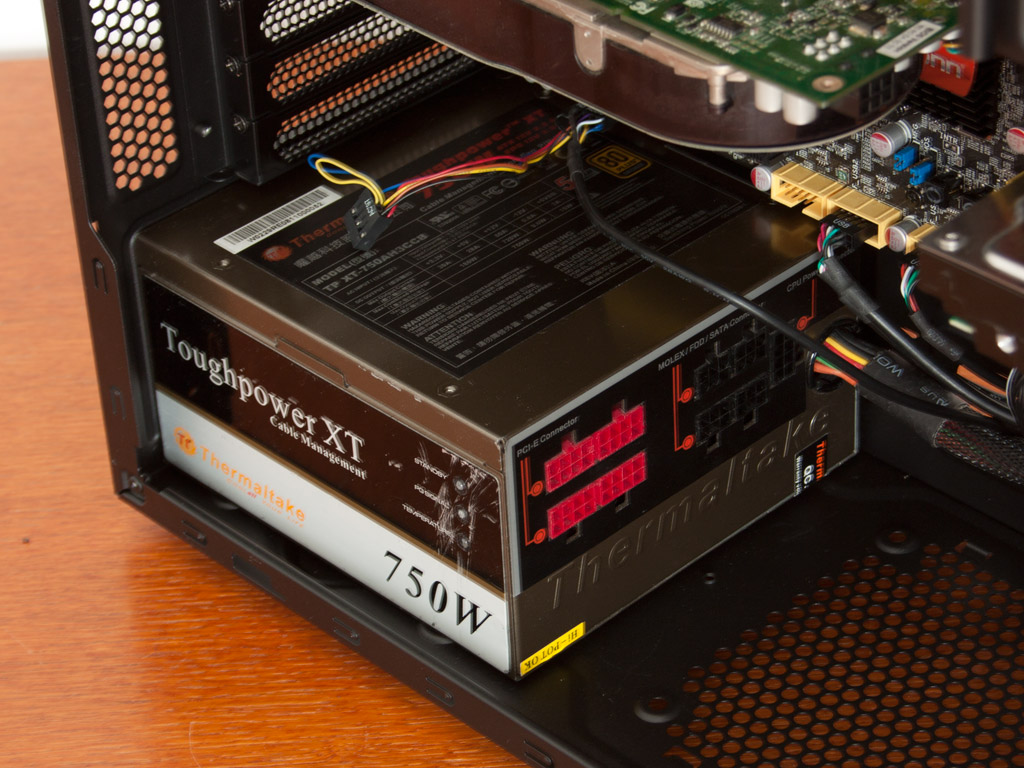
Since there are four screws present for the PSU, you should not have any troubles here. As you can see, a fairly potent unit does not cover the bottom fan slot, so you are still free to install one here.
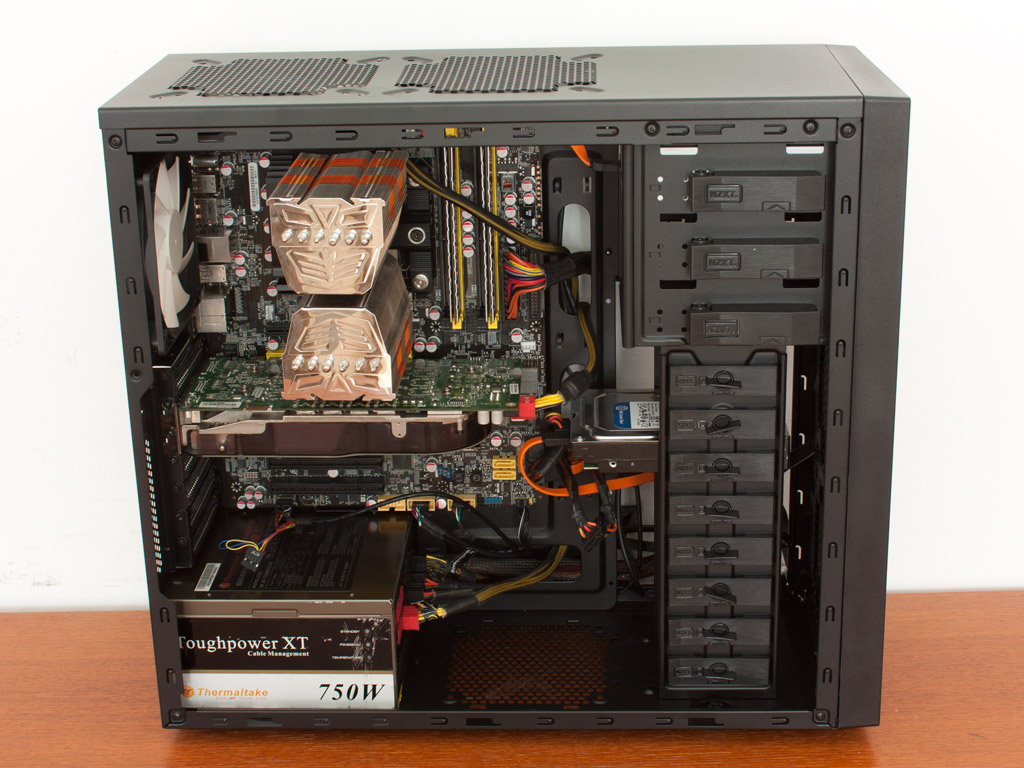
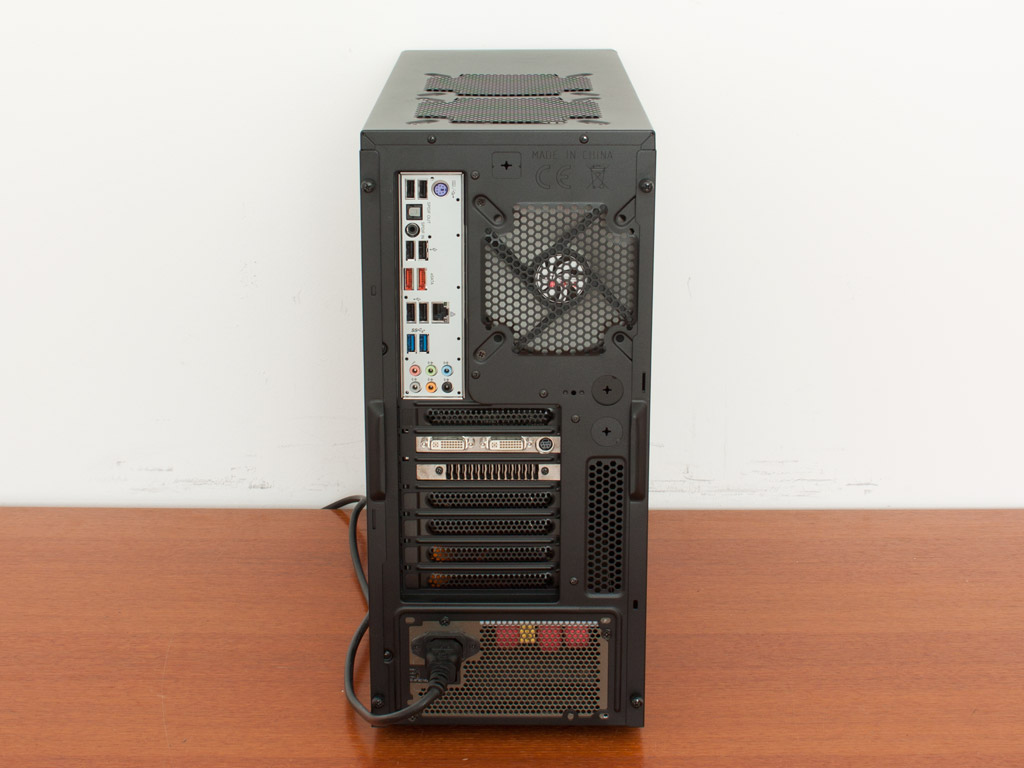
Once all the components are in place. Two things should become obvious. The NZXT Source 220 is no champ when it comes to cable hiding and management. Sure the openings help, but they are not perfect. Secondly, you should be aware that - if you use a hard drive at the slots opposite of the graphic card, that you will cut it close for high end units. This old 8800 GTS fits, so most current, entry level, high-end ones should too.
Finished Looks
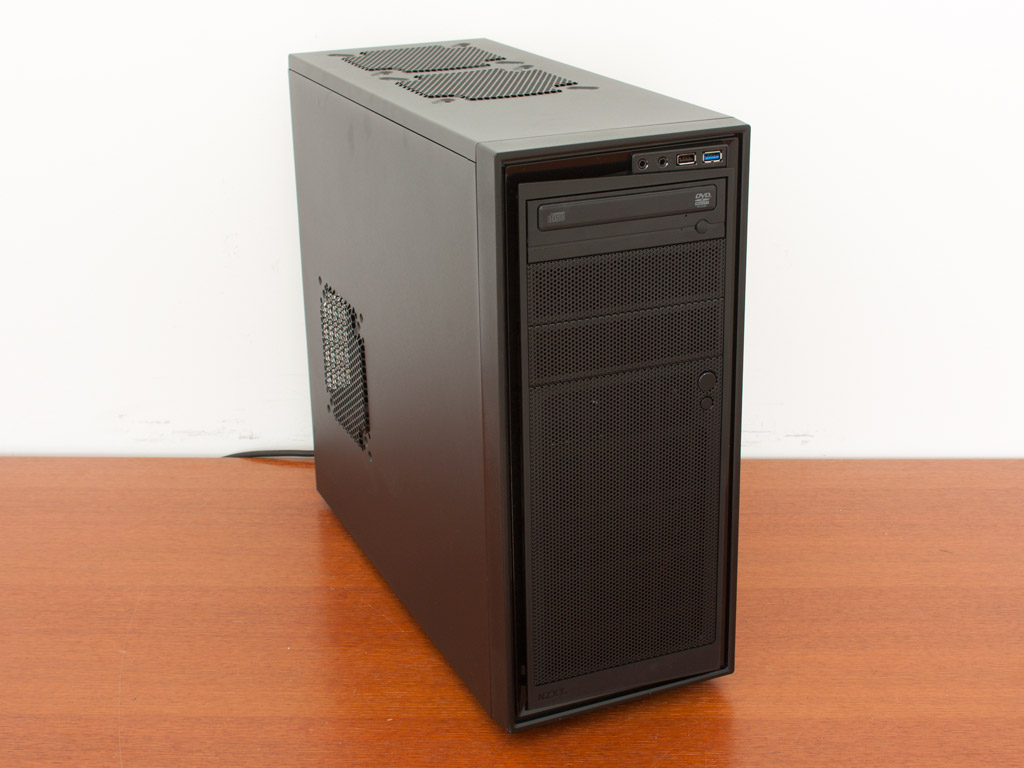
Once everything is in place and the panels have been placed back onto the chassis, it makes exactly the impression you would want it to. Simple clean, but still good to look at. A ring of light around the power button shows you that the system is up and running - pretty spiffy to look at!
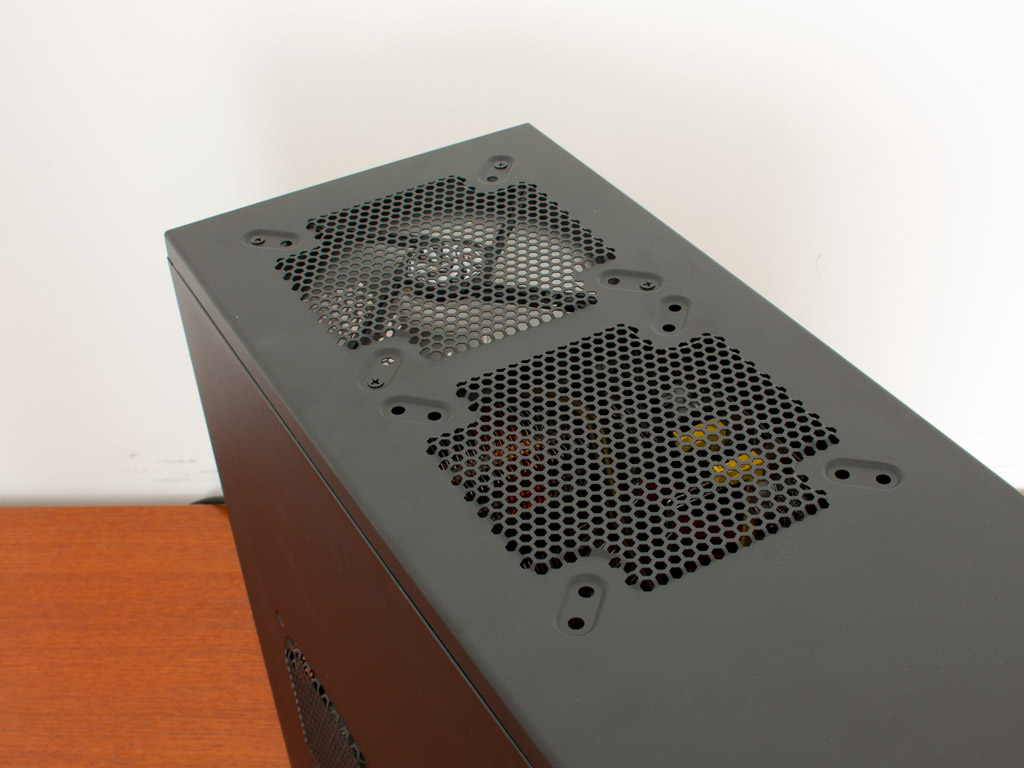
You can clearly see the top and rear fans spinning. While these are actually rather quiet when using the mainboard to control them, they tend to be noisy at full throttle. At full speed, they push a lot of air, so you can run these at lower RPM without having to worry about air flow within the chassis.
Aug 2nd, 2025 02:58 CDT
change timezone
Latest GPU Drivers
New Forum Posts
- What's your latest tech purchase? (24429)
- Free Games Thread (4838)
- 3DMARK "LEGENDARY" (359)
- memory used for store firmware in adapters wifi usb (4)
- Samsung 870 EVO - Beware, certain batches prone to failure! (1306)
- What antivirus do you use? (61)
- Laptop WWAN SSD? (4)
- I just bought an RX570 4Gb (27)
- TechPowerUp Screenshot Thread (MASSIVE 56K WARNING) (4285)
- Question about Intel Optane SSDs (90)
Popular Reviews
- ASUS ROG Crosshair X870E Apex Review
- MSI Claw 8 AI+ A2VM Review
- Montech X5 Review
- Orbital Pathfinder Review
- Herman Miller Logitech G Embody Review - No Pain, No Gain
- Lenovo Legion 5i (15IRX10) Review - Feature-Rich and Wallet Friendly
- Lian Li HydroShift II LCD-C 360TL Review
- Upcoming Hardware Launches 2025 (Updated May 2025)
- Noctua NF-A12x25 G2 PWM Fan Review
- Lian Li O11 Dynamic Mini V2 Review
TPU on YouTube
Controversial News Posts
- AMD's Upcoming UDNA / RDNA 5 GPU Could Feature 96 CUs and 384-bit Memory Bus (138)
- AMD Radeon RX 9070 XT Gains 9% Performance at 1440p with Latest Driver, Beats RTX 5070 Ti (131)
- Intel "Nova Lake-S" Core Ultra 3, Ultra 5, Ultra 7, and Ultra 9 Core Configurations Surface (110)
- DDR6 Memory Arrives in 2027 with 8,800-17,600 MT/s Speeds (102)
- NVIDIA to Debut GeForce RTX 50-series SUPER GPUs by Christmas (101)
- AMD Sampling Next-Gen Ryzen Desktop "Medusa Ridge," Sees Incremental IPC Upgrade, New cIOD (97)
- Intel CEO Confirms SMT To Return to Future CPUs (95)
- NVIDIA Becomes First Company Ever to Hit $4 Trillion Market-Cap (94)