 7
7
Phanteks Eclipse P300 Review
Value & Conclusion »Test System
| System Parts for Case Reviews | |
|---|---|
| Processor: | Intel Core i5-6600K |
| Motherboards: | ATX: MSI Z270 Tomahawk mATX: MSI H270M Mortar Arctic mini-ITX: MSI Z270I Gaming Pro Carbon AC Provided by: MSI |
| Graphic Card: | Long: NVIDIA GeForce GTX 280 OEM Short: HIS Radeon 5350 HD |
| Memory: | 16 GB ADATA XPG Dazzle DDR4 2800 MHz CL17-17-17 1.25V 16 GB ADATA XPG Z1 DDR4 3000 MHz CL18-18-18 1.35V 16 GB ADATA XPG Z1 DDR4 2400 MHz CL16-16-16 1.20V Provided by: ADATA |
| HDD: | Western Digital 320 GB 7200 RPM |
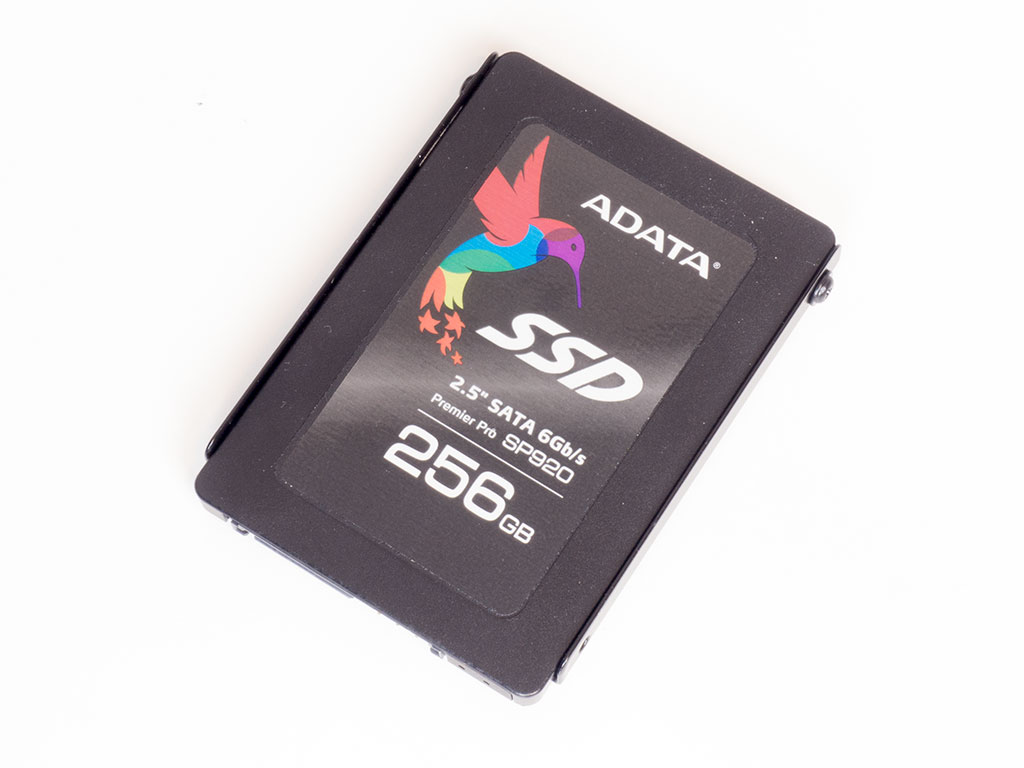
| SSD: | ADATA Premier Pro SP920 MLC 256 GB ADATA Ultimate SU800 3D TLC 256 GB ADATA Premier SP550 TLC 240 GB Provided by: ADATA |
| Power Supply: | Fractal Design Integra 630W Provided by: Fractal Design |
| Cooling: | Air Cooling Mini-ITX: Thermalright AXP-100R Air Cooling mATX: Thermalright Macho 90 Air Cooling ATX: Cooler Master Hyper 212 LED |
Assembly

Installing the motherboard is done by traditional means, with the use of spacers and screws. There is plenty of space on all three sides to connect the cables. Thanks to openings in the shroud, you are also able to route the audio and USB leads nicely.
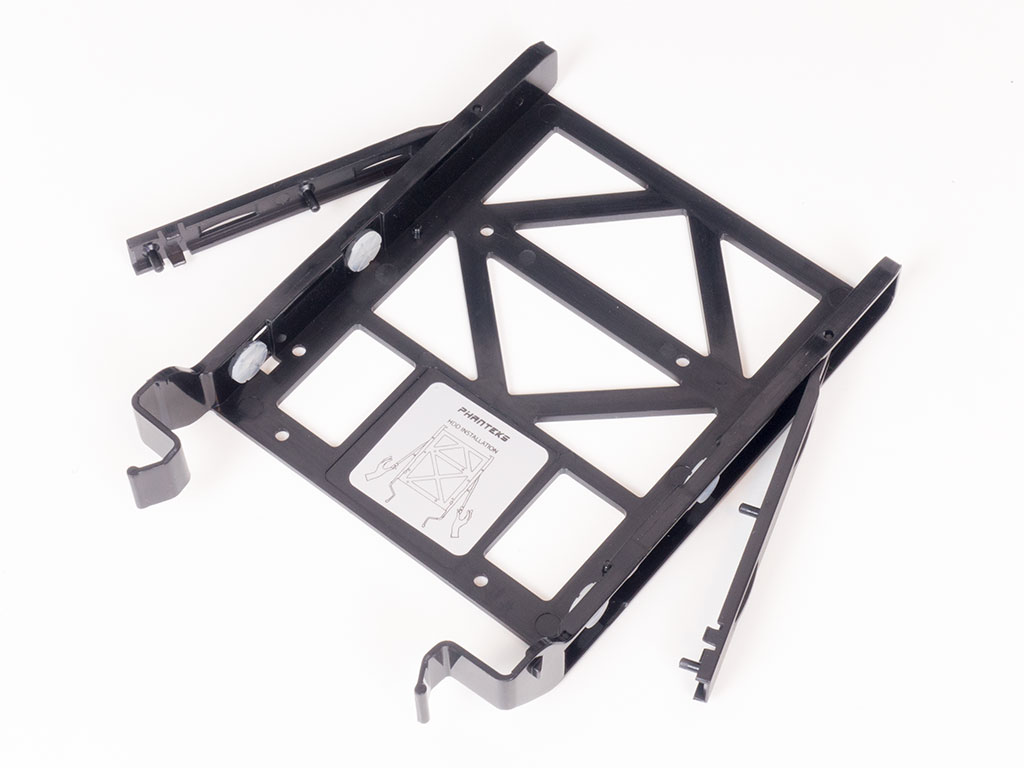
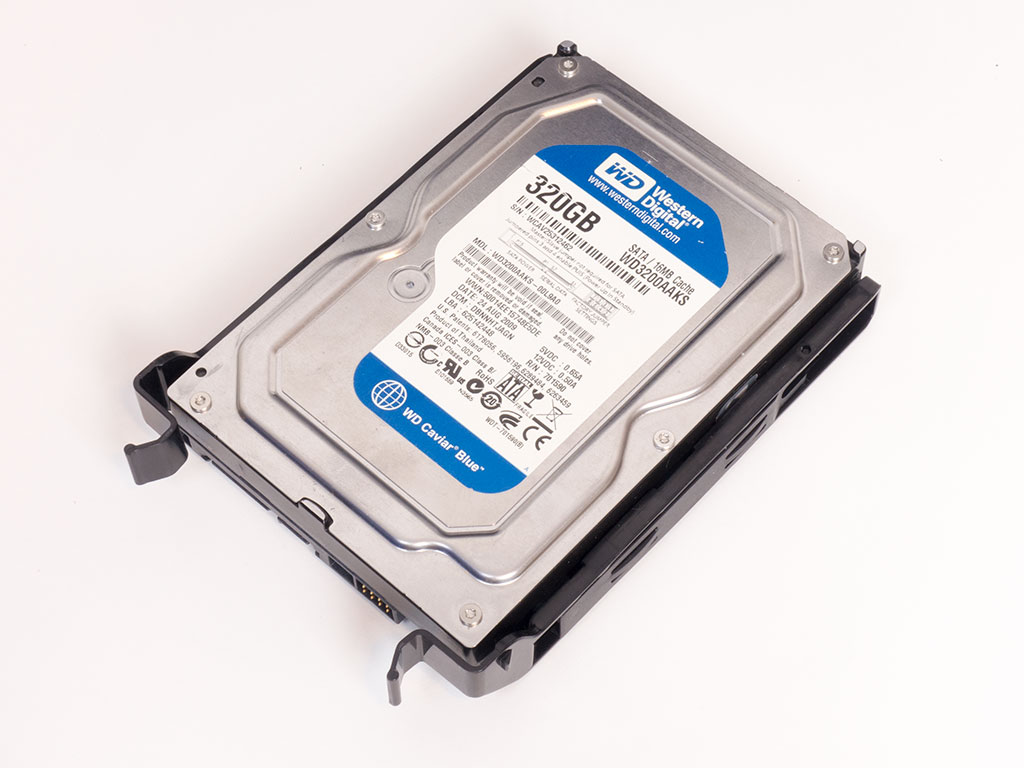
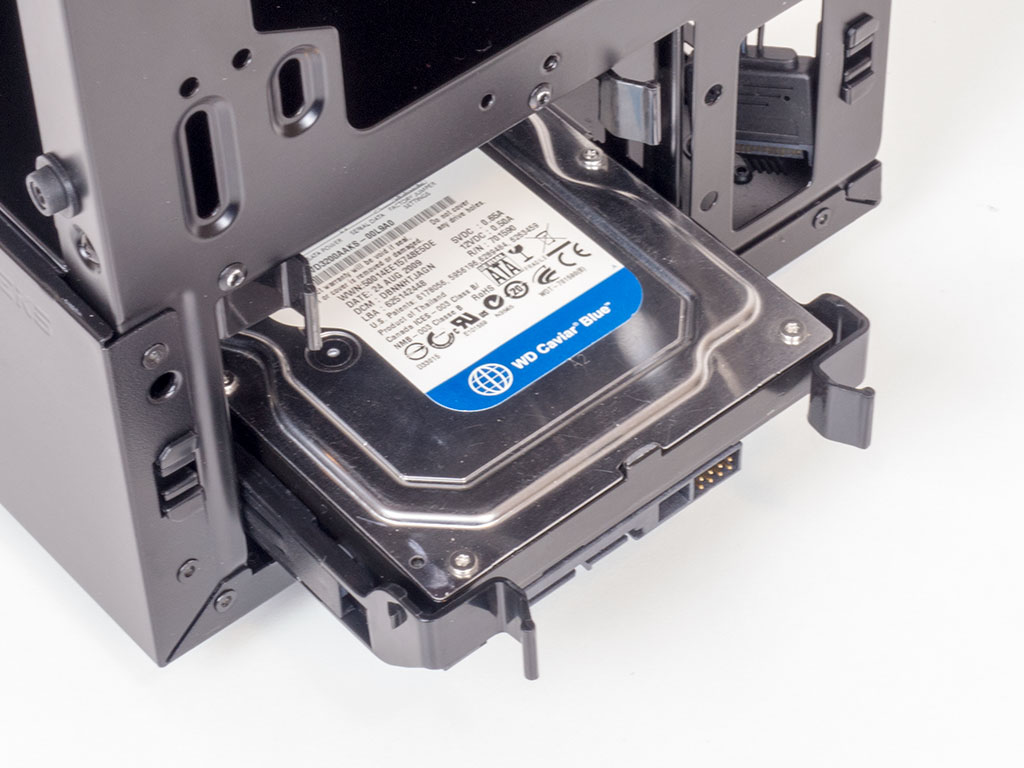
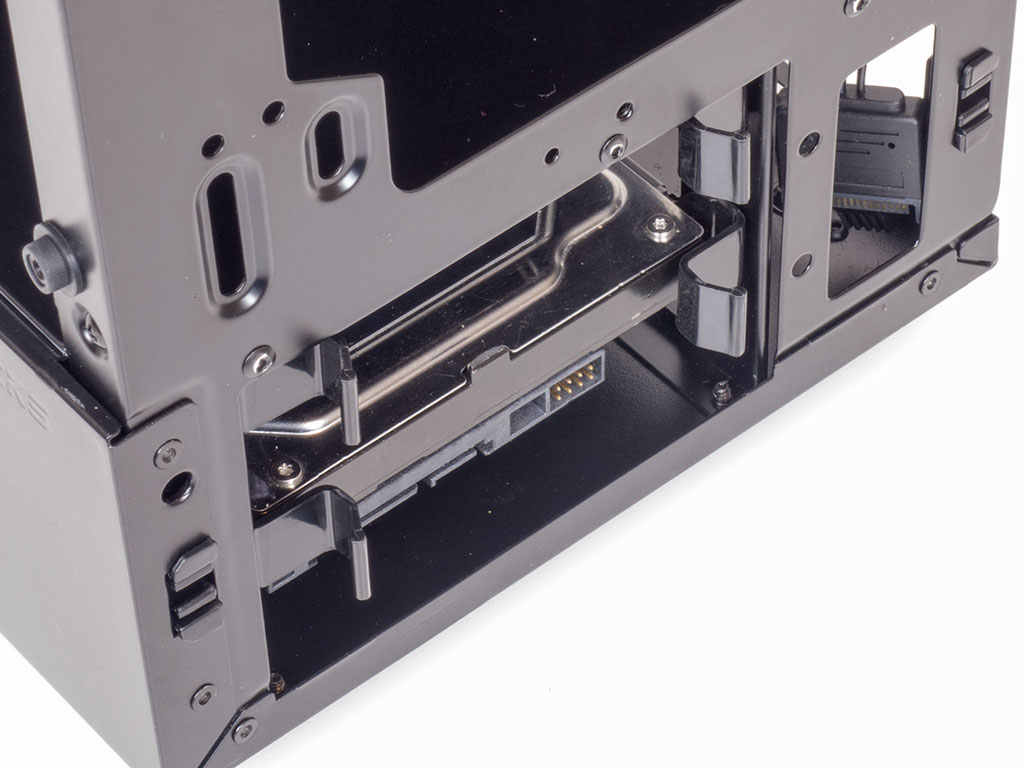
Adding a 3.5" drive does not require any screws or tools thanks to the butterfly trays. Simply spread the plastic pieces, put the drive into place and snap them closed to lock the drive down. Then, just slide it into one of two bays.
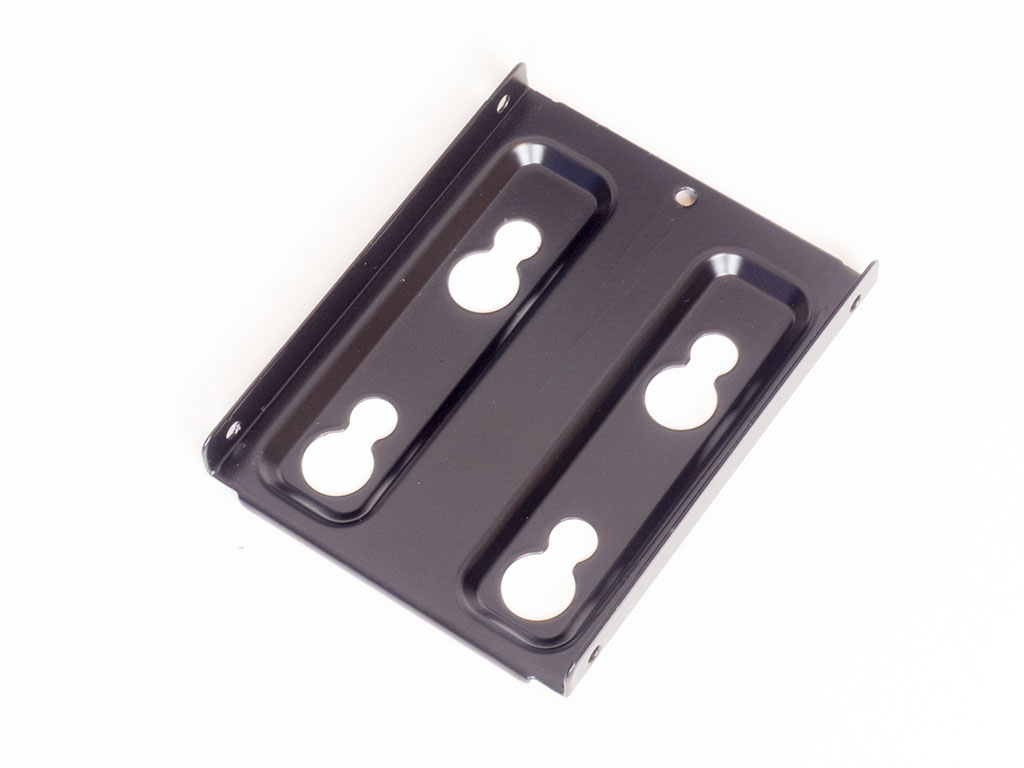
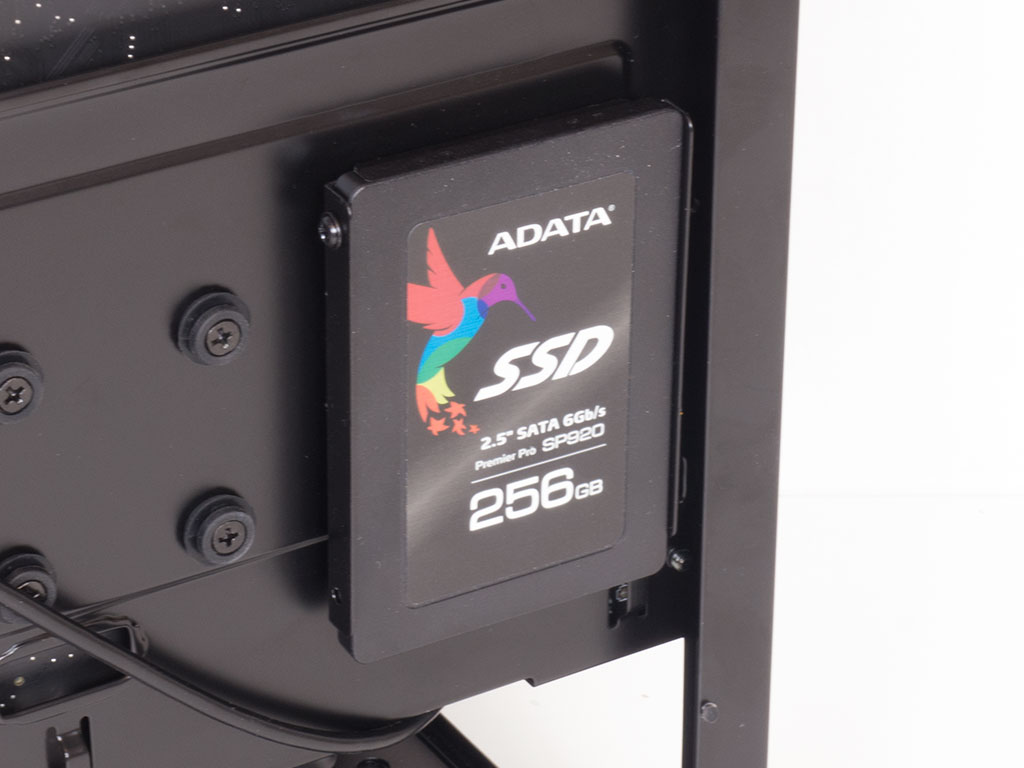
Adding an SSD will require tools and the use of included screws regardless of whether you use the 2.5" or 3.5" variant. Once filled and secured on the tray, simply put the tray back into the position you got it from.
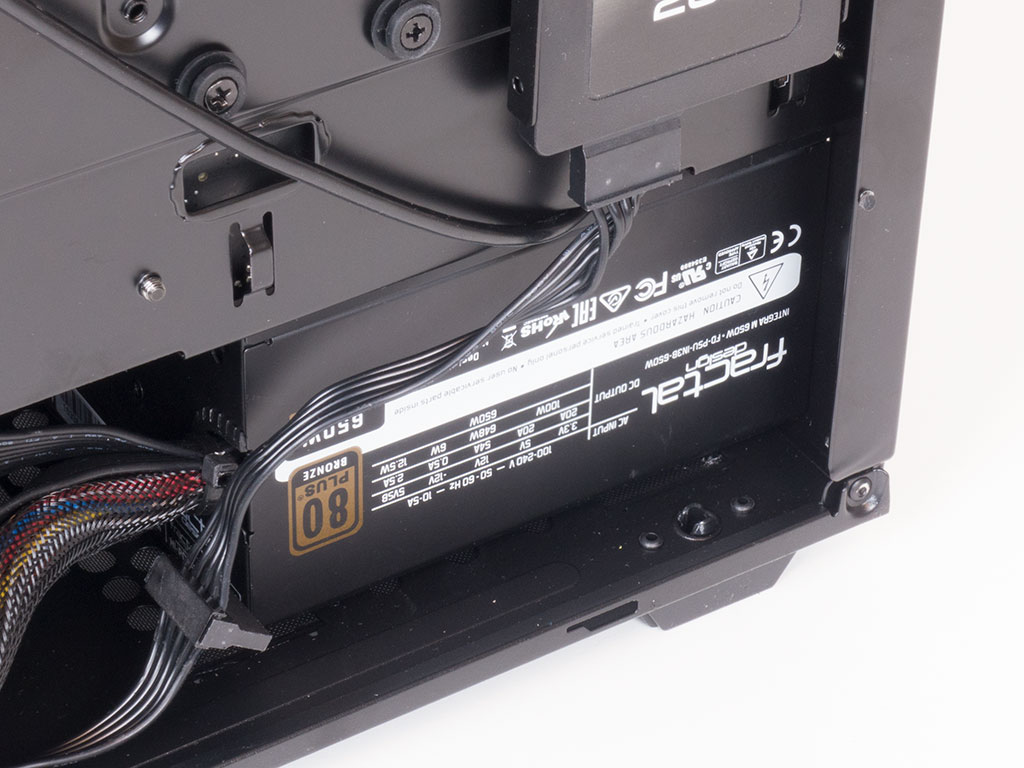
The power supply is secured by traditional means. It slides into the case underneath the shroud nicely, even with case wires already routed. Normal screws are used to hold the unit in place properly.

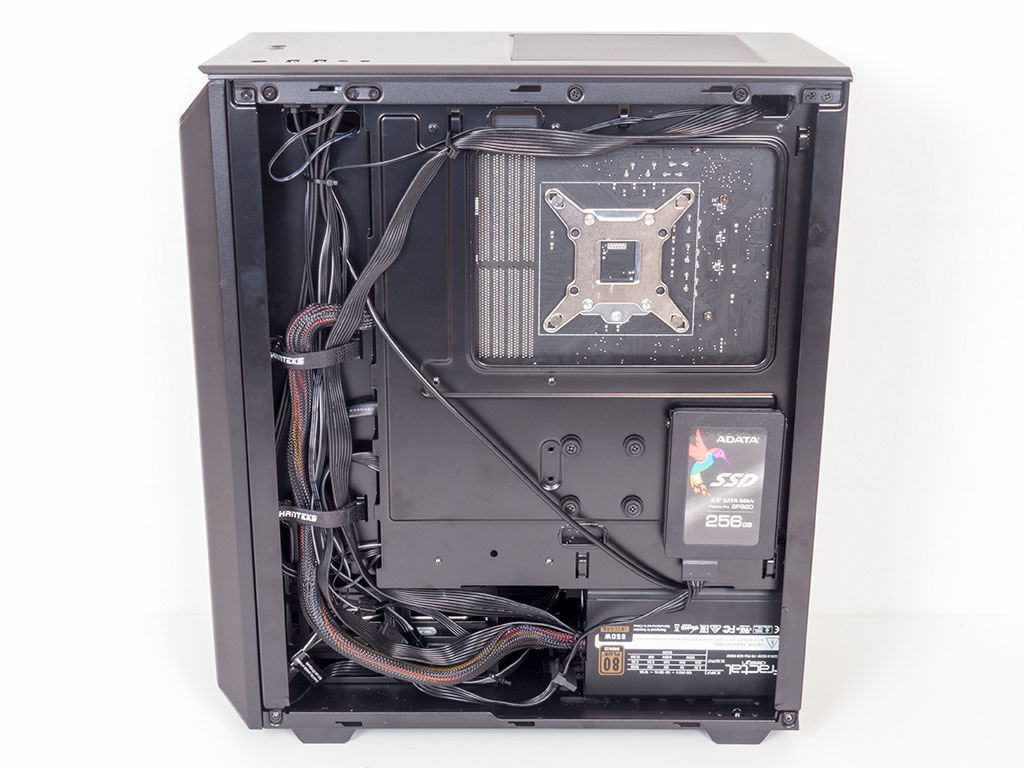
Once everything is in place, the Phanteks Eclipse P300 makes a great impression. Everything is super clean on the inside and things are fairly tidy on the backside as well because of the Velcro strips. Even though the P300 comes with several additional zip ties, I only had to use one in the assembly process. As previously mentioned, the audio cable is a bit short, but the retail version will have a longer one.
Finished Looks
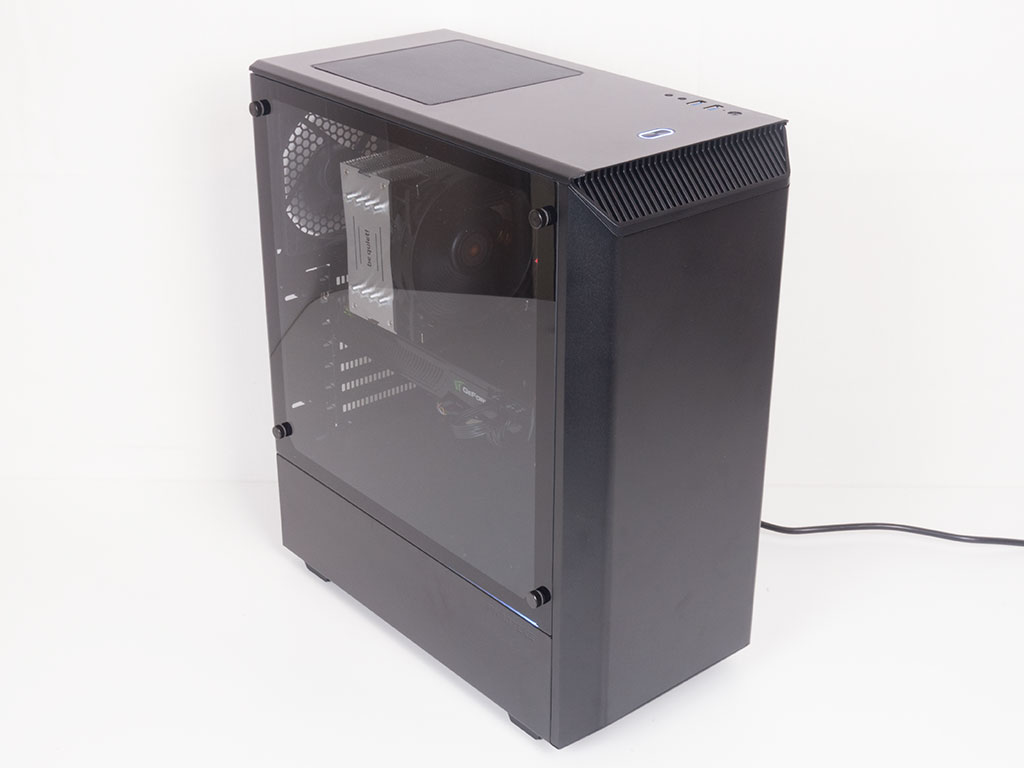
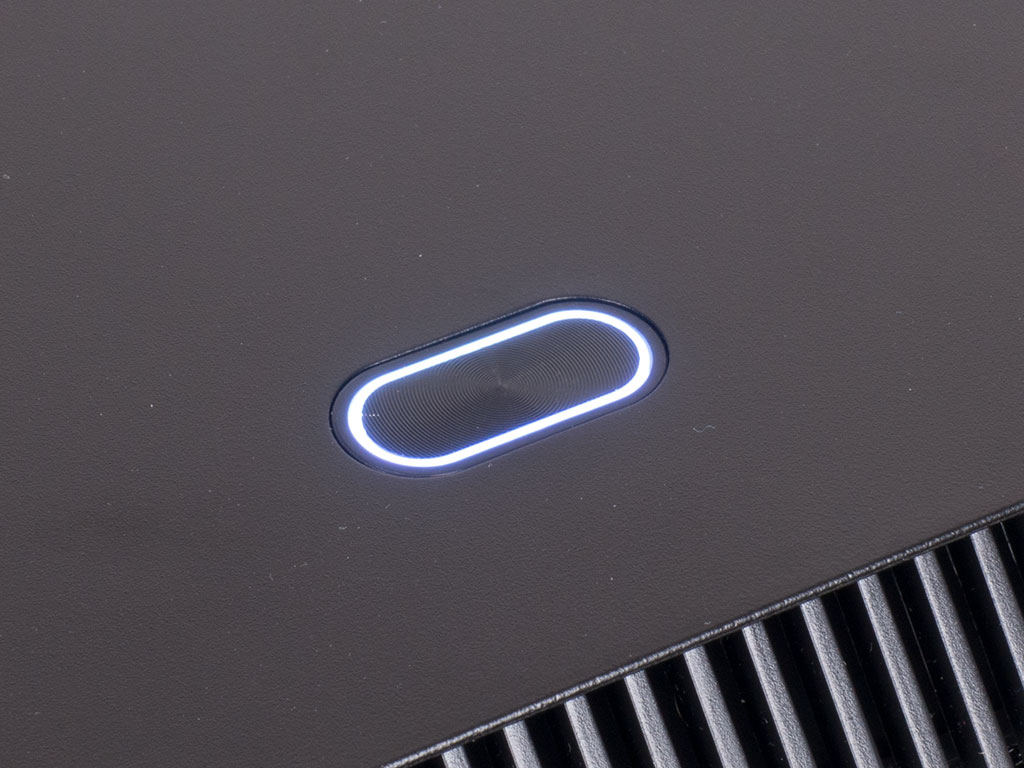
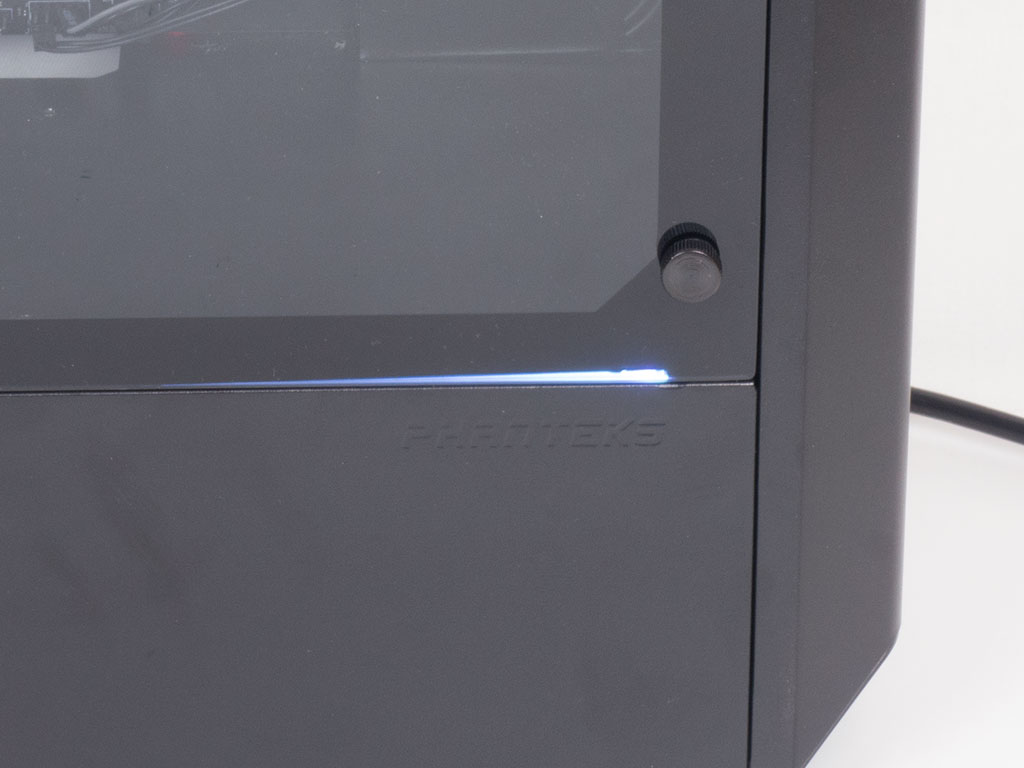
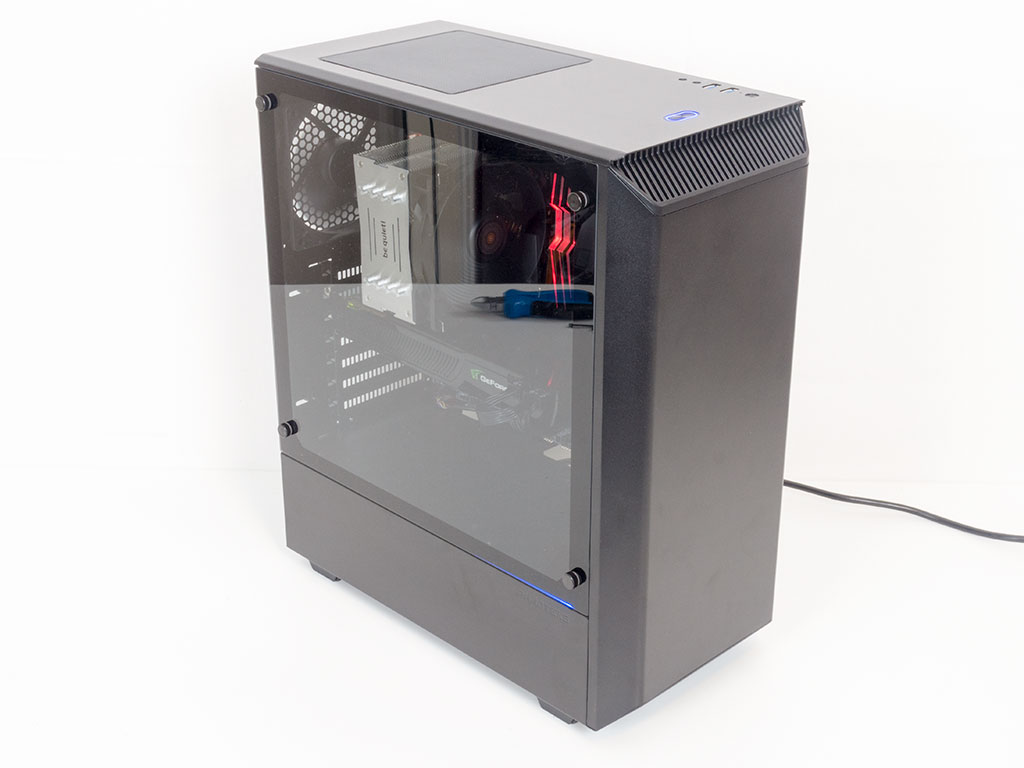
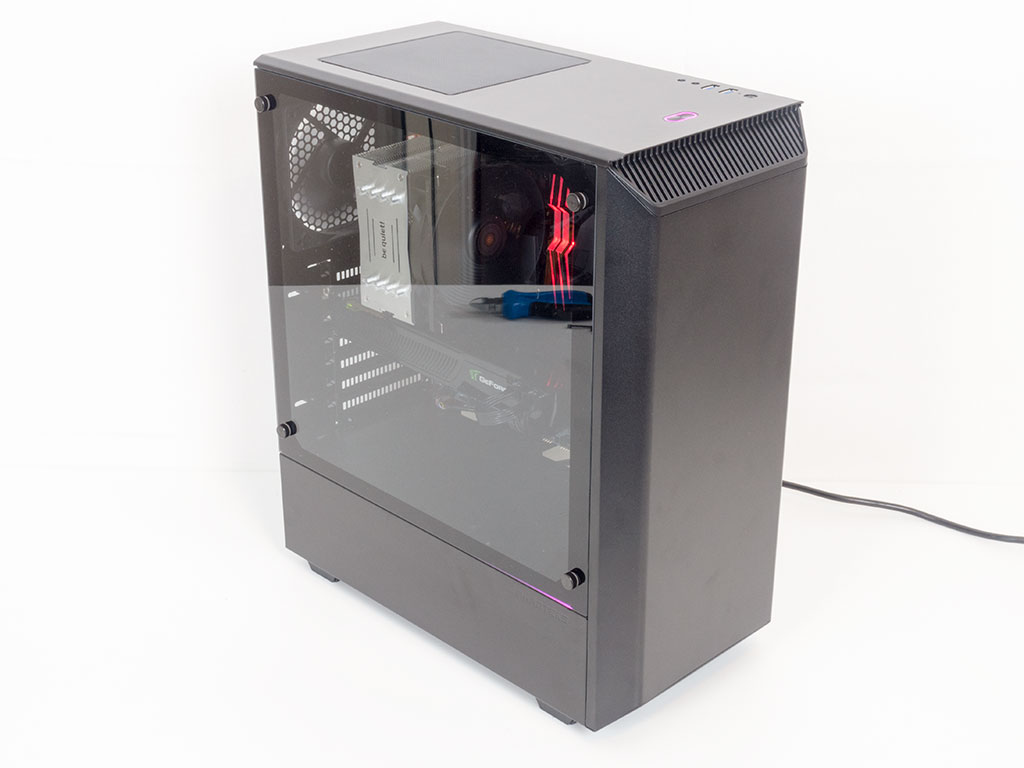
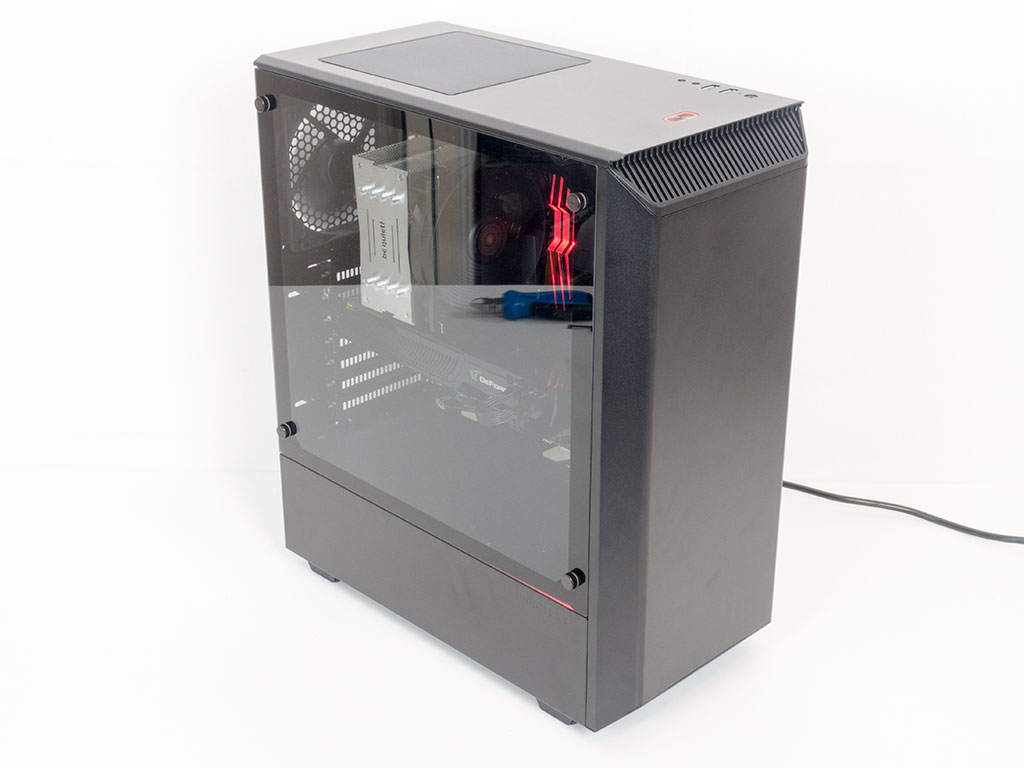
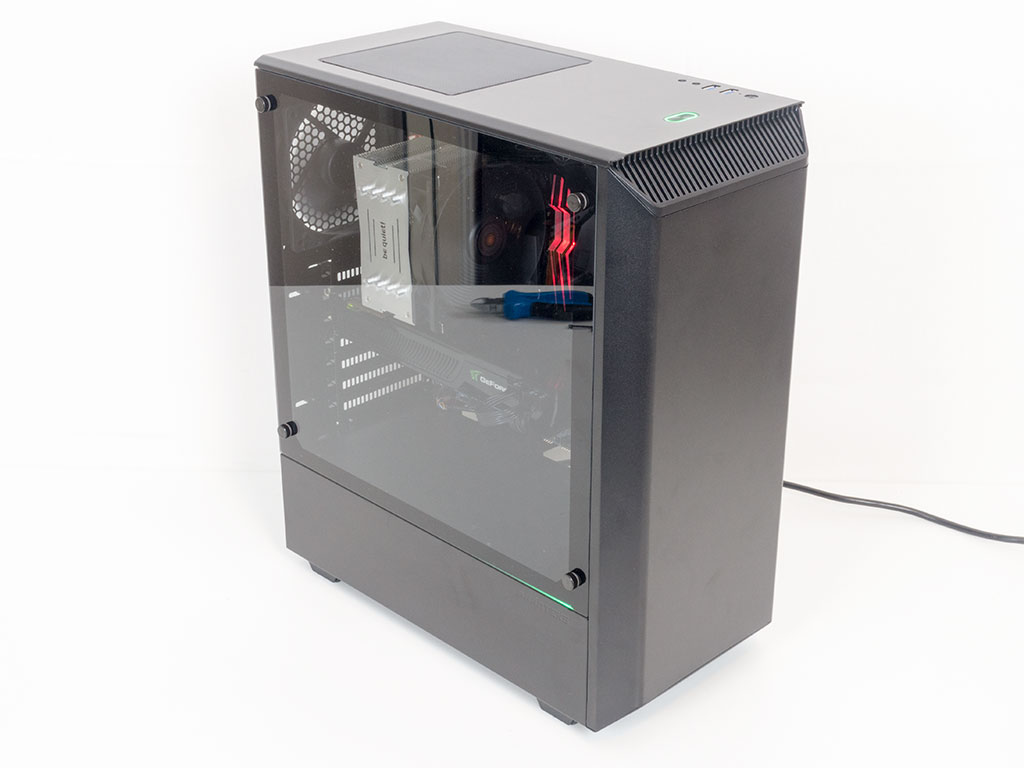
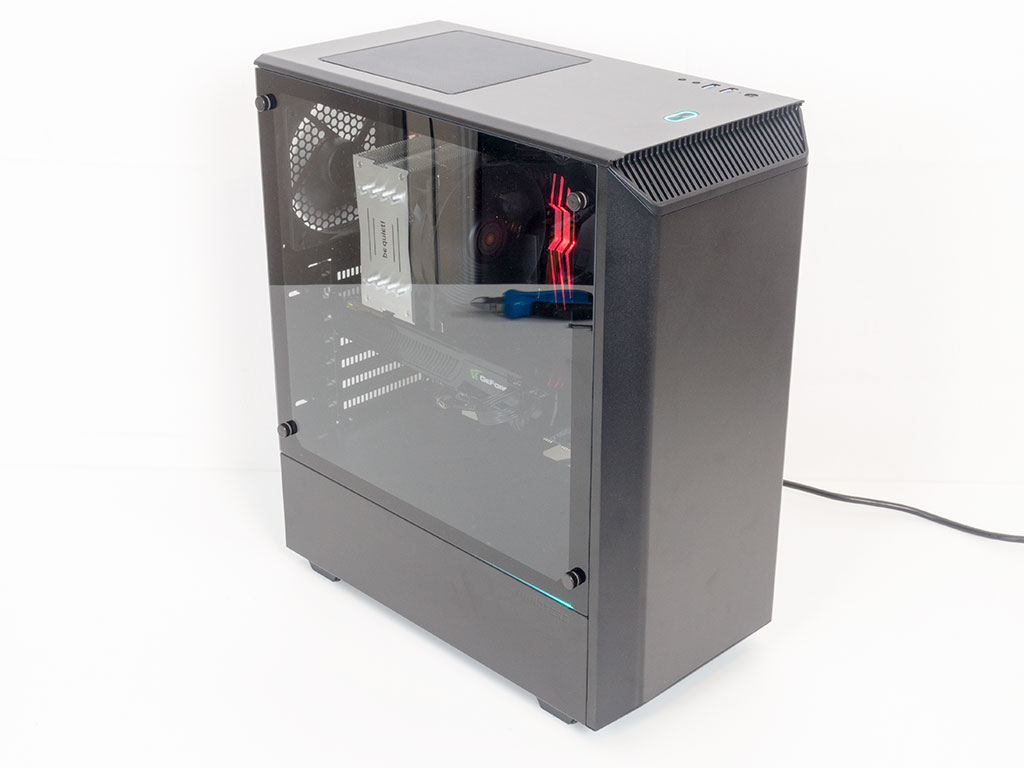
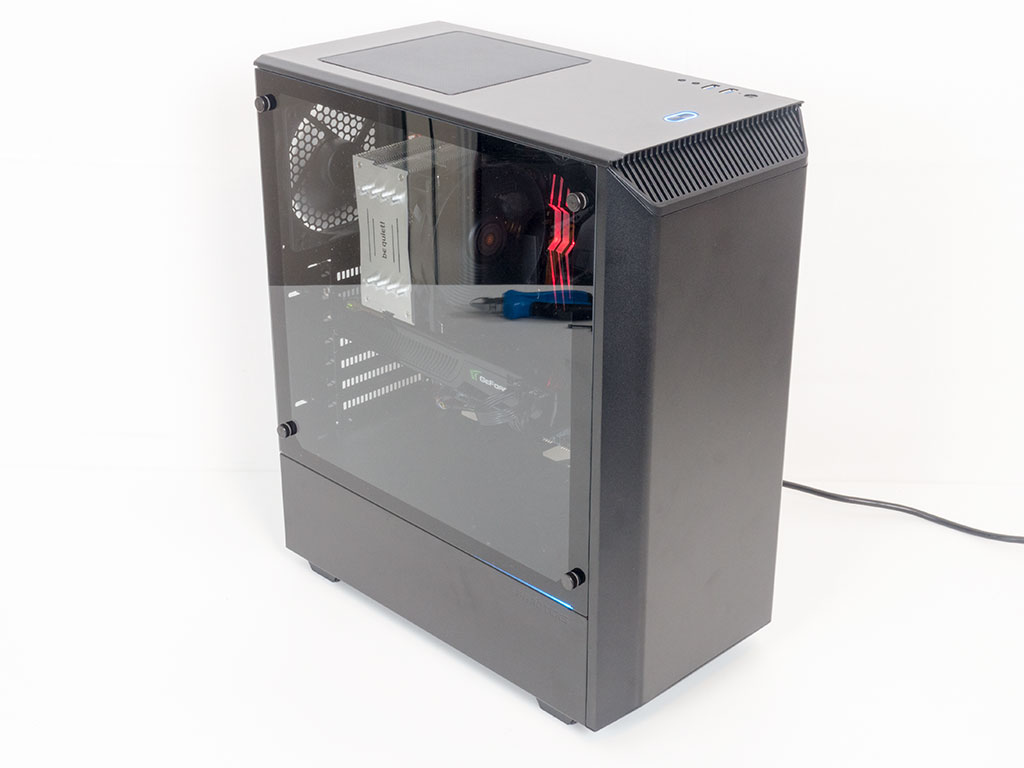
Once the panels are placed onto the frame and the Phanteks P300 is turned on, it makes quite the impression. The material mix and RGB LED elements really make you forget that the chassis is meant to be entry level. There are two lighting elements within the P300: the ring around the power button and a small LED on the side panel above the Phanteks logo. Both of these are RGB based, so be sure to check out the gallery below.
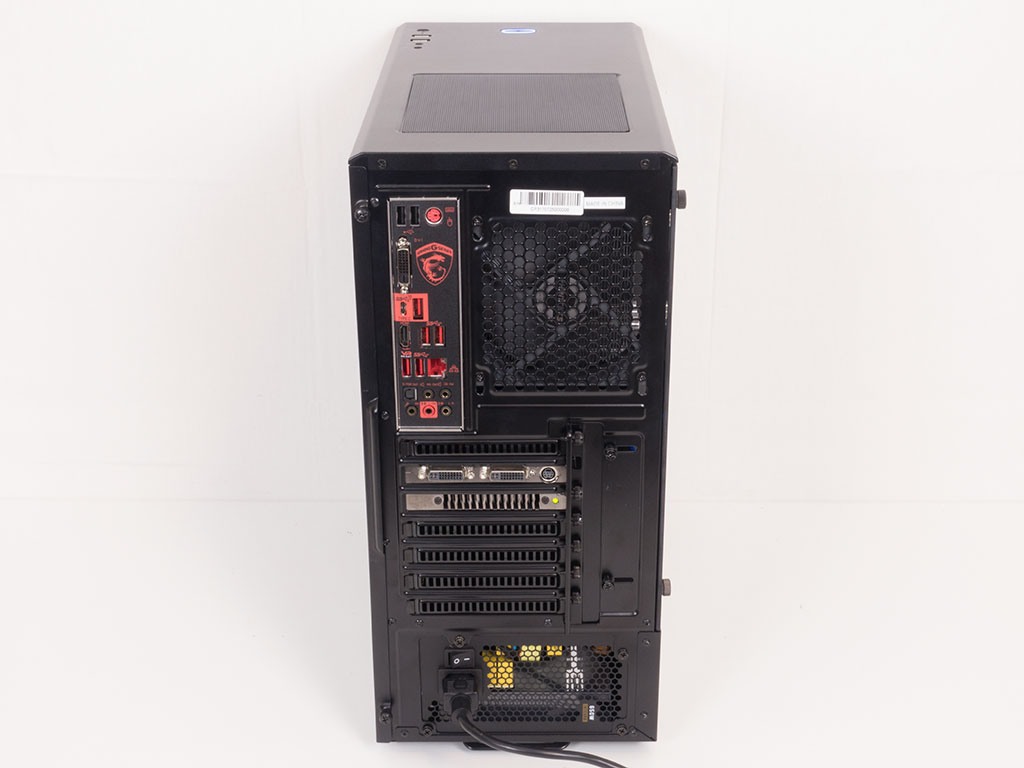
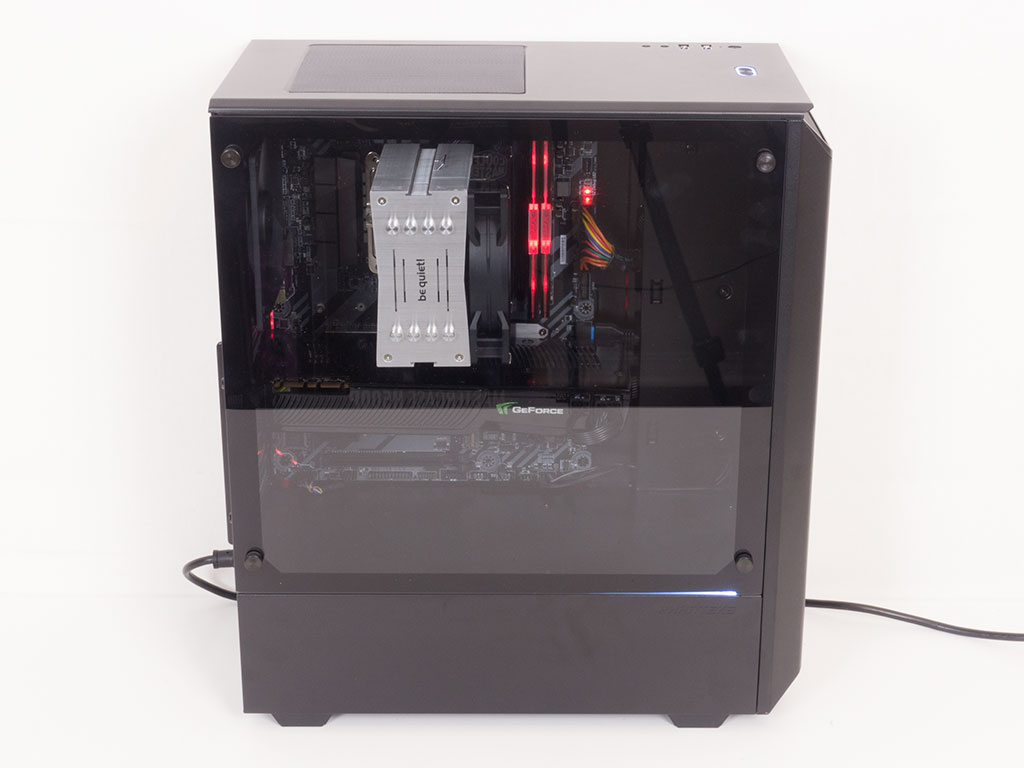
The rear looks like you would expect it to, and the partial glass side gives you an excellent view of all the awesome hardware you installed.
Colors


Mar 10th, 2025 19:10 EDT
change timezone
Latest GPU Drivers
New Forum Posts
- Post Your TIMESPY, PCMARK10 & FIRESTRIKE SCORES! (2019) (271)
- AMD RX 7000 series GPU Owners' Club (1307)
- I need a BIOS for the "Rx580 8gb" chip 215-0876406 (6)
- Biostar RX 6700 XT OC BIOS (7)
- Nvidia's GPU market share hits 90% in Q4 2024 (gets closer to full monopoly) (774)
- What's your latest tech purchase? (23278)
- Wherein lies the difference (2)
- USB hard disk box capacity limits (14)
- RX 9000 series GPU Owners Club (41)
- Gaming PC instabiliity (22)
Popular Reviews
- Sapphire Radeon RX 9070 XT Nitro+ Review - Beating NVIDIA
- XFX Radeon RX 9070 XT Mercury OC Magnetic Air Review
- ASUS Radeon RX 9070 TUF OC Review
- MSI MAG B850 Tomahawk Max Wi-Fi Review
- NVIDIA GeForce RTX 5080 Founders Edition Review
- NVIDIA GeForce RTX 5070 Founders Edition Review
- Corsair Vengeance RGB CUDIMM DDR5-8800 48 GB CL42 Review
- AMD Ryzen 7 9800X3D Review - The Best Gaming Processor
- ASUS GeForce RTX 5070 Ti TUF OC Review
- MSI GeForce RTX 5070 Ti Gaming Trio OC+ Review
Controversial News Posts
- NVIDIA GeForce RTX 50 Cards Spotted with Missing ROPs, NVIDIA Confirms the Issue, Multiple Vendors Affected (513)
- AMD Plans Aggressive Price Competition with Radeon RX 9000 Series (277)
- AMD Radeon RX 9070 and 9070 XT Listed On Amazon - One Buyer Snags a Unit (261)
- AMD RDNA 4 and Radeon RX 9070 Series Unveiled: $549 & $599 (260)
- AMD Mentions Sub-$700 Pricing for Radeon RX 9070 GPU Series, Looks Like NV Minus $50 Again (248)
- NVIDIA Investigates GeForce RTX 50 Series "Blackwell" Black Screen and BSOD Issues (244)
- AMD Radeon RX 9070 and 9070 XT Official Performance Metrics Leaked, +42% 4K Performance Over Radeon RX 7900 GRE (195)
- AMD Radeon RX 9070-series Pricing Leaks Courtesy of MicroCenter (158)