 10
10
Phanteks Enthoo Primo Review
Value & Conclusion »Assembly

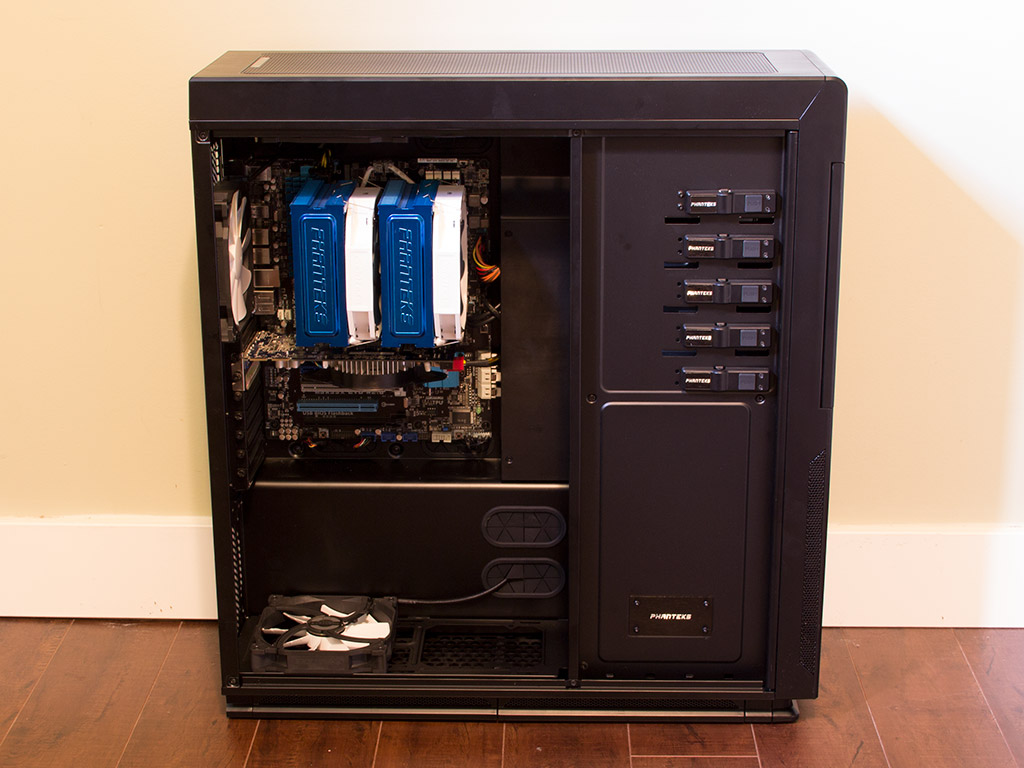
Installing the motherboard is done by traditional means, with the use of the included spacers and screws. As you can see, there is loads of space above the Phanteks CPU cooler, which is something you look for when installing a thick radiator into the ceiling instead.
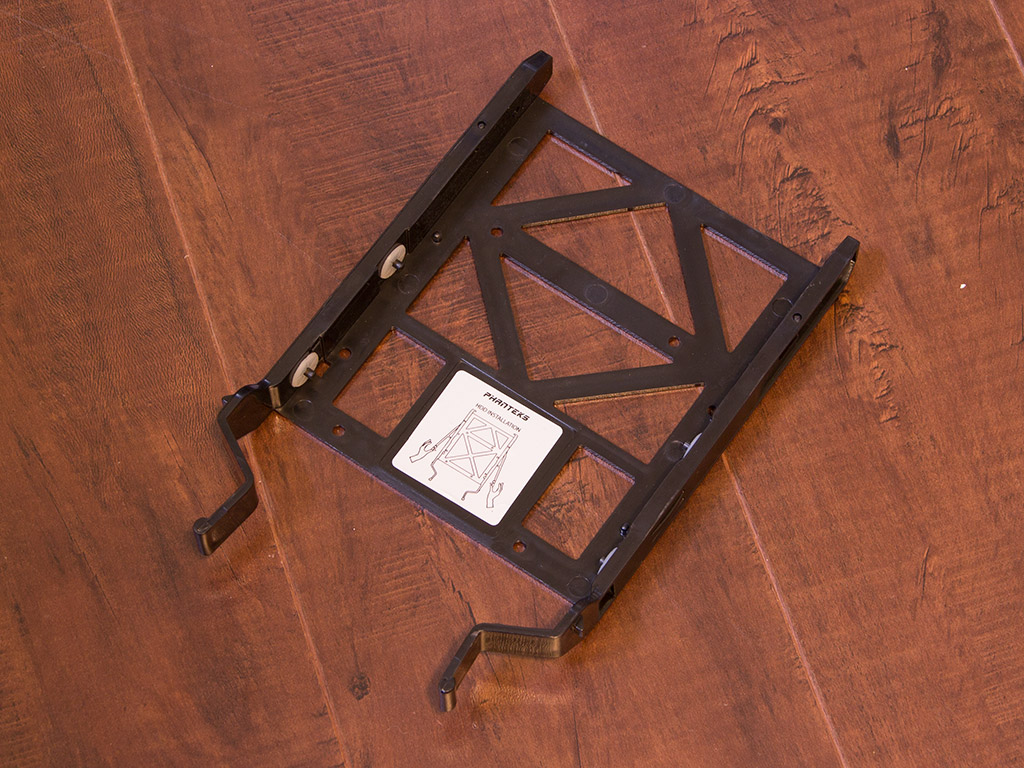

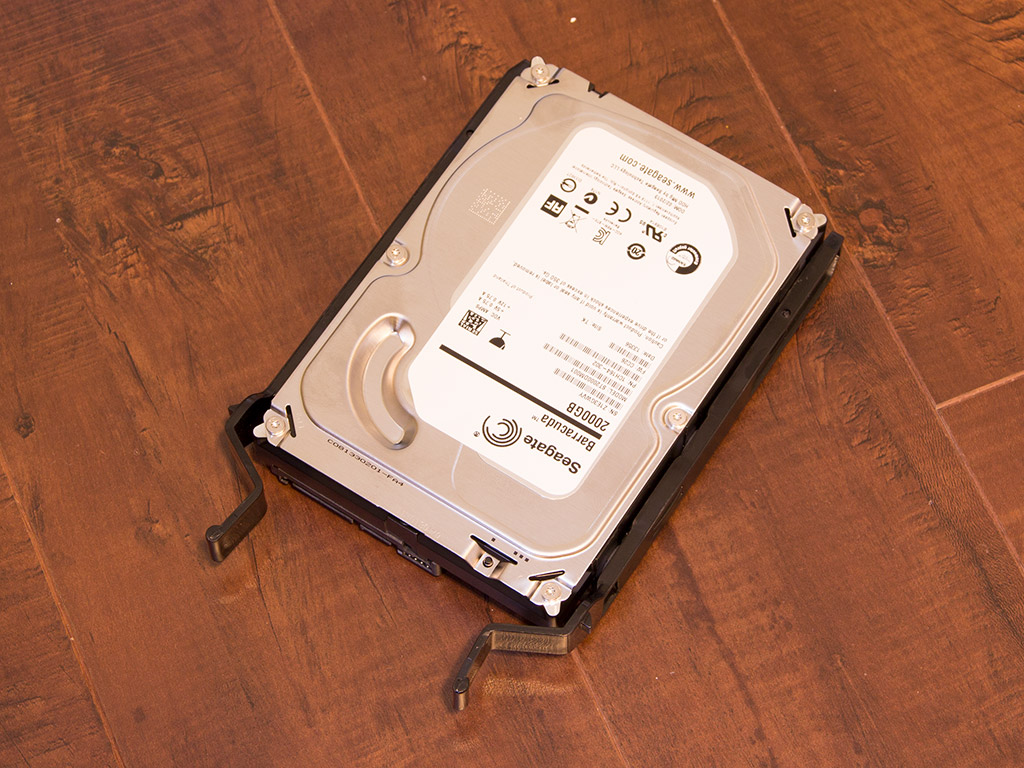
Placing 3.5" drives within the Enthoo Primo does not require any tools or screws. Simply pull the tray of your choice out of the system, release both "wings", and drop the drive into the unit before pushing the "wings" back into place to pin the drive down.
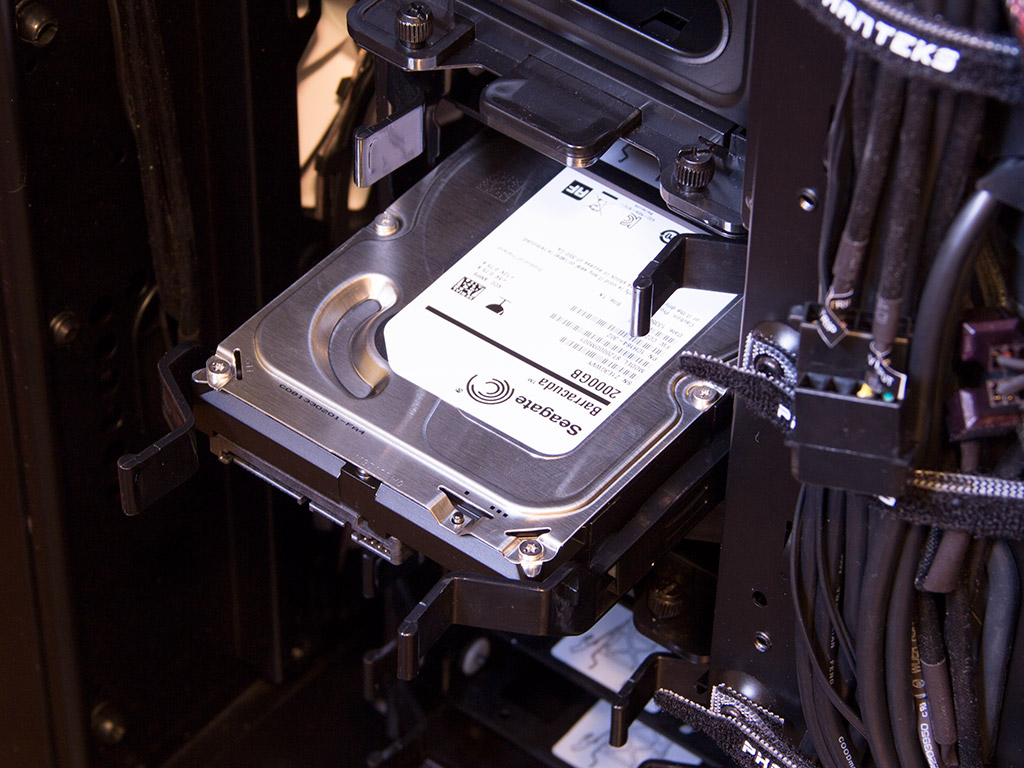
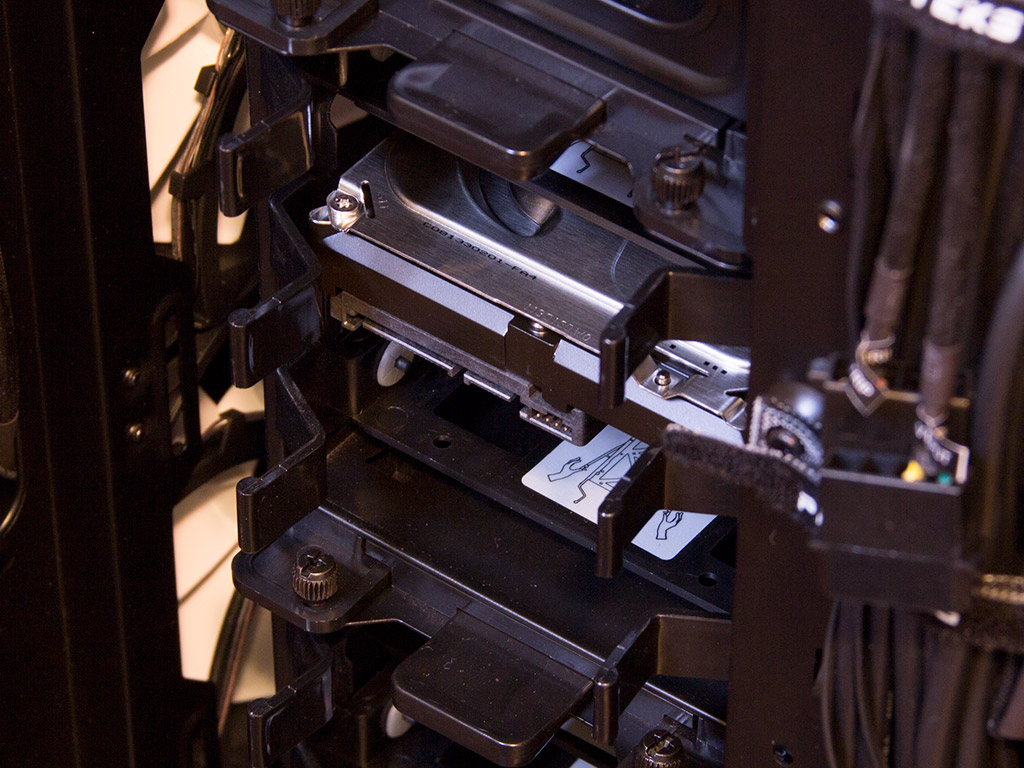
Once filled, simply slide the unit back into the slot of your choice until it snaps into place.
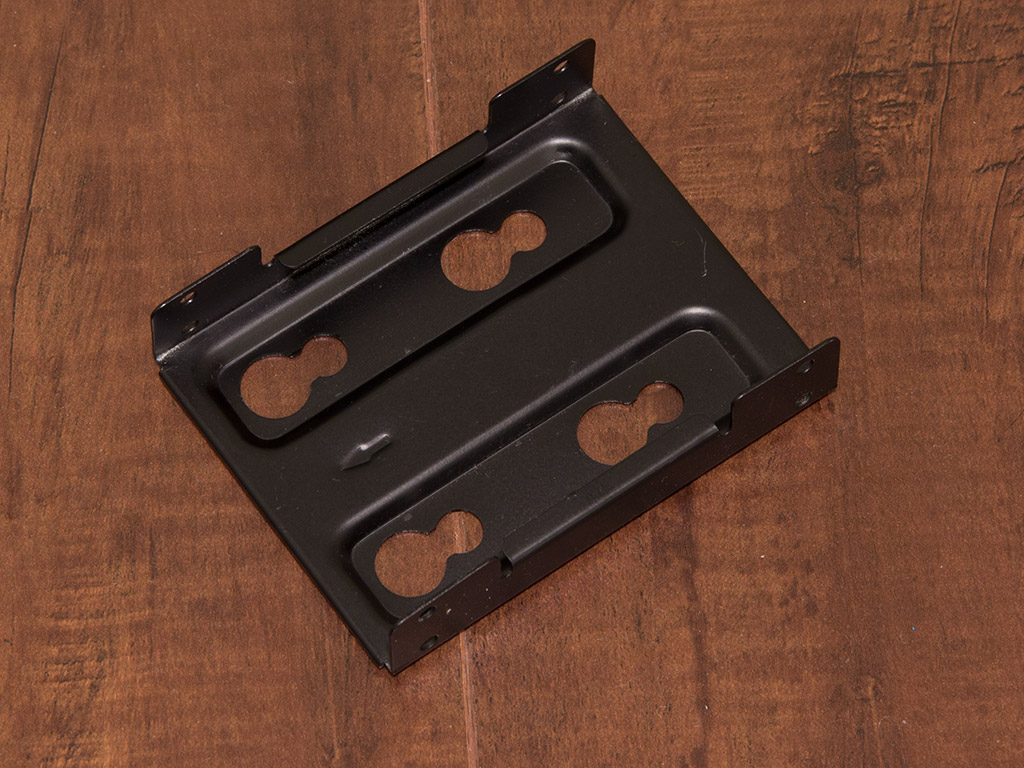
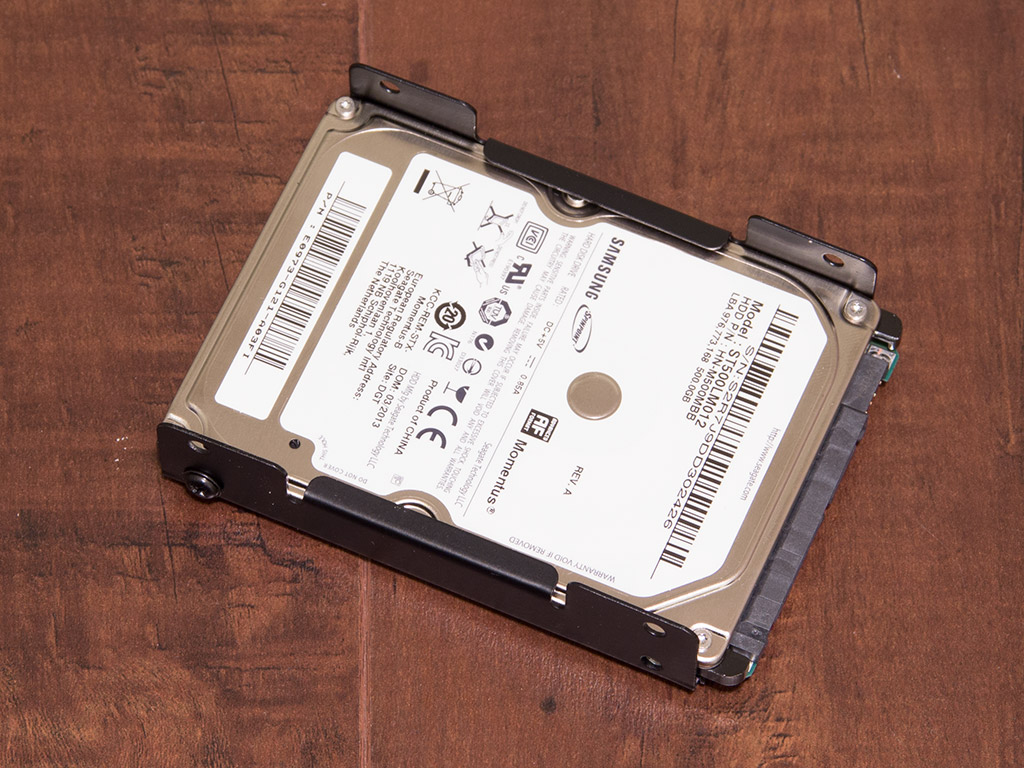
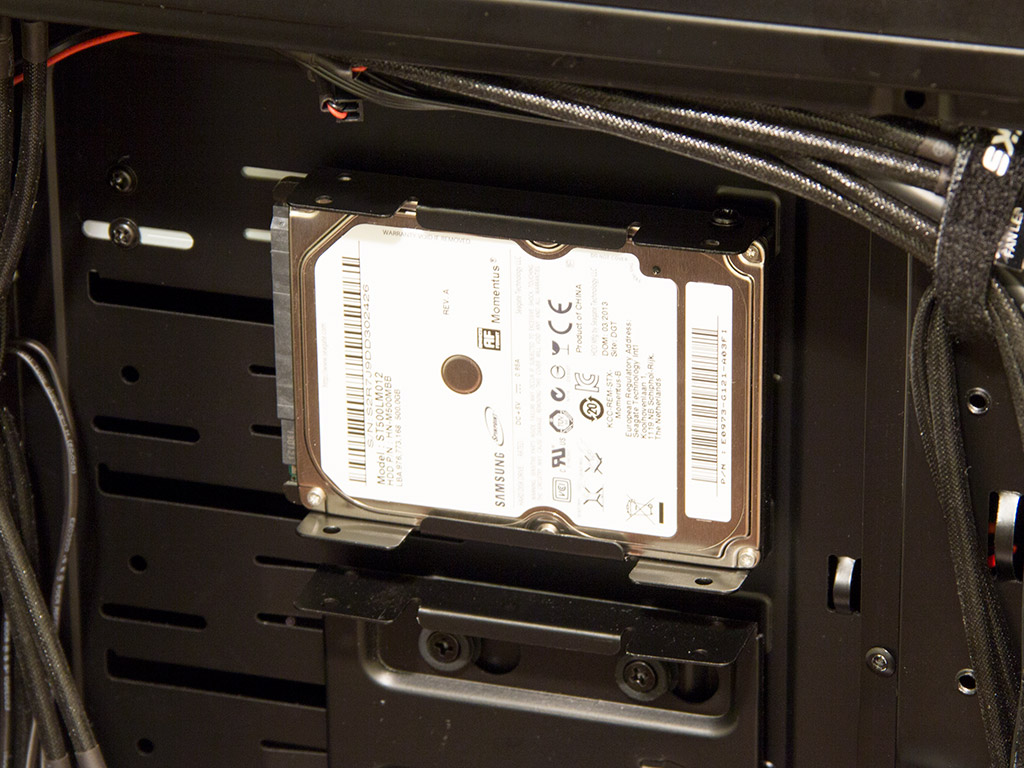
Adding a 2.5" drive on the other hand does require the use of traditional screws and a screwdriver. Pull out the tray and screw down the drive. Once in place, simply slide the cage back unto the rubber-ringed screws.

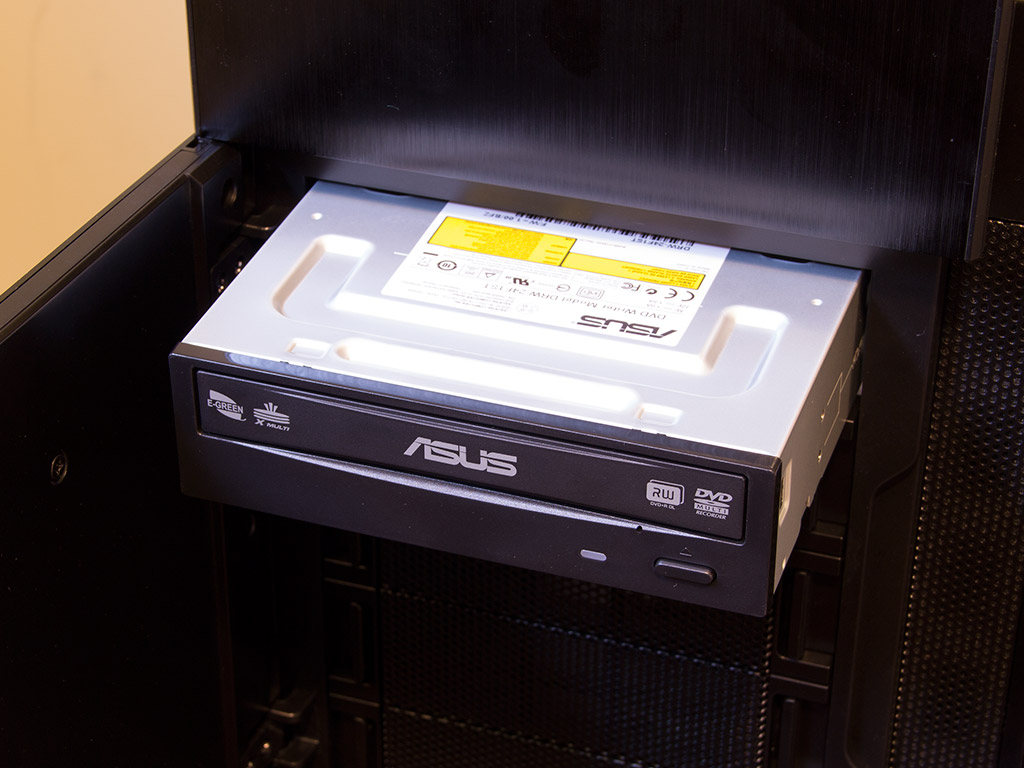
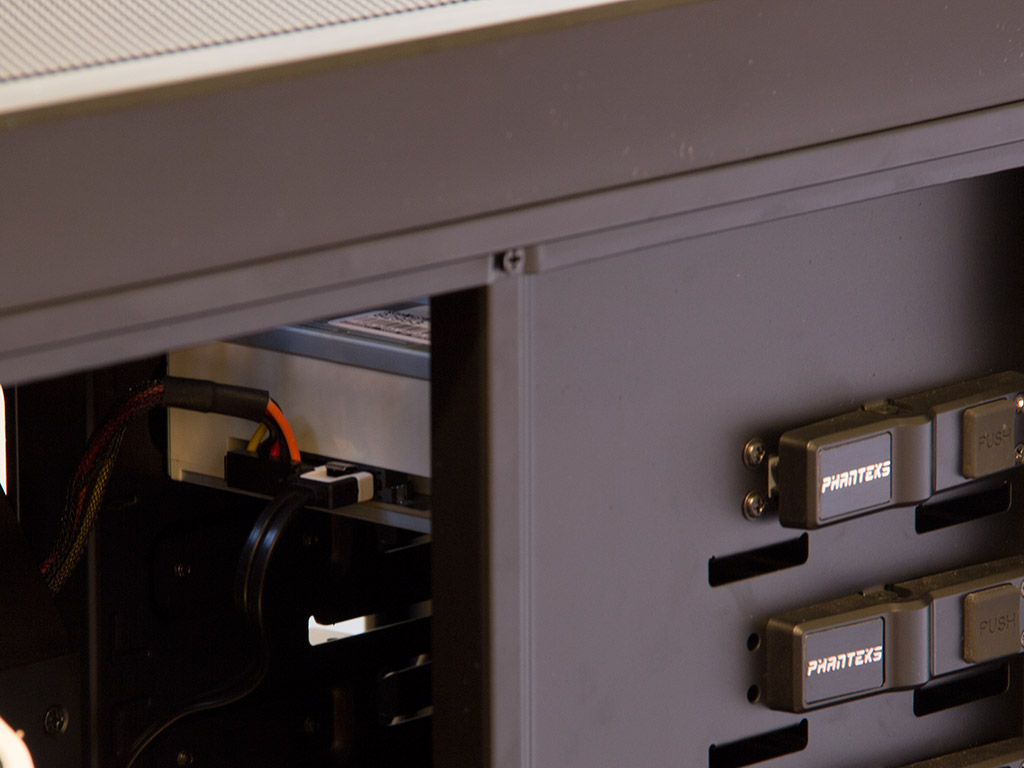
Installing the optical drive into the Enthoo Primo does not take any tools either. Simply remove the cover of your choice, slide the drive into place and push the square button down on the lock to pin it down. While it does work, there is still a bit of play. There is also nothing holding the drive in place on the other side, so you should really use a few screws to pin it down properly.

Installing the PSU, in this case a XION 850W unit, simply takes four screws. As you can see, the 140 mm fan faces the side of the chassis since that this is where the side panel's air vent is.
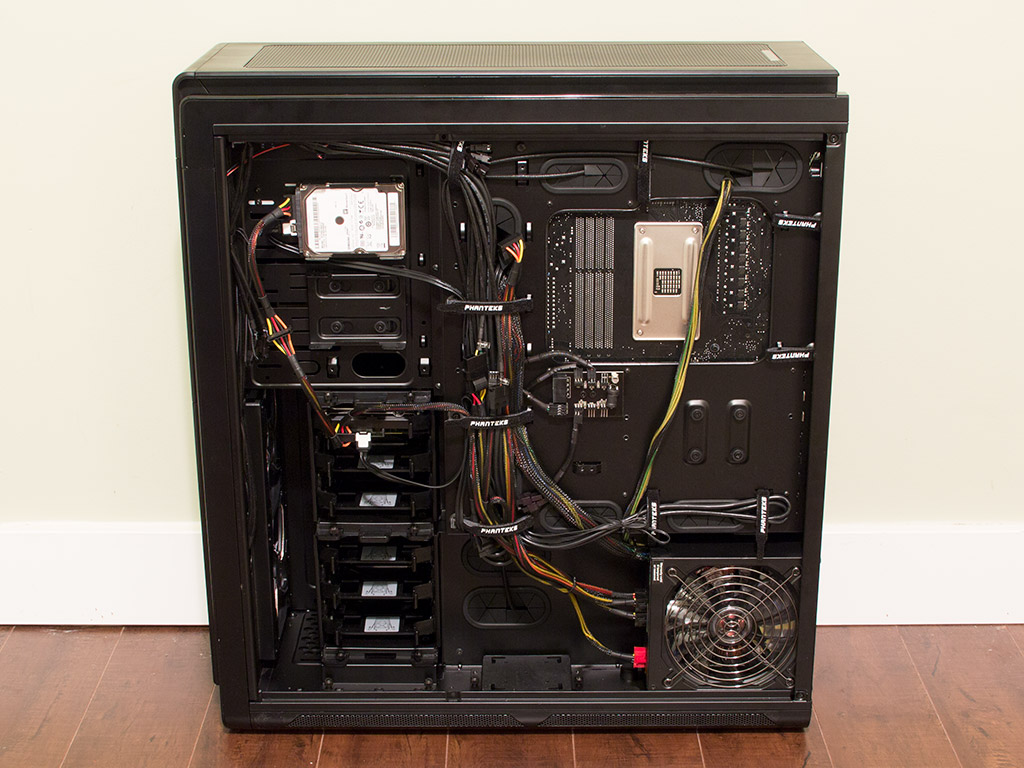
With everything installed, the interior of the Enthoo Primo looks amazing. Not only does the interior look incredibly clean with almost all the cables nicely hidden out of view, but the backside is just as clean because of the case's excellent cable-routing possibilities. All this can be achieved with room to spare. Even filling the case up to the rim while keeping everything nice and tidy should not be a problem.
Finished Looks
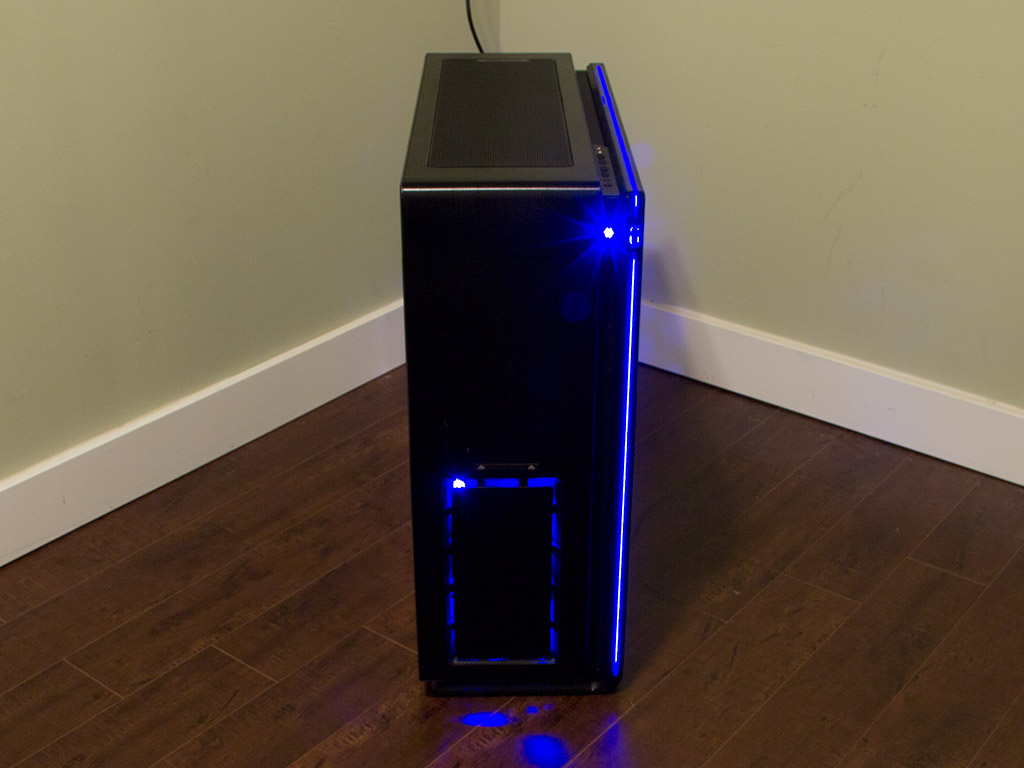
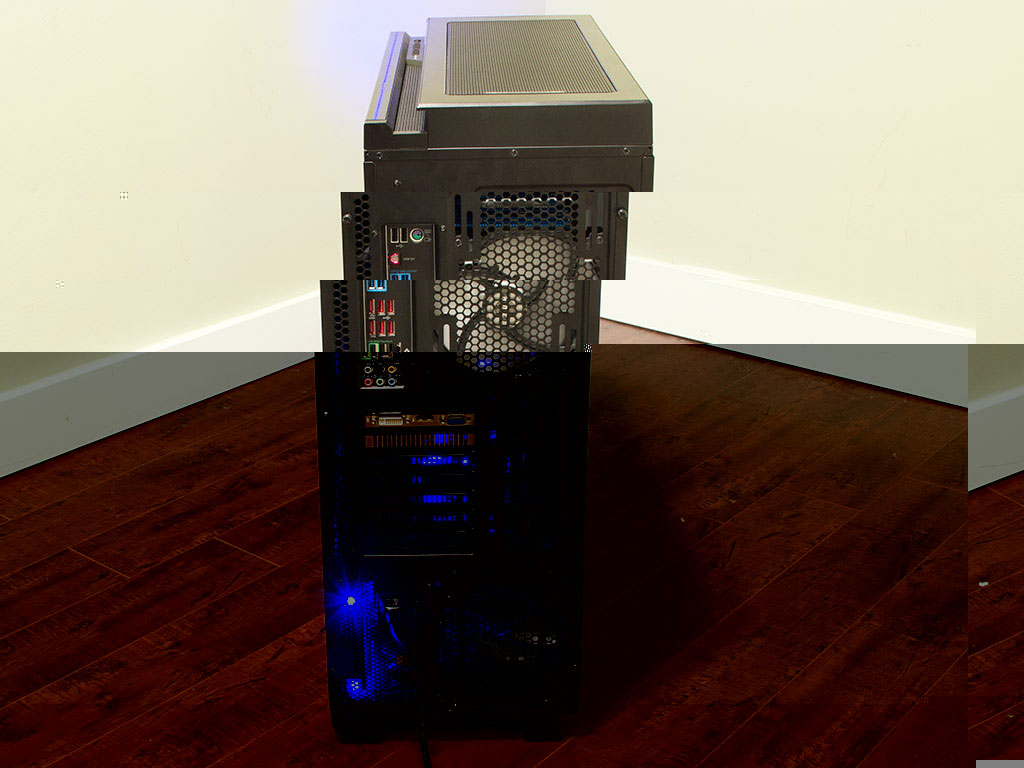
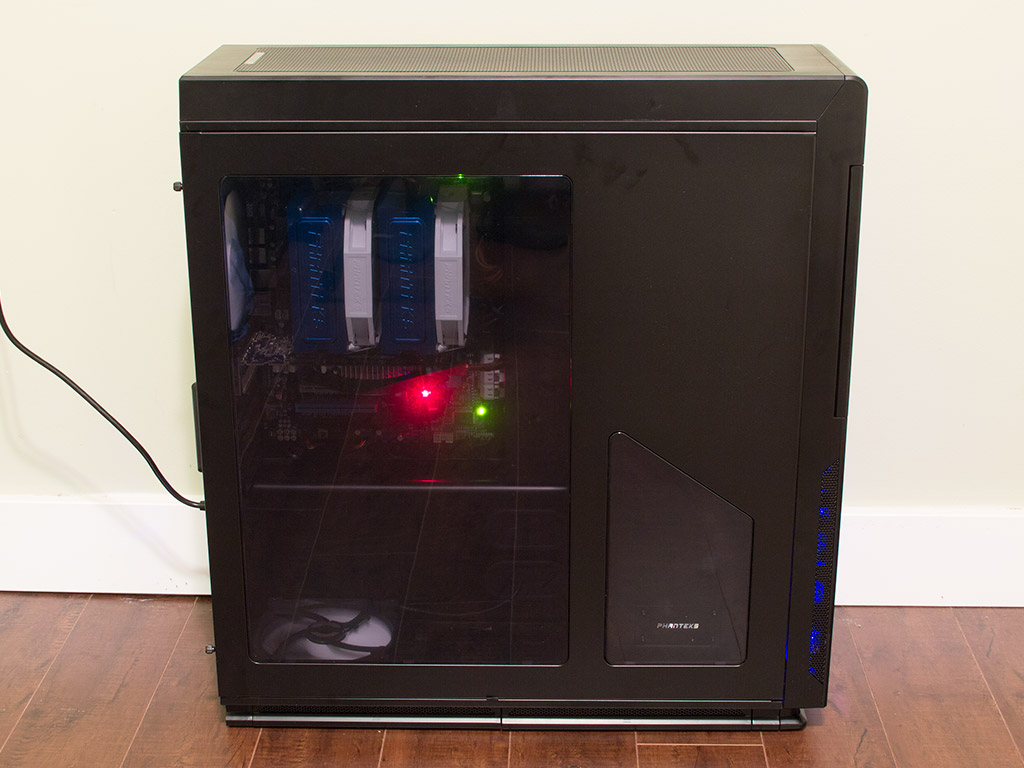
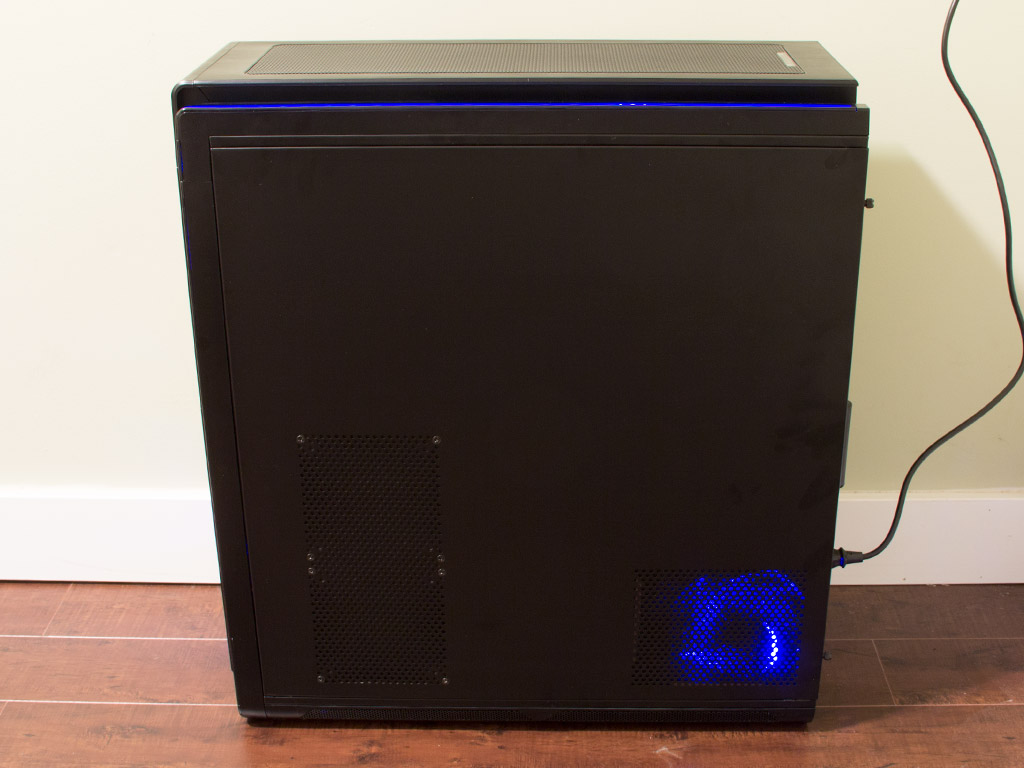
Turning your system on will also turn the two blue strips of light on. The strips really add a nice overall touch to the chassis. Two LED-equipped fans in the front add another blue lighting element to the front. Turning the case over, everything is where you would expect it to be, with all the connectivity clearly accessible. A small window reveals the plaque in the bottom-right corner of the chassis, and a generously dimensioned window lets you look at all the installed hardware. The other side has the blue LED fan of the XION 850W PSU shine through the air vent.
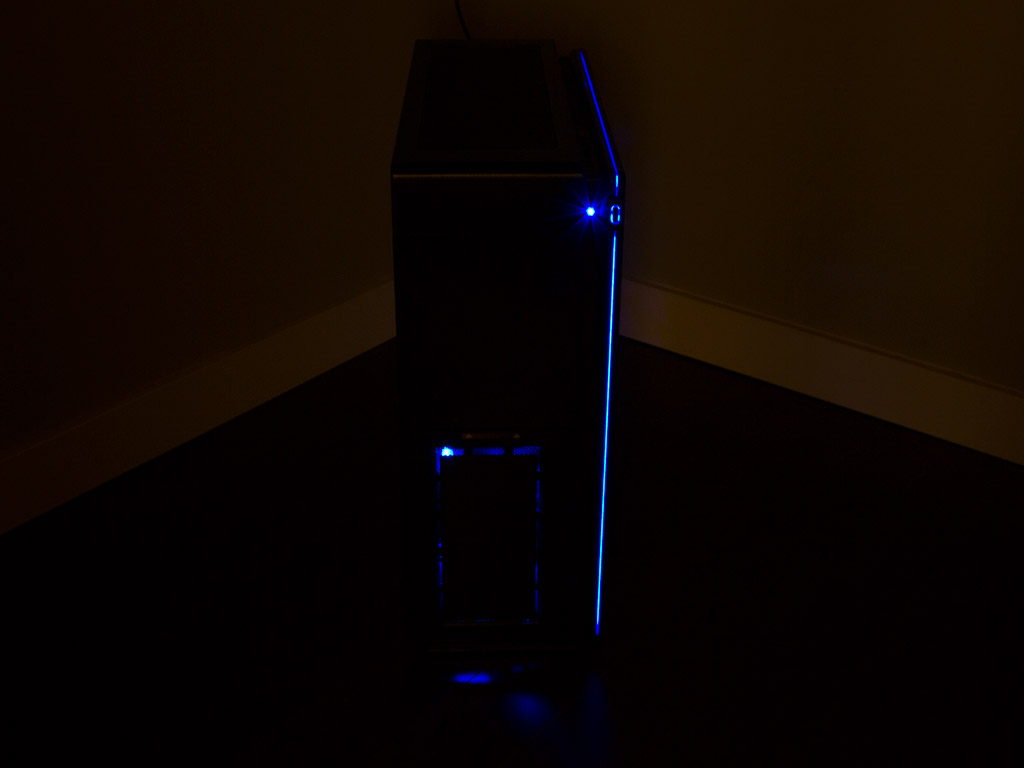
The chassis makes a great impression with all the lights in the room turned off—it will definitely turn some serious heads at the next LAN party. I am sure some will even mod this case with differently colored lights.
Feb 12th, 2025 05:12 EST
change timezone
Latest GPU Drivers
New Forum Posts
- Post your 7-Zip v22.01 scores (407)
- It's happening again, melting 12v high pwr connectors (296)
- Do you guys have backup GPUs? (33)
- Help me decide..........OLED monitors (29)
- Where did the 7900xtx go? (18)
- ch341a 1.7 Not detected (2)
- RTX5000 Series Owners Club (94)
- Do you use NVIDIA's Studio Drivers? (2)
- I find the lack of Battle Mage owners threads disturbing. My Onix Odyssey B580 arrived. (50)
- win10 or win11 (10)
Popular Reviews
- Civilization VII Performance Benchmark Review - 35 GPUs Tested
- Kingdom Come Deliverance II Performance Benchmark Review - 35 GPUs Tested
- Team Group T-Force XTREEM DDR5-7200 48GB CL34 Review
- ASRock Phantom Gaming B850I Lightning Wi-Fi Review
- DAREU A980 Pro Max Review
- AMD Ryzen 7 9800X3D Review - The Best Gaming Processor
- NVIDIA GeForce RTX 5080 Founders Edition Review
- Corsair Frame 4000D Review
- Spider-Man 2 Performance Benchmark Review - 35 GPUs Tested
- MSI GeForce RTX 5080 Vanguard SOC Review
Controversial News Posts
- AMD Radeon 9070 XT Rumored to Outpace RTX 5070 Ti by Almost 15% (287)
- AMD is Taking Time with Radeon RX 9000 to Optimize Software and FSR 4 (256)
- AMD Denies Radeon RX 9070 XT $899 USD Starting Price Point Rumors (239)
- Edward Snowden Lashes Out at NVIDIA Over GeForce RTX 50 Pricing And Value (239)
- AMD Radeon RX 9070 XT & RX 9070 Custom Models In Stock at European Stores (226)
- New Leak Reveals NVIDIA RTX 5080 Is Slower Than RTX 4090 (215)
- AMD's Radeon RX 9070 Launch Faces Pricing Hurdles (175)
- AMD Radeon RX 9070 XT Tested in Cyberpunk 2077 and Black Myth: Wukong (169)