 30
30
Phanteks NV7 Review
Thermal Stress Test »Review System
| System Parts for Case Reviews | |
|---|---|
| Processor: | Intel Core i5-12600K Provided by: Intel |
| Motherboards: | ATX: ASUS ROG Strix Z690-E Gaming WiFi mATX: ASUS TUF Gaming B660M-PLUS WiFi D4 ITX: ASUS ROG STRIX Z690-I Gaming WiFi Provided by: ASUS |
| Graphics Card: | Gigabyte Radeon RX 6600 Eagle Provided by: Gigabyte ZOTAC GAMING GeForce RTX 3060 Ti Twin Edge OC Provided by: Zotac |
| Memory: | 32 GB XPG LANCER RGB DDR5 6000 MHz 32 GB XPG CASTER DDR5 6400 MHz 32 GB XPG HUNTER DDR5 5200 MHz Provided by: ADATA |
| HDD: | Toshiba MG08ADA400E 7200 RPM SATA III Provided by: Toshiba |
| SSD: | ATX:XPG GAMMIX S70 BLADE 1 TB mATX: ADATA LEGEND 840 512 GB ITX: XPG SPECTRIX S20G 500 GB ADATA Ultimate SU800 512 GB ADATA Ultimate SU720 500 GB Provided by: ADATA |
| Power Supply: | ATX: Fractal Design ION+ 650W 80 Plus Gold SFX: Fractal Design ION SFX-L 650W 80 Plus Gold Provided by: Fractal Design |
| Cooling: | be quiet! Pure Loop 120/ Pure Loop 2 FX 240/280/360 Provided by: be quiet! |
Assembly
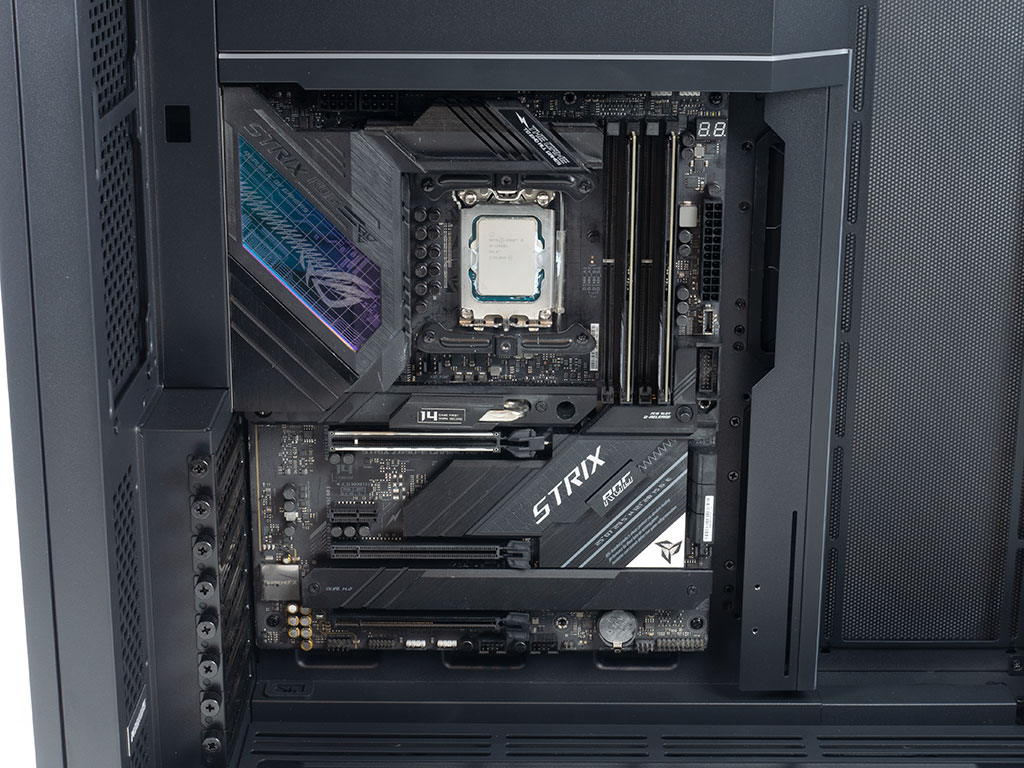
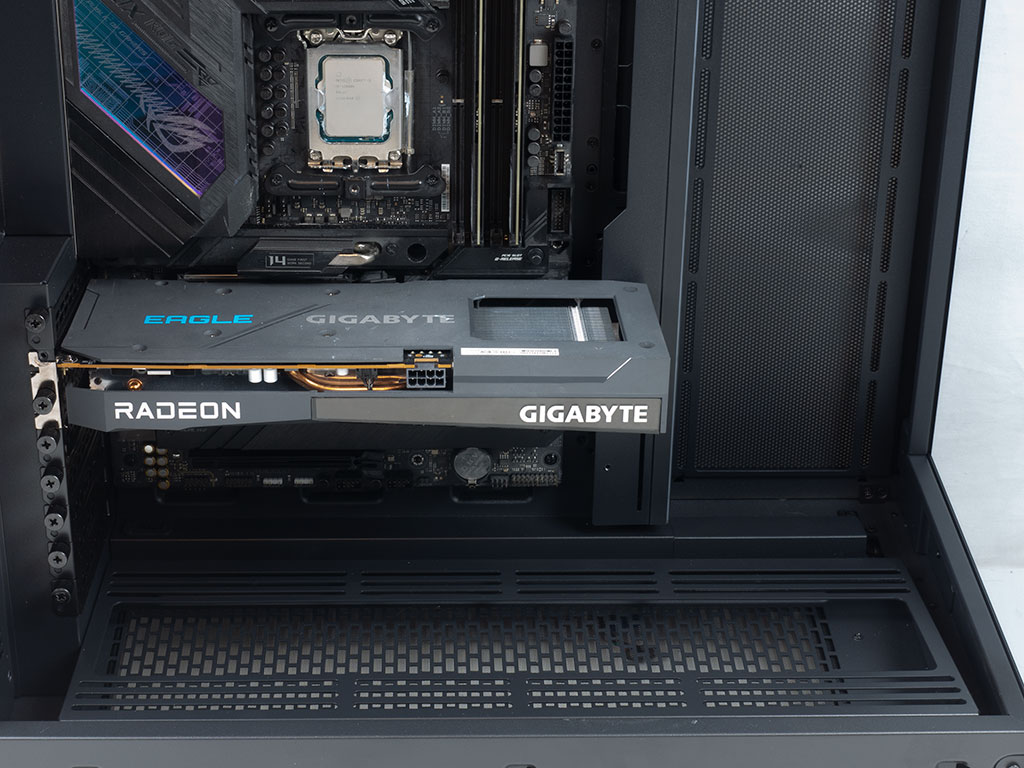
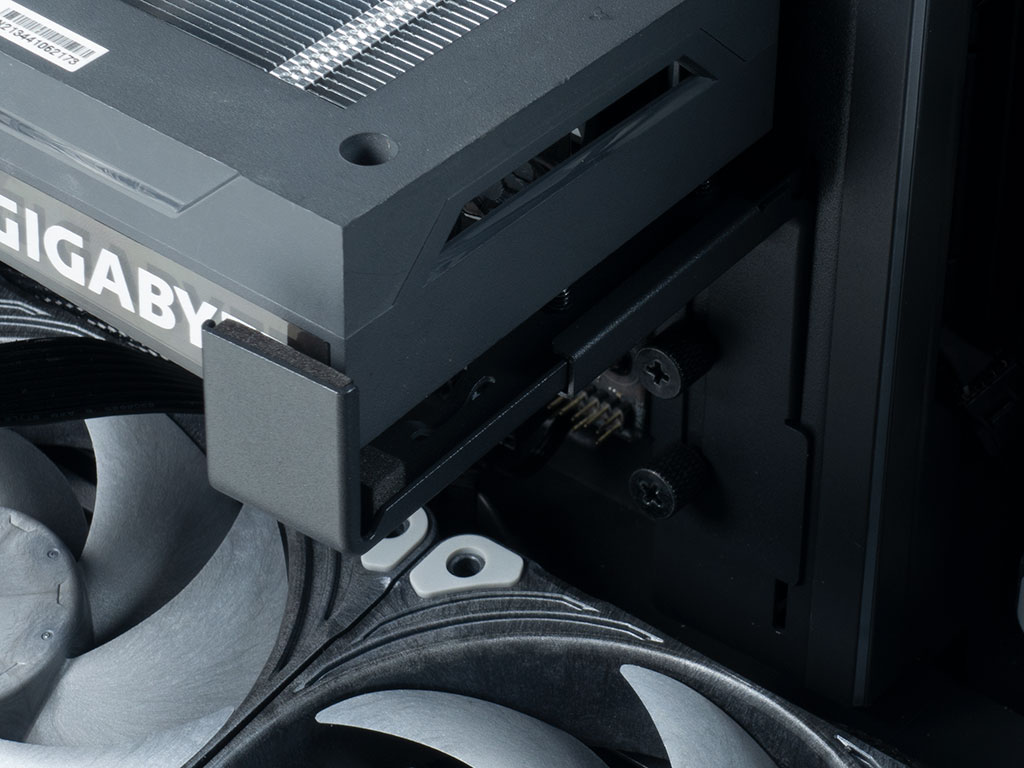
Installing the motherboard uses traditional spacers and screws. As you can see, the two cable covers line up perfectly with the board and should make for a beautiful final build. As the Phanteks NV7 can hold GPUs of up to 450 mm (Editor's Note: the longest model we have on record in our GPU database is 367 mm long) and thanks to the metal GPU support bracket, you won't have to worry about sagging either.
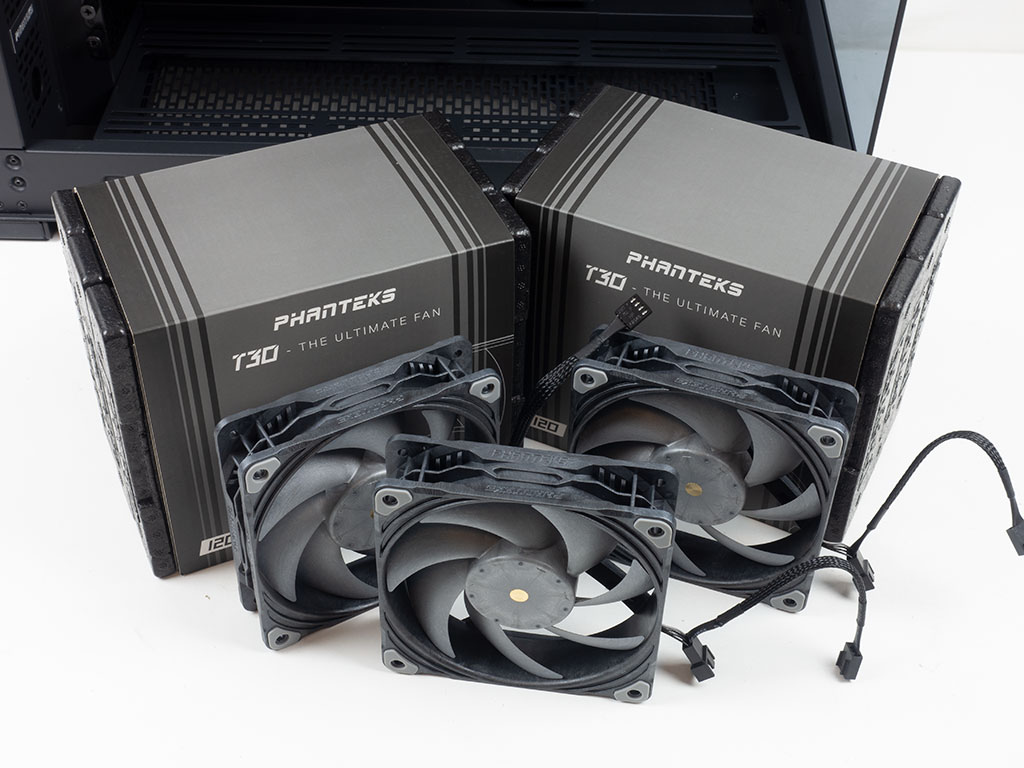
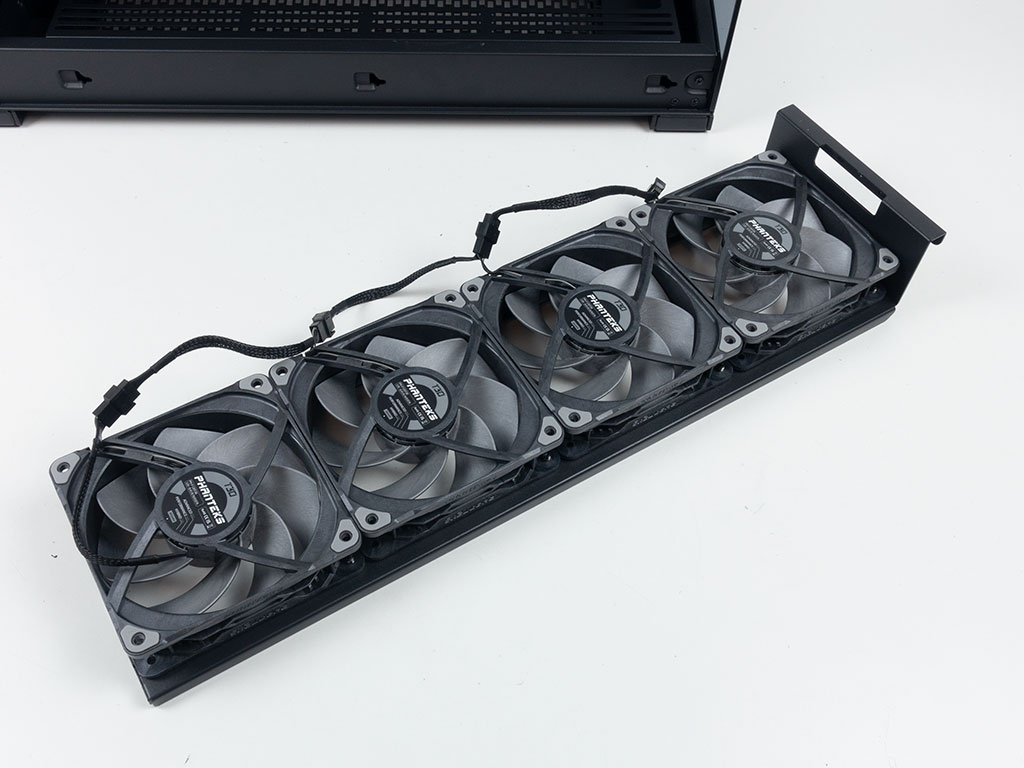
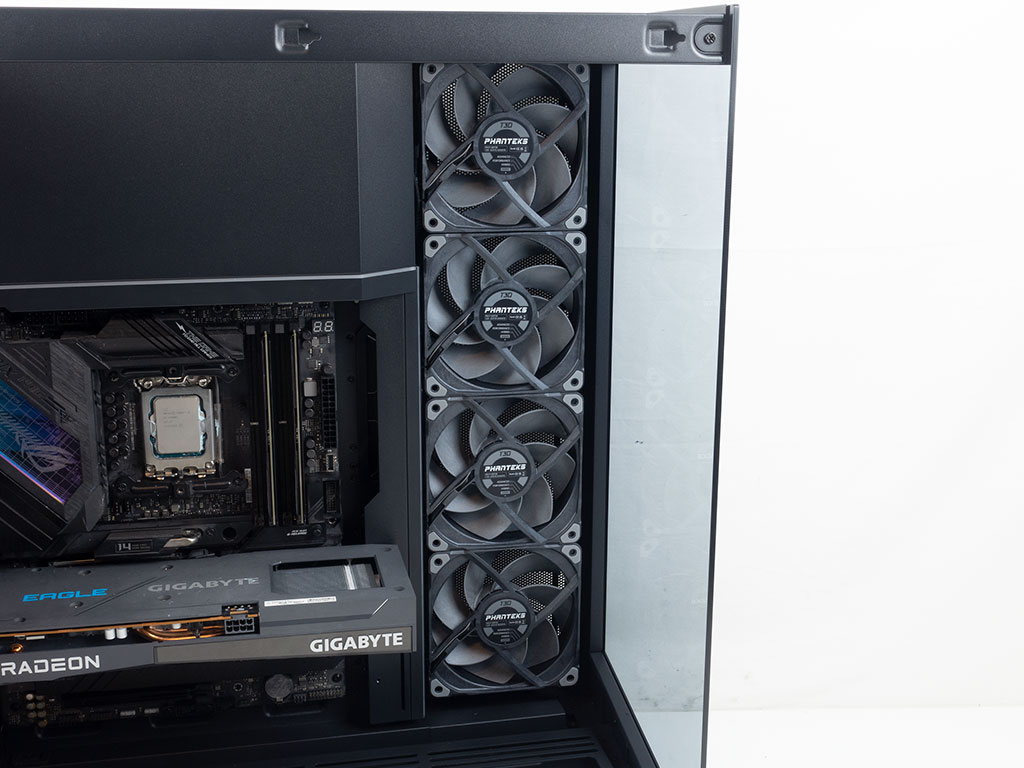
Phanteks also provided us with nine of their popular T30 120 mm fans to fill the NV7 properly. Four of those can easily be mounted on the side thanks to the removable frame. Combining the daisy-chaining fan cables with the well placed routing holes means that you can easily keep things clean here.
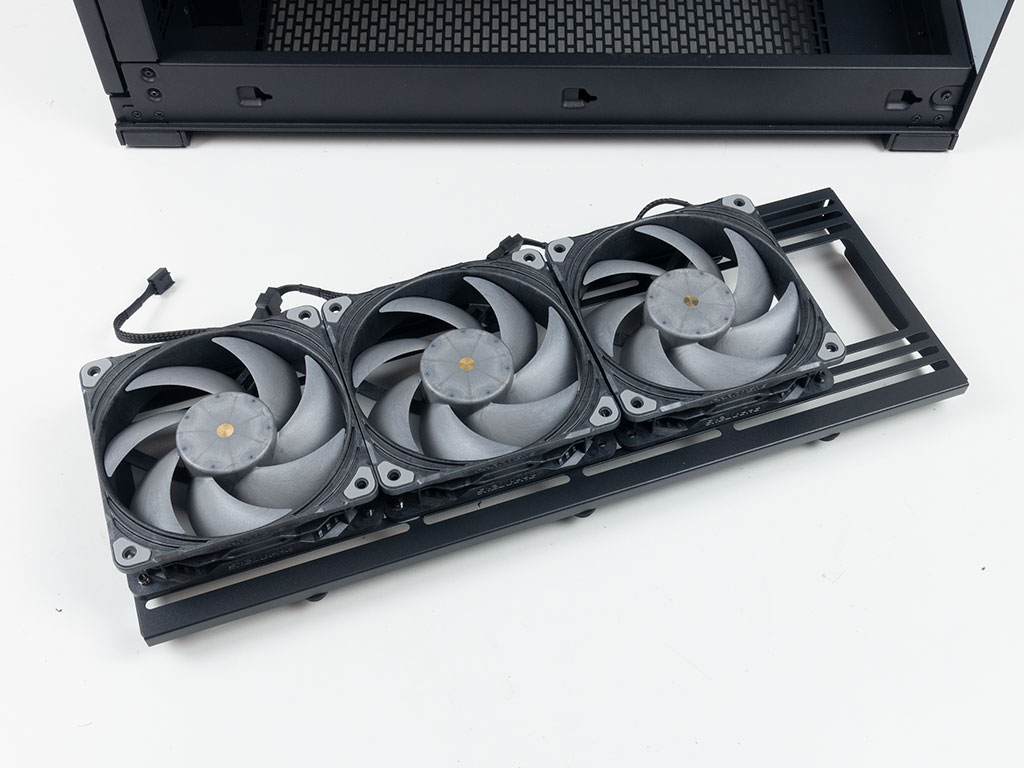
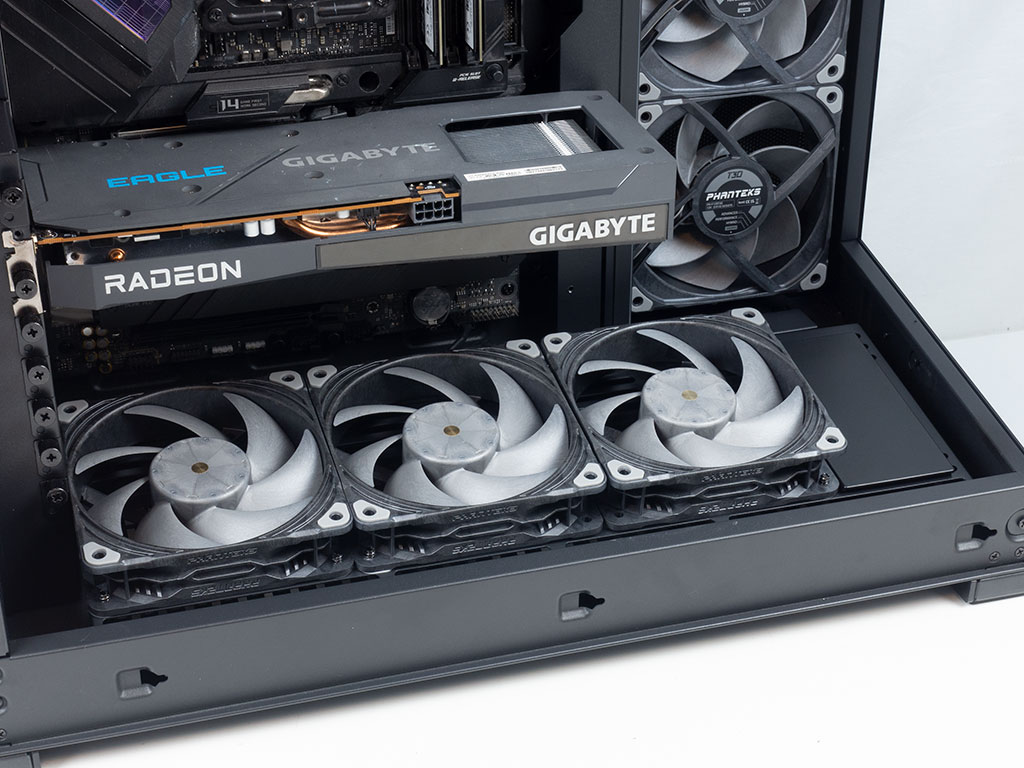

A similar experience is provided when adding three 120 mm units on the floor of the chassis, as this may also be done outside the confines of the enclosure. This time, we managed to tuck the wiring out of view behind the fans and connect these three directly to the header on the motherboard's bottom edge. Thanks to the cover plate, we were also able to close the gap on the floor. In the rear, the two exhaust units are screwed in just like you would on any modern case by using the fan screws through the rear of the NV7.
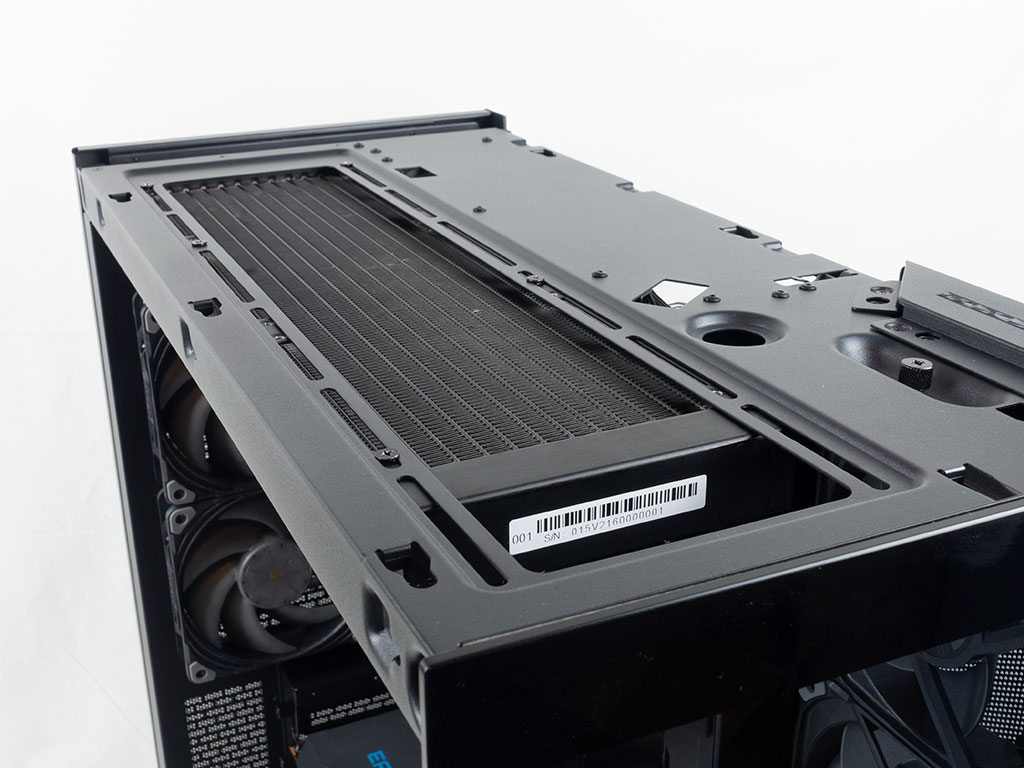
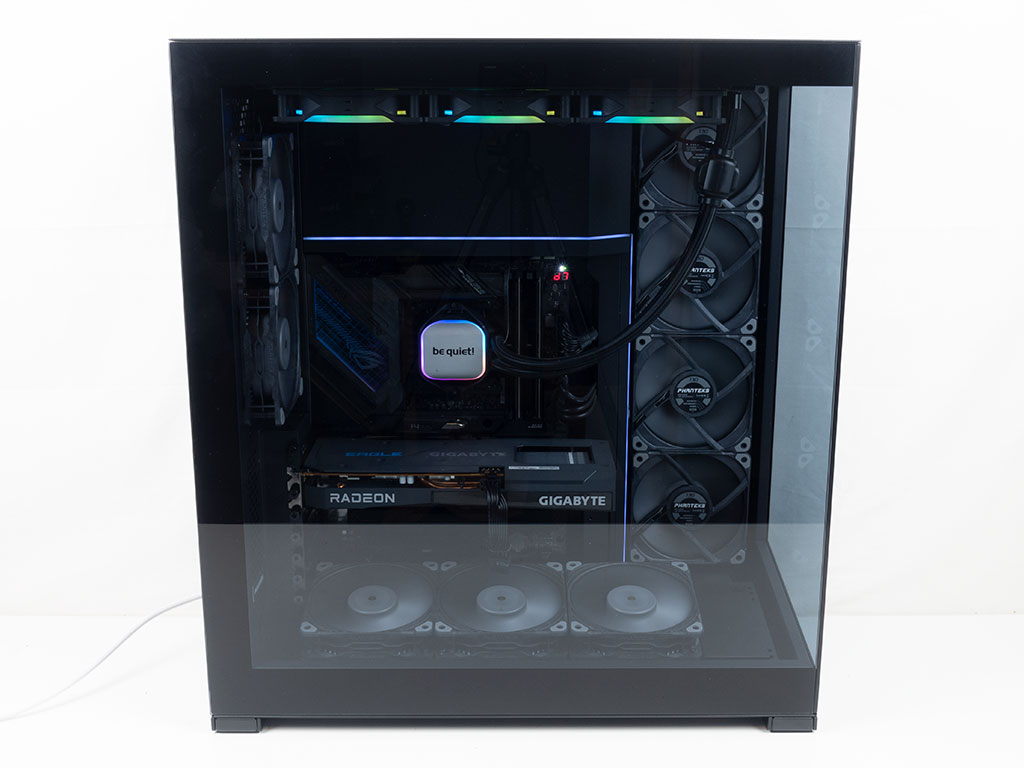
Even with a total of nine fans installed, we still have room for a 360 mm radiator. As you can see there is more than enough space. This is another area where you could employ that second magnetic cover to streamline the airflow setup of your build.
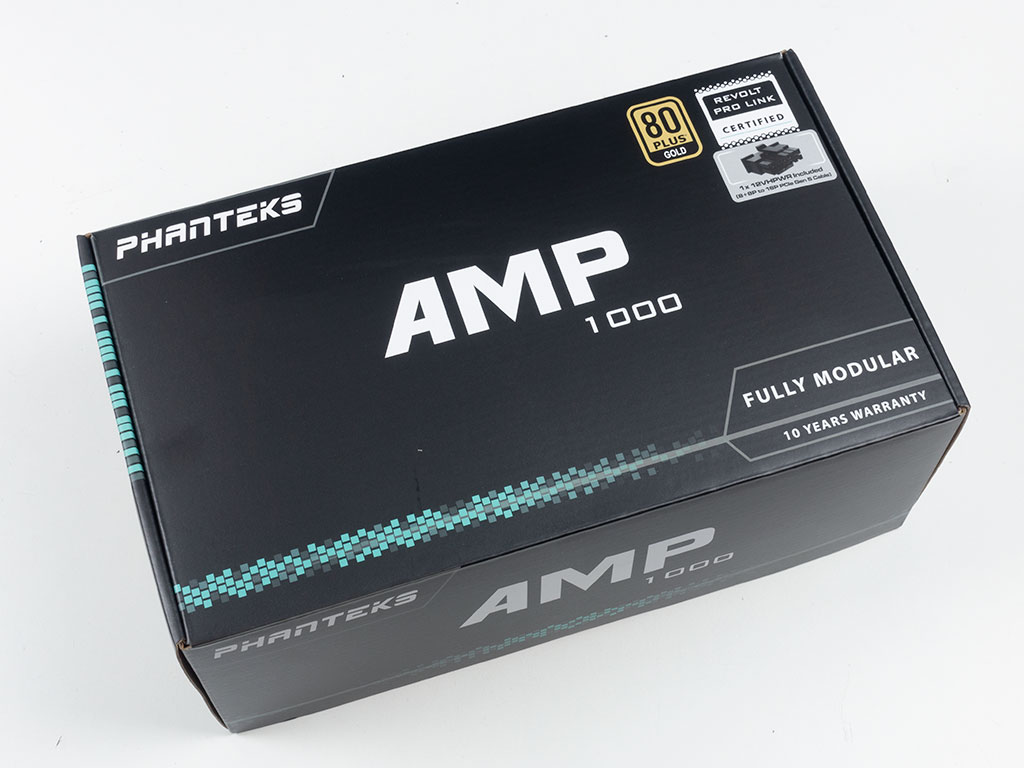

Phanteks also sent us the latest iteration of their AMP 1000 power supply. These are designed in conjunction with Seasonic and the V2 is an ATX 3.0 PSU with a 12VHPWR connector. Even so, it is quite compact and fits easily within the Phanteks NV7, as the chassis may hold a unit of up to 255 mm in length without compromises.
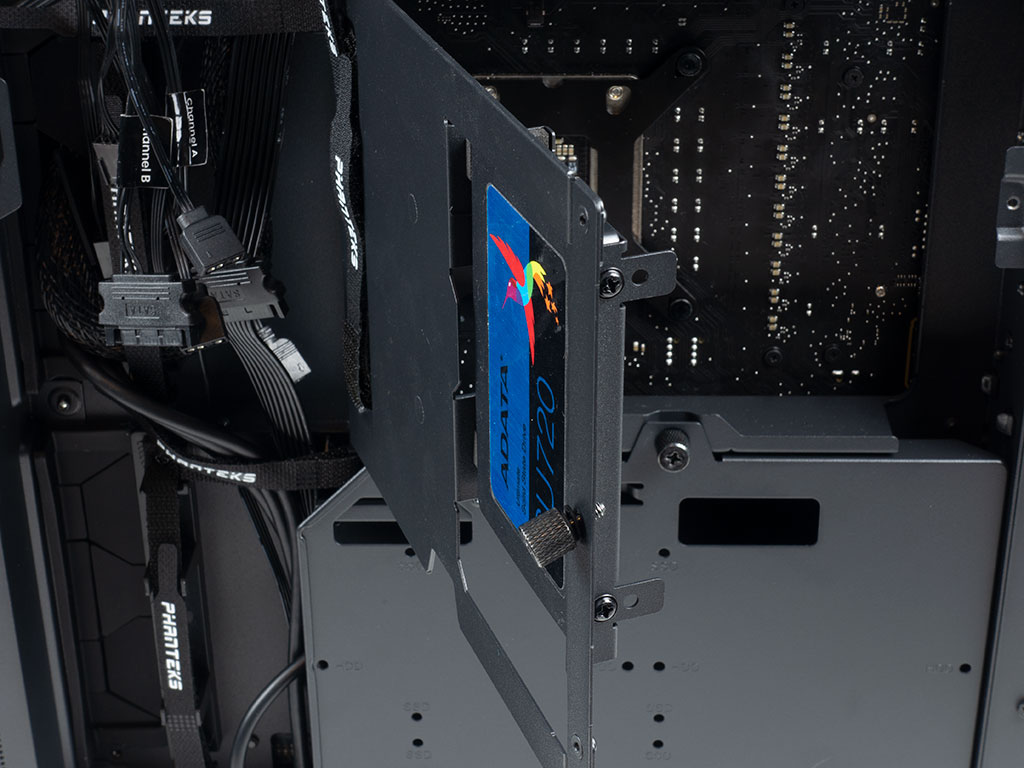
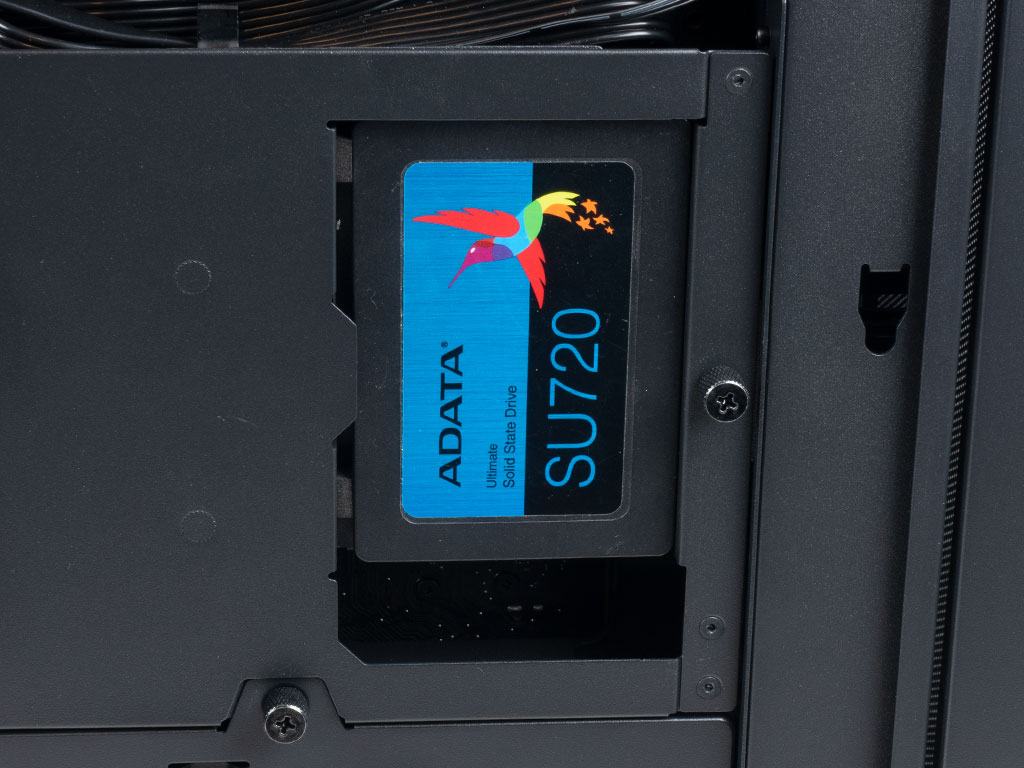
Installing an SSD within the NV7 always requires the use of screws and a screw driver. The two options in the swing open cover only use two screws so we used that one for this build with the added bonus that the storage device is visible when the side cover is removed.
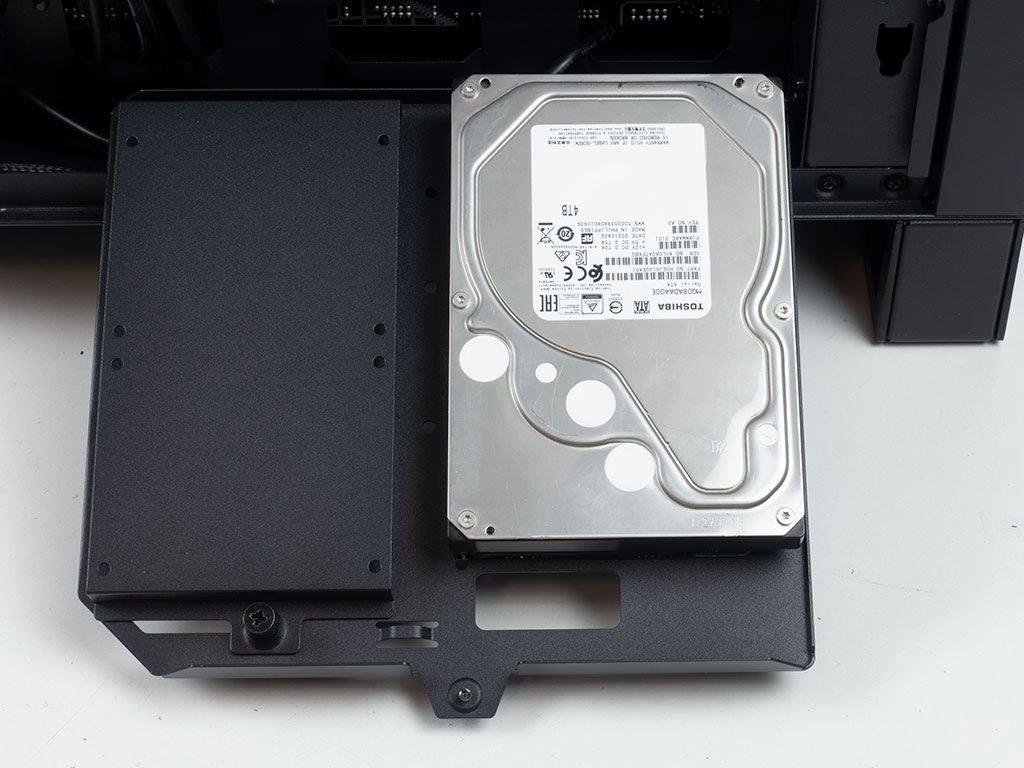
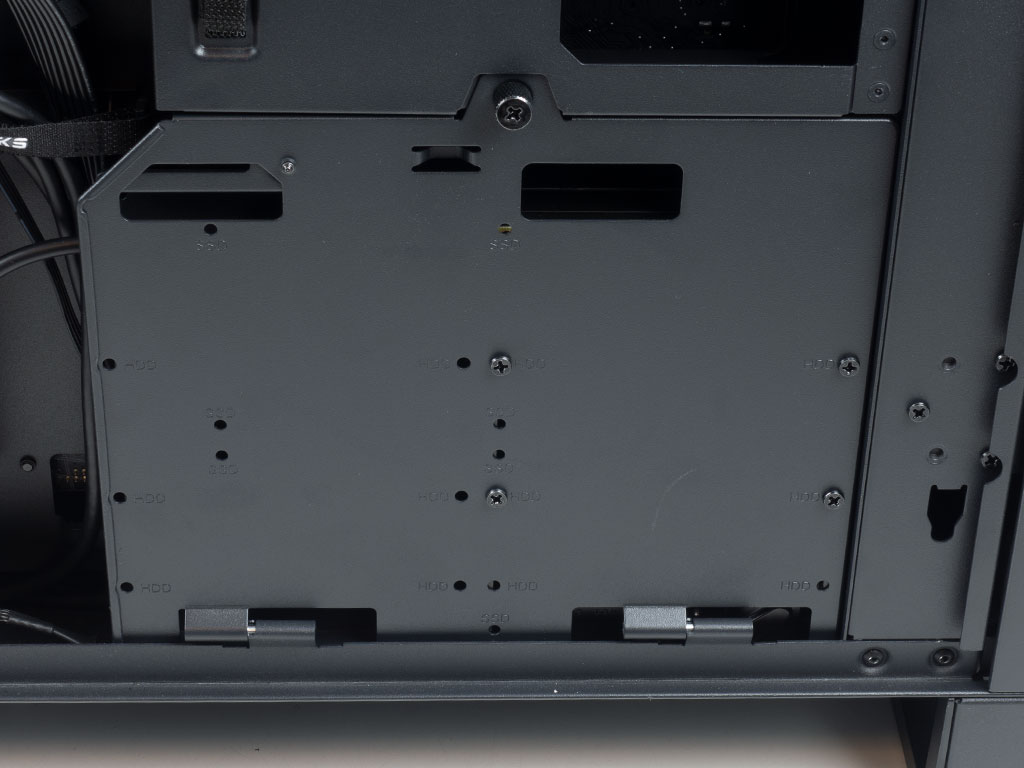
That leaves the flip down mounting plate free for a 3.5" drive which is secured by four screws itself. The cutout lines up with the SATA connector so that you can reach it, even though the wiring will be hidden behind the cover itself.
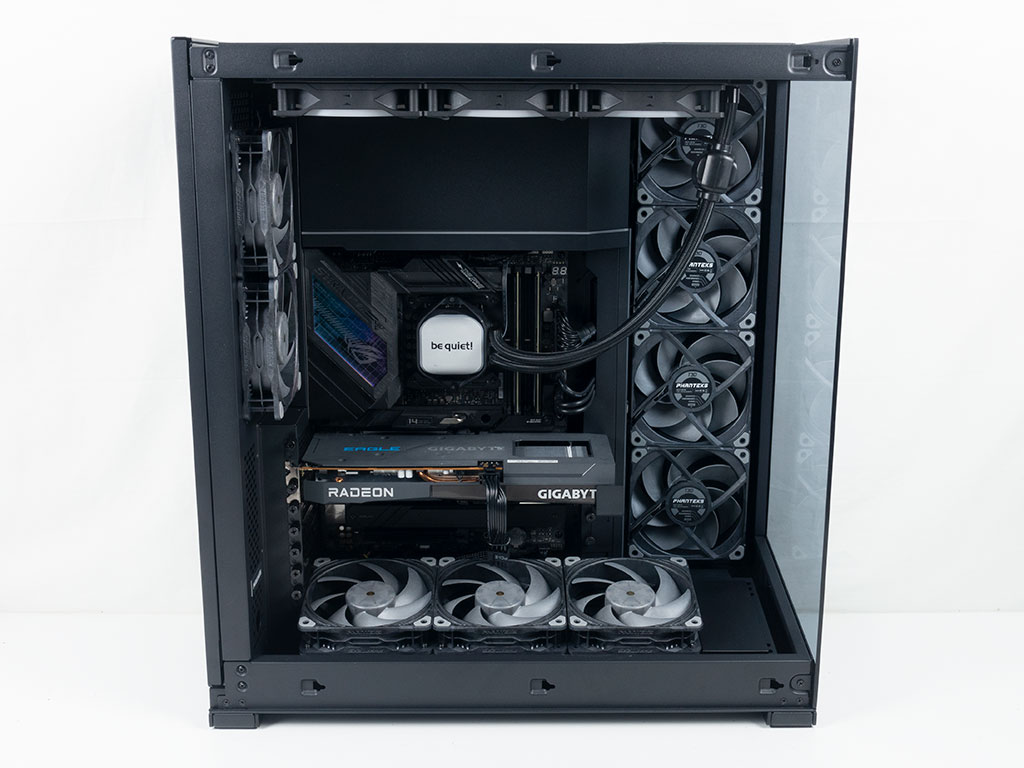
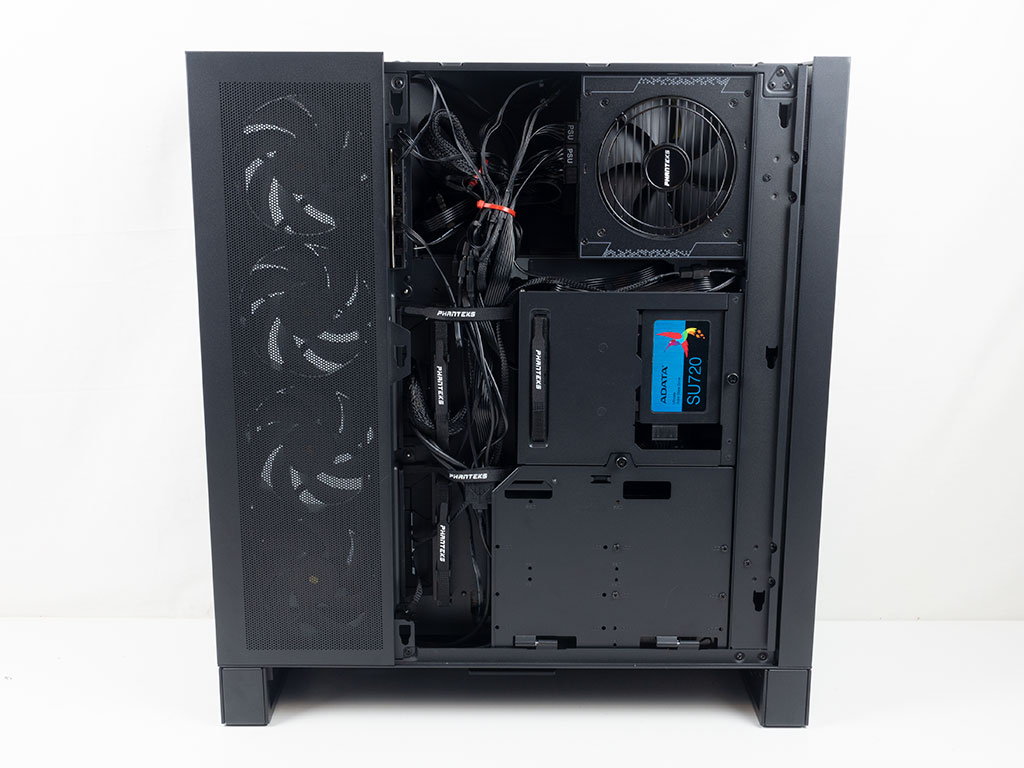
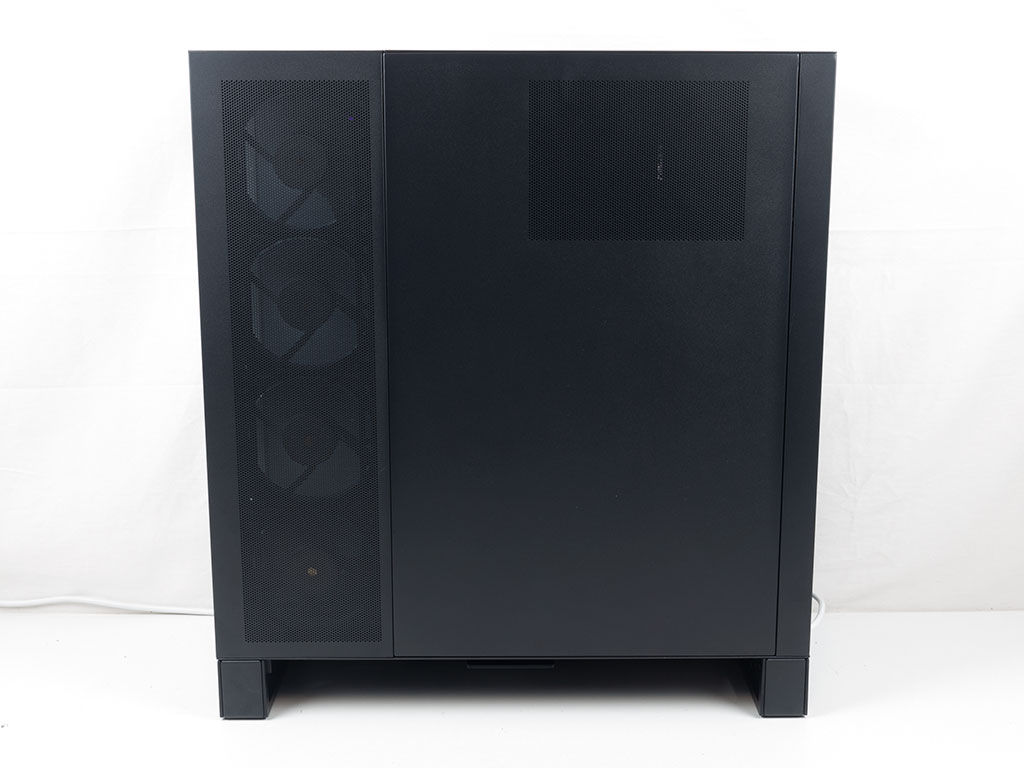
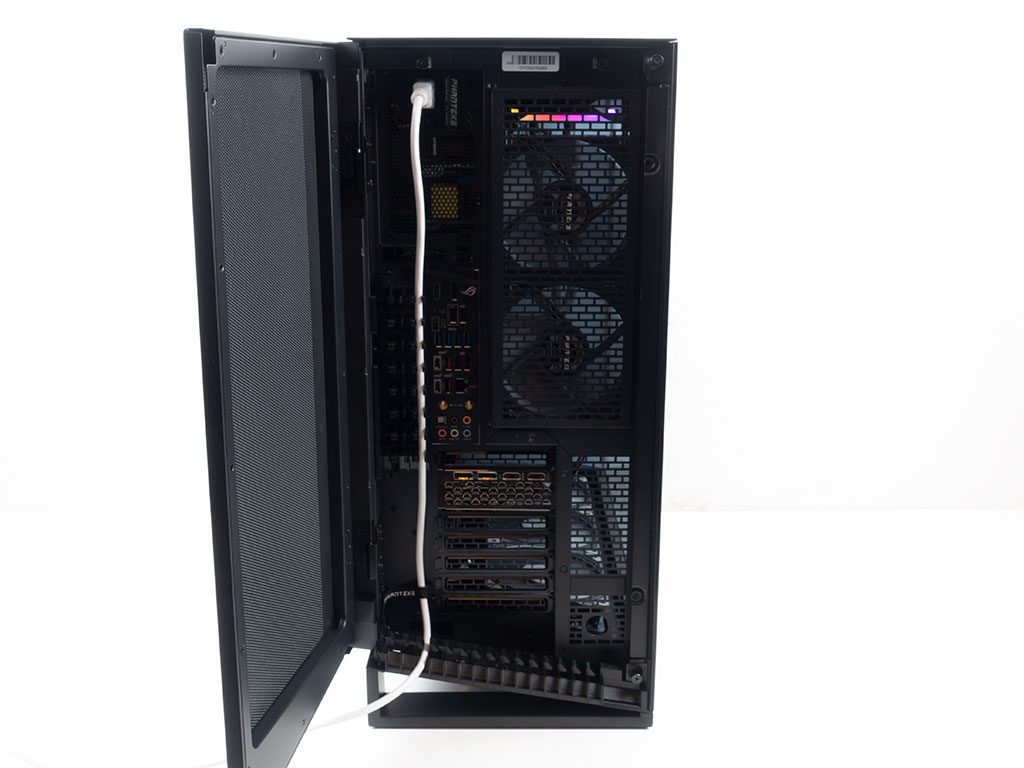
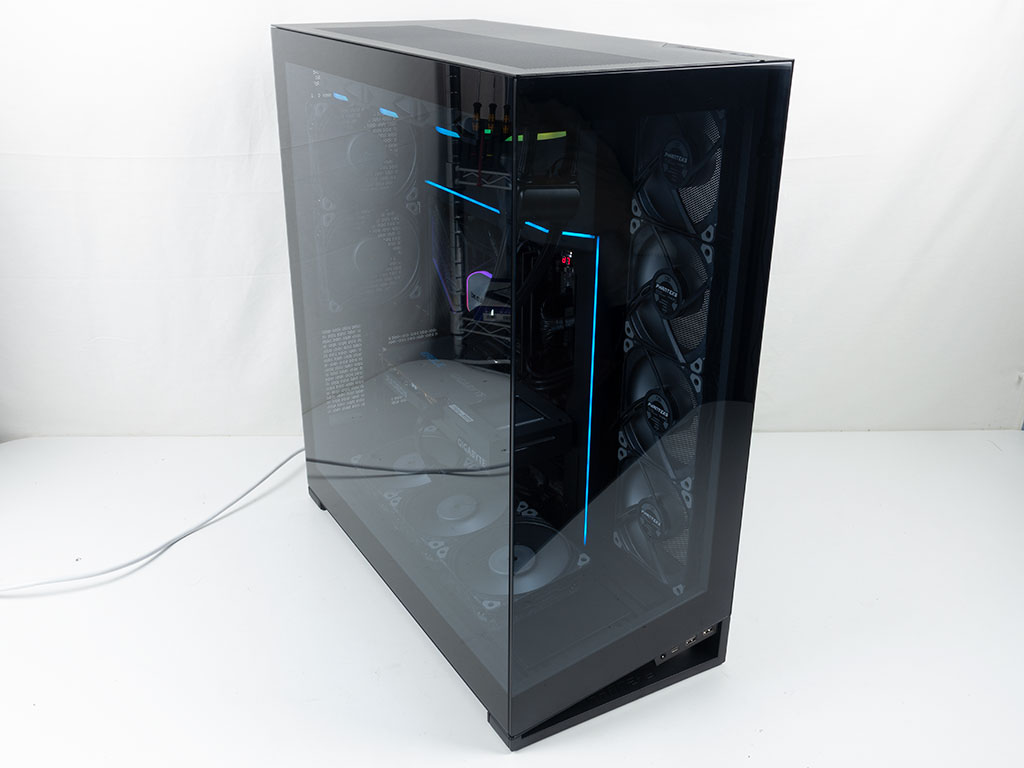
With everything installed, the Phanteks NV7 is extremely clean, even with the total of 12 fans. This is certainly in part due to the two D-RGB cable covers, and the fact that the bottom fans are in the angled position, which makes hiding wiring behind them a little easier as well. Behind the motherboard, we ended up using a few zip ties around the PSU bay, as there is no real possibility to keep things clean in there. However, the Velcro strips worked well for the rest of the chassis. As such, no additional zip ties were needed here.
Finished Looks

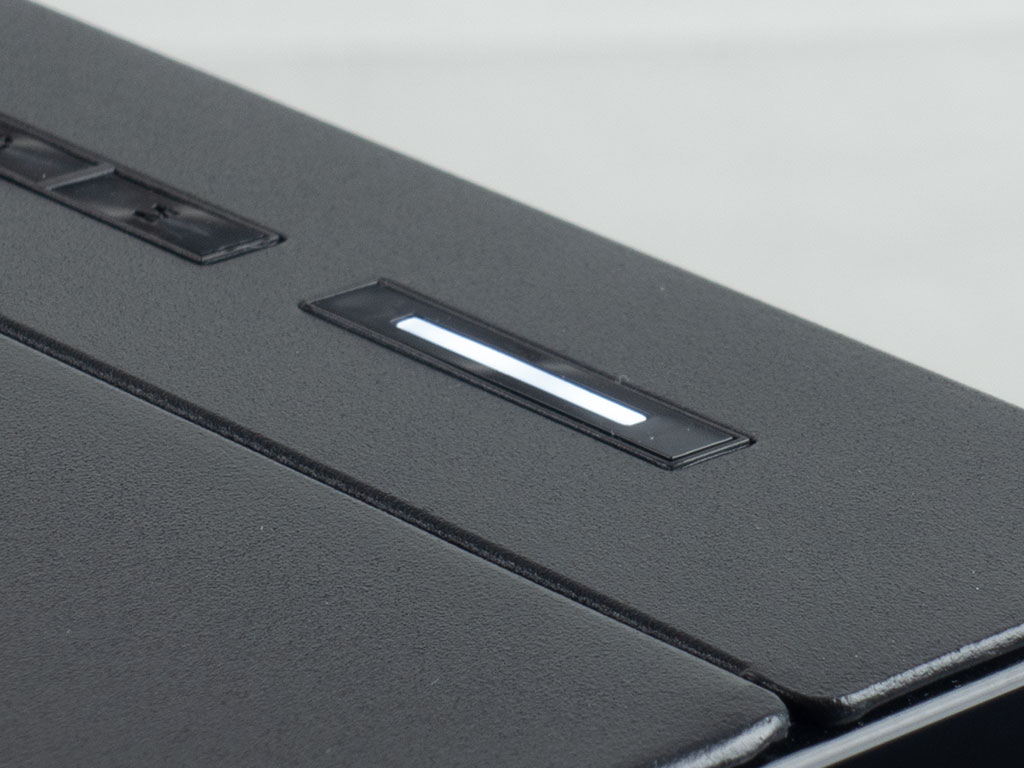
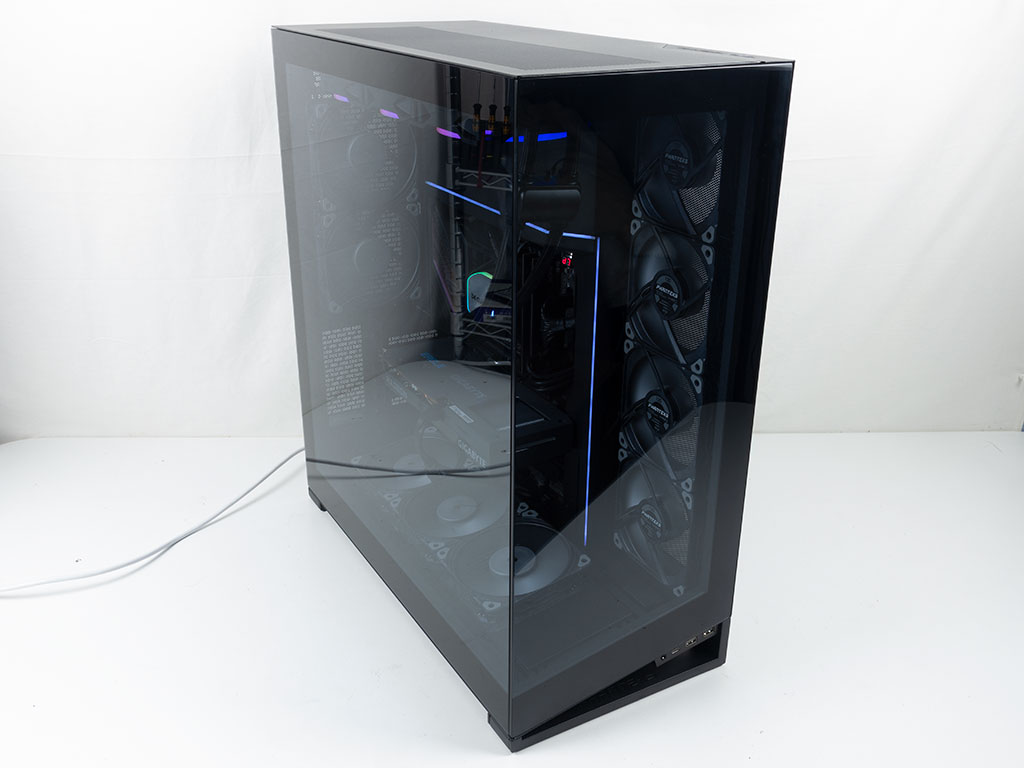
Turning the finished build on, the Phanteks NV7 looks beautiful. That said, you really need to plan to fill the case up with liquid cooling or fans to make the most of it. Otherwise, why would you get a a Full-Tower chassis after all? The power button lights up white when turned on. This is a bit different than the D-RGB one we have see Phanteks use in their other enclosures in the past.
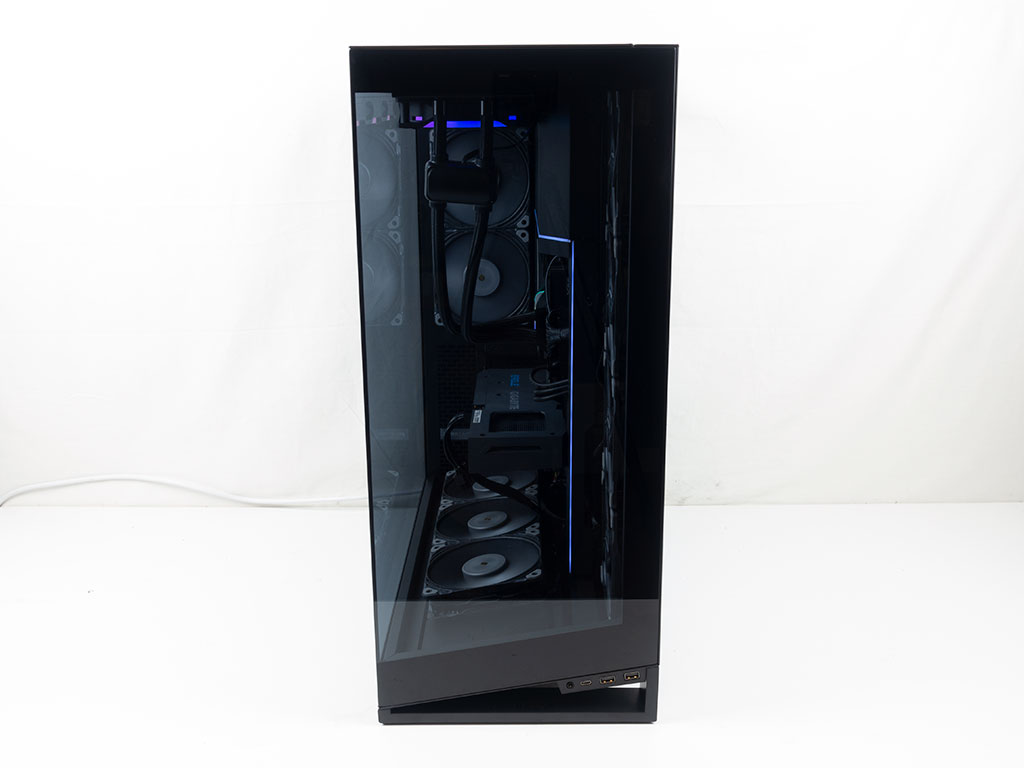
As there is a gentle tint on the glass, your hardware and any embedded lighting will be dimmed ever so slightly. While that is fine and mostly a subjective opinion, many recent enclosures opt for clear glass. In the opposite side of the case, you can clearly see the four fans that are set to pull air into the case as well as the shimmer of the Phanteks logo on the PSU fan hub.
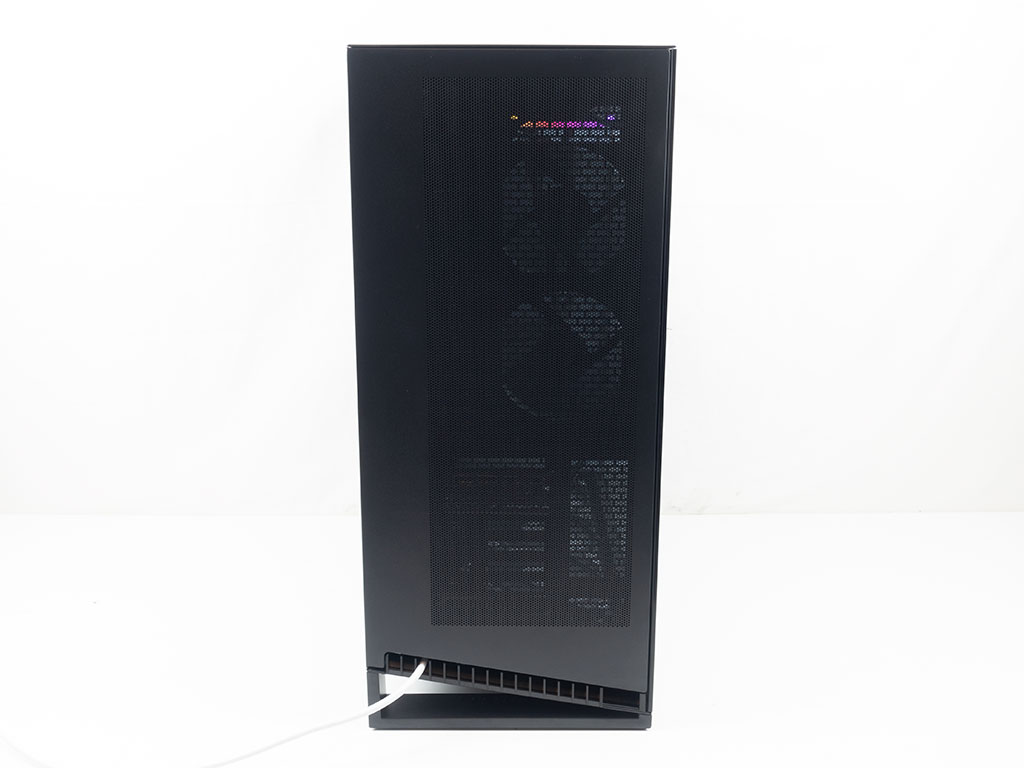
In the rear, thanks to the unique cover, you can easily hide everything, meaning that the Phanteks NV7 will make a beautiful 360° impression. The plastic cable routing mechanism also works really well and is deep enough to allow you to stack your cables, so that you should have no issue keeping things tidy even with lots of wired USB peripherals for example.
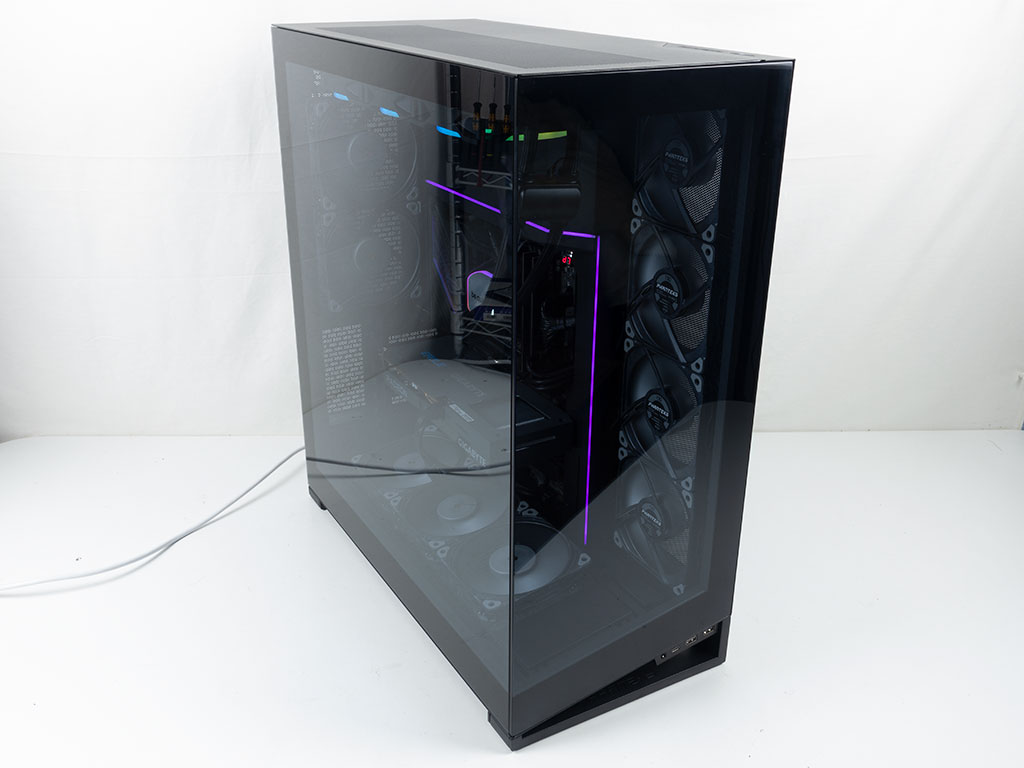
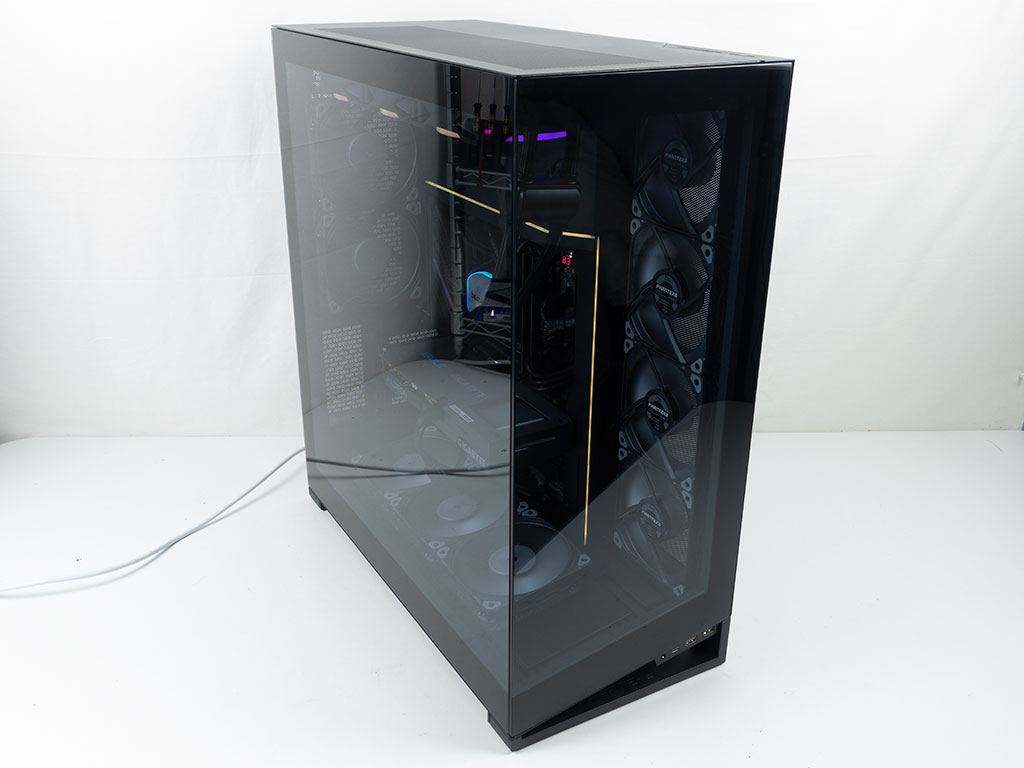
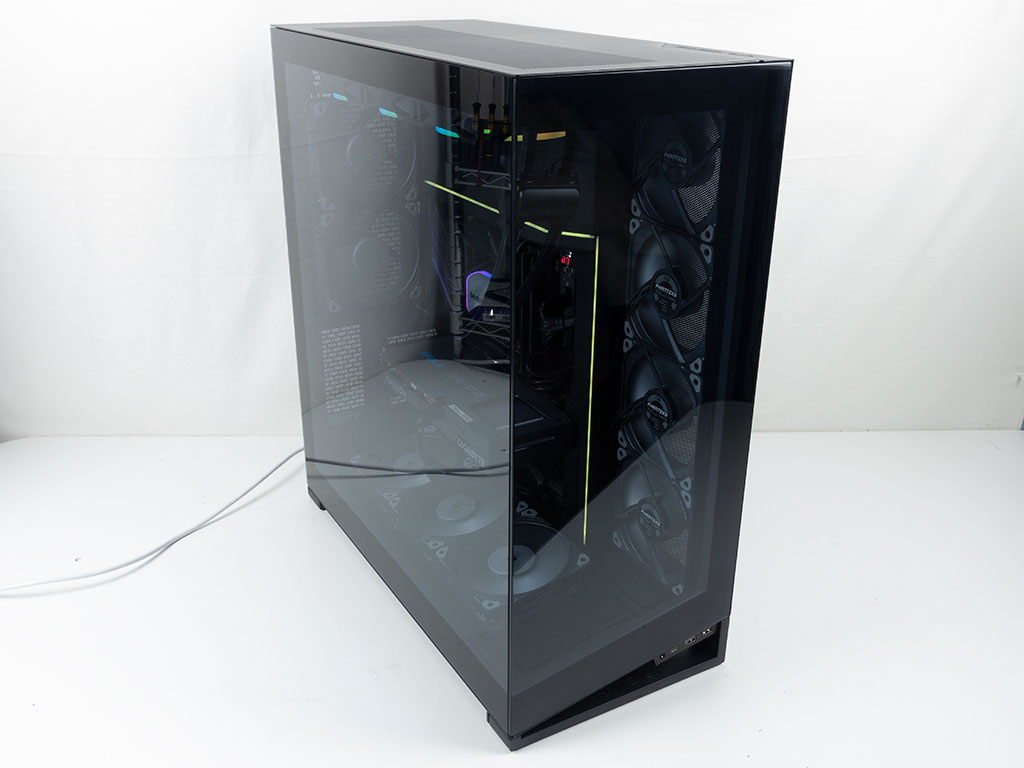
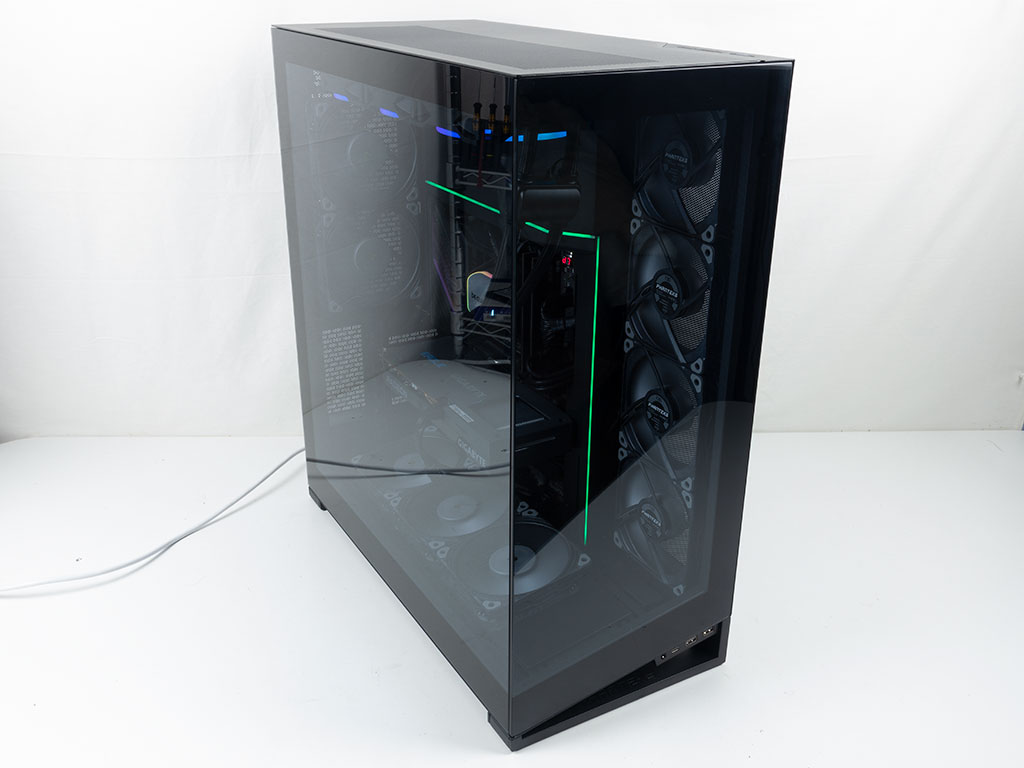
The Phanteks D-RGB controllers main USP is the fact that it comes pre-programmed with a lot more settings than others in the industry. Besides seven rainbow animations, five breathing modes, and 20 other animations in different hues, you may also opt for one of 11 solid color choices as shown below. With all that flexibility and the dual-channel setup of the controller, it really is a shame that you cannot use it with other A-RGB devices besides those from the Phanteks brand.


Feb 6th, 2025 14:08 EST
change timezone
Latest GPU Drivers
New Forum Posts
- Copying big amount data from HDD (1)
- Razer Blade 15 3080Ti Vbios Flash Help (4)
- Last game you purchased? (655)
- AMD on a Gsync Monitor? (13)
- Post your Monster Hunter Wilds benchmark scores (25)
- Optane / 3DXPoint - legacy and fate (2)
- S20+ boot looping (5)
- What are you playing? (22788)
- TOXIC AMD Radeon™ RX 6900 XT (36)
- USB-C JBOD box (20)
Popular Reviews
- Spider-Man 2 Performance Benchmark Review - 35 GPUs Tested
- Kingdom Come Deliverance II Performance Benchmark Review - 35 GPUs Tested
- Corsair Frame 4000D Review
- NVIDIA GeForce RTX 5080 Founders Edition Review
- Formovie Cinema Edge 4K UST Laser Projector Review
- Gigabyte GeForce RTX 5080 Gaming OC Review
- MSI GeForce RTX 5080 Vanguard SOC Review
- AMD Ryzen 7 9800X3D Review - The Best Gaming Processor
- ASUS GeForce RTX 5080 Astral OC Review
- Dan Clark Audio NOIRE X Closed-Back Headphones Review
Controversial News Posts
- NVIDIA 2025 International CES Keynote: Liveblog (470)
- AMD Debuts Radeon RX 9070 XT and RX 9070 Powered by RDNA 4, and FSR 4 (349)
- AMD Radeon 9070 XT Rumored to Outpace RTX 5070 Ti by Almost 15% (285)
- AMD is Taking Time with Radeon RX 9000 to Optimize Software and FSR 4 (256)
- AMD Denies Radeon RX 9070 XT $899 USD Starting Price Point Rumors (239)
- Edward Snowden Lashes Out at NVIDIA Over GeForce RTX 50 Pricing And Value (235)
- AMD Radeon RX 9070 XT & RX 9070 Custom Models In Stock at European Stores (226)
- New Leak Reveals NVIDIA RTX 5080 Is Slower Than RTX 4090 (215)