 9
9
Raijintek Aeneas Review
Value & Conclusion »Test System
| System Parts for Case Reviews | |
|---|---|
| Processor: | Intel Core i5-6600K |
| Motherboards: | ATX: Fatal1ty Z170 Gaming K6+ mATX: ASRock Z170M Pro4S mini-ITX: ASRock Z170M-ITX/ac Provided by: ASRock |
| Graphic Card: | Long: NVIDIA GeForce GTX 280 OEM Short: HIS Radeon 5350 HD |
| Memory: | Crucial Ballistix Sport DDR4 @ 2400MHz 16-16-16 @ 1.35V |
| HDD: | Western Digital 320 GB 7200 RPM |
| SSD: | Patriot Blaze 60GB SATA 6Gbps Provided by: Patriot |
| ODD: | Silverstone DVD-RW Slimline Drive Provided by: Silverstone |
| Power Supply: | Silverstone Strider 600W SFX PSU Provided by: Silverstone |
| Cooling: | Air Cooling Mini-ITX: Thermalright AXP-100R Air Cooling mATX: Thermalright Macho 90 Air Cooling ATX: Thermalright Macho 120 Provided by: PC-COOLING.de |
Assembly
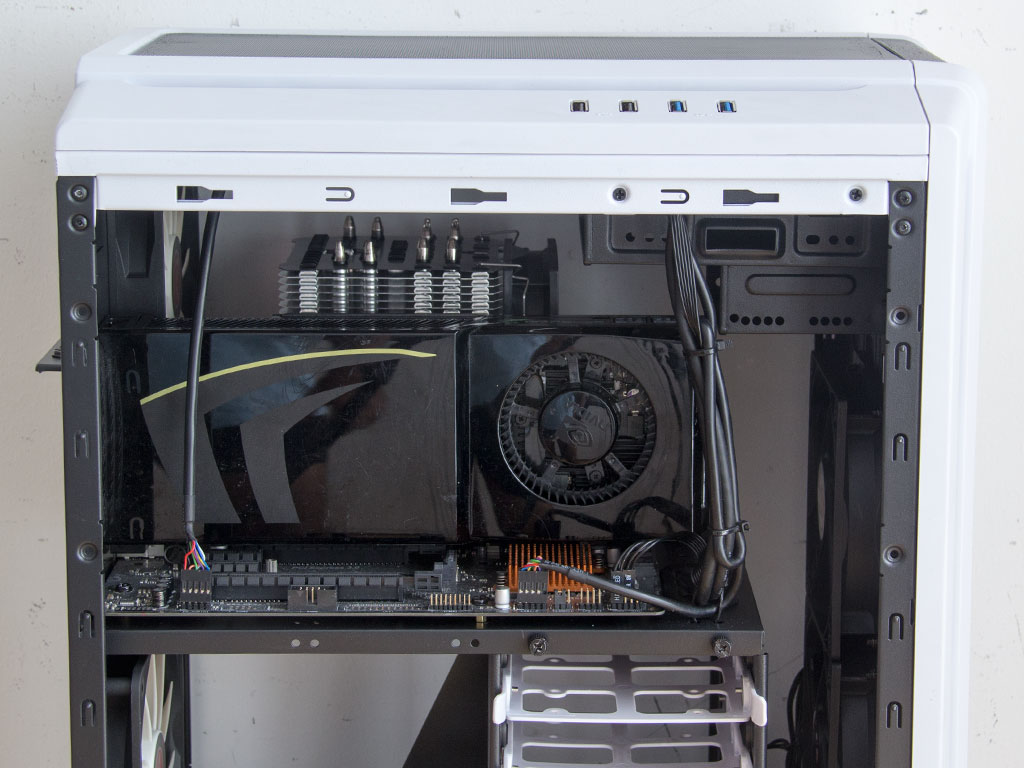
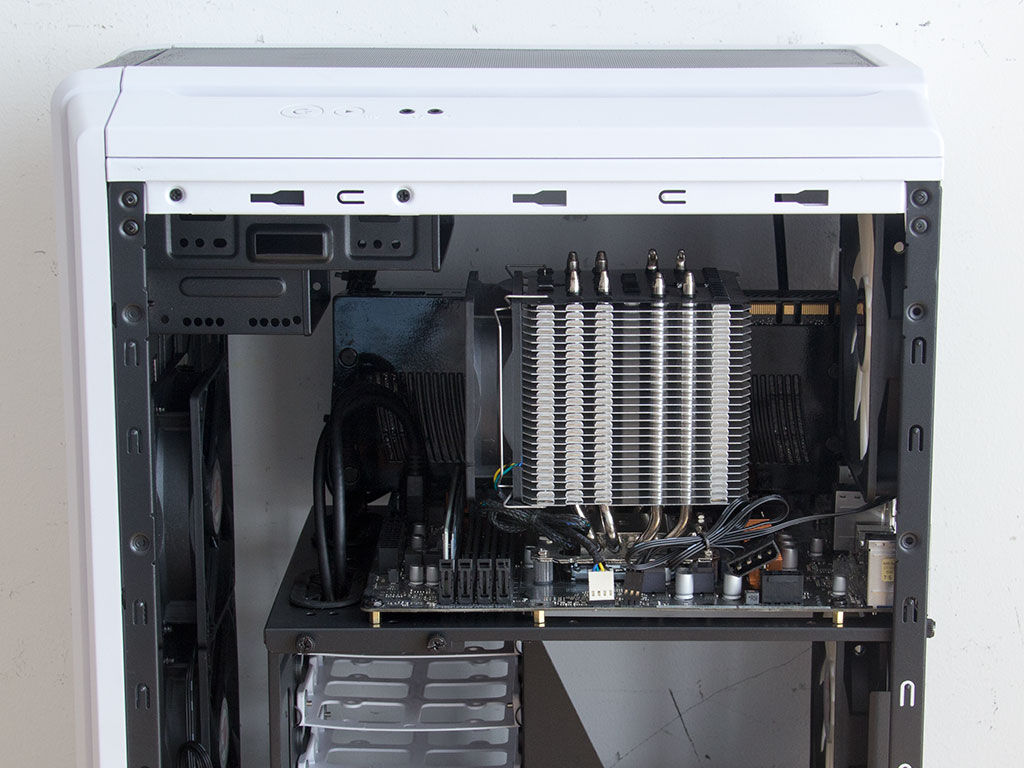
Installing the motherboard is done with the use of spacers and a screwdriver. The opening in the ceiling should allow you to reach everything. CPU coolers of up to 180mm in height should fit within the chassis, so you could even opt to stuff a 140mm tower cooler into the Aeneas.
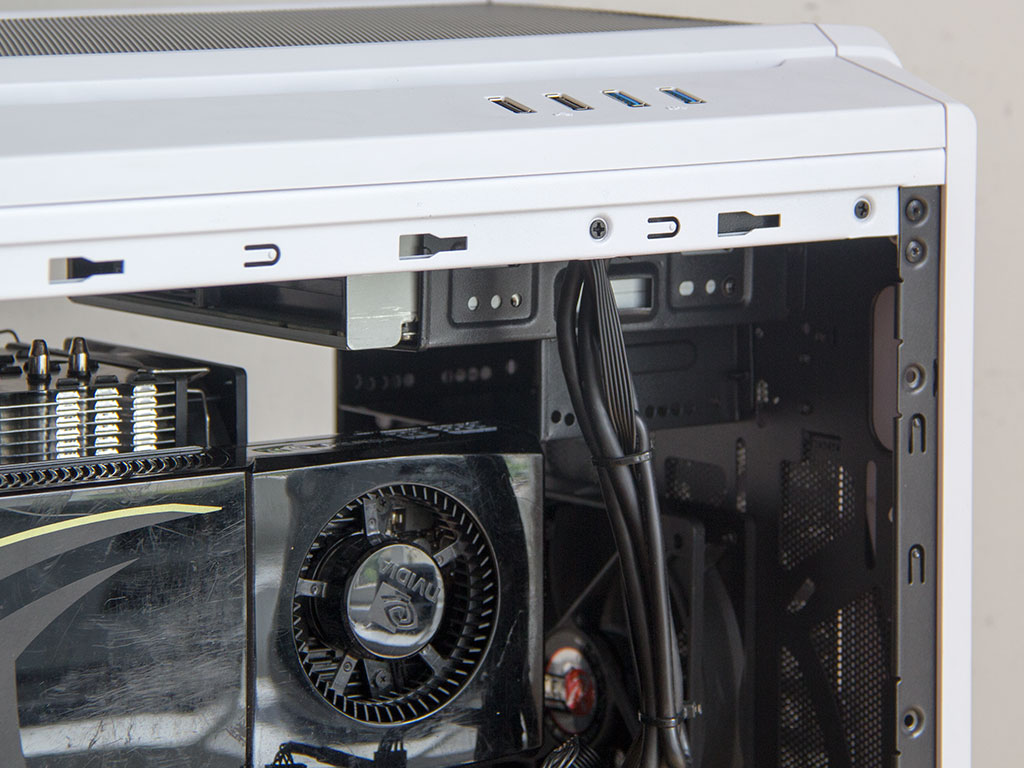
Installing the graphics card is an easy task as the one we used is well below the 310mm maximum the chassis is capable of.

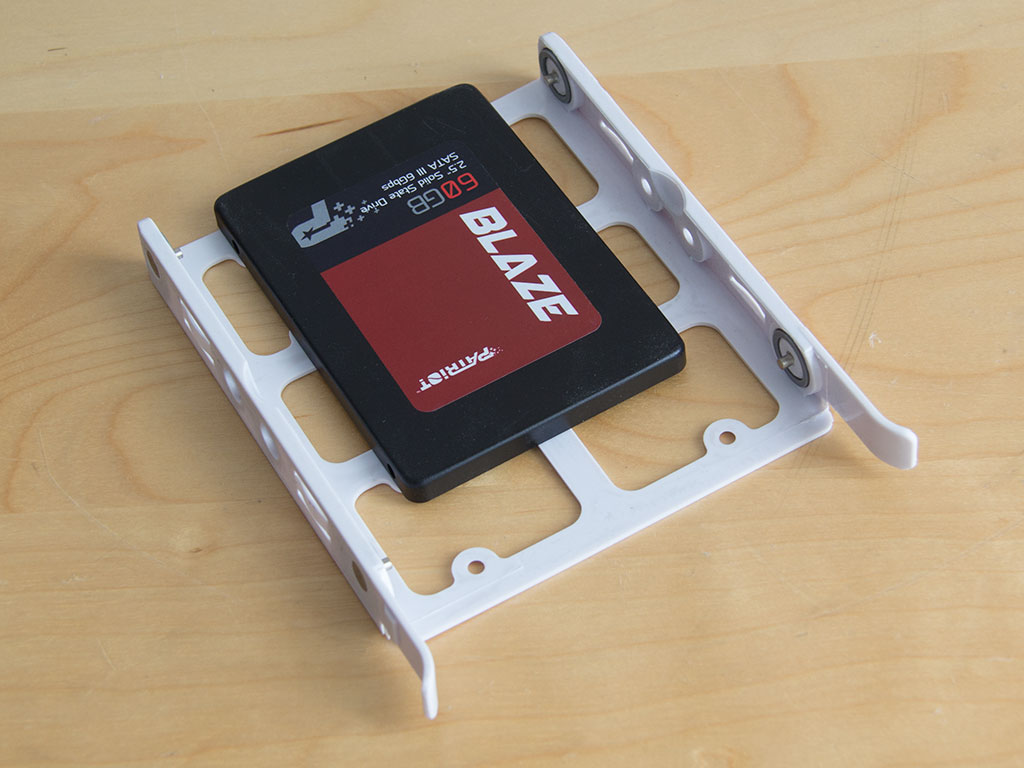
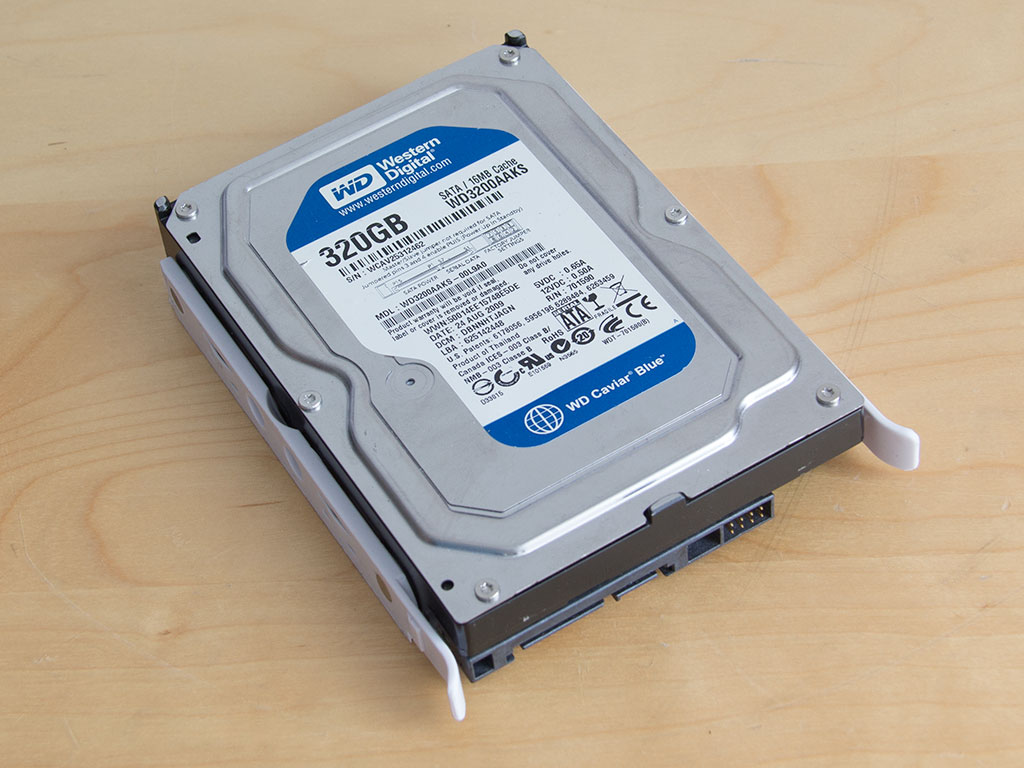
The plastic hard-drive trays are for either 2.5'' or 3.5" drives. You won't need any tools to install 3.5'' drives since the metal pins of the tray will hold such a drive in place. However, you will need to use the supplied screws and a screwdriver with SSDs.
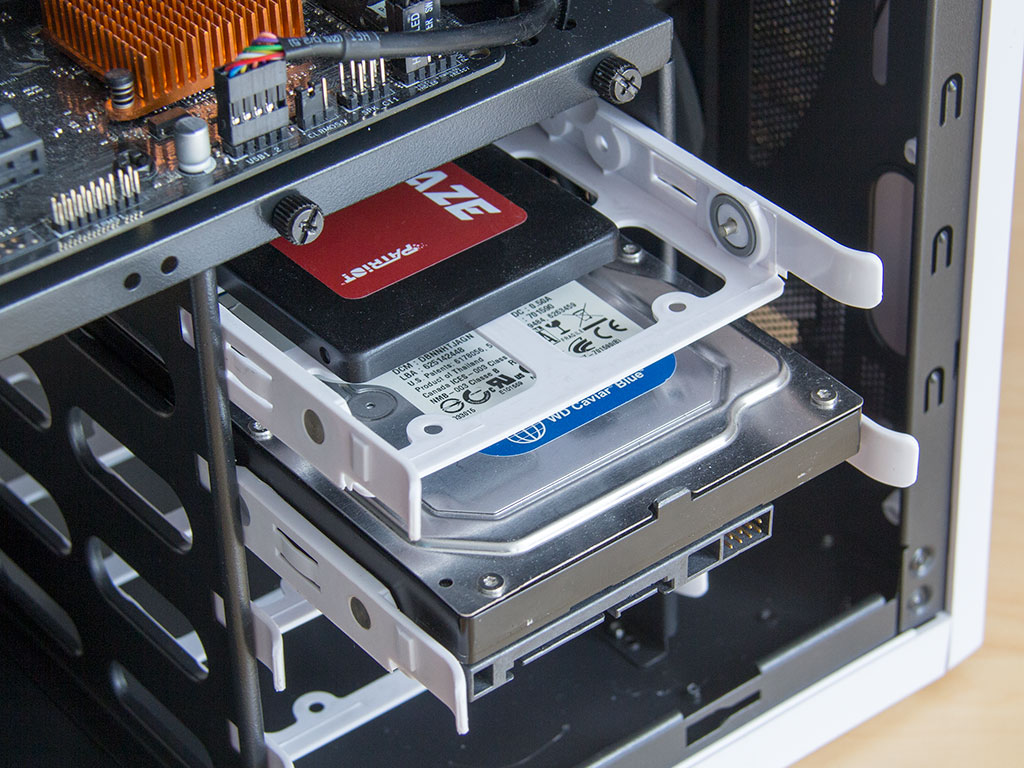
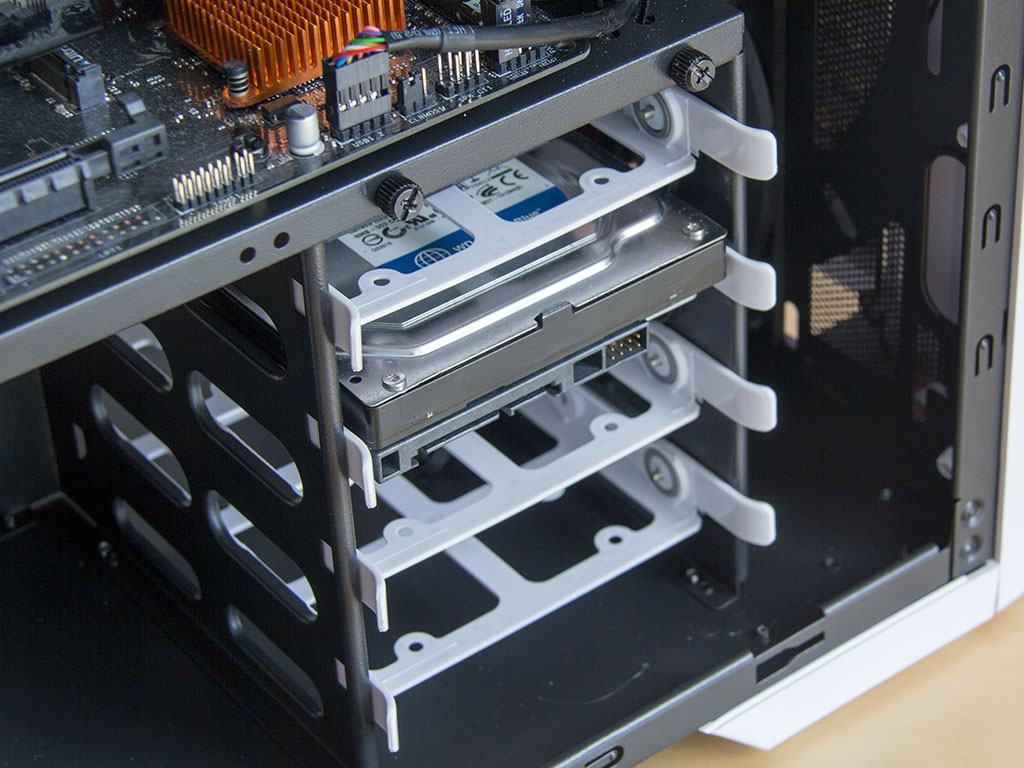
Once the trays are filled, simply slide them into the chassis until they snap into place. This is not an issue for those filled with a 3.5" drive, but SSD-equipped trays have a bit more play due to the somewhat soft plastic these trays are made out of.
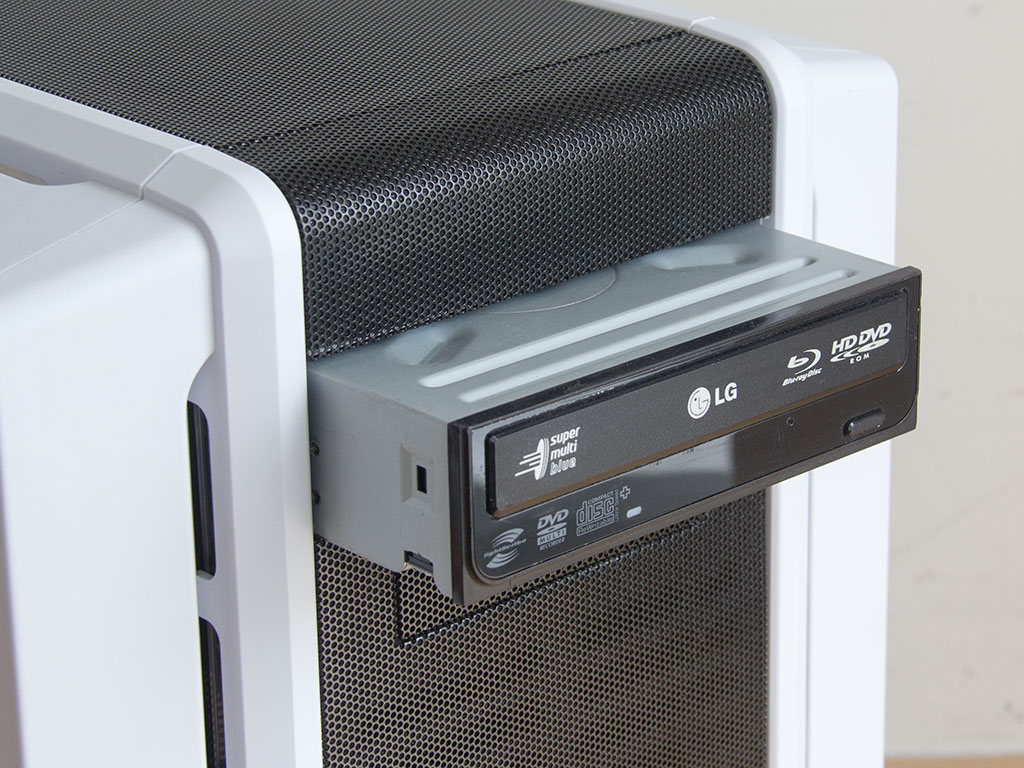
Installing an optical drive is done by removing the front cover and sliding the drive into place. Traditional screws are supplied to secure it in place.
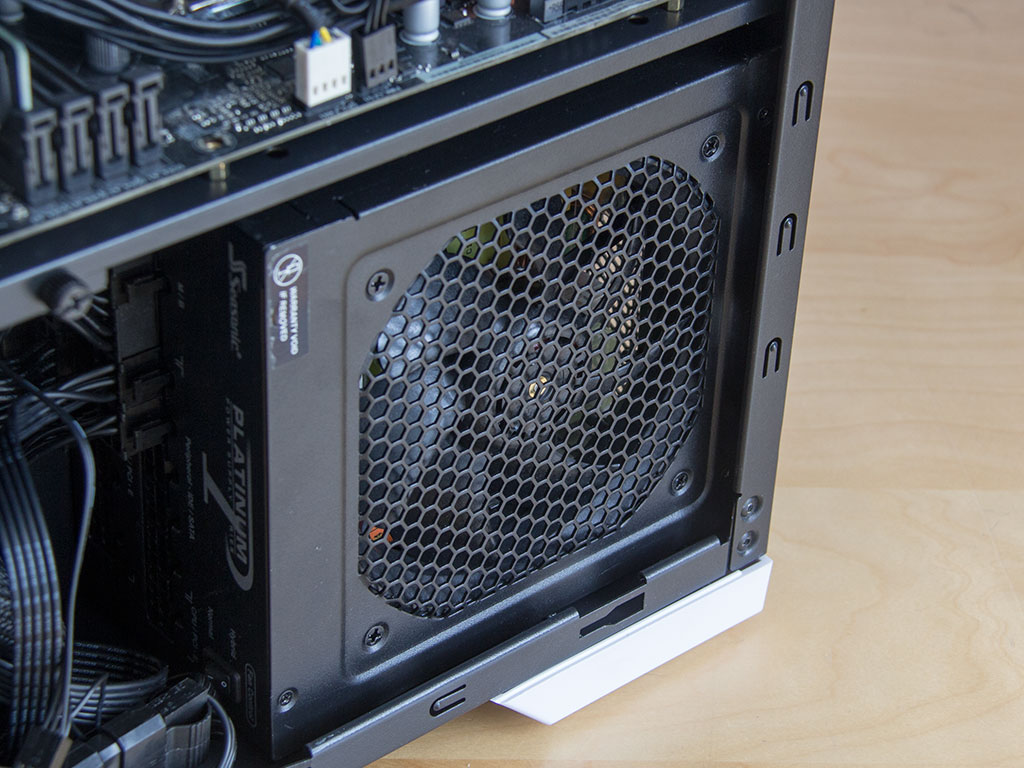
The PSU is also held in place by its normal screws, but its fan should really be facing outward to make sure it can draw cool, fresh air in through the dust filter instead of having to work with what warm air there is inside the chassis.
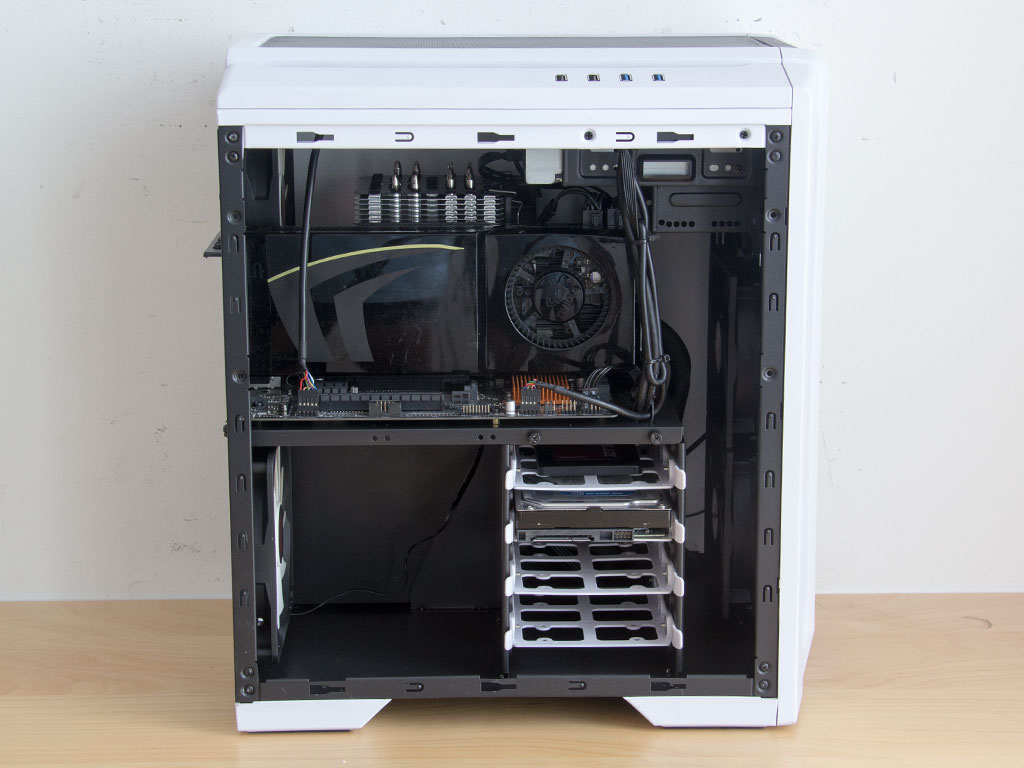
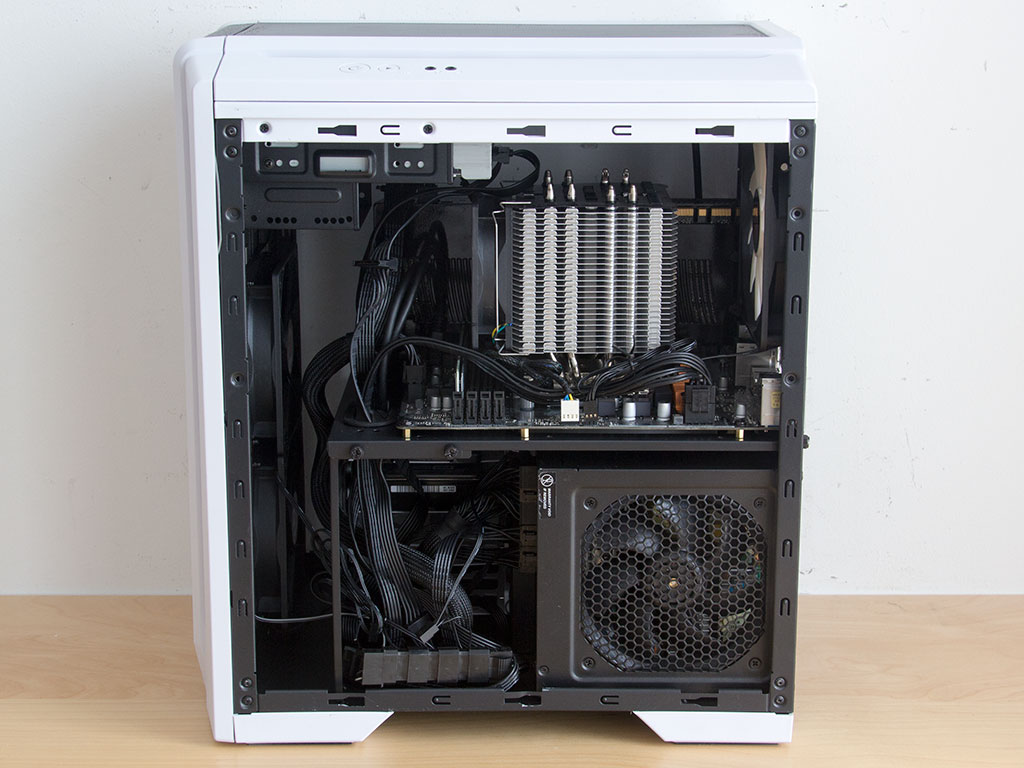
With everything installed, the area around the motherboard is reasonably clean, while the big cable mess can be found by the PSU bay. Those who go for the windowed version of the chassis will just have to make sure to hide as much as possible to have the GPU-equipped side look clean.
Finished Looks
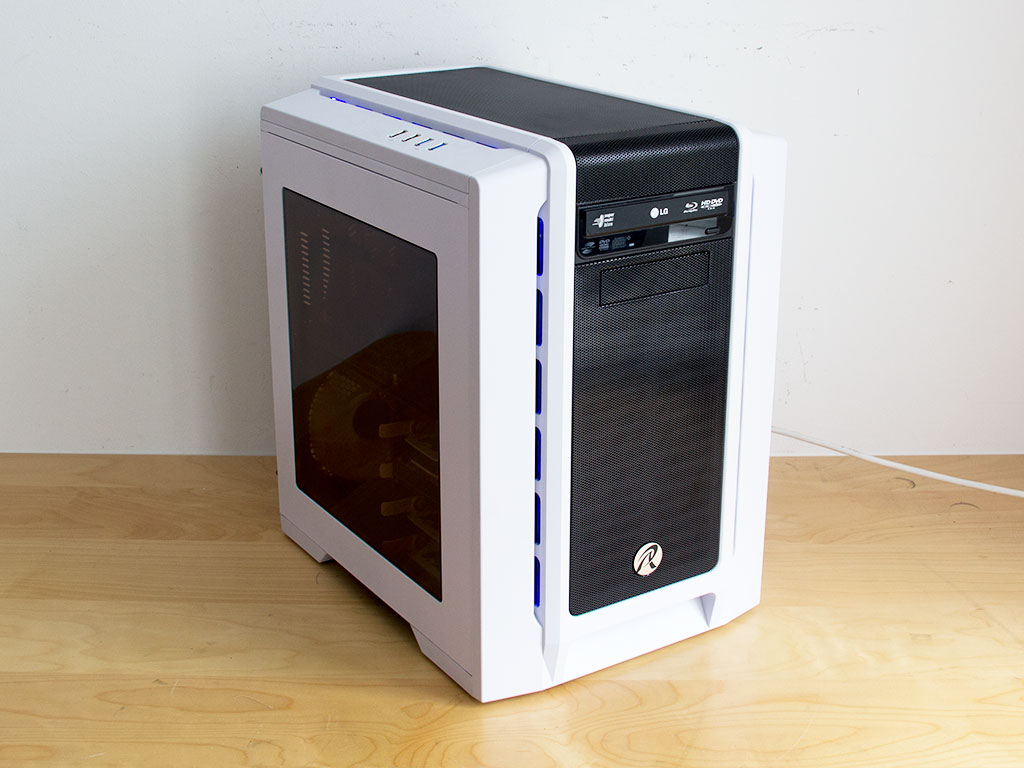
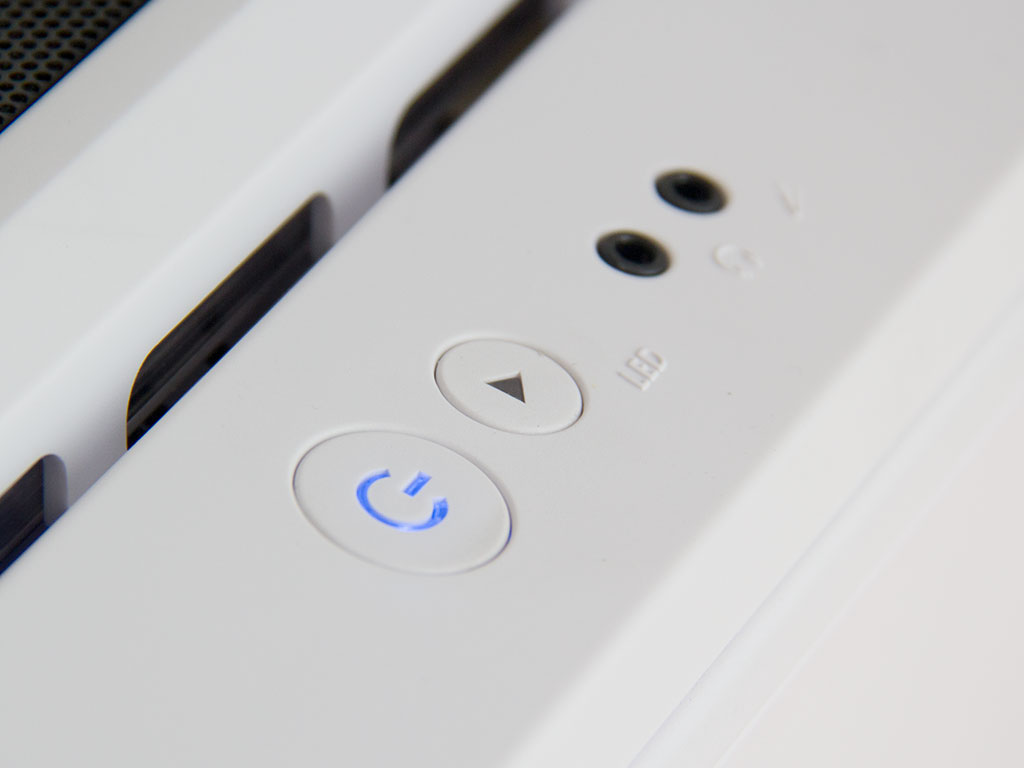
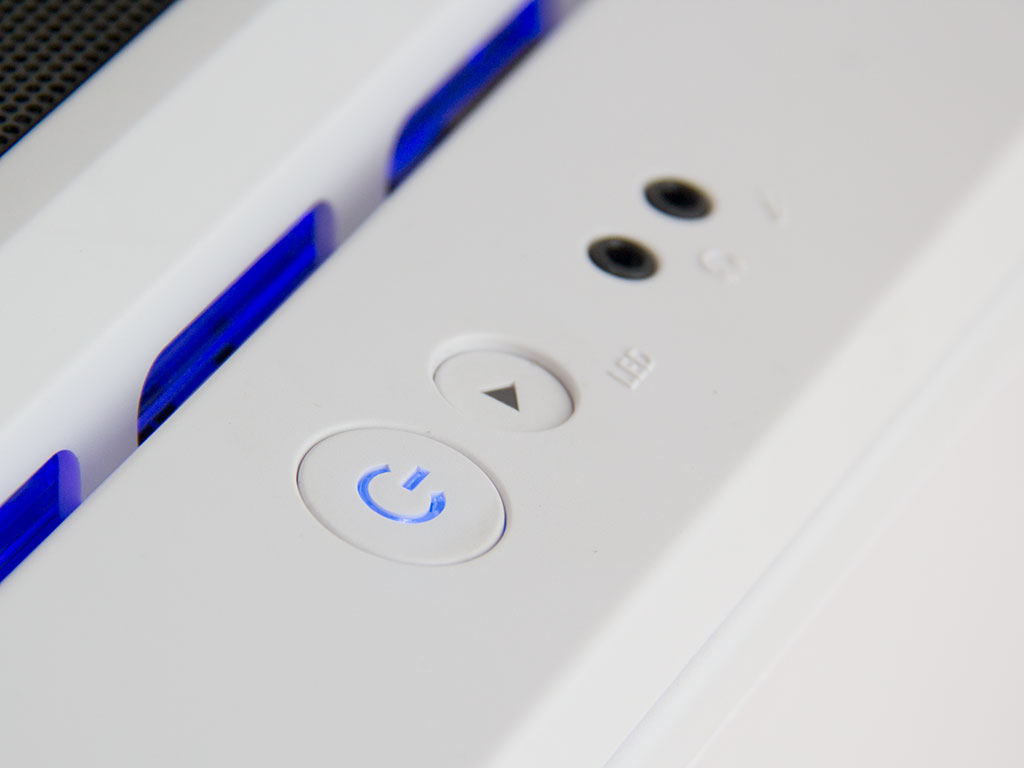
The LEDs shine through the front clearly as soon as you turn it on. This is great for those who want a bit of bling and use the chassis as a gaming rig. However, those who don't like these may simply turn them off with the push of a button. The power button also lights up in blue to let you know that everything is up and running.
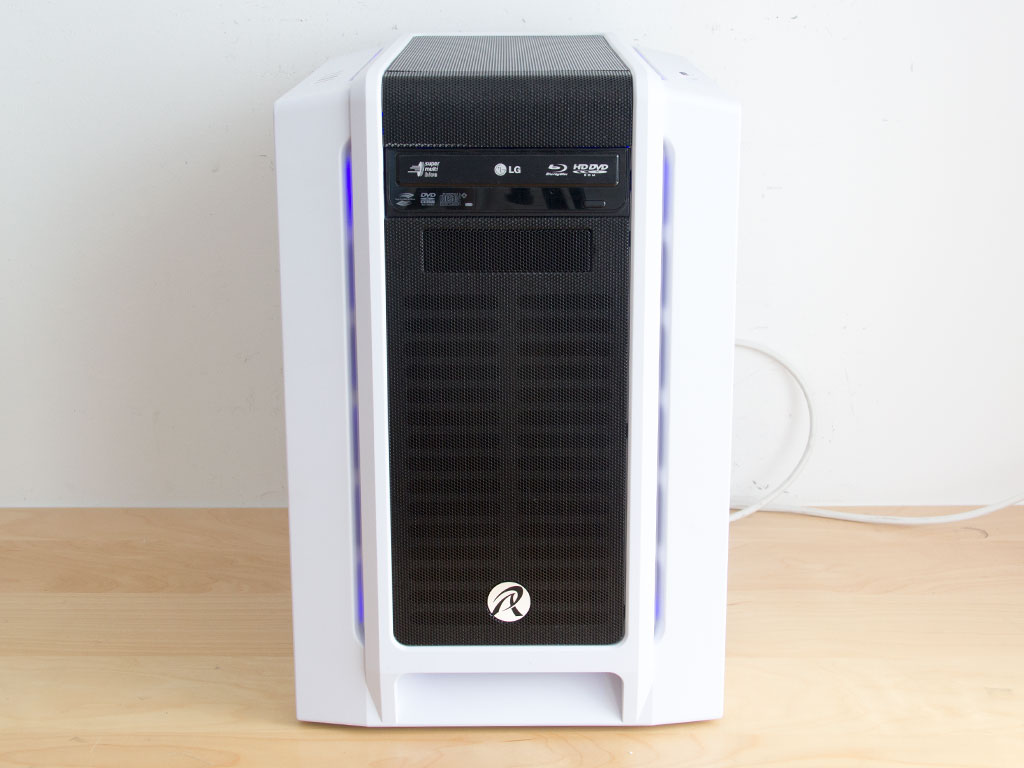
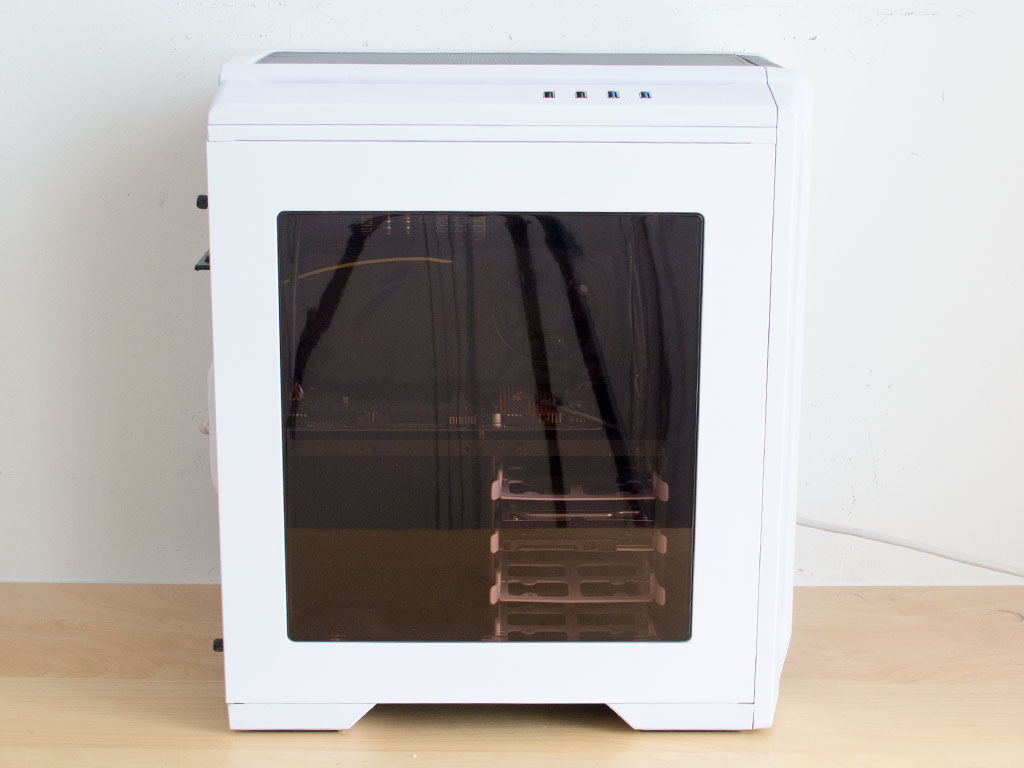
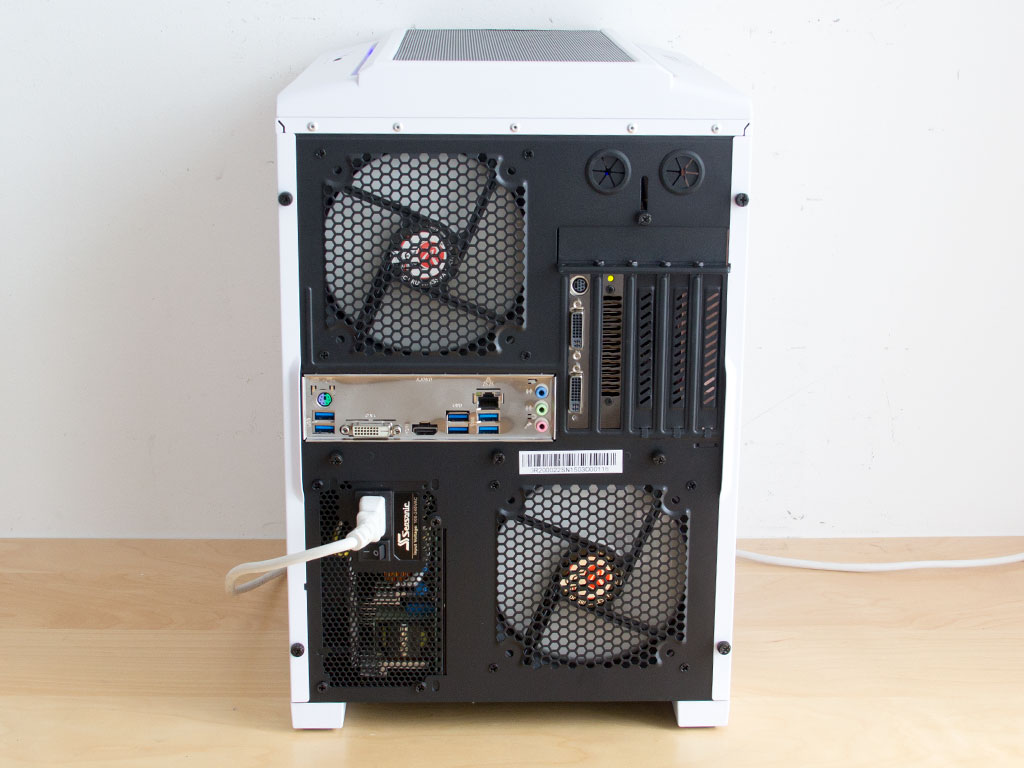

Besides the glow through the front, there is nothing else you can see through the metal mesh. The large window also allows you to see all the cool hardware inside. In the rear, everything is where you would expect it to be, with the PSU cable out of the way toward the bottom.
Feb 5th, 2025 22:53 EST
change timezone
Latest GPU Drivers
New Forum Posts
- Wow YouTube is a Hog (69)
- Suddenly, Voltage went up (3)
- Post your Monster Hunter Wilds benchmark scores (7)
- 3D Printer Club (401)
- What are you playing? (22776)
- RTX 2070 Super build (50)
- 140mm Fan Question (30)
- RX 580 Aorus with wrong vbios (3)
- I find the lack of Battle Mage owners threads disturbing. My Onix Odyssey B580 arrived. (32)
- TPU's Nostalgic Hardware Club (19930)
Popular Reviews
- Spider-Man 2 Performance Benchmark Review - 35 GPUs Tested
- Corsair Frame 4000D Review
- Kingdom Come Deliverance II Performance Benchmark Review - 35 GPUs Tested
- NVIDIA GeForce RTX 5080 Founders Edition Review
- Gigabyte GeForce RTX 5080 Gaming OC Review
- MSI GeForce RTX 5080 Vanguard SOC Review
- AMD Ryzen 7 9800X3D Review - The Best Gaming Processor
- ASUS GeForce RTX 5080 Astral OC Review
- NVIDIA GeForce RTX 5090 Founders Edition Review - The New Flagship
- Marvel's Spider-Man 2 Handheld Performance Review
Controversial News Posts
- NVIDIA 2025 International CES Keynote: Liveblog (470)
- AMD Debuts Radeon RX 9070 XT and RX 9070 Powered by RDNA 4, and FSR 4 (349)
- AMD Radeon 9070 XT Rumored to Outpace RTX 5070 Ti by Almost 15% (285)
- AMD is Taking Time with Radeon RX 9000 to Optimize Software and FSR 4 (256)
- AMD Denies Radeon RX 9070 XT $899 USD Starting Price Point Rumors (239)
- Edward Snowden Lashes Out at NVIDIA Over GeForce RTX 50 Pricing And Value (235)
- AMD Radeon RX 9070 XT & RX 9070 Custom Models In Stock at European Stores (226)
- New Leak Reveals NVIDIA RTX 5080 Is Slower Than RTX 4090 (215)