 5
5
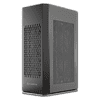
Raijintek Ophion Elite Review
Thermal Stress Test »Review System
| System Parts for Case Reviews | |
|---|---|
| Processor: | Intel Core i5-12600K Provided by: Intel |
| Motherboards: | ATX: ASUS ROG Strix Z690-E Gaming WiFi mATX: ASUS TUF Gaming B660M-PLUS WiFi D4 ITX: ASUS ROG STRIX Z690-I Gaming WiFi Provided by: ASUS |
| Graphics Card: | Gigabyte Radeon RX 6600 Eagle Provided by: Gigabyte ZOTAC GAMING GeForce RTX 3060 Ti Twin Edge OC Provided by: Zotac |
| Memory: | 32 GB XPG LANCER RGB DDR5 6000 MHz 32 GB XPG CASTER DDR5 6400 MHz 32 GB XPG HUNTER DDR5 5200 MHz Provided by: ADATA |
| HDD: | Toshiba MG08ADA400E 7200 RPM SATA III Provided by: Toshiba |
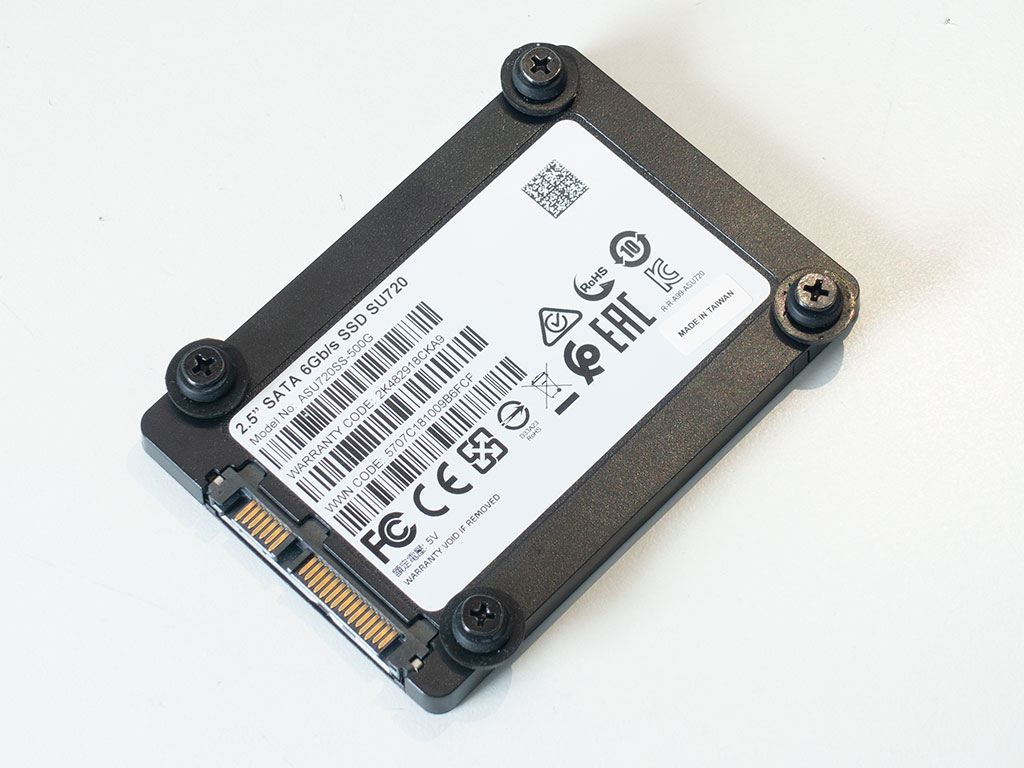
| SSD: | ATX:XPG GAMMIX S70 BLADE 1 TB mATX: ADATA LEGEND 840 512 GB ITX: XPG SPECTRIX S20G 500 GB ADATA Ultimate SU800 512 GB ADATA Ultimate SU720 500 GB Provided by: ADATA |
| Power Supply: | ATX: Fractal Design ION+ 650W 80 Plus Gold SFX: Fractal Design ION SFX-L 650W 80 Plus Gold Provided by: Fractal Design |
| Cooling: | be quiet! Pure Loop 120/240/280/360 Provided by: be quiet! |
Assembly
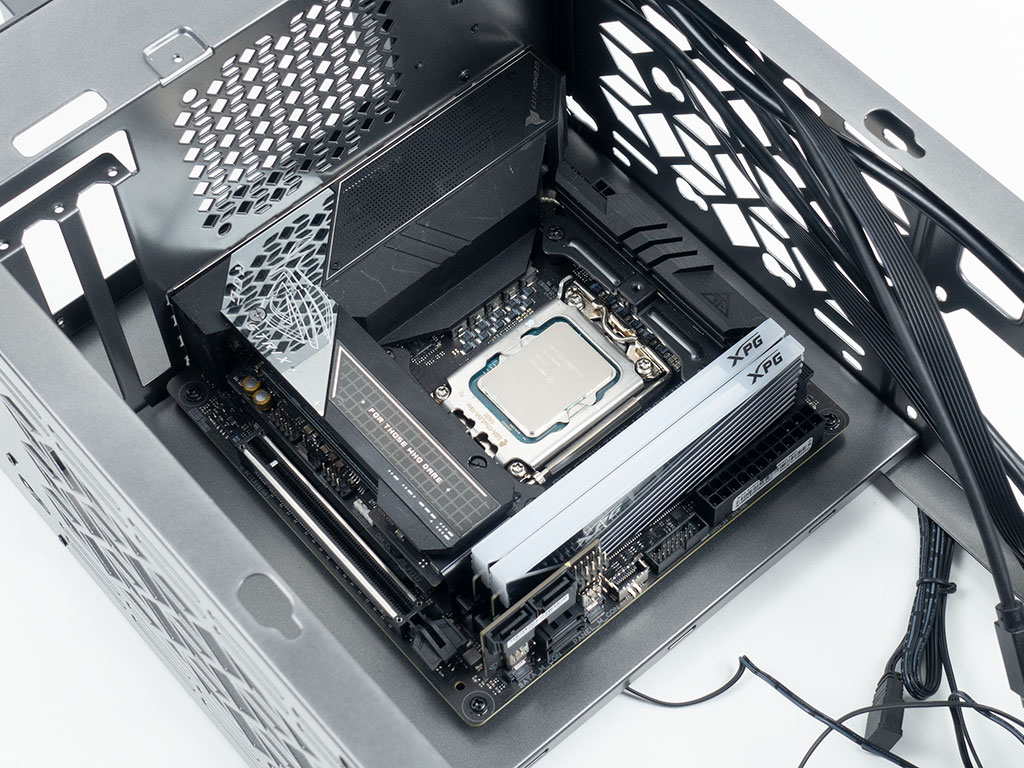
Installing the motherboard is done by traditional means using spacers and screws. The board sits up right against the top but there is some room on all other sides to give you a bit of an easier time connecting wires.
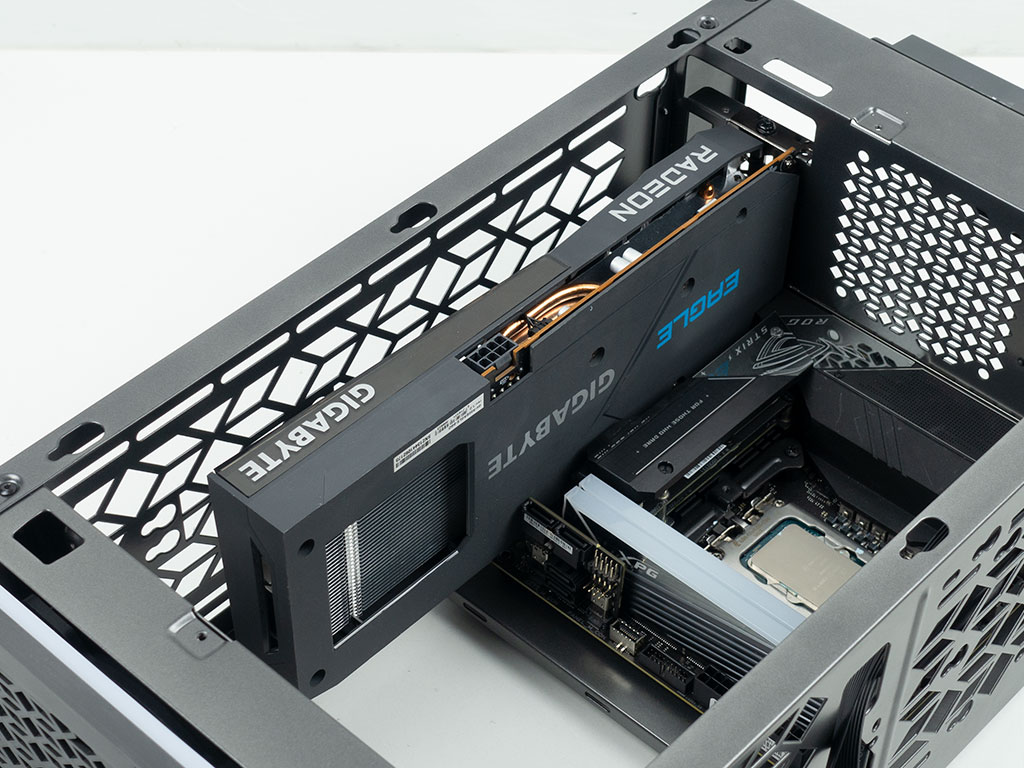
Initially we had installed the GPU first but turns out one should really add the power supply initially, especially if it is of the ATX variety. Our 150 mm long unit fit like a glove with the modular cables. There is loads of room for triple-slot GPUs and plenty of width as well. While you are limited to 340 mm in length, that should still give you quite the selection to pick from.
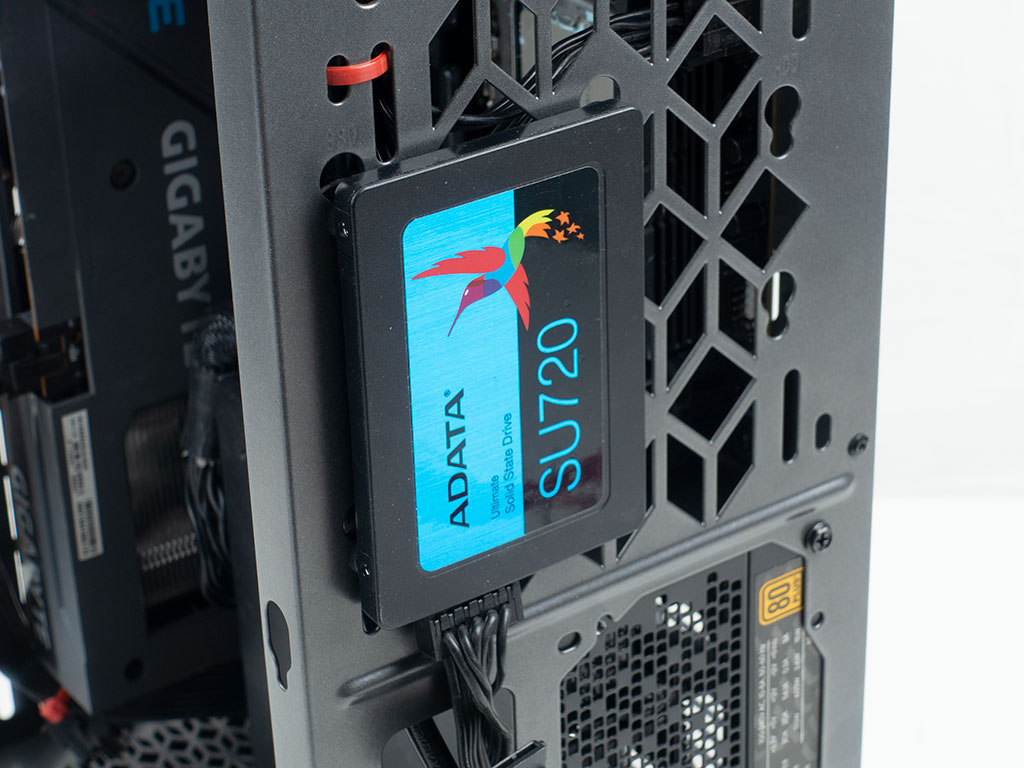
Installing drives, regardless of 2.5 or 3.5" is the same. You simply equip the drives with the rubber rings and screws and the push them into the placement of your choice. This means you should be able to swap and add drives without having to take your whole system apart.

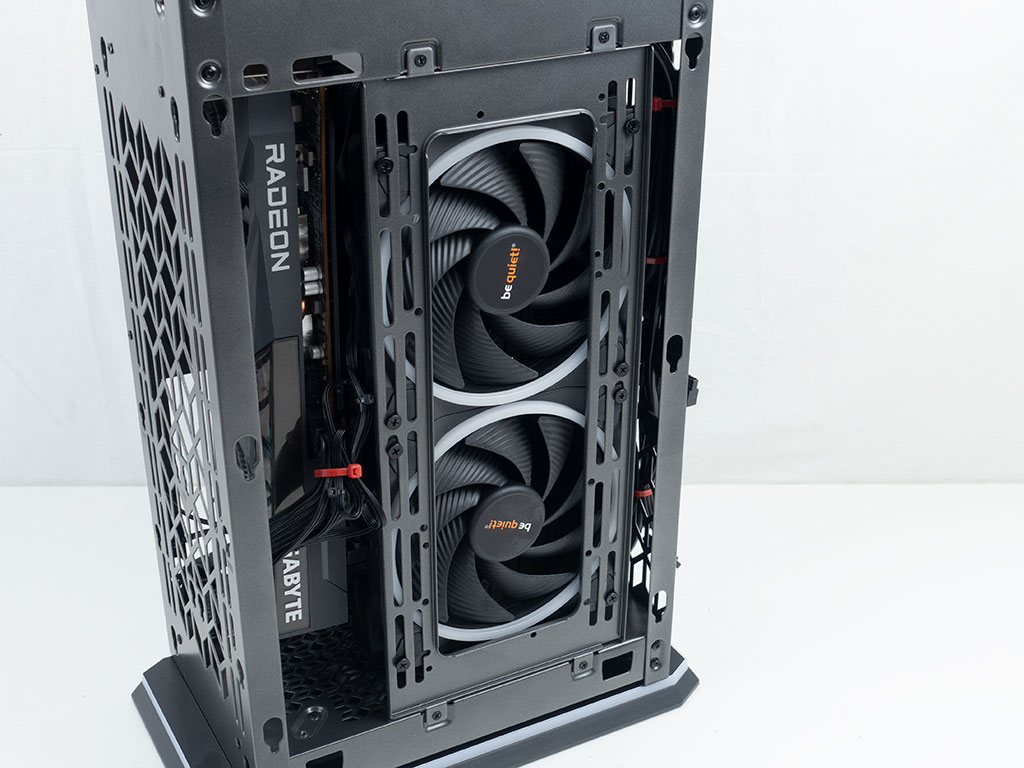
Interestingly enough, Raijintek mentions AIO compatibility of up to 240 mm in size, but we managed to install a 280 mm AIO without any issues after making sure our internal cables where out of the way. Initially the hope was to flip the mounting bracket and have the fans push air out the side of the chassis so that it gives us a few extra millimeter of room but in the end we installed the AIO with the fans on the exterior pulling cool air into the case and through the radiator. The 280 mm unit fit perfectly fine, even with the in-line pump which adds further bulk around the top.
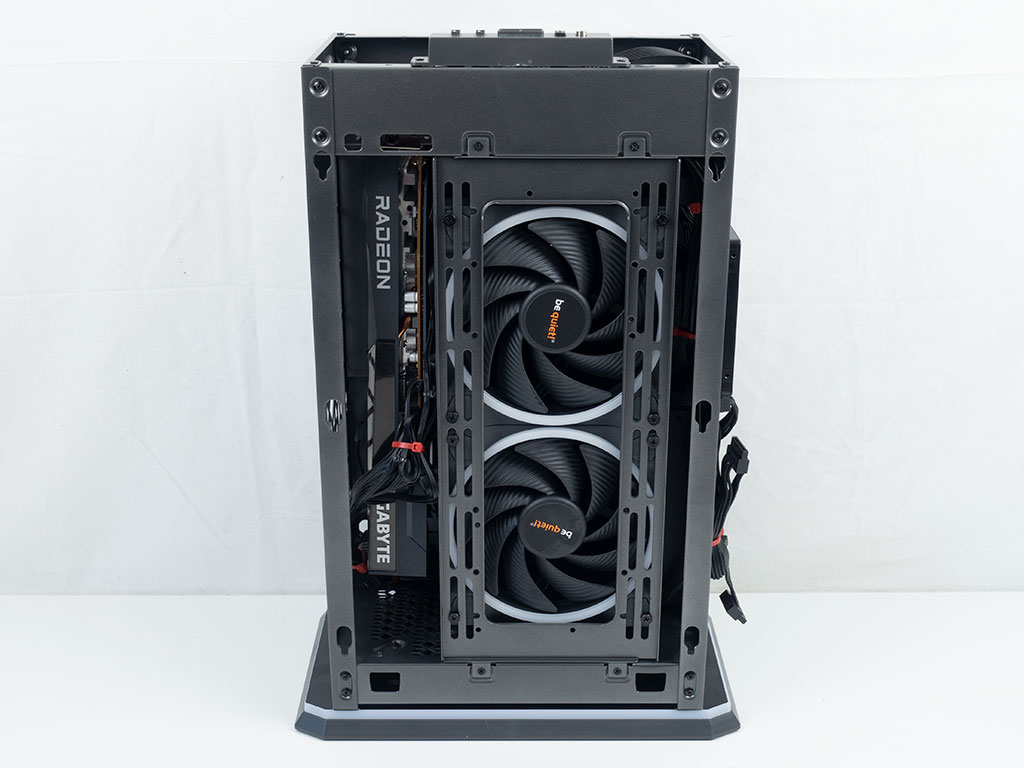
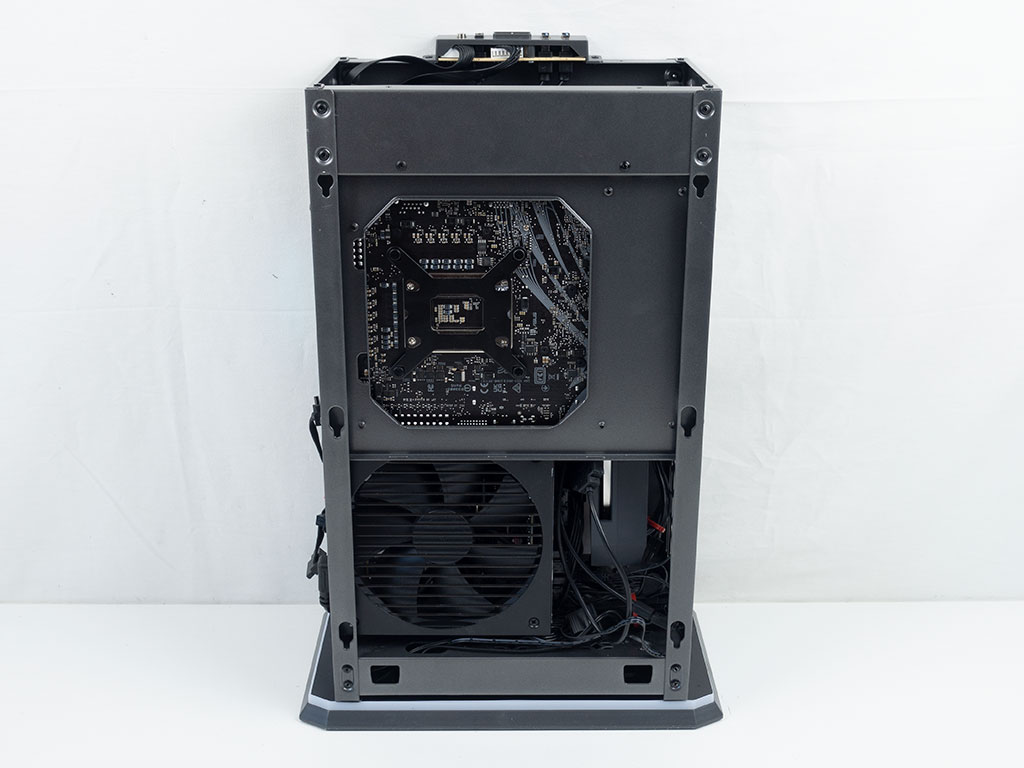
With all the components installed, there is essentially no wasted space anywhere within the chassis. The main side is completely filled with the AIO and you can see the GPU to the side clearly. There is a tad bit of flex on the GPU which is due to the PSU, so if you were to use a smaller variant like SFX-L, there would be no such issues. In the end, all that doesn't matter as it all fits!
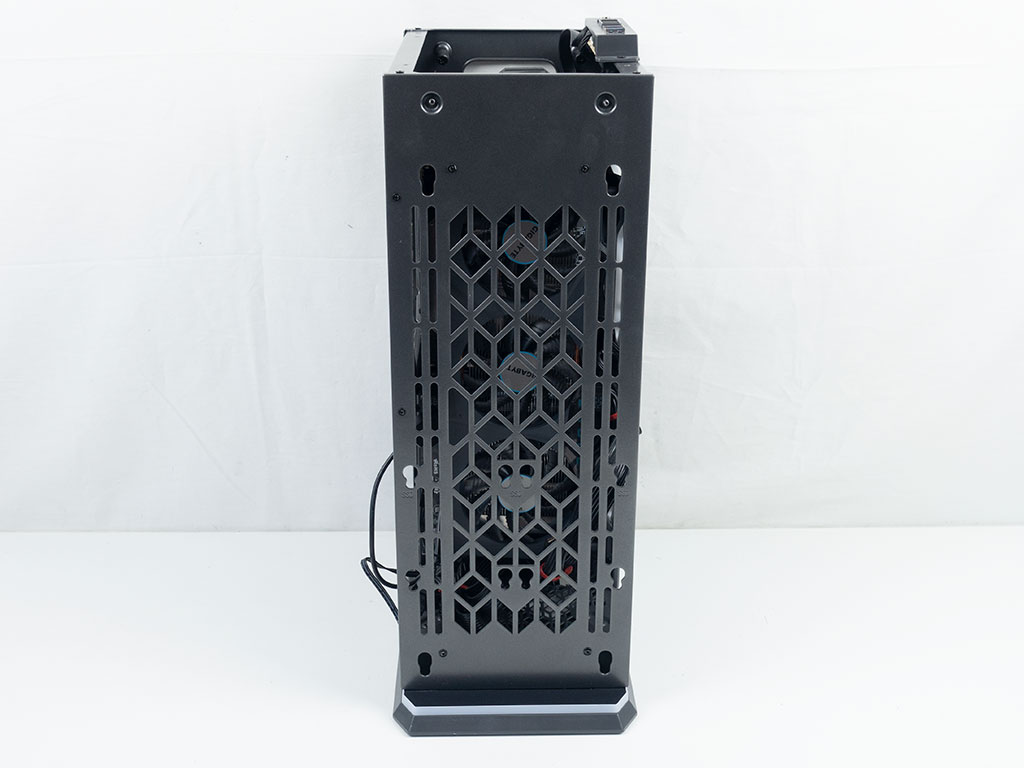
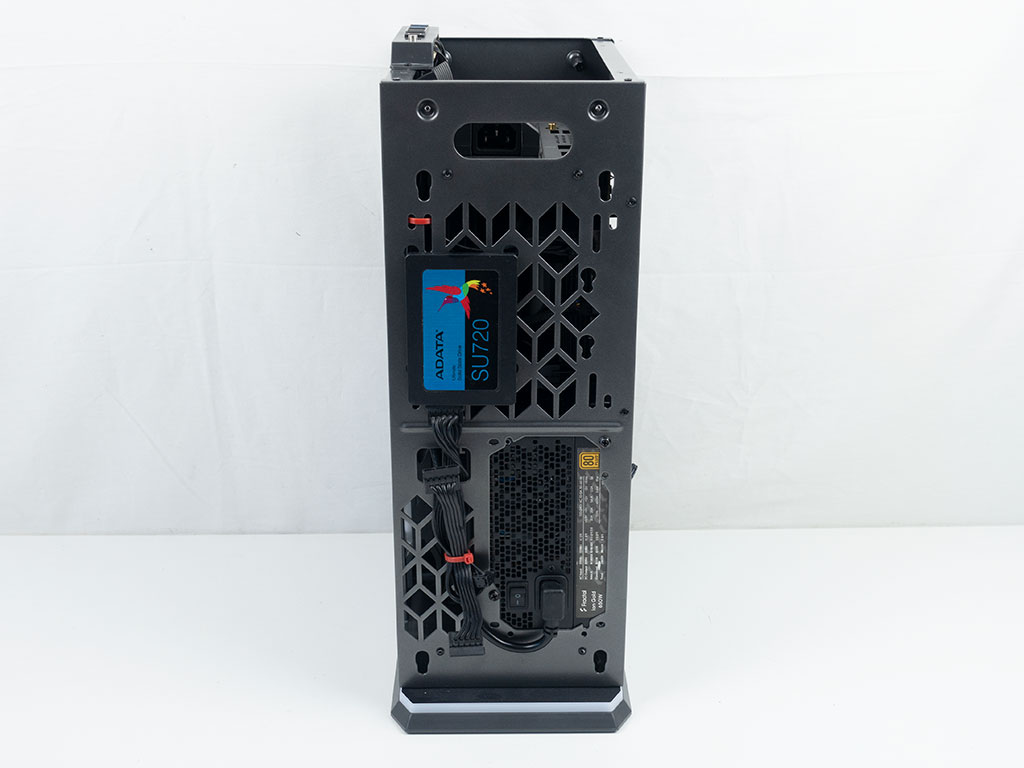
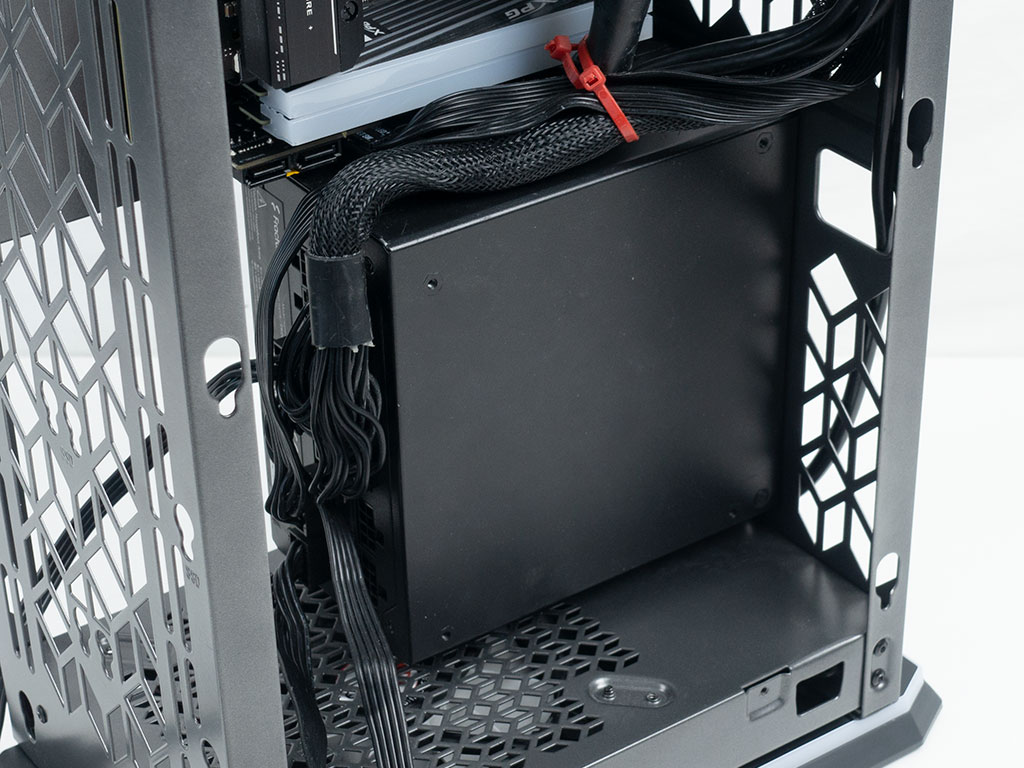
Considering how full the interior is, looking at the front of the chassis in this state is quite the revelation as you can clearly see all the fans of the GPU completely unobstructed, so your GPU will always have access to fresh, cool air. In the rear, the PSU cable can easily connect to the ATX plug and we even managed to zip tie that excess cable for the 2.5" drive to the exterior without issue.
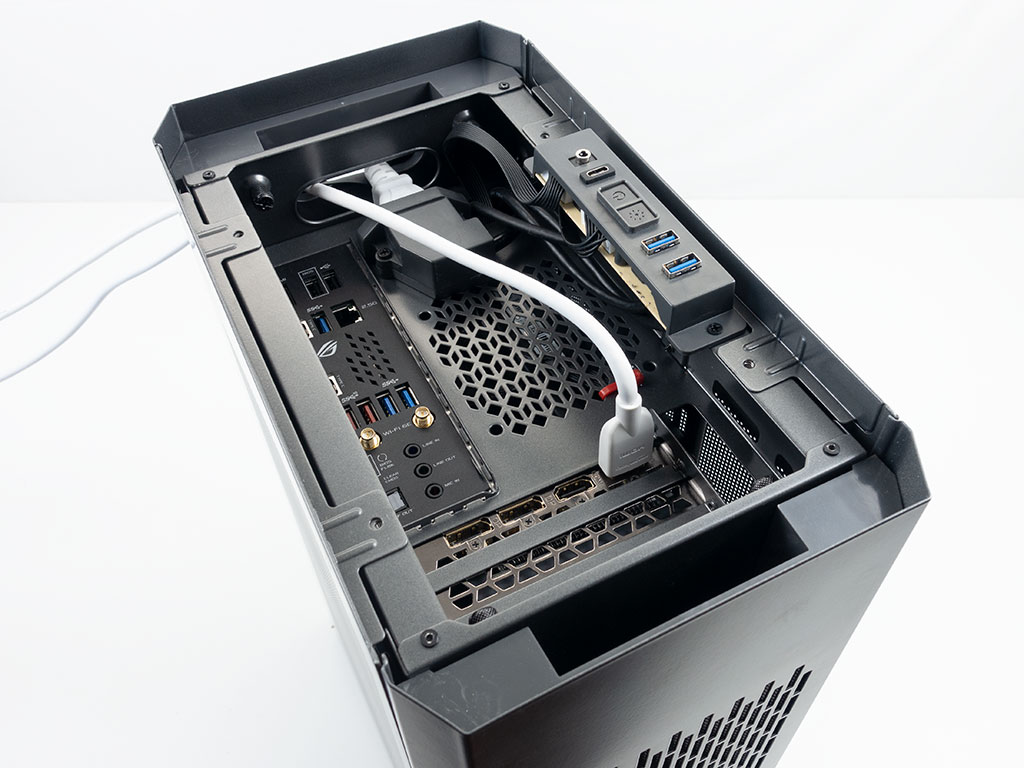
Before closing things off, you should plug in the exterior cables but access to these is easy enough thanks to the removable top. there is also enough depth so that you can utilize classic cables for the most part instead of special angled ones. The only exception to this may be DisplayPort leads as those tend to be bulky.
Finished Looks
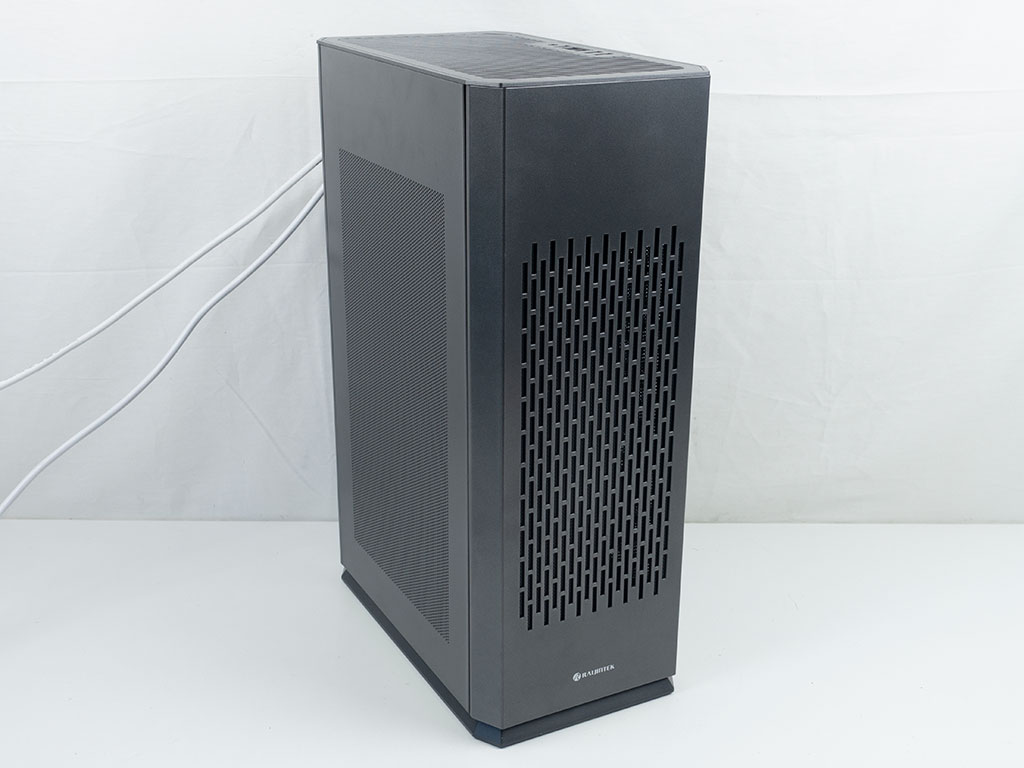
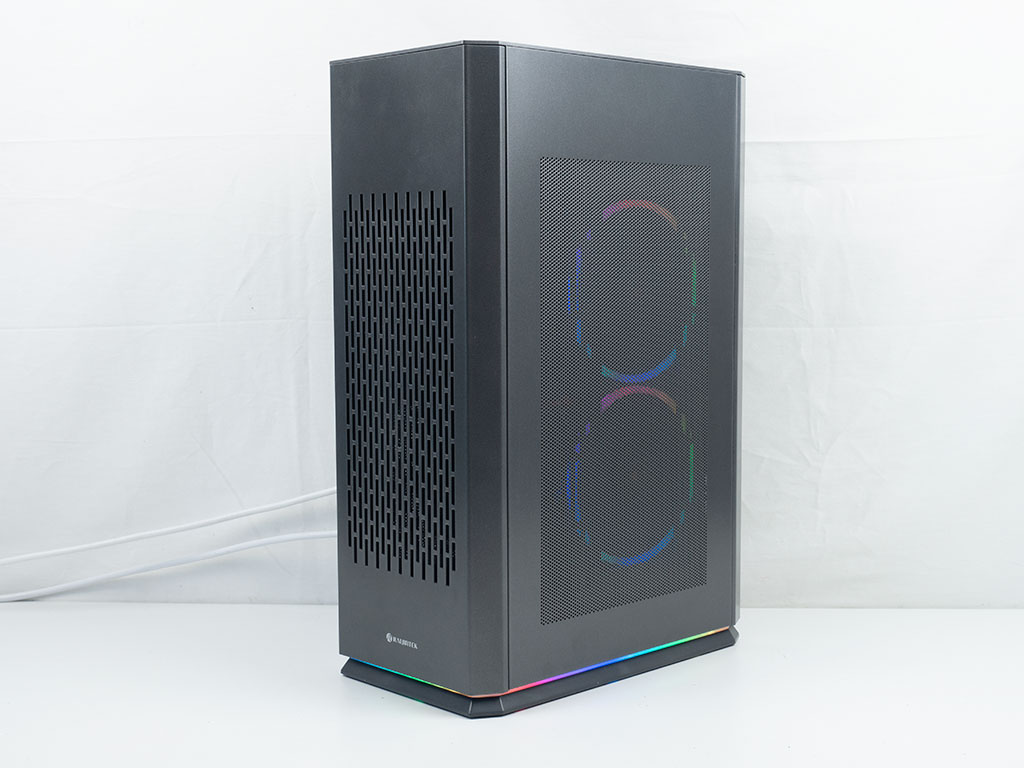
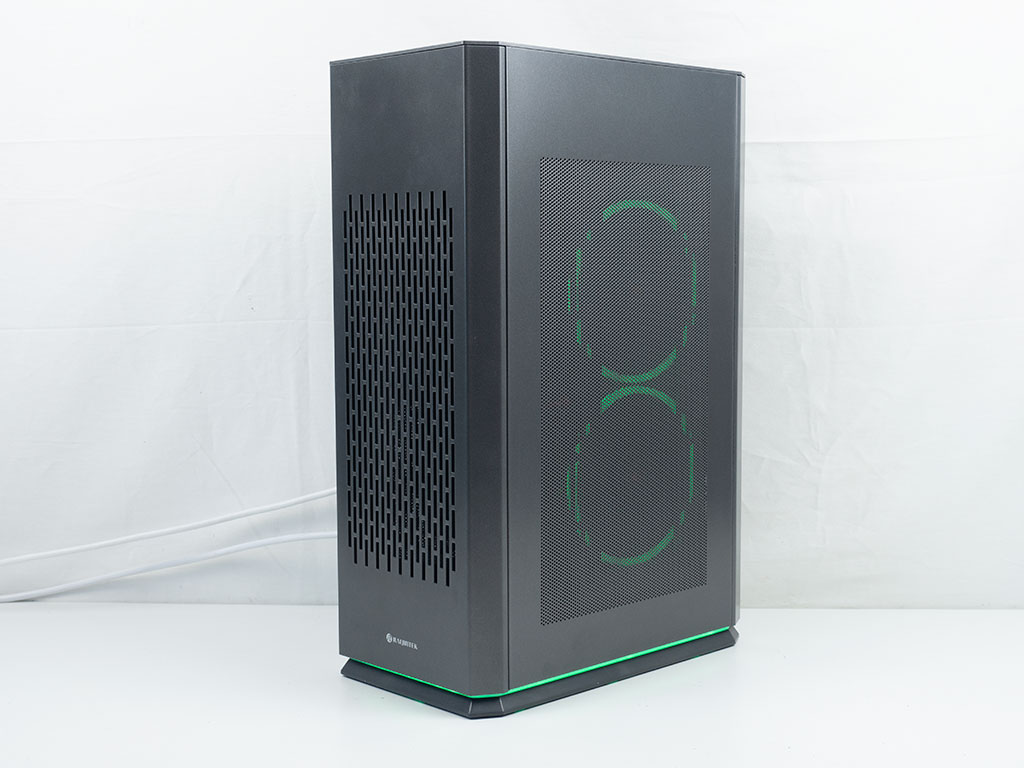
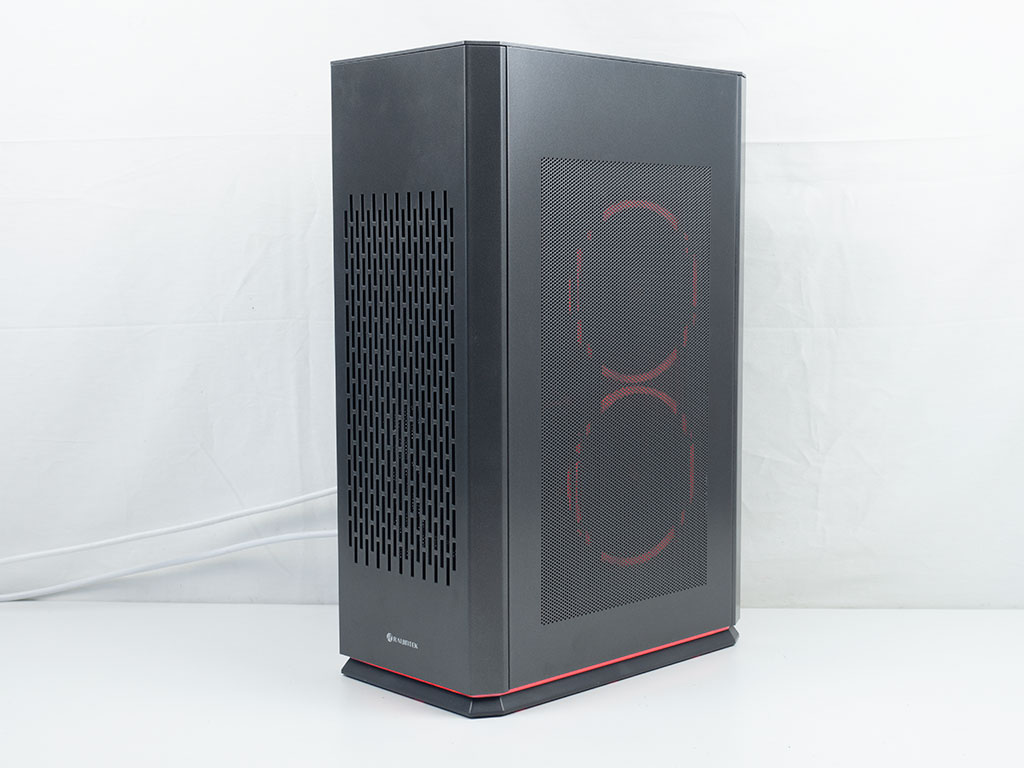
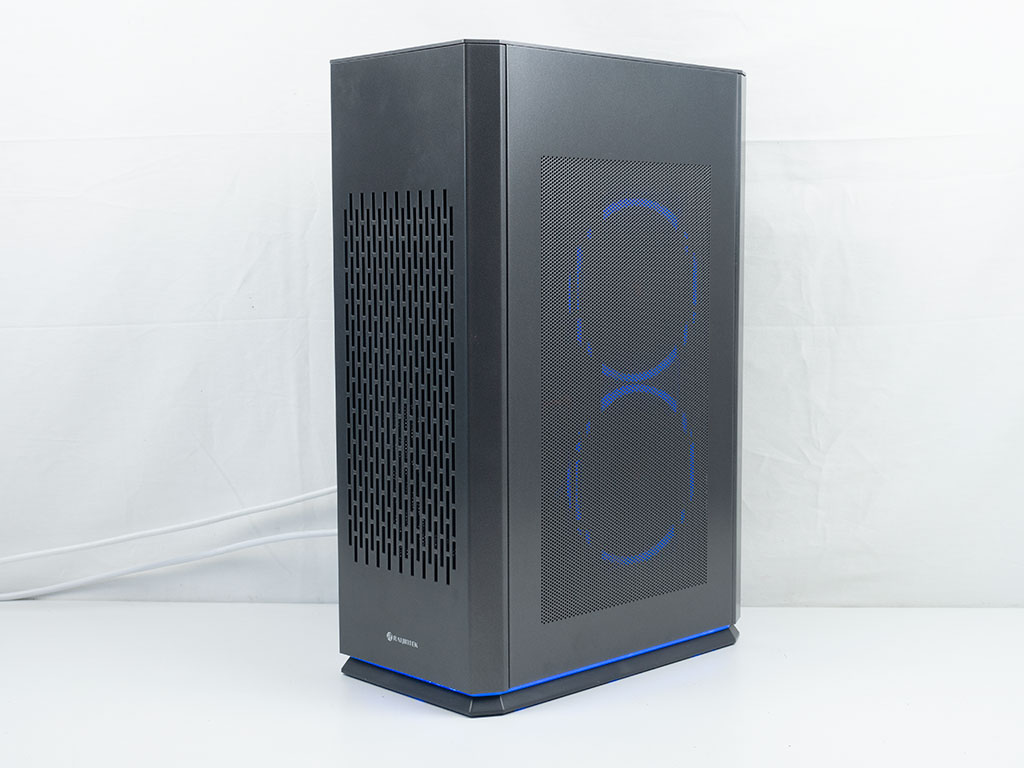
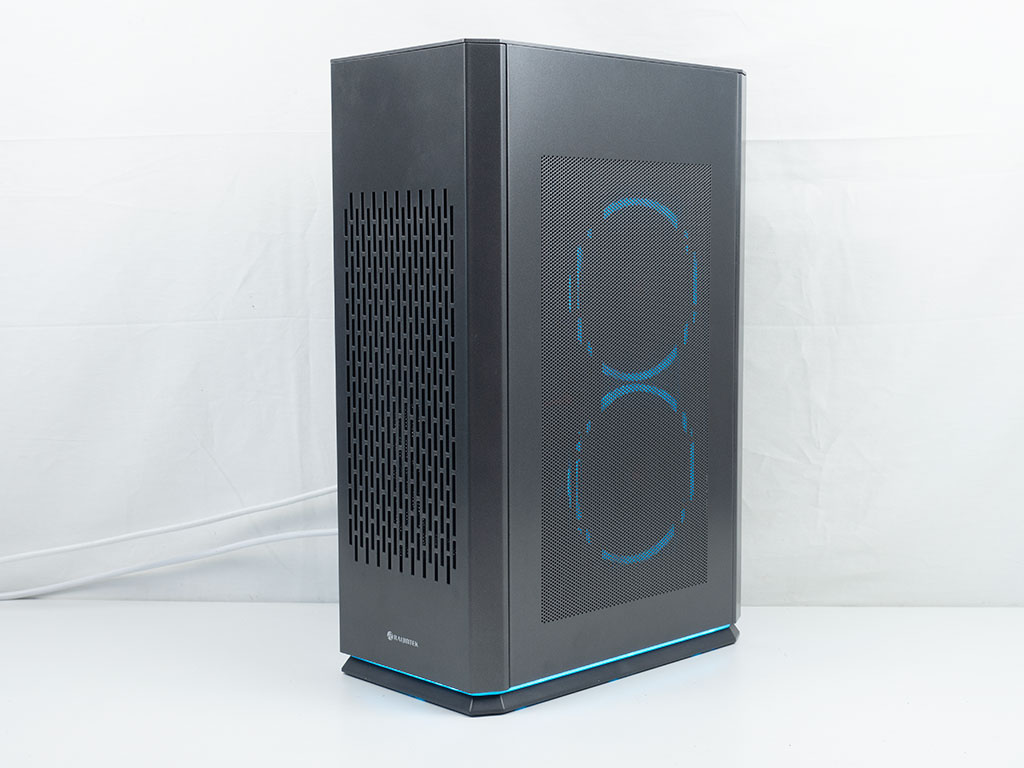
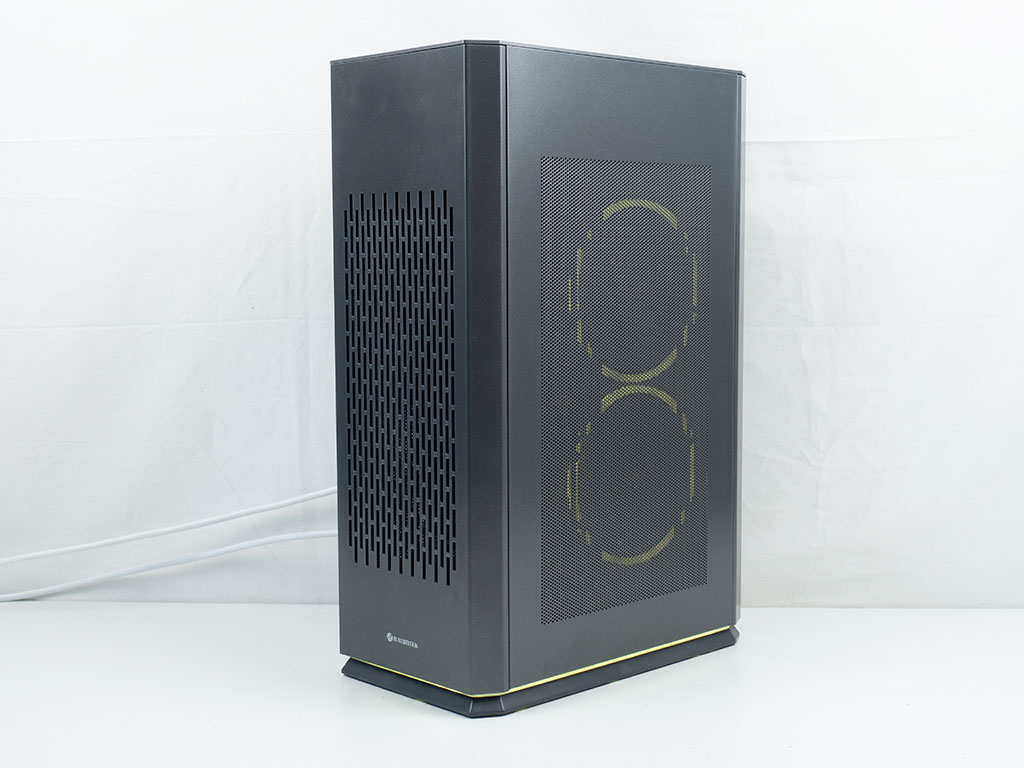
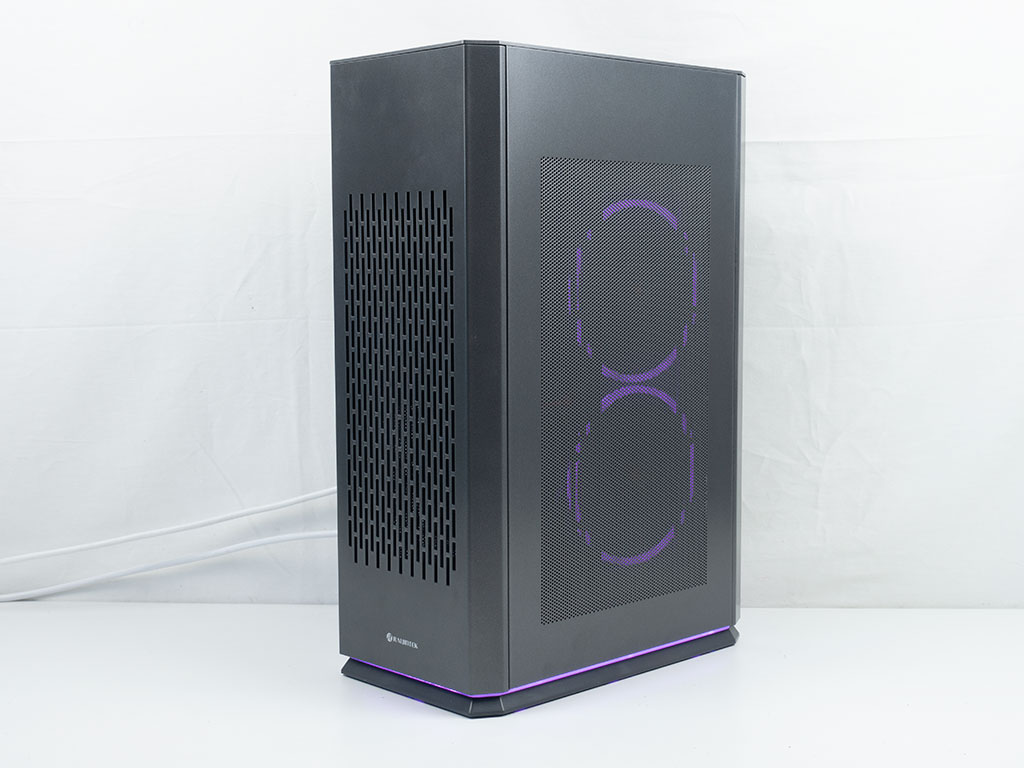
Once you turn the system on, the Raijintek Ophion Elite makes quite the clean impression from the exterior as there is very little bling when looking at it from the classic angle considering most would place their system to the left of their monitor. However, on the opposite side, you can clearly see any ARGB elements your AIO will have. As such, of you you were to install such units into the front, you should also get some additional lighting.
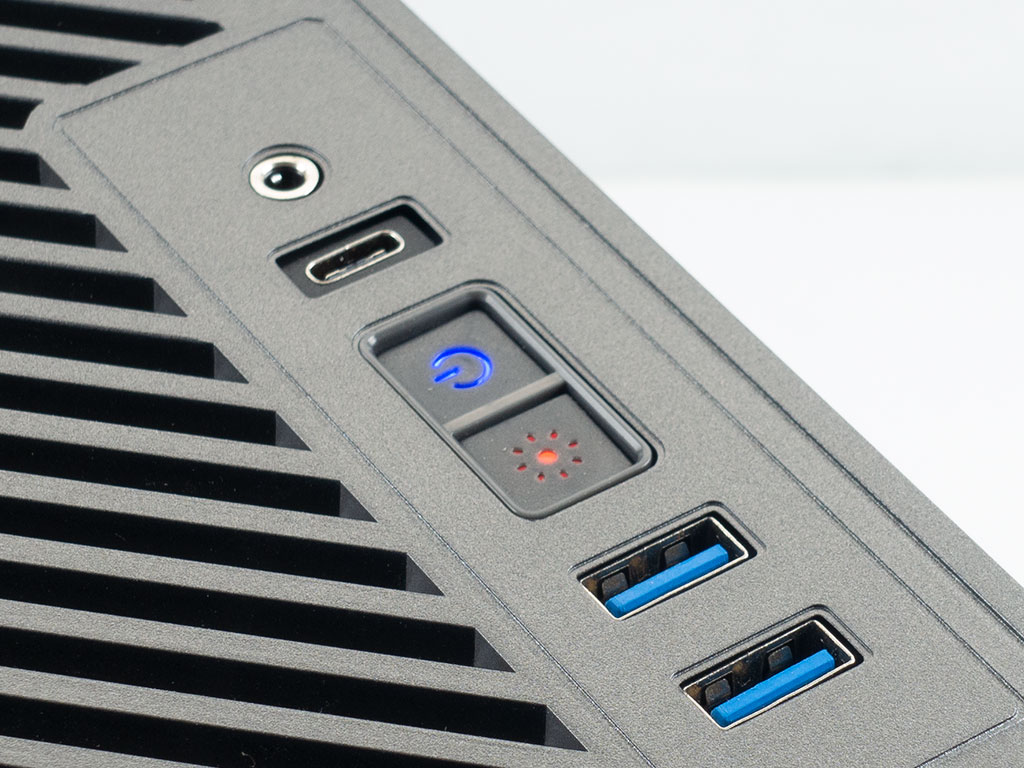
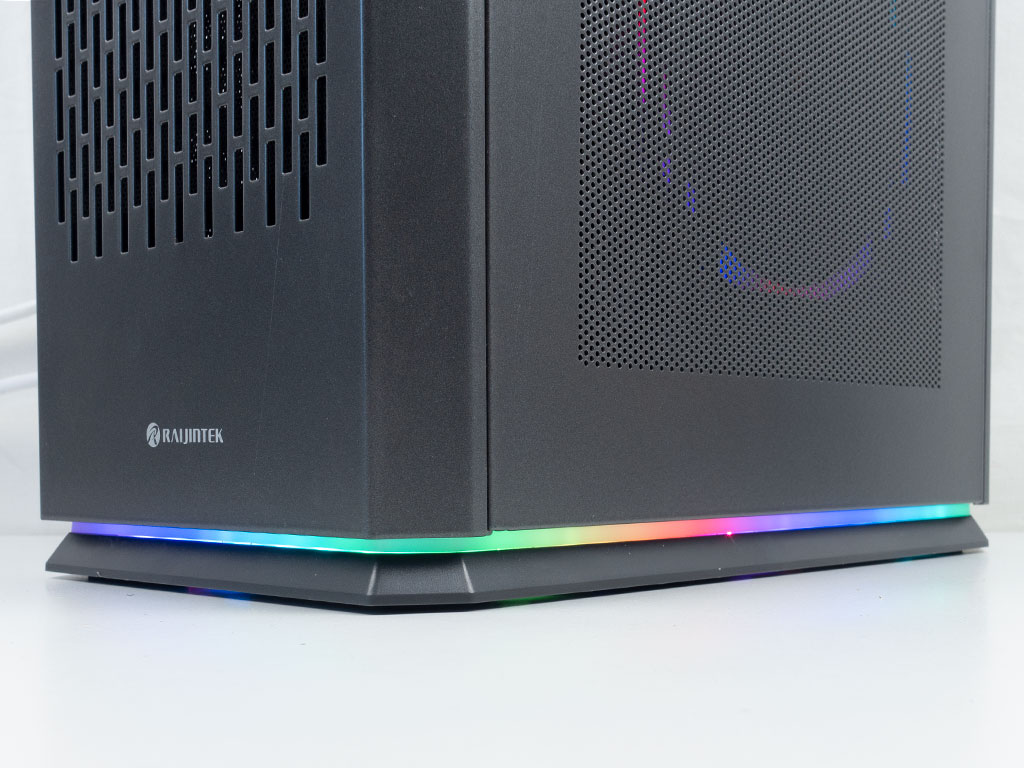
The LEDs on the top are embedded in the two buttons, with the power one being blue and the ARGB controller glowing red. That base of the Raijintek Ophion Elite looks great and will really add that special something to your desktop environment without being too obtrusive.
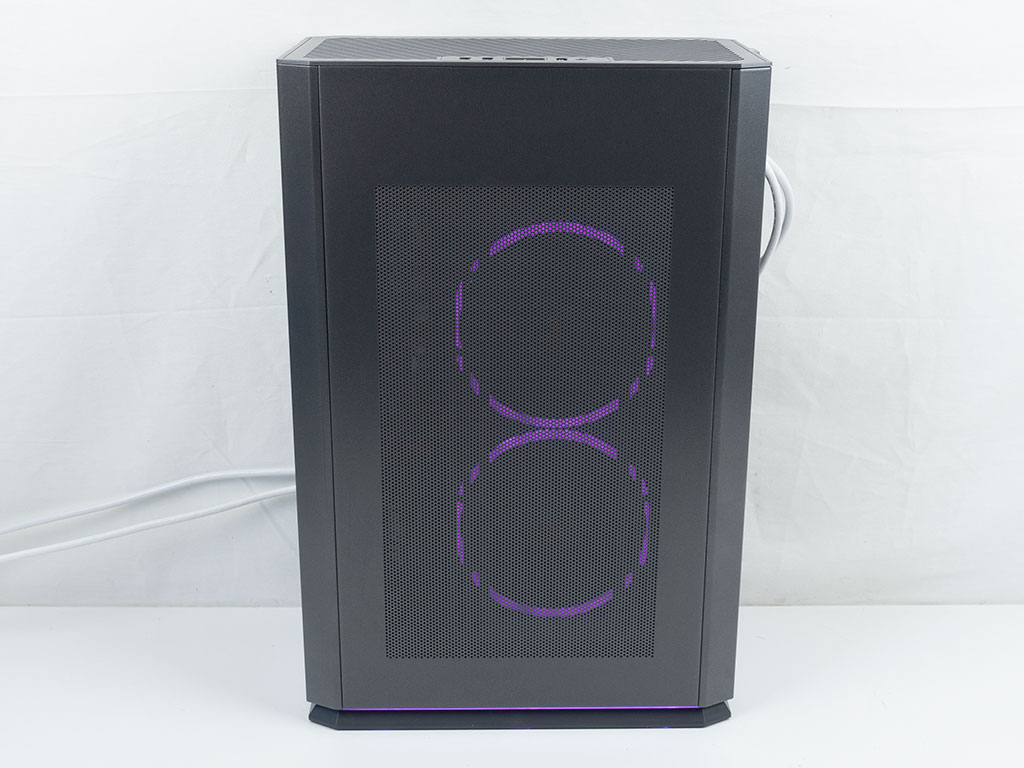
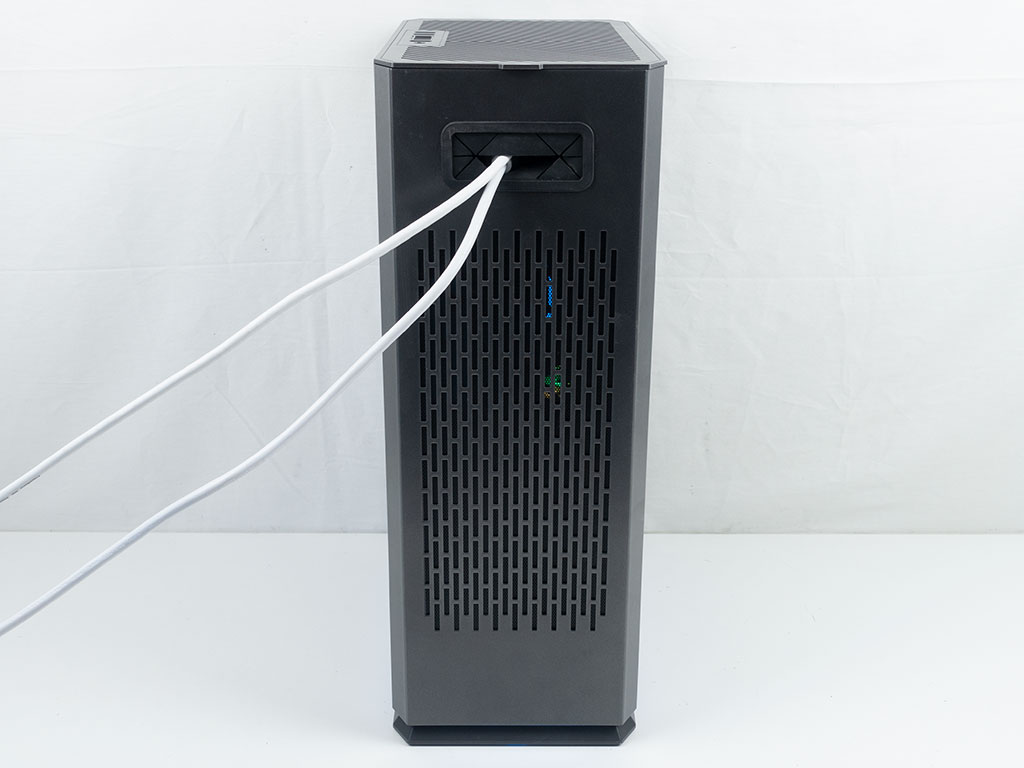
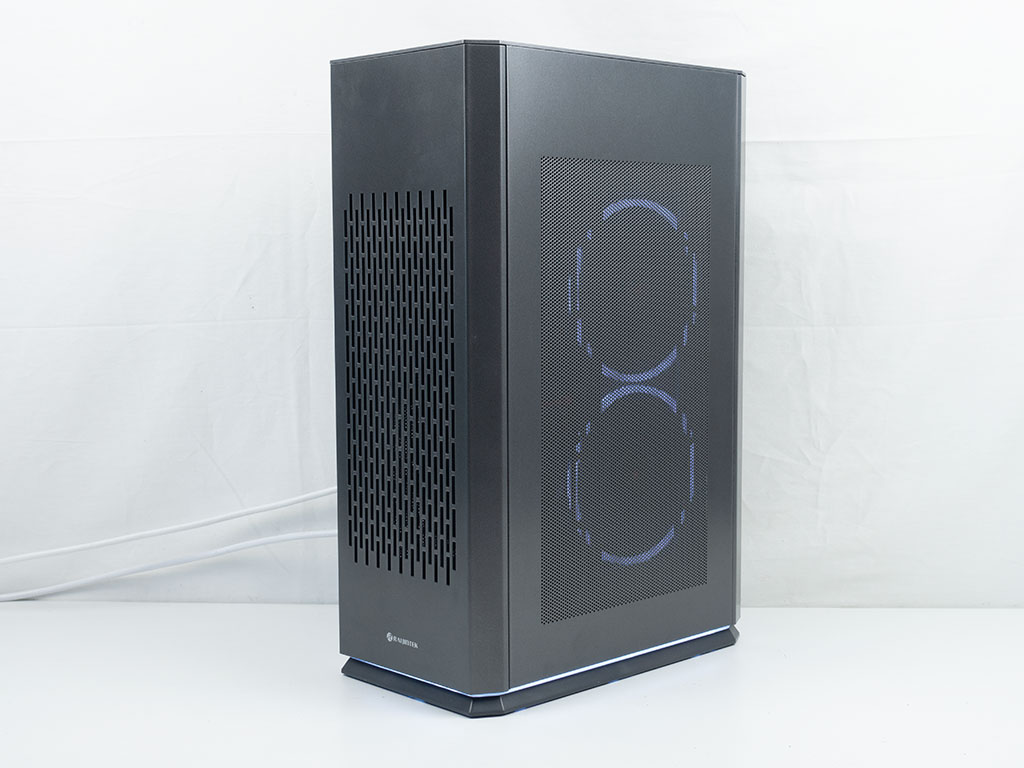
Taking a closer look at one of the sides of the Ophion Elite, you can clearly see the ARGB rings of the fans behind the fine metal mesh. In the rear, the cables disappear beautifully inside that grommet covered opening, which could make the chassis worthy of simply sitting on a receptionists desk for example.
Thanks to the built-in ARGB controller, you may toggle through a considerable amount of multi- and single color lighting effects. On top of that, there are seven solid options you may pick from, which are shown below.
Feb 26th, 2025 03:24 EST
change timezone
Latest GPU Drivers
New Forum Posts
- How many continuous hours will it last my mini pc if connected to the LiitoKala battery pack that I've found for a cheap price ? (18)
- Nvidia's GPU market share hits 90% in Q4 2024 (gets closer to full monopoly) (635)
- WB actually did it...They closed Monolith. :( (16)
- The TPU UK Clubhouse (25795)
- Proposal to abolish votes on the Case Mod Gallery page (1)
- Gentle Enhancement proposal: differenciating data obtained from driver from the ones in internal database (0)
- Which API call returns the nvidia ROP count? (3)
- AM3 build, uses in 2025 (1)
- Samsung 870 EVO - Beware, certain batches prone to failure! (1239)
- Help with integrated gpu. (56)
Popular Reviews
- Corsair Xeneon 34WQHD240-C Review - Pretty In White
- ASUS GeForce RTX 5070 Ti TUF OC Review
- Corsair Virtuoso MAX Wireless Review
- MSI GeForce RTX 5070 Ti Ventus 3X OC Review
- MSI GeForce RTX 5070 Ti Vanguard SOC Review
- MSI GeForce RTX 5070 Ti Gaming Trio OC+ Review
- darkFlash DY470 Review
- AMD Ryzen 7 9800X3D Review - The Best Gaming Processor
- Gigabyte GeForce RTX 5090 Gaming OC Review
- Galax GeForce RTX 5070 Ti 1-Click OC White Review
Controversial News Posts
- NVIDIA GeForce RTX 50 Cards Spotted with Missing ROPs, NVIDIA Confirms the Issue, Multiple Vendors Affected (495)
- AMD Radeon 9070 XT Rumored to Outpace RTX 5070 Ti by Almost 15% (304)
- AMD Plans Aggressive Price Competition with Radeon RX 9000 Series (273)
- AMD Radeon RX 9070 and 9070 XT Listed On Amazon - One Buyer Snags a Unit (247)
- NVIDIA Investigates GeForce RTX 50 Series "Blackwell" Black Screen and BSOD Issues (242)
- Edward Snowden Lashes Out at NVIDIA Over GeForce RTX 50 Pricing And Value (241)
- AMD Denies Radeon RX 9070 XT $899 USD Starting Price Point Rumors (239)
- AMD Radeon RX 9070 and 9070 XT Official Performance Metrics Leaked, +42% 4K Performance Over Radeon RX 7900 GRE (184)