 33
33
Raijintek Triton Review
Finished Looks »Installation
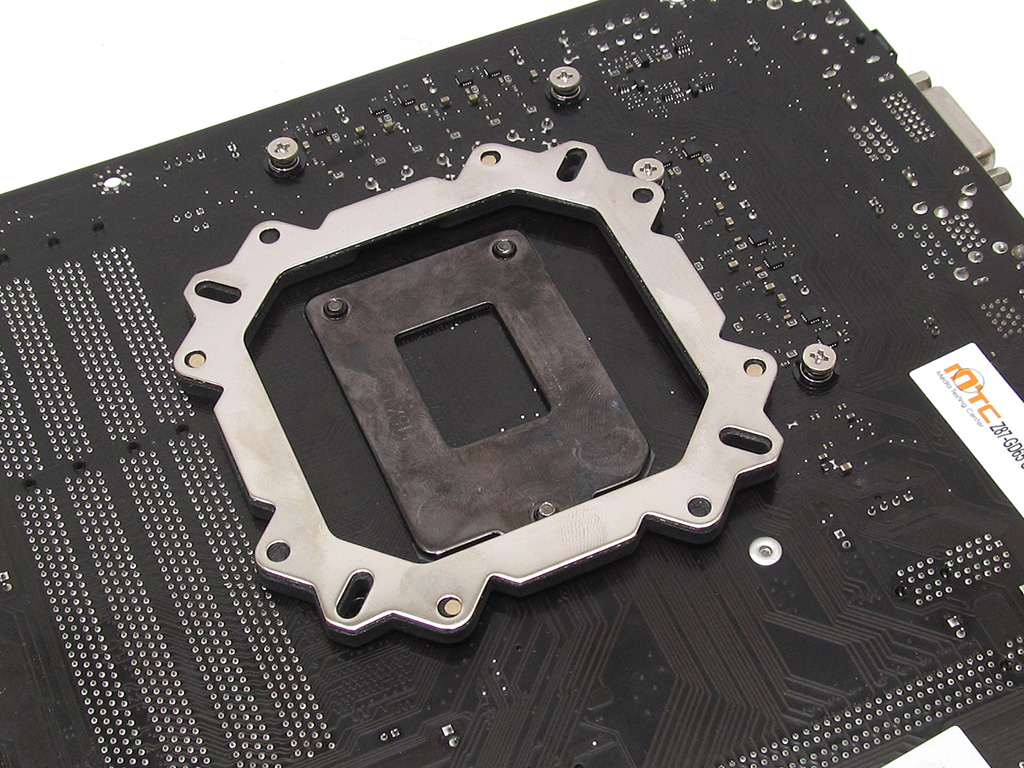
When installing the Raijintek Triton, you will first have to set up the backplate to drop the four M4 x 13 mm screws into place. Apply the four washers in preparation for the next step once the screws are in place.
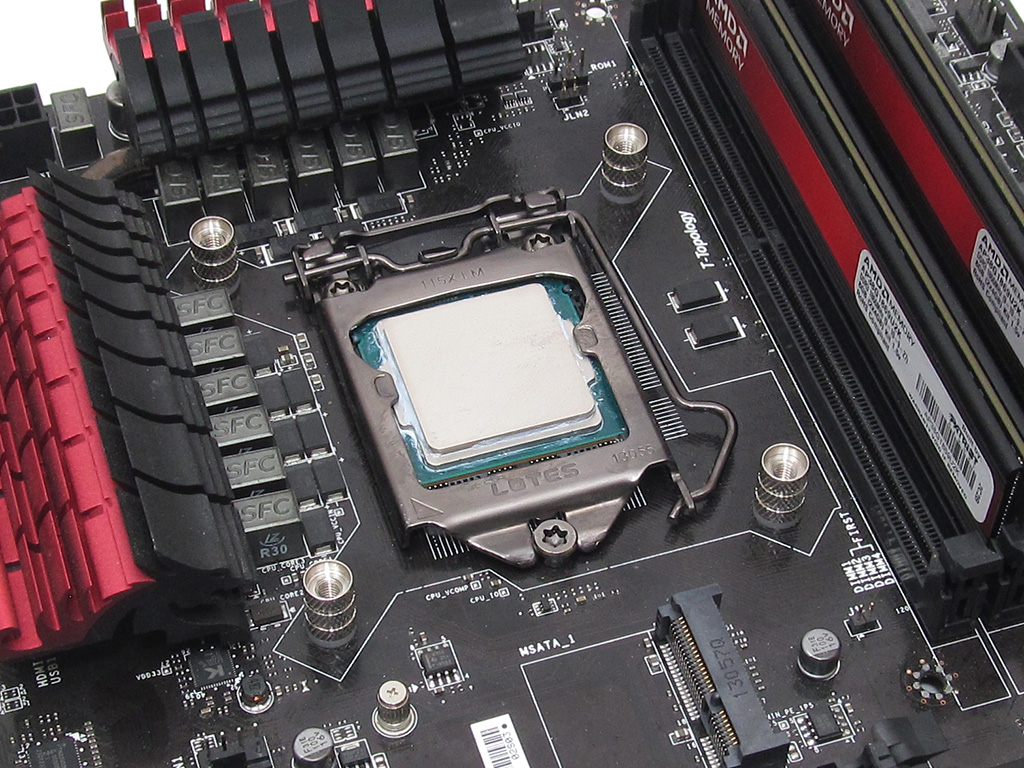
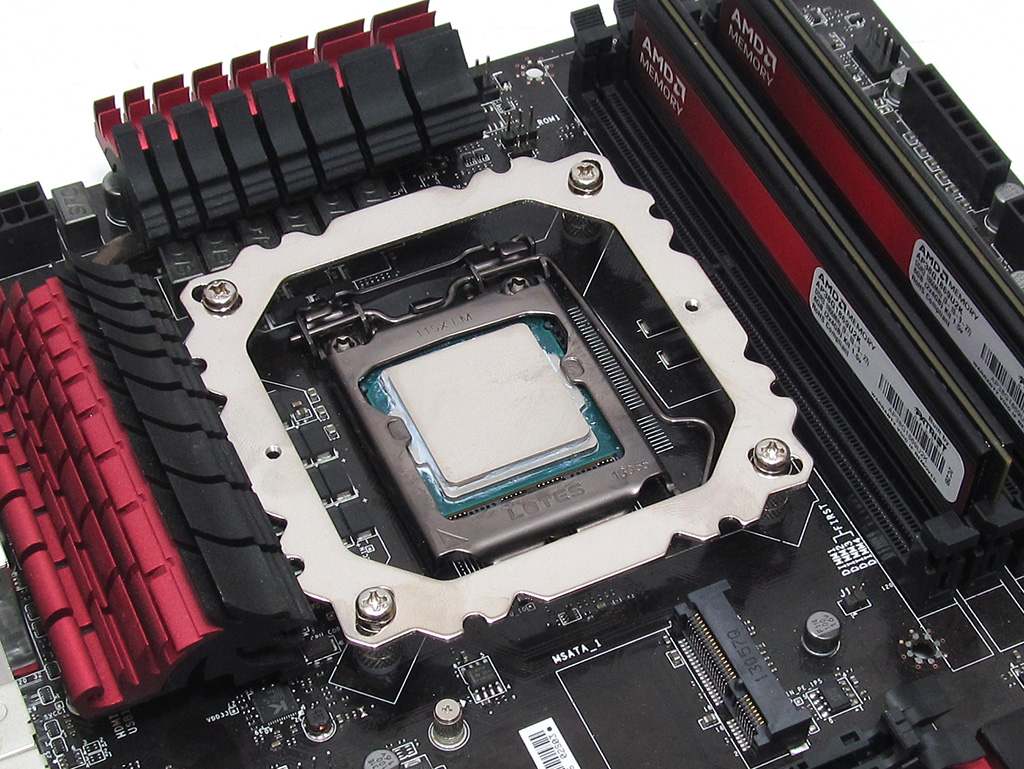
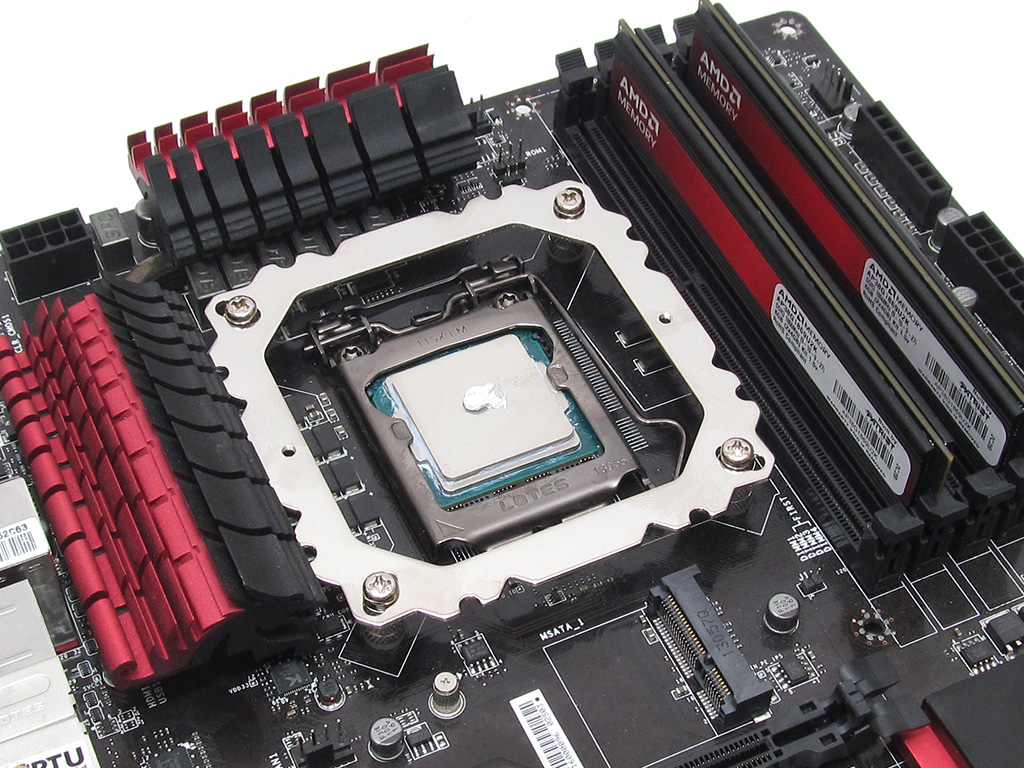
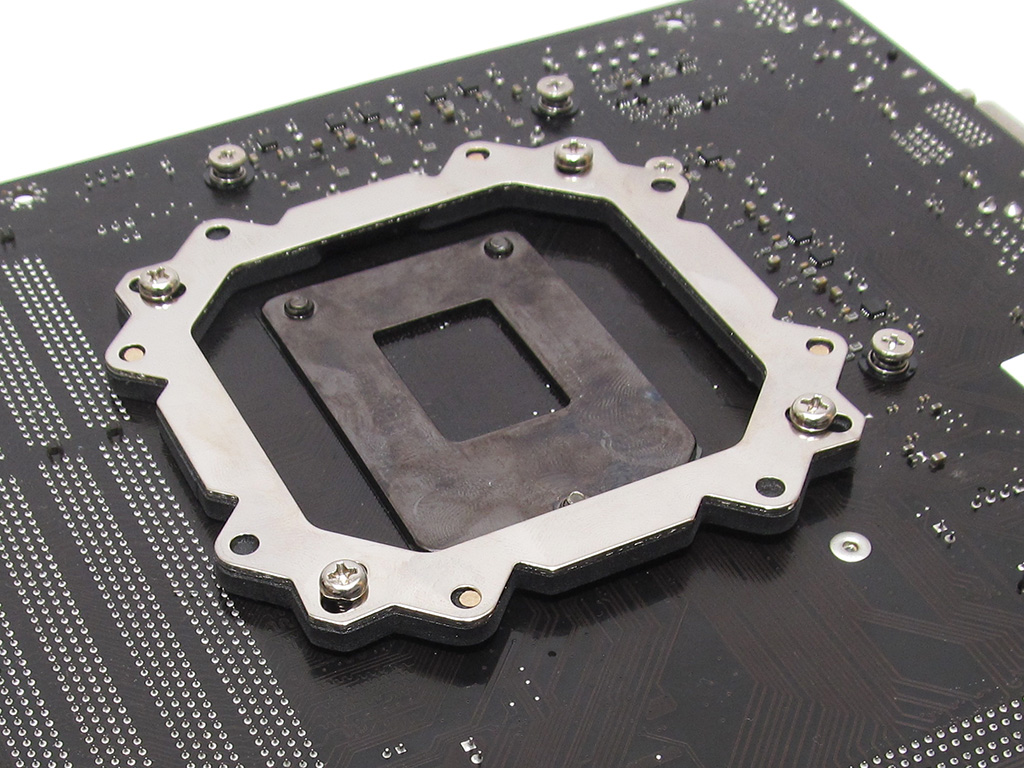
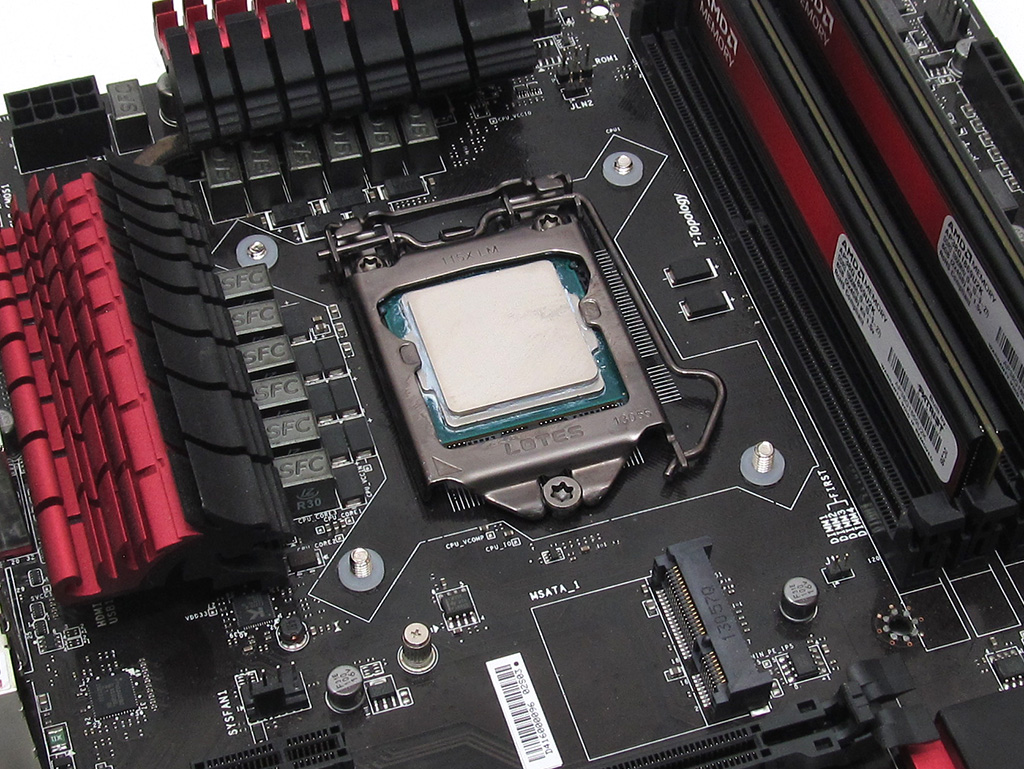
Use the four metal nuts to secure the backplate to the motherboard to then attach the mounting bracket to the four metal nuts with Raijintek's M4 x 6 mm screws. With the mounting bracket firmly in place, it's time to apply some thermal paste in preparation for mounting the CPU block.
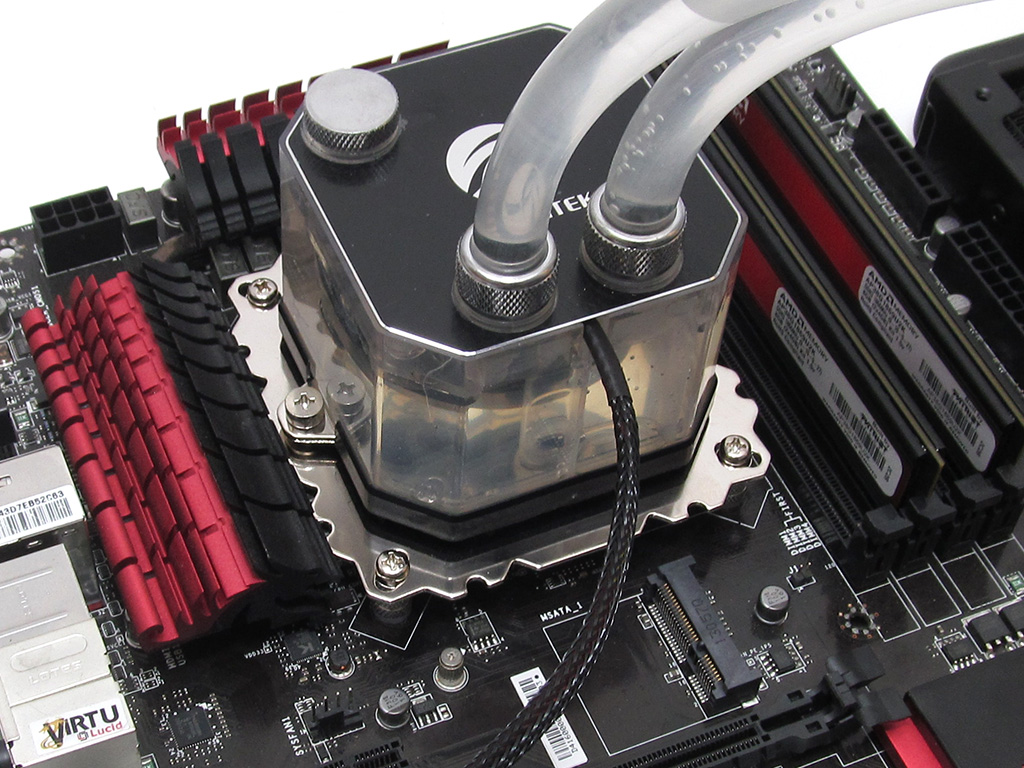
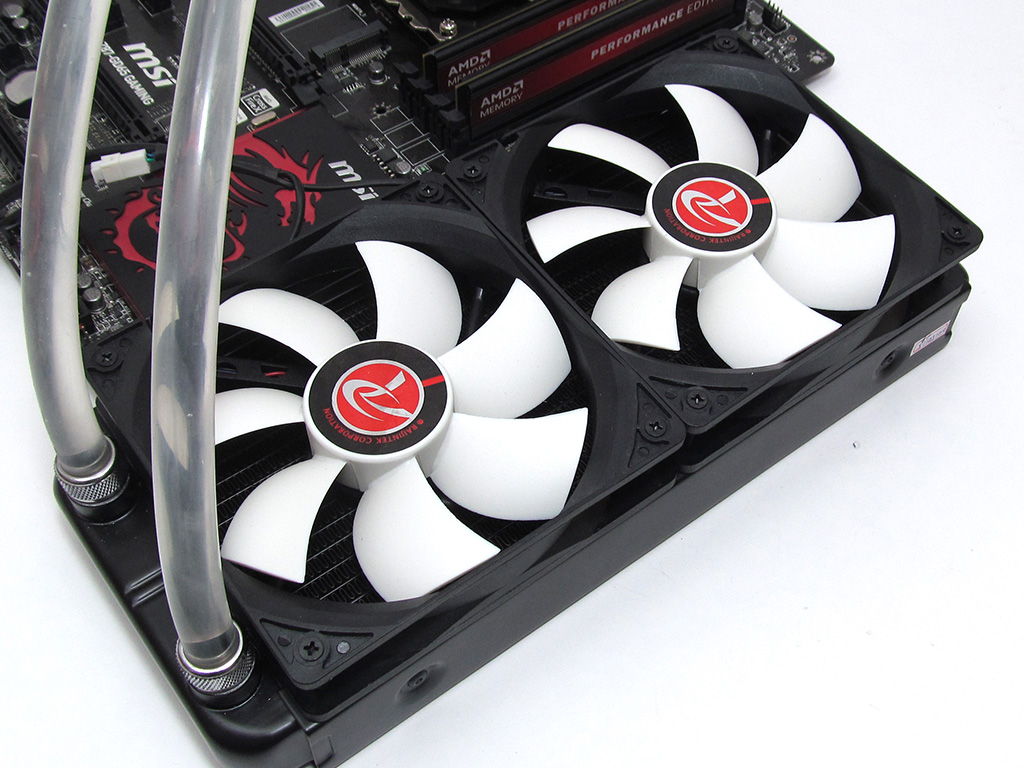

Attach the CPU block to the motherboard and attach the fans to the radiator. With everything mounted, you now only have to plug the pump and fans into the CPU fan headers.
Raijintek's mounting hardware for the Triton is very easy to work with; however, the instructions Raijintek includes aren't the greatest as some additional elaboration would have made the Triton an even easier install for first-time builders. Overall, on a scale of 1 (hardest) to 10 (easiest), I would rate the cooler's installation a 9. The general ease of installation is mostly due to the lack of excess hardware; Raijintek's universal mounting system definitely keeps things manageable.
Feb 23rd, 2025 19:35 EST
change timezone
Latest GPU Drivers
New Forum Posts
- RDNA4 Prediction Time Part Deux!!! (31)
- Keep a 4080s or take a 5070ti? (45)
- Will undervolting a 4090 keep the connector from melting? A discussion about electrical theory. (35)
- Warning about DOCP (17)
- 16TB (13)
- revisiting hpet bcdedit tweaks: what are your timer bench results and settings? (94)
- Testing max ram overclock pn Ryzen 1700 (72)
- Need help dumping/imaging Lenovo laptop BIOS (3)
- Dune: Awakening benchmark - post your results (17)
- Your PC ATM (35251)
Popular Reviews
- ASUS GeForce RTX 5070 Ti TUF OC Review
- MSI GeForce RTX 5070 Ti Ventus 3X OC Review
- darkFlash DY470 Review
- MSI GeForce RTX 5070 Ti Vanguard SOC Review
- MSI GeForce RTX 5070 Ti Gaming Trio OC+ Review
- Galax GeForce RTX 5070 Ti 1-Click OC White Review
- Palit GeForce RTX 5070 Ti GameRock OC Review
- Fantech Aria II Pro Review
- Gigabyte GeForce RTX 5090 Gaming OC Review
- AMD Ryzen 7 9800X3D Review - The Best Gaming Processor
Controversial News Posts
- NVIDIA GeForce RTX 5090 Spotted with Missing ROPs, NVIDIA Confirms the Issue, Multiple Vendors Affected, RTX 5070 Ti, Too (448)
- AMD Radeon 9070 XT Rumored to Outpace RTX 5070 Ti by Almost 15% (302)
- AMD Plans Aggressive Price Competition with Radeon RX 9000 Series (271)
- AMD Radeon RX 9070 and 9070 XT Listed On Amazon - One Buyer Snags a Unit (247)
- Edward Snowden Lashes Out at NVIDIA Over GeForce RTX 50 Pricing And Value (241)
- AMD Denies Radeon RX 9070 XT $899 USD Starting Price Point Rumors (239)
- NVIDIA Investigates GeForce RTX 50 Series "Blackwell" Black Screen and BSOD Issues (225)
- New Leak Reveals NVIDIA RTX 5080 Is Slower Than RTX 4090 (215)