 10
10
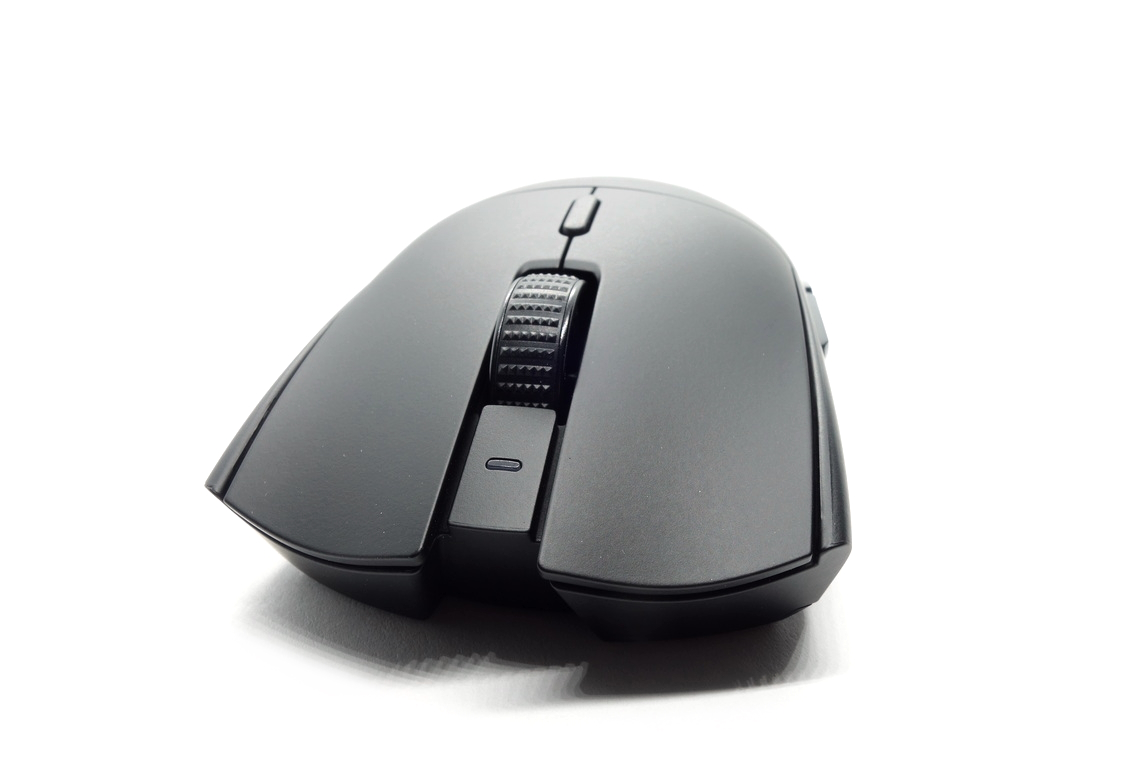
Razer Viper V3 Hyperspeed Review
Sensor & Performance »Build Quality
Overall build quality is solid. When shaking the mouse, a slight rattle comes from the scroll wheel. When applying lateral pressure, no creaking or flexing of the shell can be observed. Activating the side buttons by squeezing the sides is impossible. Lastly, accidental clicks when slamming down the mouse do not occur.Buttons
Main buttons on the Viper V3 Hyperspeed are excellent. Pre-travel is low and post-travel moderate, resulting in a firm and snappy button response. While the buttons are visually separated from the shell, lateral button movement is minimal even when provoked. Button stiffness is medium. Though described as second-generation Razer mechanical switches, these are in fact modified Kailh GM 4.0 (60 M).

Side buttons are very good. Pre and post-travel are minimal on either button, leading to a snappy button response, though feedback is rather muted and subdued. The pressure point is perfectly even across the entirety of these. Button placement is good as actuation is possible very easily by rolling one's thumb across. A set of surface-mounted switches (beige plunger) from CF (ChangFeng) is used for these.
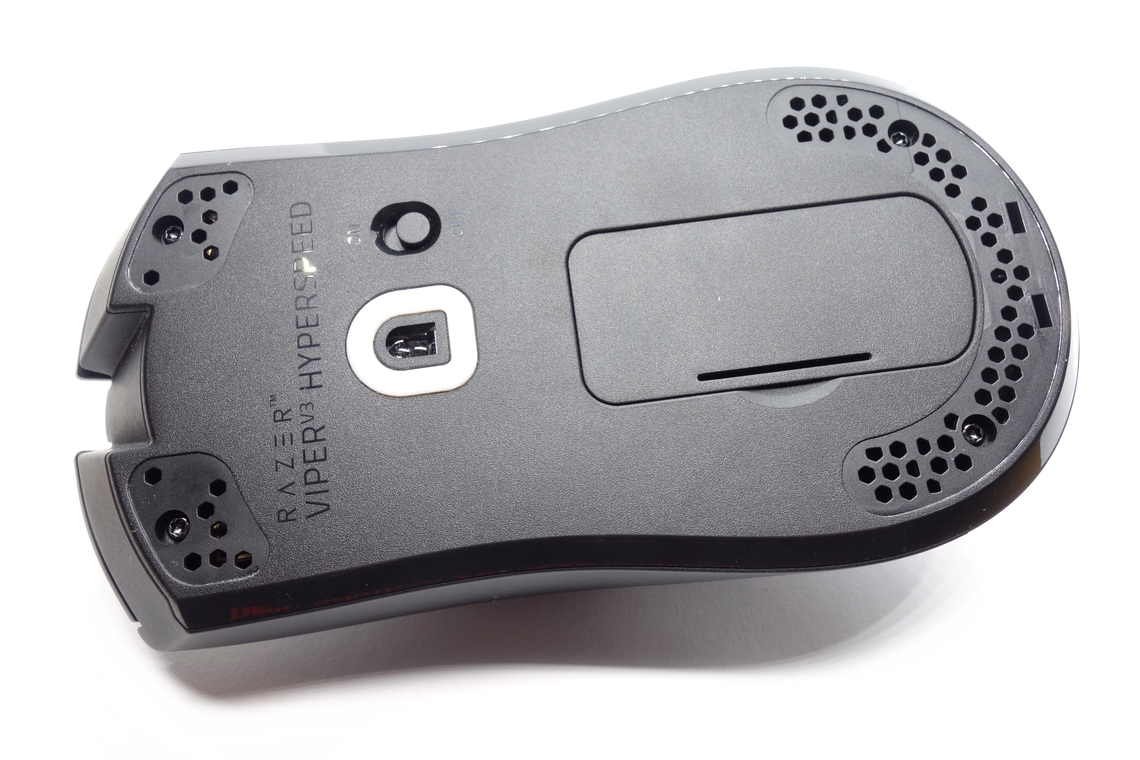
At the top of the mouse is a single button for cycling through the set CPI levels. Yet another surface-mounted switch (beige plunger) from CF is used for this one. At the bottom of the mouse is a simple on/off-slider, which works fine.
Scroll Wheel

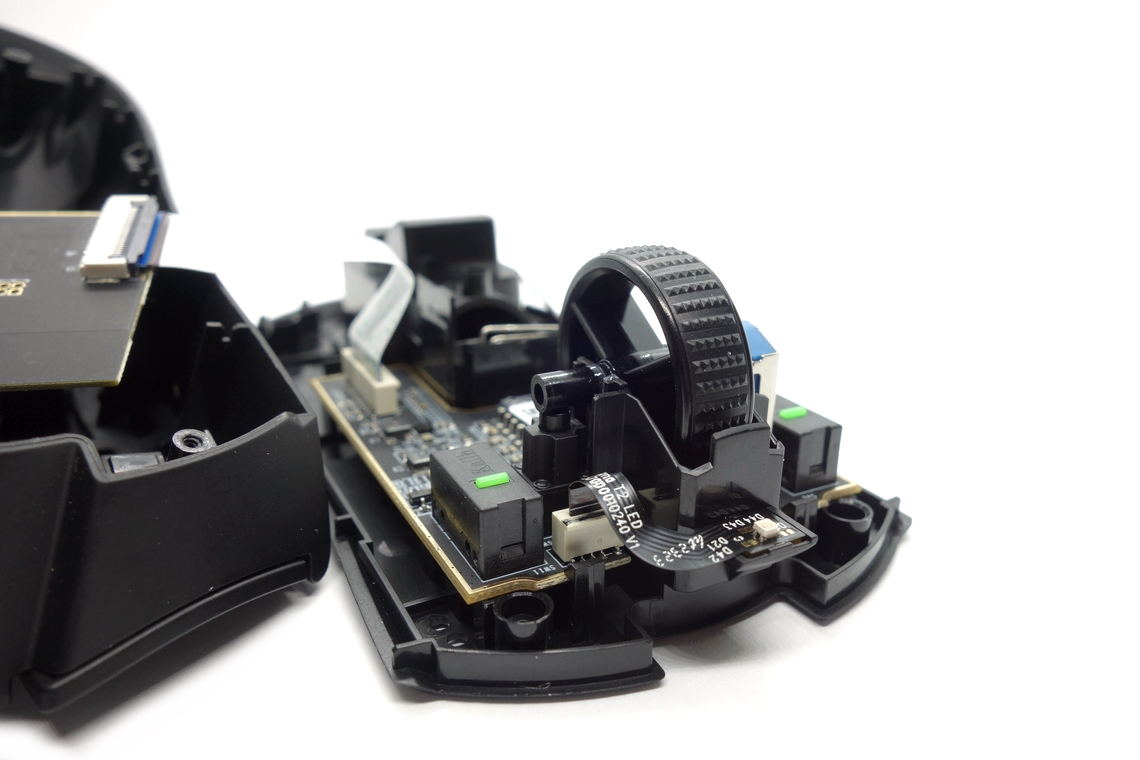
The scroll wheel is decent. Noise levels are substantial to where they lend the wheel a cheap and hollow feel, but tactility is quite good, resulting in controlled scrolling. The encoder comes from TTC (blue) and has a height of 13 mm. Actuating the middle (scroll wheel) click requires medium force. A seemingly unbranded tactile switch is used for this one.
Surface
The Viper V3 Hyperspeed has a smooth matte surface all over. Grip is fine, and it doesn't attract fingerprints, dirt, or the likes too easily. It is easy to clean, and there are no signs of wear left after doing so. All in all, excellent materials.Button Sound Test
Disassembly
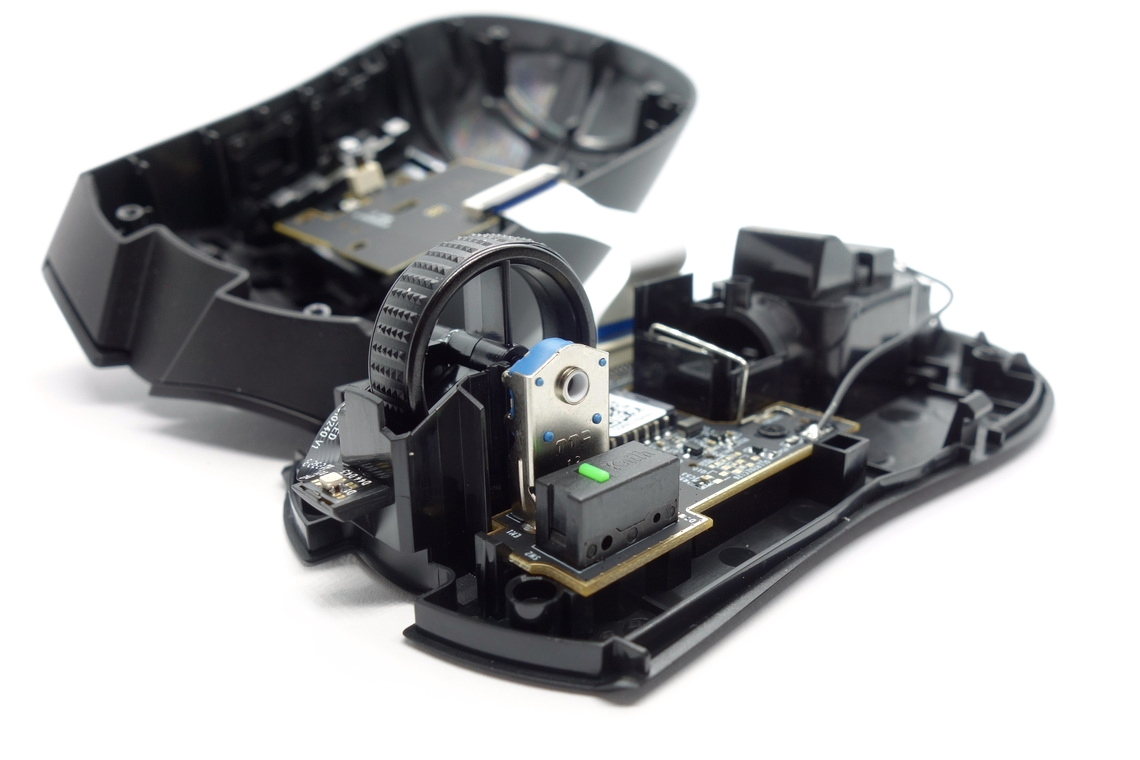
Disassembling the Viper V3 Hyperspeed is reasonably easy. First, all skates except for the sensor ring need to be removed. After removing the four Torx T6 screws located beneath them, several clips keeping top and bottom shell tightly shut ought to be removed as well, which is best done by wedging a credit card (or similar) in. When doing so, make sure not to rip the cable going from top to bottom.
The internal design is rather unusual. The main PCB only has the sensor, scroll wheel, scroll wheel switch, and main button switches. In addition, an FPC holding an LED goes to the front for illumination purposes. From the main PCB, a ribbon cable leads to the top PCB, which has the CPI button switch, MCU, and antenna. From here, an FPC goes to the side-button PCB, which is clipped into a plastic assembly whose full removal apparently requires dismounting the right main button piece. All PCBs are very thin, and three screws are used to affix the top PCB, and another three to affix the main PCB to the bottom. The MCU is a Nordic nRF52840, whose datasheet can be found here. The Bluetooth functionality of the chip remains unused. Production date for the top PCB is the 26th week of 2023 and for the main PCB the 24th week of 2023.


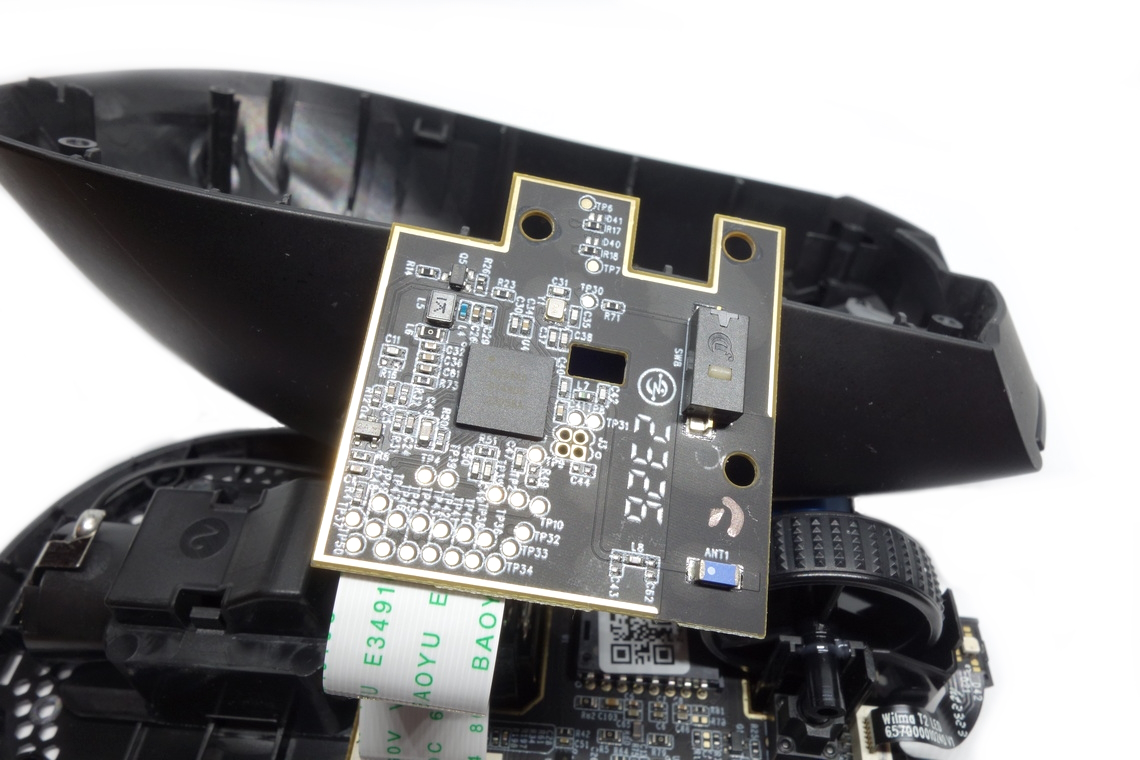
As for the soldering and general quality of the PCBs, I'm unable to find any noteworthy flaws.
Mar 9th, 2025 11:44 EDT
change timezone
Latest GPU Drivers
New Forum Posts
- I'm looking for a good tool to make the 3D scanning of my mini-pc using the photogrammetry and my Kinect 2. (23)
- Nvidia's GPU market share hits 90% in Q4 2024 (gets closer to full monopoly) (718)
- Can't figure out if it is the PSU's problem for whine during PC shutting down (3)
- Post Your TIMESPY, PCMARK10 & FIRESTRIKE SCORES! (2019) (269)
- AAF Optimus Modded Driver For Windows 10 & Windows 11 - Only for Realtek HDAUDIO Chips (372)
- NVIDIA RTX owners only - your opinion on DLSS Image quality (465)
- Cooling problems persist on LGA1700 (38)
- 400W Power Spike on RTX 2070s 8-pin Connector (3)
- GameTechBench GPU benchmark is already out! (312)
- 5,0 +8 Gigabyte Aorus AP1200PM 80+ Platinum Modular. With LCD screen. (1)
Popular Reviews
- Sapphire Radeon RX 9070 XT Nitro+ Review - Beating NVIDIA
- ASUS Radeon RX 9070 TUF OC Review
- XFX Radeon RX 9070 XT Mercury OC Magnetic Air Review
- NVIDIA GeForce RTX 5070 Founders Edition Review
- Corsair Vengeance RGB CUDIMM DDR5-8800 48 GB CL42 Review
- MSI MAG B850 Tomahawk Max Wi-Fi Review
- AMD Ryzen 7 9800X3D Review - The Best Gaming Processor
- AMD Radeon RX 9070 Series Technical Deep Dive
- ASUS GeForce RTX 5070 Ti TUF OC Review
- MSI GeForce RTX 5070 Ti Ventus 3X OC Review
Controversial News Posts
- NVIDIA GeForce RTX 50 Cards Spotted with Missing ROPs, NVIDIA Confirms the Issue, Multiple Vendors Affected (513)
- AMD Plans Aggressive Price Competition with Radeon RX 9000 Series (277)
- AMD Radeon RX 9070 and 9070 XT Listed On Amazon - One Buyer Snags a Unit (261)
- AMD RDNA 4 and Radeon RX 9070 Series Unveiled: $549 & $599 (256)
- AMD Mentions Sub-$700 Pricing for Radeon RX 9070 GPU Series, Looks Like NV Minus $50 Again (248)
- NVIDIA Investigates GeForce RTX 50 Series "Blackwell" Black Screen and BSOD Issues (244)
- AMD Radeon RX 9070 and 9070 XT Official Performance Metrics Leaked, +42% 4K Performance Over Radeon RX 7900 GRE (195)
- AMD Radeon RX 9070-series Pricing Leaks Courtesy of MicroCenter (158)