 15
15
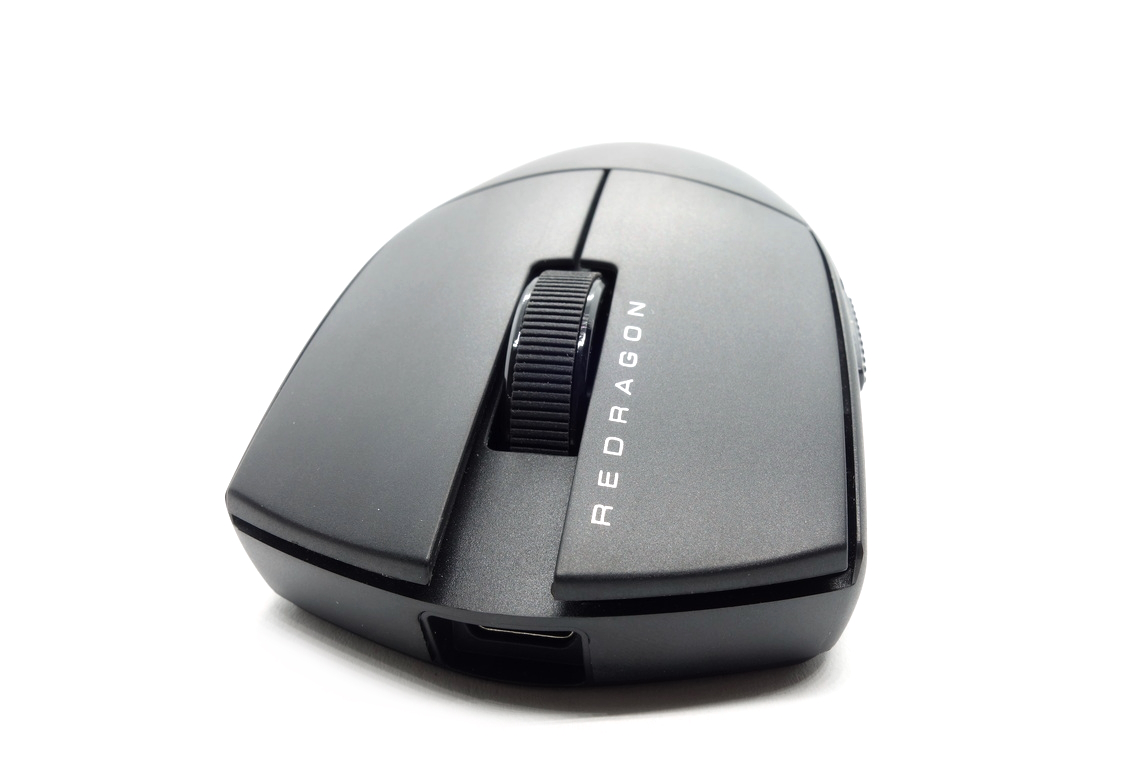
Redragon K1NG 4K Pro Review
Sensor & Performance »Build Quality
Overall build quality is very solid. There is no rattle when shaking the mouse. When applying lateral pressure, no creaking or flexing of the shell can be observed. Activating the side buttons by squeezing the sides is impossible. Lastly, accidental clicks when slamming down the mouse do occur, but only if debounce time is set to 0 ms.Buttons
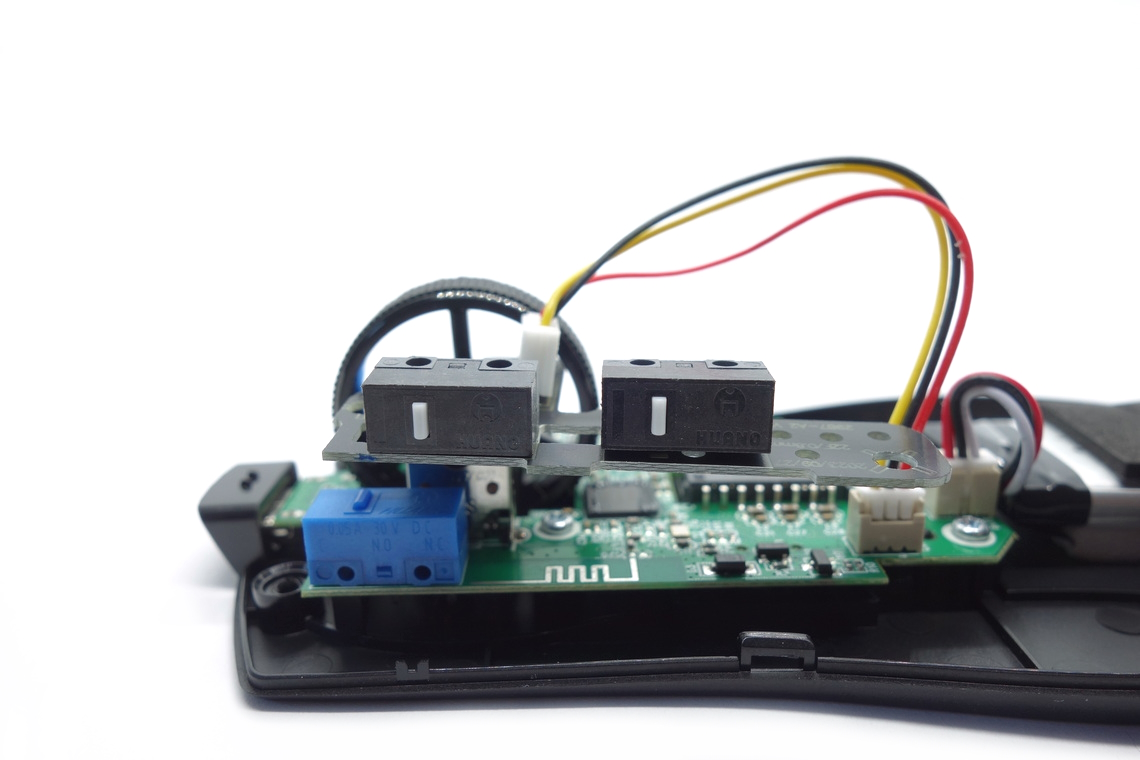
Main buttons on the K1NG 4K Pro are very good. Pre-travel is moderate and post-travel low, resulting in a firm and snappy button response. Despite being visually separated from the shell, button movement is quite low even when provoked. Button stiffness is medium. A pair of Huano switches (blue shell, blue plunger) are used.

Side buttons are good. While pre and post-travel are low for the most part, actuation isn't even on the back button, and feedback in general not particularly pleasing, not to mention that the buttons are loud. Button size and placement are good, as actuation is possible rather easily by rolling one's thumb across. A set of Huano switches (white plunger) are used for these.
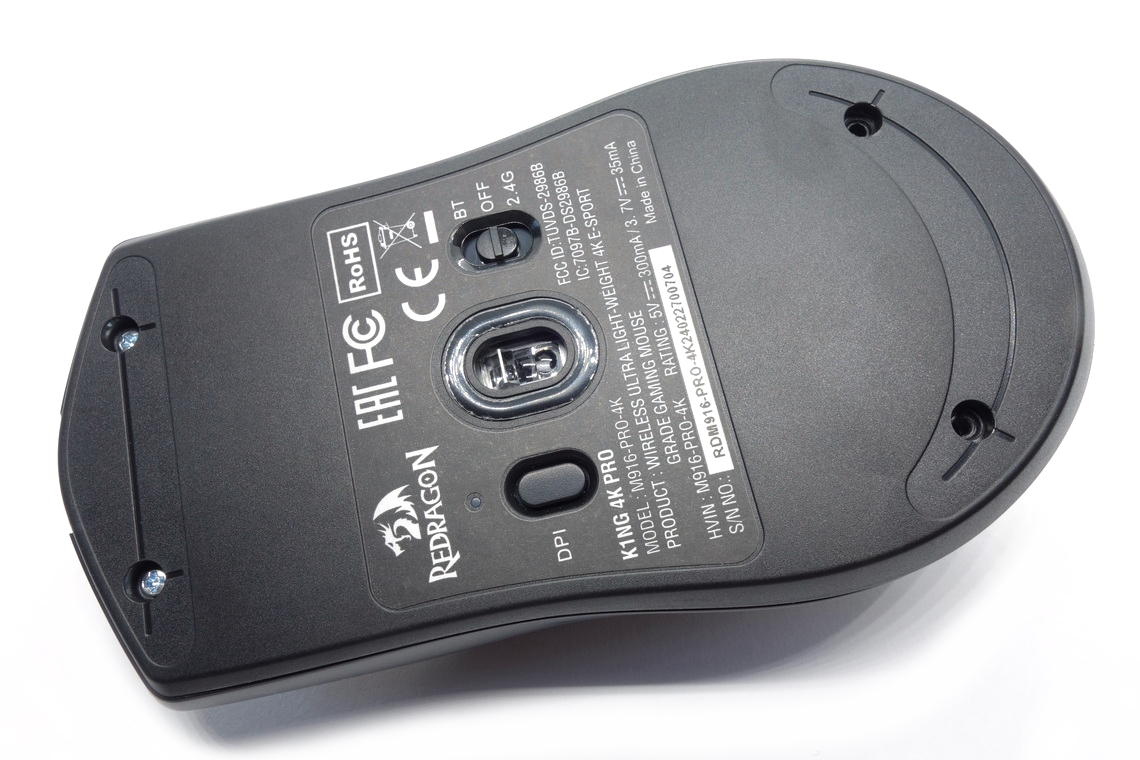
At the bottom of the mouse is a button for cycling through the set CPI levels, which works just fine. A seemingly unbranded tactile switch is used for this one. A slider at the bottom switches between 2.4 GHz wireless, Bluetooth, and off-state, which also works fine.
Scroll Wheel
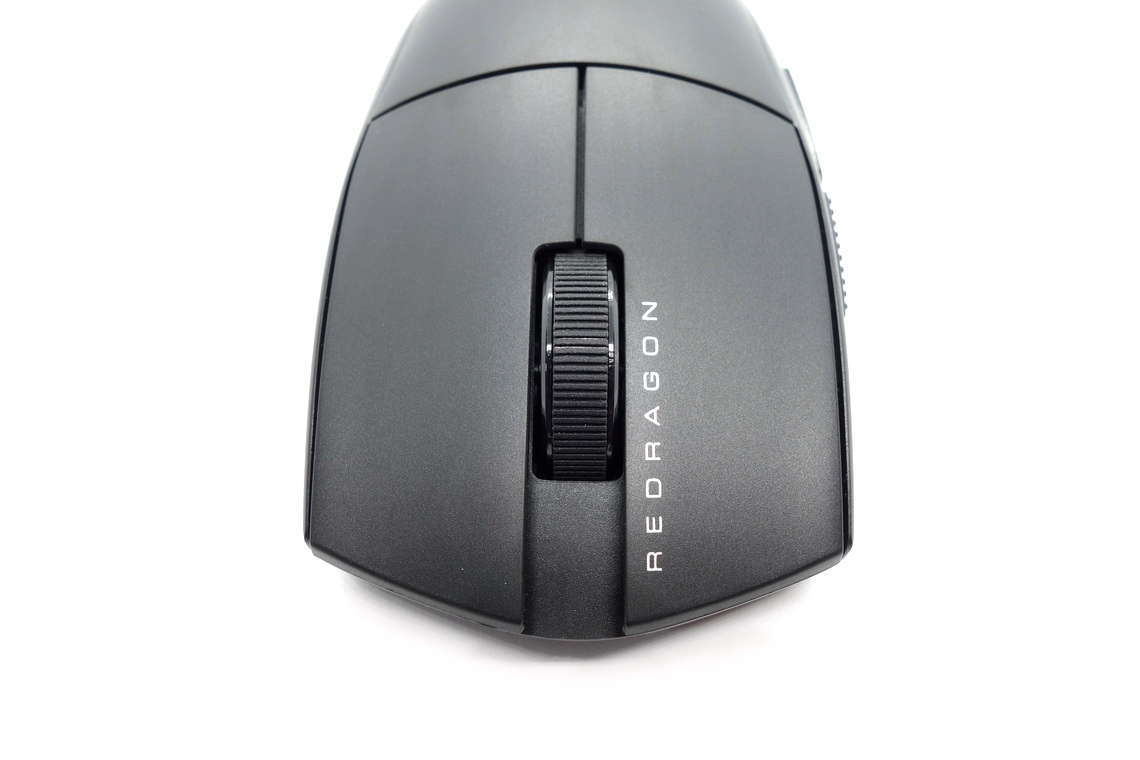
The scroll wheel is decent. Noise levels are rather high, and tactility is mostly lacking as well, as the individual steps aren't particularly distinct. The encoder comes from F-Switch (brown, black core) and has a height of 9 mm. The middle (scroll wheel) click requires very high force for actuation. Another Huano switch (white plunger) is used for this one.
Surface
The K1NG 4K Pro has a matte surface all over. Grip is fine, and it doesn't attract fingerprints or dirt too much. It is fairly easy to clean, and there are barely any signs of wear left after doing so. All in all, very good materials.Button Sound Test
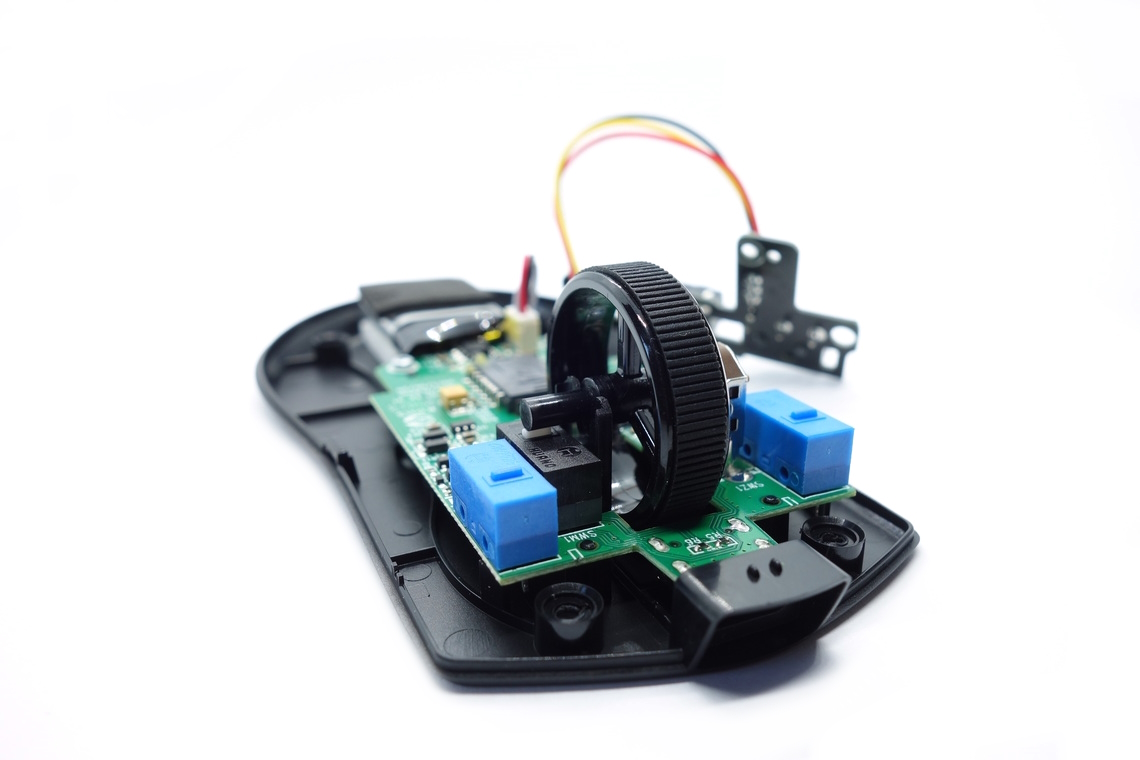
Disassembly
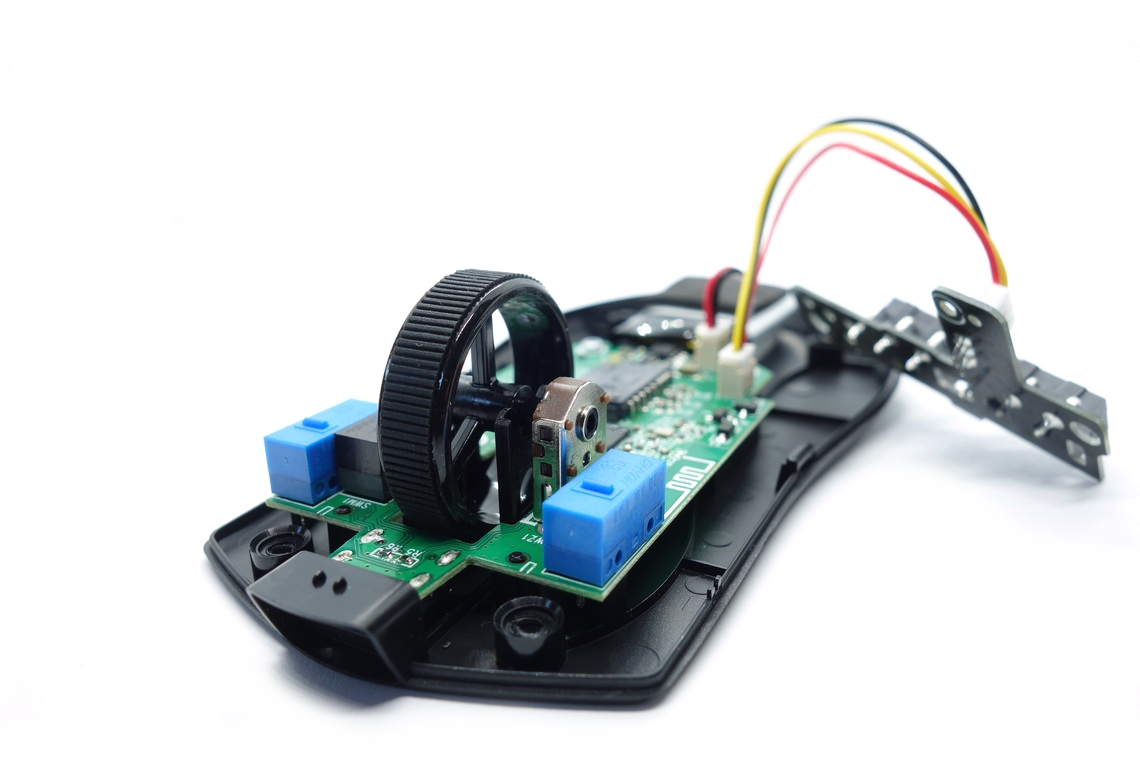
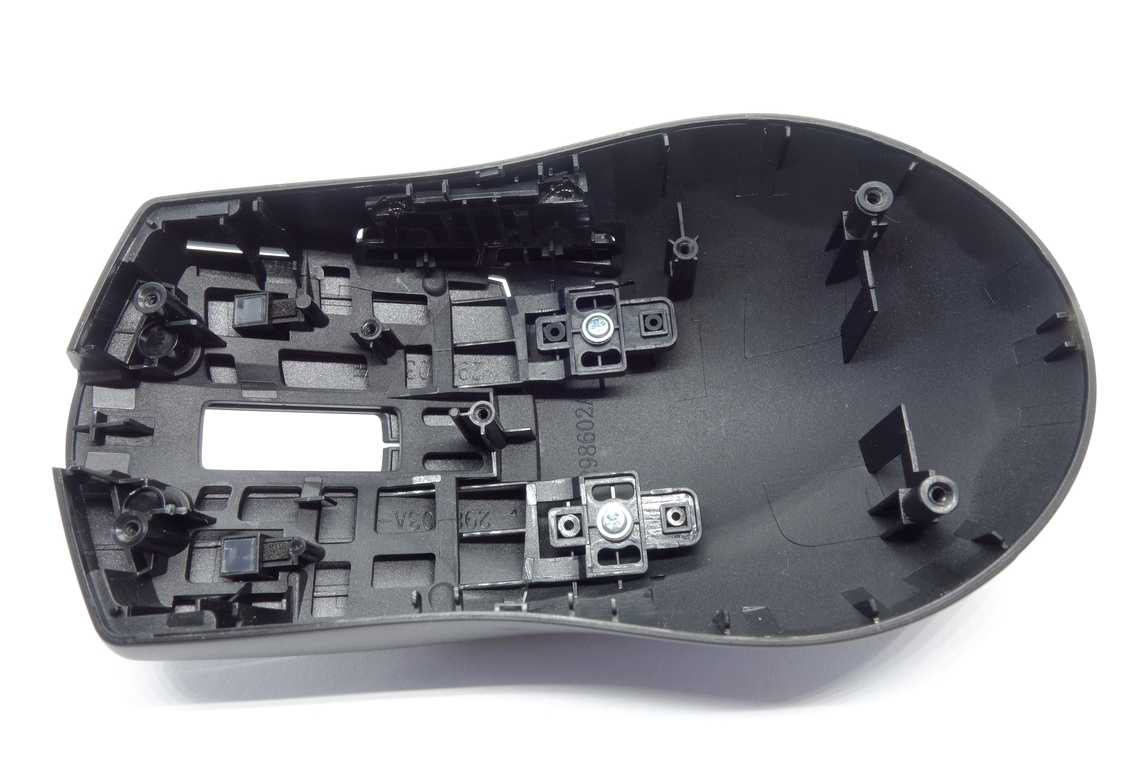
Disassembling the K1NG 4K Pro is easy. The screws are found beneath the front and rear skates. After removing those, two additional clips at the sides need to be dislodged, which is easily done. When separating top and bottom shell, make sure not the rip the cable connecting the two.
The internal design is efficient. The side buttons sit on their own PCB screwed to the top shell and connected to the main PCB through a 3-pin connector. The battery is placed on a sticky pad towards the rear. Four screws are used to affix the thin and mostly compact main PCB to the bottom shell. The MCU is a Nordic nRF52833, whose datasheet can be found here. Production date for the main PCB is the third week of 2024.
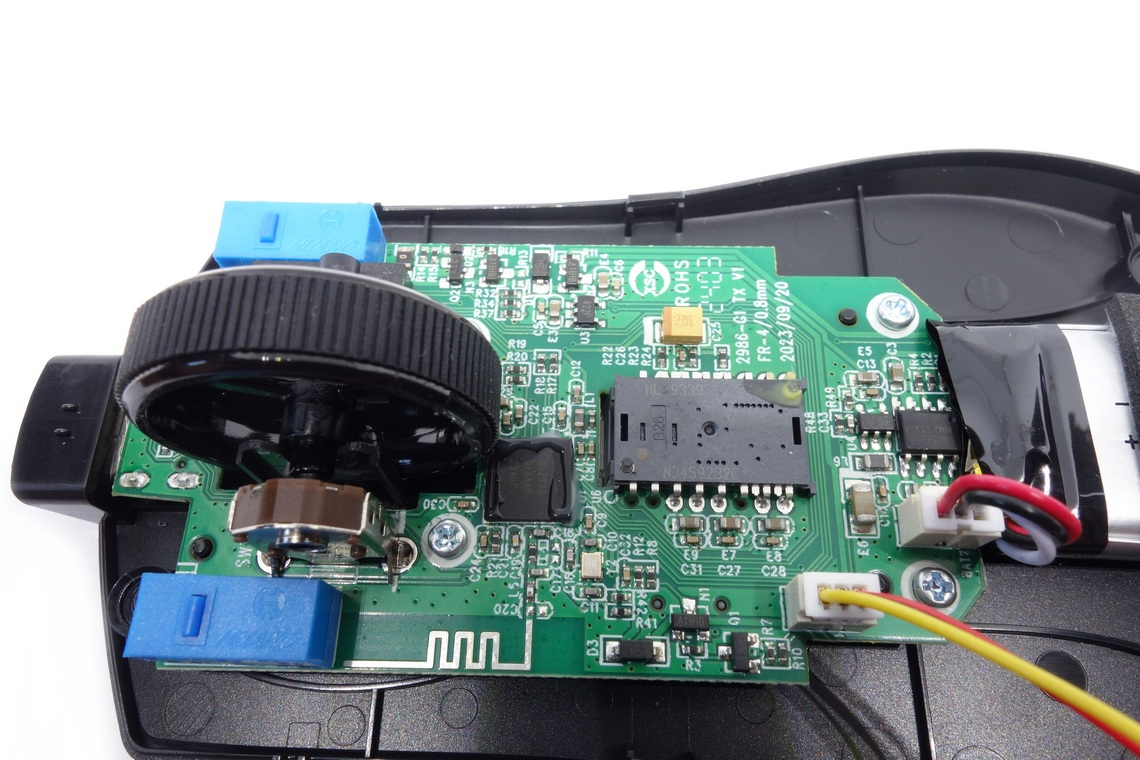
As for the soldering and general quality of the PCB, I'm unable to find any noteworthy flaws. That said, the third leg of each side-button switch isn't soldered on, and one of the switches does not sit flush.
Feb 8th, 2025 10:48 EST
change timezone
Latest GPU Drivers
New Forum Posts
- Last game you purchased? (661)
- The TPU UK Clubhouse (25692)
- Help choosing a GPU (10)
- What are you playing? (22802)
- Asus crosshair x870e hero Q Led Issue (4)
- Post your Monster Hunter Wilds benchmark scores (76)
- TPU's Rosetta Milestones and Daily Pie Thread (2182)
- Folding Pie and Milestones!! (9366)
- What's your latest tech purchase? (23110)
- RTX 2080 Super with TCL 55R635 causes flashes of purple on screen in RGB mode (3)
Popular Reviews
- Kingdom Come Deliverance II Performance Benchmark Review - 35 GPUs Tested
- Spider-Man 2 Performance Benchmark Review - 35 GPUs Tested
- Formovie Cinema Edge 4K UST Laser Projector Review
- Civilization VII Performance Benchmark Review - 35 GPUs Tested
- Kingdom Come: Deliverance 2 Handheld Performance Review
- ASUS ROG Harpe Ace Extreme Review
- Corsair Frame 4000D Review
- NVIDIA GeForce RTX 5080 Founders Edition Review
- ASRock Phantom Gaming B850I Lightning Wi-Fi Review
- AMD Ryzen 7 9800X3D Review - The Best Gaming Processor
Controversial News Posts
- AMD Radeon 9070 XT Rumored to Outpace RTX 5070 Ti by Almost 15% (286)
- AMD is Taking Time with Radeon RX 9000 to Optimize Software and FSR 4 (256)
- AMD Denies Radeon RX 9070 XT $899 USD Starting Price Point Rumors (239)
- Edward Snowden Lashes Out at NVIDIA Over GeForce RTX 50 Pricing And Value (235)
- AMD Radeon RX 9070 XT & RX 9070 Custom Models In Stock at European Stores (226)
- New Leak Reveals NVIDIA RTX 5080 Is Slower Than RTX 4090 (215)
- AMD's Radeon RX 9070 Launch Faces Pricing Hurdles (175)
- AMD Radeon RX 9070 XT Tested in Cyberpunk 2077 and Black Myth: Wukong (169)