 8
8
Seasonic SYNCRO Q704 + Connect Chassis Review - A Seamless Integration of Power Distribution
A Closer Look - Inside »A Closer Look - Outside


Now that we have taken a closer look at the unique power supply, it is time to focus on the Syncro Q704 chassis. Out of the box, the design is rather bold with an interesting mix of a solid steel frame, clean glass window, and aluminium front intended to still allow for plenty of airflow. Based on first impressions, the chassis looks and feels great for a first iteration, but looks are obviously subjective.
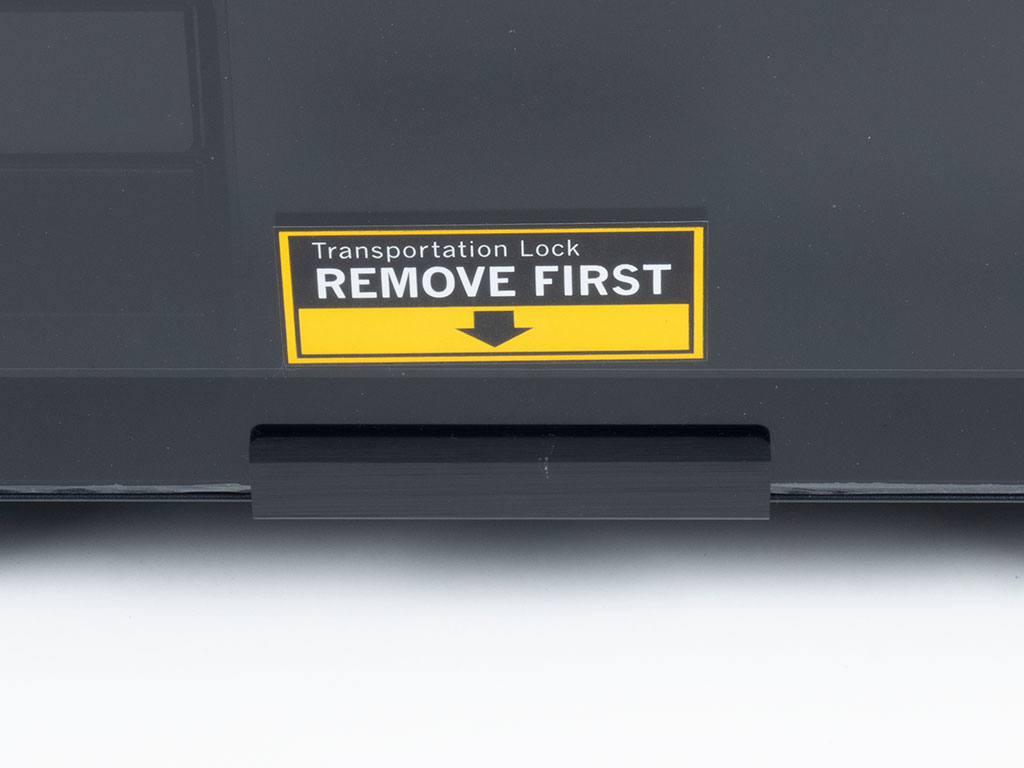
For transportation security, Seasonic actually uses a solid aluminium piece on the bottom edge of the chassis to hold the window in place. It is screwed into the underside of the case, which is quite the uncompromising way to keep things secure. That said, I am not complaining at all—in fact, this is pretty great.
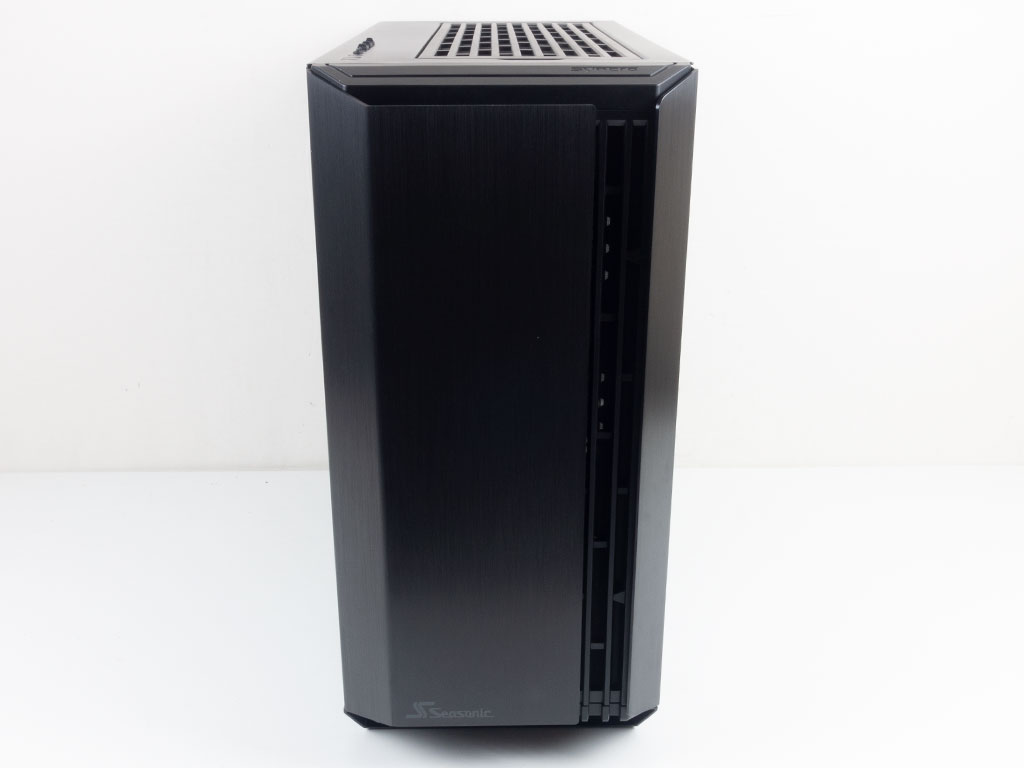

From the front, the aluminium cover is essentially symmetrical, but there is a gap on the right side, which does serve the purpose of allowing access to the dust filter. In the rear, the PSU bay is on the bottom, but Seasonic flipped the motherboard layout on its head. This means the CPU is below the GPU and motherboard expansion boards.
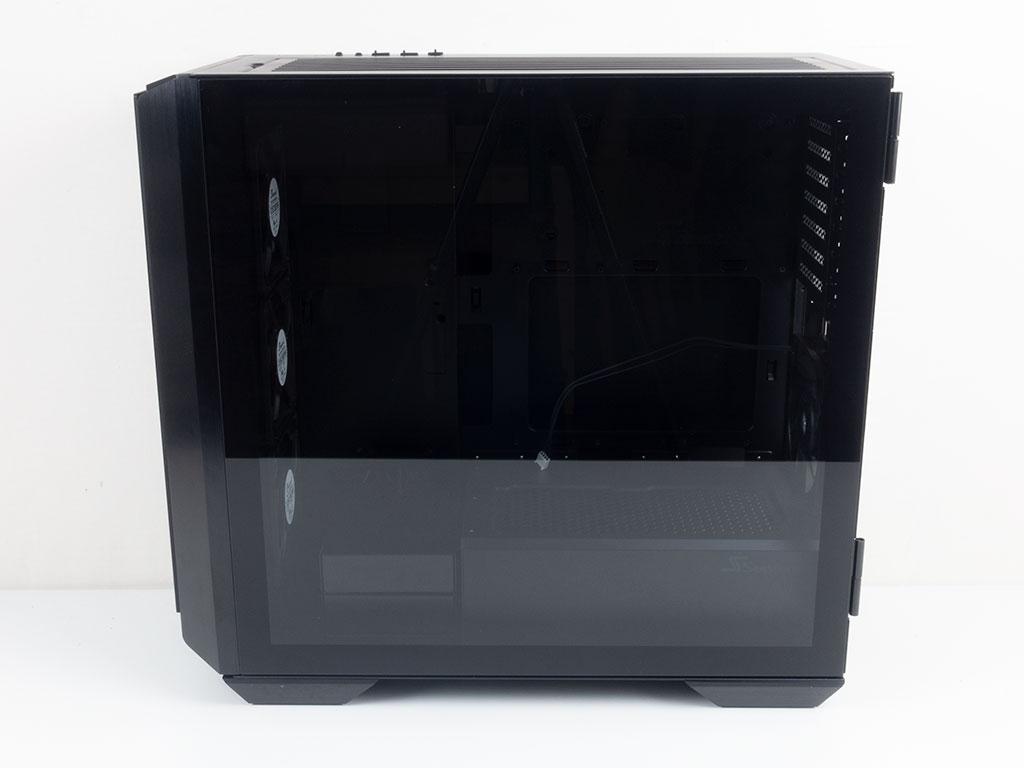
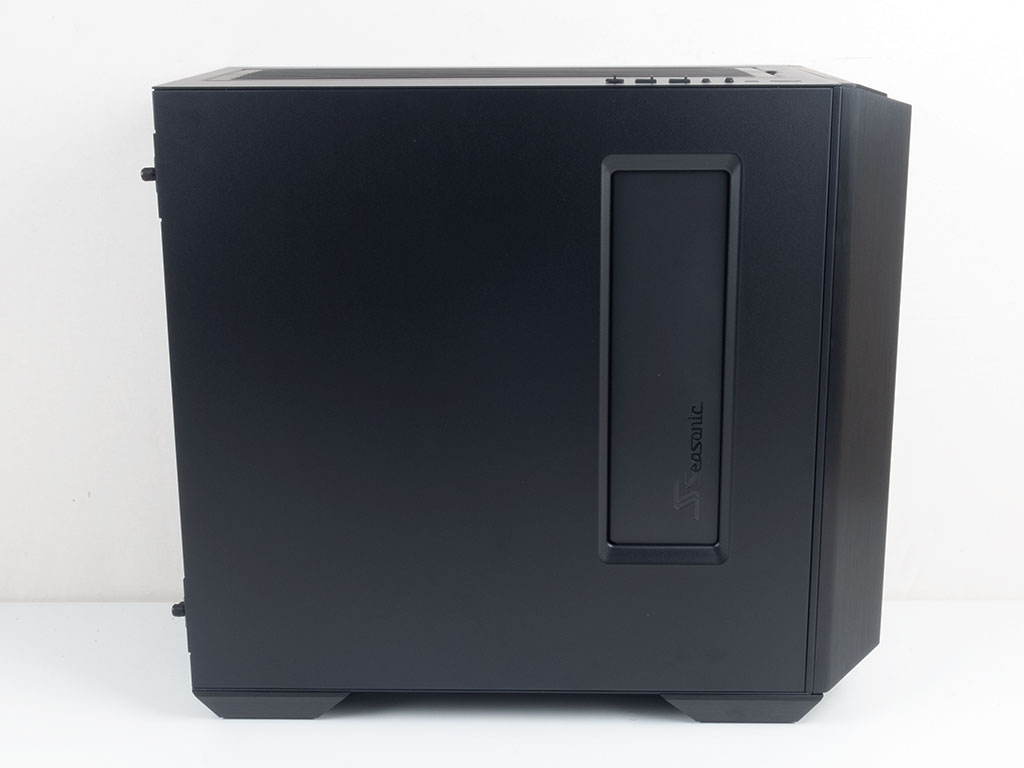
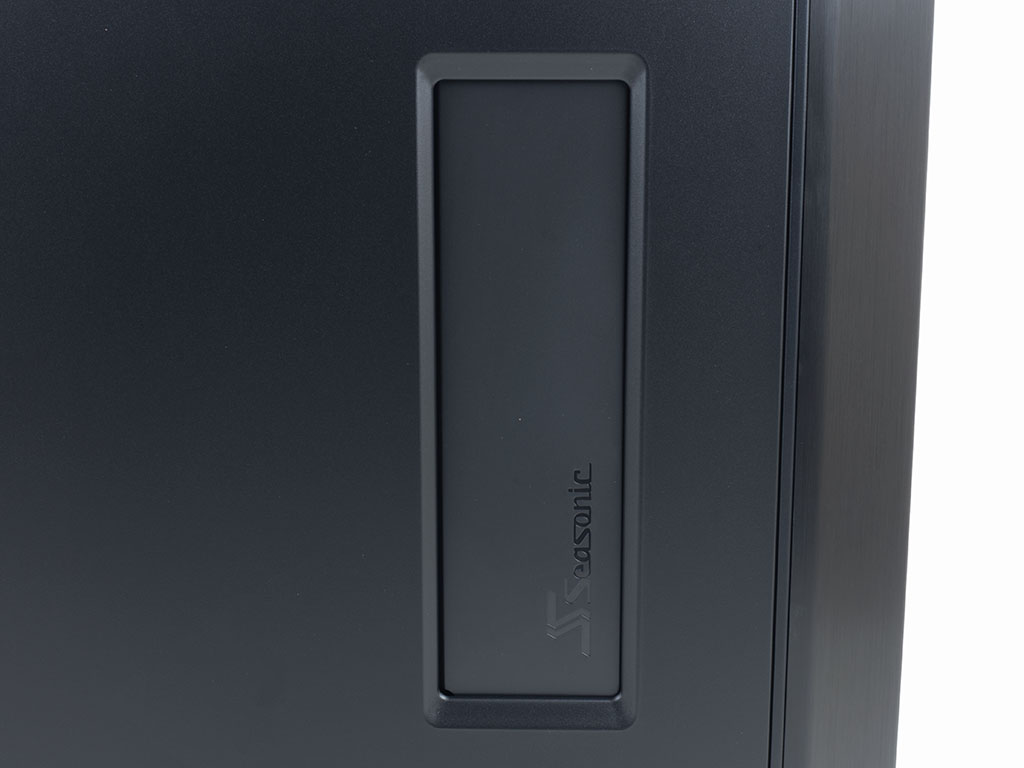
This also means the main side for interior access is on the opposite of classic ATX enclosures. The window panel itself has an aluminium lip in the front, which gives this case that somewhat symmetrical front design. It swings open on hinges and may be removed during assembly. On the opposite side, you will find a solid metal panel with a cutout around a Seasonic-branded cable channel. This is where the Connect module will go instead if you opt for it alongside the Q704.

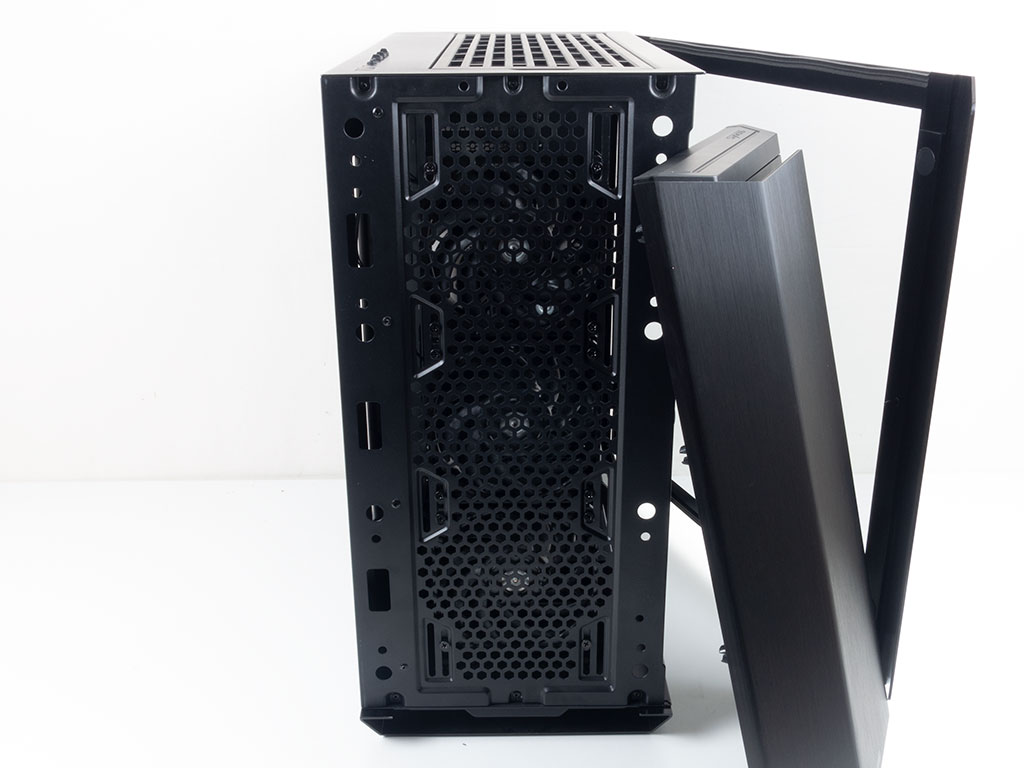
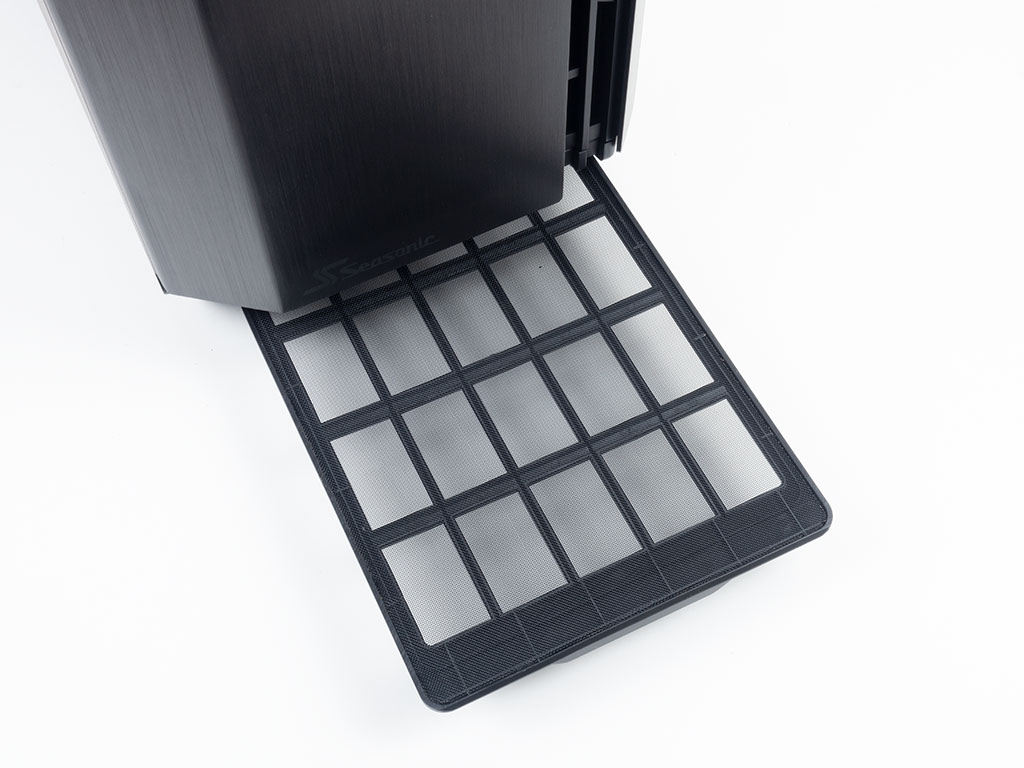
A Seasonic-branded dust filter in the front can be pulled out to the right through that gap. Seasonic could have totally gone without that gap, and dust filter removal through the top edge instead, but where is the fun in that, right? You may also yank the whole front cover off to reveal the three 120 or 140 mm fan positions. Seasonic turned to the specialists at Nidec for their fan requirements. Their co-operation resulted in the 120 mm units you see here. Lastly, the entire underside is protected by a dust filter you may pull out through the front of the case for easy cleaning.
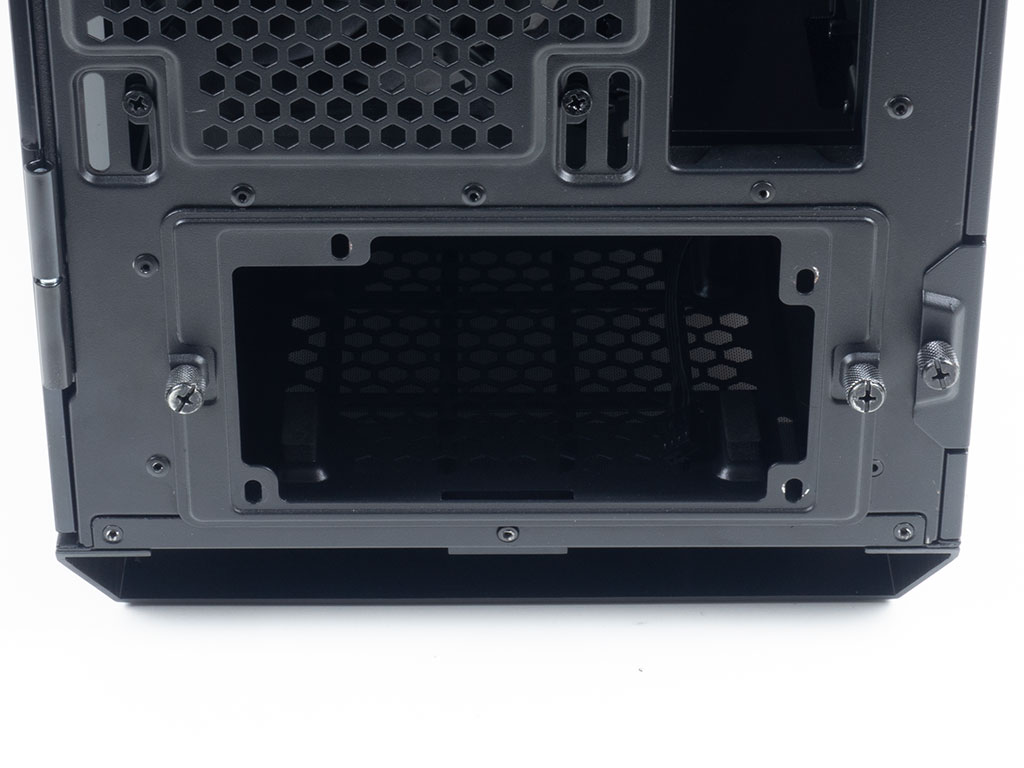
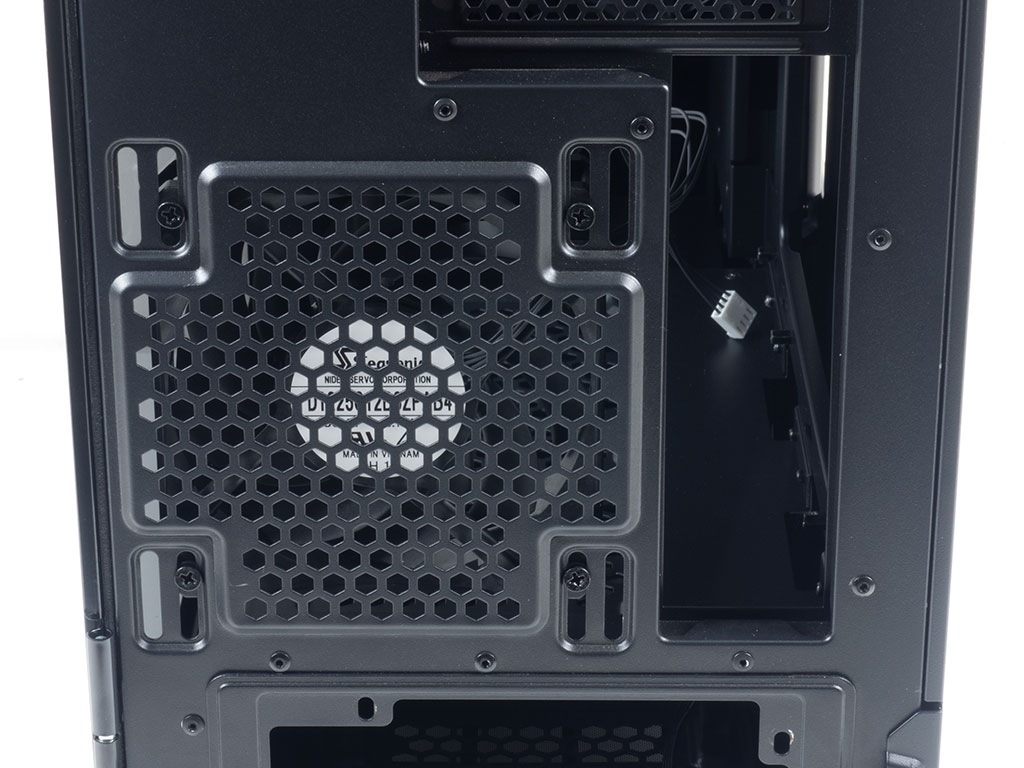
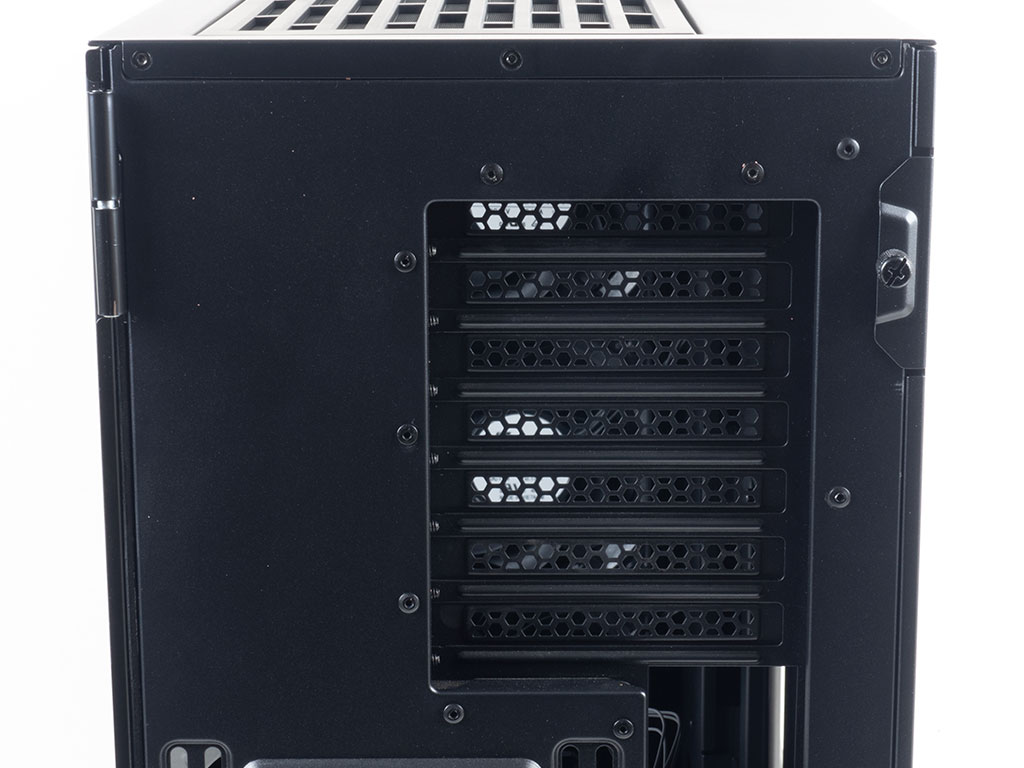
In the rear, the bottom-mounted PSU bay comes with a frame, which means you will slide the PSU in through the back of the chassis. Naturally, while the Syncro Q704 is meant to be used with the Connect PSU system, you may simply opt for a classic ATX variant instead. So those who just buy the case will still be able to take full advantage of it in a traditional build. You will find the fourth Nidec 120 mm fan above that—it is set to push hot air out the back. In the very top are the seven expansion slots. You will not find any vertical mounting possibilities as the inverted layout does not really allow for it in a meaningful fashion. That said, Seasonic could have added mounting holes for things like radiators or pumps next to these expansion slots, which would have made for a simple way of giving users additional options.
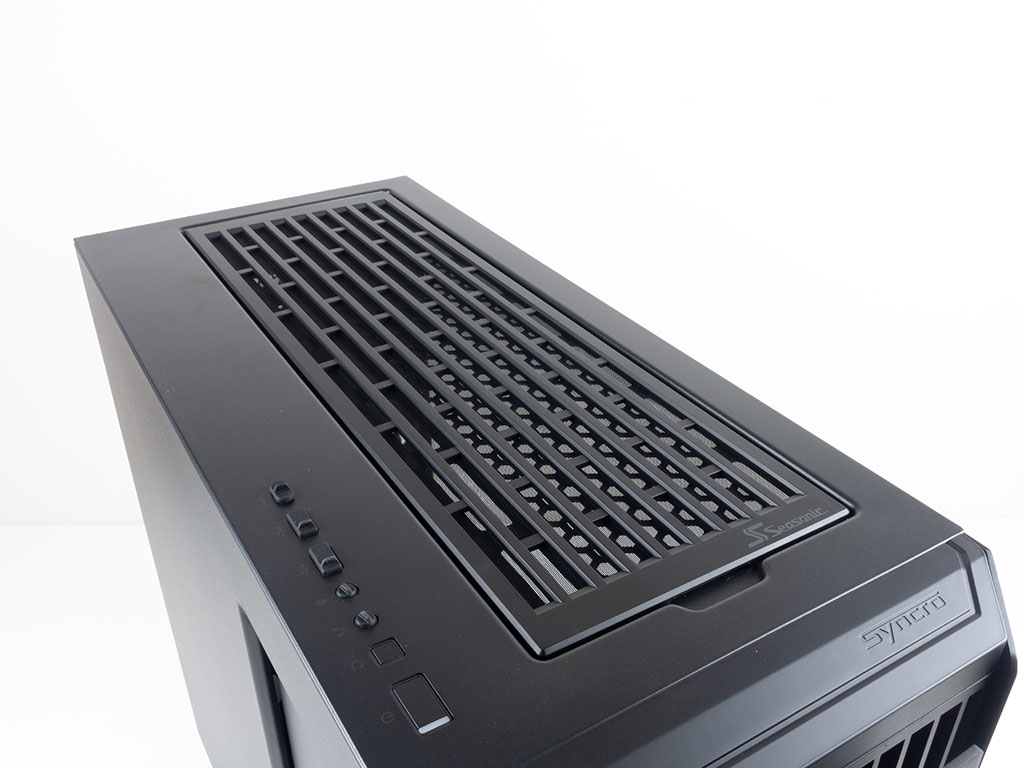
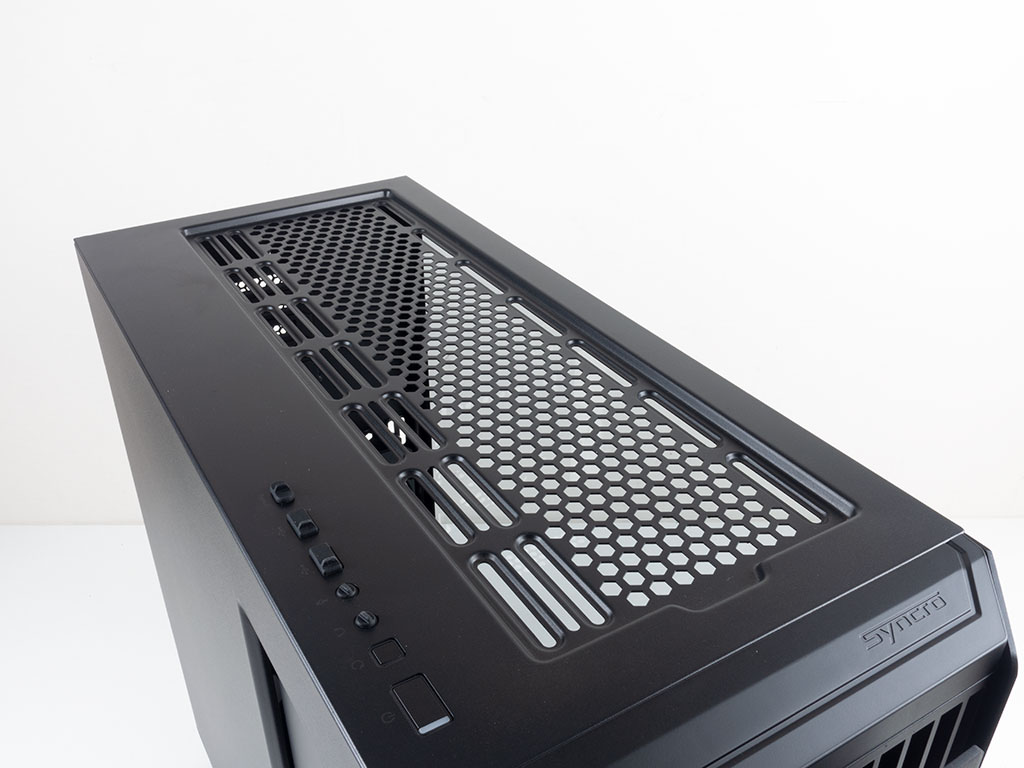
I the top, you will find a sturdy plastic dust filter that is held in place with some magnets. Below it are mounting possibilities for up to three 120 mm or 140 mm fans. With the offset mounting and space between the motherboard and ceiling, you should have no issues with fans, but a radiator setup will make it harder to reach the connections on the edge of the board. That is a limitation of the flipped board layout, unfortunately.
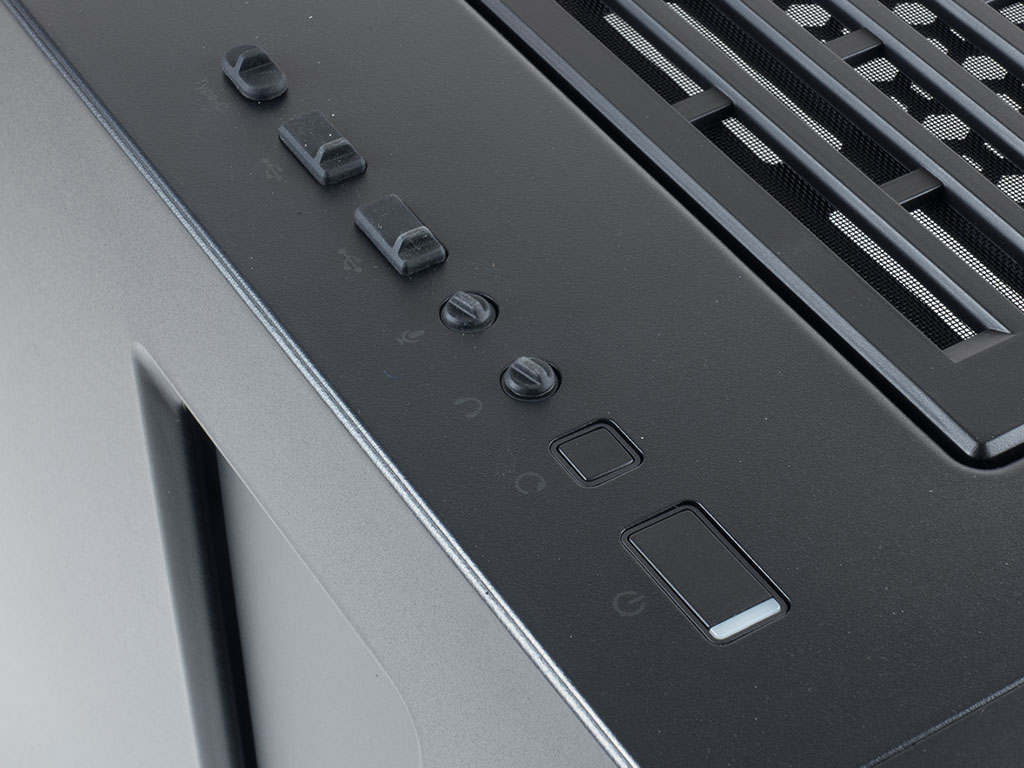
Seasonic has done away with USB 2.0 ports, instead going for USB 3.0 and a USB 3.1 Gen2 Type-C plugs. On top of that, you will find the usual audio plugs right above the reset and power buttons. Removable covers protect each of the ports from dust and damage while not in use.
Nov 27th, 2024 02:14 EST
change timezone
Latest GPU Drivers
New Forum Posts
- What's your latest tech purchase? (22380)
- GPU upgrade - buy 7900xtx or 4080 Super now or wait for next gen release in 2025? (55)
- UPS backup time calculation (0)
- AAF Optimus Modded Driver For Windows 10 & Windows 11 (173)
- ASUS P8Z77 V Pro sees only half the RAM (59)
- UEFI vbios for amd hd 7770? (10)
- 1x16 + 1x32 ddr4 sticks together? 48gb total (9)
- Thermaltake riing plus 12 rgb and other rgb fans. (2)
- How do you view TPU & the internet in general? (With poll) (34)
- The TPU UK Clubhouse (25356)
Popular Reviews
- STALKER 2 Performance Benchmark Review - 35 GPUs Tested
- STALKER 2 Handheld Performance Review
- Gigabyte X870E Aorus Master Review
- AMD Ryzen 7 9800X3D Review - The Best Gaming Processor
- STALKER 2: DLSS vs. FSR vs. XeSS Comparison Review
- be quiet! Light Base 900 DX Review
- Endgame Gear XM2 8K Review
- Upcoming Hardware Launches 2024 (Updated Nov 2024)
- Chieftec Visio Review
- Sennheiser HD 490 PRO Open-Back Headphones Review
Controversial News Posts
- AMD Falling Behind: Radeon dGPUs Absent from Steam's Top 20 (222)
- AMD Ryzen 7 9800X3D Stocks Vaporized in Retail, Being Scalped (154)
- AMD Introduces Next-Generation AMD Ryzen 7 9800X3D Processor, $479, Nov 7 (124)
- Apple and Samsung in the Fray to Acquire Intel: Rumor (123)
- AMD Ryzen 7 9800X3D Comes with 120W TDP, 5.20 GHz Boost, All Specs Leaked (120)
- Microsoft Offers $30 Windows 10 Security Extension for Home Users (118)
- TechPowerUp is Hiring a Power Supply (PSU) Reviewer (112)
- Microsoft is Introducing a $349 Mini PC That Streams Windows 11 from the Cloud (106)