 0
0
Sharkoon TG6 RGB Review - Tempered Glass and Fancy RGB Fans
Temperature & Noise Testing »Test System
| System Parts for Case Reviews | |
|---|---|
| Processor: | Intel Core i5-9600K |
| Motherboards: | ATX: MSI Z390 GAMING EDGE AC MATX: Z370M GAMING EDGE AC Mini-ITX: MSI Z370I GAMING EDGE AC Provided by: MSI |
| Graphics Card: | ATX/mATX: Palit GeForce RTX 2080 Gaming Pro OC ITX: EVGA GTX 1650 SC Ultra Black 4 GB |
| Memory: | 16 GB XPG GAMMIX D30 DDR4 2666 MHz CL16-18-18 1.20 V 16 GB XPG SPECTRIX D60G DDR4 3000 MHz CL16-18-18 1.35 V Provided by: ADATA |
| HDD: | Western Digital 320 GB 7200 RPM |
| SSD: | ITX: ADATA SX6000 Pro M.2 256 GB mATX: ADATA GAMMIX S11 Pro M.2 256 GB ATX: ADATA SPECTRIX S40G M.2 256 GB ADATA XPG SX850 256 GB ADATA Ultimate SU630 240 GB ADATA Ultimate SU750 256 GB Provided by: ADATA |
| Power Supply: | Fractal Design ION+ 750W 80 Plus Platinum Provided by: Fractal Design |
| Cooling: | be quiet! Dark Rock 4 be quiet! Dark Rock Slim be quiet! Shadow Rock LP Provided by: be quiet! |
Assembly
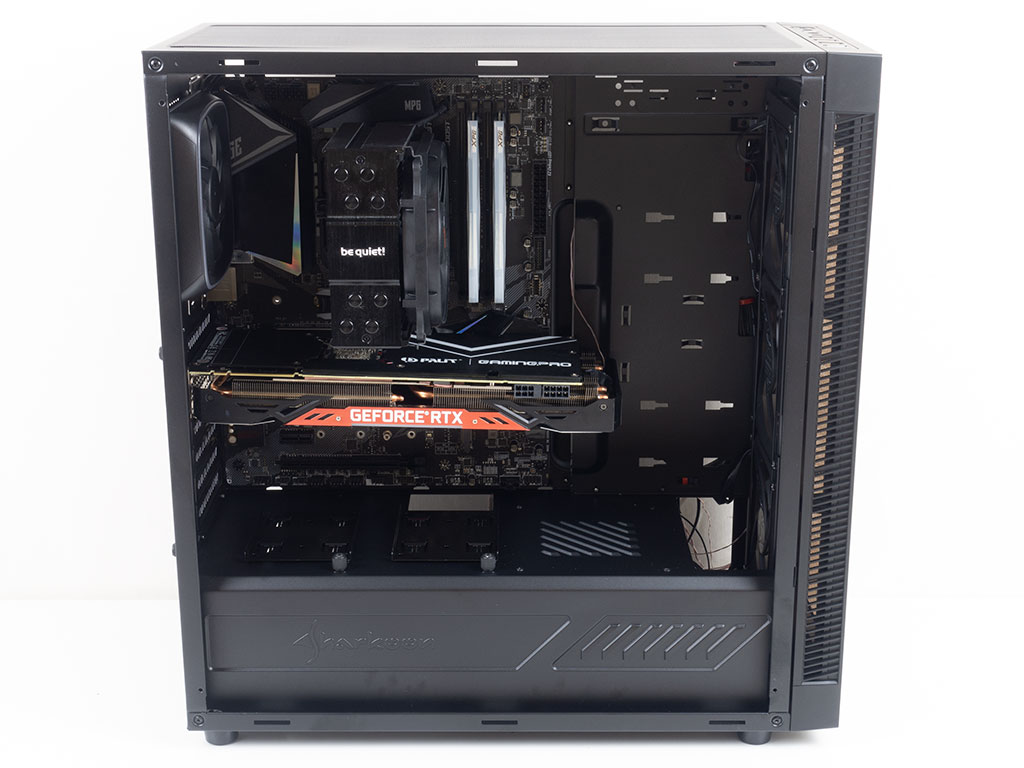
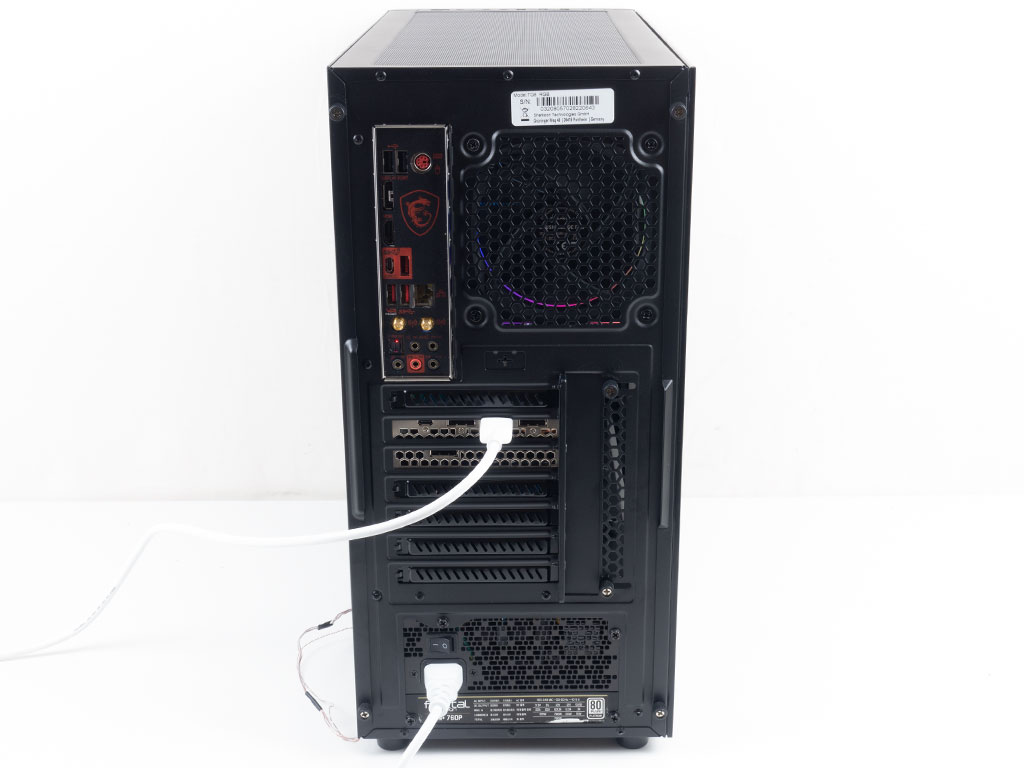
Installing the motherboard is done by using traditional spacers and screws. There is plenty of space for cable routing at the top and to the right of the board, but the bottom only comes with a single opening in the shroud, so your final result will not look quite as clean as it could with more cutouts.
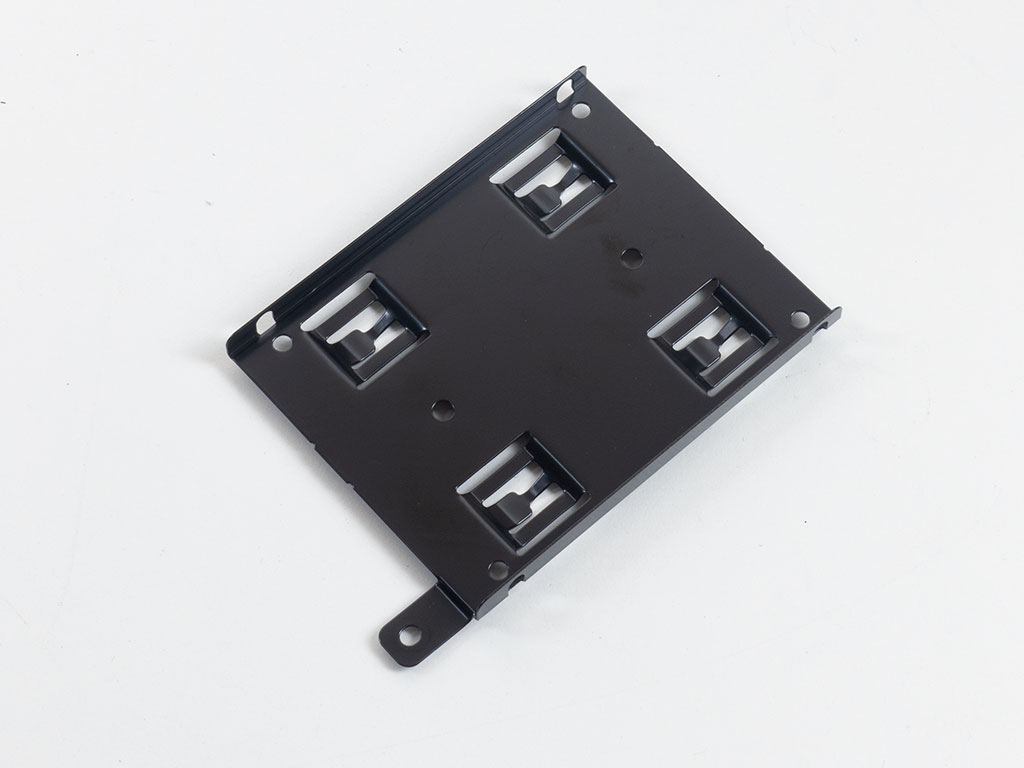
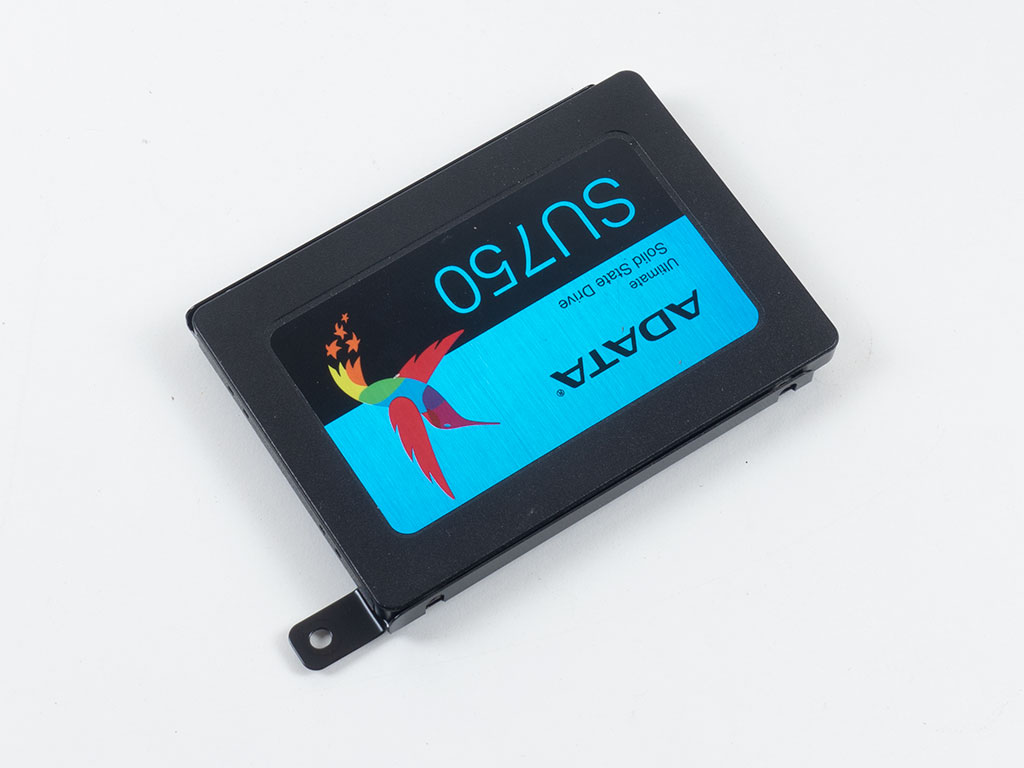
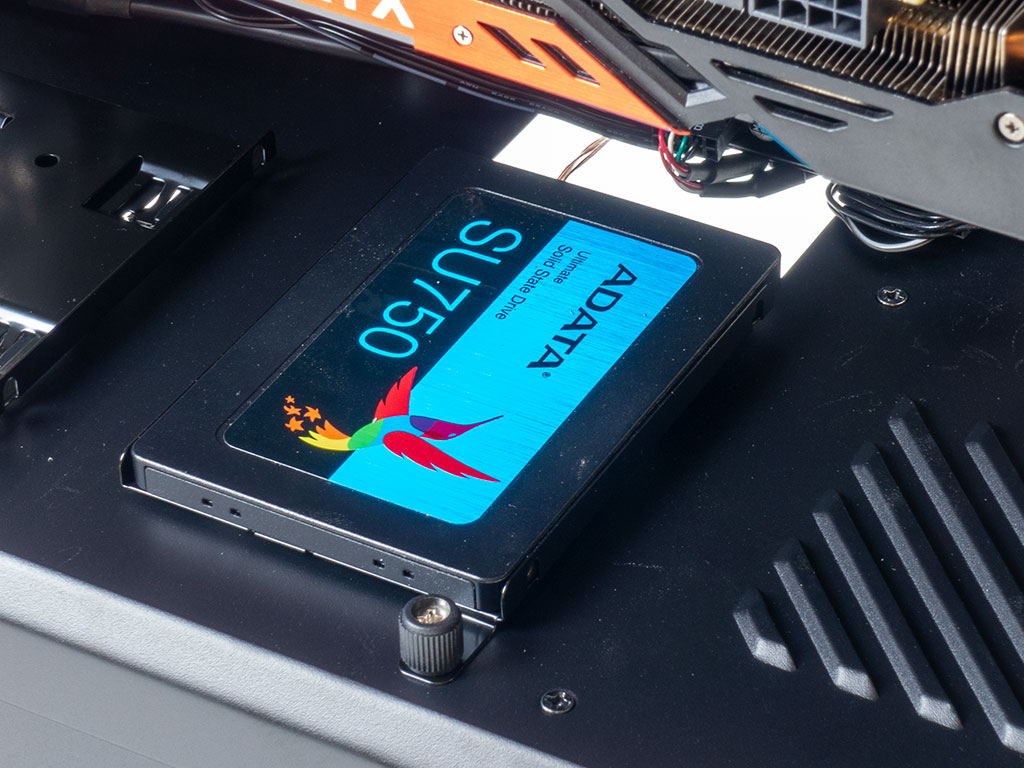
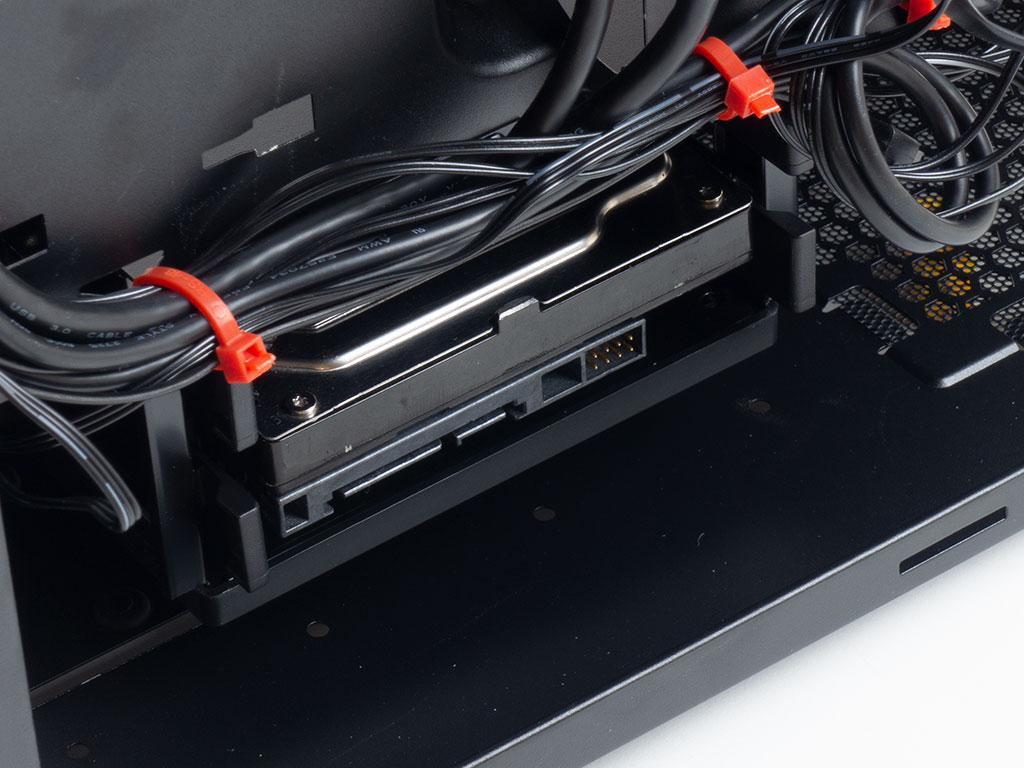
Adding an SSD to the metal tray is straightforward as you screw your unit down and place it back into one of four possible locations—simply use the thumb screw to keep it there.
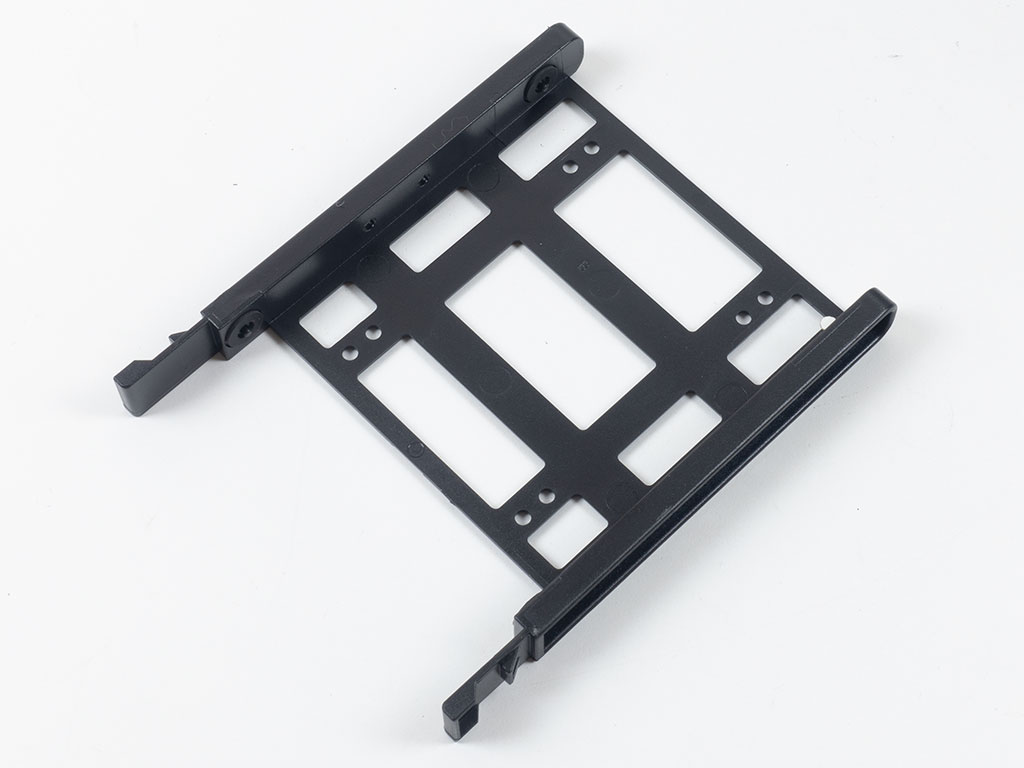
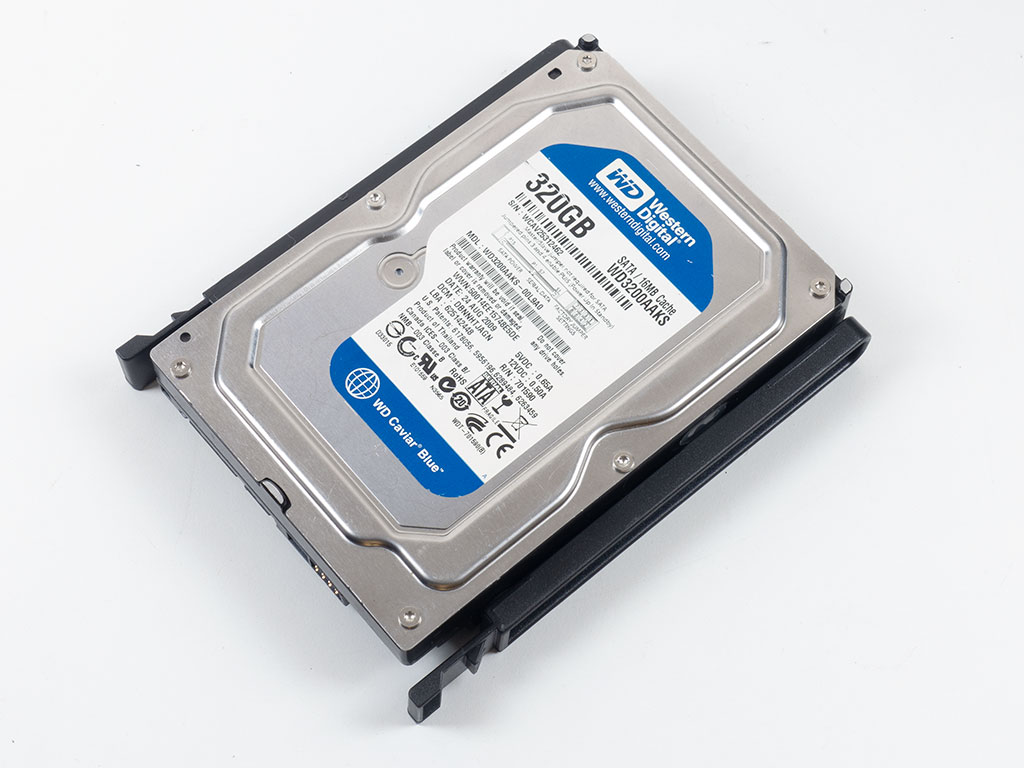

The 3.5" trays are completely tool-less, but optionally use screws if you like. Once you snap the drive in, just slide it back into the cage until the whole contraption clips in securely.
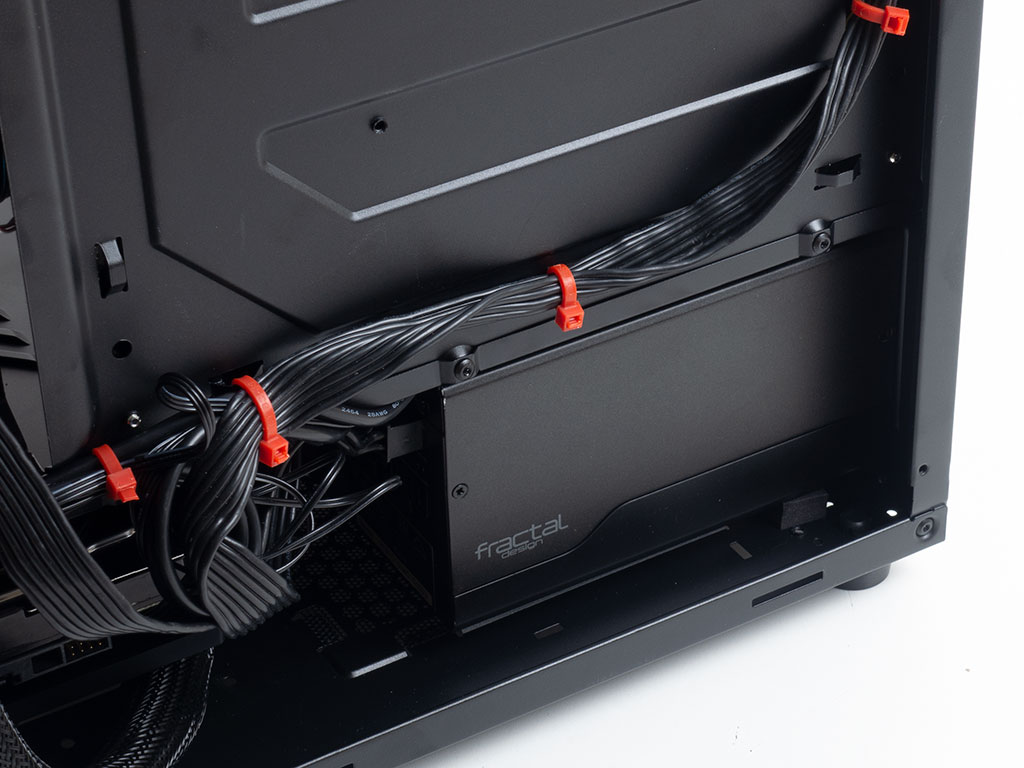
To install the PSU, slide it in through the side and ensure it rests on those four foam spacers. As those are pretty big, you have to watch out—make sure not to detach them from the floor in the process. Once in place, the unit is secured with four traditional case screws. There is a good amount of space, so don't worry when going with a higher capacity unit of good quality to power your gaming components.
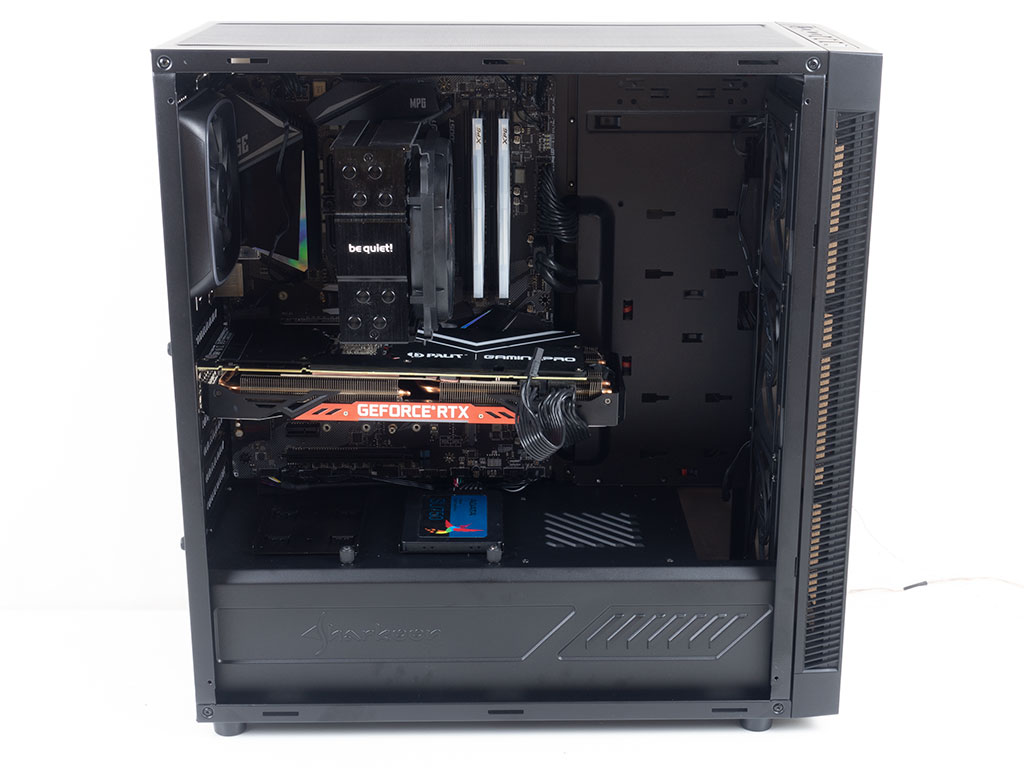
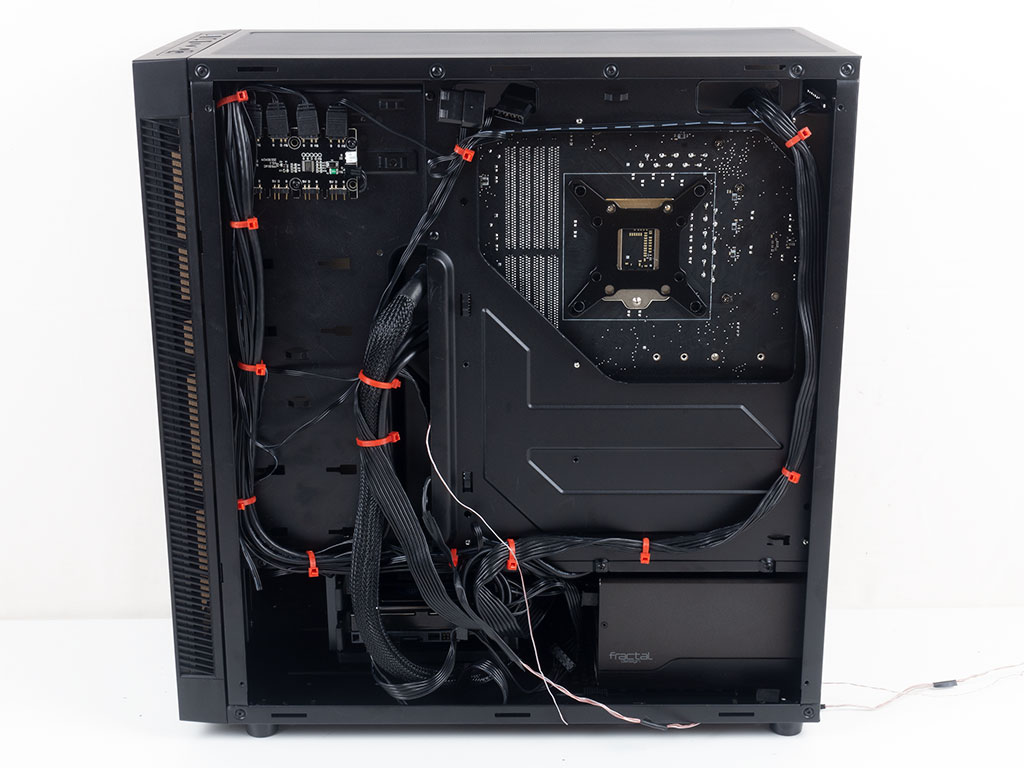
Once all the parts are in place, the interior is quite alright in terms of tidiness. That big opening on the bottom is working against you a little bit when it comes to making it all disappear, and filling both spots for SSDs on the shroud will make that area much busier as well.
Finished Looks

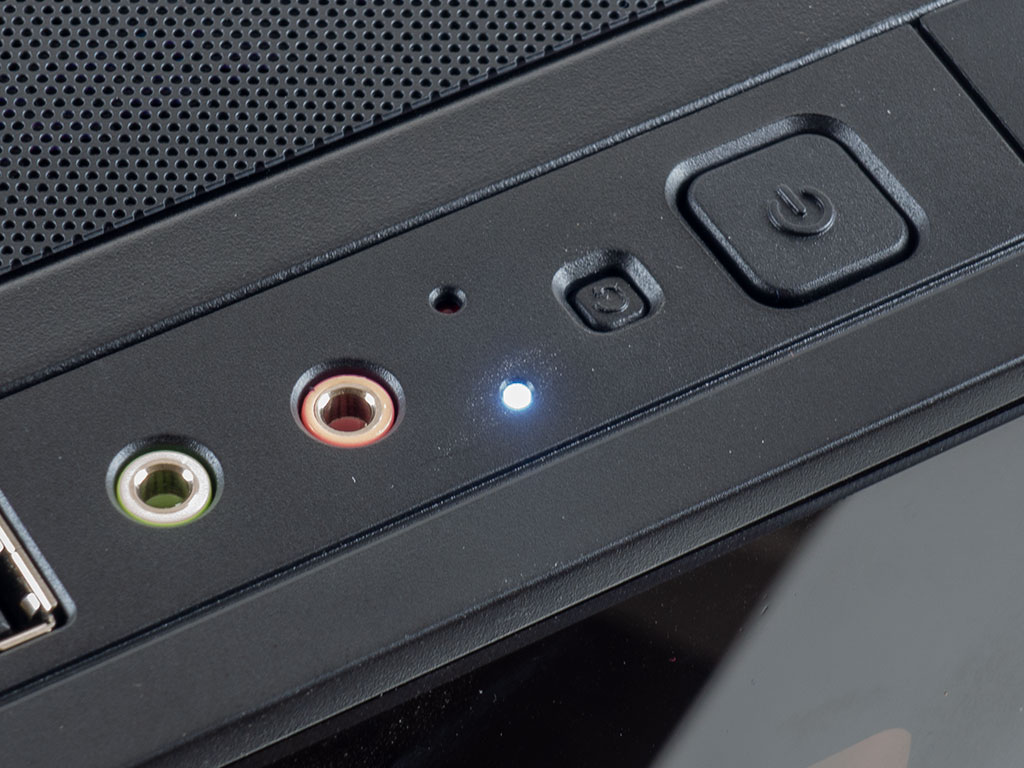
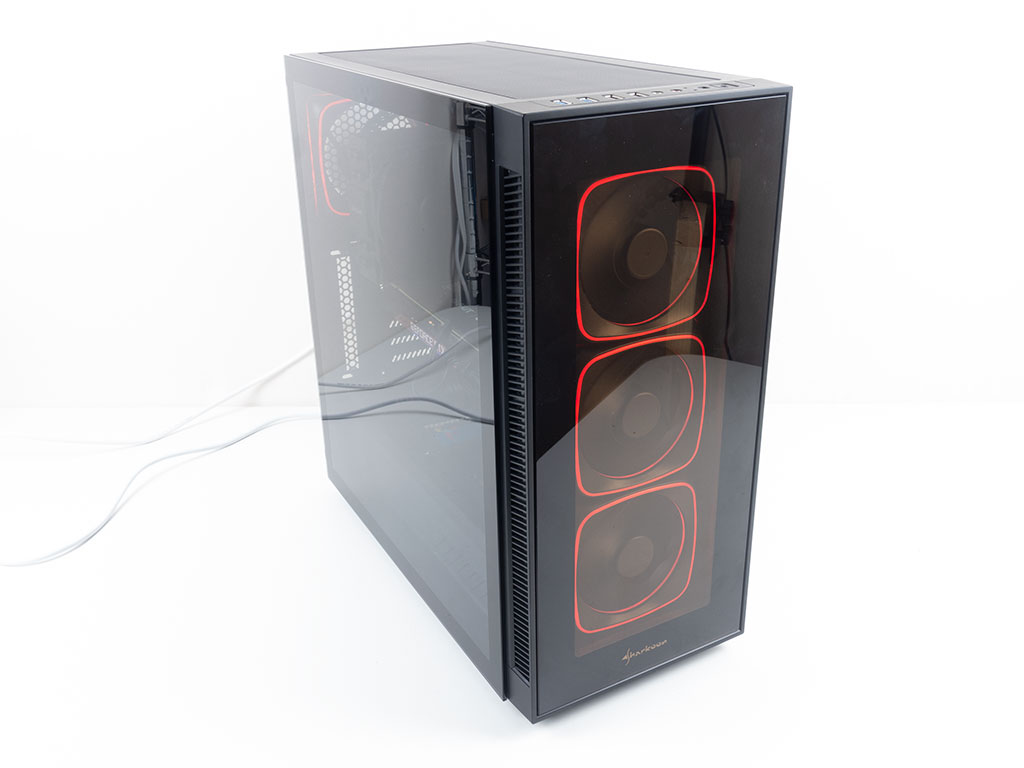
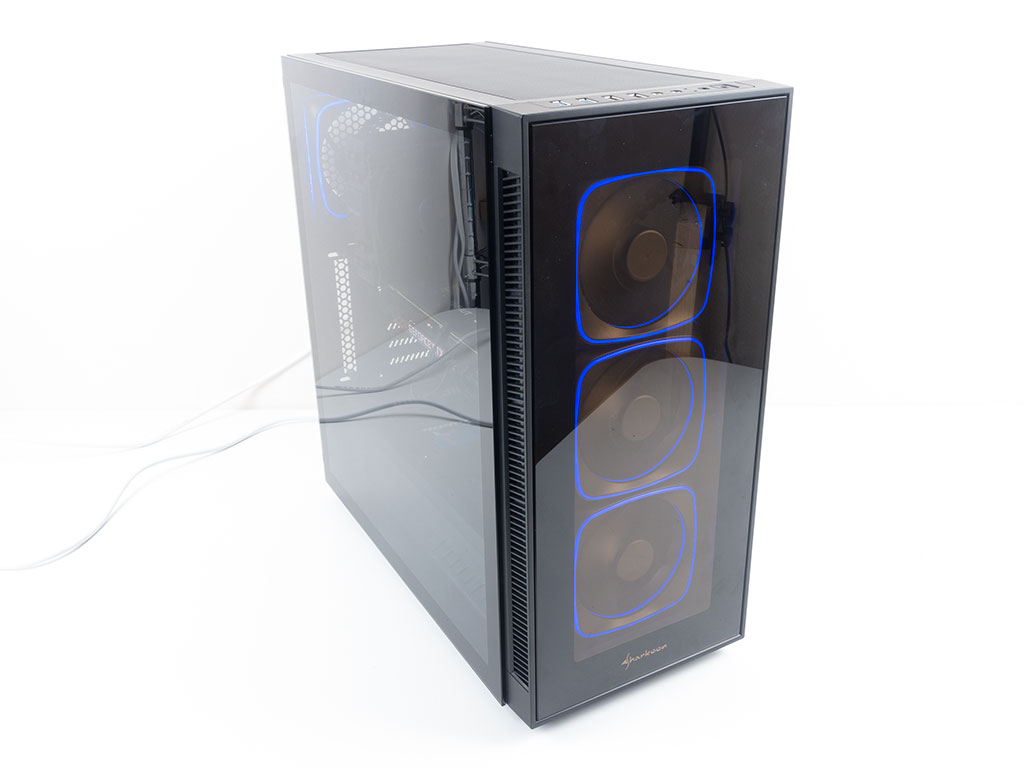
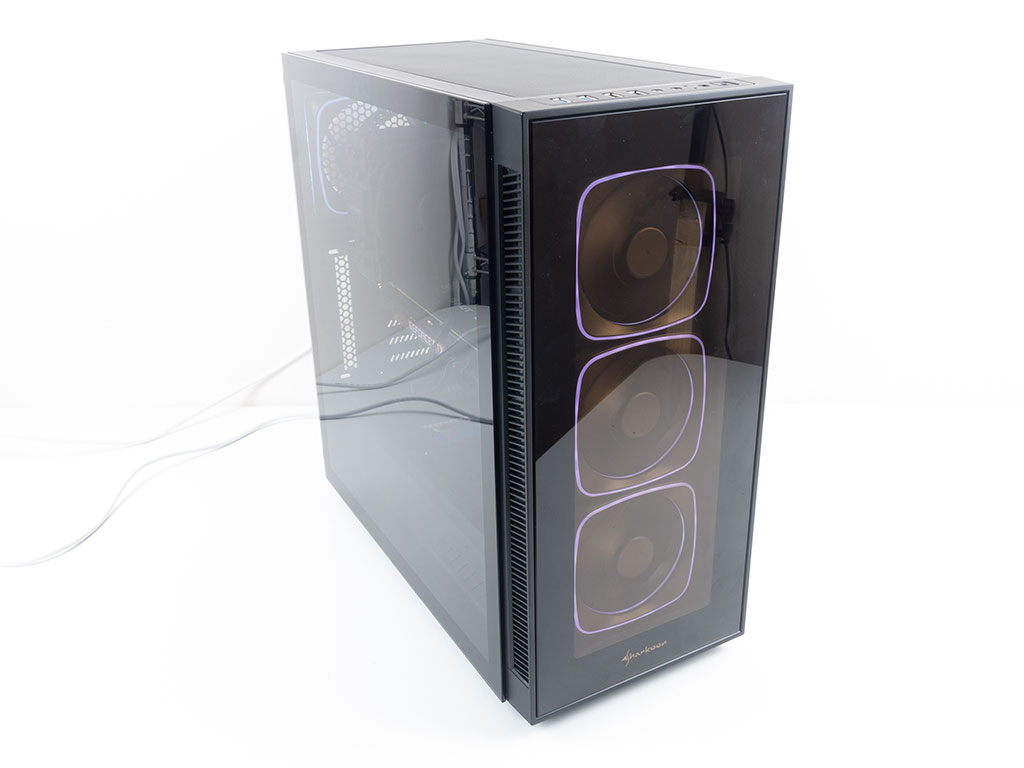
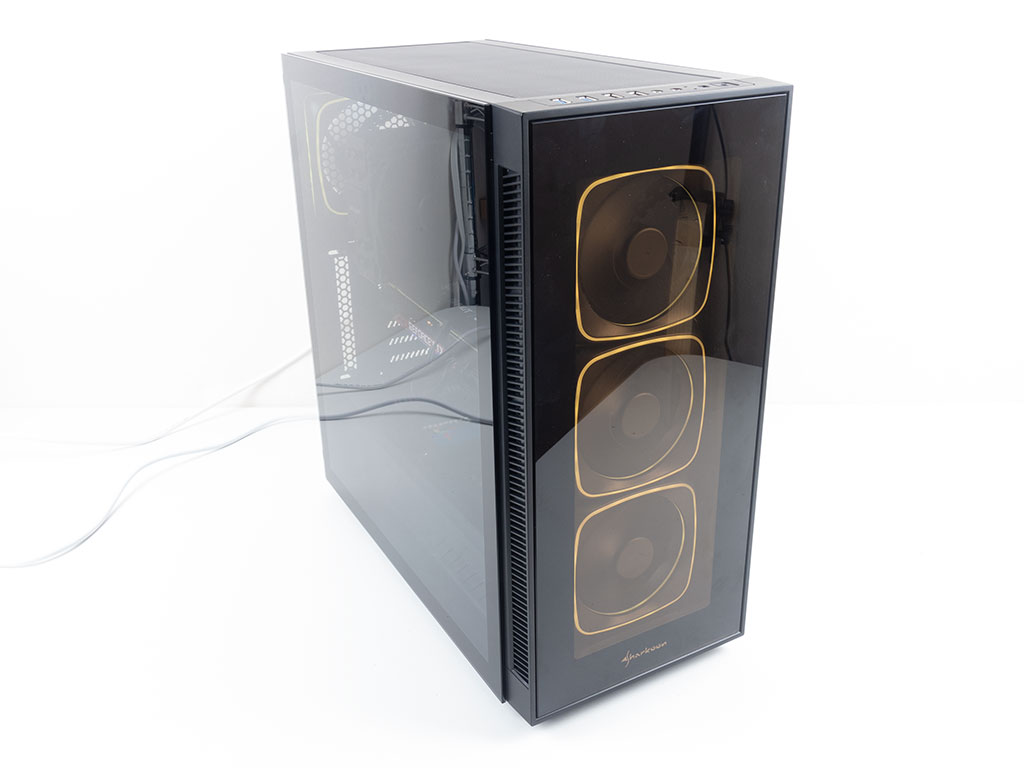
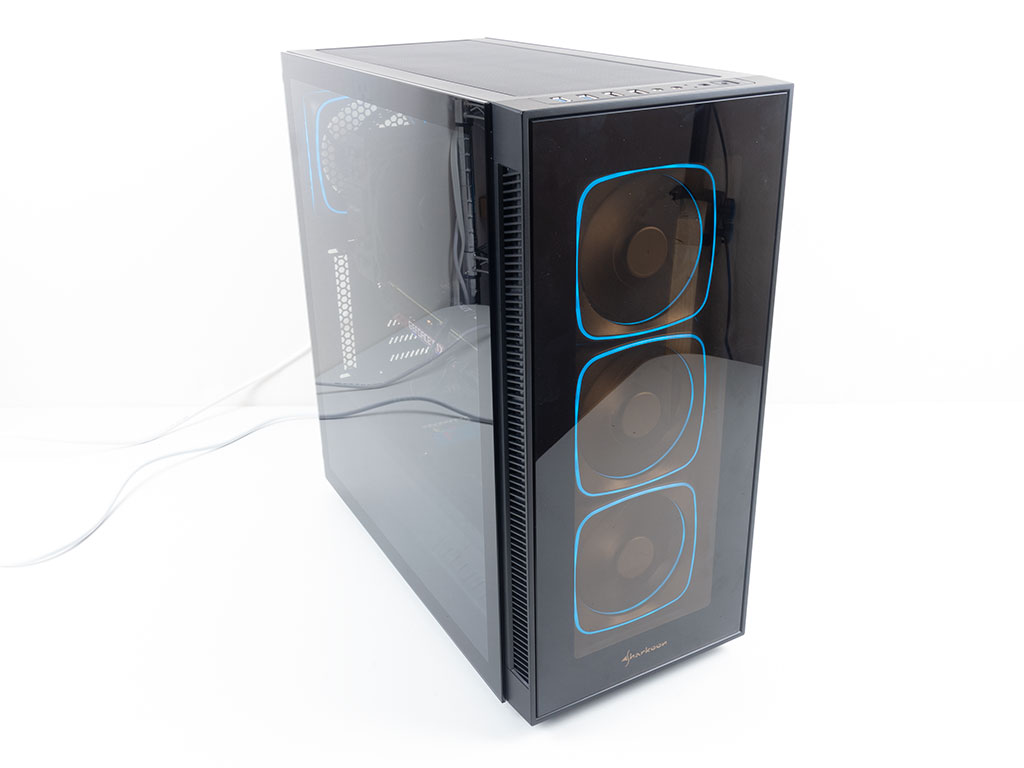
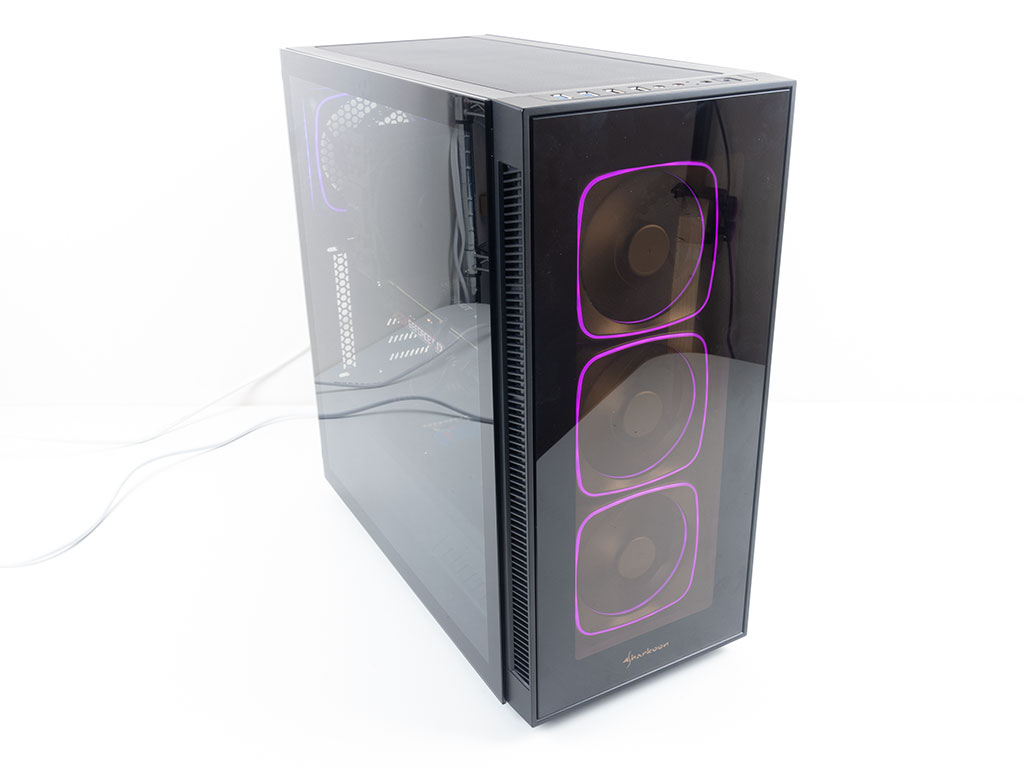
Turning on the Sharkoon TG6 is quite the unique experience for a mainstream chassis. The brown hue on the front glass panel along with the uniquely shaped LED framing on the fans really set it apart from an otherwise very understated chassis. On top of the case, a white LED lights up to let you know that the system is powered on.
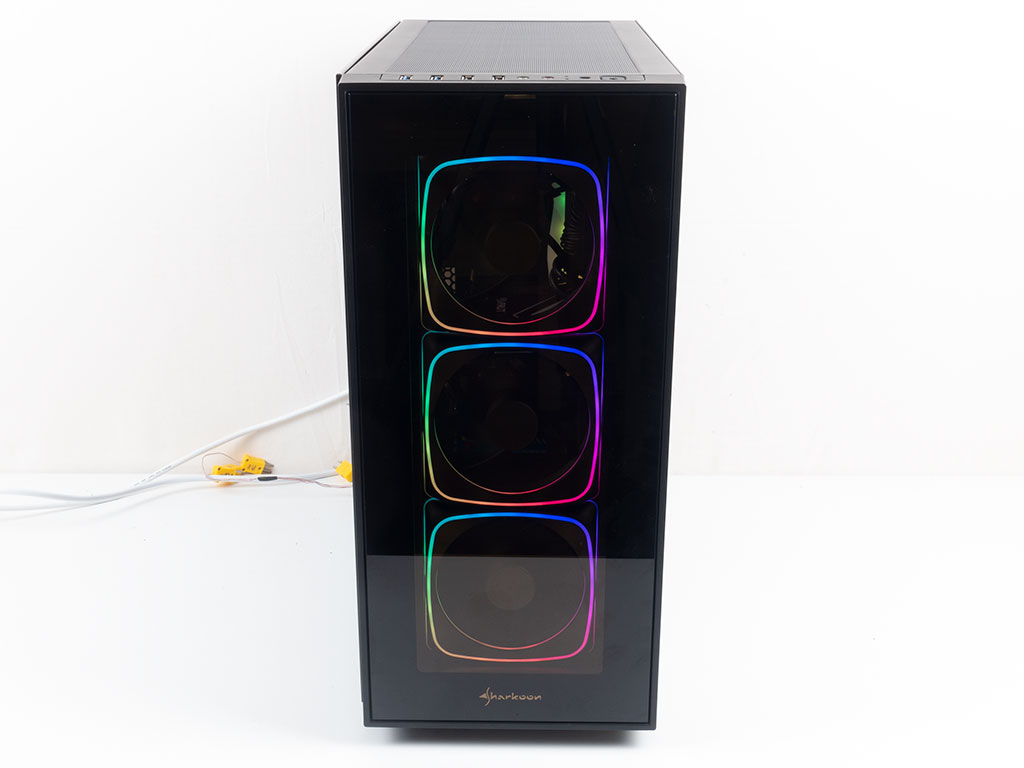
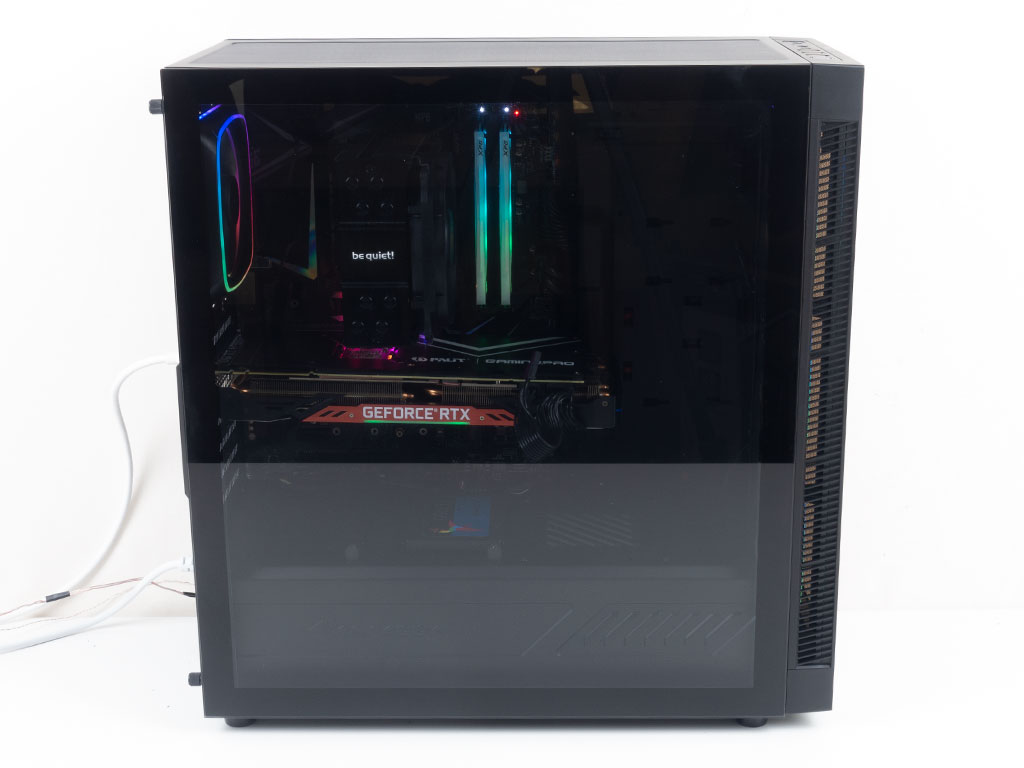
While you can see a little secondary ring within the fans when viewing the chassis at an angle, those are invisible when viewed from the front, with a soft square on each of the units. With only a gentle gray tint on the side window, you can see all your hardware within the system, but the three intake fans in front do not add much internal illumination because their LED rings aren't facing inward.
You may cycle through several multi and single-color animations, but the Sharkoon TG6 also offers several solid color options, which you can take a look at below.

Mar 10th, 2025 19:23 EDT
change timezone
Latest GPU Drivers
New Forum Posts
- I'm looking for a good tool to make the 3D scanning of my mini-pc using the photogrammetry and my Kinect 2. (54)
- Post Your TIMESPY, PCMARK10 & FIRESTRIKE SCORES! (2019) (271)
- AMD RX 7000 series GPU Owners' Club (1307)
- I need a BIOS for the "Rx580 8gb" chip 215-0876406 (6)
- Biostar RX 6700 XT OC BIOS (7)
- Nvidia's GPU market share hits 90% in Q4 2024 (gets closer to full monopoly) (774)
- What's your latest tech purchase? (23278)
- Wherein lies the difference (2)
- USB hard disk box capacity limits (14)
- RX 9000 series GPU Owners Club (41)
Popular Reviews
- Sapphire Radeon RX 9070 XT Nitro+ Review - Beating NVIDIA
- XFX Radeon RX 9070 XT Mercury OC Magnetic Air Review
- ASUS Radeon RX 9070 TUF OC Review
- MSI MAG B850 Tomahawk Max Wi-Fi Review
- NVIDIA GeForce RTX 5080 Founders Edition Review
- NVIDIA GeForce RTX 5070 Founders Edition Review
- Corsair Vengeance RGB CUDIMM DDR5-8800 48 GB CL42 Review
- AMD Ryzen 7 9800X3D Review - The Best Gaming Processor
- ASUS GeForce RTX 5070 Ti TUF OC Review
- MSI GeForce RTX 5070 Ti Gaming Trio OC+ Review
Controversial News Posts
- NVIDIA GeForce RTX 50 Cards Spotted with Missing ROPs, NVIDIA Confirms the Issue, Multiple Vendors Affected (513)
- AMD Plans Aggressive Price Competition with Radeon RX 9000 Series (277)
- AMD Radeon RX 9070 and 9070 XT Listed On Amazon - One Buyer Snags a Unit (261)
- AMD RDNA 4 and Radeon RX 9070 Series Unveiled: $549 & $599 (260)
- AMD Mentions Sub-$700 Pricing for Radeon RX 9070 GPU Series, Looks Like NV Minus $50 Again (248)
- NVIDIA Investigates GeForce RTX 50 Series "Blackwell" Black Screen and BSOD Issues (244)
- AMD Radeon RX 9070 and 9070 XT Official Performance Metrics Leaked, +42% 4K Performance Over Radeon RX 7900 GRE (195)
- AMD Radeon RX 9070-series Pricing Leaks Courtesy of MicroCenter (158)