 0
0
Shuttle Fanless Slim-PC DS47 Review
BIOS Walkthrough & Performance »A Closer Look - Inside
Fully dismantling the DS47 wasn't an easy task. Many screws had to be removed. The top of the chassis had to be removed carefully since it plays a key role in cooling both CPU and chipset.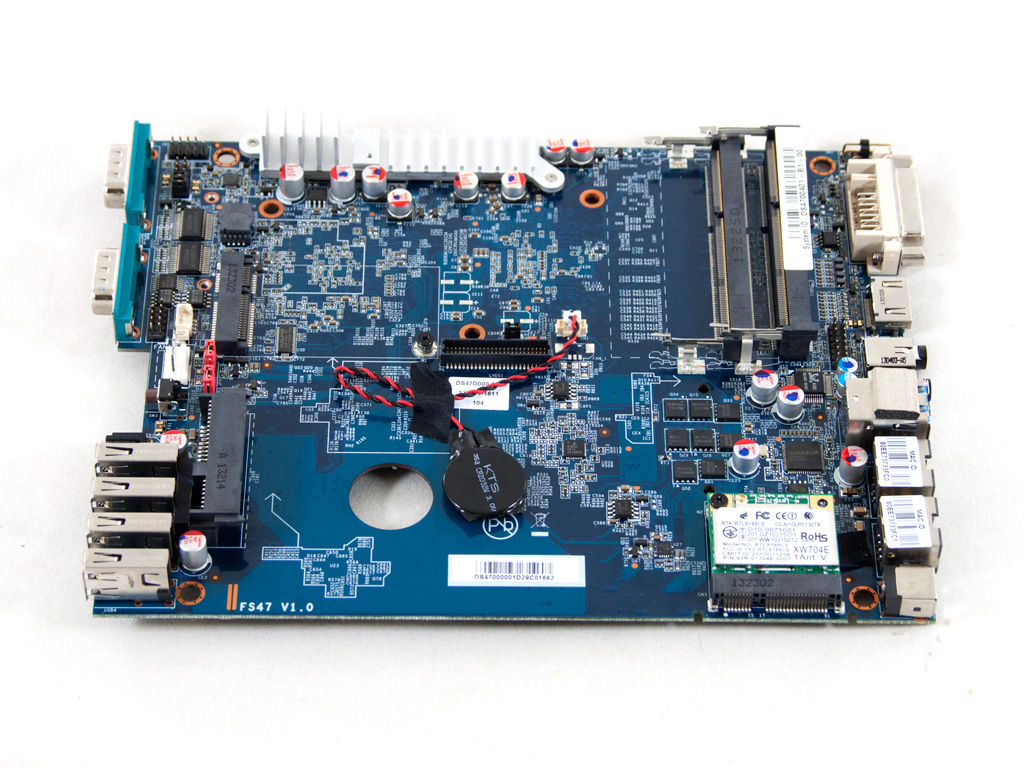
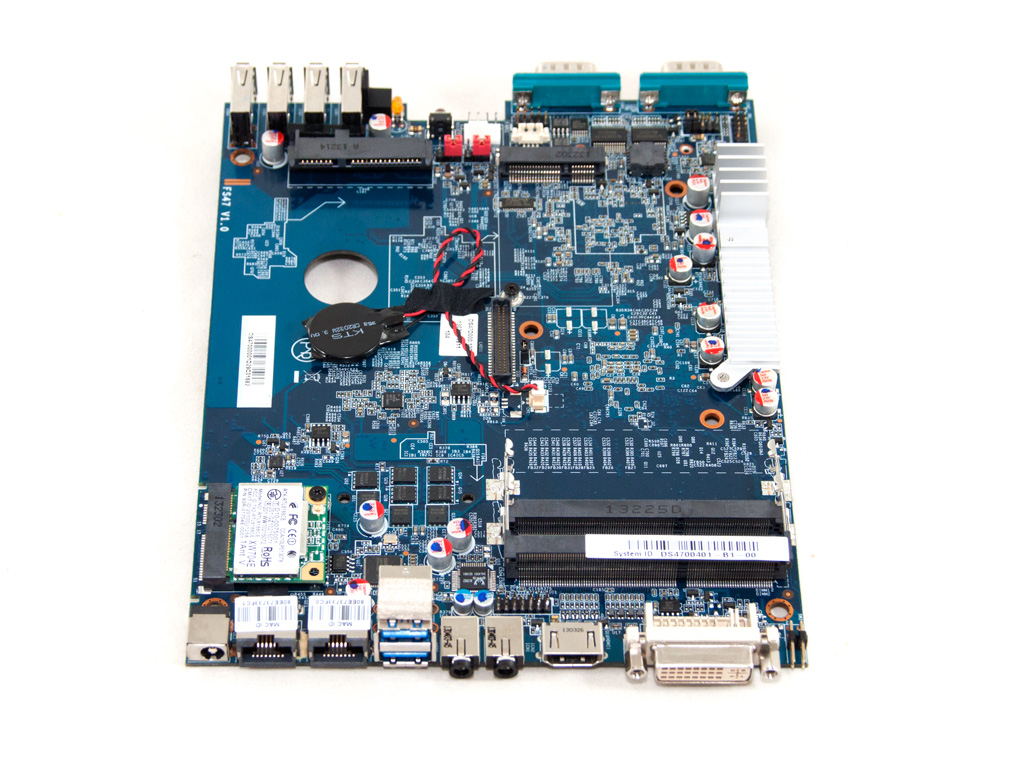
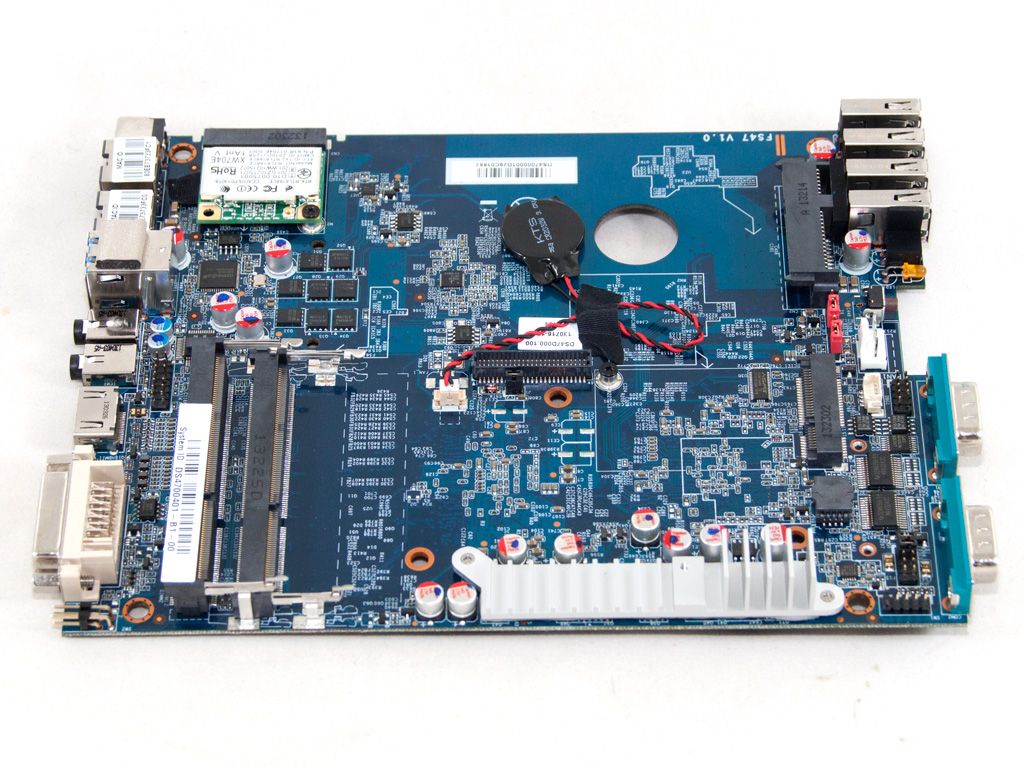
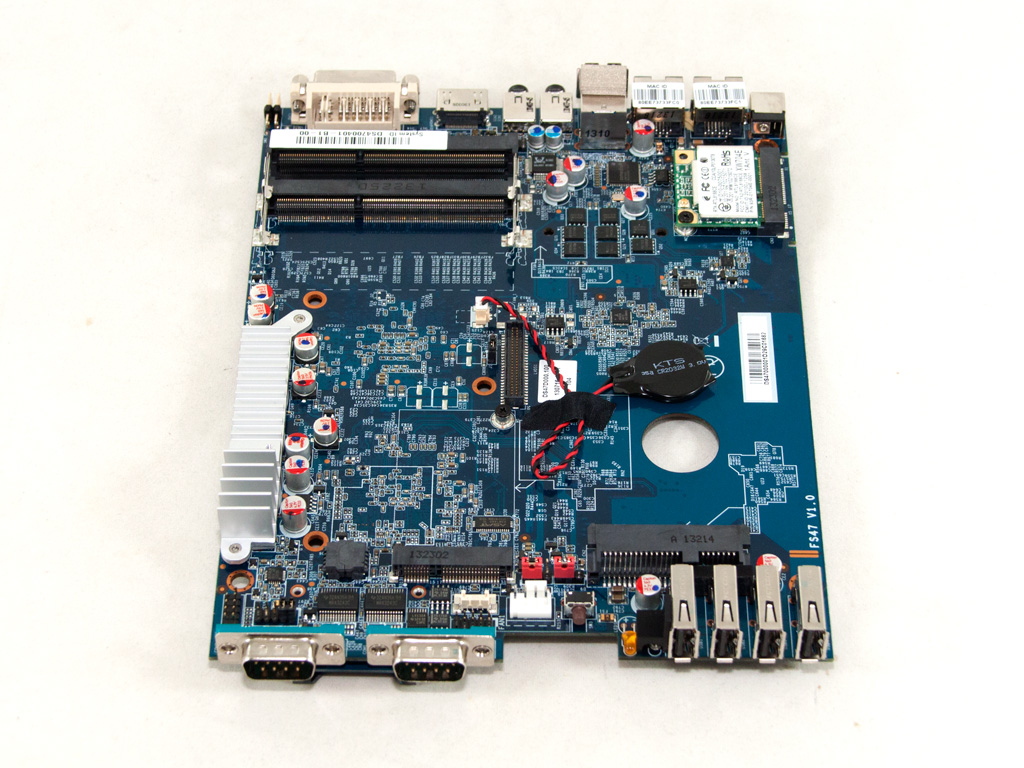
Overcrowded with components, the mainboard of the DS47 is small but full of features.
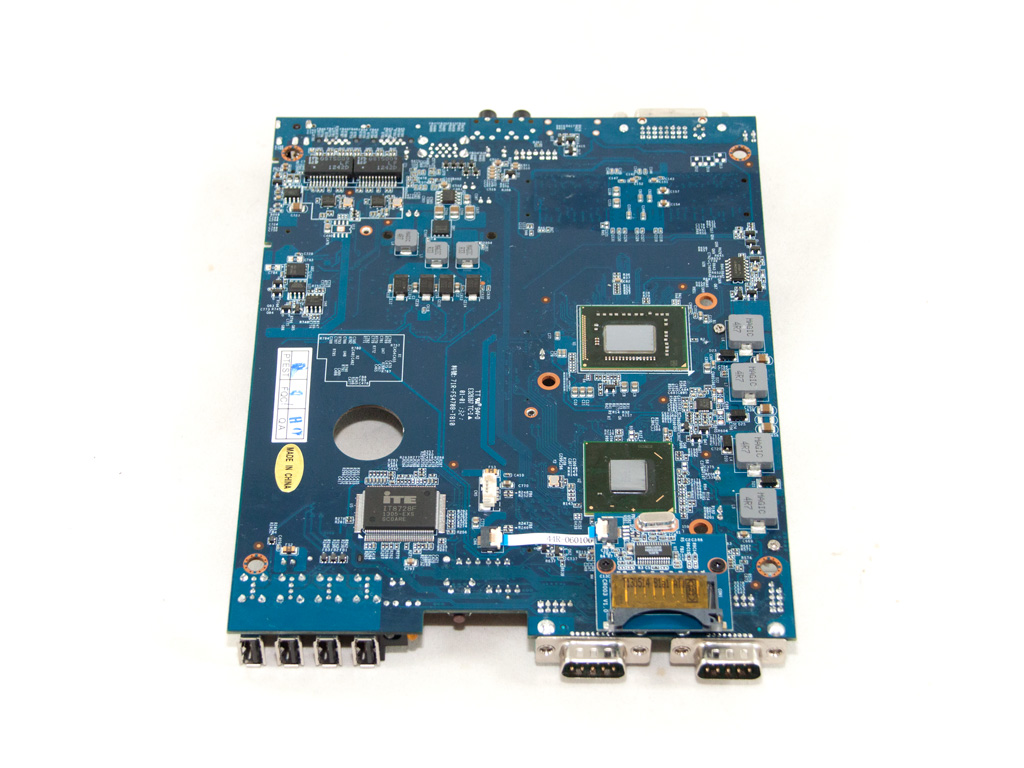
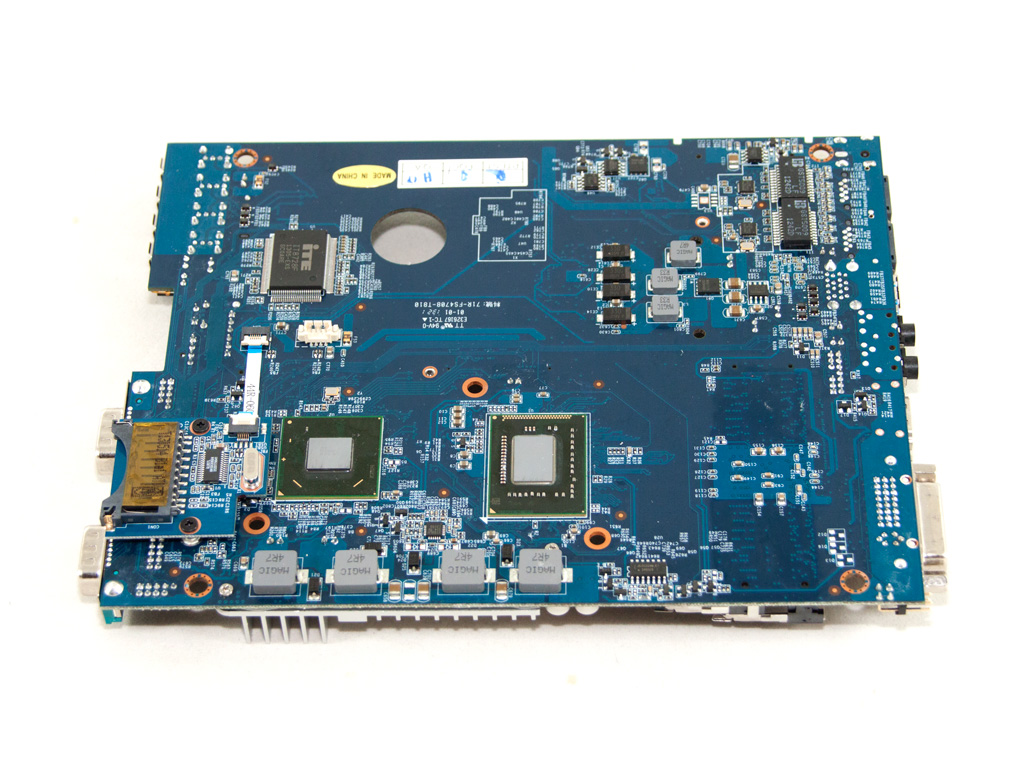
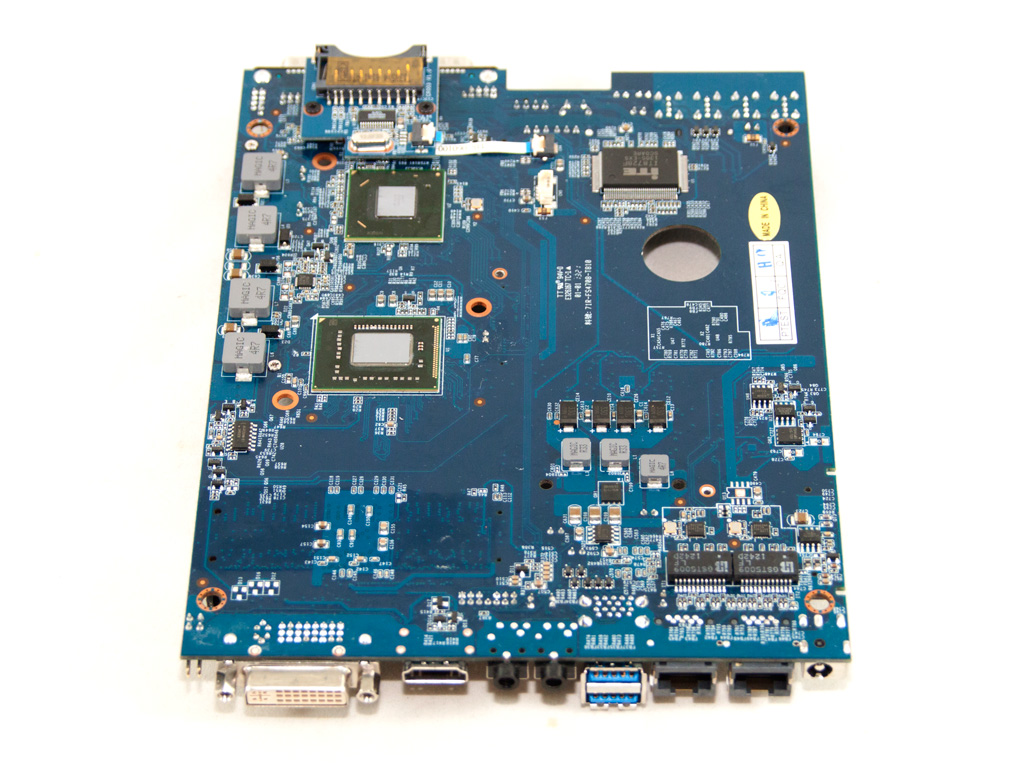
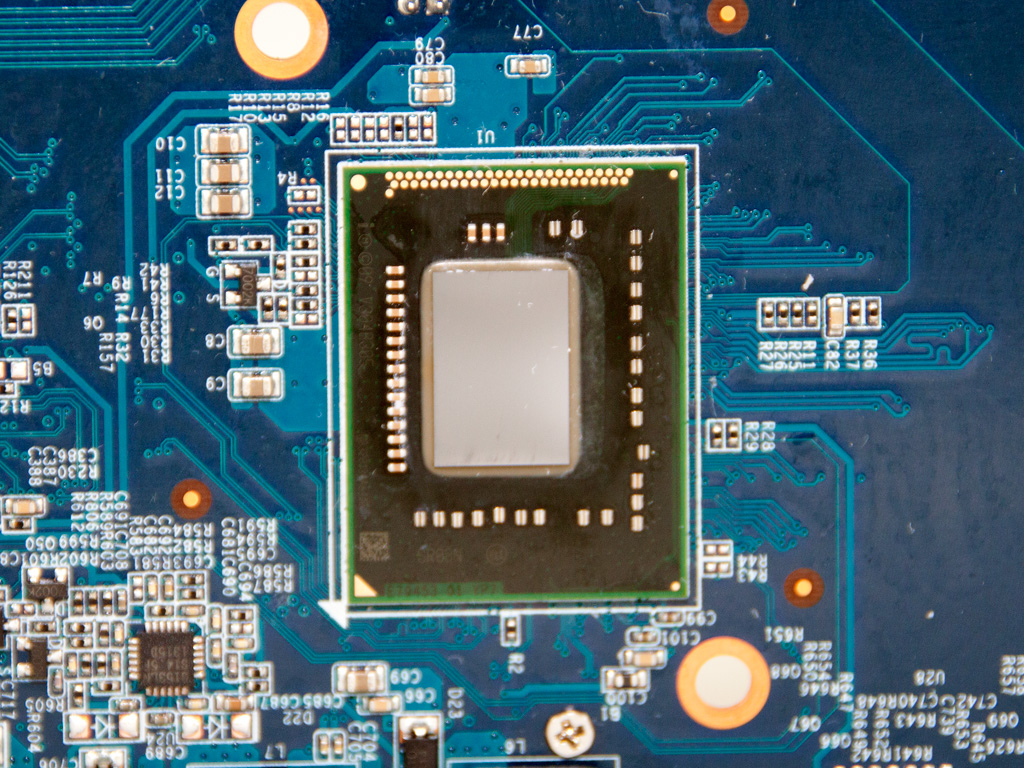
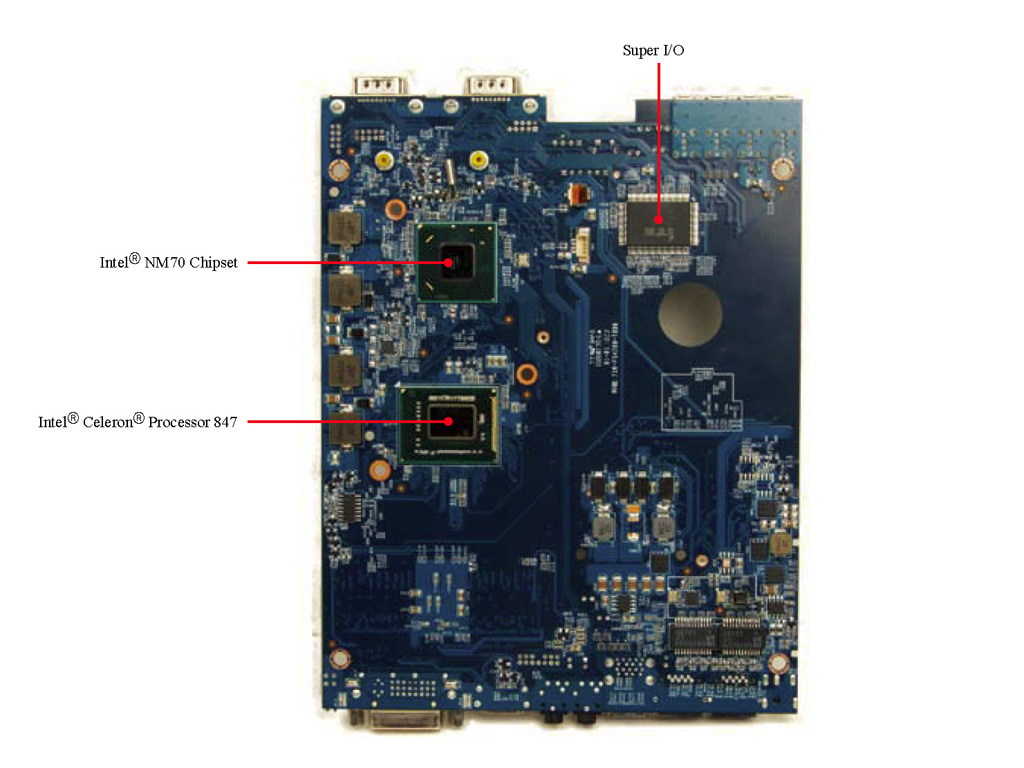
The CPU and chipset are installed on the solder side of the mainboard, which allows the case to cool both passively.
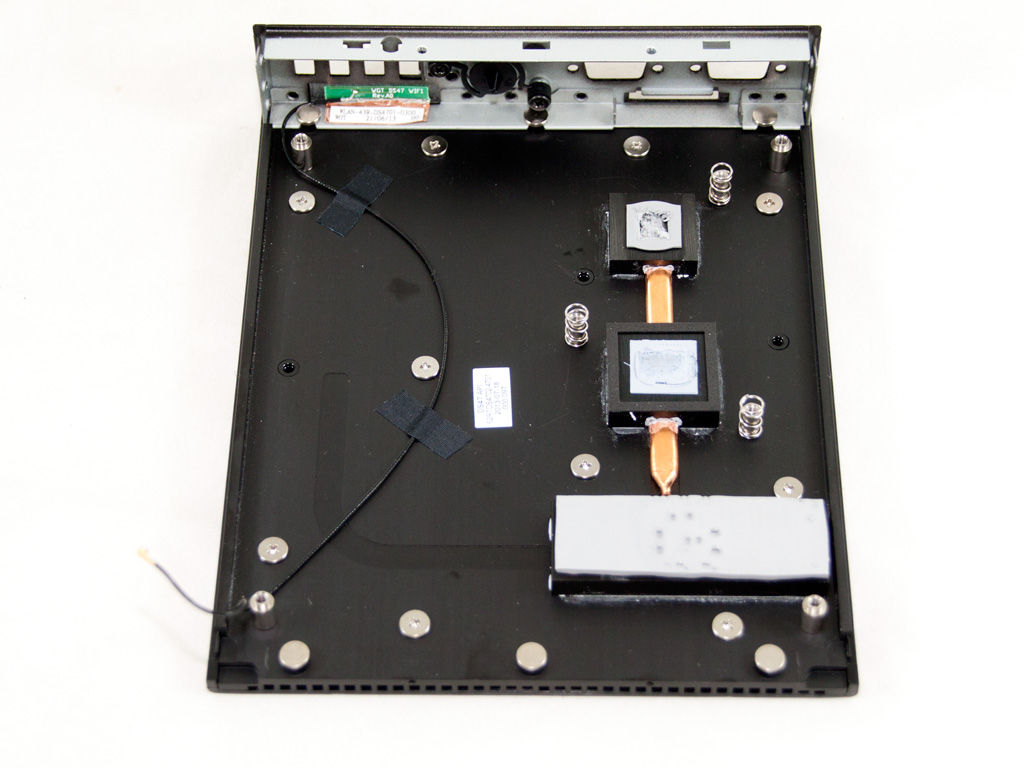
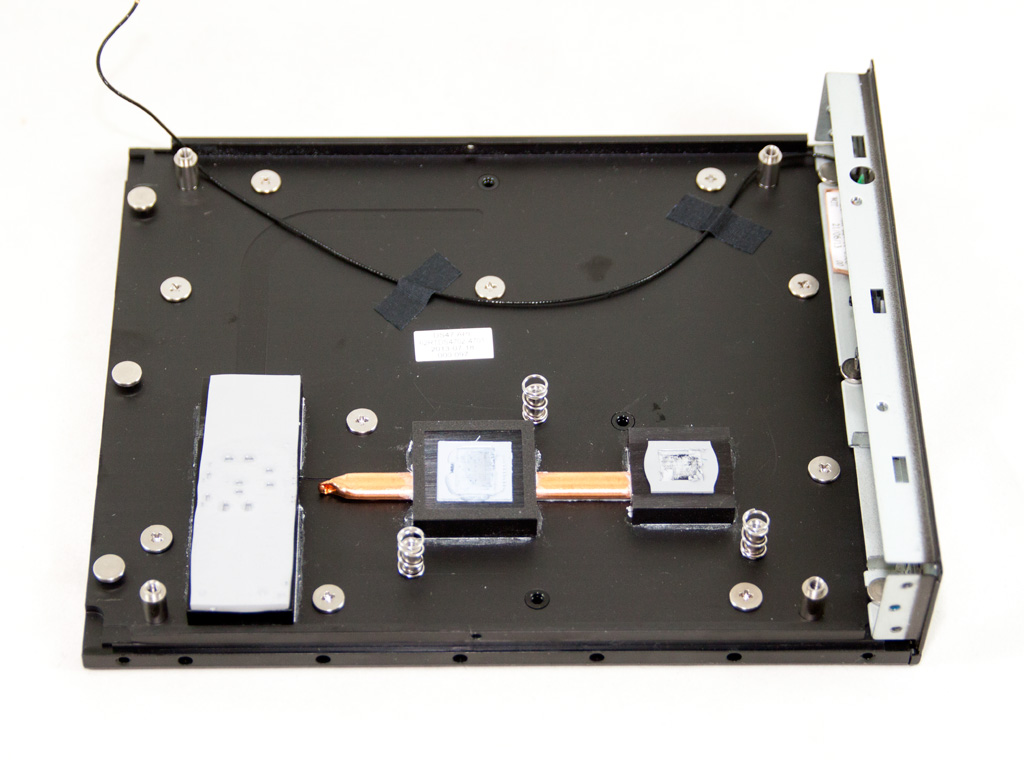
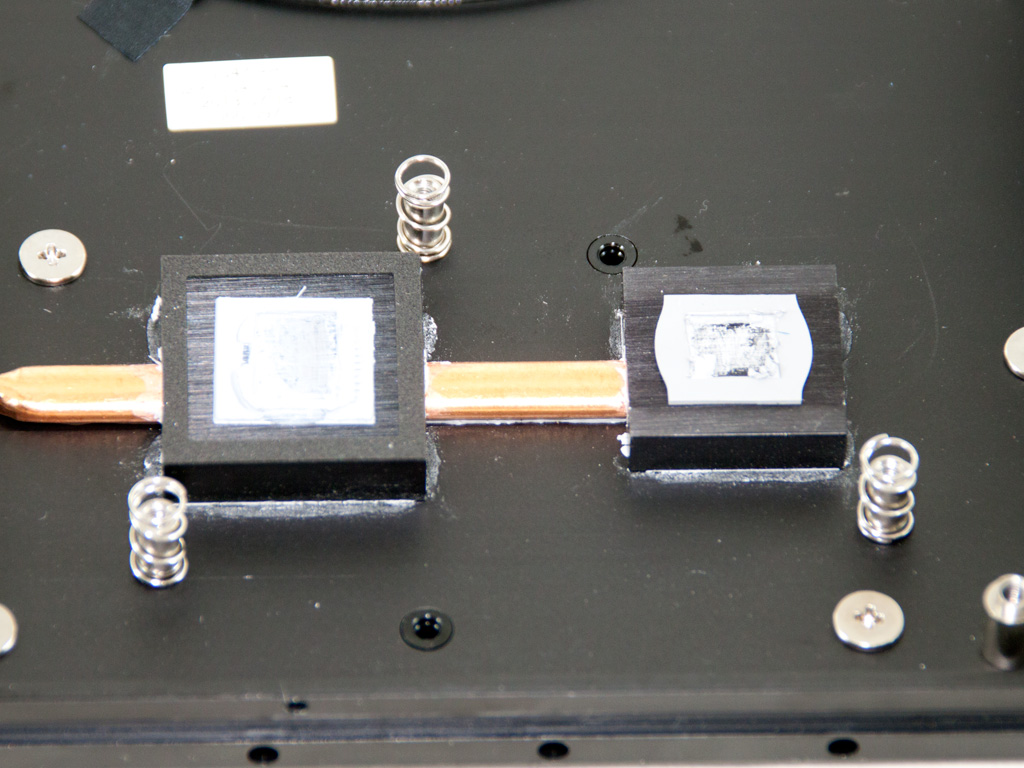
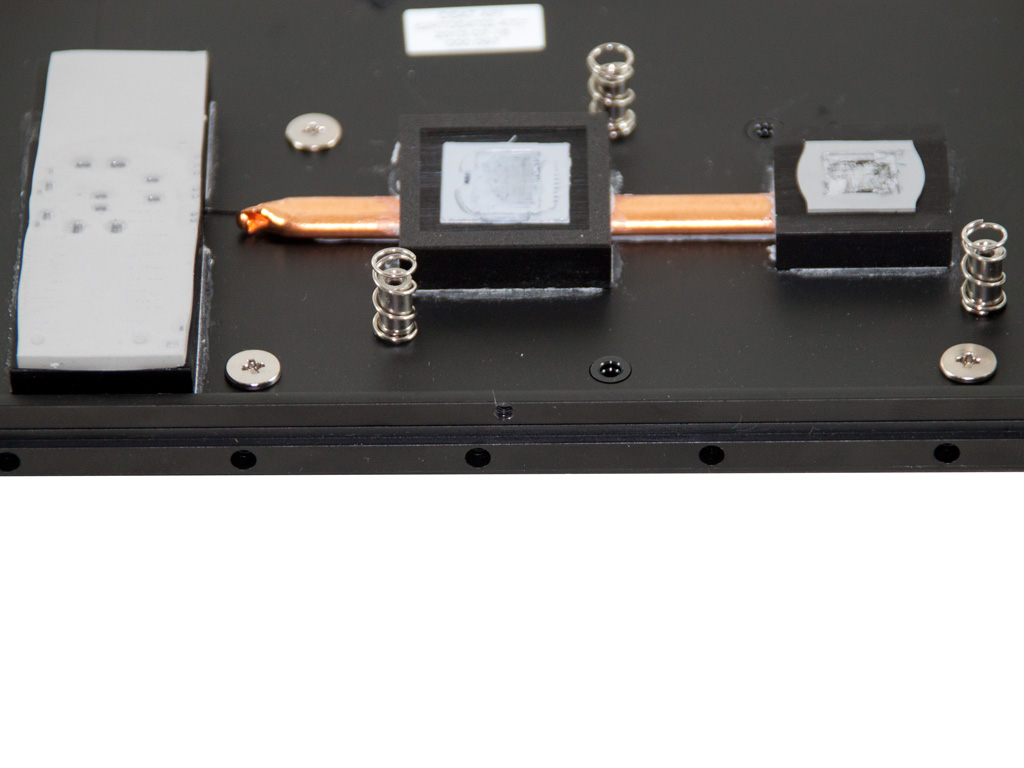
As you can see, a single heatpipe connects the heatsinks cooling the CPU with those of the chipset. Both connect directly to the case acting as a huge heatsink.
The bottom side of the case doesn't play a role in passively cooling the DS47.

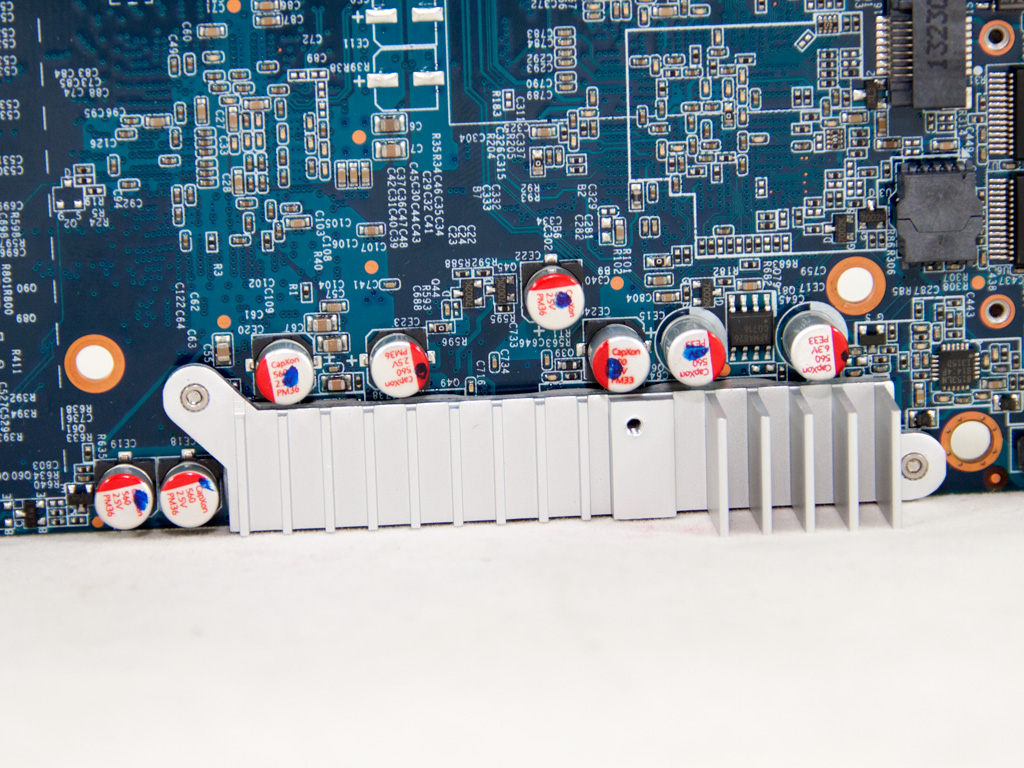
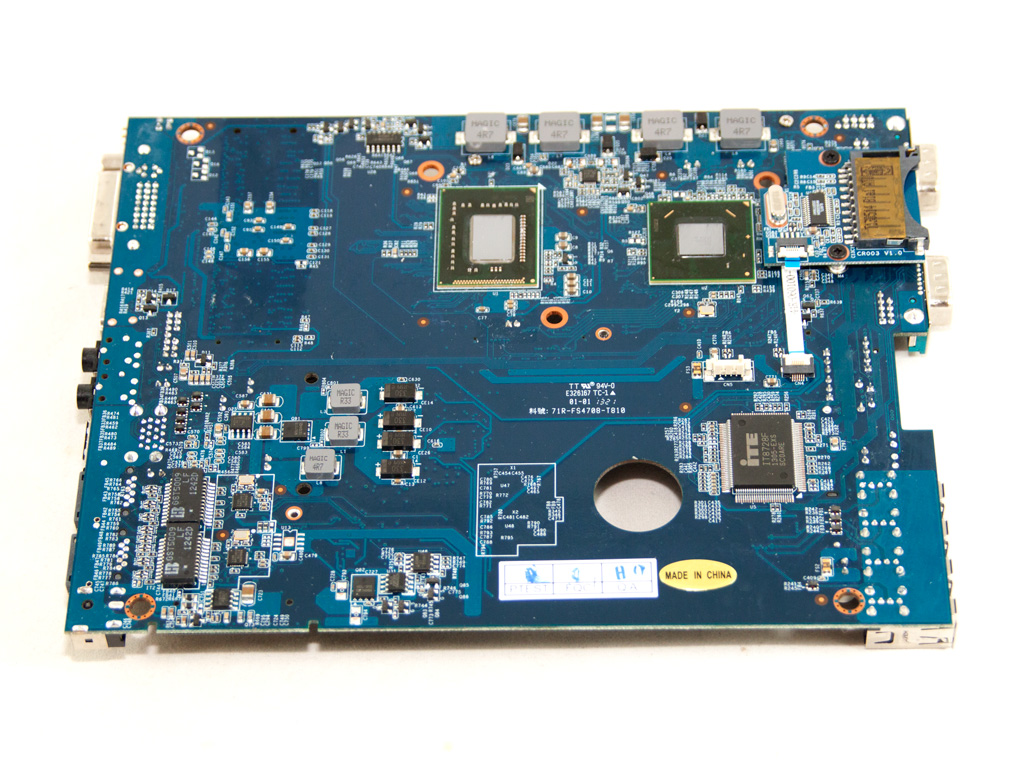
The voltage regulator circuit feeding the CPU consists of four phases. Identifying their number is as simple as counting chokes, but you have to be careful since there may be other voltage regulator circuits. The VRM mosfets are located on the other side of the mainboard and are cooled by a small heatsink. The last picture shows several polymer CapXon caps used for ripple filtering purposes.
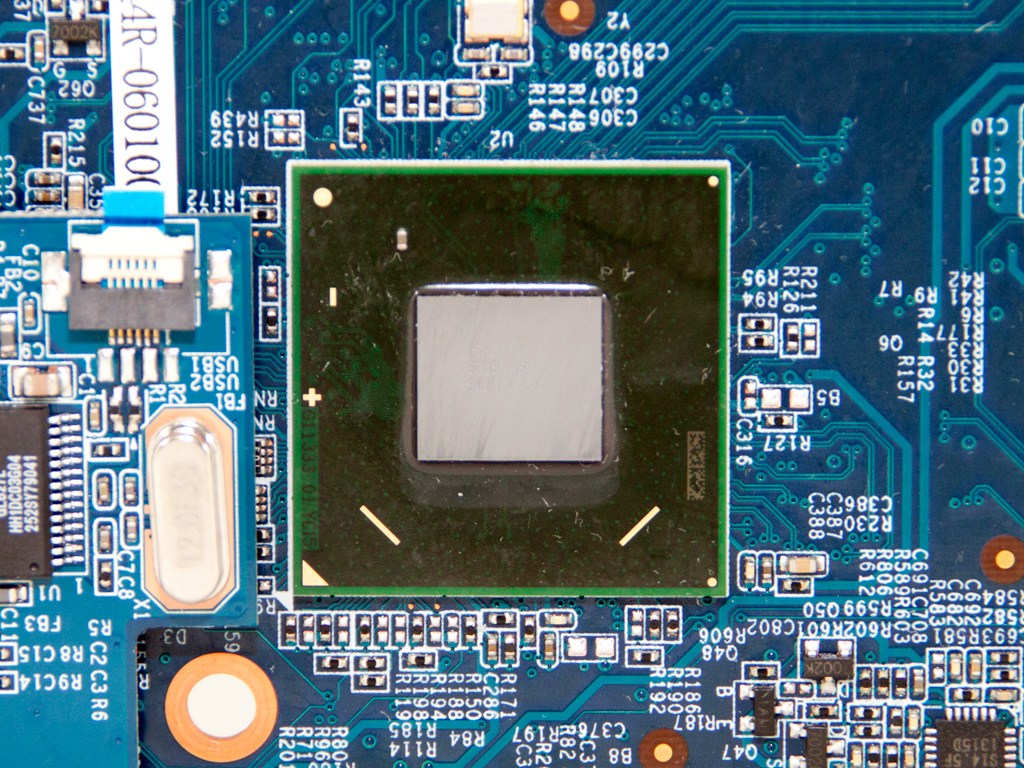
The Intel NM70 chipset this mainboard uses.
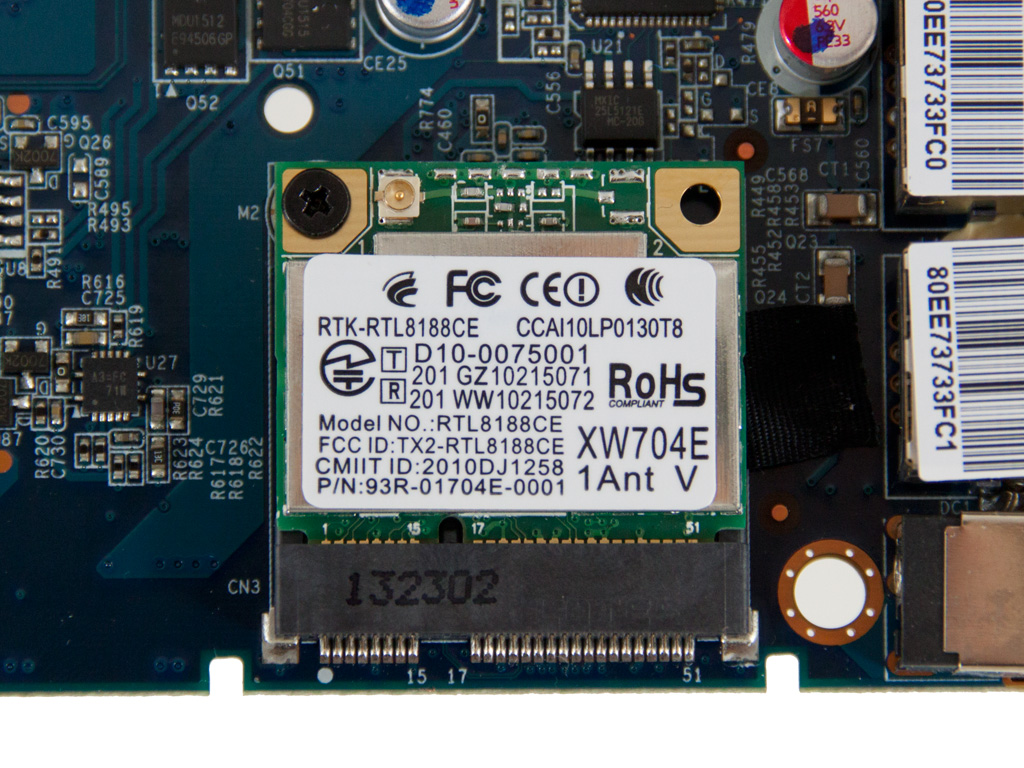
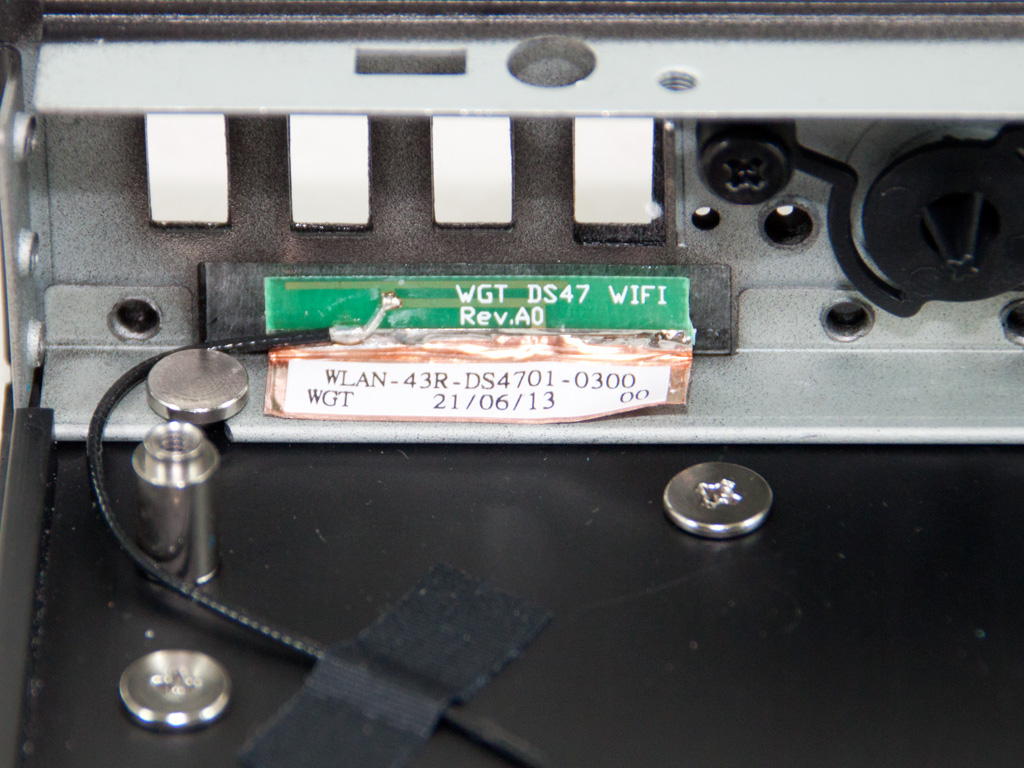
A Realtek RTL8188CE WLAN Controller is installed to the mainboard's half-sized Mini-PCIe slot. Its antenna fixture is located at the front of the case.
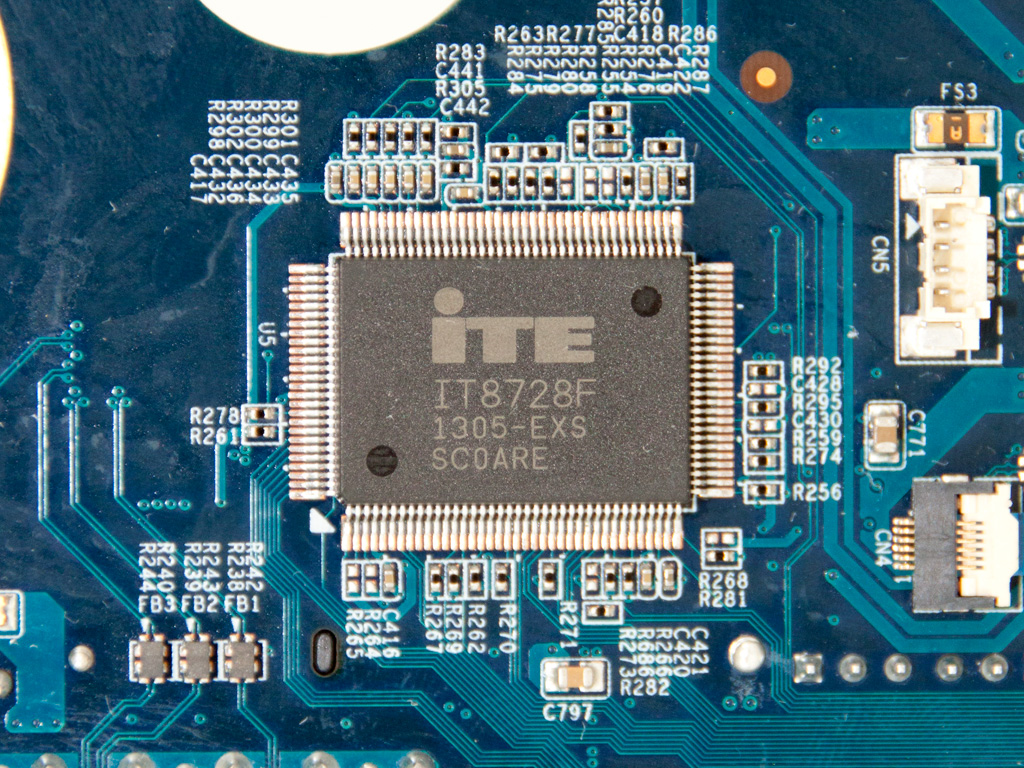
Hardware monitoring duties are handled by an IT8728F IC.
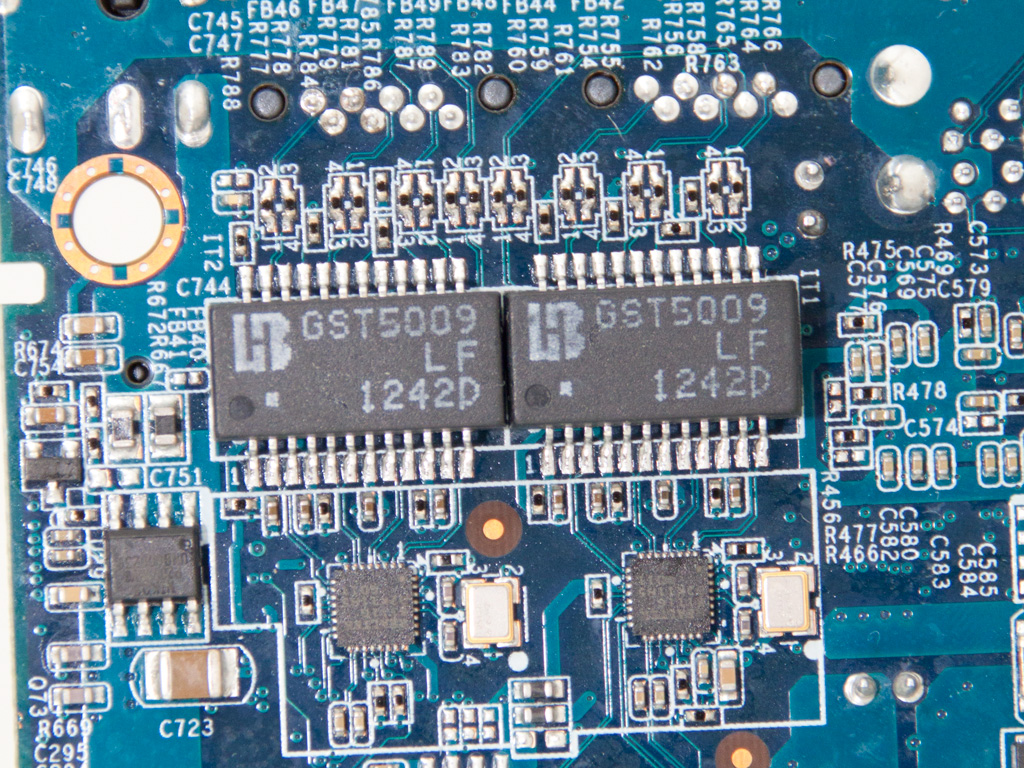
Two GST5009 magnetic modules are used as isolation for the Ethernet ports.

The bundled SD card reader uses a bundled GL827L controller.
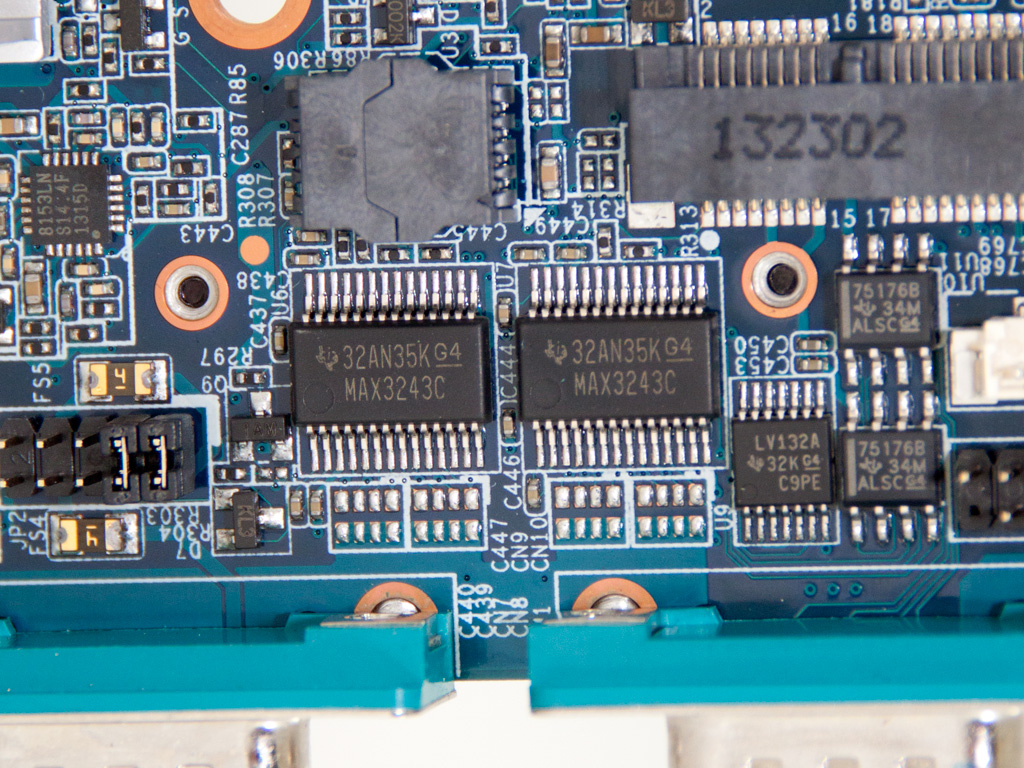
Two MAX3243Cs control the two serial interfaces.
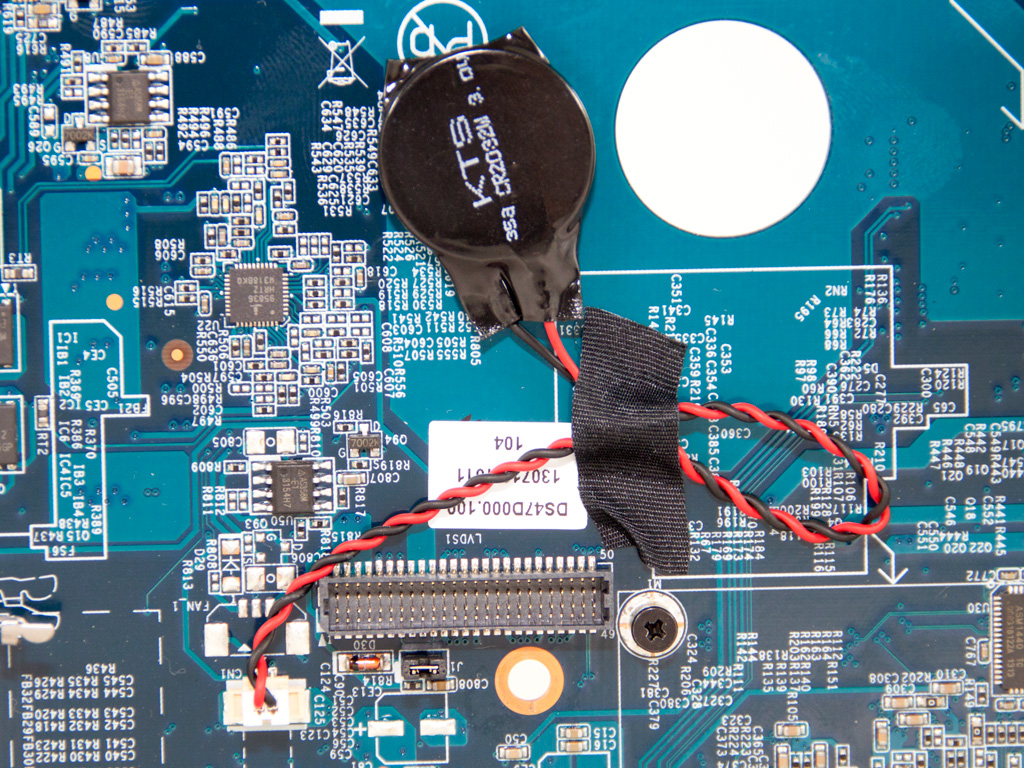
The CMOS battery is glued to the mainboard.
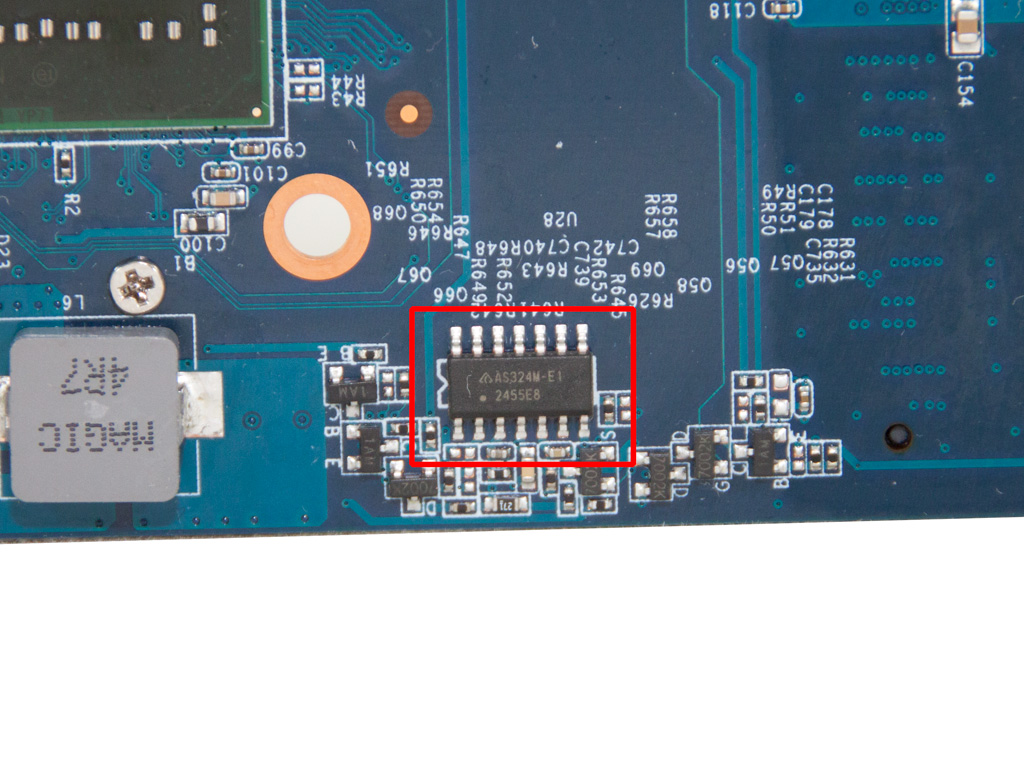
An AS324M QUAD Operational Amplifier (Op-Amp) monitors the current of up to four channels.
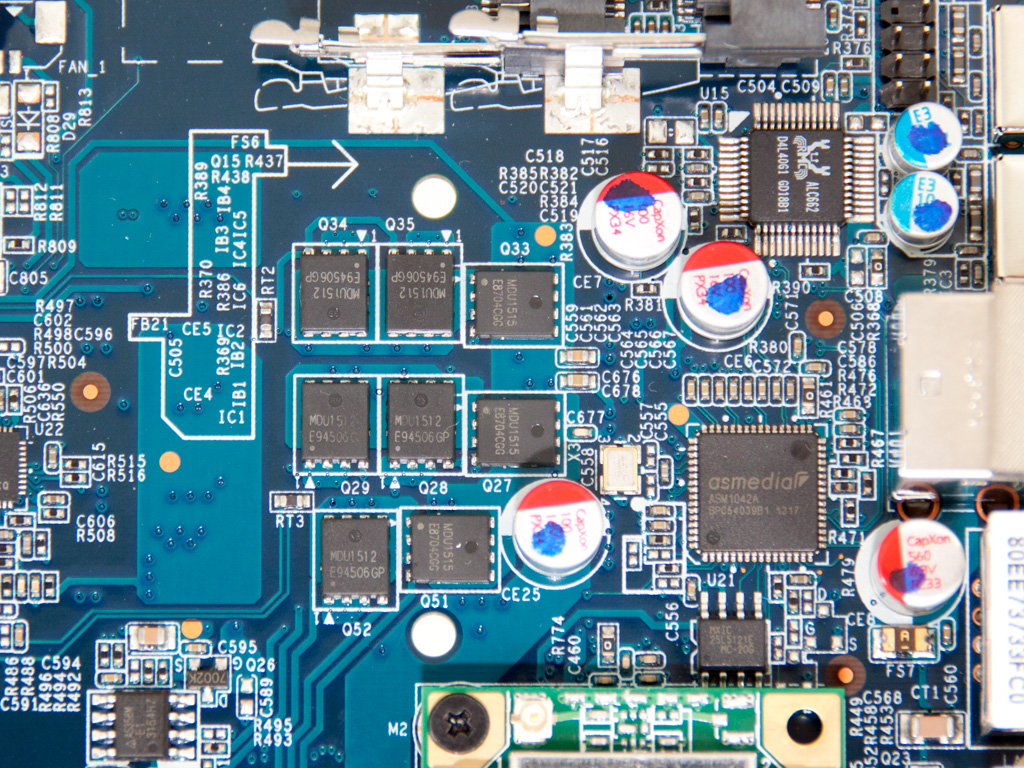
An ASM1042A USB 3.0 controller and a Realtek ALC662 5.1 Channel High Definition Audio Codec. There are eight Magnachip MDU1512 fets nearby.
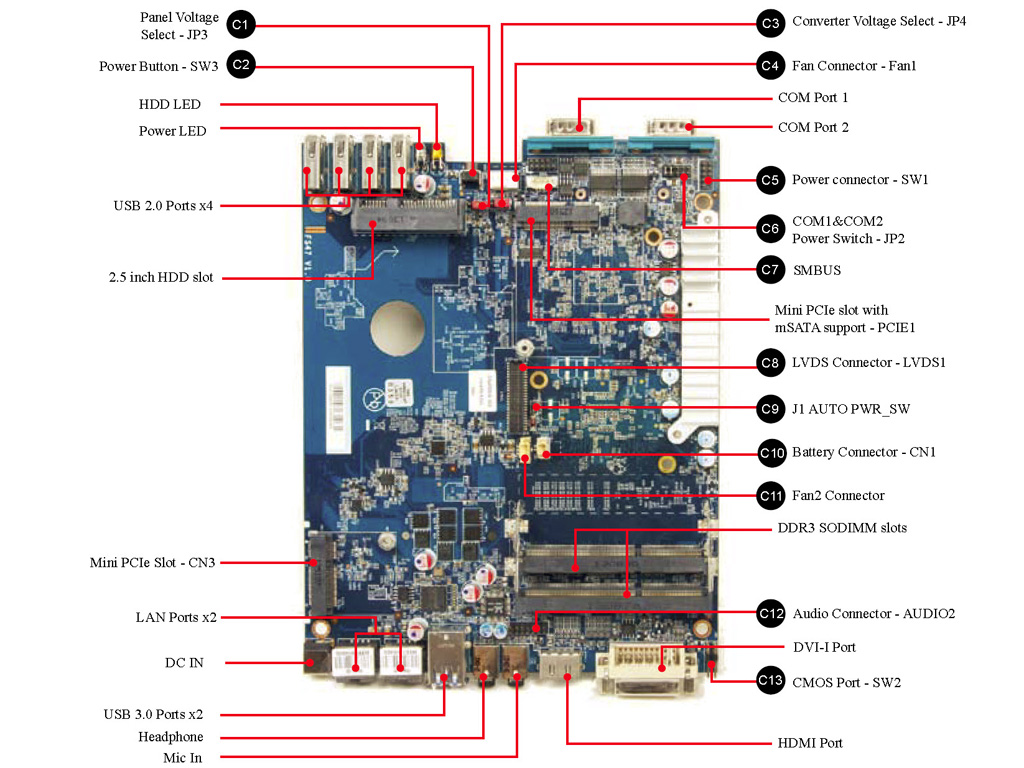
A scheme of the mainboard is provided in the manual.
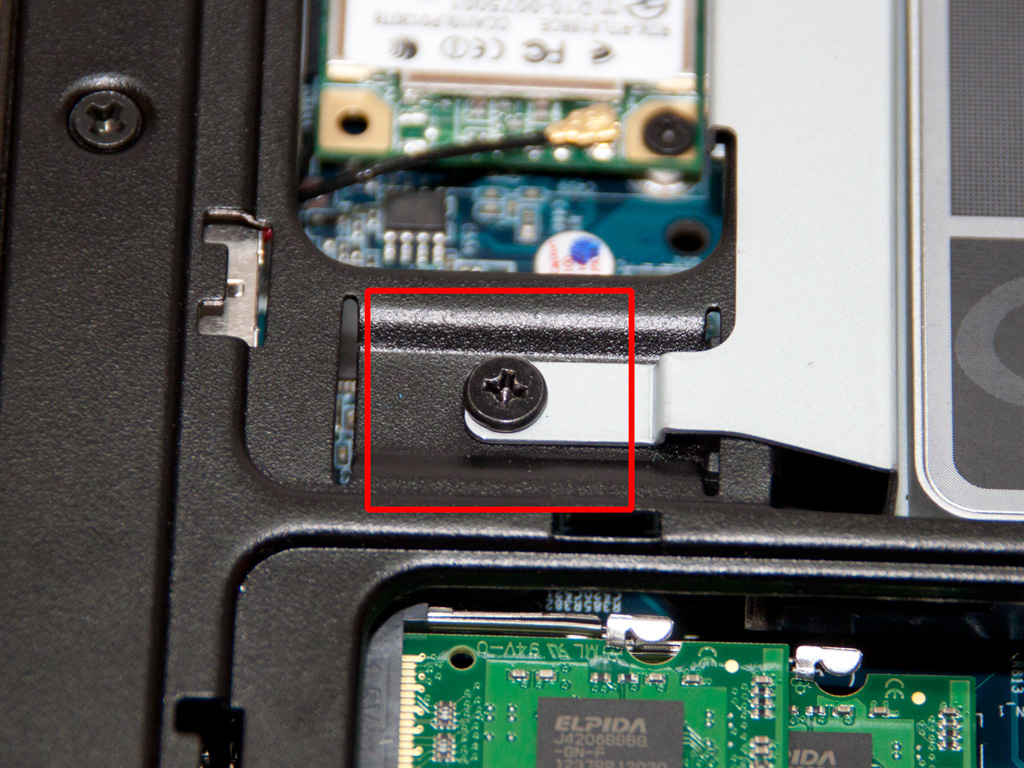
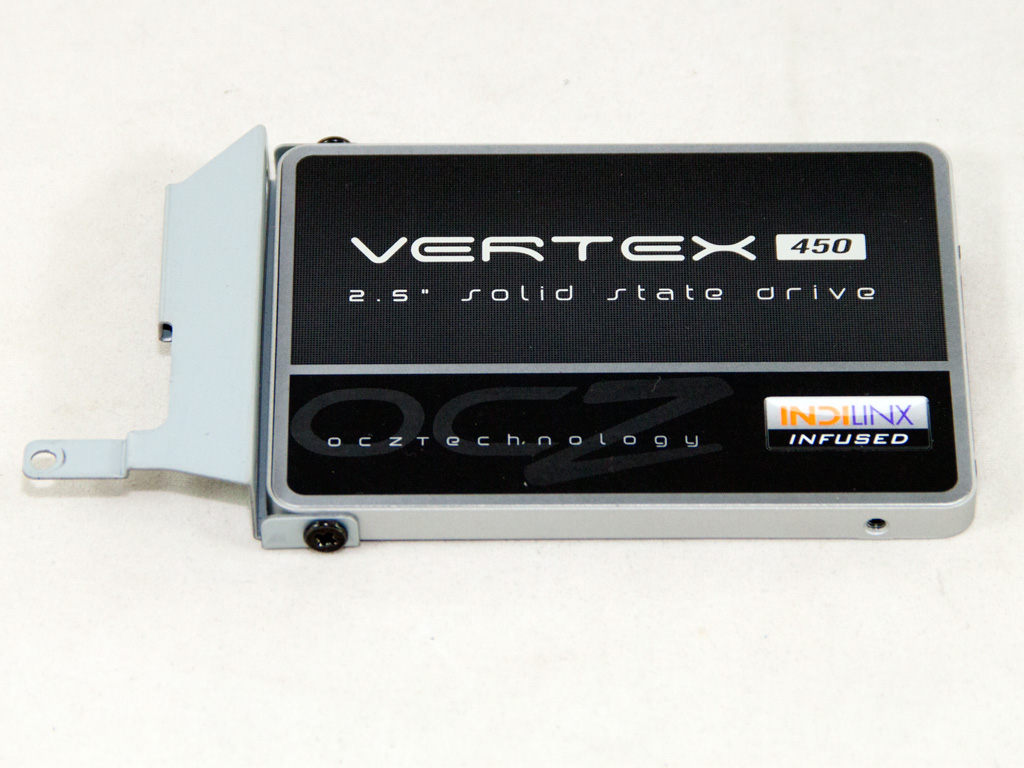
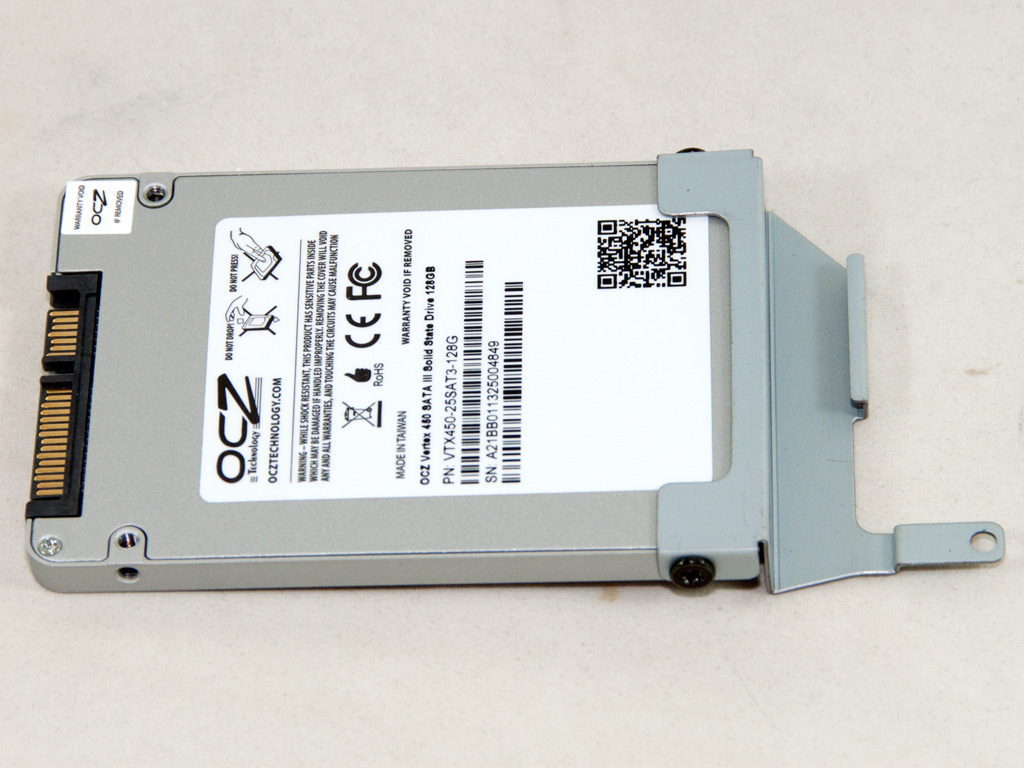
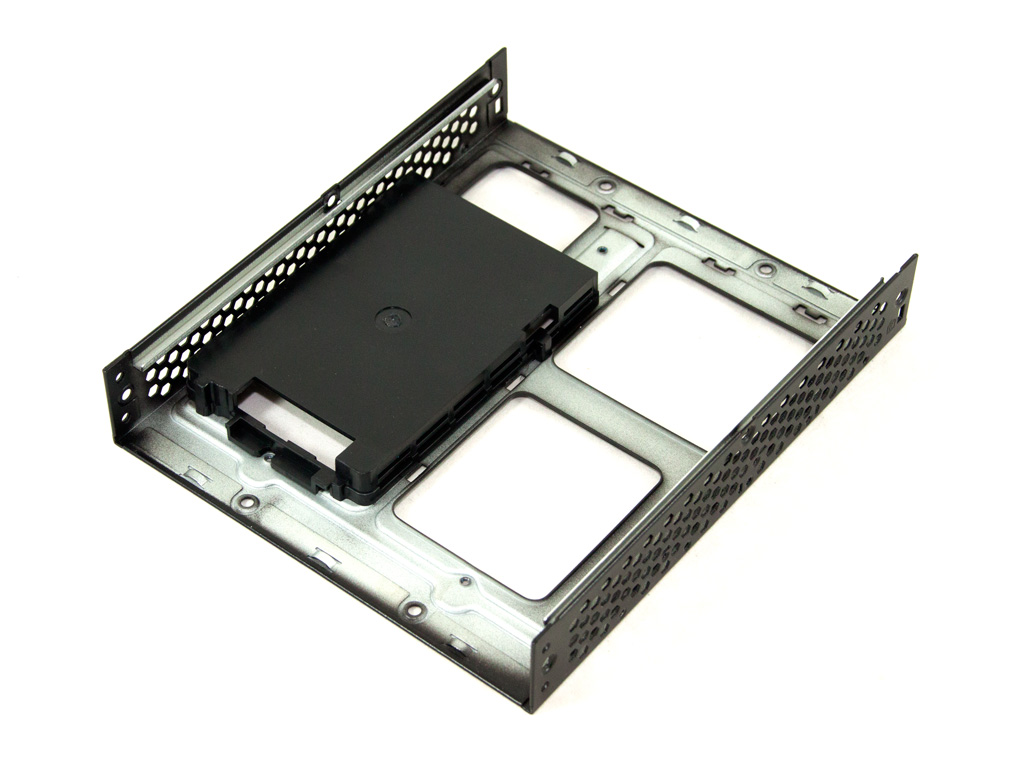
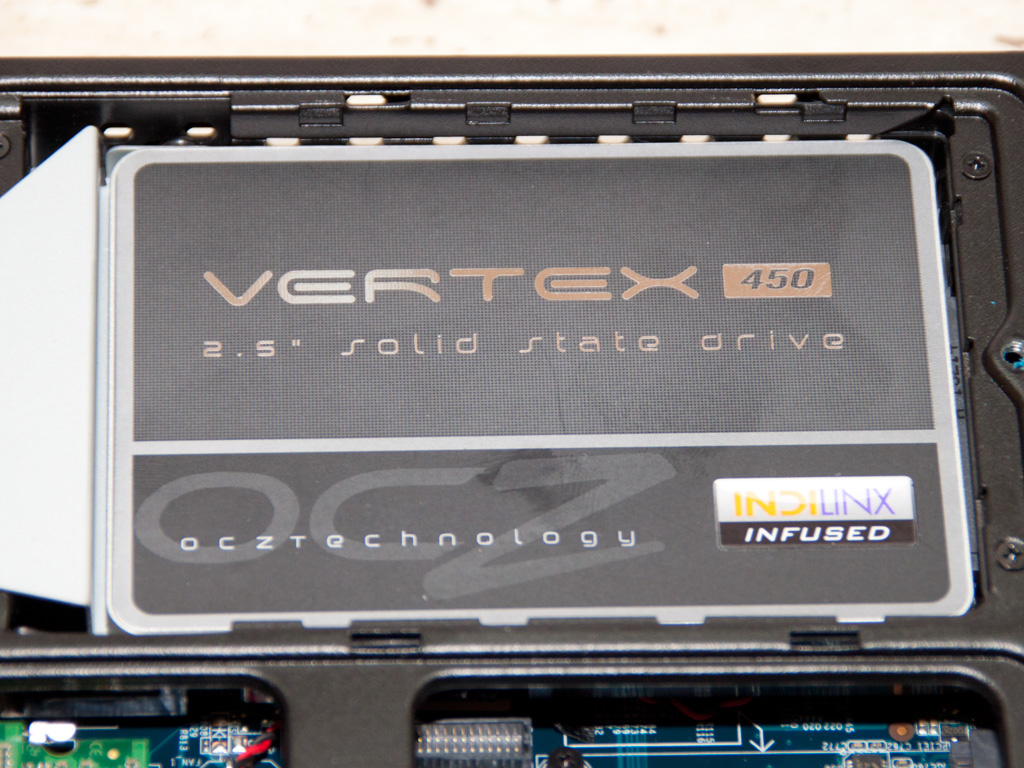
The HDD/SSD drive is only secured in place by one screw, making its removal very easy. Another two screws mount the drive to the corresponding adapter.

We obviously re-assembled the system after taking it apart.
Feb 24th, 2025 10:07 EST
change timezone
Latest GPU Drivers
New Forum Posts
- How many continuous hours will it last my mini pc if connected to the LiitoKala battery pack that I've found for a cheap price ? (4)
- What are you playing? (22986)
- Need help dumping/imaging Lenovo laptop BIOS (5)
- Cooler for r7 5700X3D [Stock] (17)
- Nvidia's GPU market share hits 90% in Q4 2024 (gets closer to full monopoly) (539)
- Opinions on the drive config for new build please (0)
- Monitor Battle! Help me choose between two contenders (43)
- Dune: Awakening benchmark - post your results (19)
- Which API call returns the nvidia ROP count? (2)
- Throw Noctua alternatives at me pls (23)
Popular Reviews
- ASUS GeForce RTX 5070 Ti TUF OC Review
- MSI GeForce RTX 5070 Ti Ventus 3X OC Review
- darkFlash DY470 Review
- MSI GeForce RTX 5070 Ti Vanguard SOC Review
- MSI GeForce RTX 5070 Ti Gaming Trio OC+ Review
- Galax GeForce RTX 5070 Ti 1-Click OC White Review
- Palit GeForce RTX 5070 Ti GameRock OC Review
- Fantech Aria II Pro Review
- Gigabyte GeForce RTX 5090 Gaming OC Review
- AMD Ryzen 7 9800X3D Review - The Best Gaming Processor
Controversial News Posts
- NVIDIA GeForce RTX 5090 Spotted with Missing ROPs, NVIDIA Confirms the Issue, Multiple Vendors Affected, RTX 5070 Ti, Too (458)
- AMD Radeon 9070 XT Rumored to Outpace RTX 5070 Ti by Almost 15% (304)
- AMD Plans Aggressive Price Competition with Radeon RX 9000 Series (271)
- AMD Radeon RX 9070 and 9070 XT Listed On Amazon - One Buyer Snags a Unit (247)
- Edward Snowden Lashes Out at NVIDIA Over GeForce RTX 50 Pricing And Value (241)
- AMD Denies Radeon RX 9070 XT $899 USD Starting Price Point Rumors (239)
- NVIDIA Investigates GeForce RTX 50 Series "Blackwell" Black Screen and BSOD Issues (238)
- New Leak Reveals NVIDIA RTX 5080 Is Slower Than RTX 4090 (215)