 6
6
SilentiumPC Aquarius X90 Pure Black Review
Assembly & Finished Looks »A Closer Look - Inside
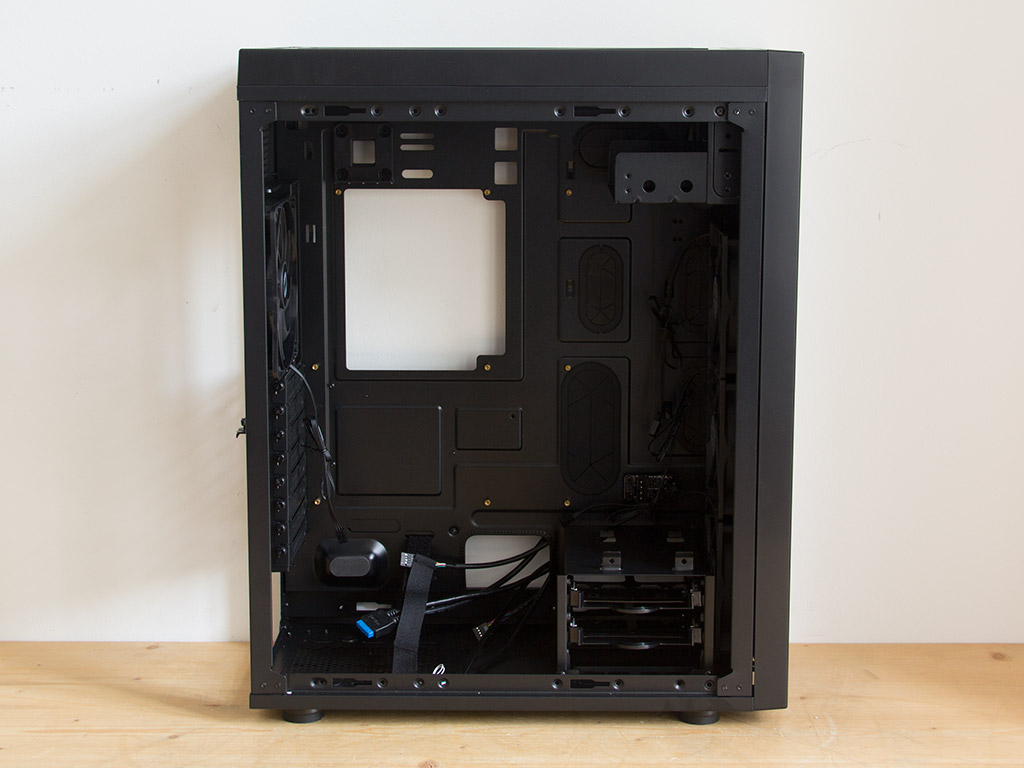
While SilentiumPC could do better by securing the dust filters in the top and front, they have gone all out on the side panels. Each of these is held in place by four thumbscrews. Once removed, you will easily be able to access the Aquarius X90's interior. The first series that came to mind after looking at the interior was the Lian Li's X series. SilentiumPC is essentially offering you a massive, positive-air-pressure-filled cooling setup. The motherboard tray features a large opening for easy access to any cooler's mounting plate. There are also various openings for cable management, which is important as the Aquarius X90 will be quite unforgiving with any cables that make it into the interior.
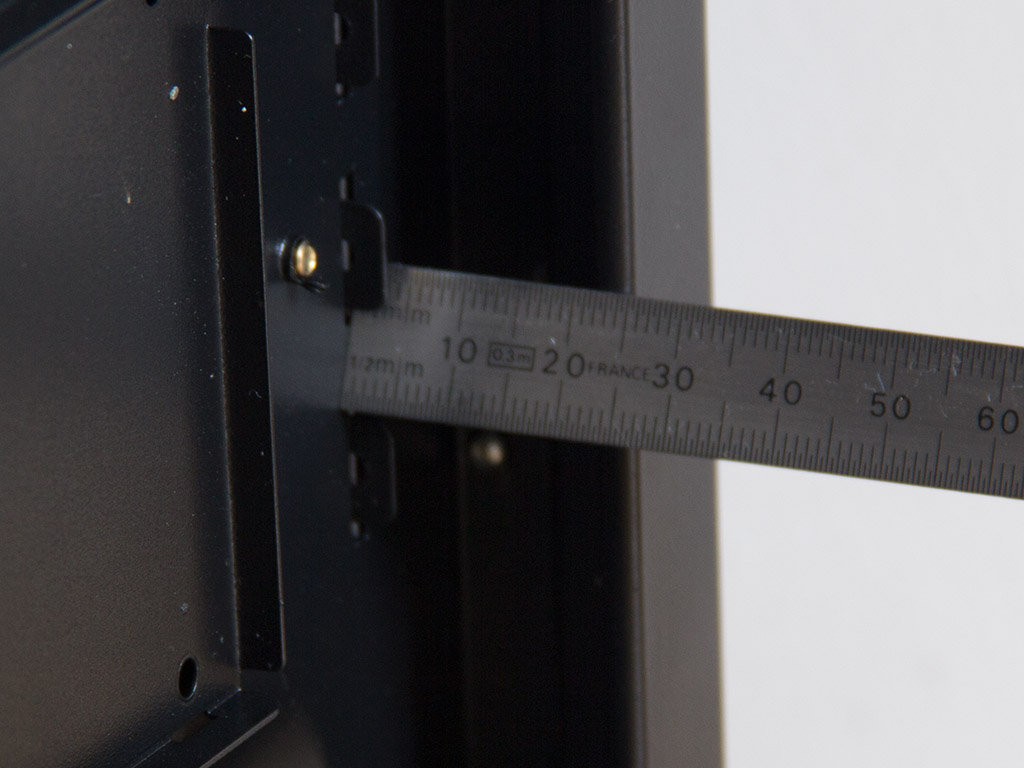

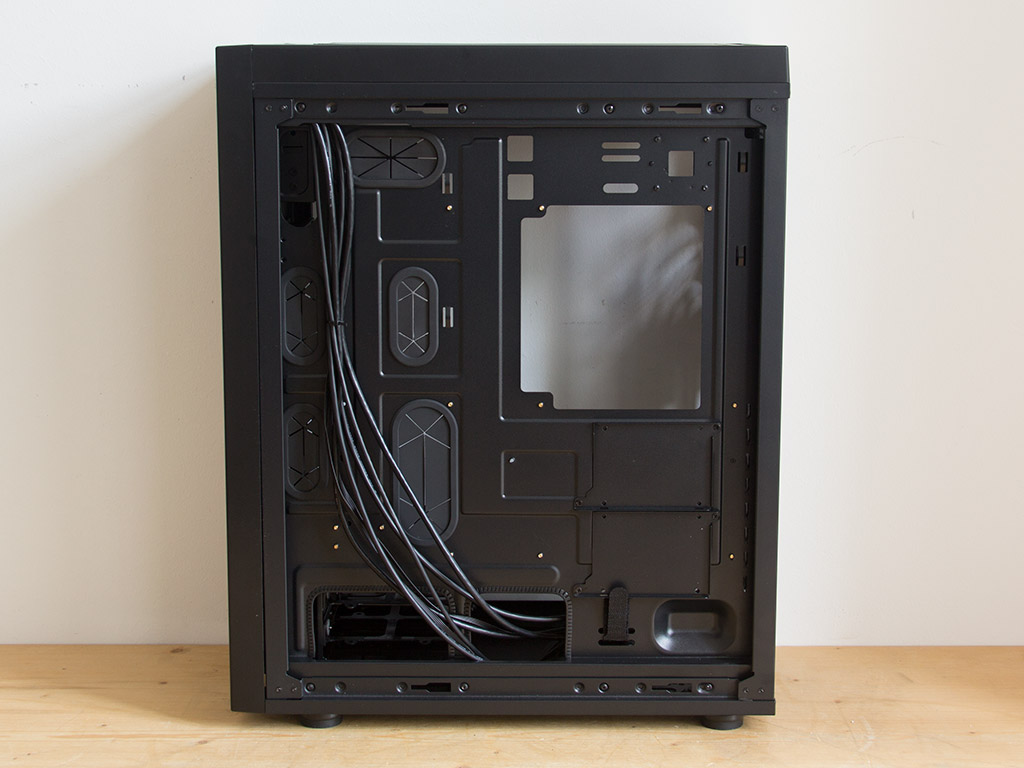
You get a full inch (25 mm) of space to work with behind the motherboard tray, so the above mentioned scenario should really not occur. SilentiumPC also uses the space to place two simple, but effective 2.5" trays on the back of the motherboard tray. These are much needed and should also help in keeping the cable mess out of sight.
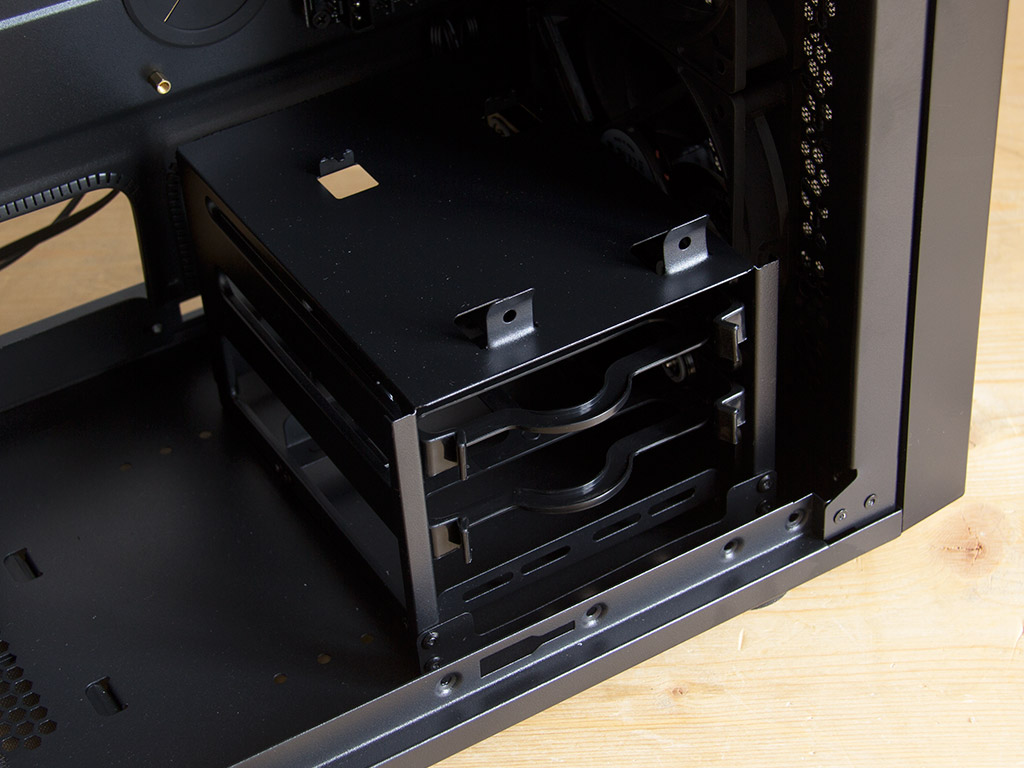


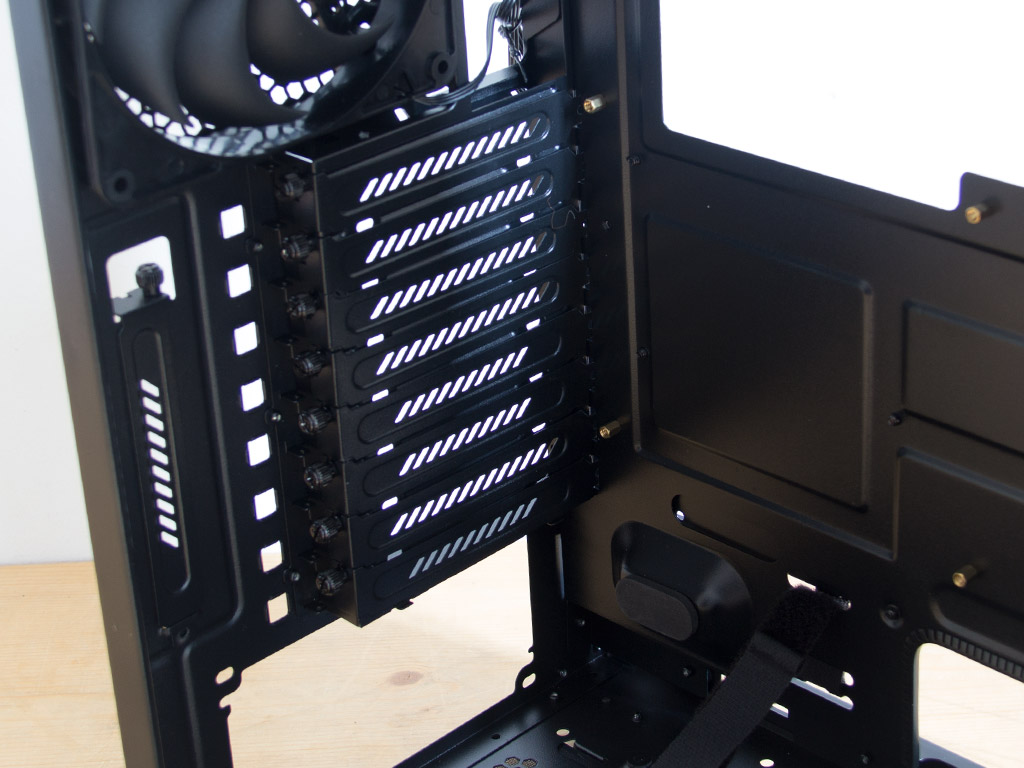
The only other hard-drive-mounting possibility can be found on the floor of the chassis, toward the front. This cage may hold up to four 3.5" drives—two are mounted to the frame itself while the other two use the included trays. You may remove the HDD cage or move it toward the PSU bay, which gives you the ability to install a 120/140/240/280/360 radiator setup into the front. The two external 5.25" drive bays can be found all the way in the top. These do not use a lot of metal, so you only have the screw holes in the front to secure the drive with properly. SilentiumPC also pre-installed the 3.5" adapter tray here, which is good because it gives you the ability to secure a 5.25" drive onto the bay's short pieces.
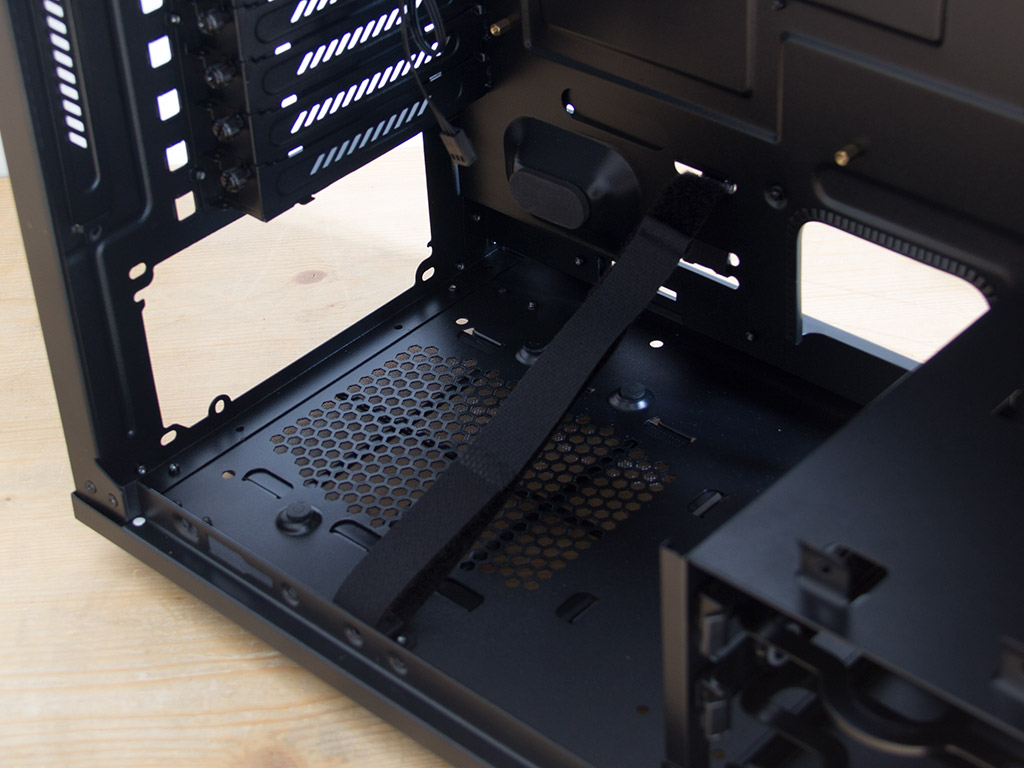

Turning our focus to the rear, the bottom PSU bay is rather simple. Four foam spacers have been placed on little bumps to keep vibrations from rattling up the chassis itself, while a Velcro strap helps in securing the unit properly. I applaud the approach, but users still have to use traditional screws to pin the drive down as the strap is of little actual use. Above that are the 8+1 expansion slots, each protected by an individual cover a thumbscrew holds in place. Moving on up, the 140 mm exhaust fan is of the standard color, with black cables, while the secondary PSU bay and the two openings to route water-cooling tubes out the back are in the very top.
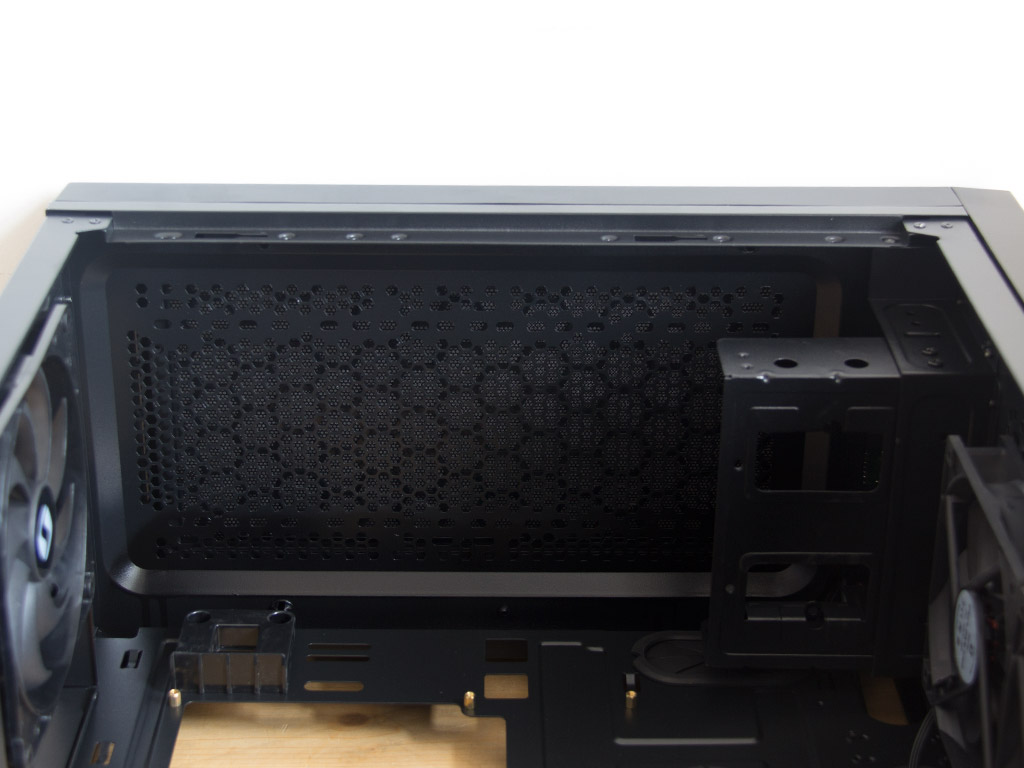

The entire top of the chassis is prepped to take either two 120 mm or 140 mm fans, but you may also install a radiator of up to 280 mm in size there instead. You will block off both expansion slots if you do go for something big, though. You will also find a small PCB toward the corner in the bottom-front, which allows you to connect up to six fans to a single Molex plug. This should also keep the cable clutter to a minimum. You should definitely connect the three fans in the front to the device first.
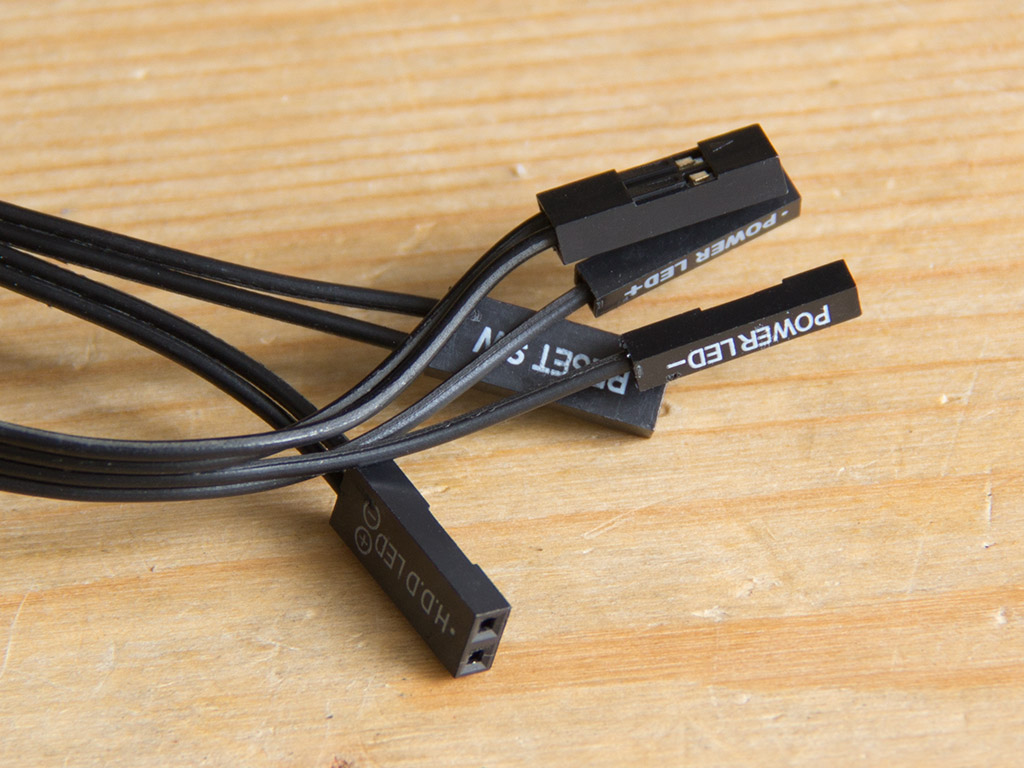

To keep in line with the rest of the interior, all the cables within the Aquarius X90 are of the default variety and come sleeved in black.
Feb 11th, 2025 01:30 EST
change timezone
Latest GPU Drivers
New Forum Posts
- How important are X3D processors at 1440p and beyond? (23)
- How well does a 4090 or 4080 perform on X99/5820K system? (116)
- Last game you purchased? (679)
- It's happening again, melting 12v high pwr connectors (111)
- Will you buy a RTX 5090? (421)
- Case fan with controller (2)
- What are you playing? (22837)
- Asteroid 2024 YR4 reaches level 3 on the Torino Scale (54)
- Daisy chaining mixed 4-pin fans (6)
- Testing max ram overclock pn Ryzen 1700 (50)
Popular Reviews
- Civilization VII Performance Benchmark Review - 35 GPUs Tested
- Kingdom Come Deliverance II Performance Benchmark Review - 35 GPUs Tested
- ASRock Phantom Gaming B850I Lightning Wi-Fi Review
- Team Group T-Force XTREEM DDR5-7200 48GB CL34 Review
- Spider-Man 2 Performance Benchmark Review - 35 GPUs Tested
- Kingdom Come: Deliverance 2 Handheld Performance Review
- NVIDIA GeForce RTX 5080 Founders Edition Review
- AMD Ryzen 7 9800X3D Review - The Best Gaming Processor
- DAREU A980 Pro Max Review
- Corsair Frame 4000D Review
Controversial News Posts
- AMD Radeon 9070 XT Rumored to Outpace RTX 5070 Ti by Almost 15% (286)
- AMD is Taking Time with Radeon RX 9000 to Optimize Software and FSR 4 (256)
- AMD Denies Radeon RX 9070 XT $899 USD Starting Price Point Rumors (239)
- Edward Snowden Lashes Out at NVIDIA Over GeForce RTX 50 Pricing And Value (239)
- AMD Radeon RX 9070 XT & RX 9070 Custom Models In Stock at European Stores (226)
- New Leak Reveals NVIDIA RTX 5080 Is Slower Than RTX 4090 (215)
- AMD's Radeon RX 9070 Launch Faces Pricing Hurdles (175)
- AMD Radeon RX 9070 XT Tested in Cyberpunk 2077 and Black Myth: Wukong (169)