 7
7
SilentiumPC Gladius Q50 Review
Value & Conclusion »Test System
| System Parts for Case Reviews | |
|---|---|
| Processor: | Intel Core i7-4770K @ 4.2 GHz (Haswell, 8192 KB Cache) |
| Motherboards: | ATX: Gigabyte GA-Z97X-Gaming 7 mATX: Gigabyte GA-Q87M-D2H mini-ITX: GA-H97N-WIFI Provided by: Gigabyte |
| Graphic Card: | Long: NVIDIA GeForce GTX 280 OEM Short: HIS Radeon 5350 HD |
| Memory: | Crucial Ballistix Tactical DIMM Kit 8GB @ DDR3-1600, CL8-8-8-24 Provided by: Crucial |
| HDD: | Western Digital 320 GB 7200 RPM |
| SSD: | Crucial MX100 256GB SATA 6Gbps Provided by: Crucial |
| Power Supply: | Seasonic Platinum Series 660W ATX 2.3 Provided by: Seasonic |
| Cooling: | Air Cooling Mini-ITX: Thermalright AXP-100R/Fera 2 HE1224 v2 Air Cooling mATX: Thermalright Macho 90 Air Cooling ATX: Thermalright Macho 120 Provided by: PC-COOLING.de & SilentiumPC |
Assembly
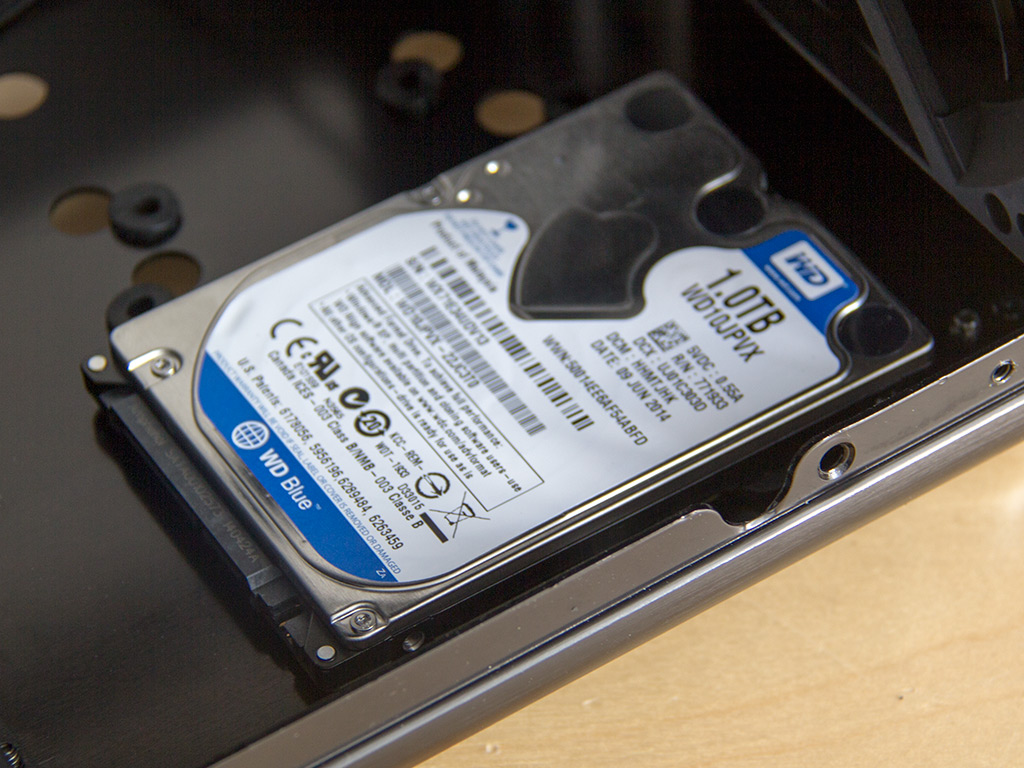
Unlike with traditional cases, you should really install the drives onto the floor first. I chose to go with a 2.5" drive for good measure. Before installing the board, make sure all the major headers are accessible to avoid any irritating surprises as you assemble your system. As you can see, the Gladius Q50 can easily fit a 120 mm tower cooler like the Fera 2 HE1224 v2 we reviewed here.
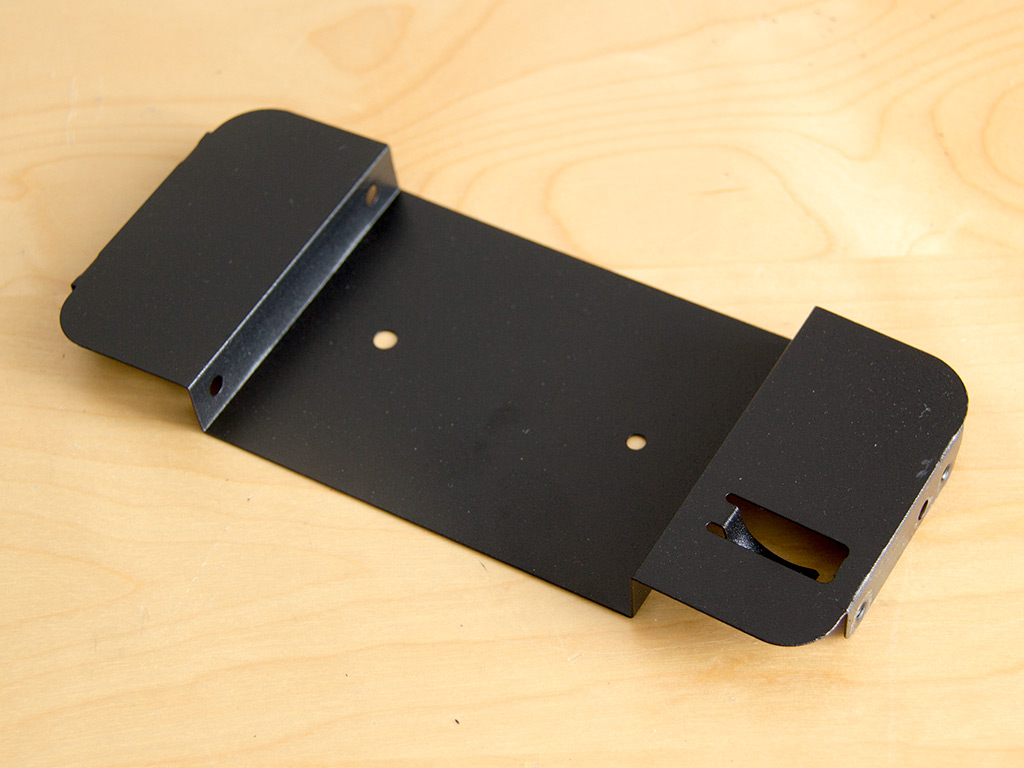
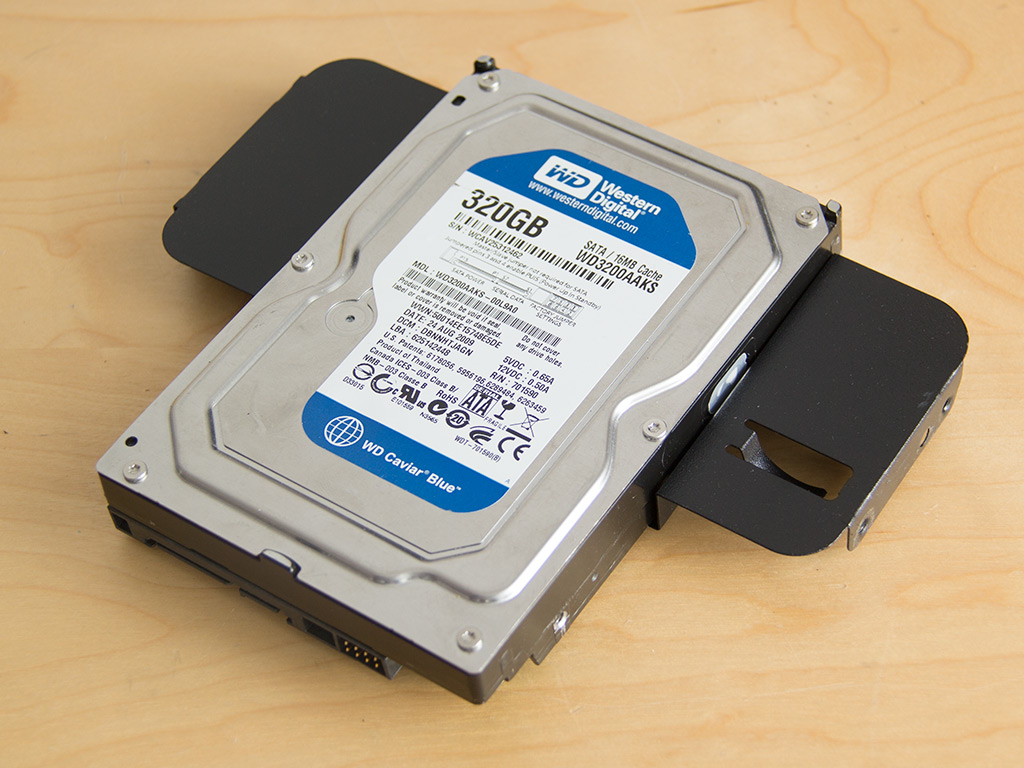
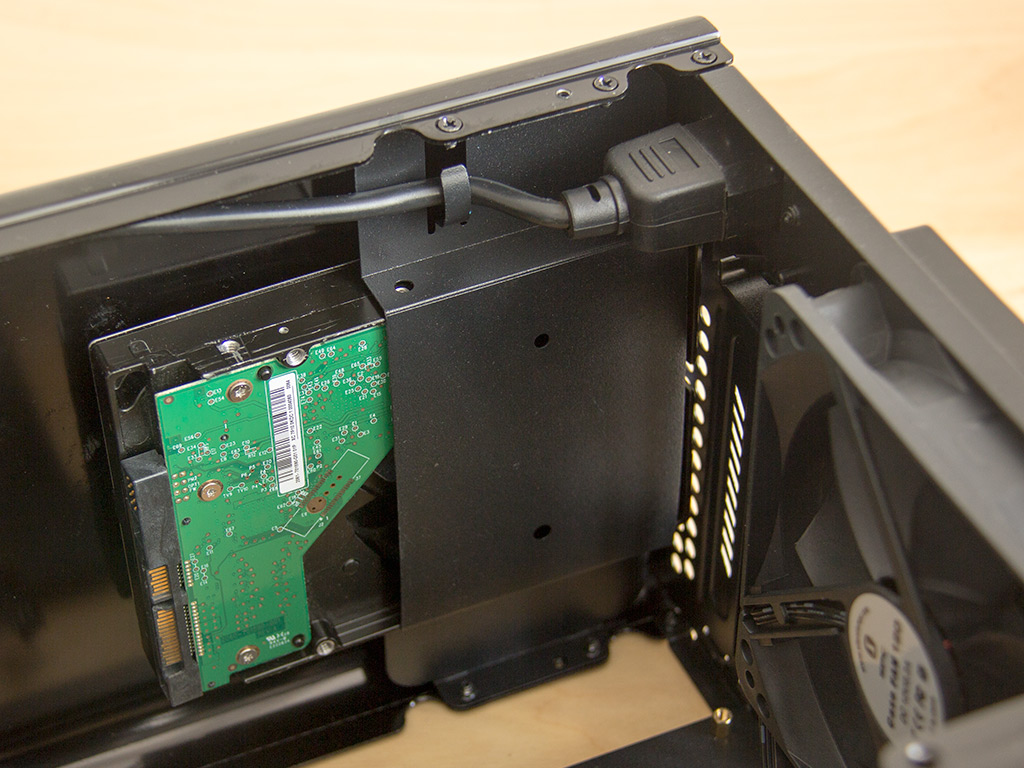
While there is no real need to remove the hard-drive tray under the ceiling, doing so makes assembling everything a bit easier. You will have to use traditional screws to secure a storage device with its bare end facing into the case onto this tray.
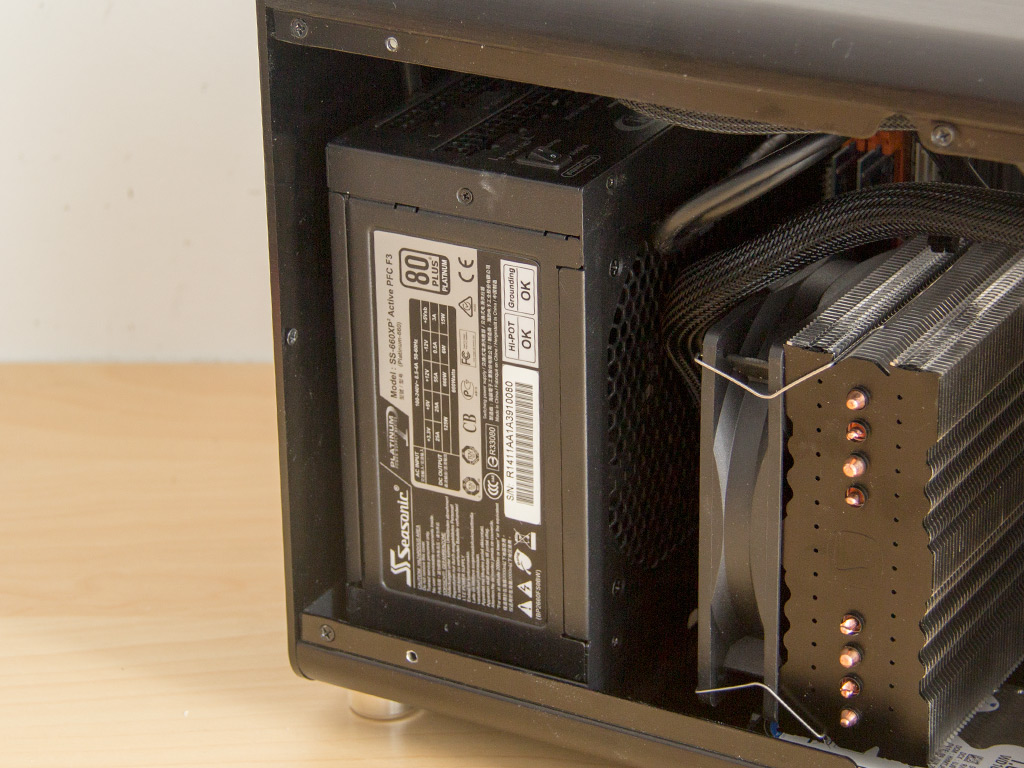
Installing a PSU is done by traditional means. If you want to install a GPU that is longer than 200 mm, you will need to make sure the PSU is less than 155 mm long with its cables and plugs. Our "short" GPU used for case reviews is slightly longer than 200 mm, so it had to make way for the Seasonic PSU.
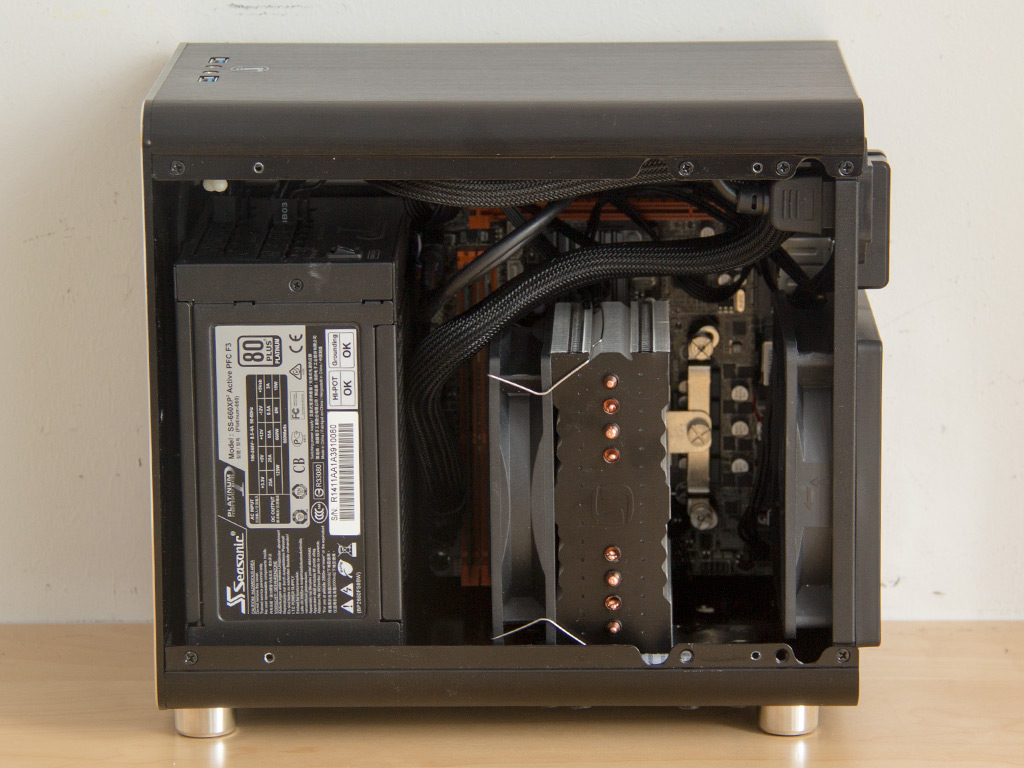
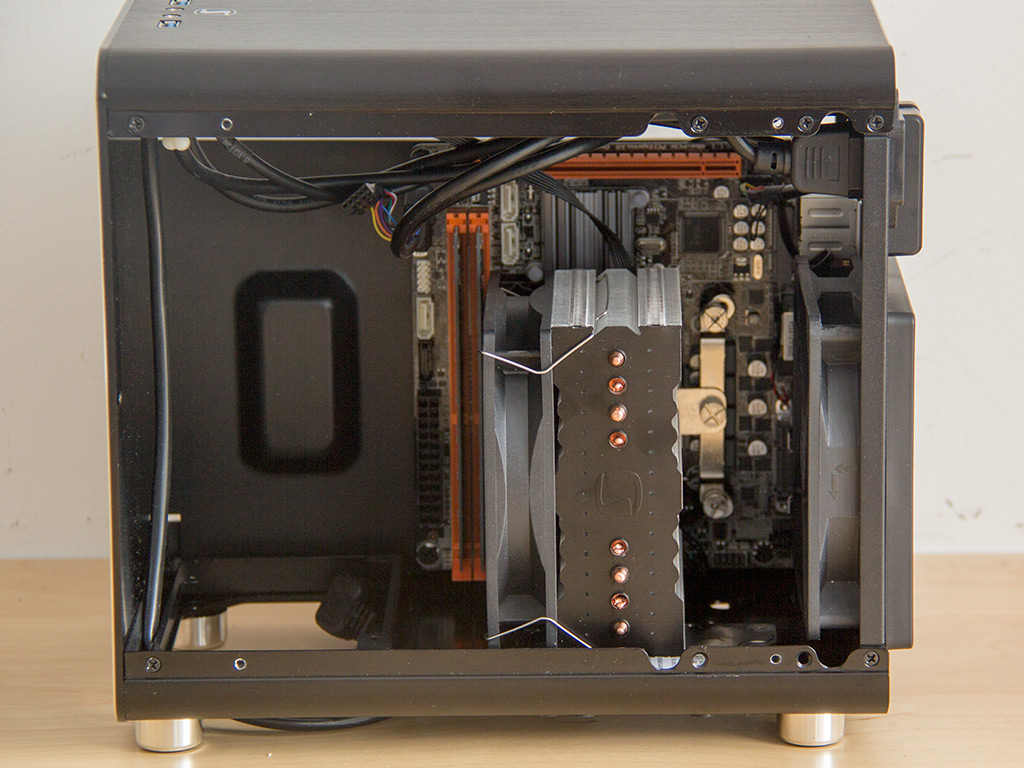
With everything installed, the Gladius Q50 is quite crowded. Sure, this is also due to the fact that the PSU's cables were not routed. We have seen people take apart the chassis, which is easily done as it is held in place by screws and not rivets, to really make the most of it and keep things as clean as possible. We, however, chose to assemble the chassis with the only access point described in SilentiumPC's manual. A more compact top-blow cooler would also keep things slightly cleaner.
Finished Looks
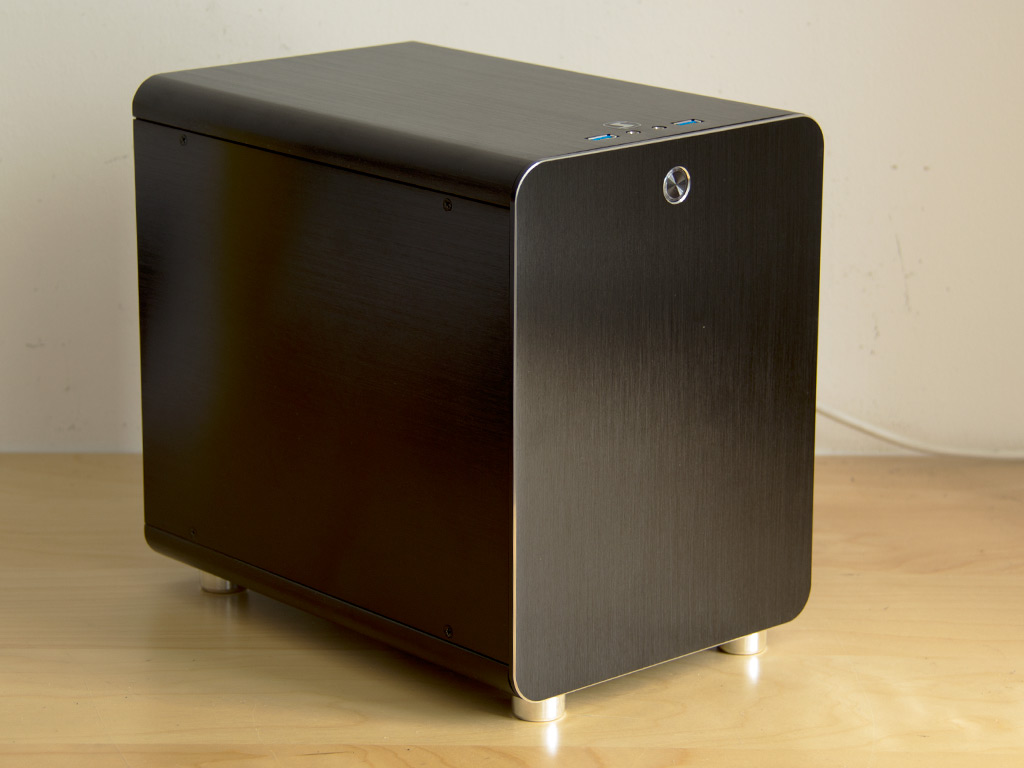
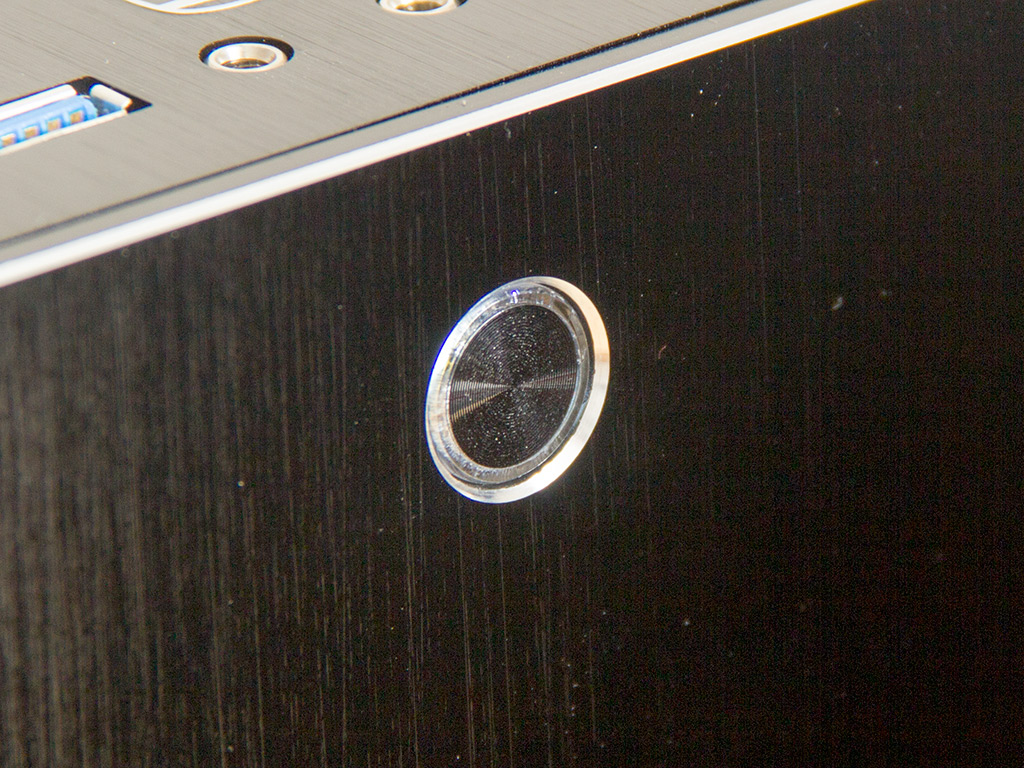
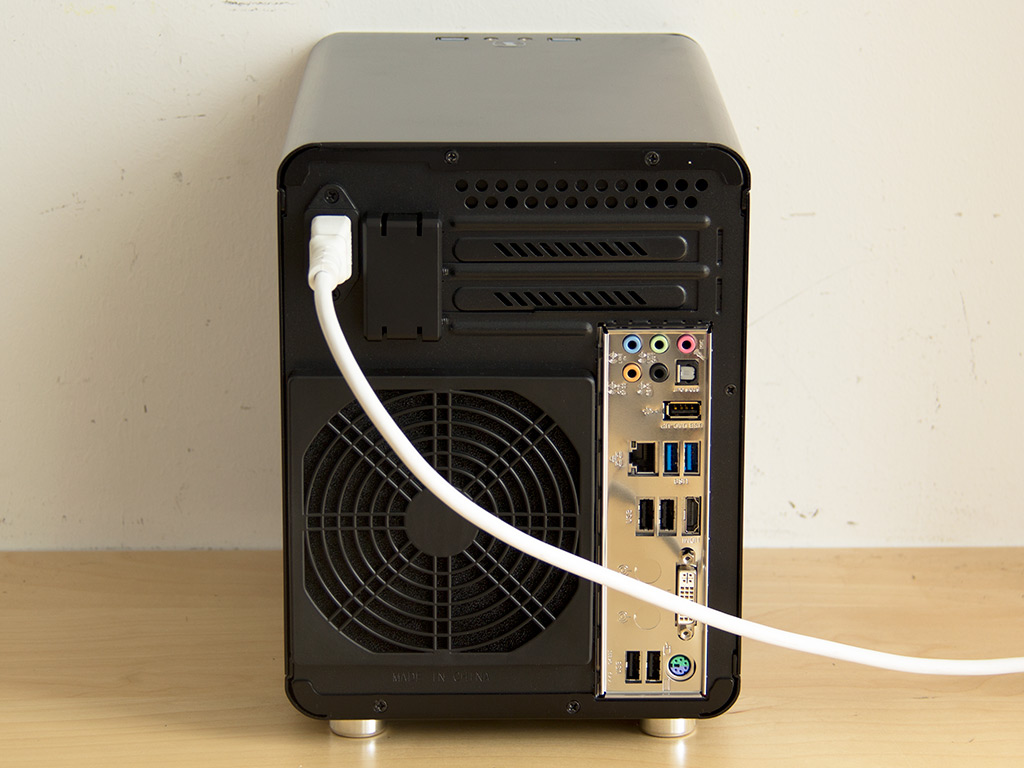
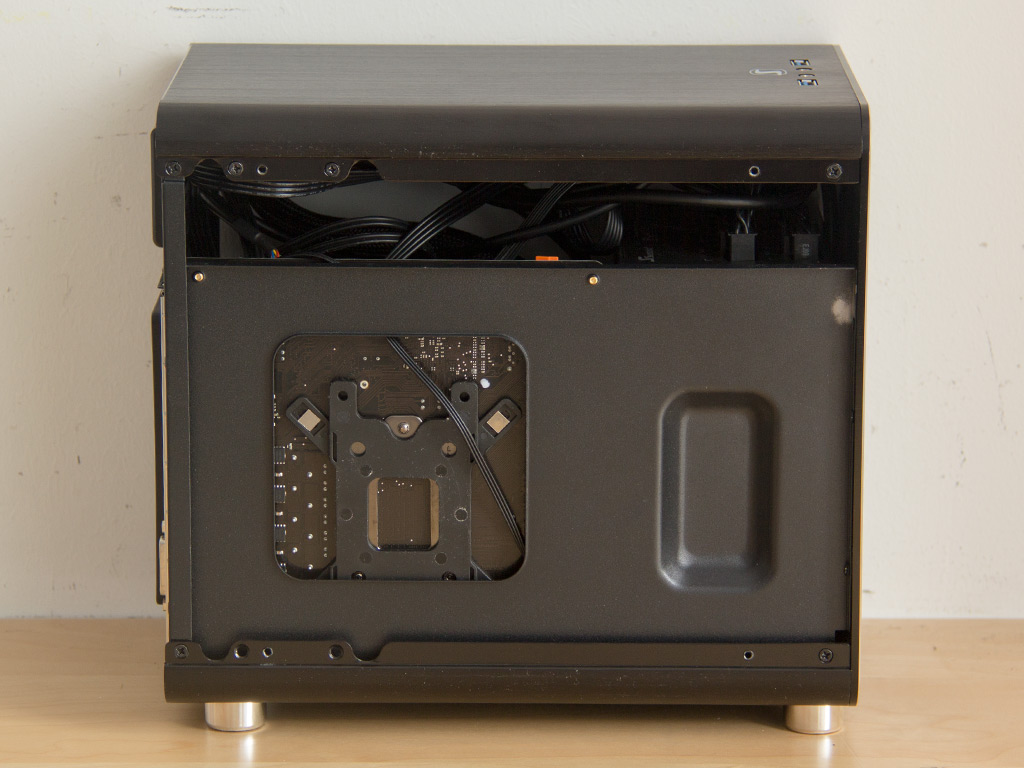
With everything in place, the chassis looks pretty much like it did right out of the box. Once turned on, a white LED at its face lights up to let you know the system has been powered on. In the rear, all the plugs are were you would expect them to be.
Feb 27th, 2025 22:58 EST
change timezone
Latest GPU Drivers
New Forum Posts
- RX 7900 XT Cant flash XTX bios. (1)
- Opinions on the drive config for new build please (28)
- Nvidia dropped 32-bit CUDA support with the 5000 series, not just 32-bit PhysX (3)
- DELL ALIENWARE AW2523HF COIL WHINE NOISE. (2)
- Brilliant Utility (0)
- Proposal to abolish votes on the Case Mod Gallery page (12)
- Authenticode fails for GPU-Z 2.63.0 (9)
- Nvidia's GPU market share hits 90% in Q4 2024 (gets closer to full monopoly) (680)
- MSI Radeon RX 580 8GB ARMOR BIOS VGA FLASH (1)
- It's happening again, melting 12v high pwr connectors (948)
Popular Reviews
- Montech HyperFlow Silent 360 Review
- ASUS GeForce RTX 5070 Ti TUF OC Review
- Gigabyte X870 Aorus Elite WiFi 7 Review
- Corsair Xeneon 34WQHD240-C Review - Pretty In White
- AMD Ryzen 7 9800X3D Review - The Best Gaming Processor
- MSI GeForce RTX 5070 Ti Ventus 3X OC Review
- MSI GeForce RTX 5070 Ti Vanguard SOC Review
- Corsair Virtuoso MAX Wireless Review
- Montech TITAN PLA 1000 W Review
- MSI GeForce RTX 5070 Ti Gaming Trio OC+ Review
Controversial News Posts
- NVIDIA GeForce RTX 50 Cards Spotted with Missing ROPs, NVIDIA Confirms the Issue, Multiple Vendors Affected (498)
- AMD Radeon 9070 XT Rumored to Outpace RTX 5070 Ti by Almost 15% (304)
- AMD Plans Aggressive Price Competition with Radeon RX 9000 Series (274)
- AMD Radeon RX 9070 and 9070 XT Listed On Amazon - One Buyer Snags a Unit (255)
- NVIDIA Investigates GeForce RTX 50 Series "Blackwell" Black Screen and BSOD Issues (244)
- Edward Snowden Lashes Out at NVIDIA Over GeForce RTX 50 Pricing And Value (241)
- AMD Denies Radeon RX 9070 XT $899 USD Starting Price Point Rumors (239)
- AMD Mentions Sub-$700 Pricing for Radeon RX 9070 GPU Series, Looks Like NV Minus $50 Again (226)