 13
13
SilverStone KL07E Review
Thermal Stress Test »Assembly
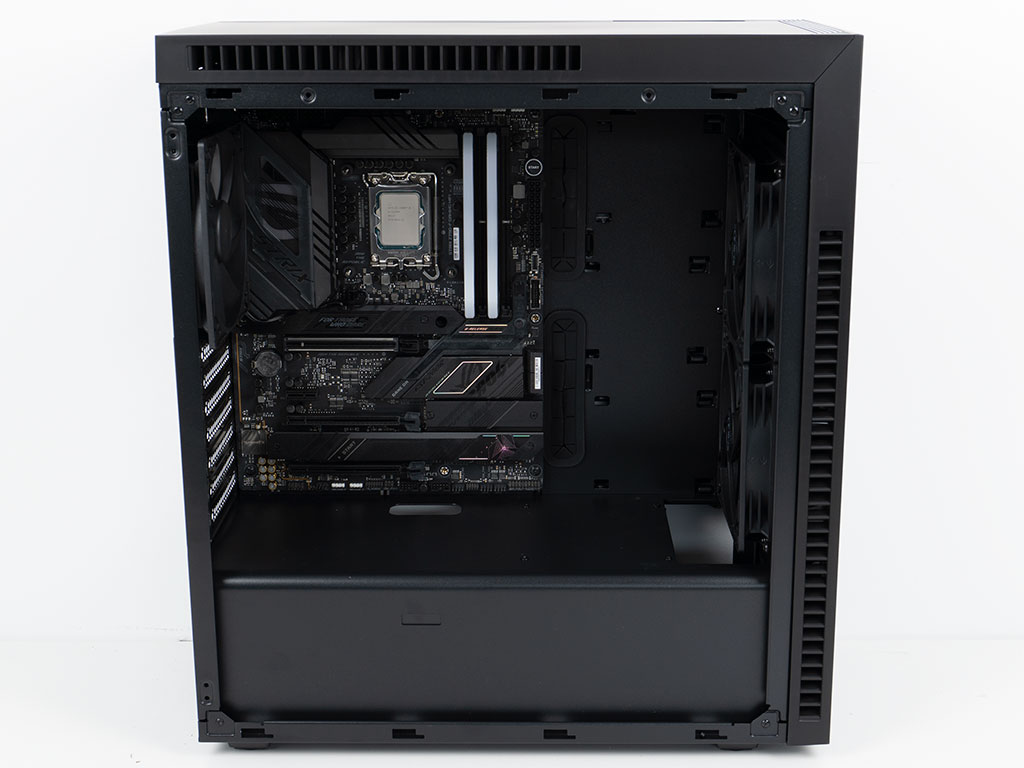
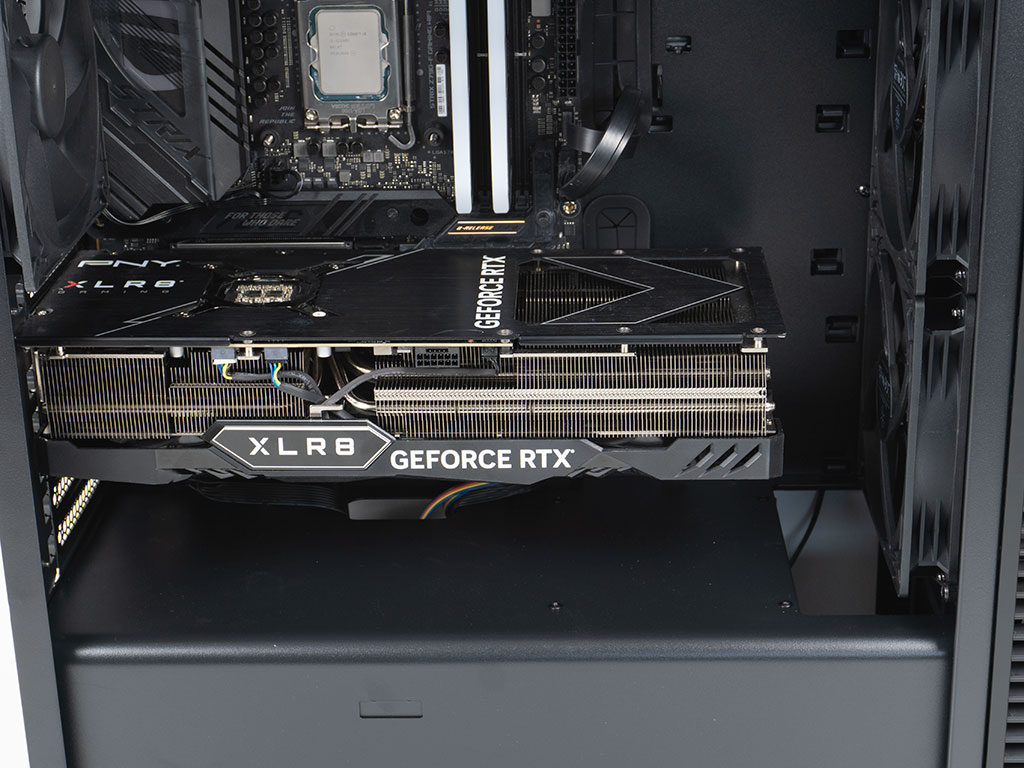
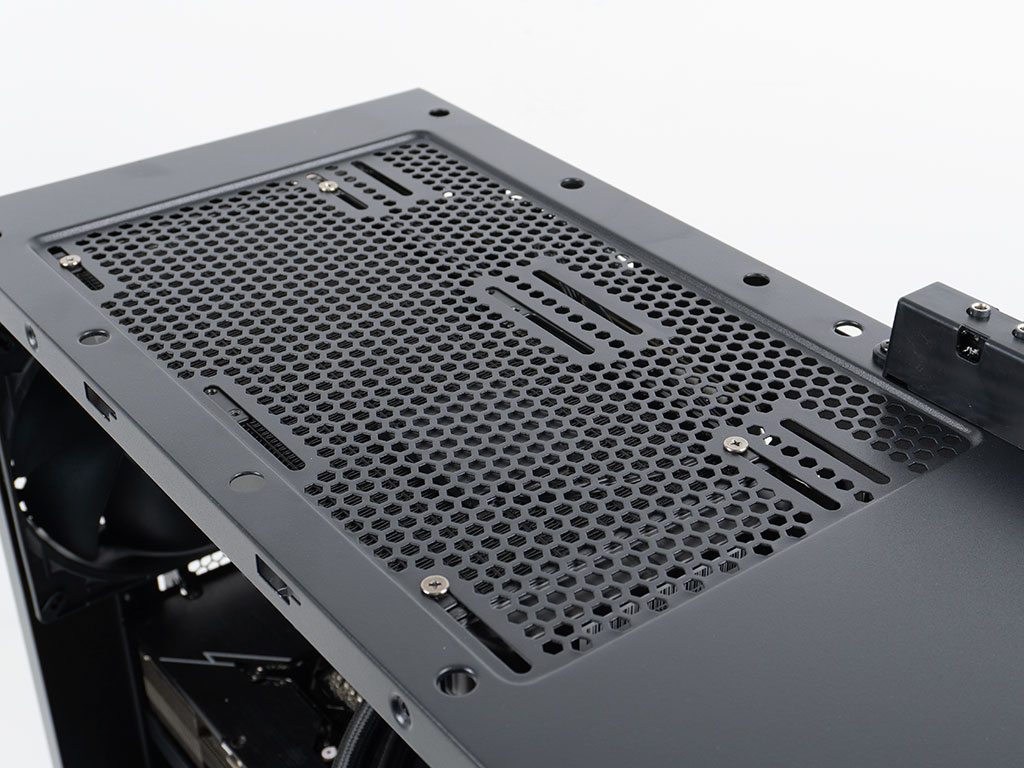
Installing the motherboard within the KL07E is done by traditional means, with the use of spacers and screws. As the locking mechanism and screws for all expansion cards are on the outside of the chassis, you will have to remove all the screws holding your expansion cards in place, and two more screws that keep the protective cover from swinging open. This means that all your expansion cards and covers will come loose every time you change your system's configuration. The case can hold long GPUs well, with just enough room for the PNY GeForce RTX 4080 XLR8 Triple Fan to not obstruct any potent push/pull radiator setup you may want to go for in the front of the chassis.
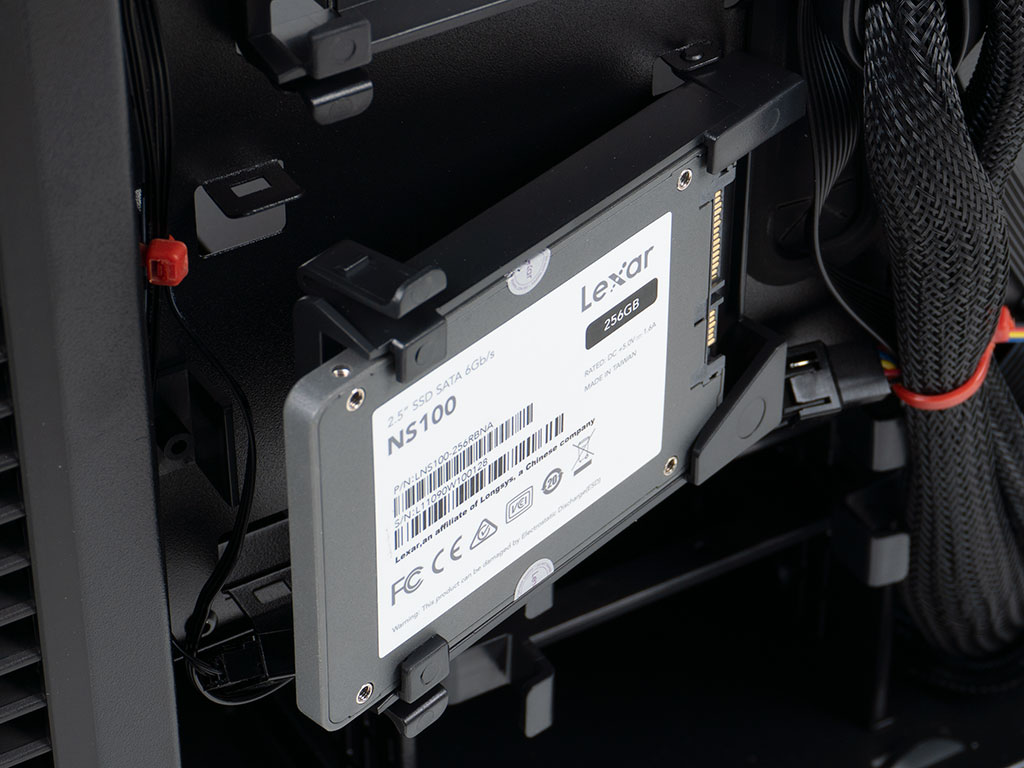

Adding an SSD is quite simple. Just raise the plastic tray away from the motherboard, slide the drive into the unit, and push it down until both sides of the tray snap back into place.
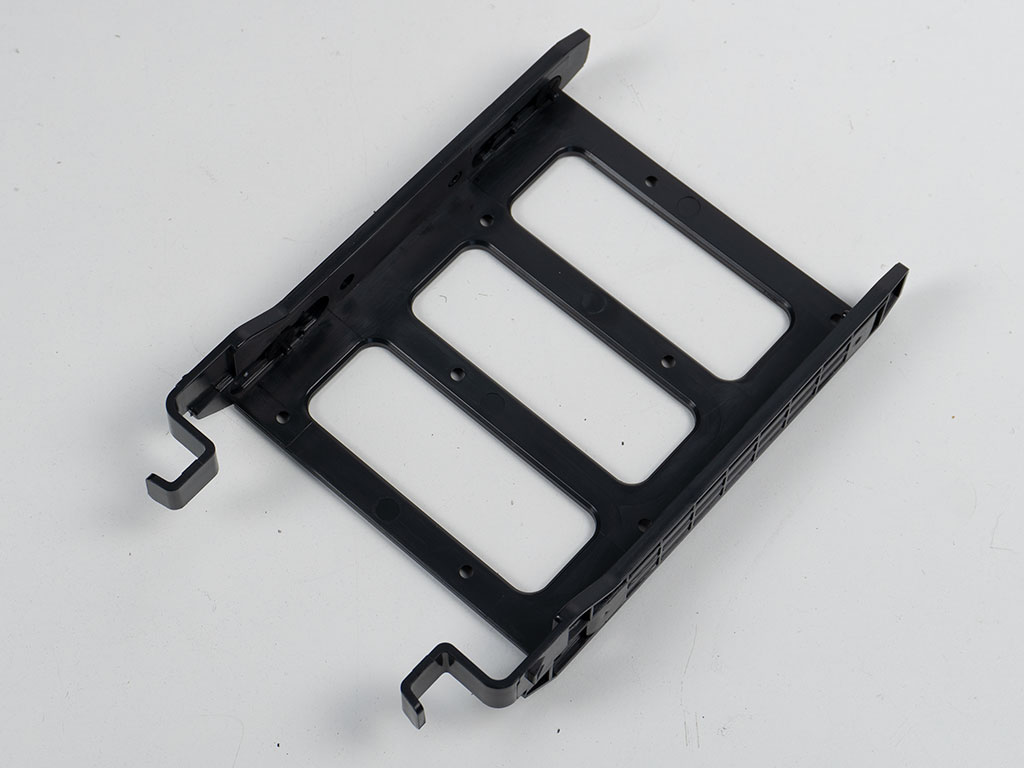
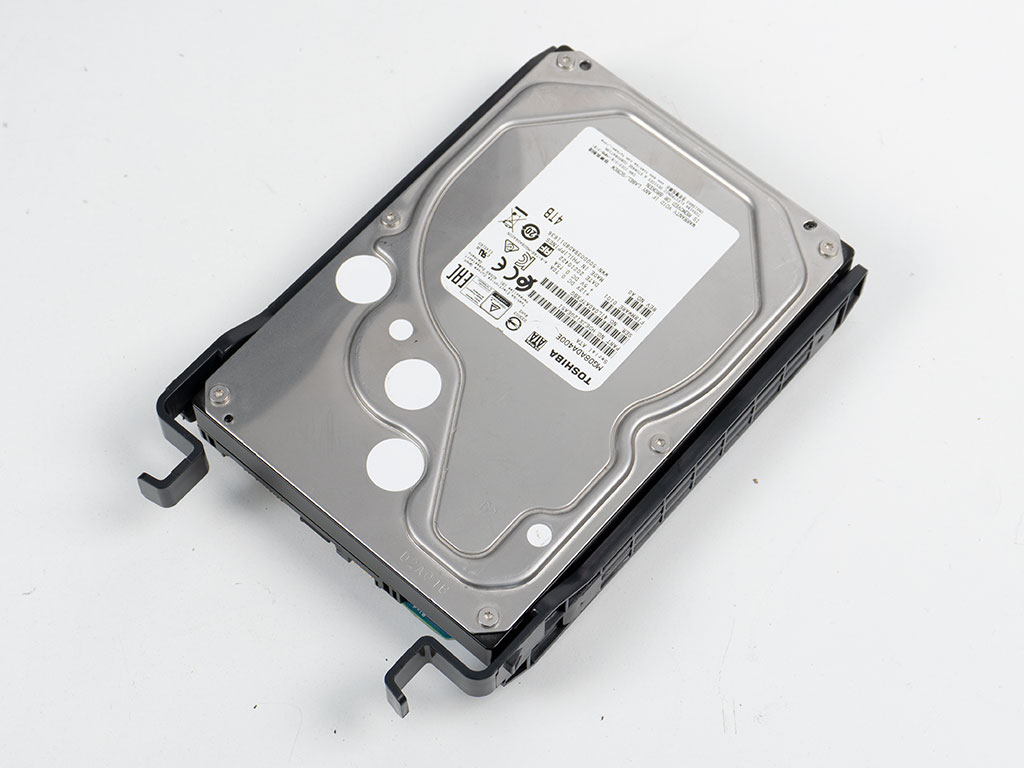
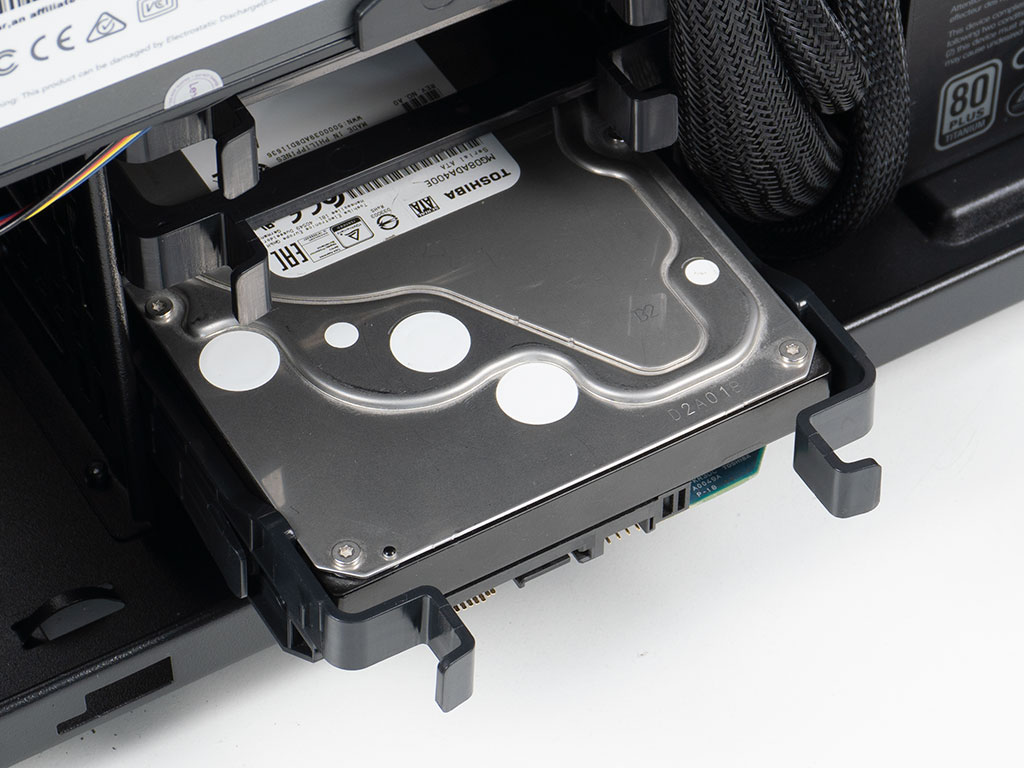
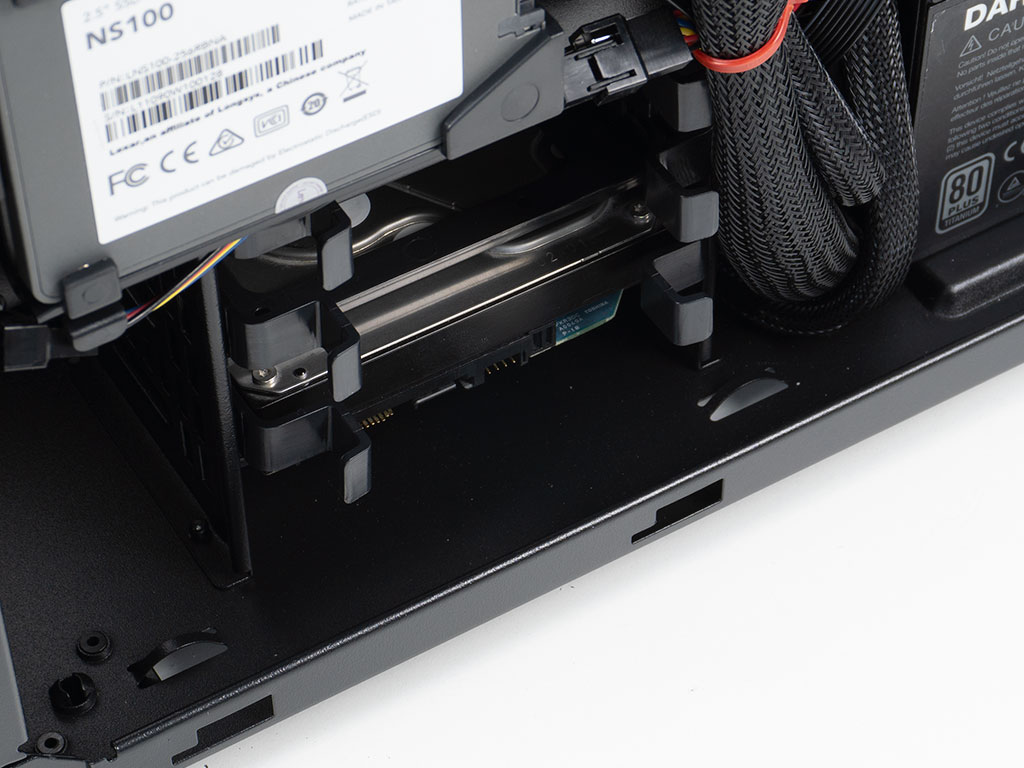
Installing a hard drive is completely tool-less due to the plastic trays. These come with plastic pins which are sturdy enough to hold the drive tightly. Once filled, simply slide the tray back into the bay of your choice until it snaps into place.

Installing a power supply is done by using the usual set of screws to hold it in place. Things are pretty tight for the Dark Power 13 - especially as the HDD cage is now no longer movable either. The documentation mentions 224 mm, but that will include the cable connectors and bend radius of the cabling. On top of that, you will need a bit of that room to maneuver the PSU into place initially.
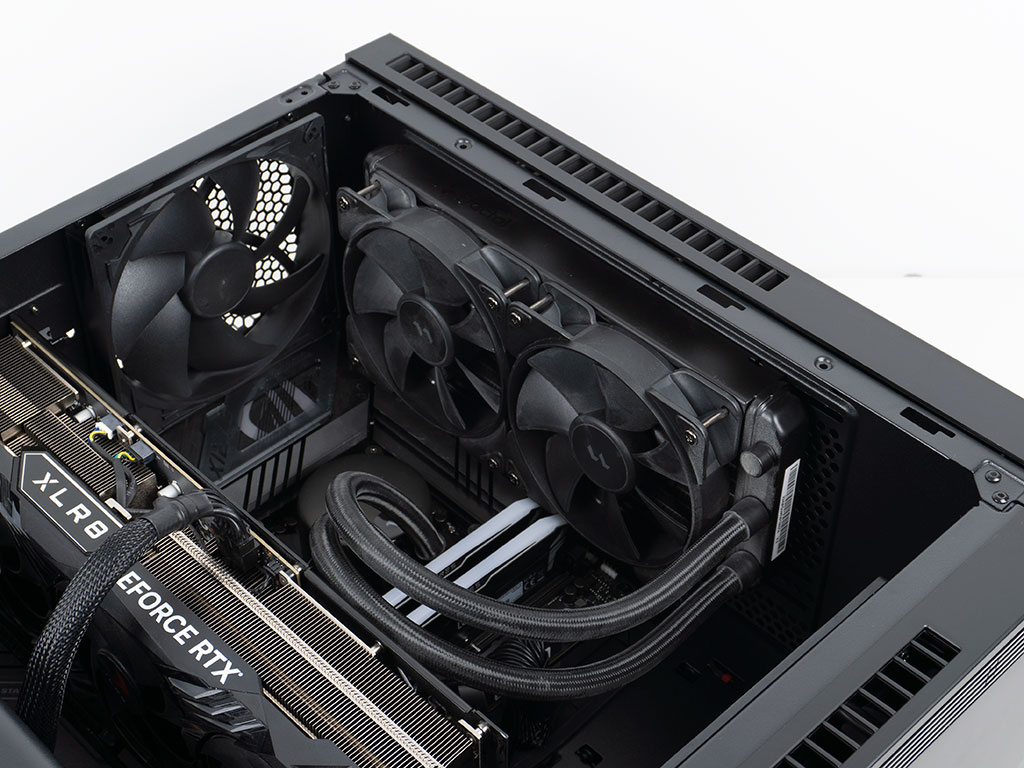
Installing an AIO is straight forward, as you simply screw it down. As expected, a 240 mm will officially fit and SilverStone clearly stays away from mentioning 280 mm variants for obvious reasons. However, even with a 240 mm unit, you will lose access to the connectors at the top of the motherboard. Also noteworthy is the fact that our Lexar memory tapers off at the ends, so tall sticks may still get in the way of your AIO.
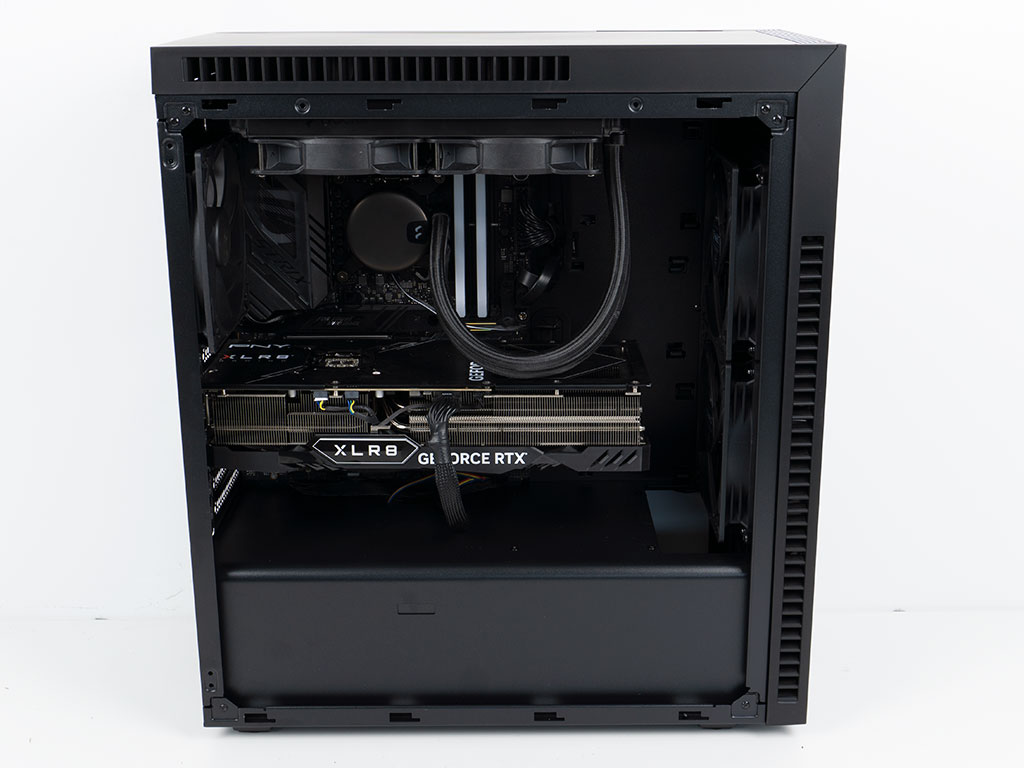
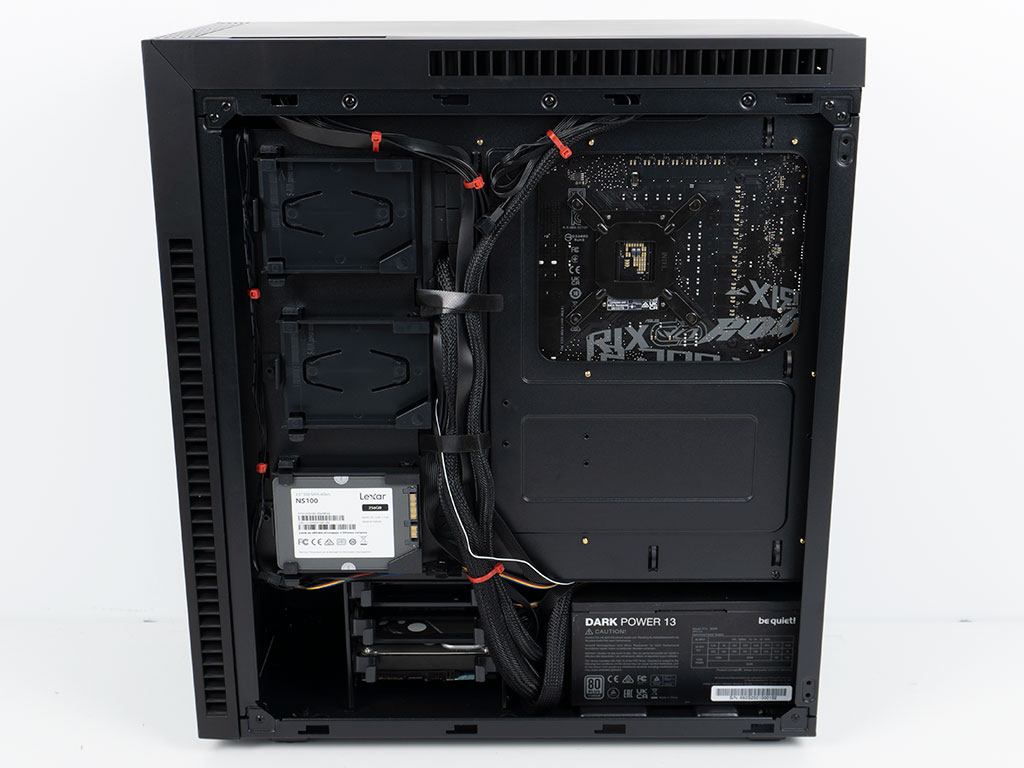
With everything installed, the interior of the Silverstone KL07E is nice and clean, due to the limited in number but well-placed grommet-equipped openings in the motherboard tray. That entire cable mess is manageable behind the tray even though the chassis doesn't have as many zip-tie hooks as most other enclosures out there. You could absolutely split the leads up and spread them a bit more, but we opted to use the Velcro strips as much as possible.
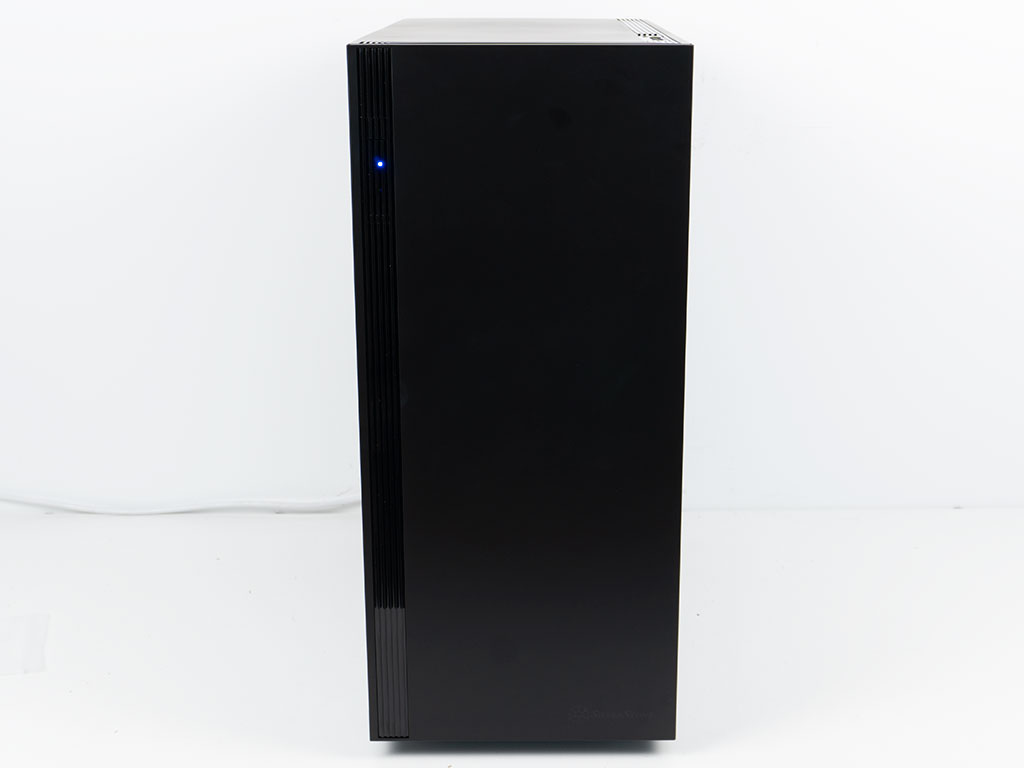
Finished Looks
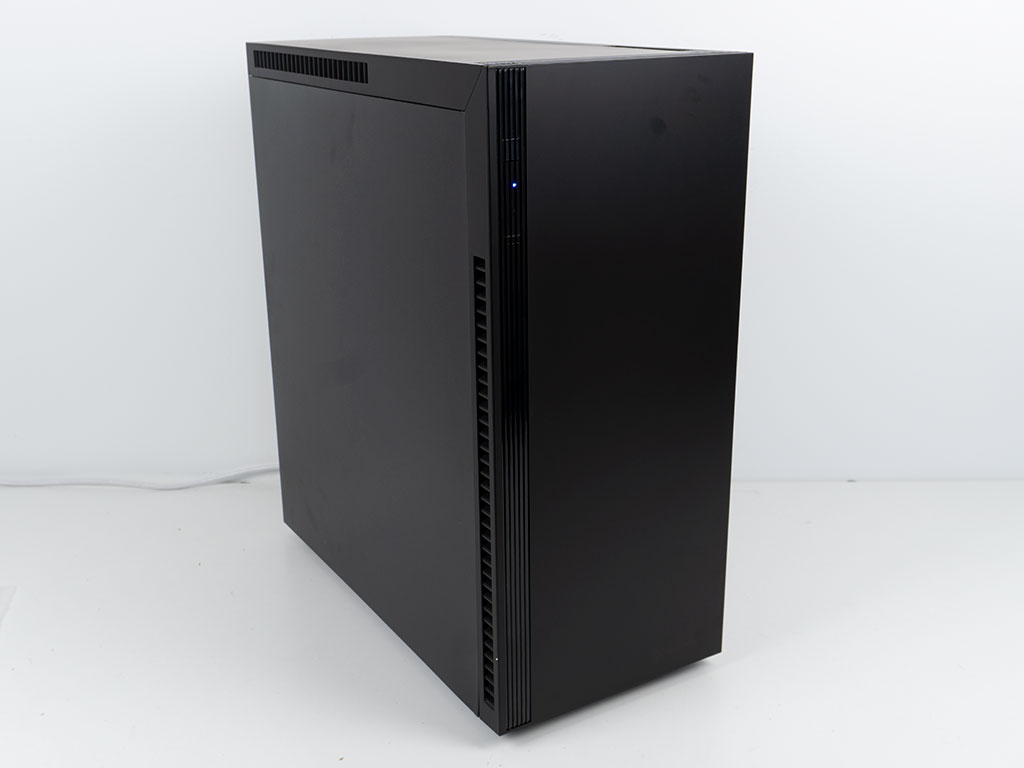
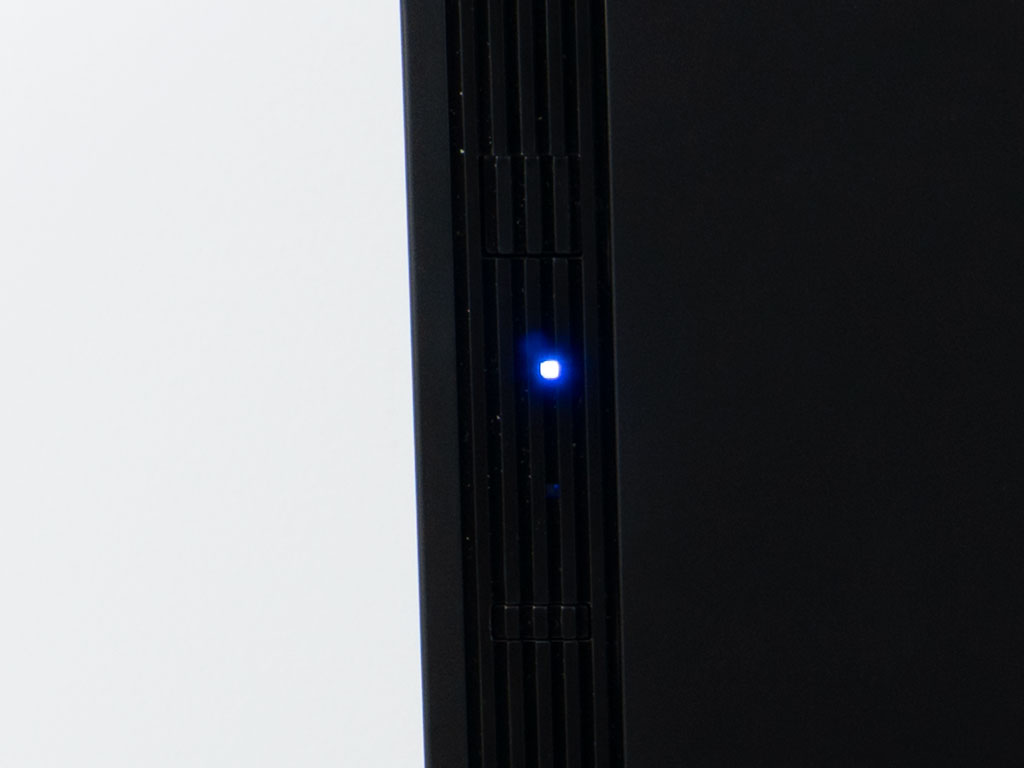
With the side panels in place and the system turned on, you would not know the system was active if not for the faint operating noise and blue LED at the front.
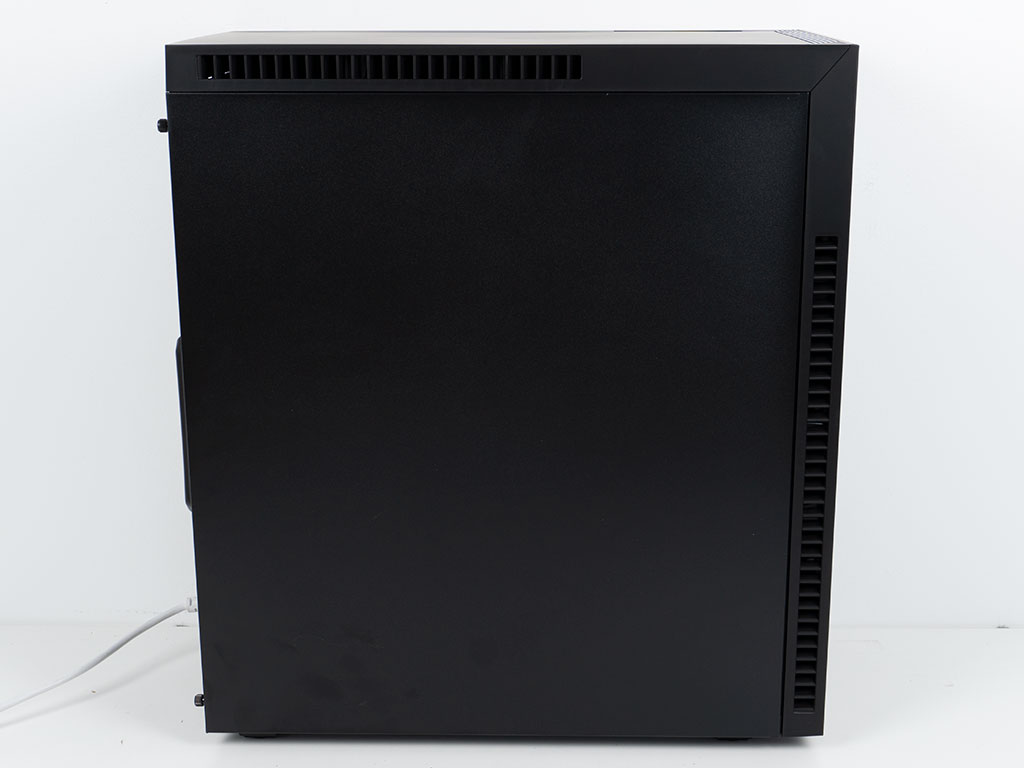
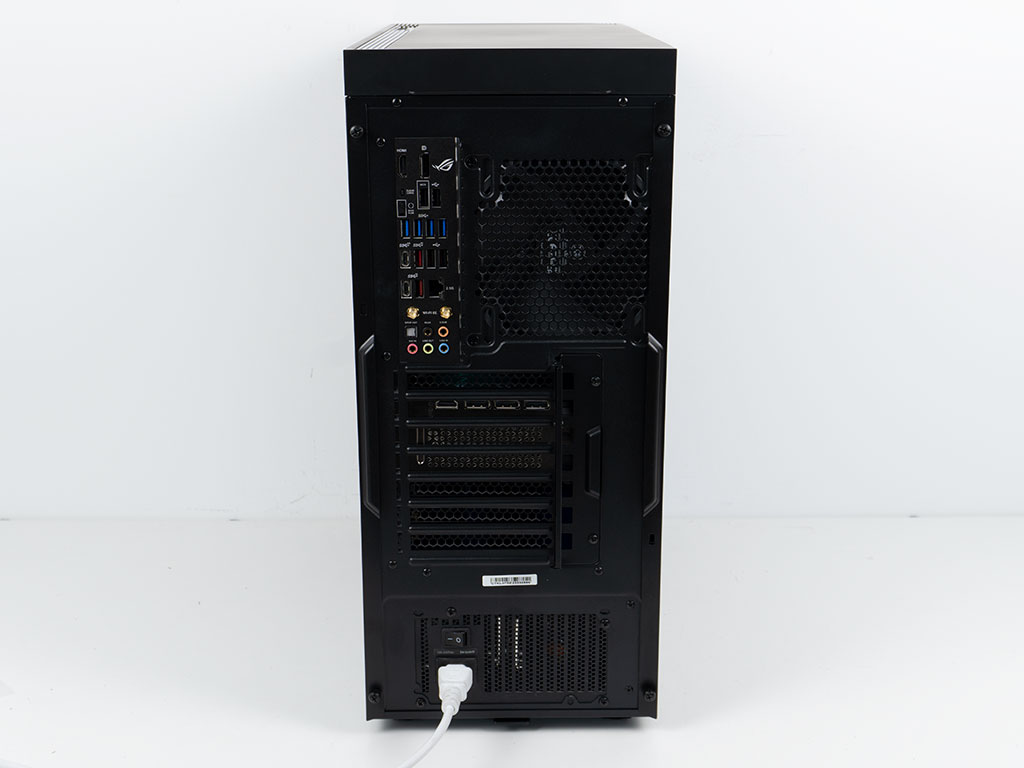
Looking at the rear, everything is where you would expect it to be. Thanks to the solid side panels, everything is hidden away, and the result is an understated system that will blend into its surroundings.
Mar 10th, 2025 19:23 EDT
change timezone
Latest GPU Drivers
New Forum Posts
- I'm looking for a good tool to make the 3D scanning of my mini-pc using the photogrammetry and my Kinect 2. (54)
- Post Your TIMESPY, PCMARK10 & FIRESTRIKE SCORES! (2019) (271)
- AMD RX 7000 series GPU Owners' Club (1307)
- I need a BIOS for the "Rx580 8gb" chip 215-0876406 (6)
- Biostar RX 6700 XT OC BIOS (7)
- Nvidia's GPU market share hits 90% in Q4 2024 (gets closer to full monopoly) (774)
- What's your latest tech purchase? (23278)
- Wherein lies the difference (2)
- USB hard disk box capacity limits (14)
- RX 9000 series GPU Owners Club (41)
Popular Reviews
- Sapphire Radeon RX 9070 XT Nitro+ Review - Beating NVIDIA
- XFX Radeon RX 9070 XT Mercury OC Magnetic Air Review
- ASUS Radeon RX 9070 TUF OC Review
- MSI MAG B850 Tomahawk Max Wi-Fi Review
- NVIDIA GeForce RTX 5080 Founders Edition Review
- NVIDIA GeForce RTX 5070 Founders Edition Review
- Corsair Vengeance RGB CUDIMM DDR5-8800 48 GB CL42 Review
- AMD Ryzen 7 9800X3D Review - The Best Gaming Processor
- ASUS GeForce RTX 5070 Ti TUF OC Review
- MSI GeForce RTX 5070 Ti Gaming Trio OC+ Review
Controversial News Posts
- NVIDIA GeForce RTX 50 Cards Spotted with Missing ROPs, NVIDIA Confirms the Issue, Multiple Vendors Affected (513)
- AMD Plans Aggressive Price Competition with Radeon RX 9000 Series (277)
- AMD Radeon RX 9070 and 9070 XT Listed On Amazon - One Buyer Snags a Unit (261)
- AMD RDNA 4 and Radeon RX 9070 Series Unveiled: $549 & $599 (260)
- AMD Mentions Sub-$700 Pricing for Radeon RX 9070 GPU Series, Looks Like NV Minus $50 Again (248)
- NVIDIA Investigates GeForce RTX 50 Series "Blackwell" Black Screen and BSOD Issues (244)
- AMD Radeon RX 9070 and 9070 XT Official Performance Metrics Leaked, +42% 4K Performance Over Radeon RX 7900 GRE (195)
- AMD Radeon RX 9070-series Pricing Leaks Courtesy of MicroCenter (158)