 2
2
Silverstone Primera PM02 Review
Assembly & Finished Looks »A Closer Look - Inside
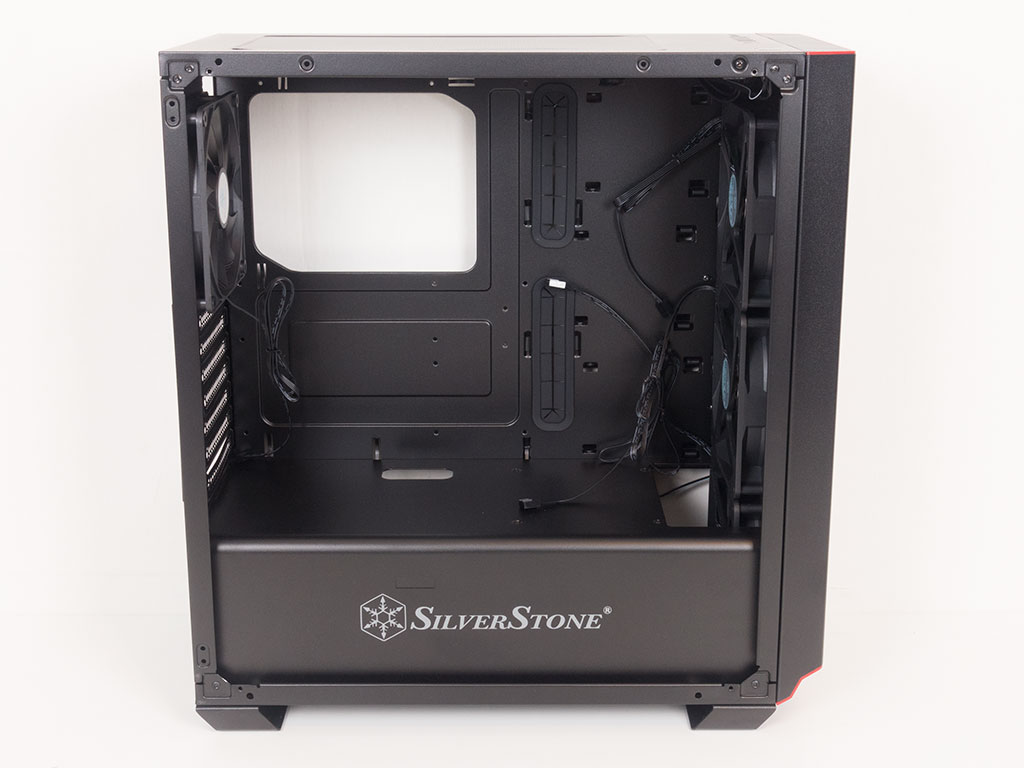

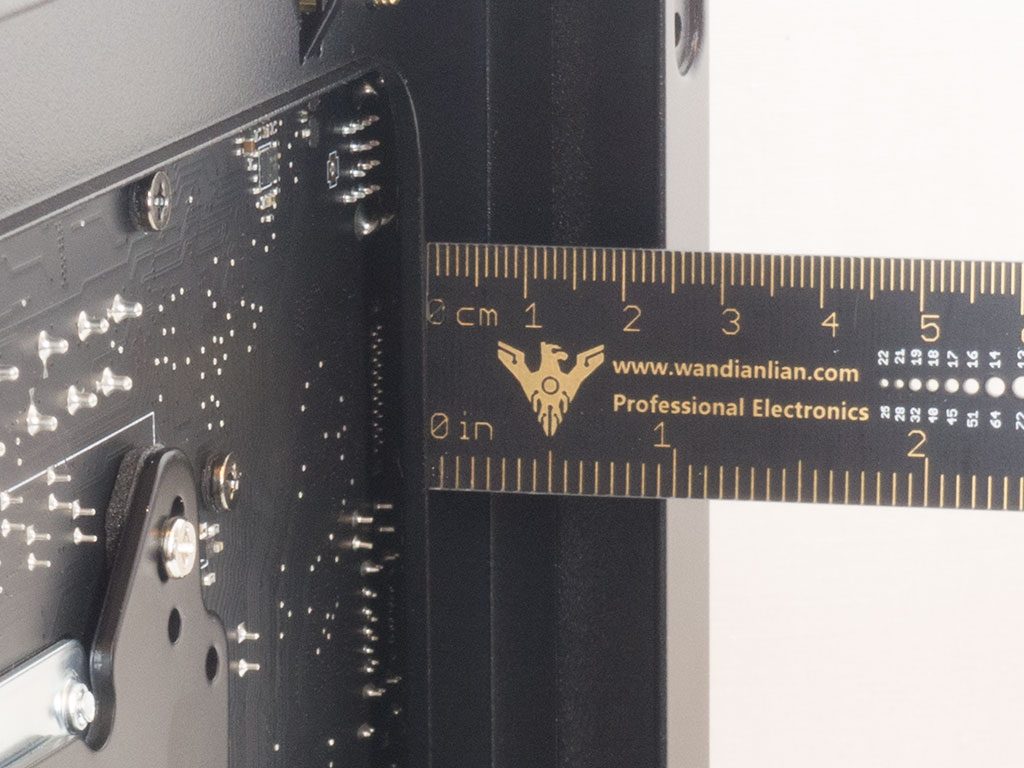
You may access the interior by simply removing the thumb screws holding each panel in place. Taking a first look at the interior of the PM02, it is quite simple as it lacks any of the traditional drive bays within. Turn it around and where you may place 2.5'' or 3.5'' storage drives becomes apparent. Overall, there is around 24 mm of space for you to place your cables and route them properly. This is quite the decent number to work with.
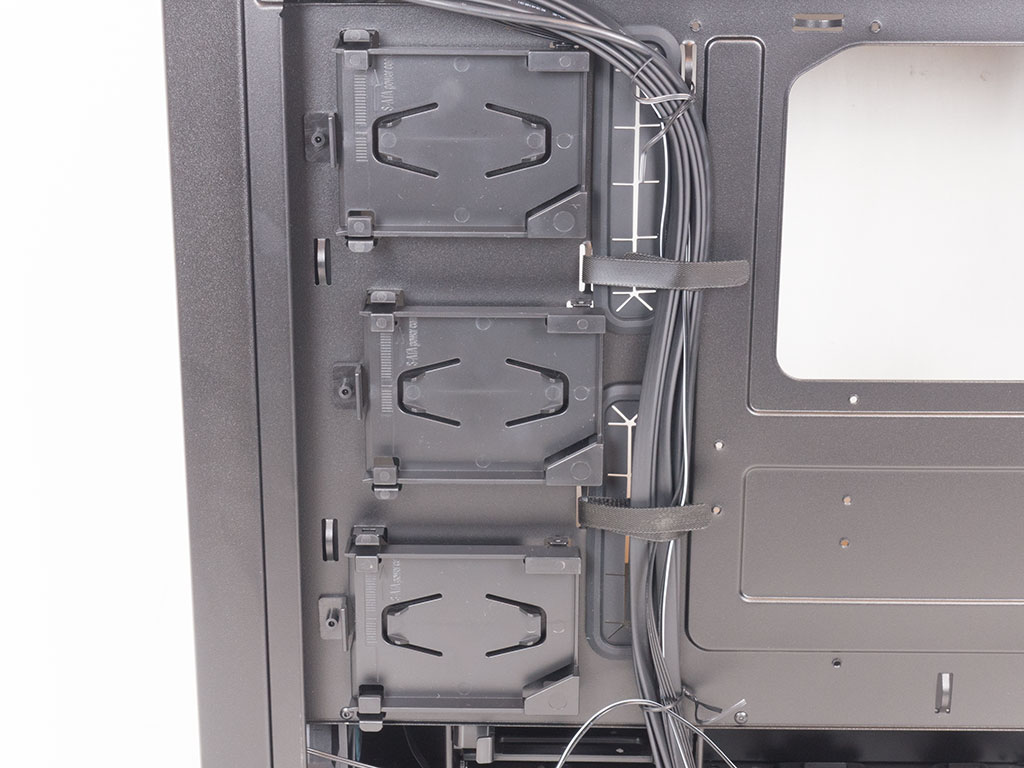
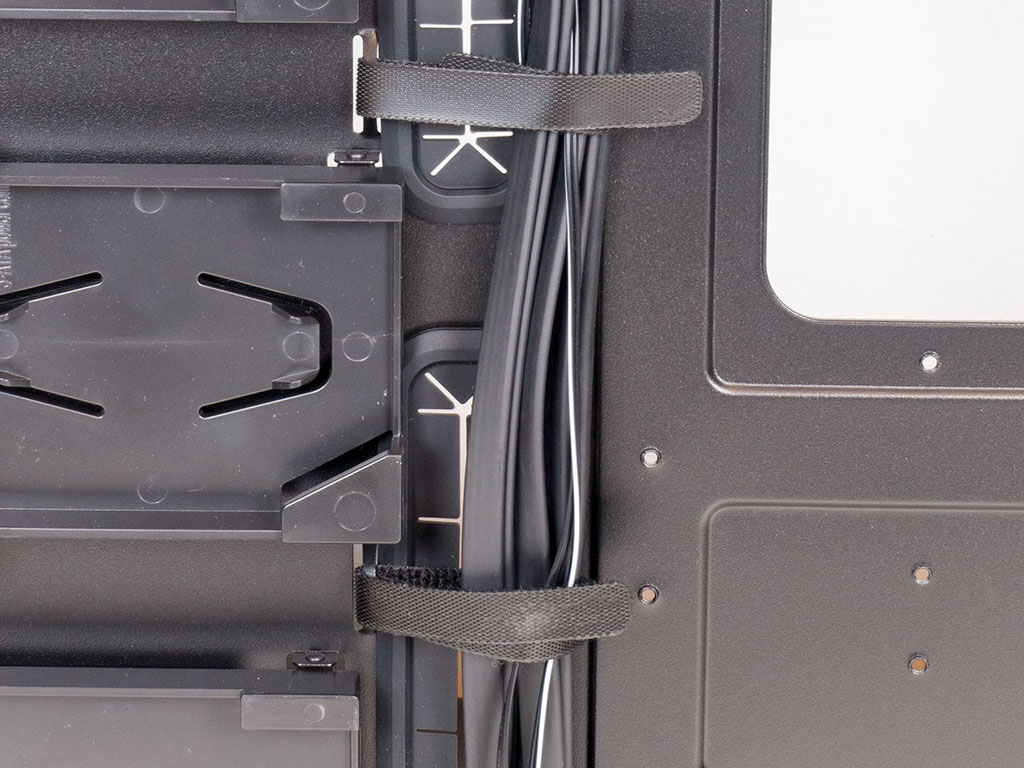
Three 2.5" drive trays are attached to the backside of the motherboard tray. While they look and feel a bit fragile, they do allow for a completely tool-less addition of storage drives. Silverstone has also added two Velcro strips to keep any cables in place behind the motherboard tray, which is certainly a nice touch.
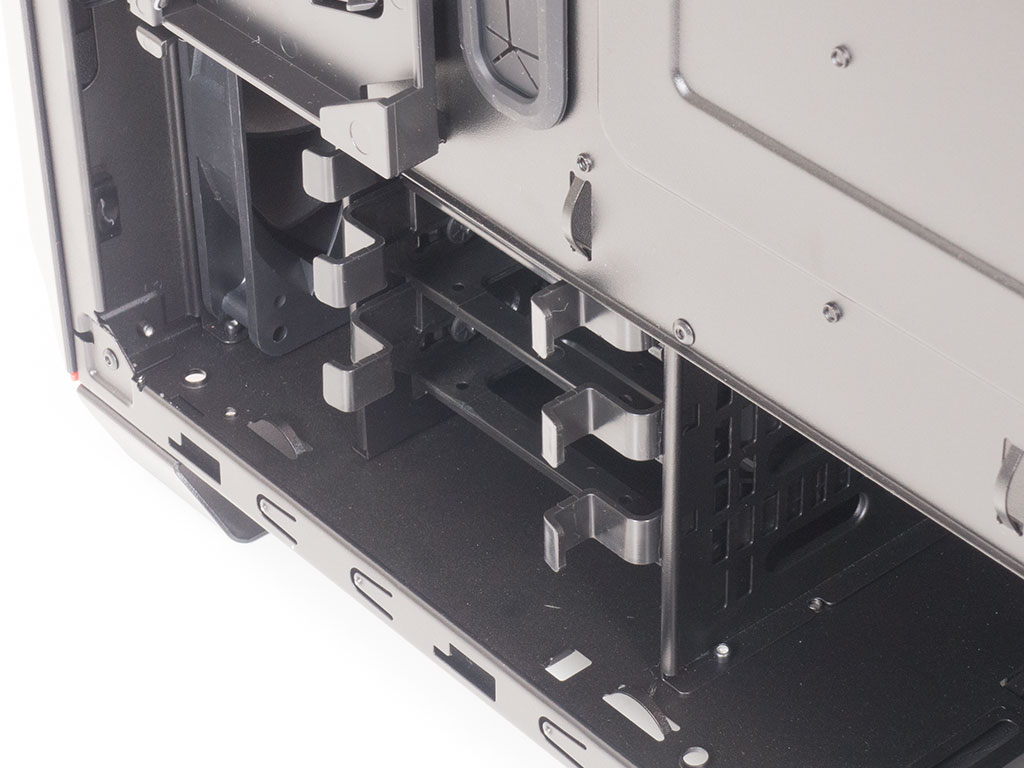
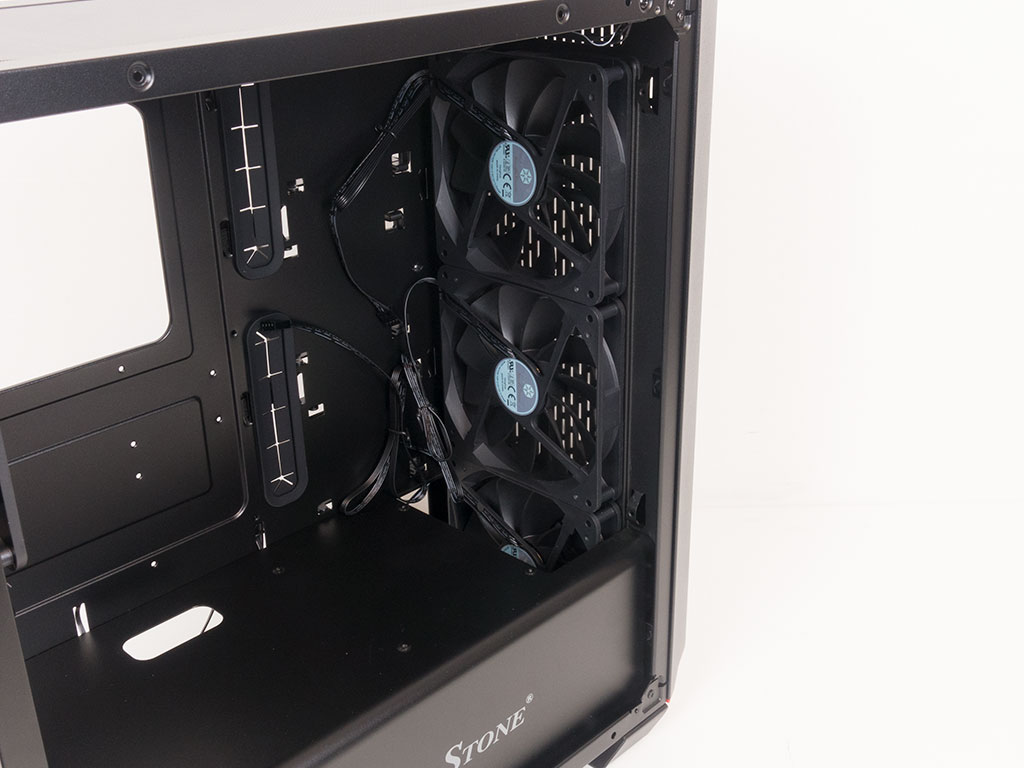
Underneath the shroud are three 3.5" drive trays you may move to the right by about 2.5'' should you want to install a 360 mm large radiator into the front of the chassis. To allow for this format, there is an opening in the shroud as there are three 140 mm fans in the front already.
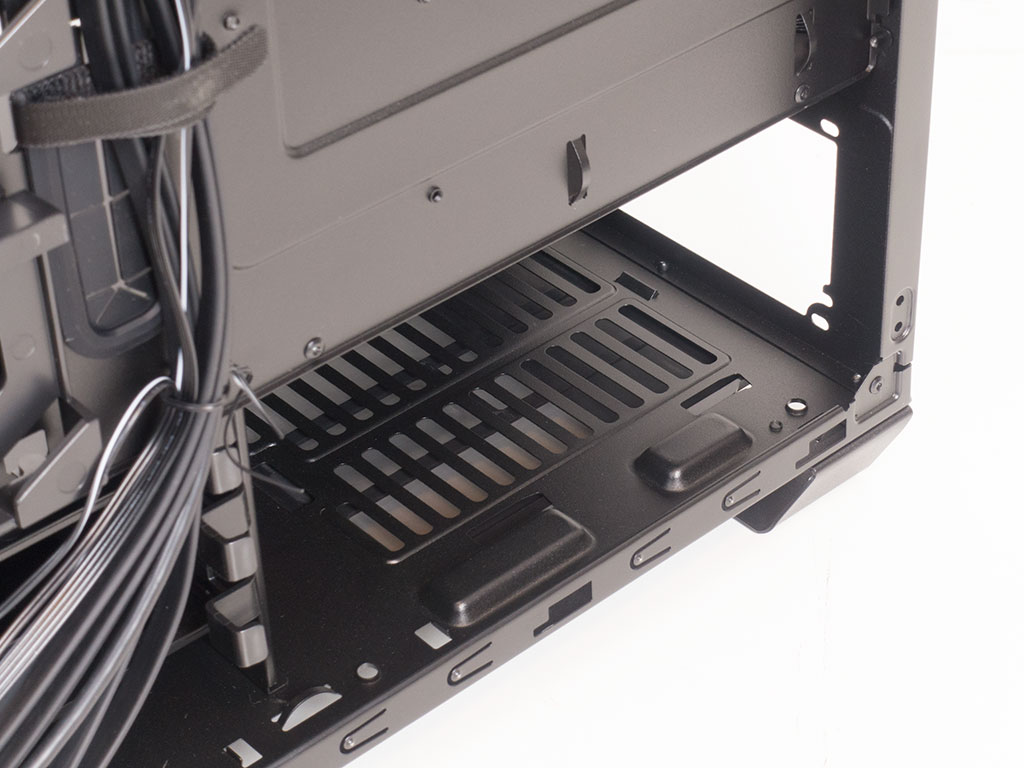
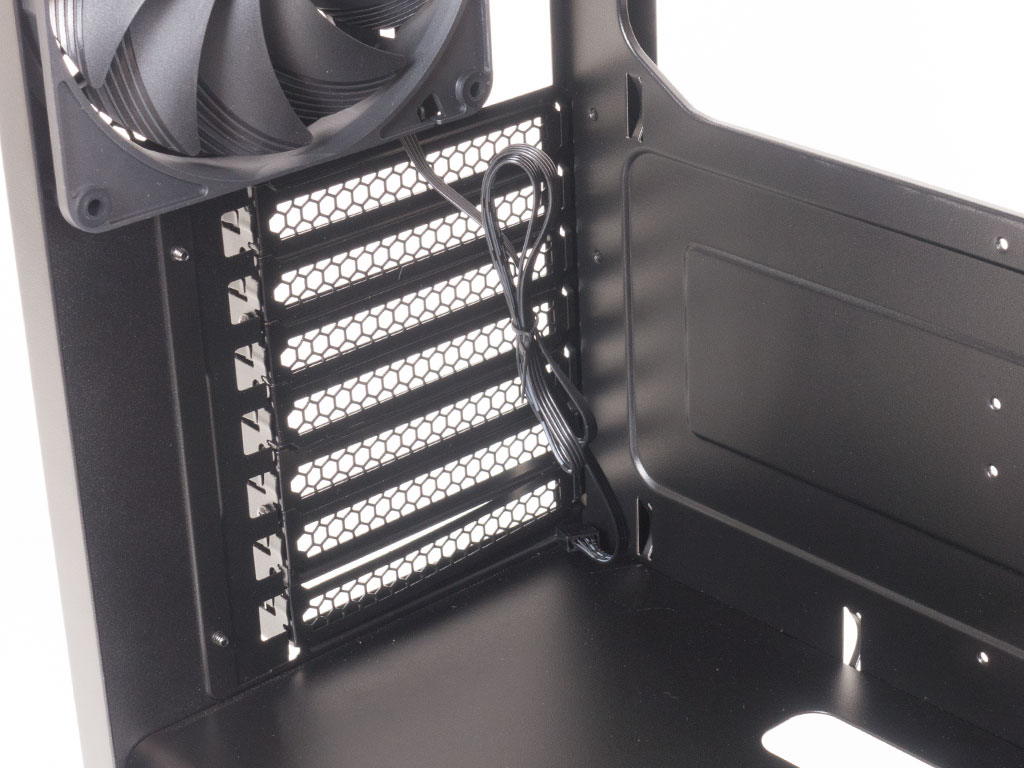

The PSU bay underneath the shroud offers up to 200 mm of space for power supplies, which turns into a mere 140 mm should you choose to move the hard-drive cage over. Doing so means that you will have to get creative when it comes to picking your power supply. Above that are the seven expansion slots with that all-for-one locking mechanism outside of the chassis. You will find the third 140 mm fan in the very top; it is set to push air out the back.
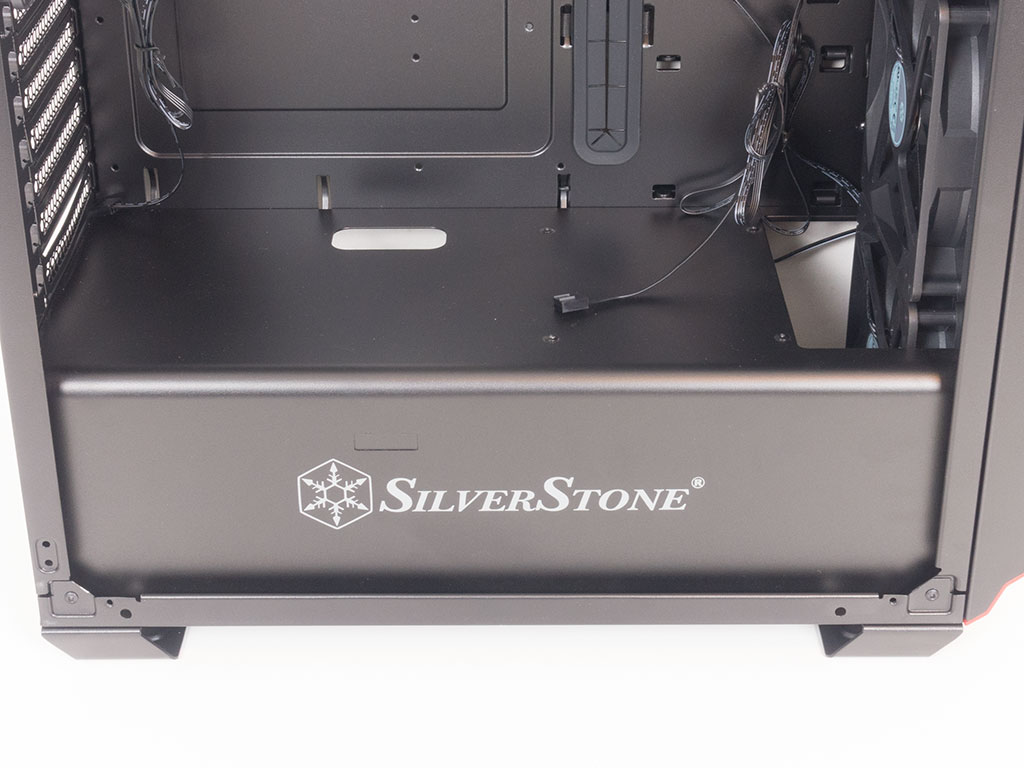
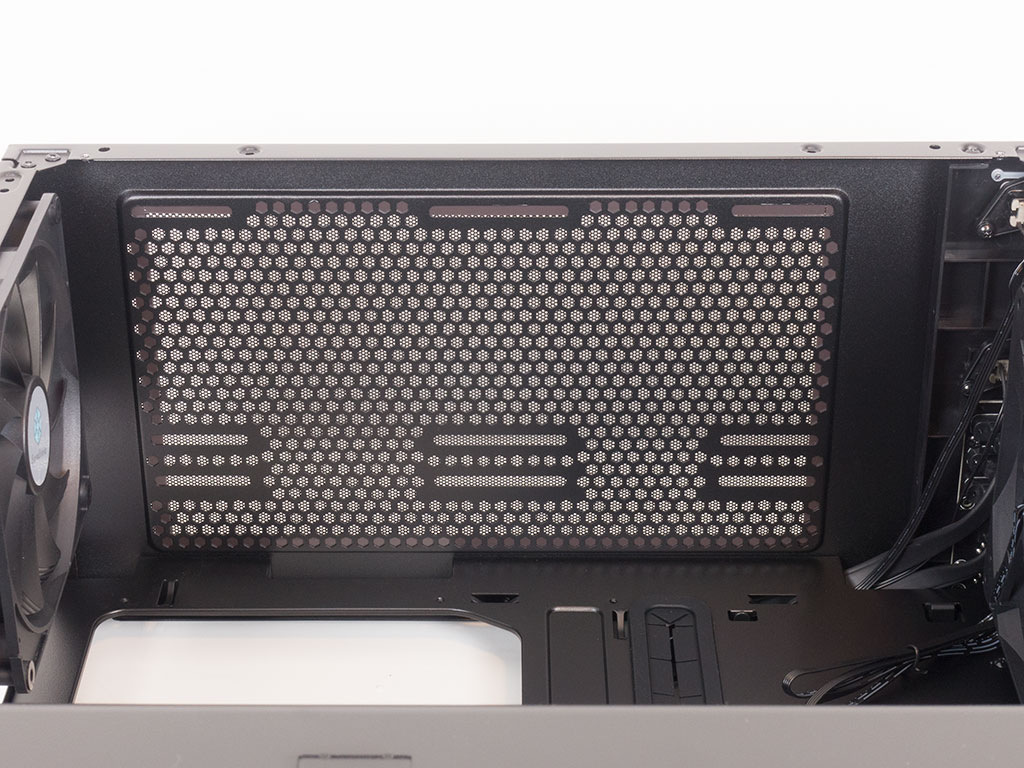
Within the PM02, you will find a sturdy metal shroud covering the PSU bay and hiding the 3.5" drive cage. This is quite a nice feature, especially as the case comes with a full-size window. Taking a quick peek at the ceiling, you will notice the space between the motherboard and these mounting holes; this confirms that you should have no issues installing a 280 mm radiator here.
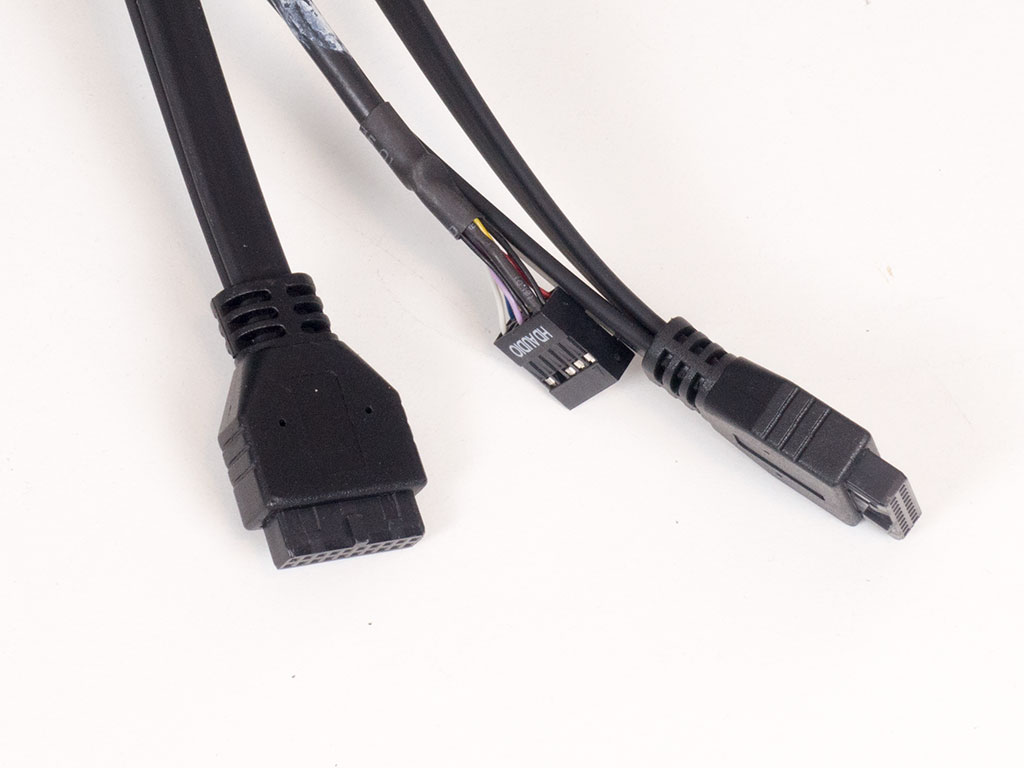
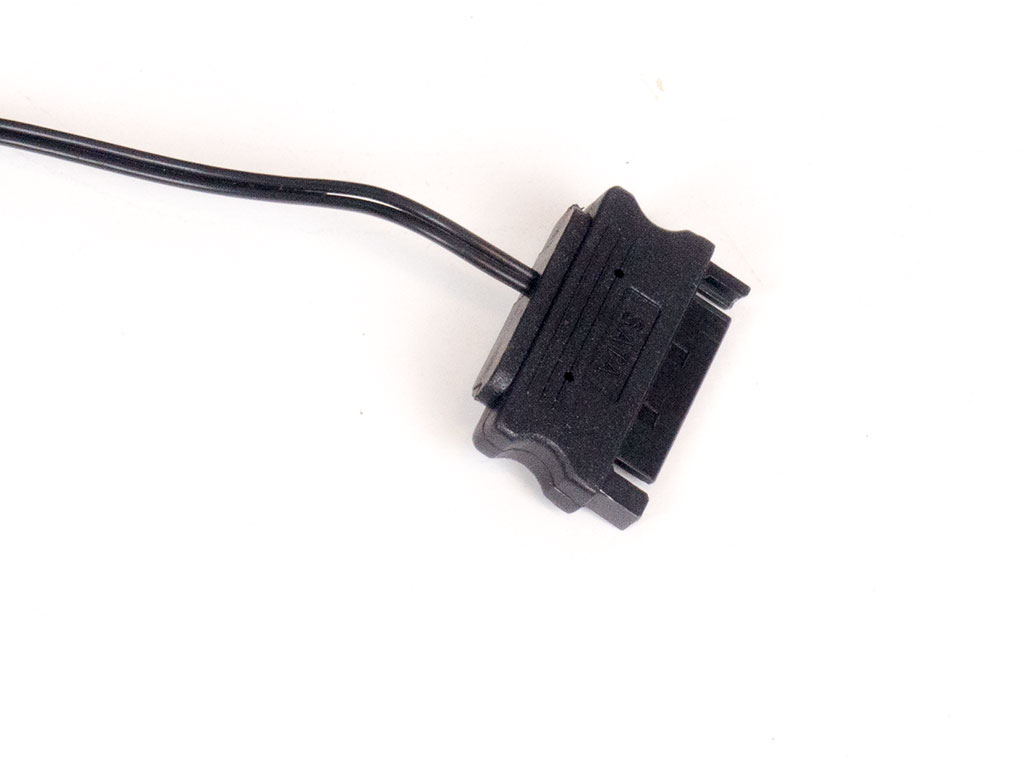
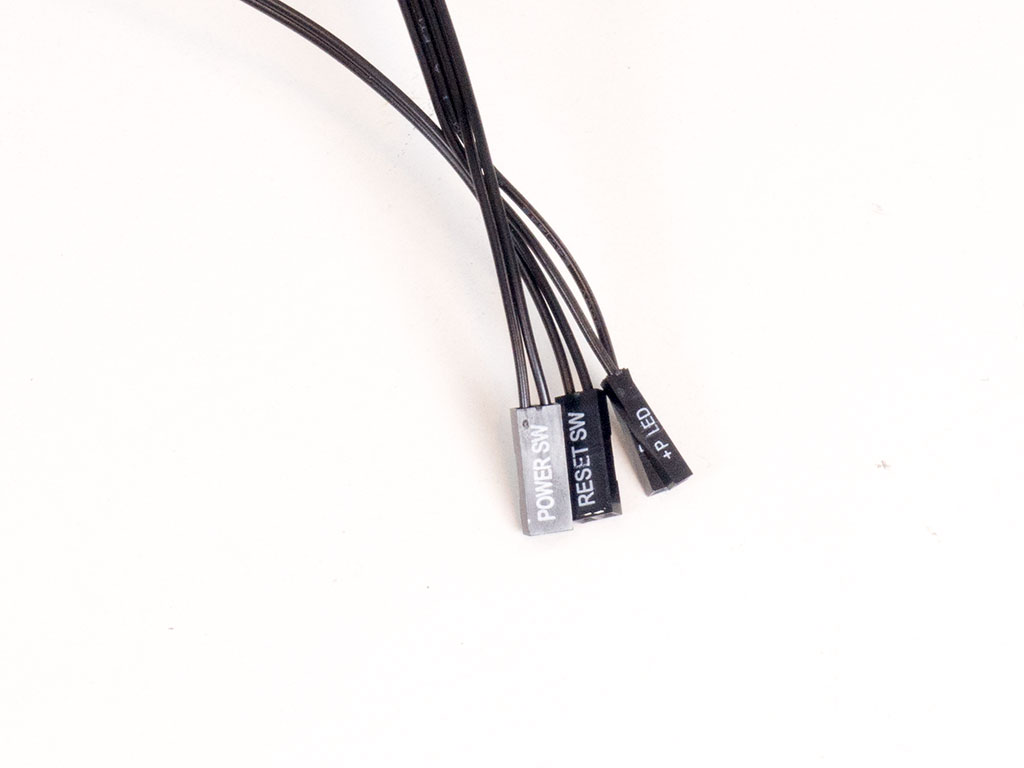
All the cables within the PM02 are of the standard variety and feature black sleeving. There are two USB 3.0 connectors, so make sure your motherboard offers two headers to make full use of the I/O on top of the chassis. In addition to these, there is a SATA power cable for secondary lighting at the bottom of the chassis, as we will see later on.
Feb 10th, 2025 23:49 EST
change timezone
Latest GPU Drivers
New Forum Posts
- How well does a 4090 or 4080 perform on X99/5820K system? (114)
- It's happening again, melting 12v high pwr connectors (105)
- Is this 5950x running correctly? (24)
- Daisy chaining mixed 4-pin fans (5)
- Asteroid 2024 YR4 reaches level 3 on the Torino Scale (50)
- ASUS Dual GeForce RTX 4070 SUPER EVO OC Edition - stay away from this card, very hot and loud (35)
- Attempt to install Windows 7 on an external hard drive fails to boot (2)
- Case fan with controller (1)
- Overclocking Xeon 2690(v2) (13)
- Your PC ATM (35236)
Popular Reviews
- Civilization VII Performance Benchmark Review - 35 GPUs Tested
- Kingdom Come Deliverance II Performance Benchmark Review - 35 GPUs Tested
- ASRock Phantom Gaming B850I Lightning Wi-Fi Review
- Team Group T-Force XTREEM DDR5-7200 48GB CL34 Review
- Spider-Man 2 Performance Benchmark Review - 35 GPUs Tested
- Kingdom Come: Deliverance 2 Handheld Performance Review
- NVIDIA GeForce RTX 5080 Founders Edition Review
- AMD Ryzen 7 9800X3D Review - The Best Gaming Processor
- Corsair Frame 4000D Review
- DAREU A980 Pro Max Review
Controversial News Posts
- AMD Radeon 9070 XT Rumored to Outpace RTX 5070 Ti by Almost 15% (286)
- AMD is Taking Time with Radeon RX 9000 to Optimize Software and FSR 4 (256)
- AMD Denies Radeon RX 9070 XT $899 USD Starting Price Point Rumors (239)
- Edward Snowden Lashes Out at NVIDIA Over GeForce RTX 50 Pricing And Value (239)
- AMD Radeon RX 9070 XT & RX 9070 Custom Models In Stock at European Stores (226)
- New Leak Reveals NVIDIA RTX 5080 Is Slower Than RTX 4090 (215)
- AMD's Radeon RX 9070 Launch Faces Pricing Hurdles (175)
- AMD Radeon RX 9070 XT Tested in Cyberpunk 2077 and Black Myth: Wukong (169)