 5
5
SilverStone SETA A2 Review
Thermal Stress Test »Assembly
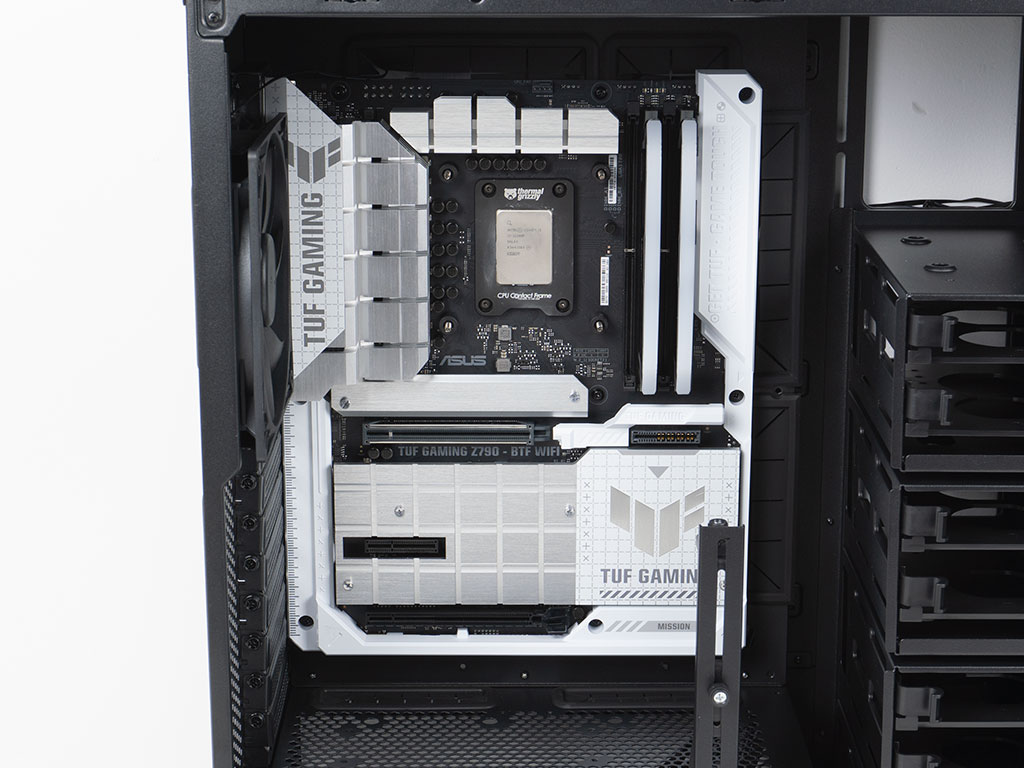
Installing a motherboard inside the SilverStone SETA A2 is pretty straightforward using the pre-installed spacers and screws. As you can see, the ASUS BTF board fits perfectly fine once you remove the right cover blocking the opening on the motherboard tray. While it may be weird that some of the connectors poke through the rubber grommets, all of them are actually perfectly accessible.
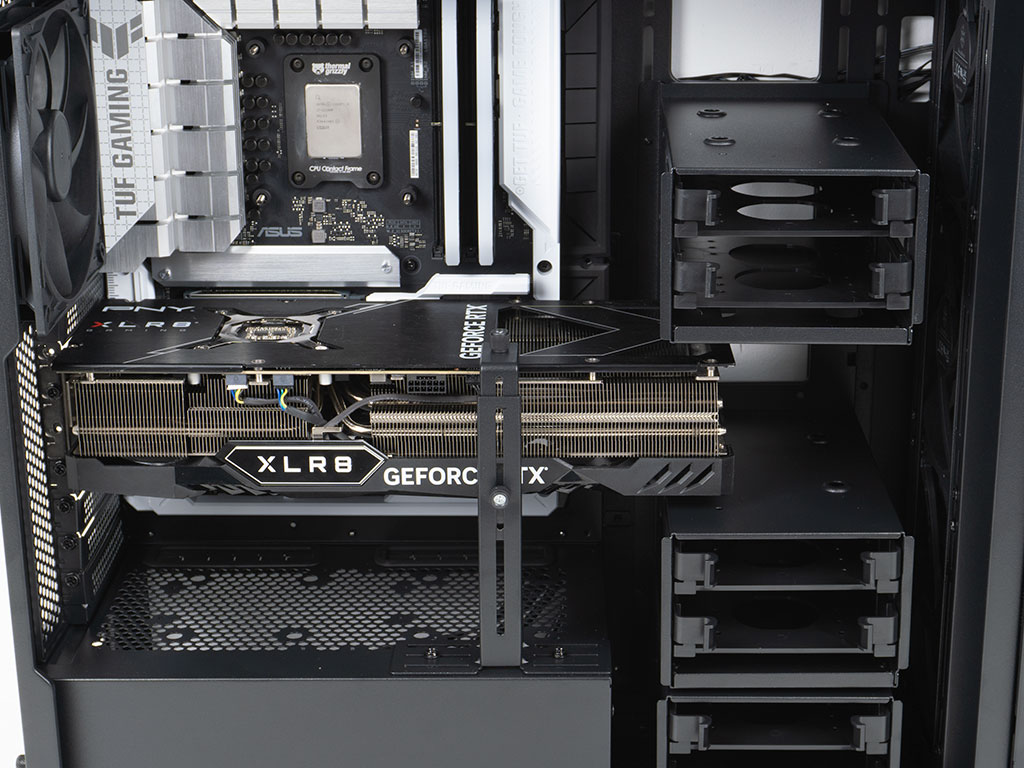
Inserting the GPU means that you will have to remove four screws of the HDD cage at the same height to pull it out. Once removed, your long and performant graphics card will easily fit and the built-in GPU support bracket works extremely well as well. You may move it to the left and right a little bit, to avoid any fans as well.


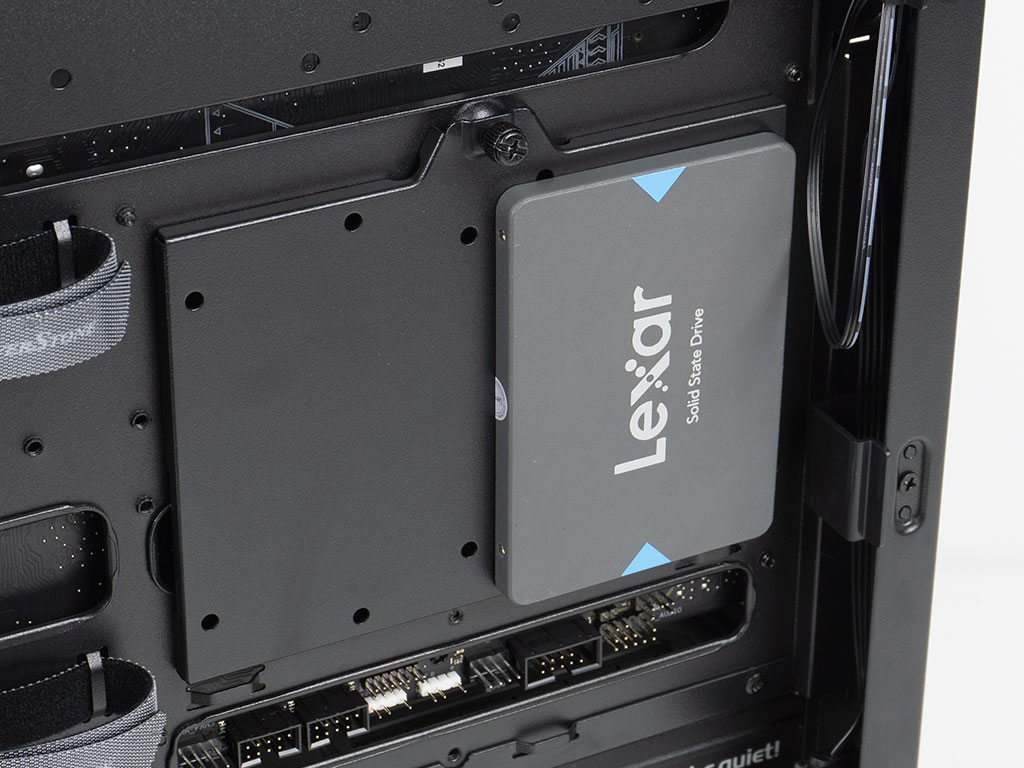
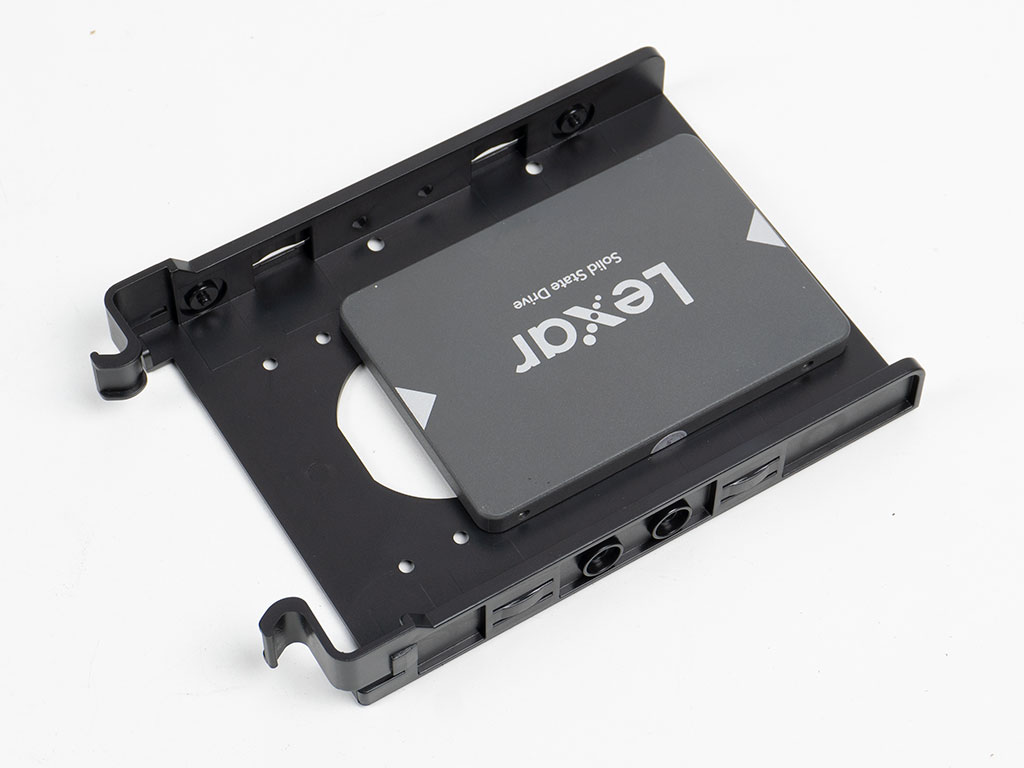
Adding a 2.5" drive unto one of the plates requires the use of a screwdriver and supplied screws. When employing these type of drives, the connectors face downward on the mounting plates. If you opt for 3.5" drives, their interface will face toward the front of the enclosure.
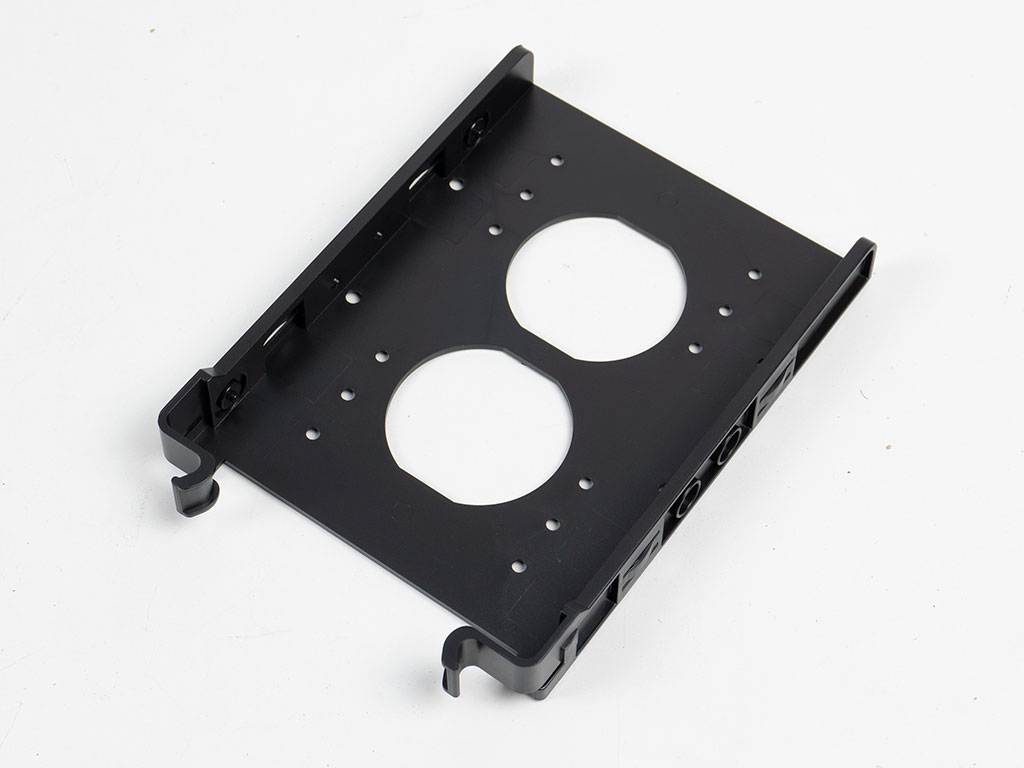
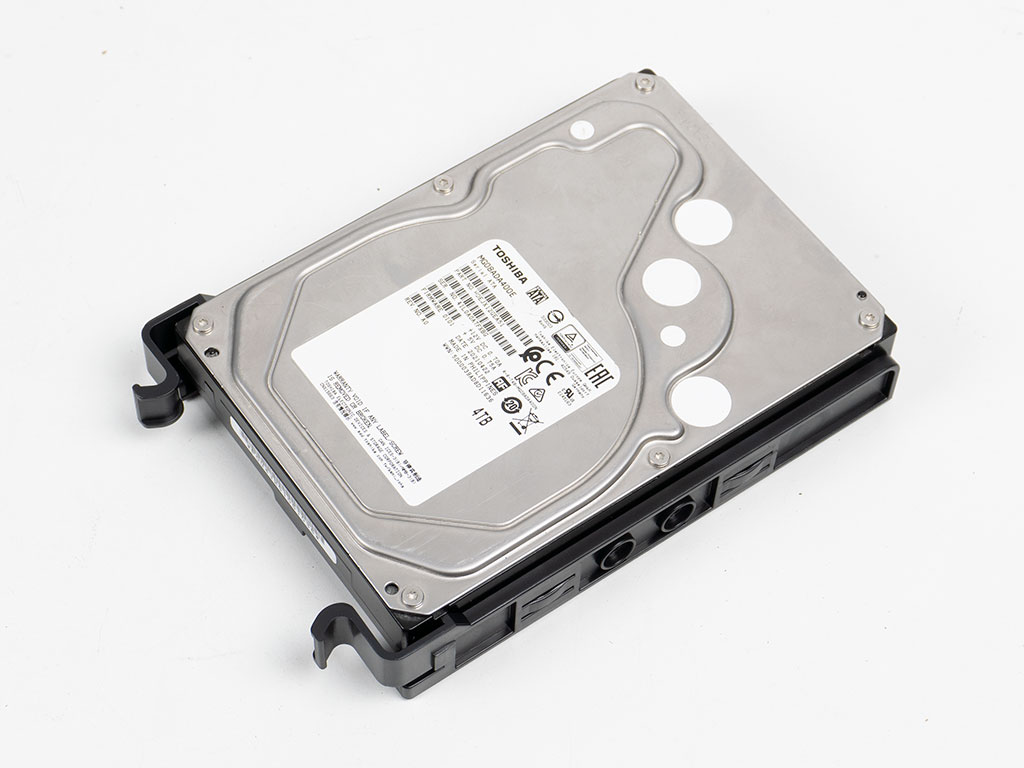
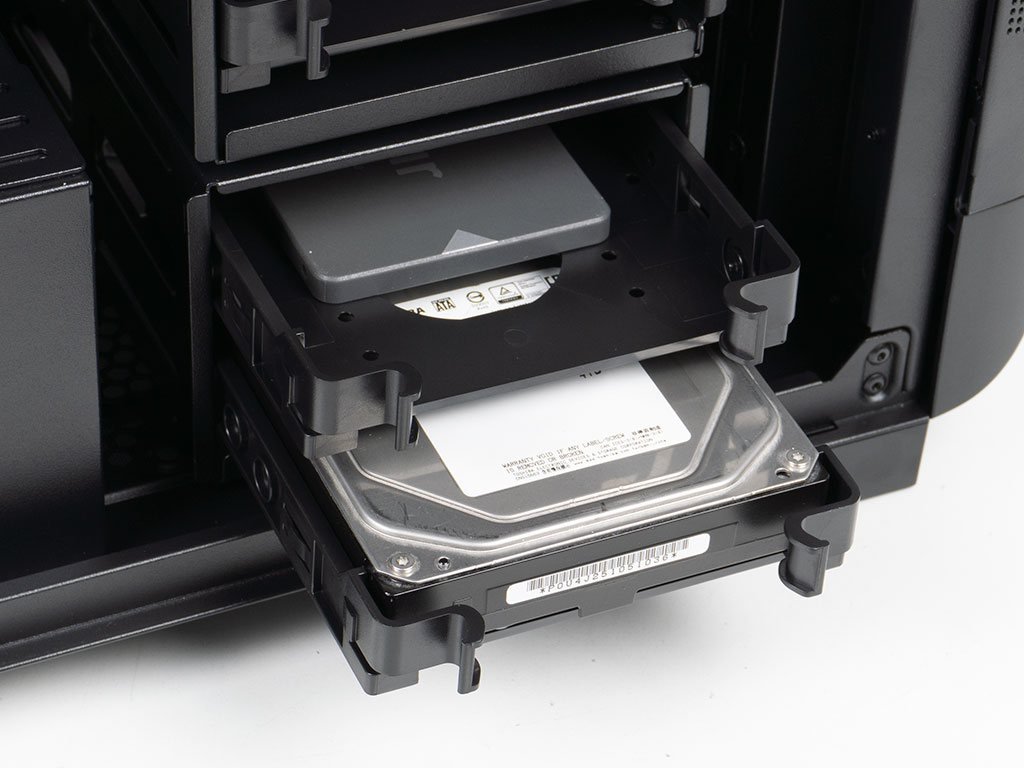
Each of the four cages includes two plastic trays. Each of these can hold either one 2.5" or 3.5" drive. To install the larger variant, you need no tools, as it simply snaps into place using the embedded plastic pins. That is nice, but the all plastic design means that it is more likely to break those pins if used repeatedly. To secure a 2.5" drive, SilverStone includes the needed screws in sufficient numbers, so you may fill the whole case with SSDs if you are so inclined. These trays then simply slide back into the cage and snap into place. They have a little play, which could be an issue if you have eight 3.5" drives in terms of vibrations, but the odds are minimal that such an issue materializes.
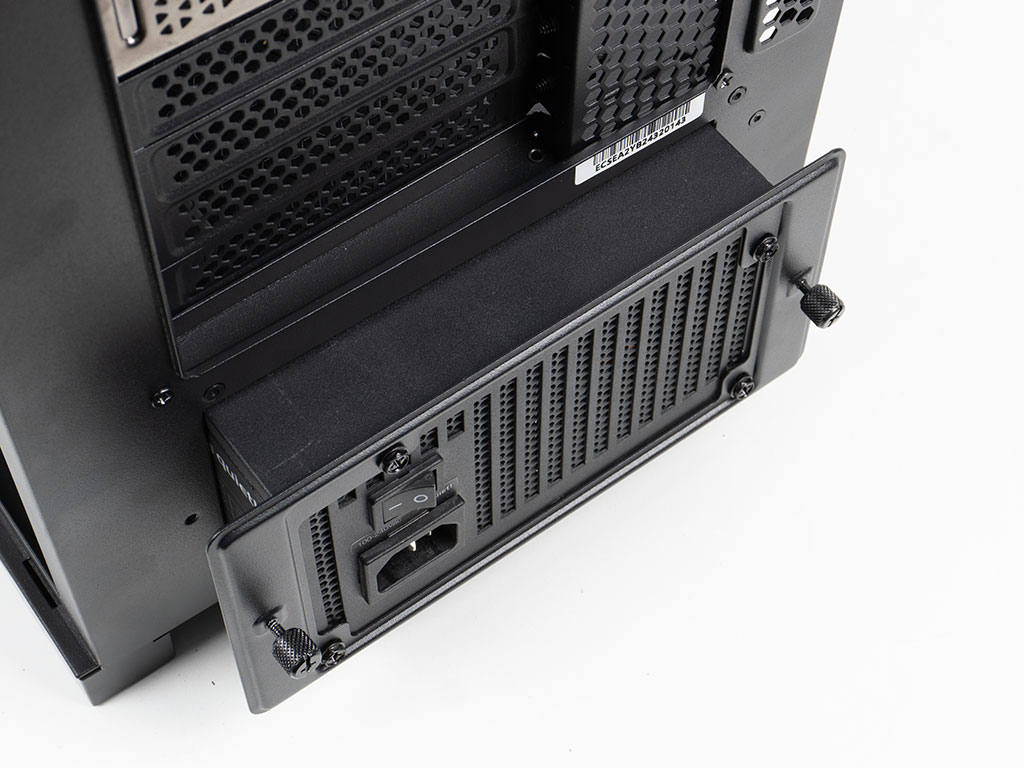

The PSU can be slid in from the rear of the case, which makes it easy to install, even with the rest of the system components already in place. There is plenty of space for our higher-end unit to fit, so you should have no issues either.
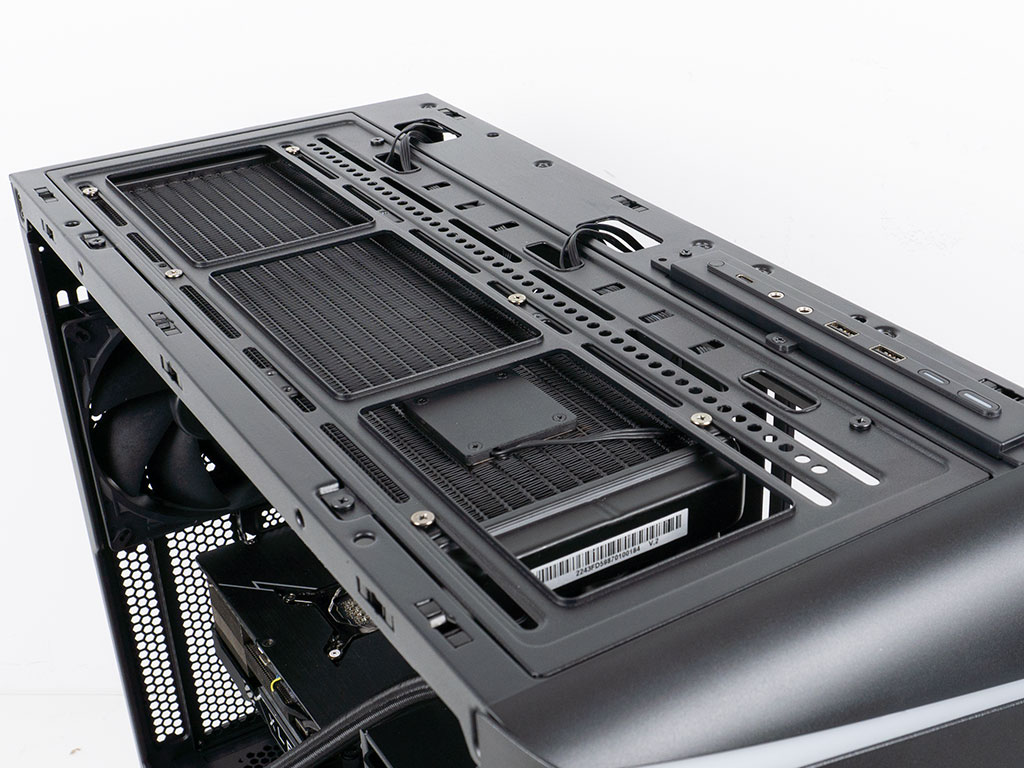
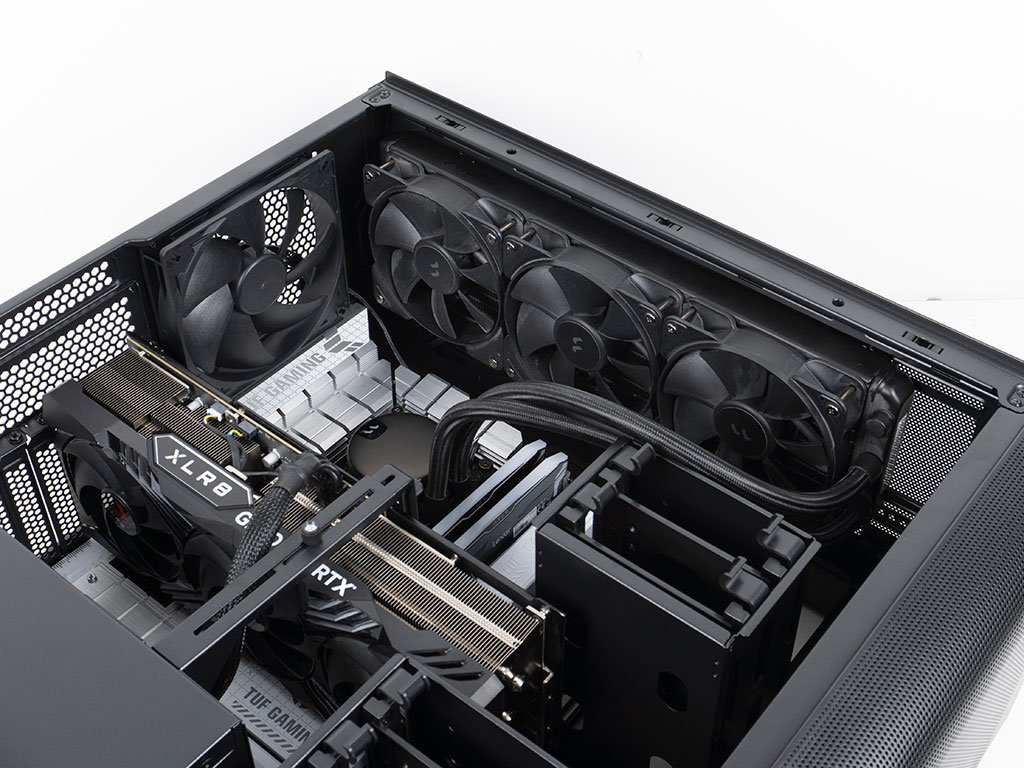
Installing the AIO in the ceiling of the SETA A2 is a breeze, and we did not even have to remove the frame to do so. The PWM and ARGB wiring could also easily be routed up across the body and then down into the area behind the motherboard. With it seated unto the CPU, you can see that everything is cleared nicely, with plenty of room to spare. This includes the top edge of the motherboard as well as the rear fan and side intake area.
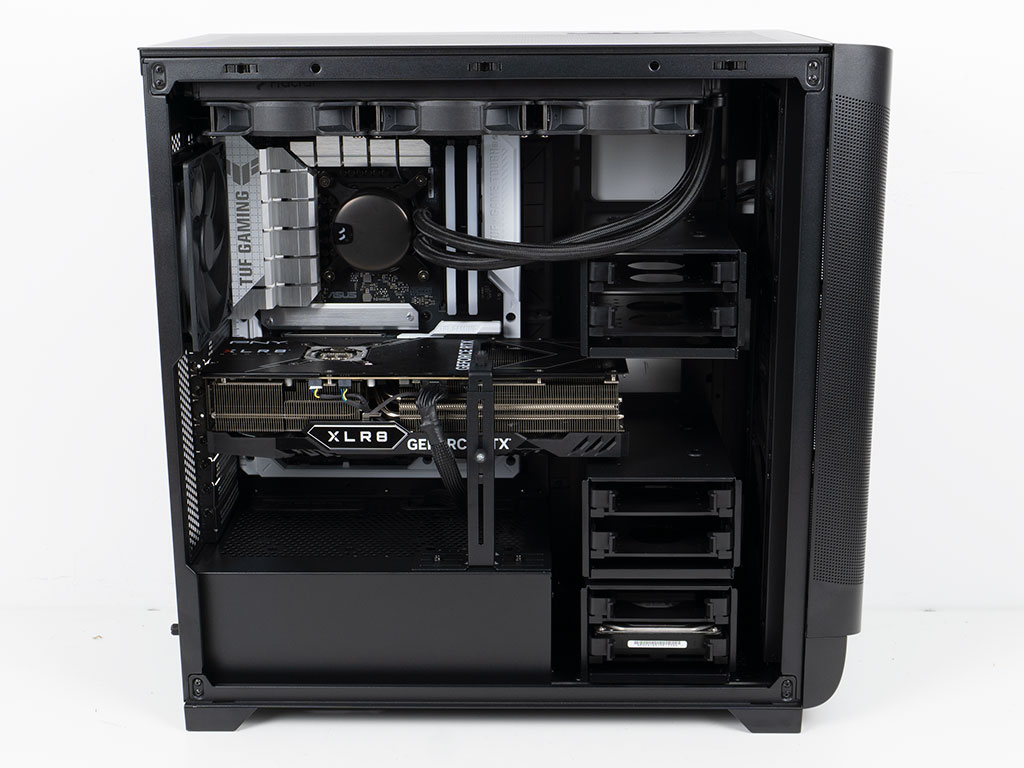
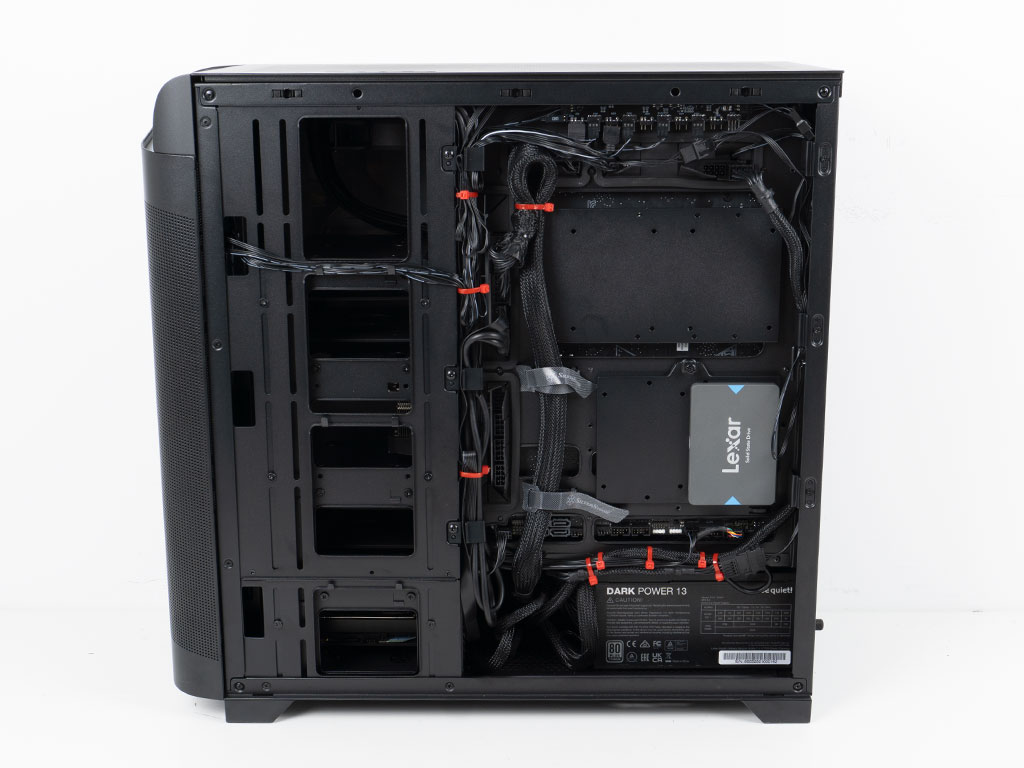
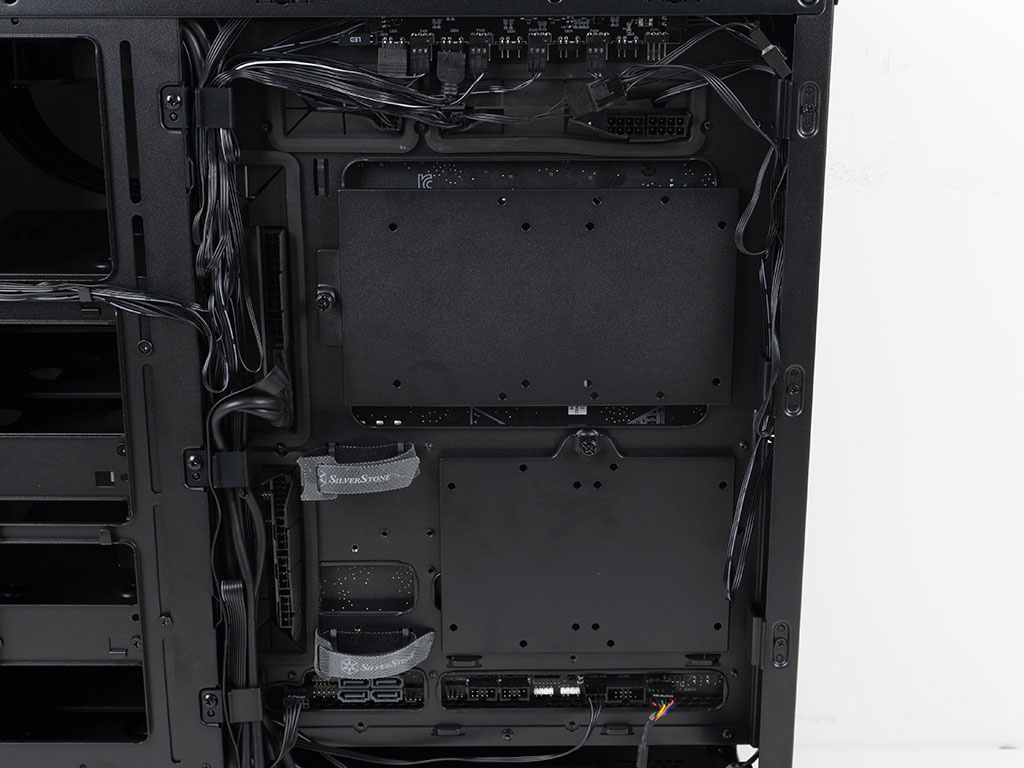
With everything in place the interior of the SilverStone SETA A2 makes a very clean impression. This is naturally thanks to the ability to install BTF boards with the rear facing connectors, but also due to the well-placed grommets. So, even if you opt for an ATX form factor, things should stay pretty tidy within. Looking at the HDD cages is pretty weird knowing these will always be visible with the GPU sandwiched between them. In the rear the plastic clips along the edges helped immensely to keep the wire mess contained, but we also used a few zip ties to compact the cable tree with the few hooks in that area to make sure it all stayed in place. While that is great, you will have to live with fan wiring from units installed in the front having to traverse the side intake bracket. There are a few slim channels for wires, but those may not work too well to keep them secure - just something to be mindful of. Thankfully SilverStone pre-routed the three fans, so we were able to use one zip tie to further pin these wires down.
Finished Looks
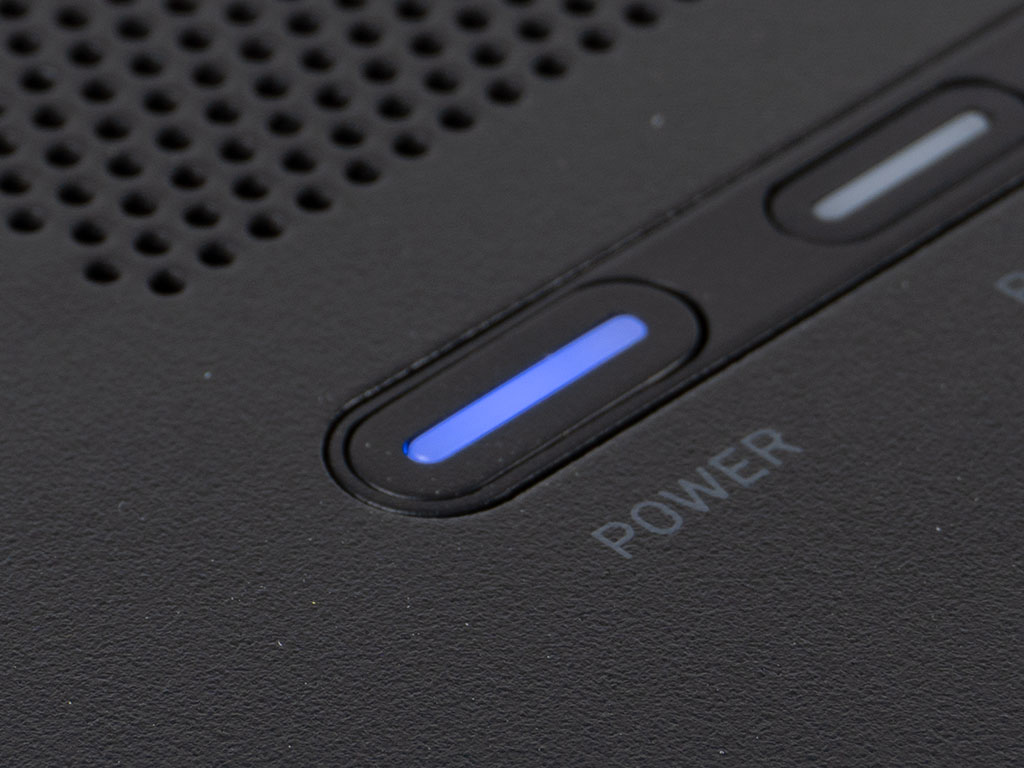
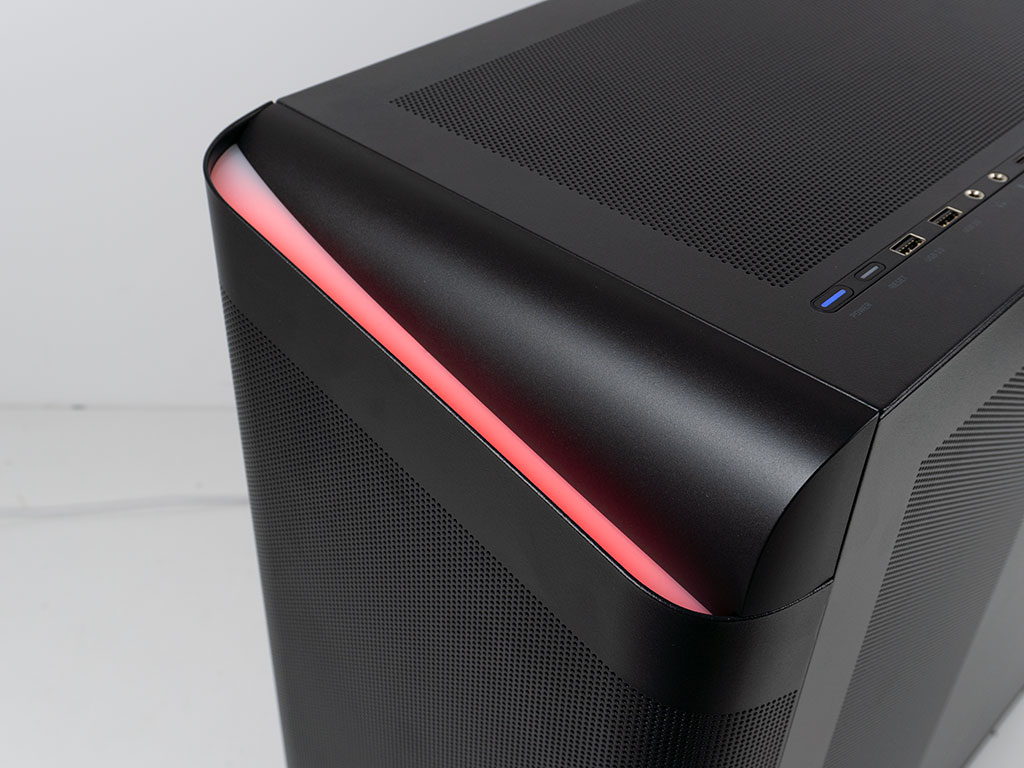
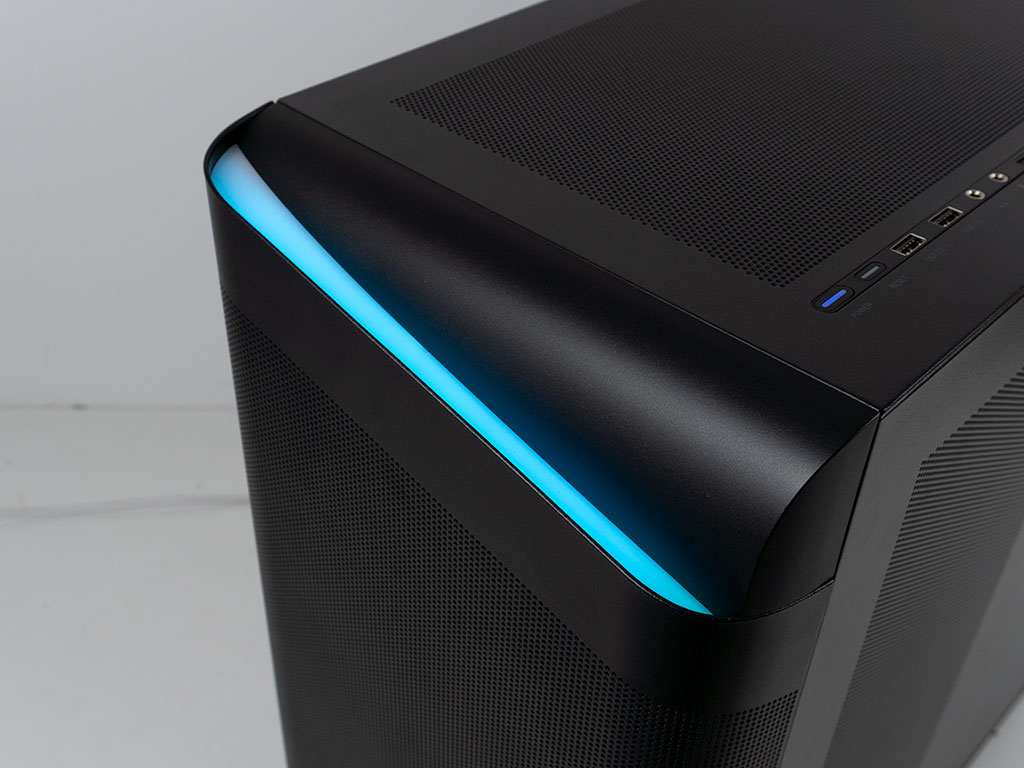
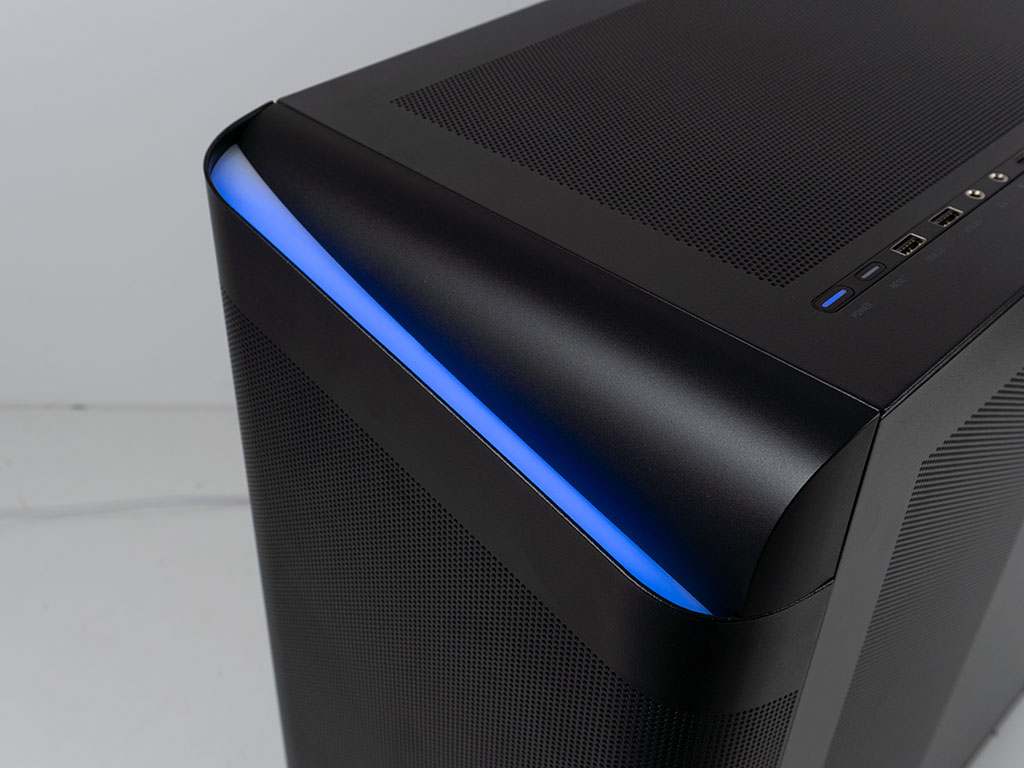
Turning the system on, the embedded ARGB lighting in the front of the SETA A2 doesn't manage to overpower the studio lights, so all you see is a faint glow in this environment. That said, it is clearly meant to provide an indirect glow which should be visible under normal and especially in dark environments. A blue LED in the power button also lights up to let you know the system is turned on. The smaller reset switch holds the HDD LED, which will flash red on drive activity.

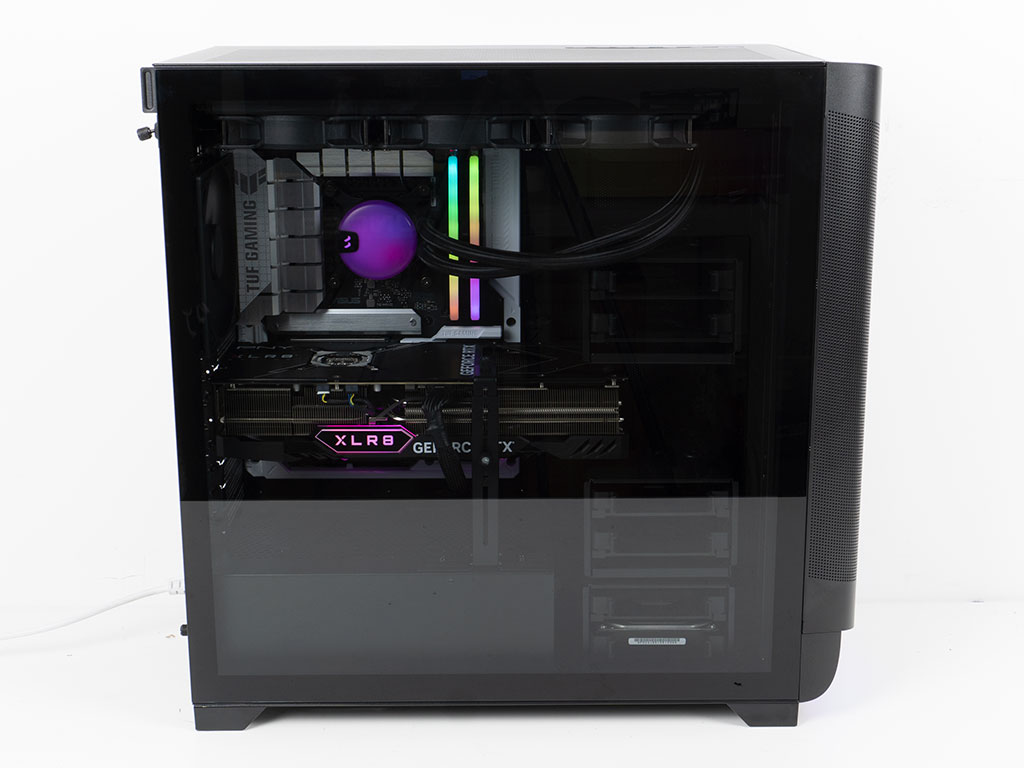
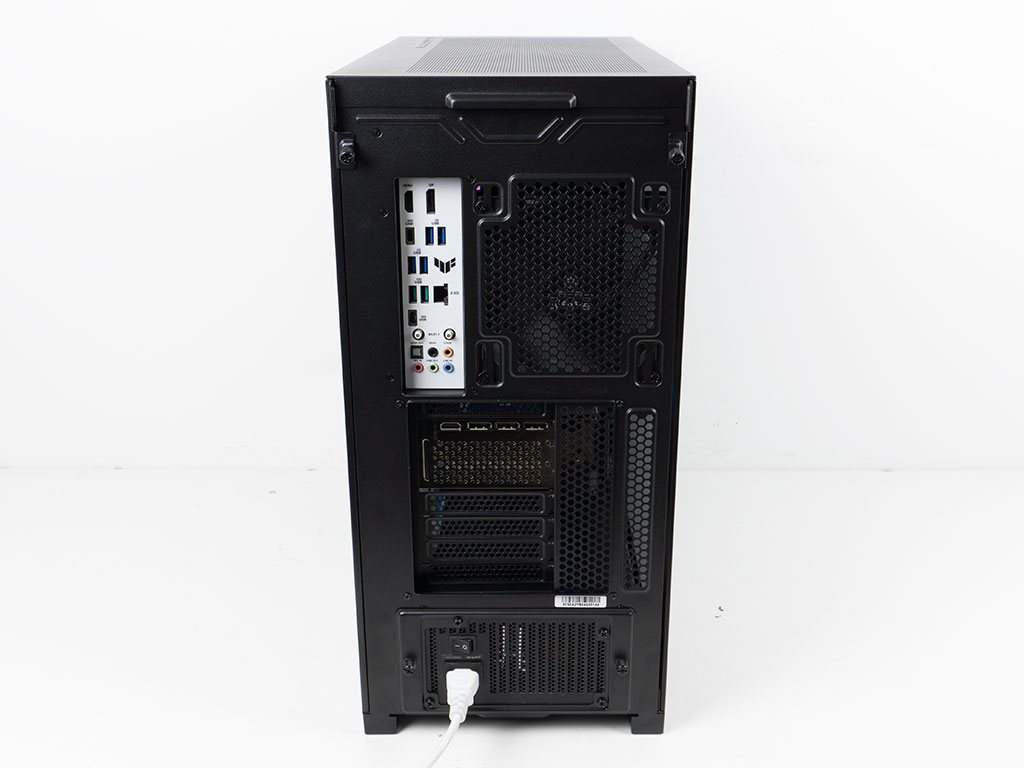
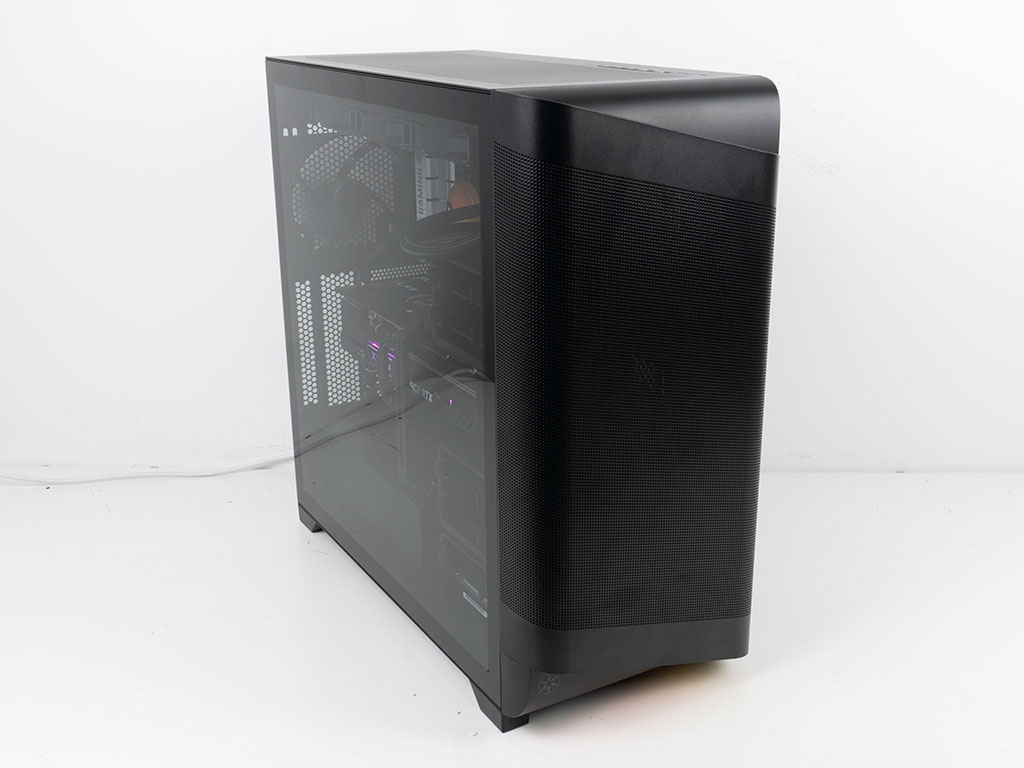
You can't see much looking at the front, which is to be expected. The fans do not have any ARGB elements and the few components like memory or AIO don't have a bright enough glow to shine through all the layers anyway. Taking a look at the side, you can clearly view all your internal compartments thanks to the barely tinted glass panel. Yes, this includes the hard drives as expected. In the rear, everything is where you would expect to see it with the SETA A2. There is a missed opportunity for external cable management in form of hooks down the left edge, which could have been a nice touch to add to the chassis.
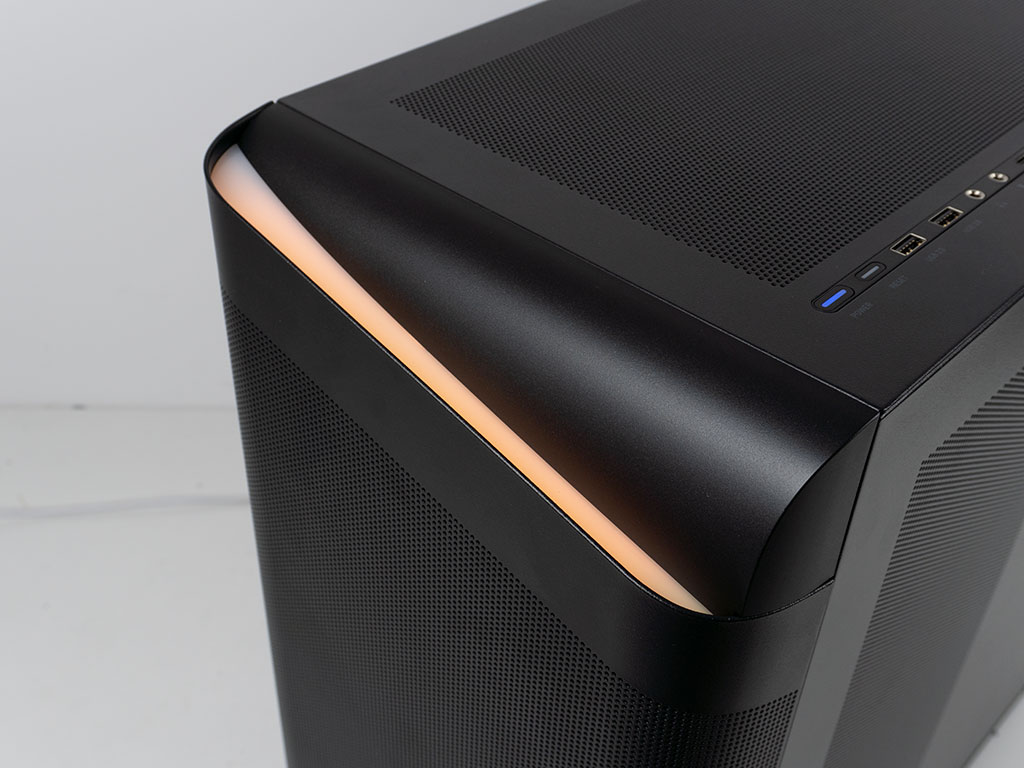
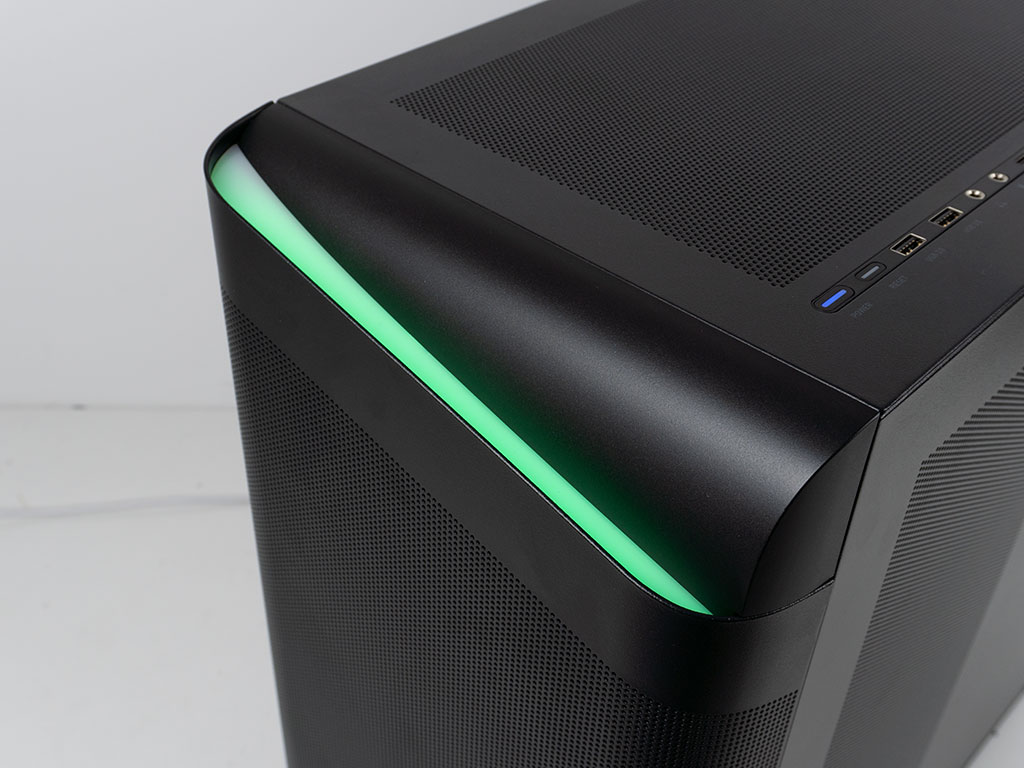
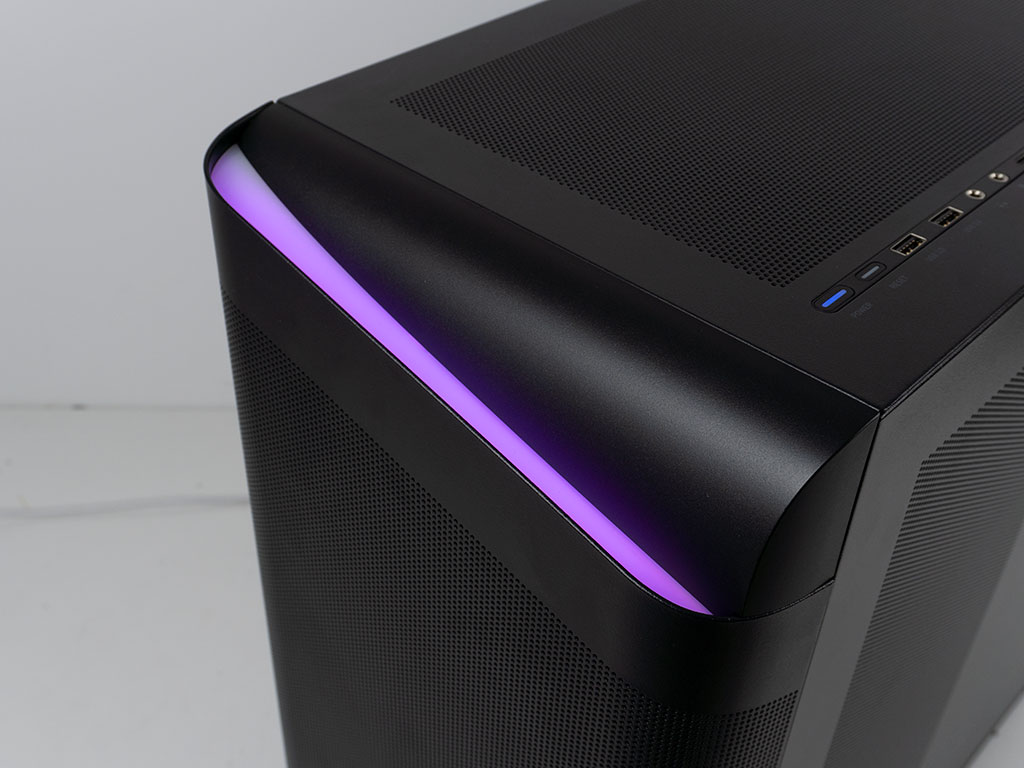
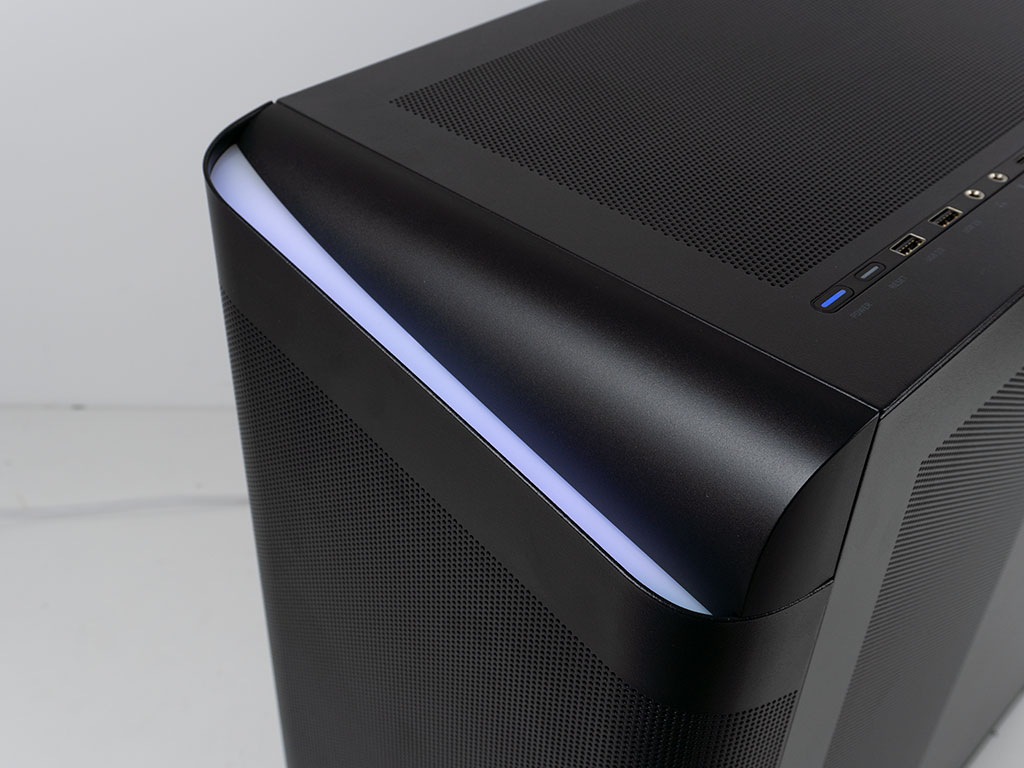
Thanks to the built-in ARGB controller, you can cycle through plenty of multi- and single-color animations. On top of that, the SilverStone SETA A2 offers eight solid colors for the top and bottom light elements. Unlike the A1, SilverStone has clearly fixed the diffusion, as we can no longer see the individual LEDs - a visual shortcoming the A1 had.

Feb 12th, 2025 10:53 EST
change timezone
Latest GPU Drivers
New Forum Posts
- What is the point of 9800X3D in 4k? Isn't 9950X better at the same price? (17)
- Asteroid 2024 YR4 reaches level 3 on the Torino Scale (112)
- It's happening again, melting 12v high pwr connectors (328)
- I dont like my new CPU Cooler (86)
- win10 or win11 (12)
- What is acceptable luminance uniformity? (7)
- DUNGEONS & DRAGONS NEVERWINTER NIGHTS 2: ENHANCED EDITION (7)
- Should we have a "benchmarks" type thread for LLMS? (1)
- camper van computer (9)
- Microcenter GPU Stock status (10)
Popular Reviews
- Civilization VII Performance Benchmark Review - 35 GPUs Tested
- Kingdom Come Deliverance II Performance Benchmark Review - 35 GPUs Tested
- Team Group T-Force XTREEM DDR5-7200 48GB CL34 Review
- ASRock Phantom Gaming B850I Lightning Wi-Fi Review
- DAREU A980 Pro Max Review
- AMD Ryzen 7 9800X3D Review - The Best Gaming Processor
- NVIDIA GeForce RTX 5080 Founders Edition Review
- Corsair Frame 4000D Review
- Spider-Man 2 Performance Benchmark Review - 35 GPUs Tested
- MSI GeForce RTX 5080 Vanguard SOC Review
Controversial News Posts
- AMD Radeon 9070 XT Rumored to Outpace RTX 5070 Ti by Almost 15% (288)
- AMD is Taking Time with Radeon RX 9000 to Optimize Software and FSR 4 (256)
- AMD Denies Radeon RX 9070 XT $899 USD Starting Price Point Rumors (239)
- Edward Snowden Lashes Out at NVIDIA Over GeForce RTX 50 Pricing And Value (239)
- AMD Radeon RX 9070 XT & RX 9070 Custom Models In Stock at European Stores (226)
- New Leak Reveals NVIDIA RTX 5080 Is Slower Than RTX 4090 (215)
- AMD's Radeon RX 9070 Launch Faces Pricing Hurdles (175)
- AMD Radeon RX 9070 XT Tested in Cyberpunk 2077 and Black Myth: Wukong (169)