 11
11
Silverstone SUGO SG08 Review
Value & Conclusion »Assembly

Installing the board is done by traditional means with the use of four screws. There is actually quite a bit of space, so you should be able to use compact coolers instead of being stuck with the OEM variant.

Due to the unique shape of the case, one has to install the graphics card next. Silverstone has applied a plastic piece onto the back of the PSU to act as an insulating layer, so you will not have to worry about any shorts resulting from the graphics card touching the metal body of the power supply. Even though the chassis is quite compact, it can hold pretty much any dual-slot card you can throw at it - pretty cool.
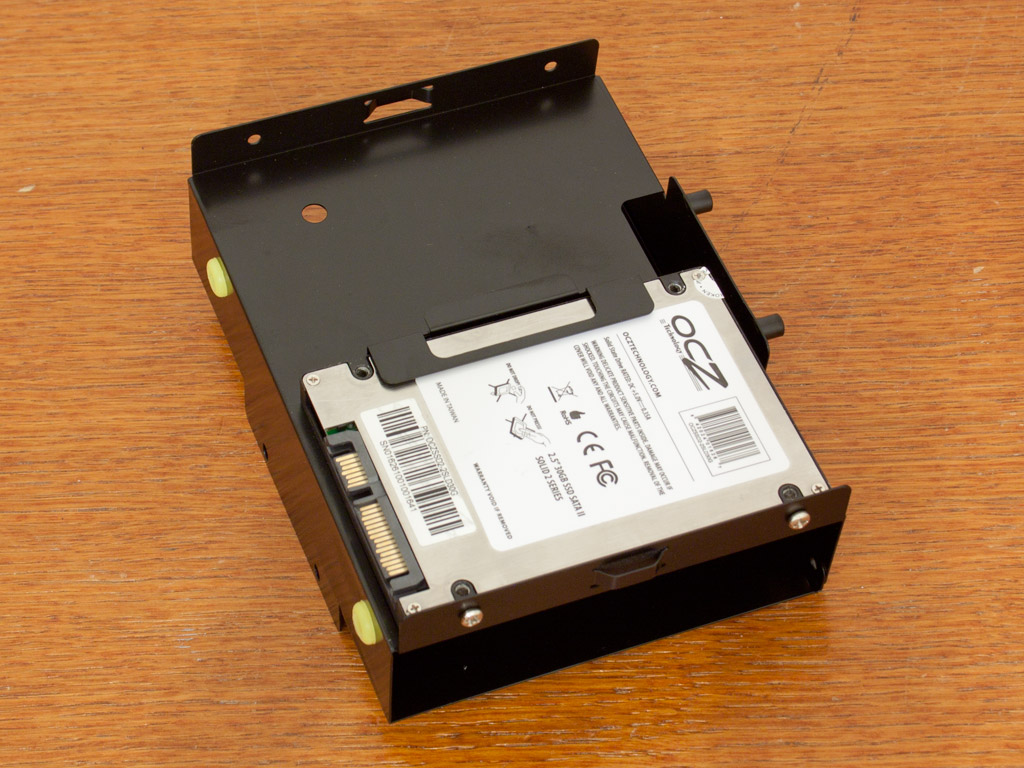
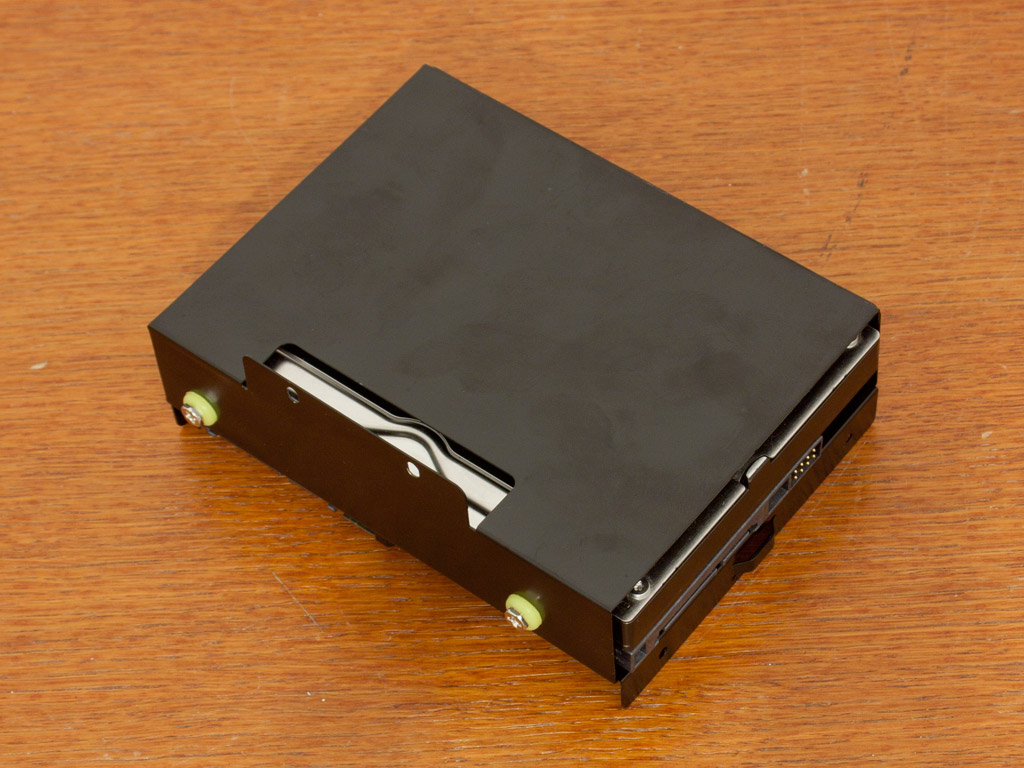
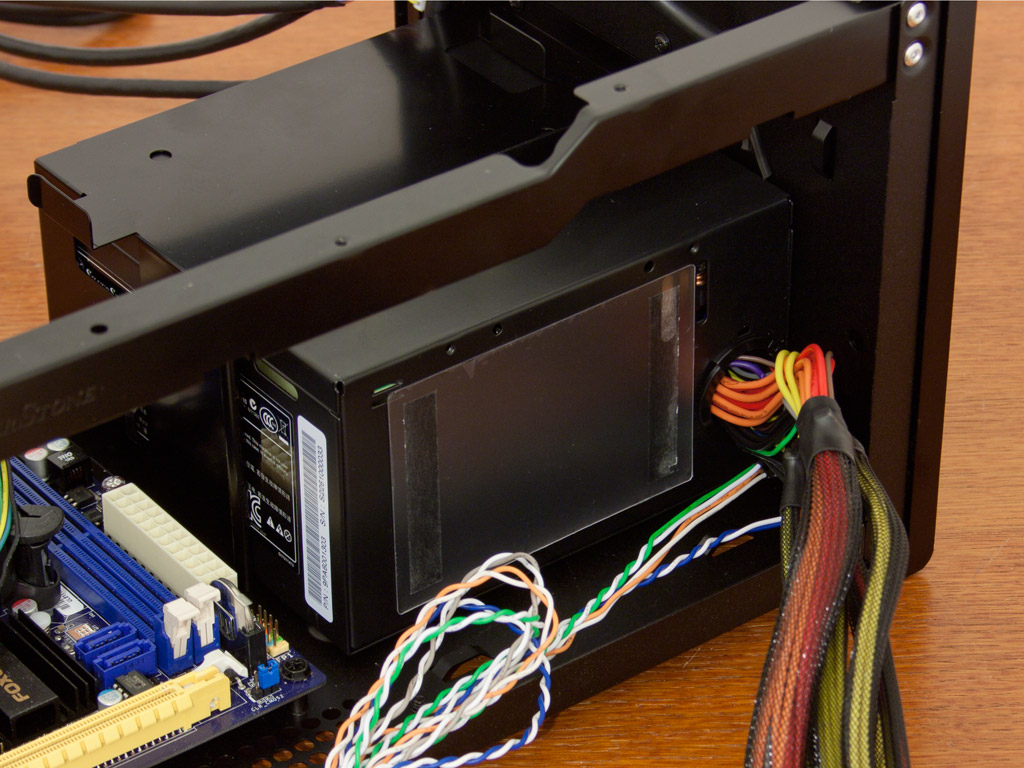
Once these components are in place, one has to make sure that all the connectors are installed onto the board before filling the drive bays up. Thanks to the well-designed HDD cage, you are able to install up to two 2.5" drives on its underside, with a large 3.5" unit within the cage itself. Once installed, simply slide it into the neon rings through the side of the chassis.
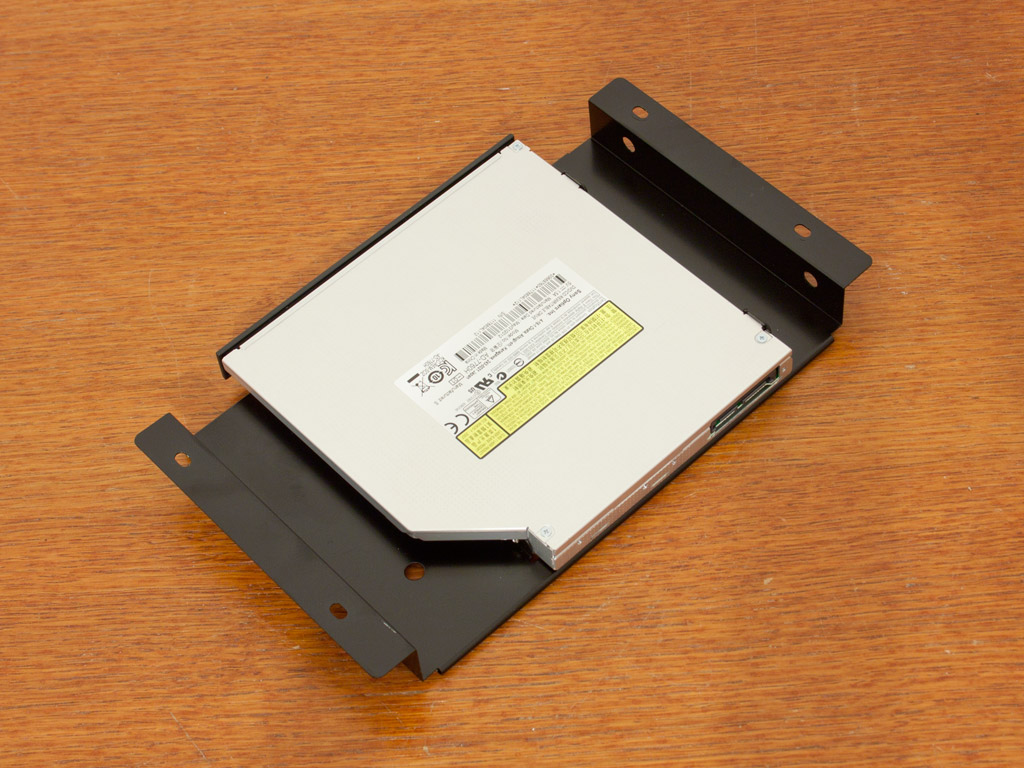
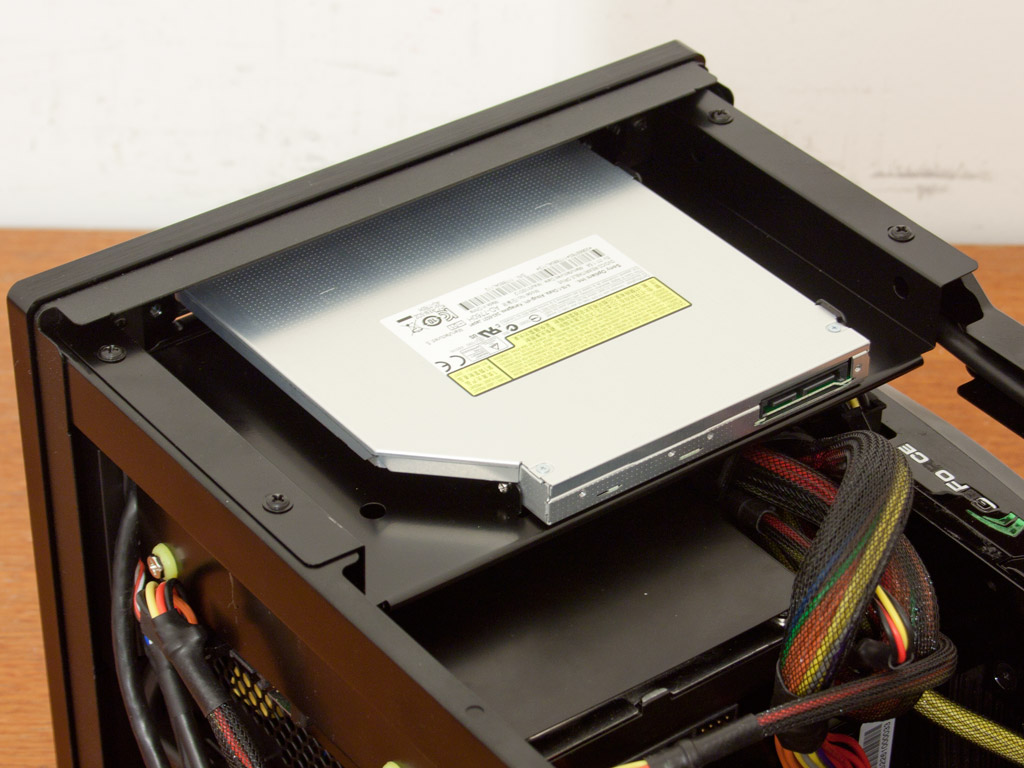
Last but not least, installing the optical drive is quite easy. Simply place the unit on the tray and screw it down with the supplied screws. You will need a skinny screwdriver to reach all four holes, so you better come prepared. It would have been a cool touch of Silverstone to include such a tool to make sure everyone can tighten the screws down during the assembly process. Once filled, simply put the tray back to where it belongs, and that is it.
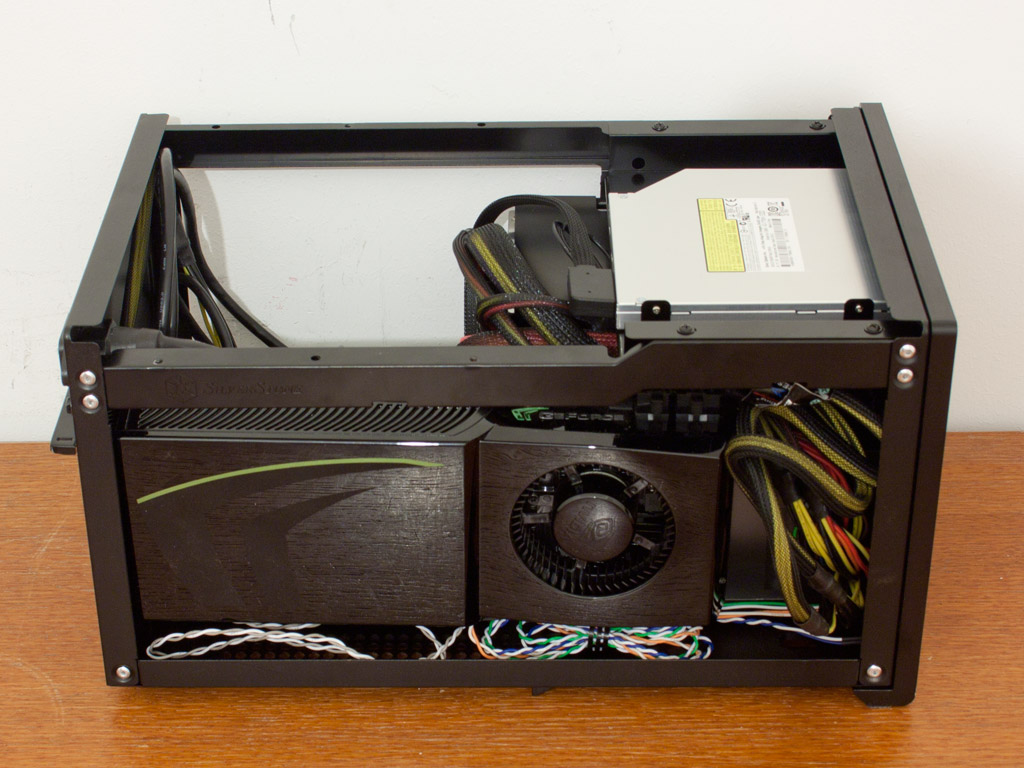
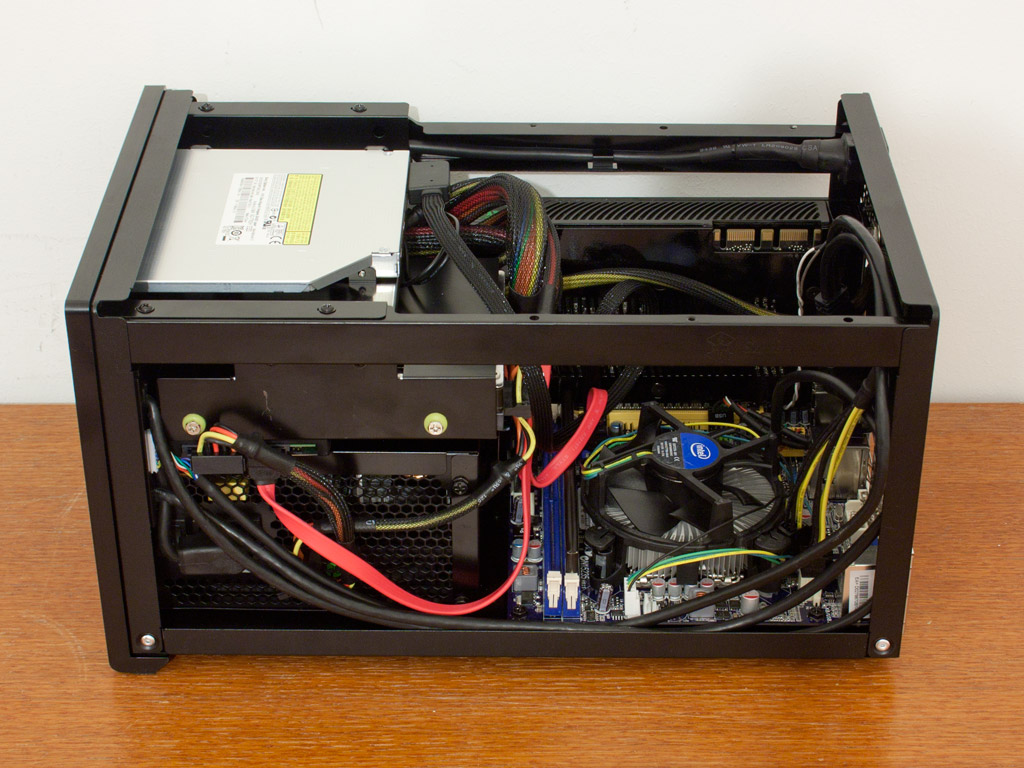
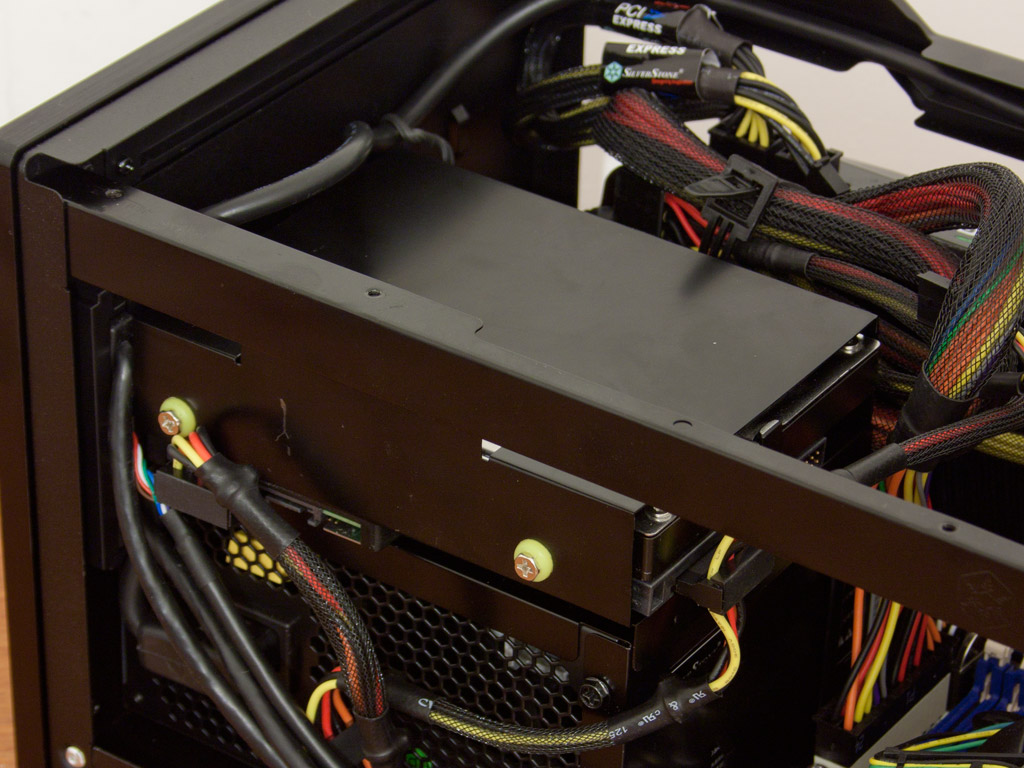
The chassis looks quite full with everything in place. This is mostly due to the cables of the PSU. A flat cable tree instead of a round and sleeved one would have been better since those take less space and can be routed/hidden better. In the end, there is still quite a bit of free space above the CPU cooler though, which is certainly a good thing.
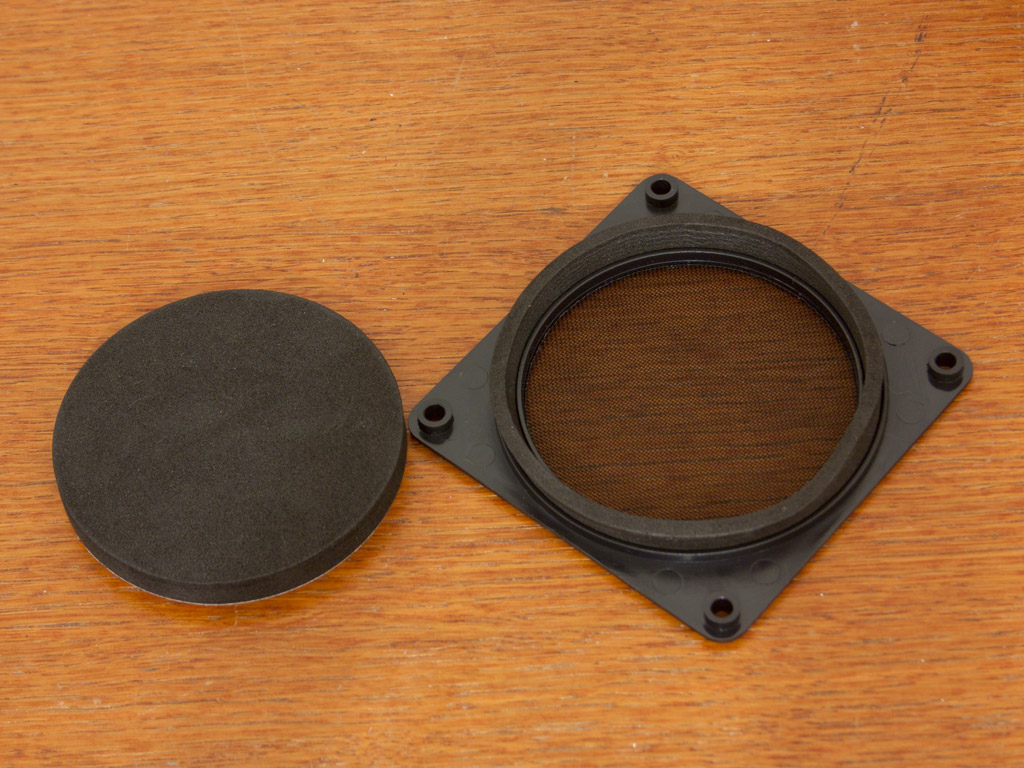
Before closing things up, make sure to install the dust filter and foam frame in the right position onto the top cover. It should be right above the GPU cooler fan. This works well if your graphics card only has a single cooler, but not for cards with two or three coolers. In the end, having a dust filter across the entire vent would have been a better approach, in my humble opinion.
Finished Looks
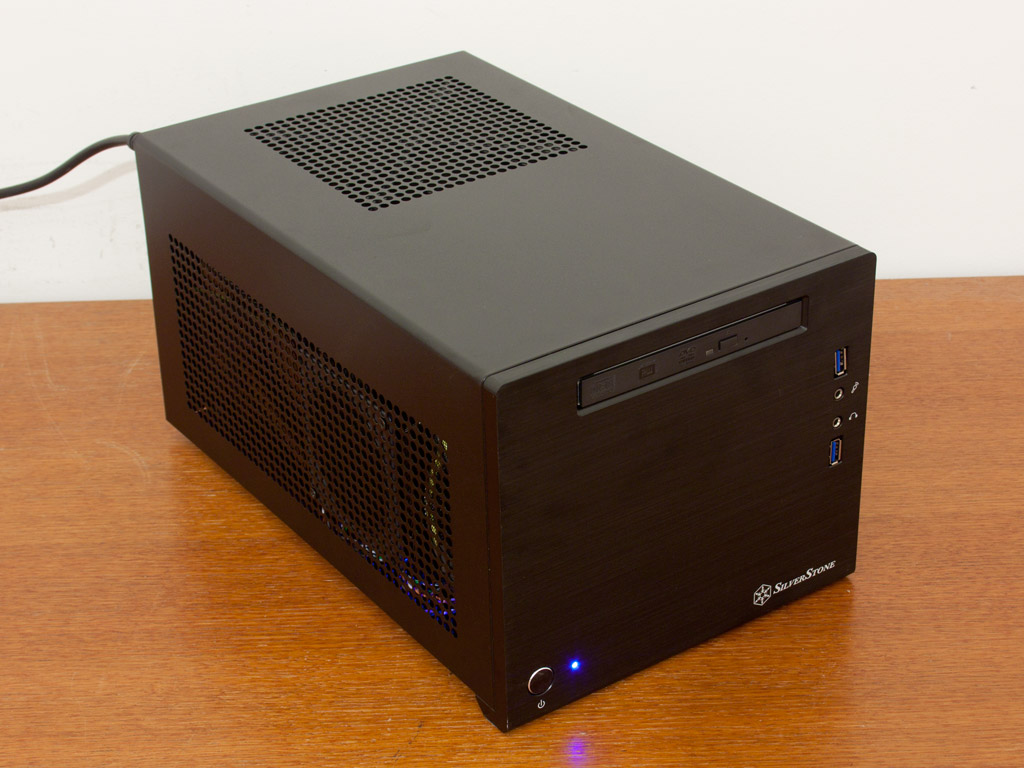
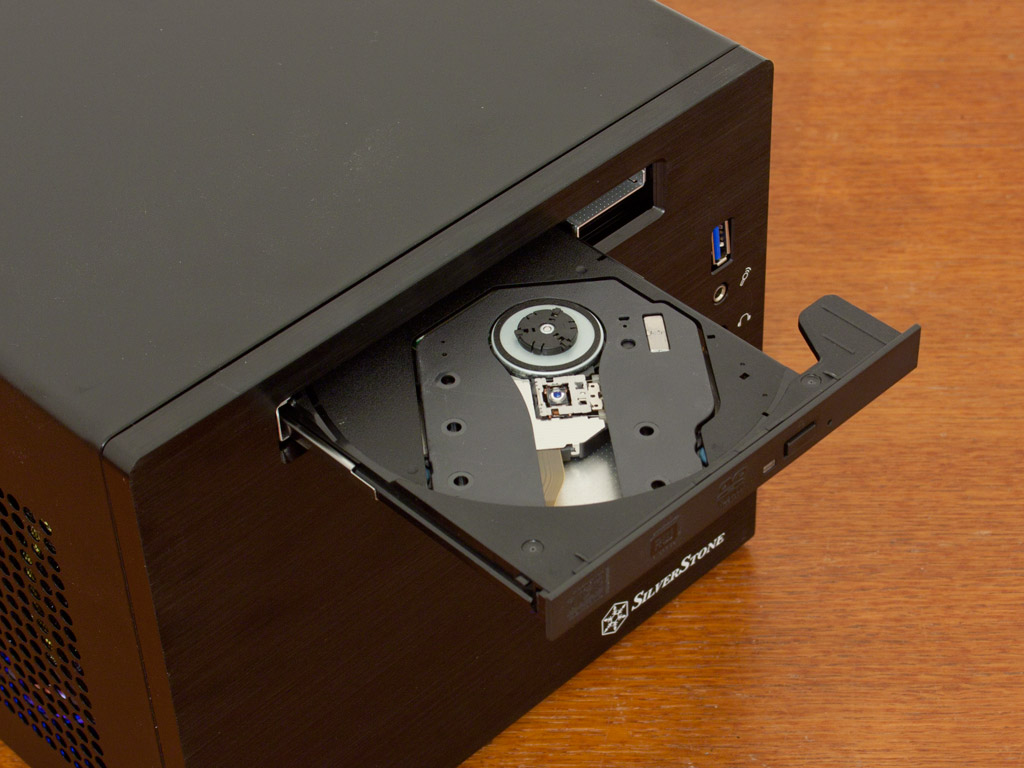
You are greeted by a small blue LED in the front of the chassis once everything has been closed off and the system turned on. The Air Penetrator fan is actually quite audible at full speed, but is nice and quiet at lower settings. The optical drive pops out nicely through the thick slab of aluminum that Silverstone calls a front panel.
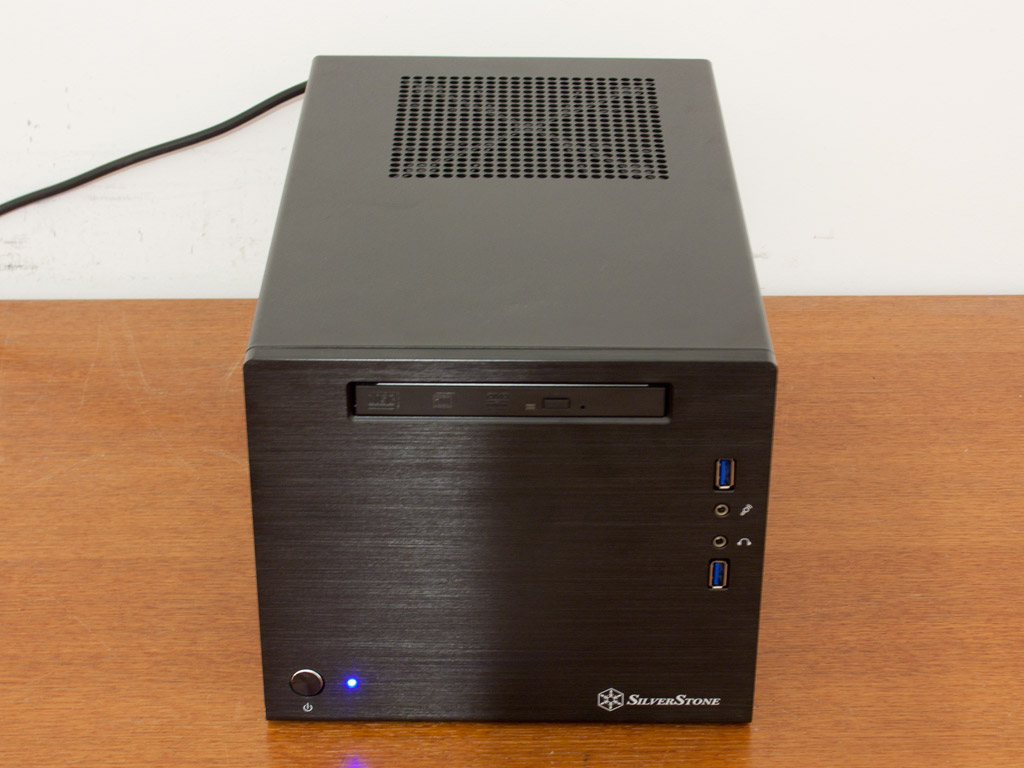
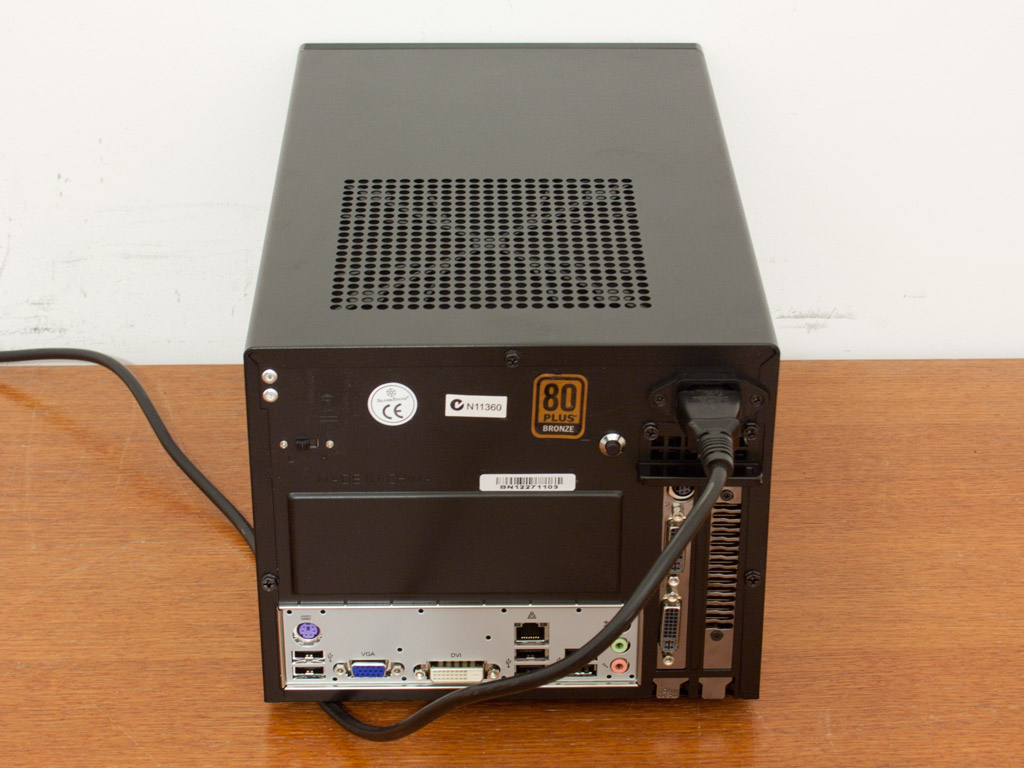
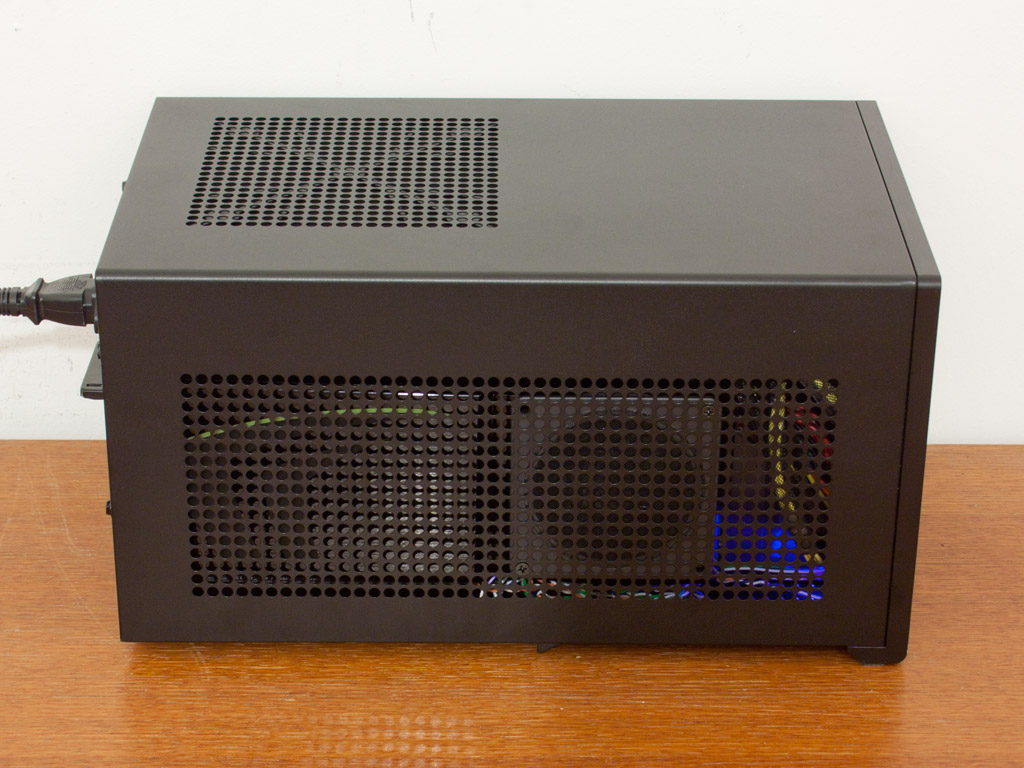

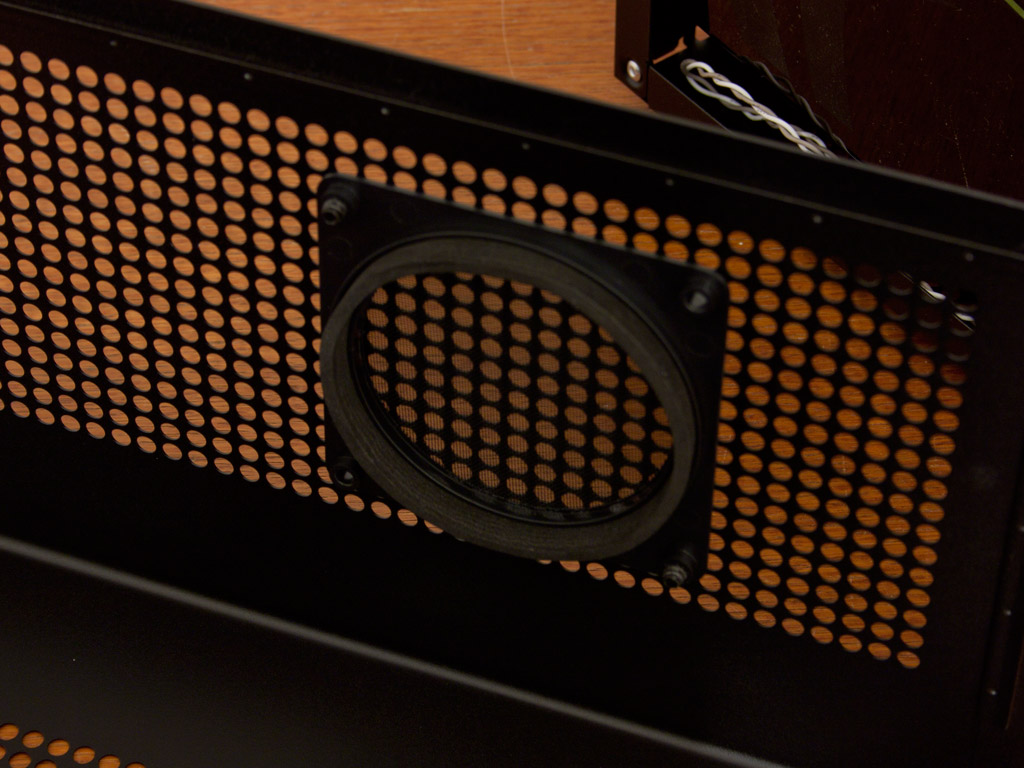
Nothing else but the bright blue LED disturbs things in the front, which means that the SG08 should look good in the living room. Everything in the rear is readily accessible with the PSU cable connecting straight above the graphics card. Looking at the sides, you can clearly see the graphics card and where the dust filter and foam ring have been placed.
Feb 12th, 2025 06:51 EST
change timezone
Latest GPU Drivers
New Forum Posts
- Were Ryzen 8000 CPUs a big mistake from AMD? (15)
- What's your latest tech purchase? (23127)
- camper van computer (2)
- It's happening again, melting 12v high pwr connectors (306)
- What local LLM-s you use? (0)
- Proposed new Power Connector (32)
- Asteroid 2024 YR4 reaches level 3 on the Torino Scale (99)
- Technical Issues - TPU Main Site & Forum (2025) (31)
- What are you playing? (22869)
- Microsoft Officially drops AC3 (Dolby Digital) Support from W11 24H2 (20)
Popular Reviews
- Civilization VII Performance Benchmark Review - 35 GPUs Tested
- Kingdom Come Deliverance II Performance Benchmark Review - 35 GPUs Tested
- Team Group T-Force XTREEM DDR5-7200 48GB CL34 Review
- ASRock Phantom Gaming B850I Lightning Wi-Fi Review
- DAREU A980 Pro Max Review
- AMD Ryzen 7 9800X3D Review - The Best Gaming Processor
- NVIDIA GeForce RTX 5080 Founders Edition Review
- Corsair Frame 4000D Review
- Spider-Man 2 Performance Benchmark Review - 35 GPUs Tested
- MSI GeForce RTX 5080 Vanguard SOC Review
Controversial News Posts
- AMD Radeon 9070 XT Rumored to Outpace RTX 5070 Ti by Almost 15% (287)
- AMD is Taking Time with Radeon RX 9000 to Optimize Software and FSR 4 (256)
- AMD Denies Radeon RX 9070 XT $899 USD Starting Price Point Rumors (239)
- Edward Snowden Lashes Out at NVIDIA Over GeForce RTX 50 Pricing And Value (239)
- AMD Radeon RX 9070 XT & RX 9070 Custom Models In Stock at European Stores (226)
- New Leak Reveals NVIDIA RTX 5080 Is Slower Than RTX 4090 (215)
- AMD's Radeon RX 9070 Launch Faces Pricing Hurdles (175)
- AMD Radeon RX 9070 XT Tested in Cyberpunk 2077 and Black Myth: Wukong (169)