 0
0
Synology DS416j Surveillance Bundle Review
Surveillance Station 8.0 Beta Part#1 »Storage Manager
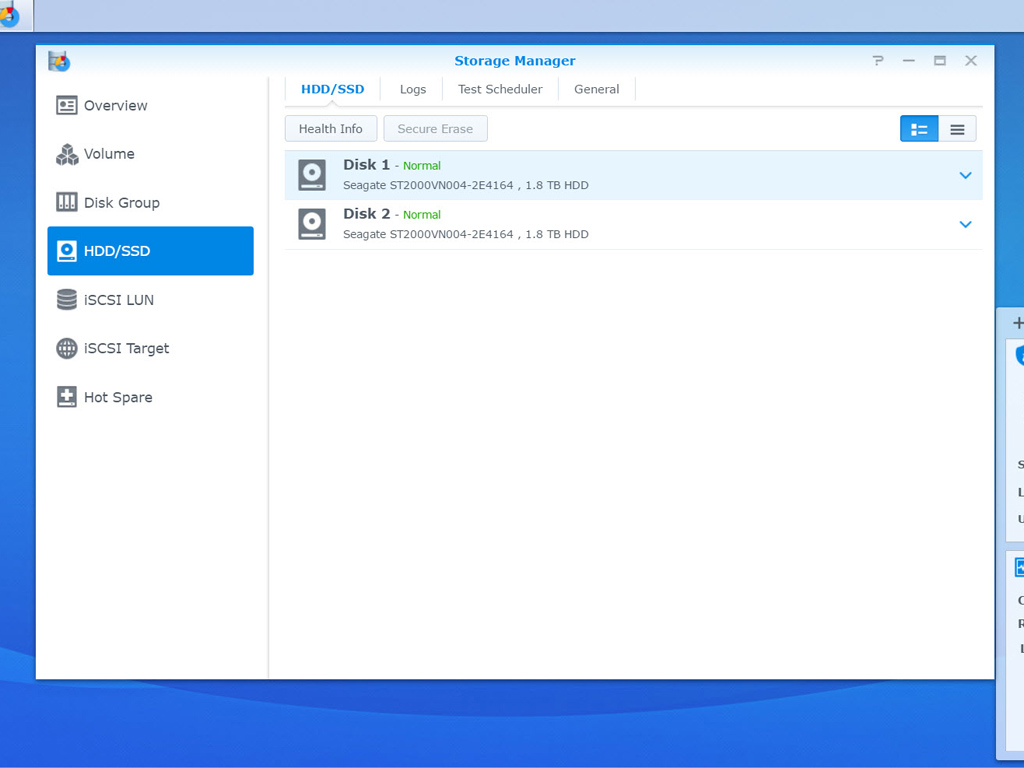
Storage Manager is an essential application with which you will have to familiarize yourself since it is used to configure installed disks and check on their health. Volumes are a NAS server's storage units. As such, you will have to create a volume before anything else.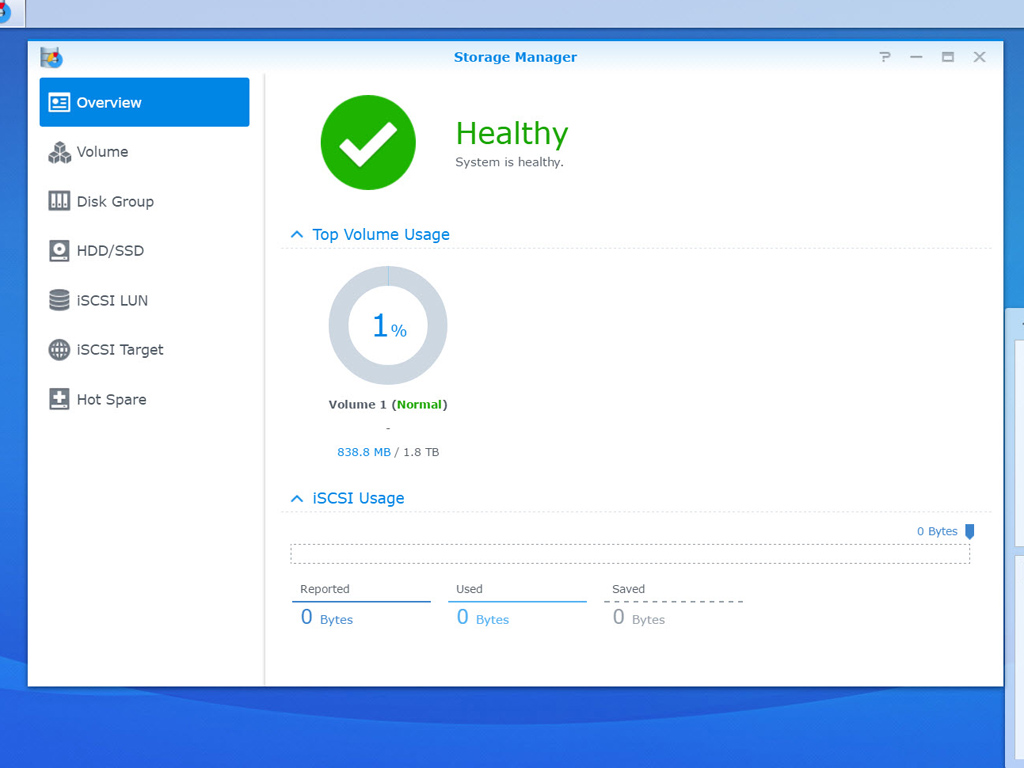
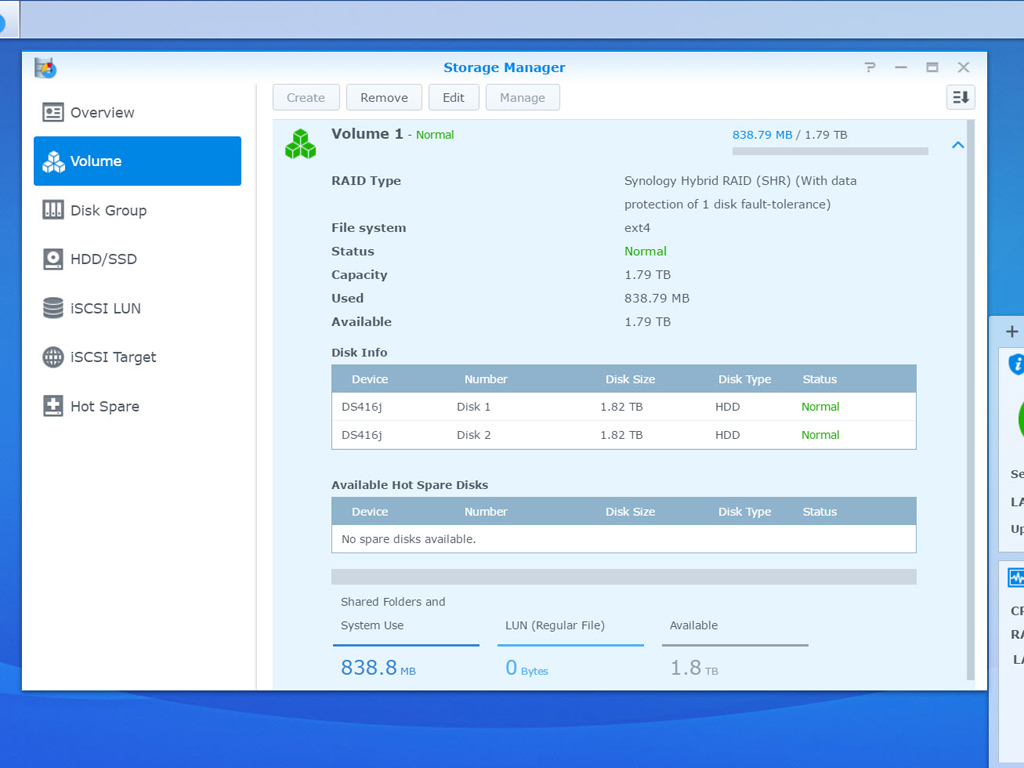

The creation of a volume is easy because of Storage Manager's intuitive interface. Synology offers two options here, one for an SHR (Synology Hybrid RAID) volume and a custom option that supports different RAID levels. You have to pick the disks you want to use for your new volume before picking the RAID level. Be aware of the fact that any data on these disks will be erased. You can configure your disks in JBOD (Just a Bunch of Drives) or simply install one HDD if you don't want to create a RAID array.
Our review sample came pre-configured with a Synology SHR array, and this time around, we chose to test it without setting up a different RAID array since an SHR RAID array is probably what most users will use.
Package Center
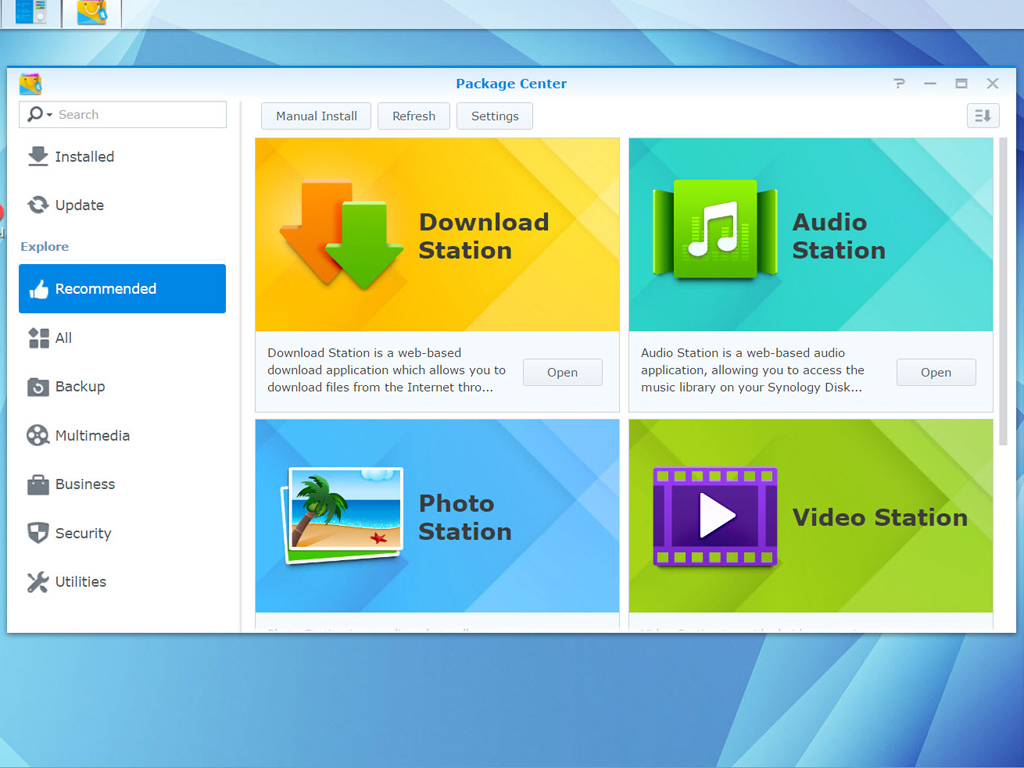
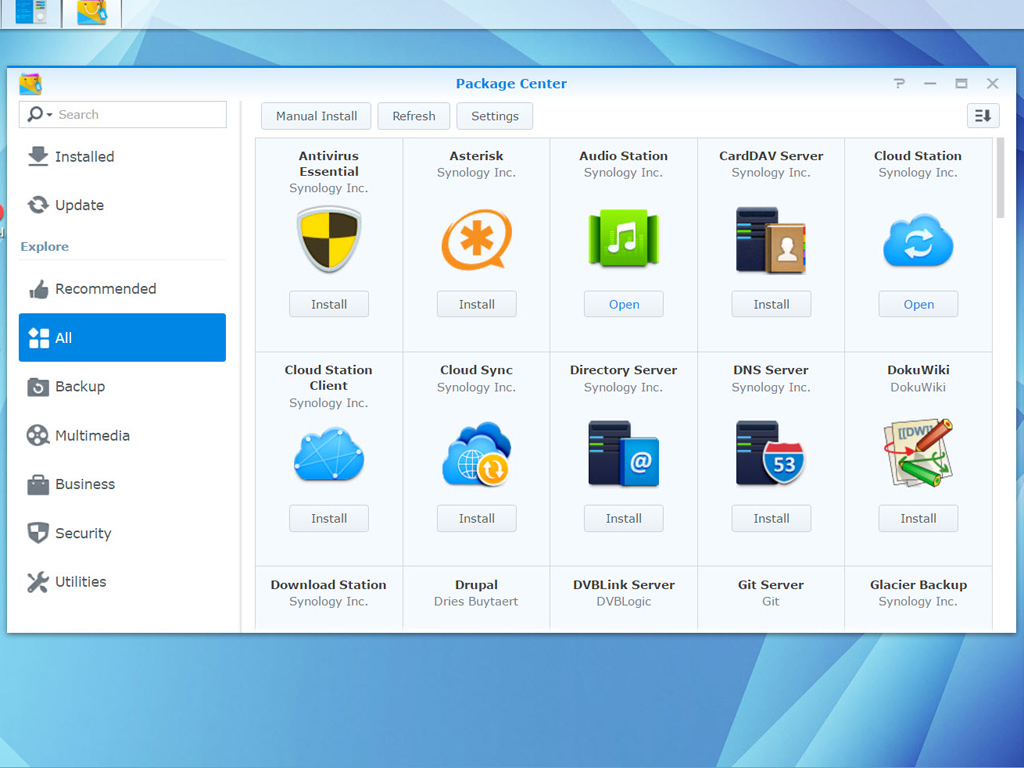
Use Package Center to easily install and update many applications to dramatically boost your NAS server's usability. You only have to browse through Synology's available applications to pick those you want to install. You can also manually upload and install an application. Synology offers a rich variety of applications it grouped into the following categories: Backup, Multimedia, Business, Security, and Utilities.
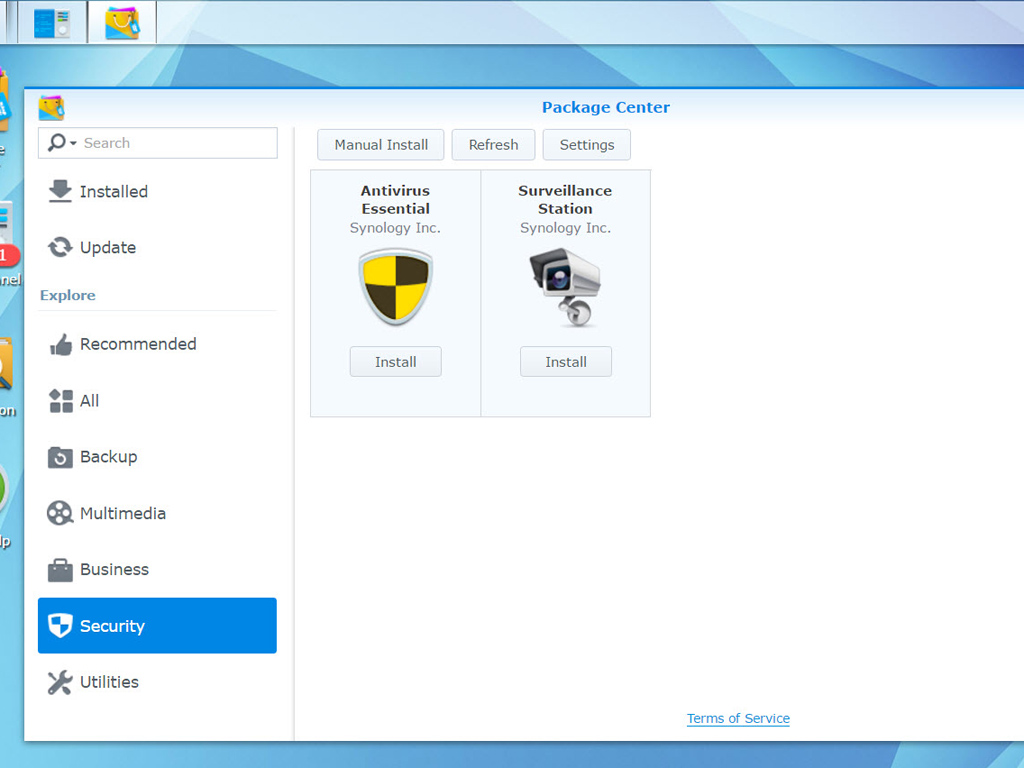
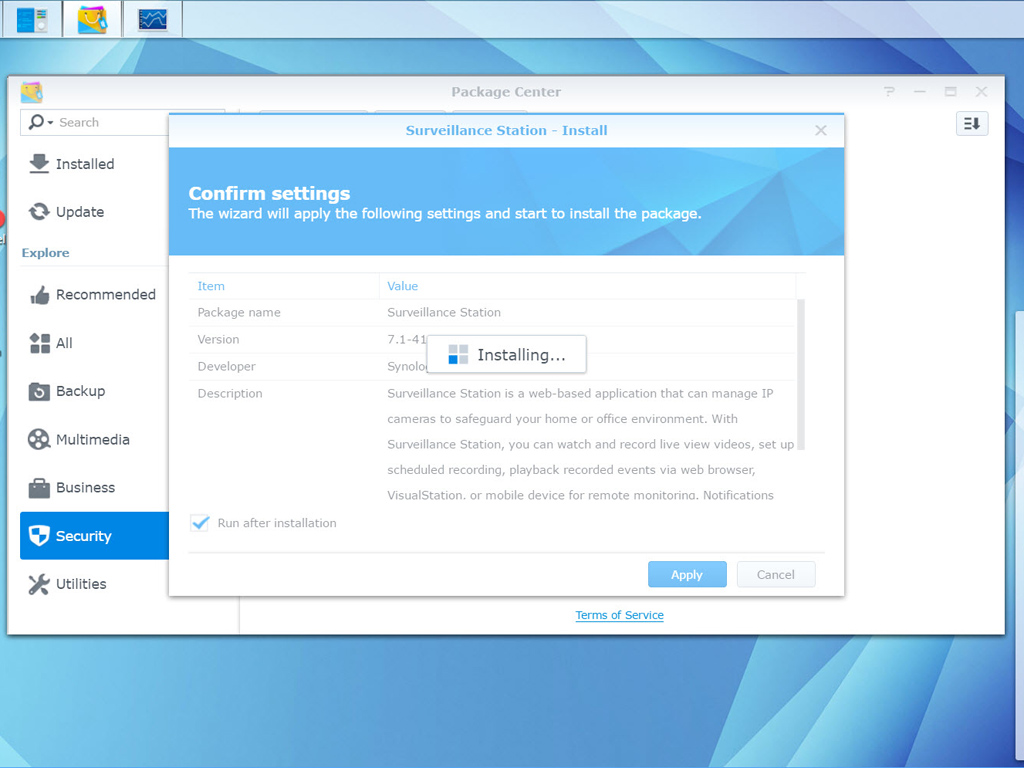
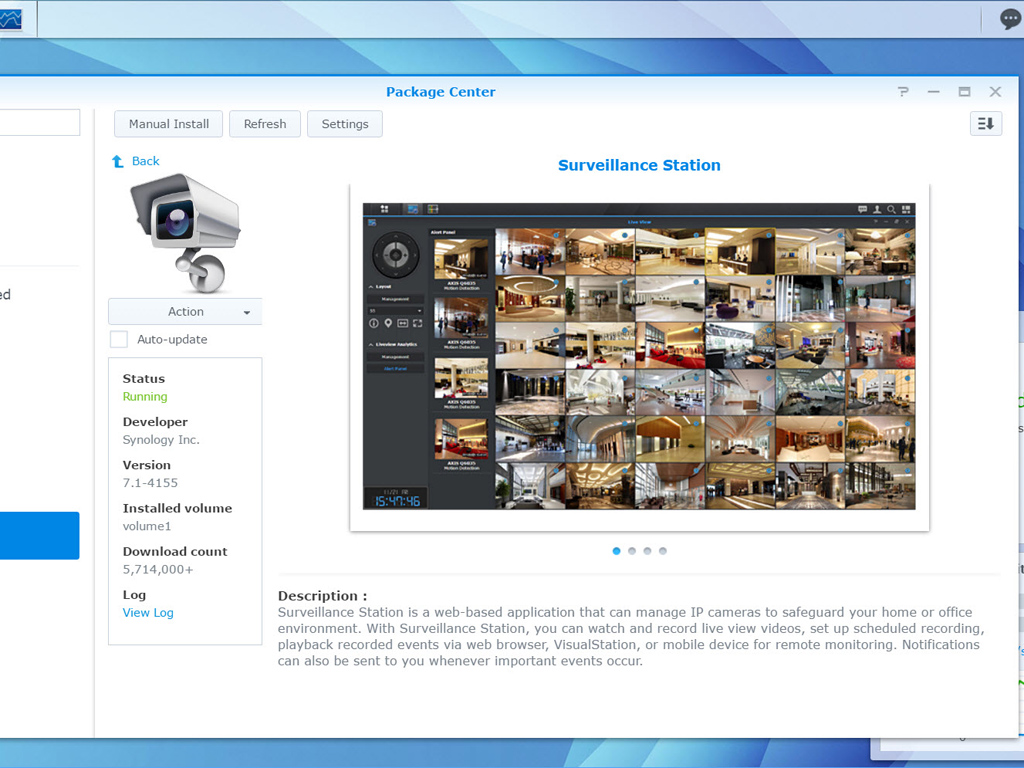
We had initially installed the normal version of Surveillance Center, but soon decided to install the newer beta version to give it a try.
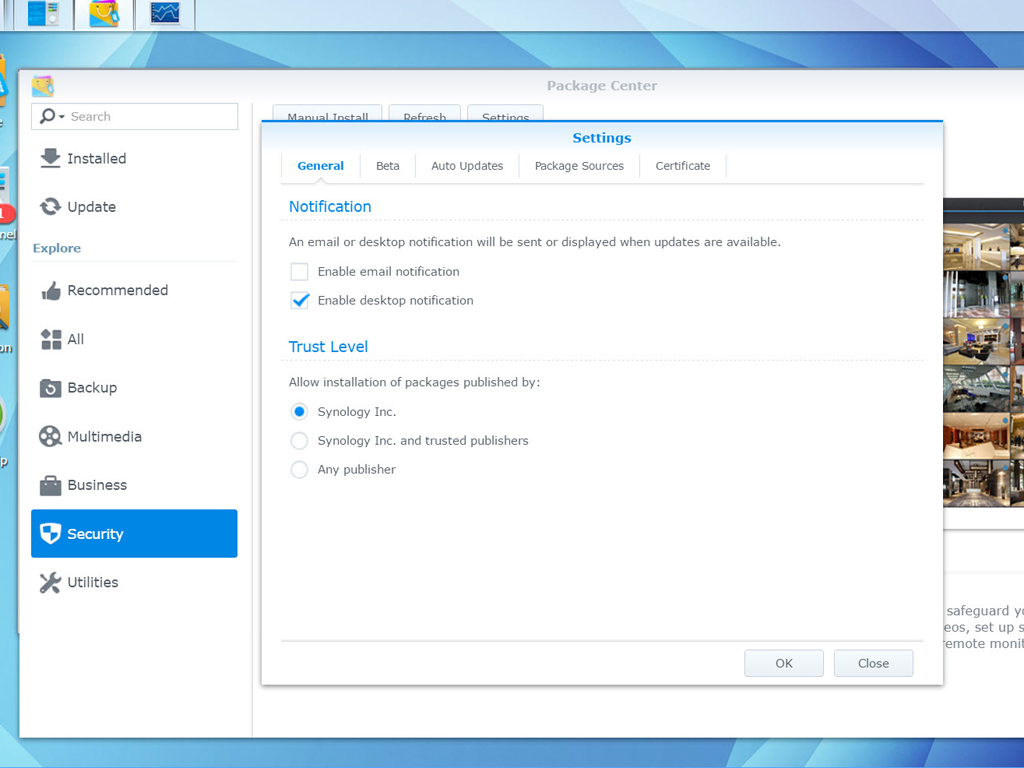

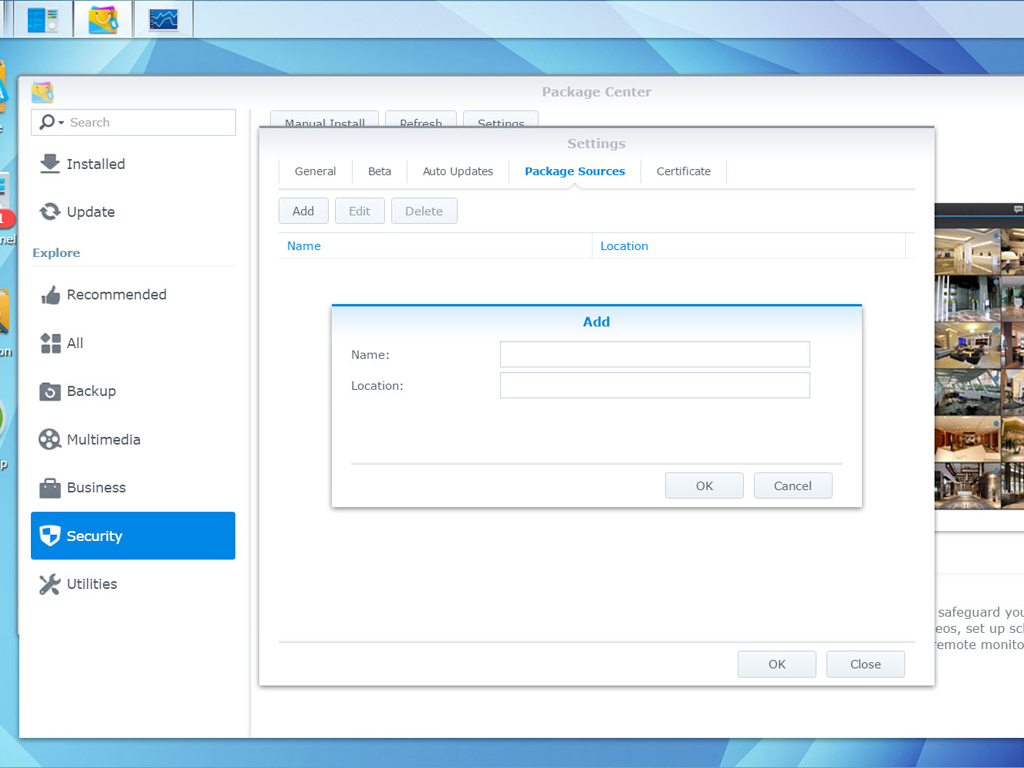
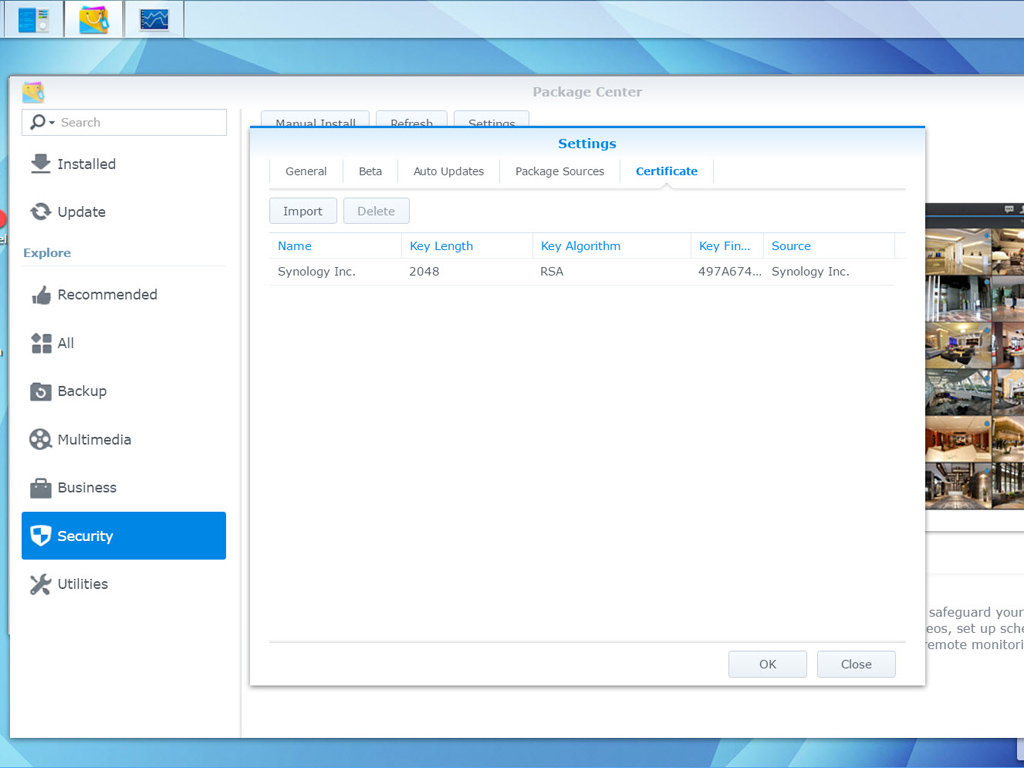
Here are Package Center's settings. The most basic is Trust Level, which controls the installation of packages. You can by default only install Synology apps. If you want to try apps from other publishers, you will have to pick the setting to do so here. You should be very careful with apps that are from non-trusted or unknown publishers, especially if you store sensitive data on your Synology NAS.
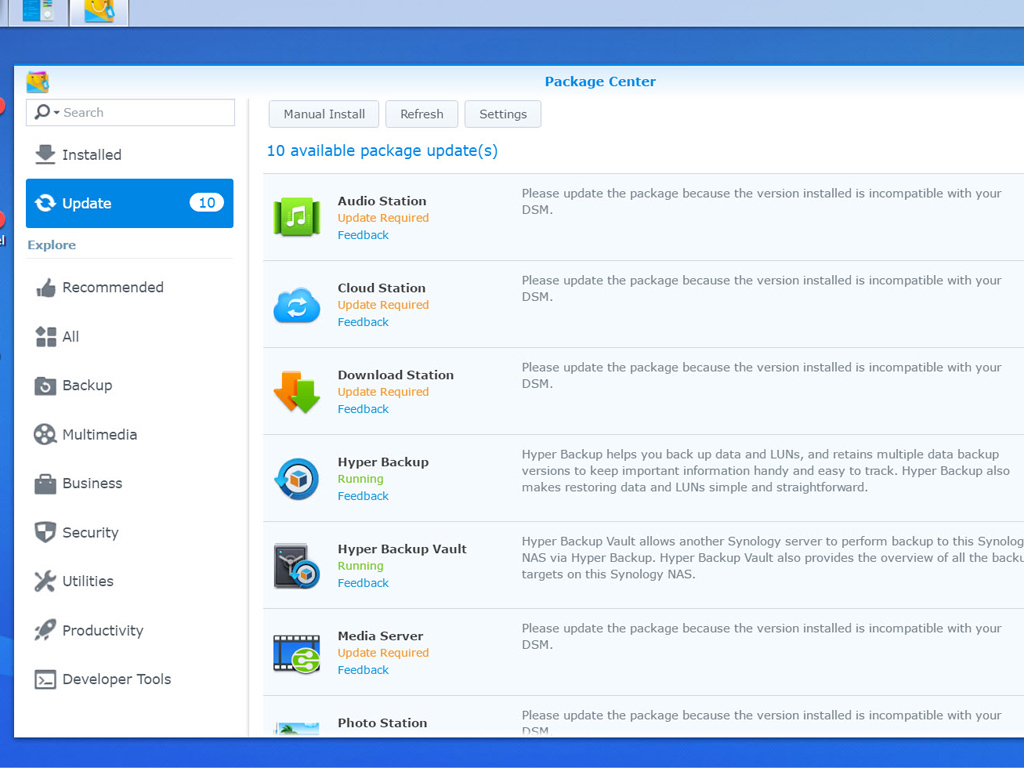
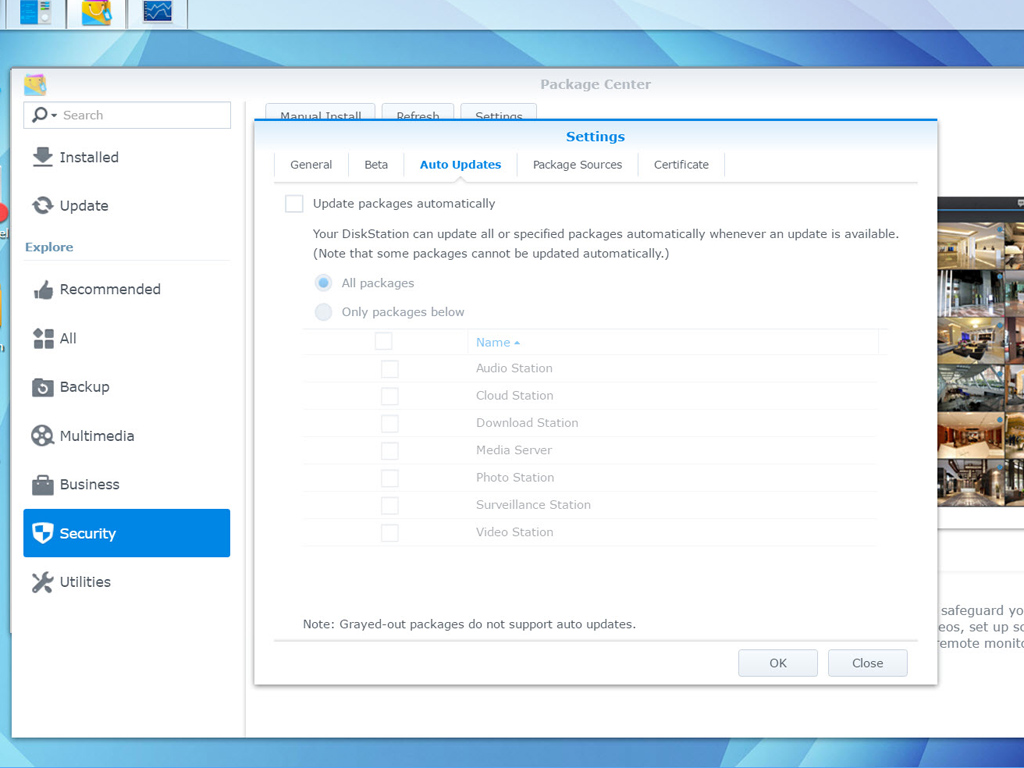
An app's updating procedure is very easily initiated in Package Center.
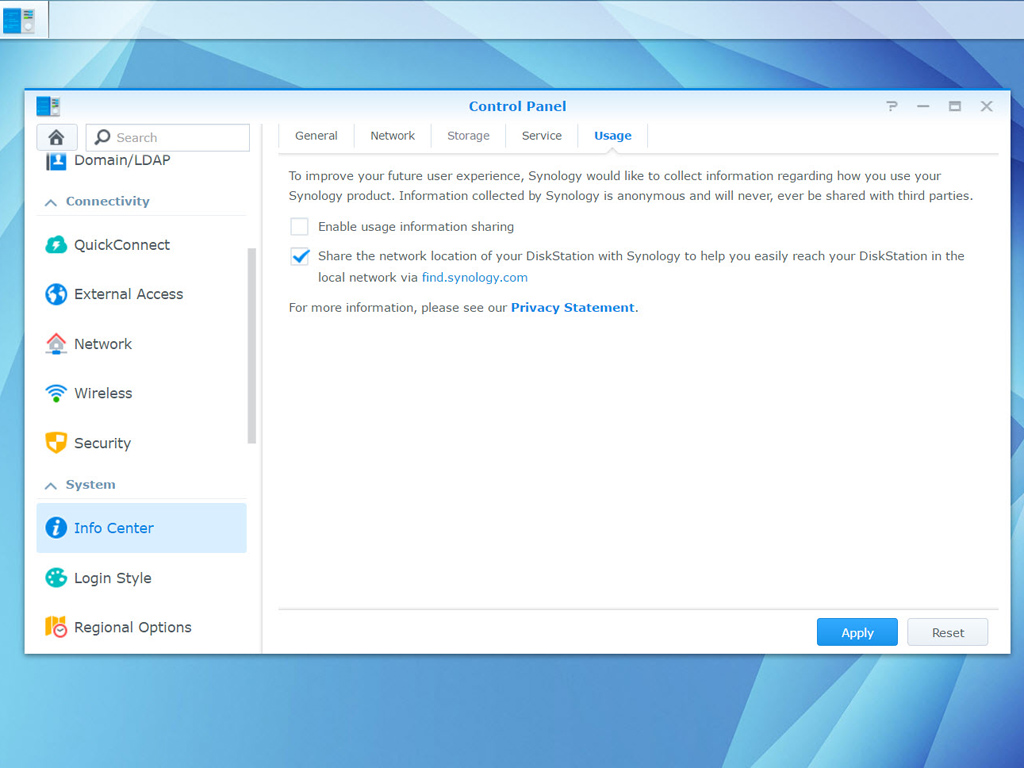
Info Center
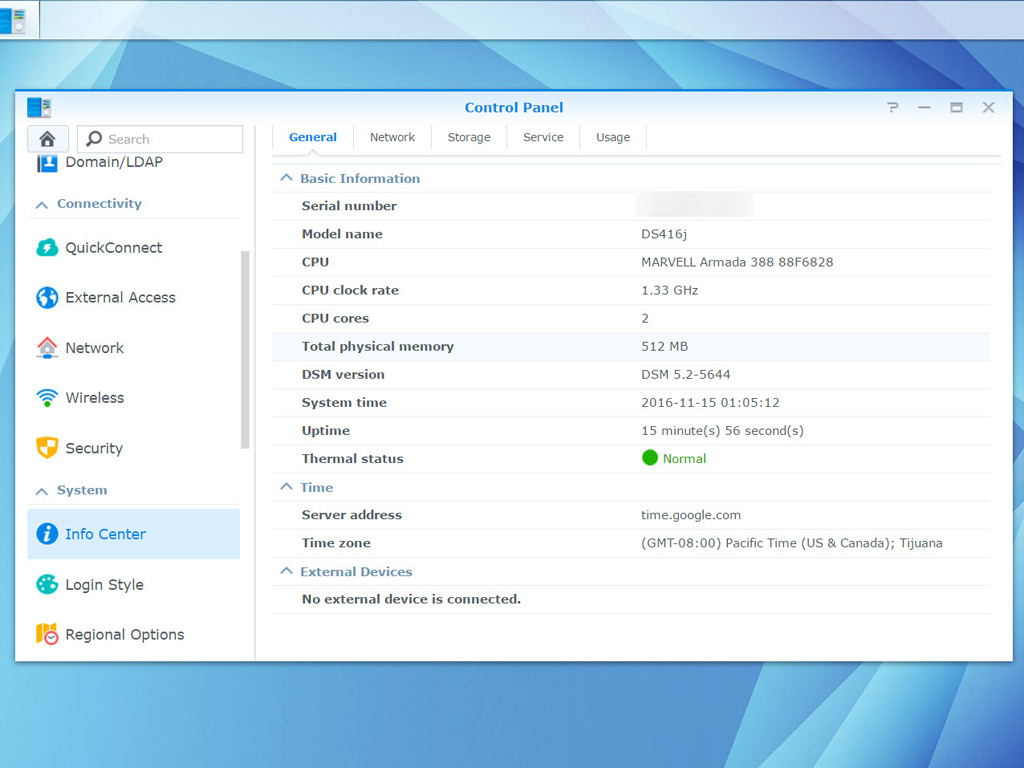
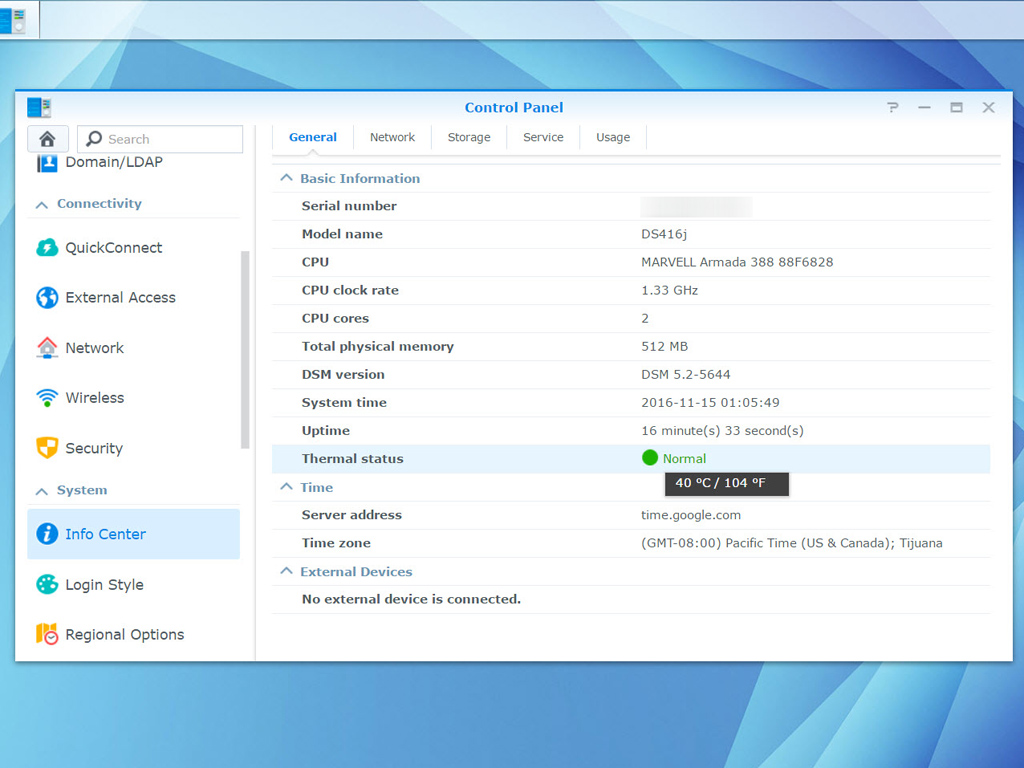
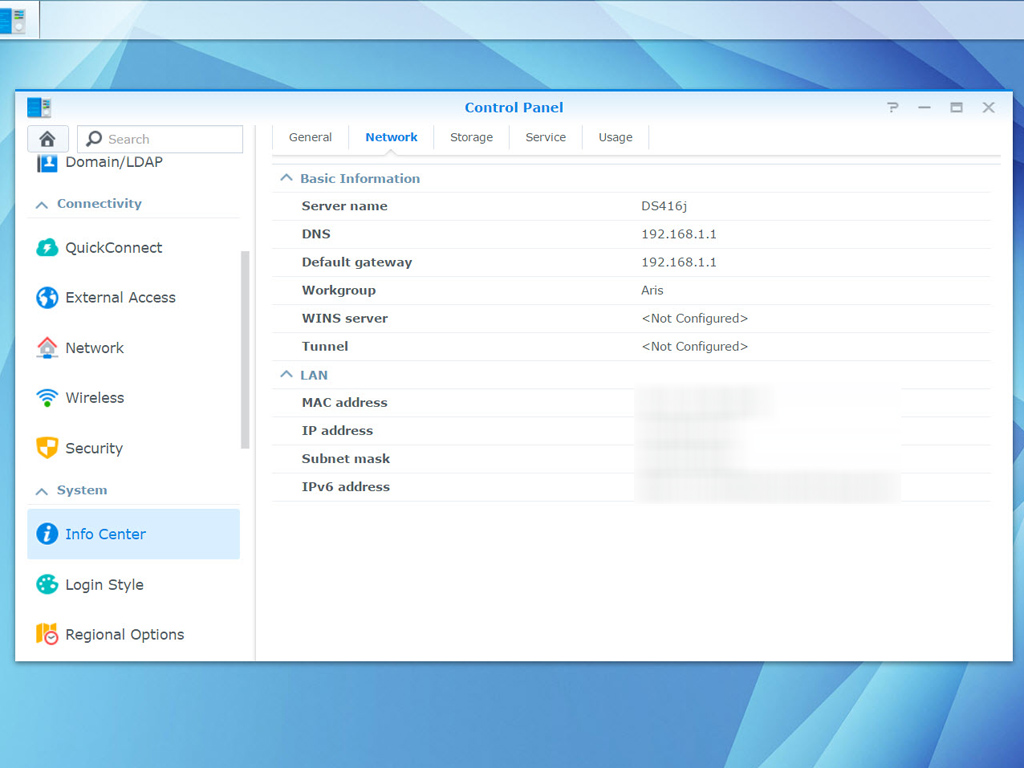
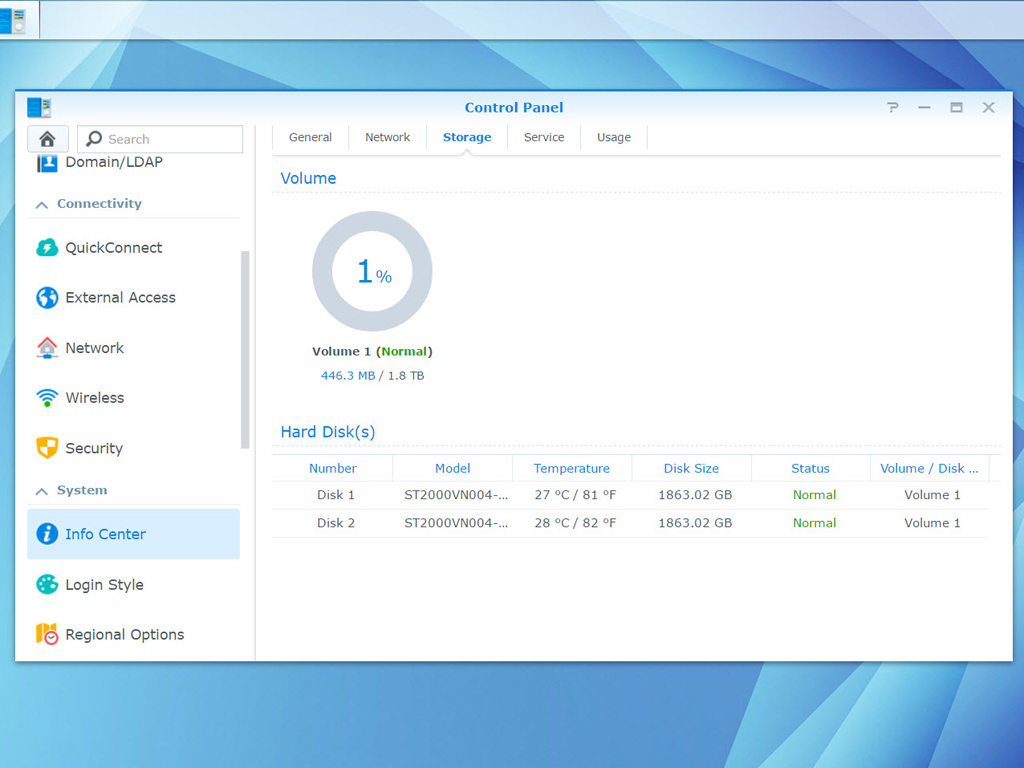
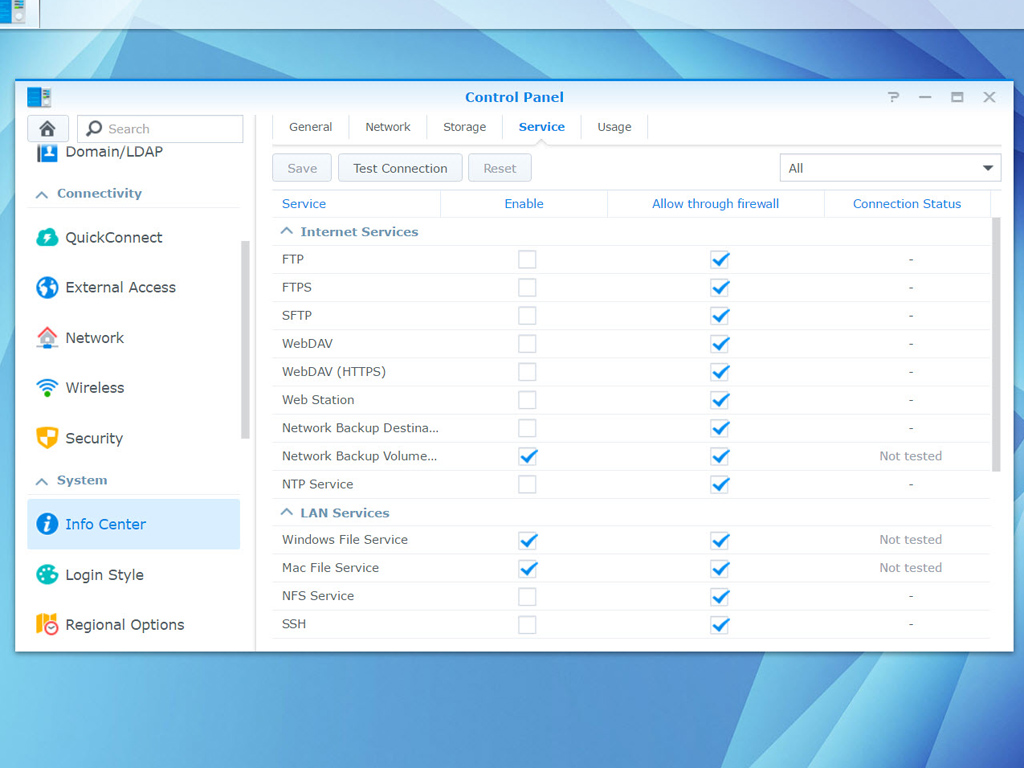

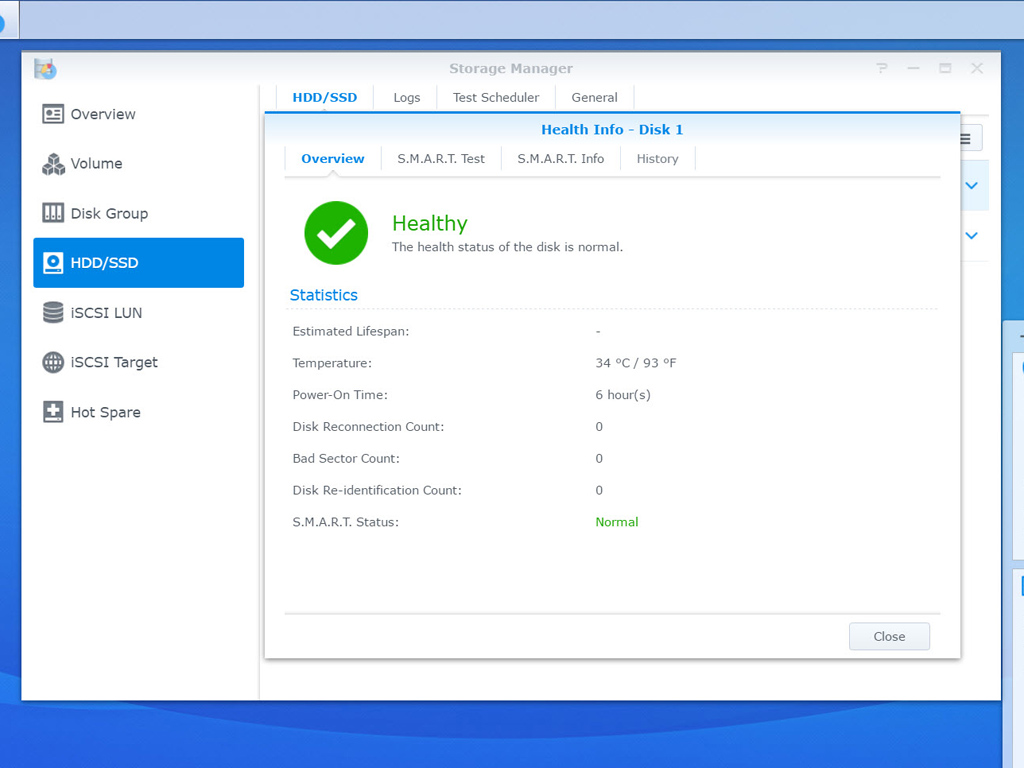
Info Center lists the NAS server's hardware specifications and comes with an overview of its services, the network, and its storage devices. A green icon under Thermal Status in its first tab denotes a normal state, while orange is indicative of high internal temperatures that will cause the NAS to shut down at any moment to prevent components from overheating. Hover over these icons with your cursor and the CPU's temperature will be displayed.
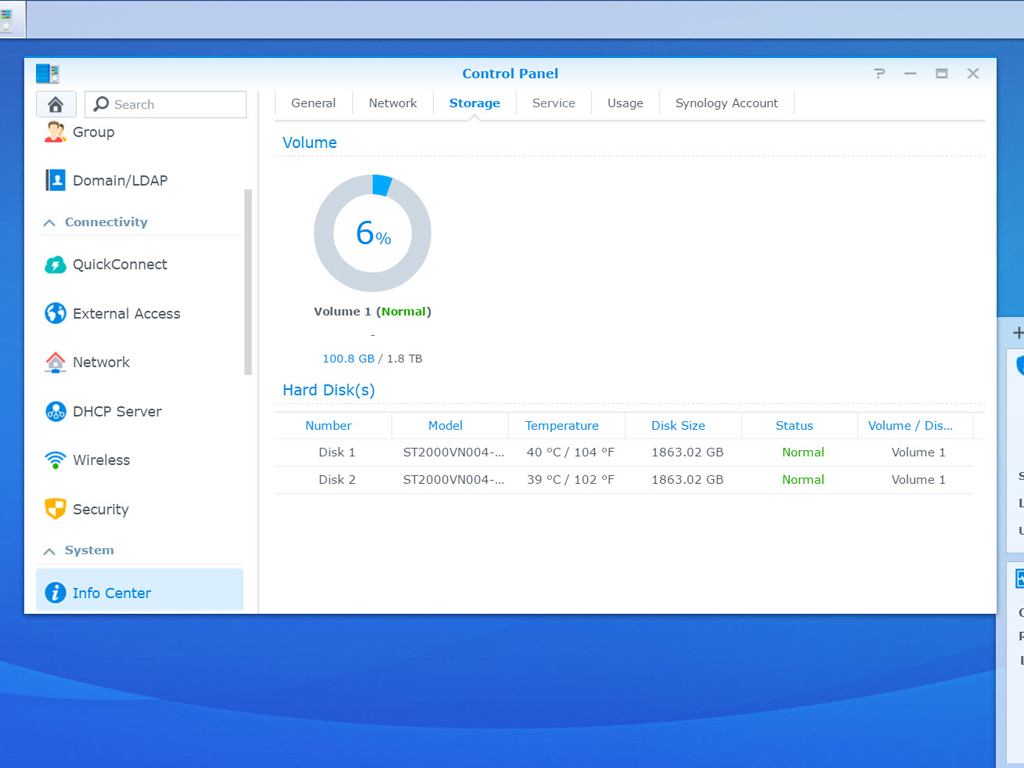
HDD temperatures reached 40°C after two hours and twenty minutes of intense testing.
Resource Center
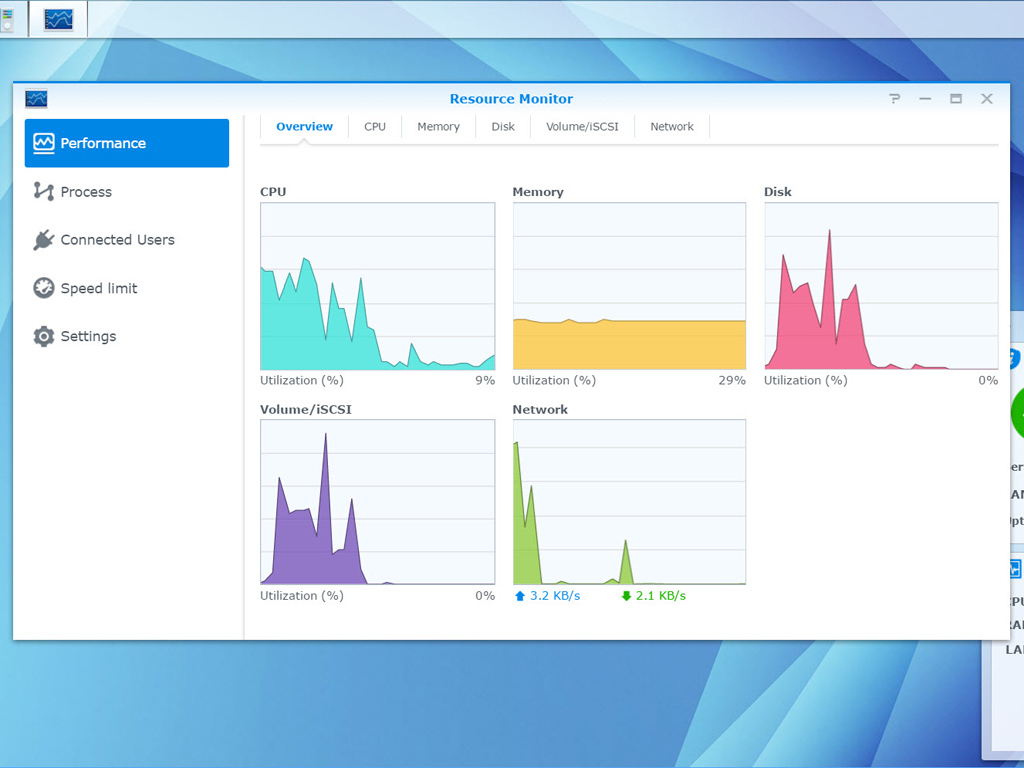
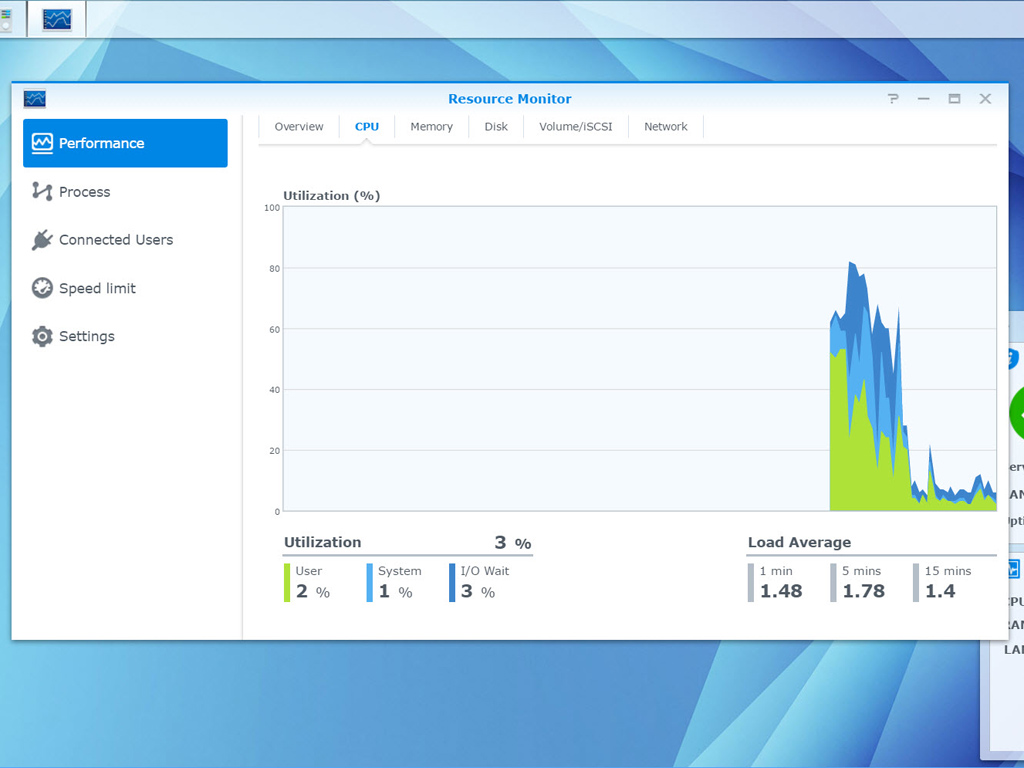
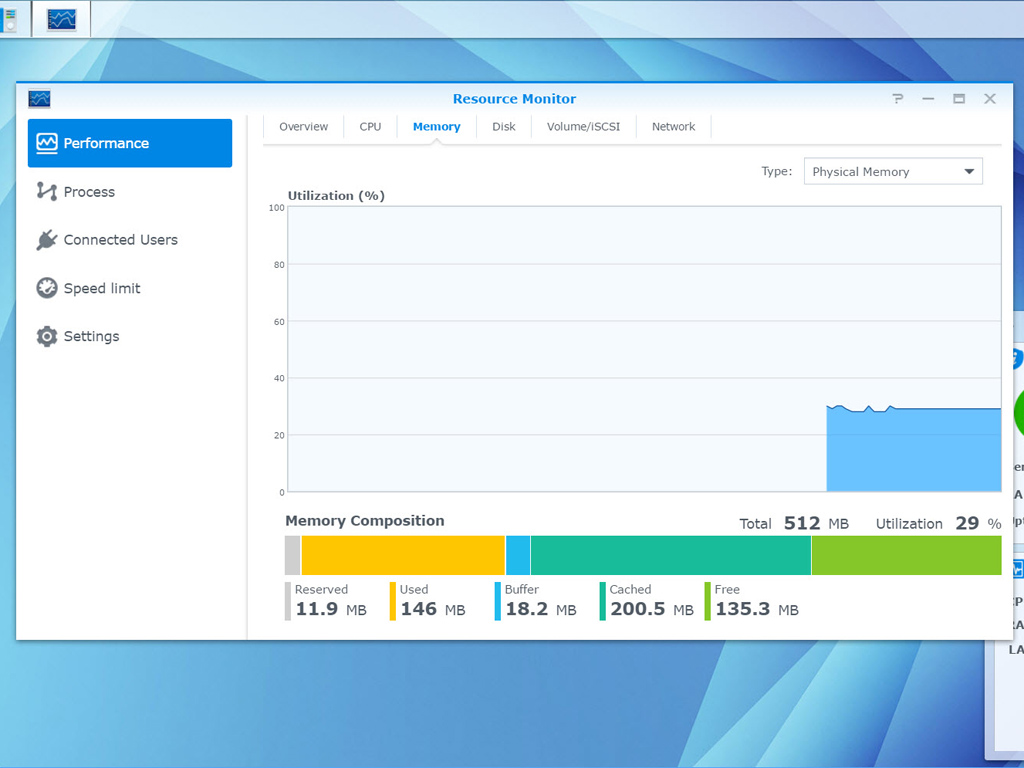
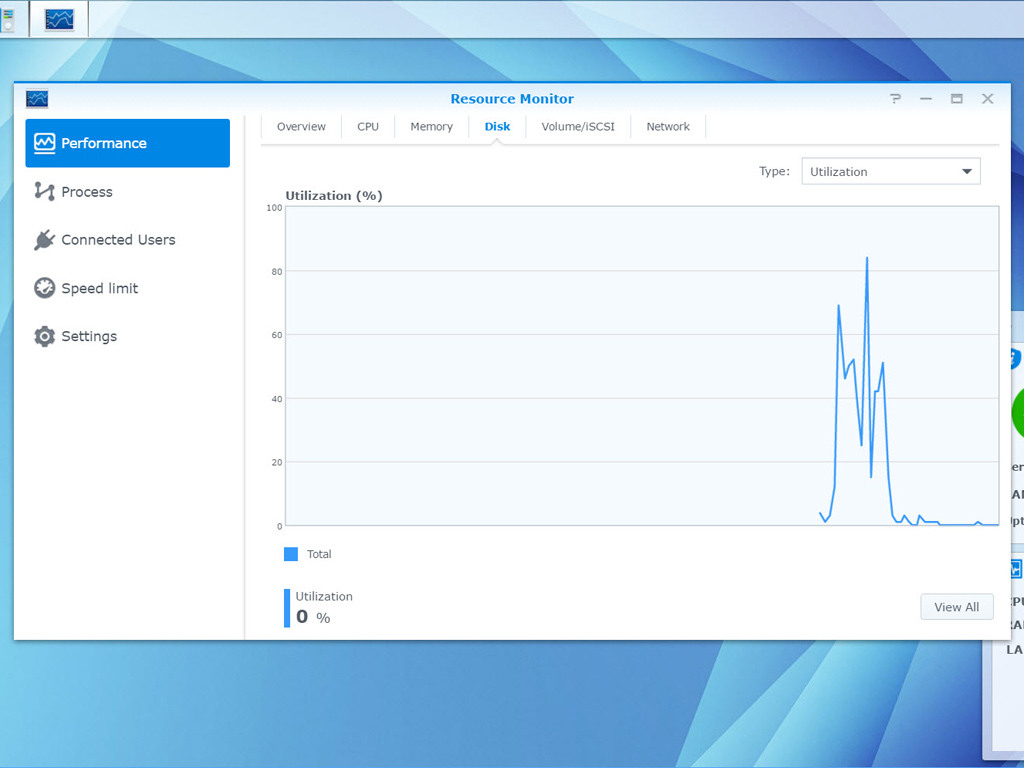
Resource Monitor allows you to monitor the system's resources—these include CPU and memory usage, disk utilization, and network transfer speeds. You can monitor resources in real time or view bygone data.
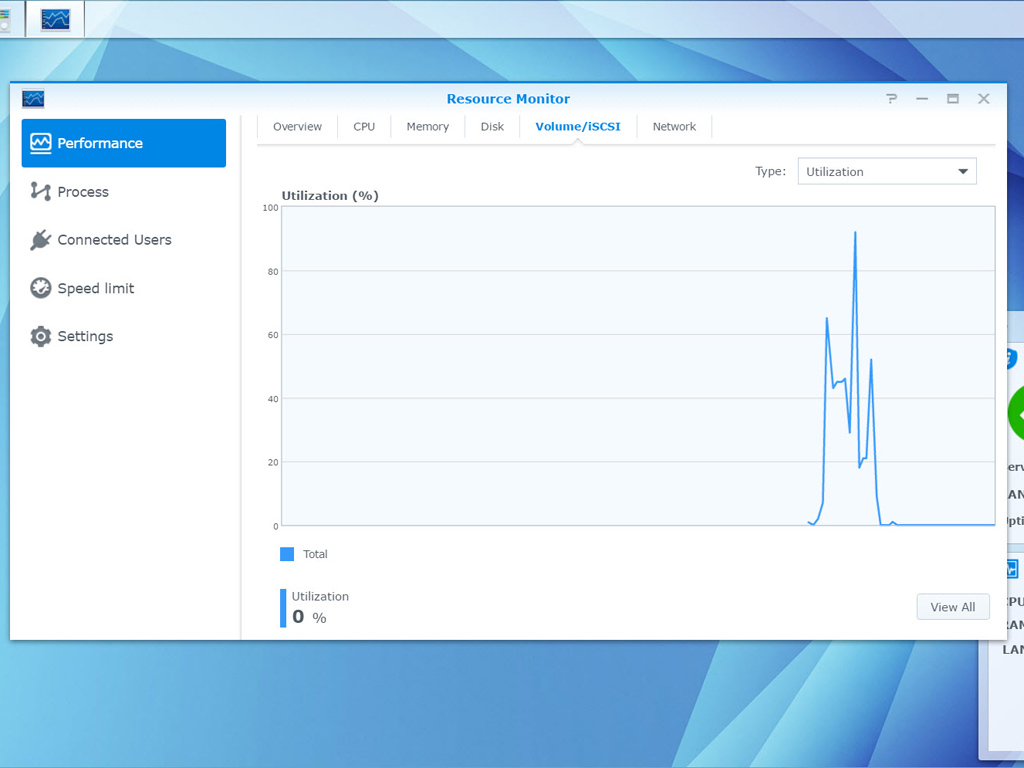
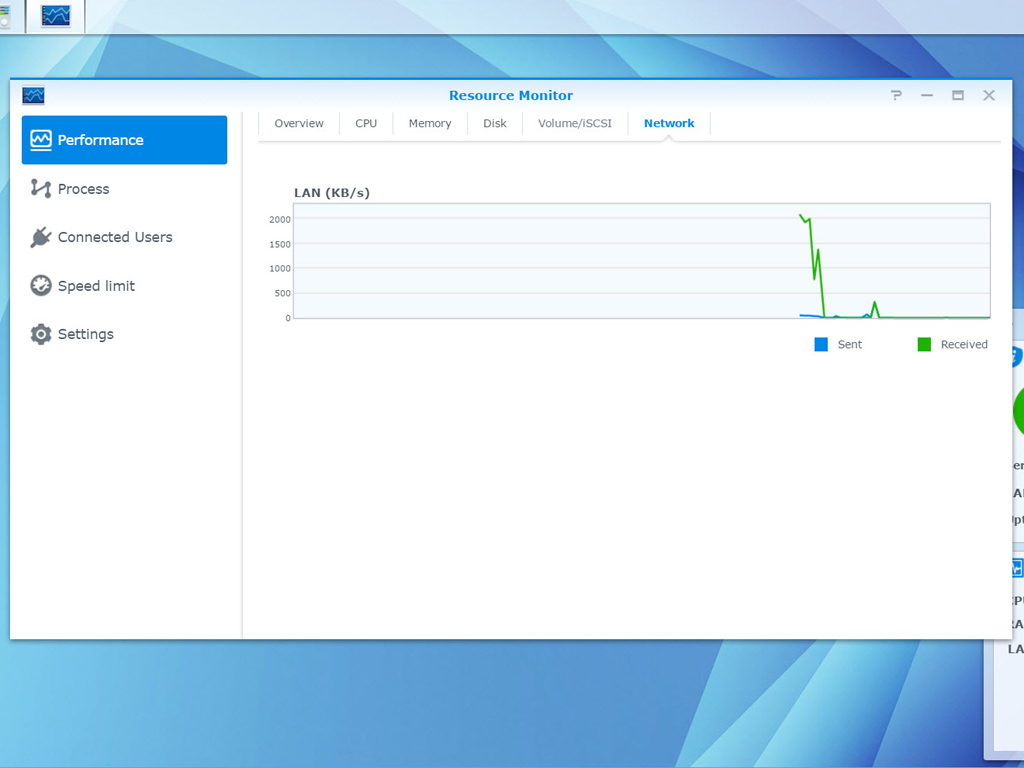
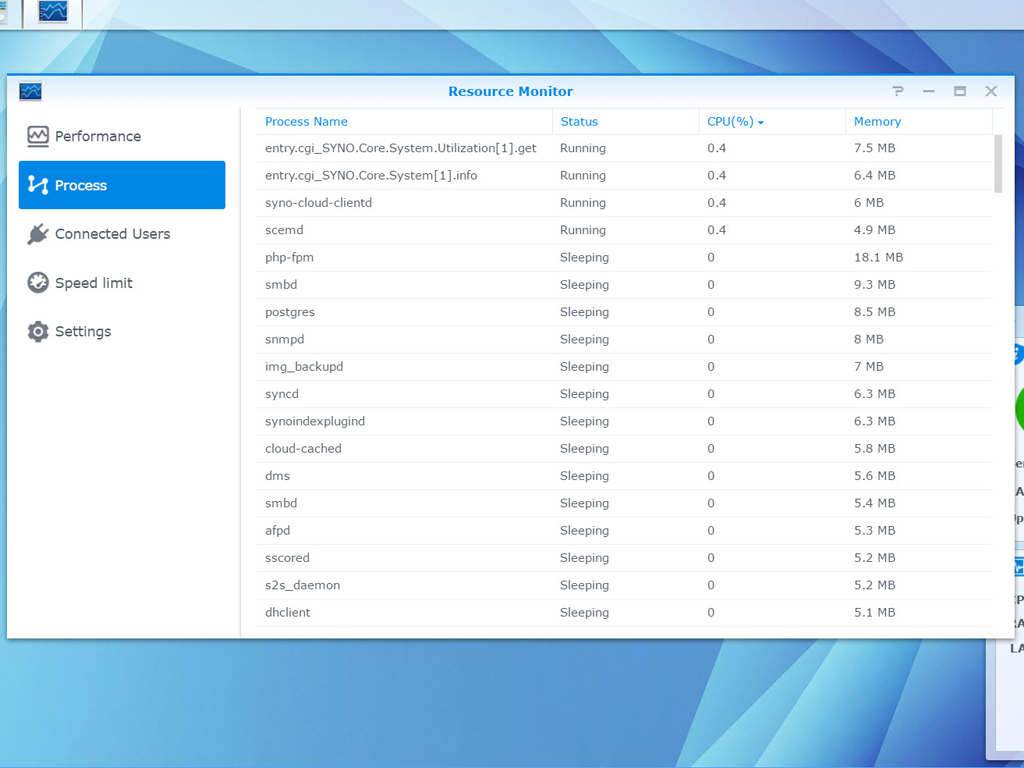
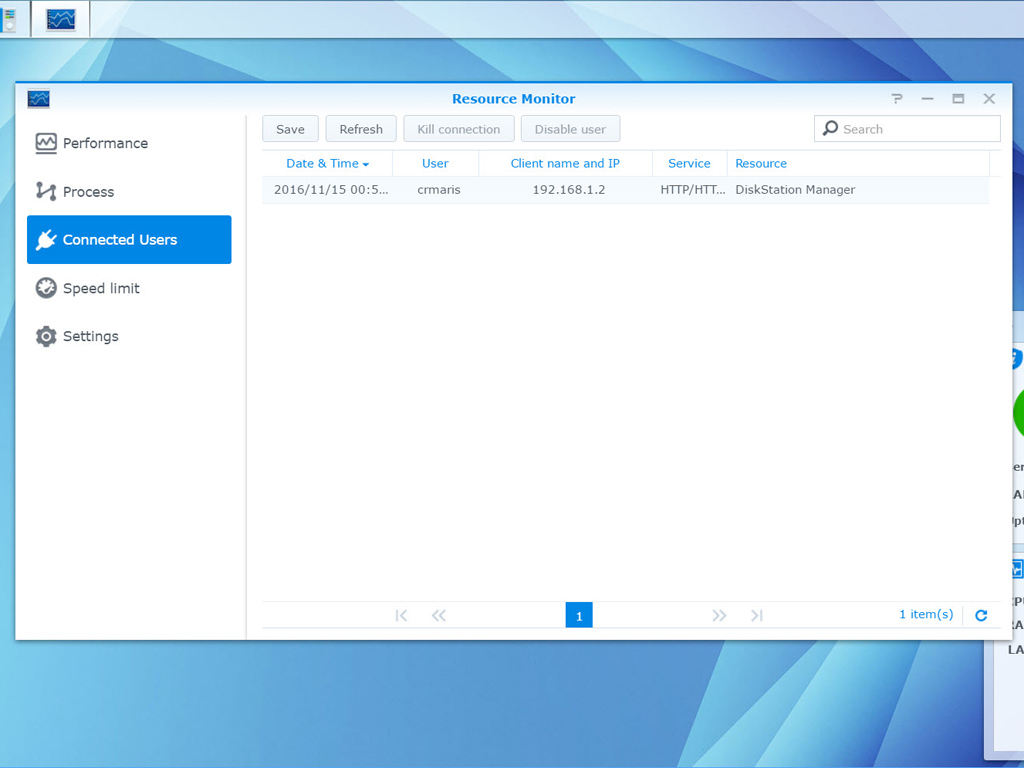
Using the resource monitor, you can check on all connected users and kill a connection if it bother you. There is also a process-monitoring option, and the settings menu allows you to set the real-time duration and enable the usage history option.
Mar 12th, 2025 01:58 EDT
change timezone
Latest GPU Drivers
New Forum Posts
- RX 9070 availability (190)
- Post your Old CDs & FDs, from back in the day thread. (53)
- How's your old spinner holding up? (41)
- Cant Enable Resizable Bar (3)
- What are you playing? (23135)
- Nvidia's GPU market share hits 90% in Q4 2024 (gets closer to full monopoly) (852)
- intel 1700 with high speed ram,memory (51)
- Mismatched Memory Speeds for upcoming CPU Reviews? (98)
- Packet Loss after updating to windows 11 (3)
- Looking for suggestions on a vertical gaming mouse? (2)
Popular Reviews
- XFX Radeon RX 9070 XT Mercury OC Magnetic Air Review
- AMD Ryzen 9 9950X3D Review - Great for Gaming and Productivity
- Sapphire Radeon RX 9070 XT Nitro+ Review - Beating NVIDIA
- ASUS Radeon RX 9070 TUF OC Review
- MSI MAG B850 Tomahawk Max Wi-Fi Review
- AMD Ryzen 7 9800X3D Review - The Best Gaming Processor
- NVIDIA GeForce RTX 5070 Founders Edition Review
- Dough Spectrum Black 32 Review
- Corsair Vengeance RGB CUDIMM DDR5-8800 48 GB CL42 Review
- XPG Starker Air BTF Review
Controversial News Posts
- NVIDIA GeForce RTX 50 Cards Spotted with Missing ROPs, NVIDIA Confirms the Issue, Multiple Vendors Affected (513)
- AMD Radeon RX 9070 and 9070 XT Listed On Amazon - One Buyer Snags a Unit (261)
- AMD RDNA 4 and Radeon RX 9070 Series Unveiled: $549 & $599 (260)
- AMD Mentions Sub-$700 Pricing for Radeon RX 9070 GPU Series, Looks Like NV Minus $50 Again (248)
- NVIDIA Investigates GeForce RTX 50 Series "Blackwell" Black Screen and BSOD Issues (244)
- AMD Radeon RX 9070 and 9070 XT Official Performance Metrics Leaked, +42% 4K Performance Over Radeon RX 7900 GRE (195)
- AMD Radeon RX 9070-series Pricing Leaks Courtesy of MicroCenter (158)
- AMD Radeon RX 9070 XT Could Get a 32 GB GDDR6 Upgrade (100)