 9
9
TDBT SuperC M.2 NVMe USB-C SSD Enclosure Review
Performance »Packaging and Contents
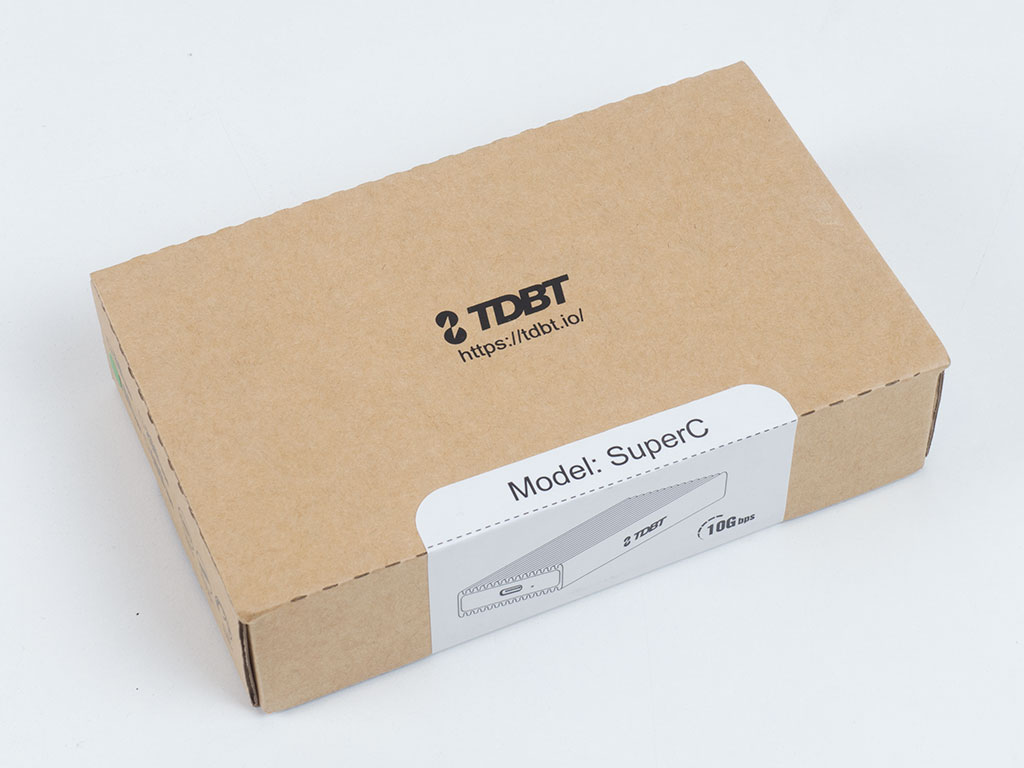

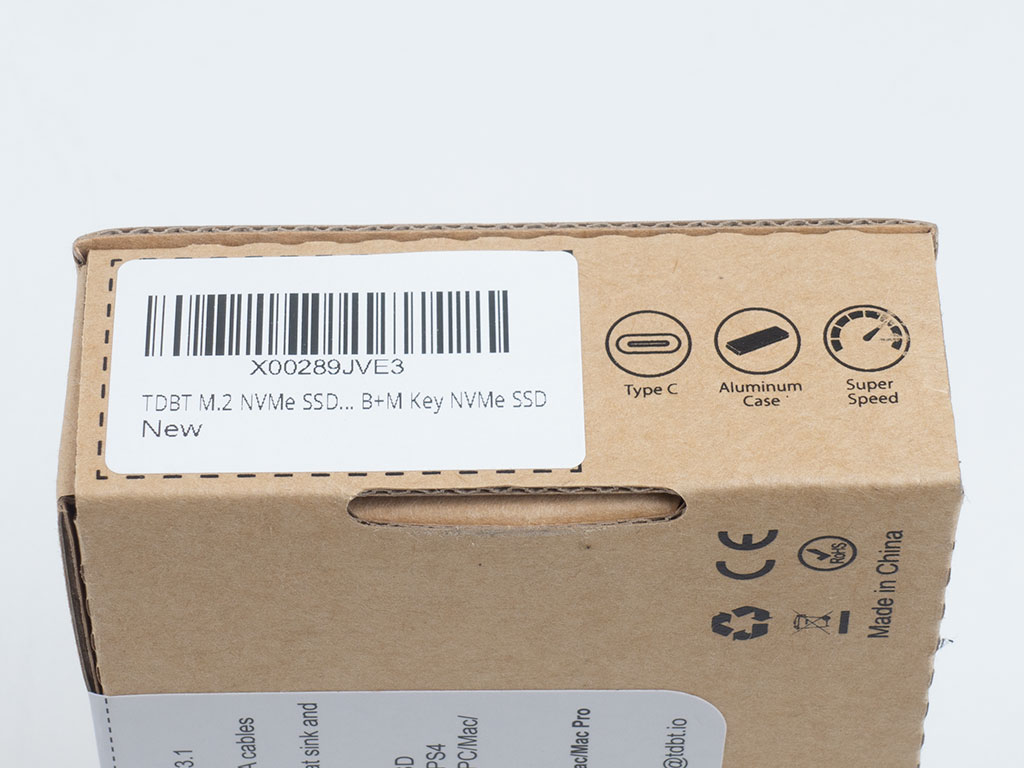

You will receive the TDBT SuperC in a basic brown cardboard box with a few things mentioned on the sticker which also seals it shut. A green sticker above that lets you know which interface speed you may expect.

Inside, a plastic tray holds the drive enclosure, which is also placed in a milky white plastic bag for further protection.


TDBT includes surprising extras alongside the SuperC enclosure, with a small screw driver and the required assembly screws and bits. TDBT also includes a few extra spare parts. Additionally, there is a heatsink with thermal pads which may be attached to your drive. It is nice to see that there are two pads for when you want to upgrade your storage. I would consider the heatsink essential as NVMe drives tend to get quite toasty and just throttle performance considerably when they do to continue functioning.
There are also two interface cables: one with USB-C connectors and another with a USB type A plug, so you may use the drive regardless of the plug you have available. Funnily enough, we got two identical manuals, so there was a small mistake in packing. The documentation is detailed and provides pictures, which should make it a welcome source of information for those who are a bit unfamiliar with hardware assembly.
A Closer Look


The TDBT SuperC enclosure is made out of aluminium with fins across the top and bottom to increase the surface area for heat dissipation. It is nice and compact, but as it takes up to a size 2280 drive, there is only so much one could shrink things down to anyways. The unit itself with the PCB clocks in at 89 grams, while the front cover will probably add another gram. Naturally, the weight of the installed SSD will also need to be taken into consideration.

The SuperC ships essentially ready to be assembled with the cover on the connector side already off. The PCB looks quite sturdy and solid with clean solder marks and is of a nice thickness.


The top of the PCB is essentially devoid of any ICs with a M.2 PCIe connector and various mounting holes for the different lengths such storage devices come in. On the backside is where you will find the actual brains of the drive with all the required supporting components.

The JMicron's JMS583 controller was one of the first ICs that could handle full-speed USB 3.2 Gen 2 10 Gbps. It supports USB 3.2 Gen 2 on the USB side and PCI-Express x2 3.0 for attached devices.
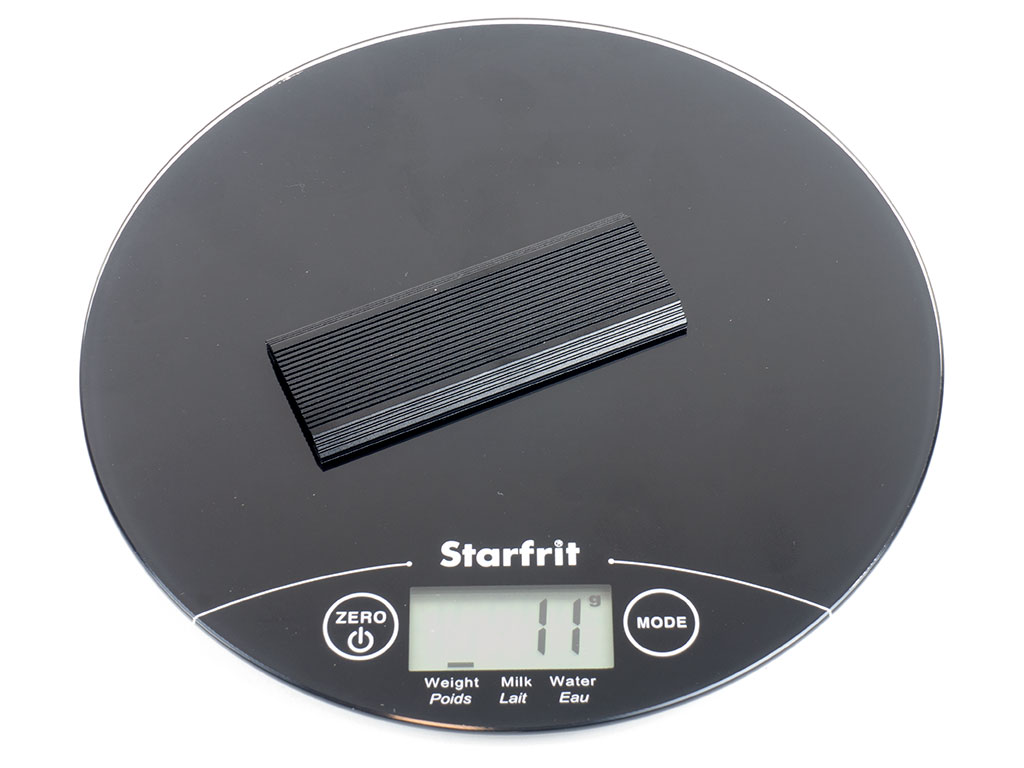
The additional heatsink weighs around 11 grams, which may not seem like much, but should make all the difference needed to have any installed NVMe SSD unfold its full potential.
Assembly

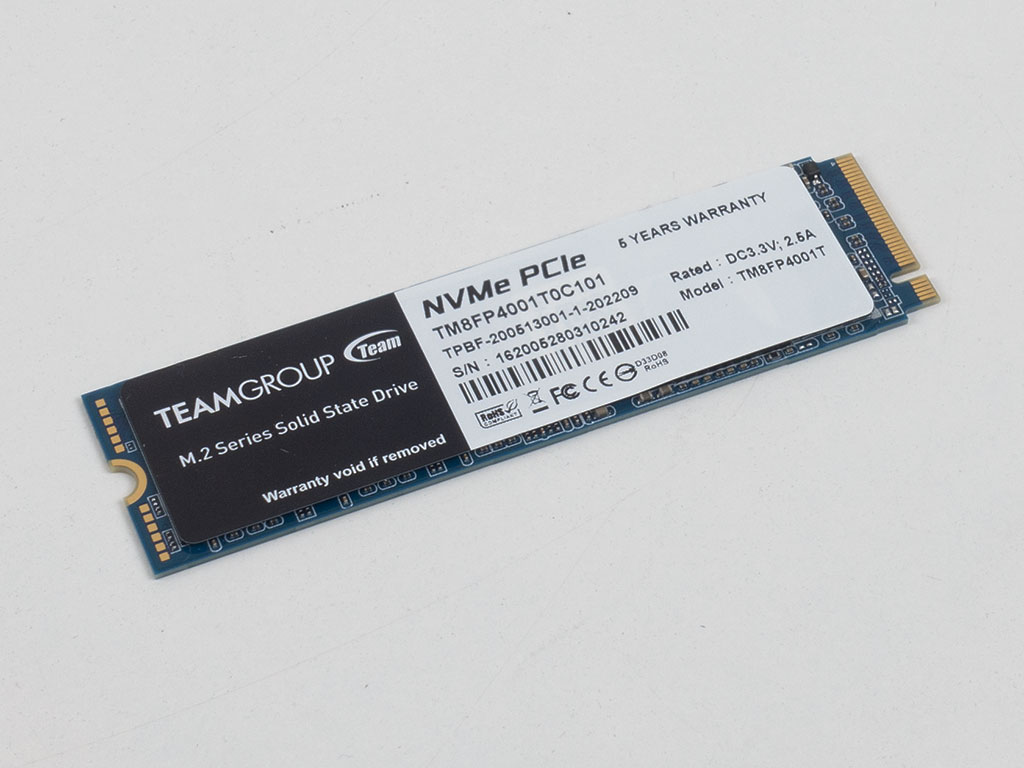
While we tend to disassemble drives at this stage, with the TDBT being an empty enclosure, now is a good time to go through the assembly instead. Teamgroup provided us with a 1 TB drive of the Phison E12S based MP34. If you want to find out more about the drive, check out our review of the 512 GB model here.


Installing the drive is quite simple as you stick the unit in at an angle, just like you would on a motherboard. However, unlike those scenarios, you get a special golden locking ring which is then screwed down from the other side of the PCB to hold the drive in place securely. With that done, simply slide it into the chassis so that you may put the cover on.

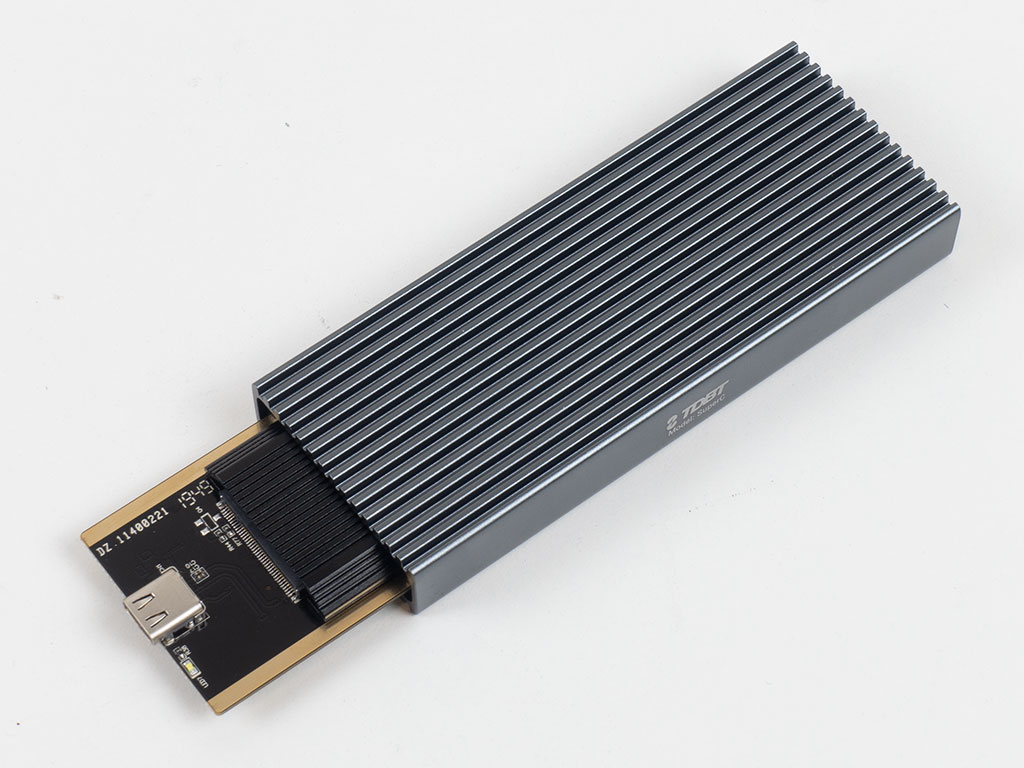
If you choose to install the heatsink, that can be done after the drive is secured, and as you can see, it still slides in just fine, so there is an air gap between the SuperC housing and SSD heatsink.


The screws for the cover are tiny, which is why you are provided with that screw driver. Luckily, TDBT includes two additional screws should you loose one during assembly, a scenario that is rather likely. Once fully assembled, the cover sits flush with the housing and the USB Type-C connector.
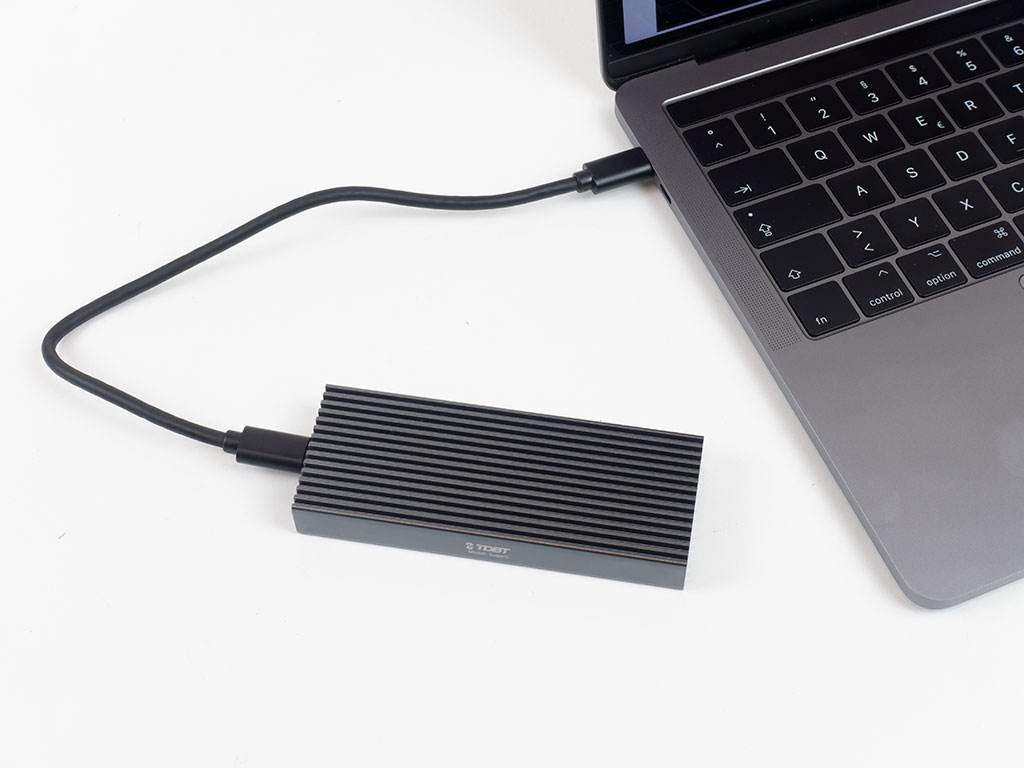
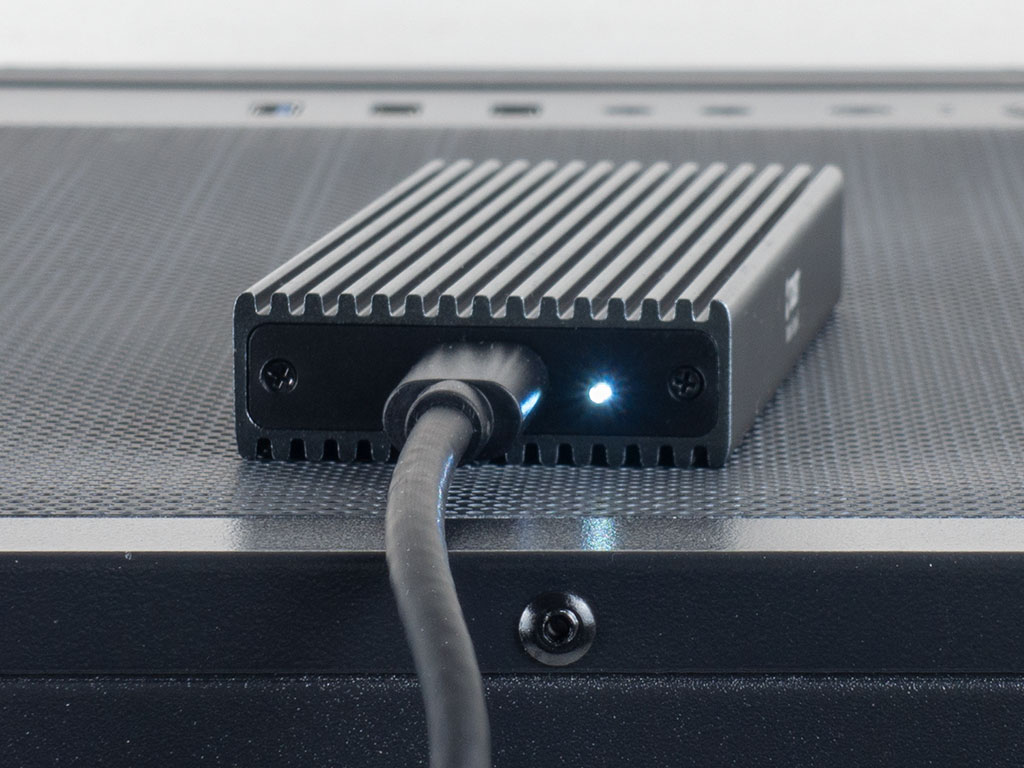
The drive almost matches the color of the space gray MacBook Pro, with a slightly blue tint to it in comparison. Naturally, we used a fully fledged Windows test system with a proper 10 Gbps interface for the performance tests. Here, you can see that a white LED lights up and blinks with drive activity to let you know there is data going back and forth.
May 4th, 2025 22:47 EDT
change timezone
Latest GPU Drivers
New Forum Posts
- Are the 8 GB cards worth it? (845)
- Windows 11 General Discussion (6021)
- Last game you purchased? (801)
- Request for advice [Big Build] (50)
- What are you playing? (23545)
- ASRock Z590 OC Formula. (34)
- Subsystem Id of my Asus Strix RTX 4090 OC / Random GPU detection problem (33)
- Best USB 3 hub chipsets (18)
- Half Life 3 soon ? (12)
- RX 9000 series GPU Owners Club (636)
Popular Reviews
- ASUS ROG Maximus Z890 Hero Review
- ASUS Radeon RX 9070 XT TUF OC Review
- Clair Obscur: Expedition 33 Performance Benchmark Review - 33 GPUs Tested
- Montech HS02 PRO Review
- NVIDIA GeForce RTX 5060 Ti 8 GB Review - So Many Compromises
- Seasonic Vertex GX 850 W Review
- Upcoming Hardware Launches 2025 (Updated Apr 2025)
- ASUS GeForce RTX 5090 Astral Liquid OC Review - The Most Expensive GPU I've Ever Tested
- Sapphire Radeon RX 9070 XT Nitro+ Review - Beating NVIDIA
- AMD Ryzen 7 9800X3D Review - The Best Gaming Processor
Controversial News Posts
- AMD Radeon RX 9060 XT to Roll Out 8 GB GDDR6 Edition, Despite Rumors (129)
- NVIDIA Sends MSRP Numbers to Partners: GeForce RTX 5060 Ti 8 GB at $379, RTX 5060 Ti 16 GB at $429 (128)
- NVIDIA Launches GeForce RTX 5060 Series, Beginning with RTX 5060 Ti This Week (115)
- Nintendo Confirms That Switch 2 Joy-Cons Will Not Utilize Hall Effect Stick Technology (105)
- NVIDIA PhysX and Flow Made Fully Open-Source (95)
- Sony Increases the PS5 Pricing in EMEA and ANZ by Around 25 Percent (84)
- Parts of NVIDIA GeForce RTX 50 Series GPU PCB Reach Over 100°C: Report (78)
- Intel "Bartlett Lake-S" Gaming CPU is Possible, More Hints Appear for a 12 P-Core SKU (77)